How to Make Cards Using the Half Door Card Layout
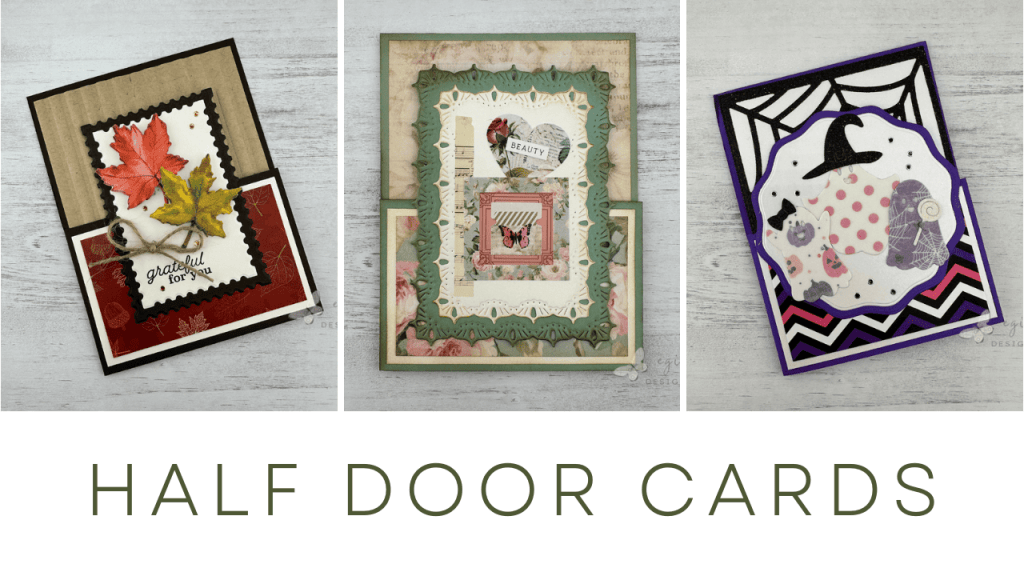
In this video project, I made two Fall cards using the Half Door (or Dutch Door) card layout with Kat Scrappiness products. I also walked through a bonus Birthday card I made using the same layout, using PhotoPlay’s Beautiful Junque Collection. All products used in making this project are listed below.
This is a lengthy blog entry describing the three cards, so feel free to jump down to the video tutorial if you’d like.
Measurements
Patterned Paper (2 on each card): 2 1/4 x 3 3/4"
Mats (2 on each card): 2 1/2 x 4"
Background Panel: 4 x 5 1/4"

Measurements Specific to Each Card
Fall Card
2 1/8 x 3 3/8" Postage Rectangle-Ivory (2)
2 1/2 x 3 3/4" Postage Rectangle-Dark Chocolate

Ghost Card
Wavy Circles: 3 3/4", 4"
Inside card: 4 1/4 x 11", Score at 5 1/2"
Trim to 4 1/8 x 5 3/8" when folded

Birthday Card
Lacy Rectangles: (2) Ivory: 2 1/2 x 3 3/4"
(2) Green: 3 1/4 x 4 1/2"
This card layout was inspired by a card tutorial video from Kathy’s Random Acts of Crafting on YouTube.
Half Door Cutting Instructions
Here is a diagram I made to show how to cut the paper to make a half door card base:
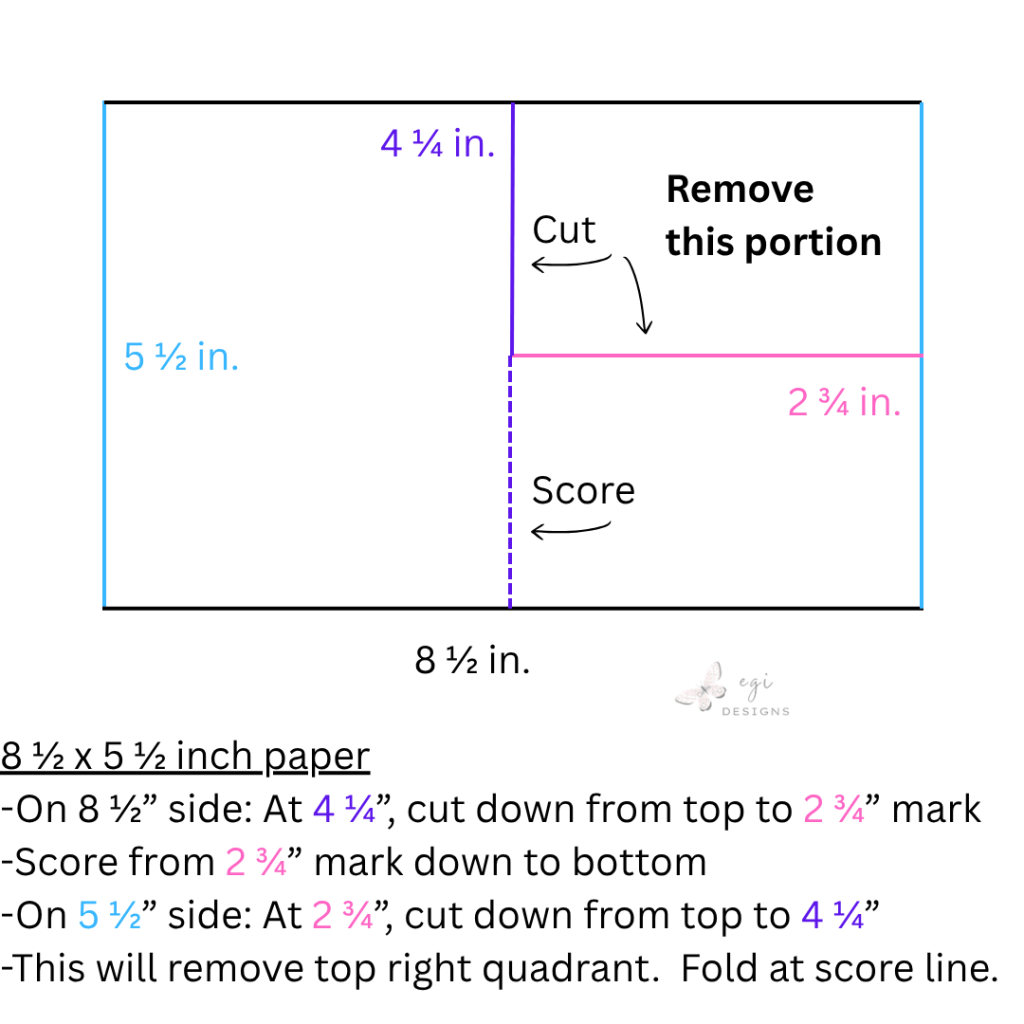
More detailed instructions:
- Start with an 8 1/2 x 5 1/2″ sheet of cardstock.
- On the 8 1/2″ side, at the 4 1/4″ mark, cut down from the top edge to the 2 3/4″ mark.
- Score down from the 2 3/4″ mark to the bottom of the paper.
- On the 5 1/2″ side, at the 2 3/4″ mark, cut down from the edge to the 4 1/4″ mark.
- This should complete the cut and the top right quadrant should pull away. Snip with scissors if necessary.
- Fold door portion over to meet on the right side, and use a bone folder to crease the score line.
- Now your card base is complete!
Half Door Card #1: Fall Vibes
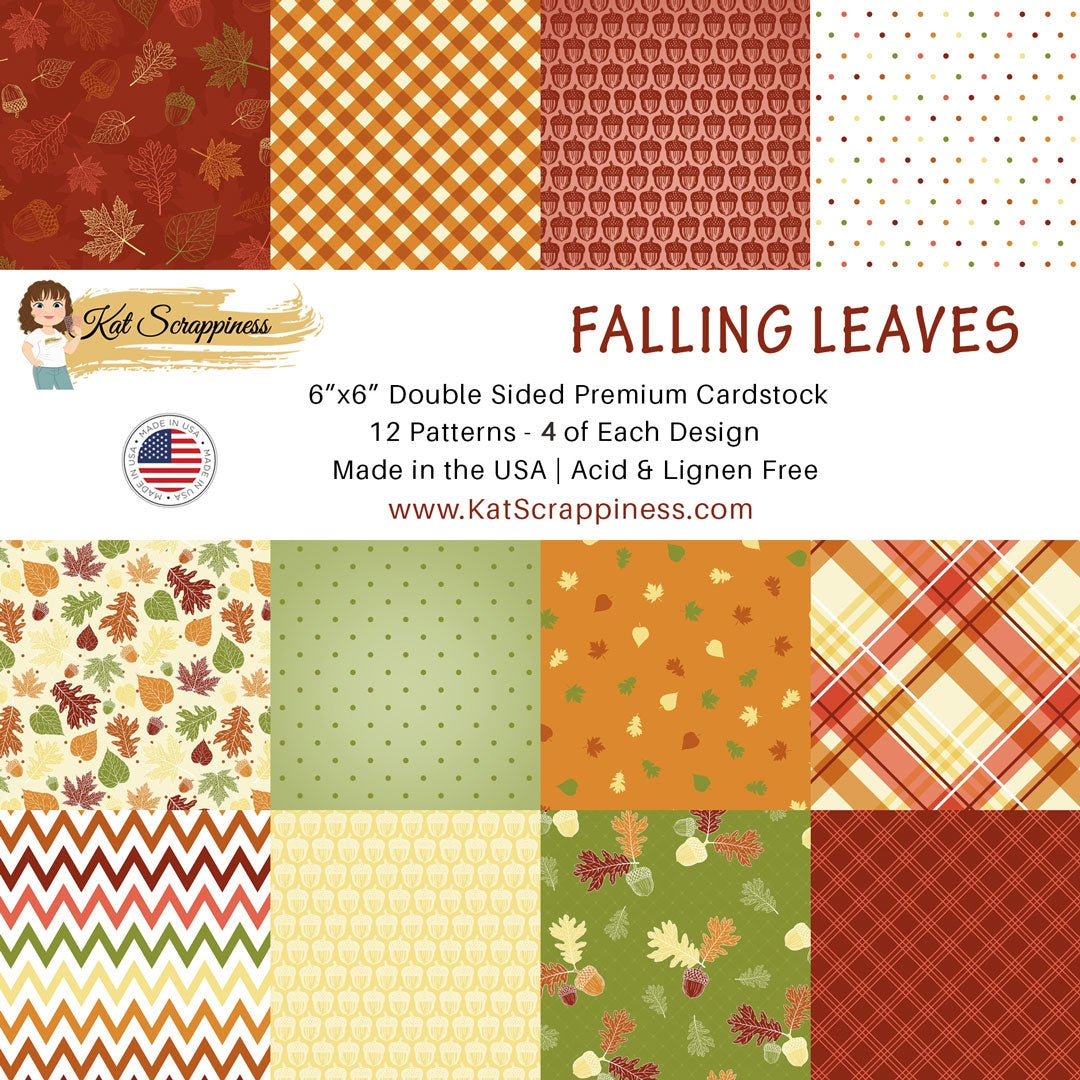
For the first card, I cut the card base from Simon Says Stamp Dark Chocolate Cardstock, and trimmed out the top right quadrant per the instructions. The rectangle mats for the front and back of the door were cut from Gina K Designs Ivory cardstock, and the patterned paper is from Kat Scrappiness and it is called Falling Leaves. This paper is absolutely gorgeous!! I cut two Ivory rectangles from the Simon Says Stamp A2 Postage Rectangles Die Set, and a larger postage mat out of Dark Chocolate.
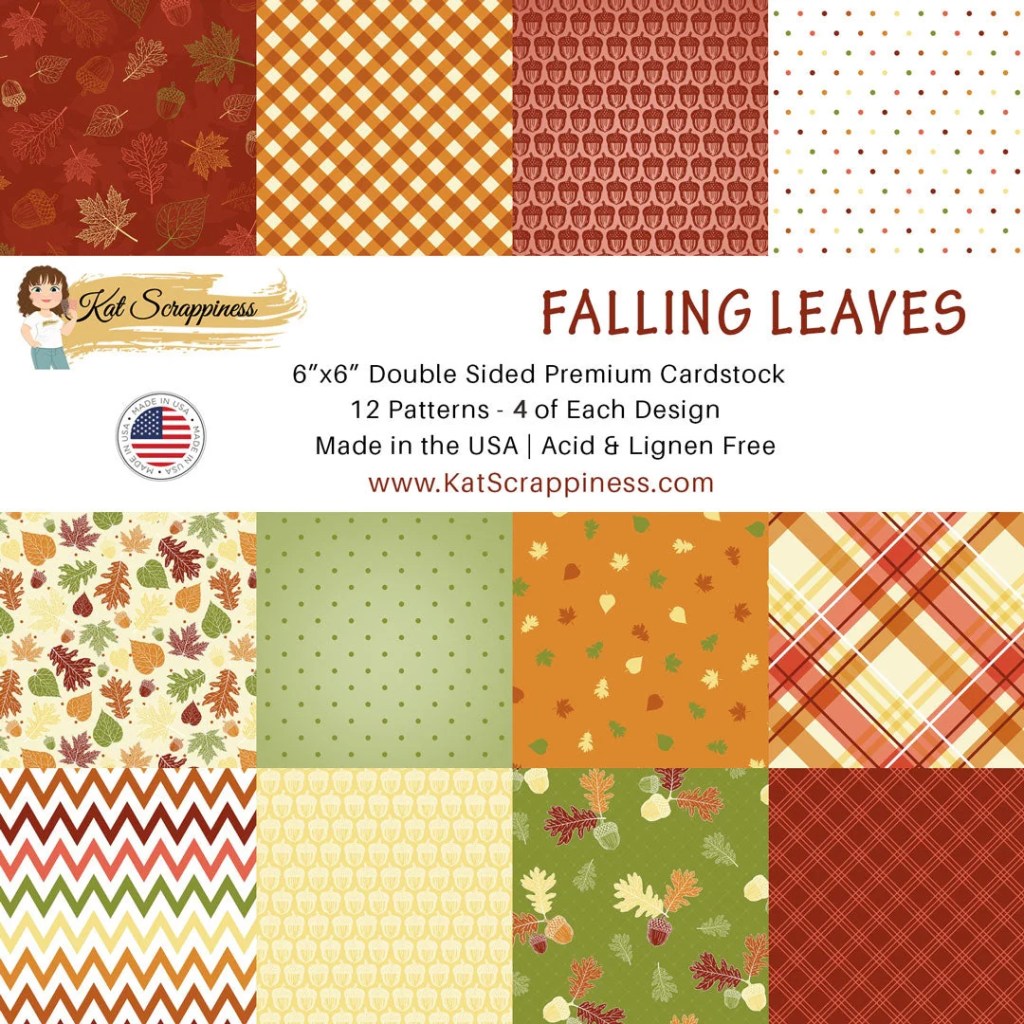

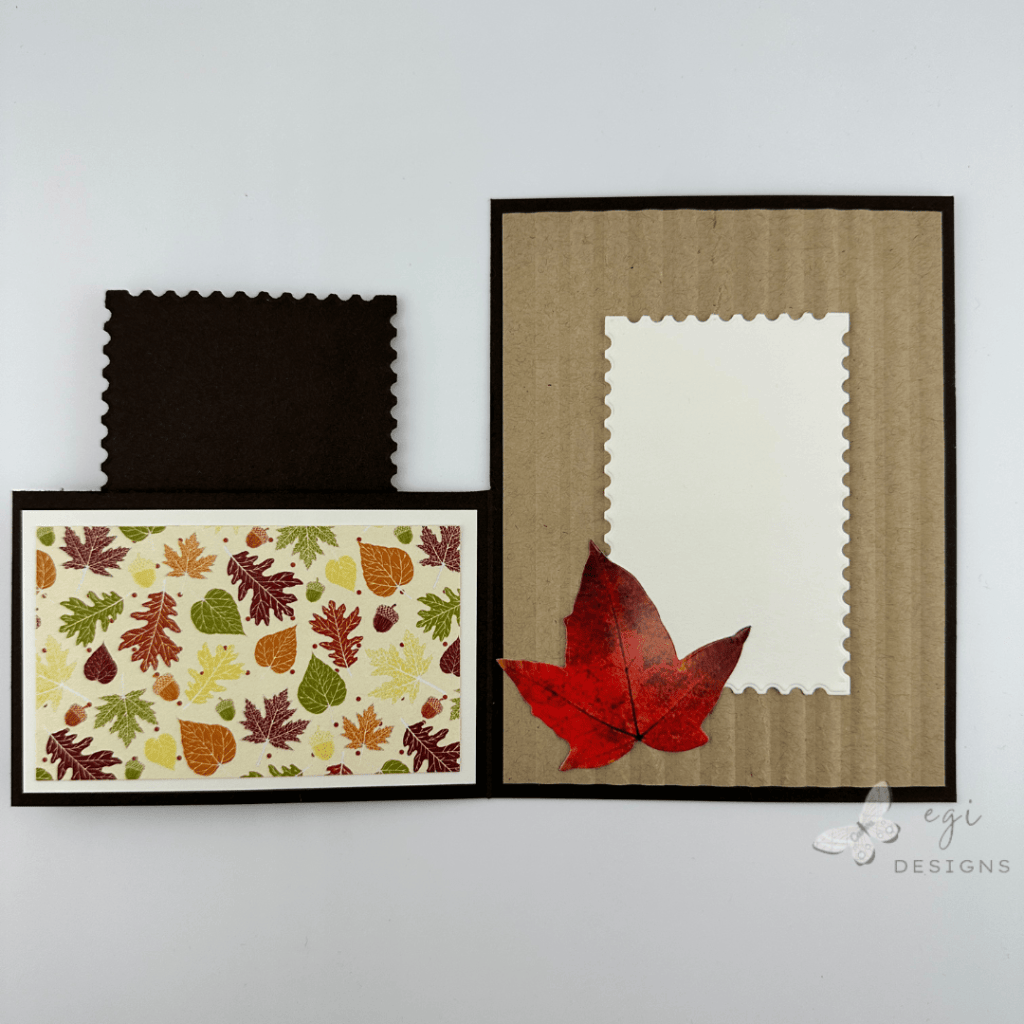
I cut a piece of Gina K Designs Kraft Cardstock for the inside panel and embossed it with the Spellbinders Corrugated Embossing Folder. I attached it with glue to the inside of the card, then added the rectangle patterned paper and mat pieces to both sides of the door using my tape runner.
Finishing up the Focal Image
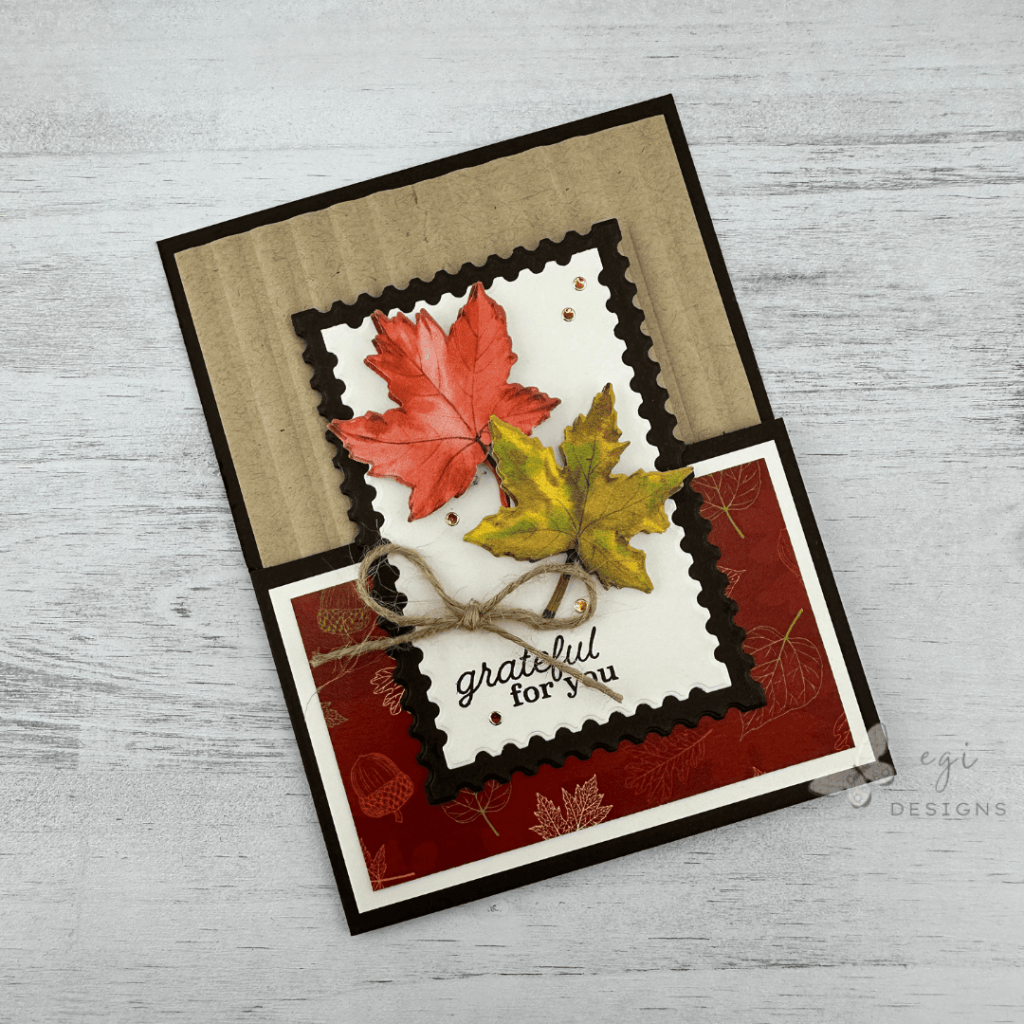
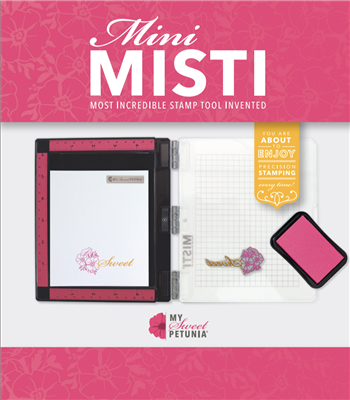
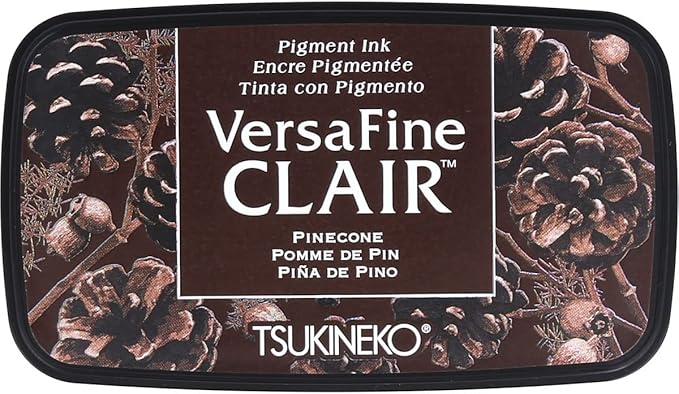
I glued the Dark Chocolate postage rectangle to the front of the door, centering it on the front of the card, making sure to only add glue on the bottom part where it overlaps the door. I added two maple leaf dimensional stickers from Recollections to the front of an ivory postage rectangle, and then used my Mini Misti to stamp the Grateful For You sentiment on the bottom left of the rectangle. I used the Papertrey Ink Say It Essentials Stamp Set with Versafine Clair Pinecone Ink for the stamping.
Finishing up the Card
I added the Ivory panel in the center of the Dark Chocolate panel on the front of the card, then added Copper Jewel Dazzle Stickers from Paper Wishes, and a jute bow, to finish off the card. On the inside, I added another Ivory postage rectangle to the middle of the Kraft background, and added a sticker from the Fall Leaf Die Cut Sticker pack from Recollections.
Half Door Card #2: Ghost Halloween Party, with Inside Top-Folding Card
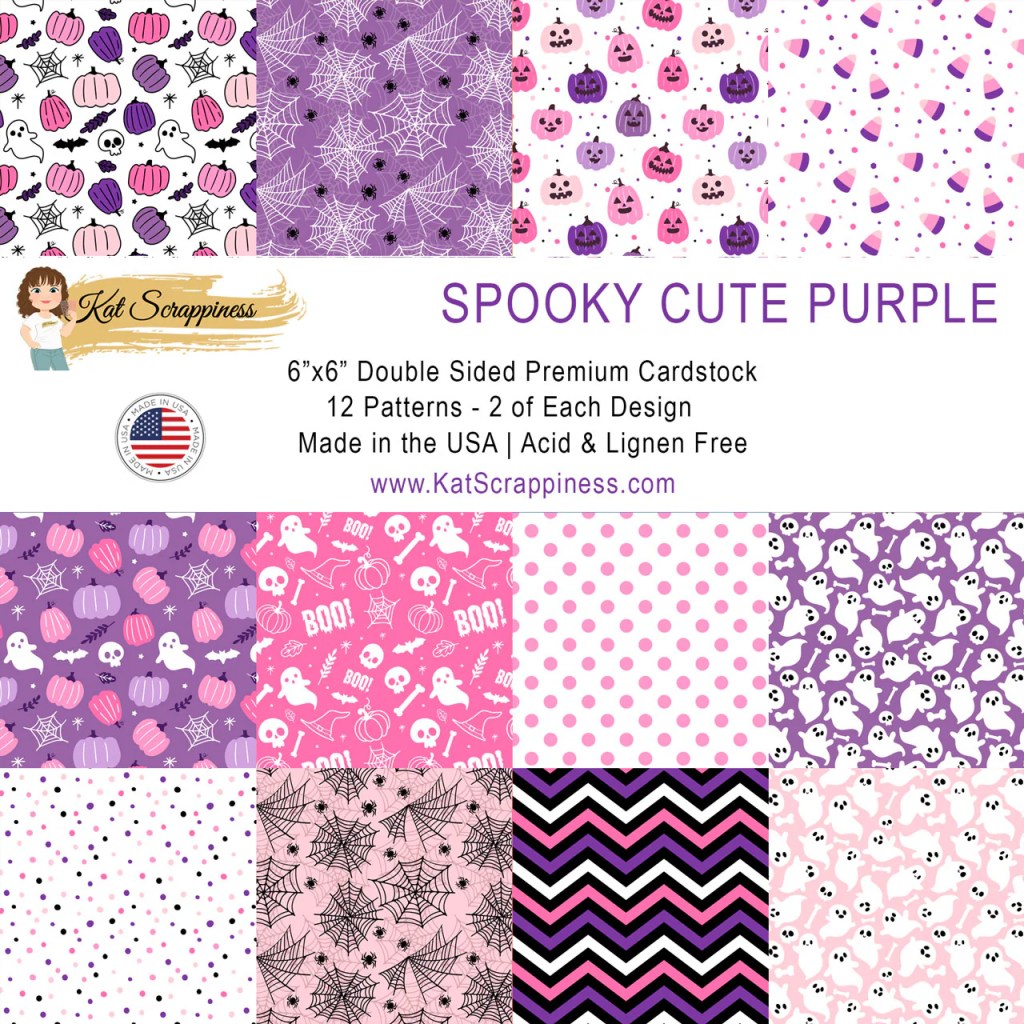
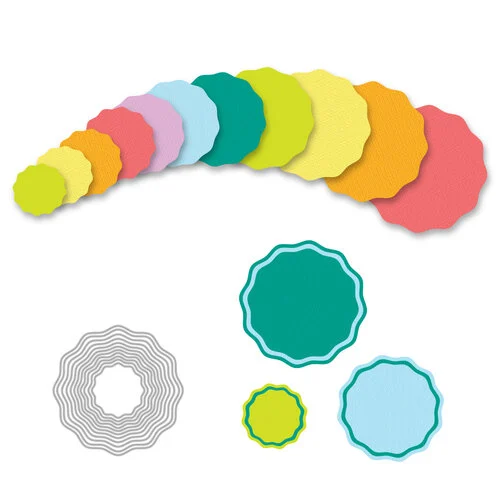
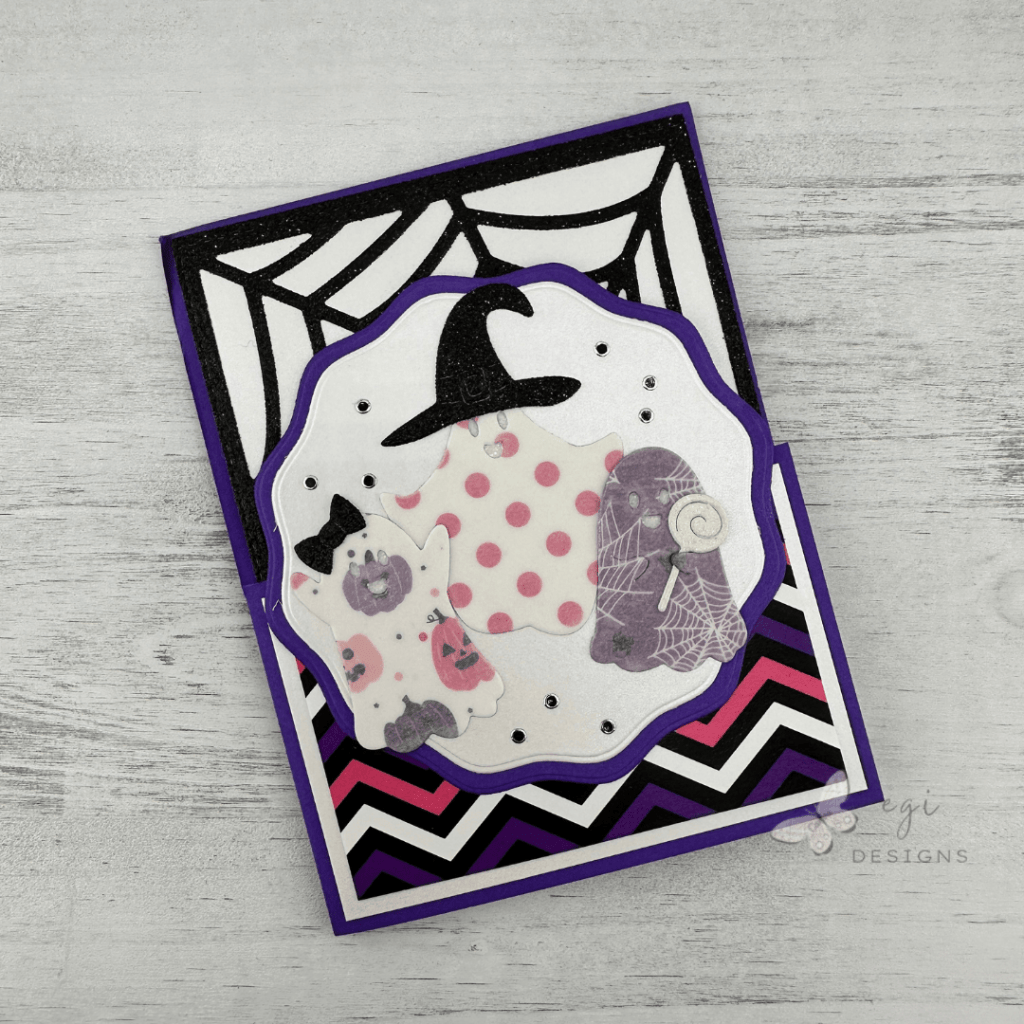
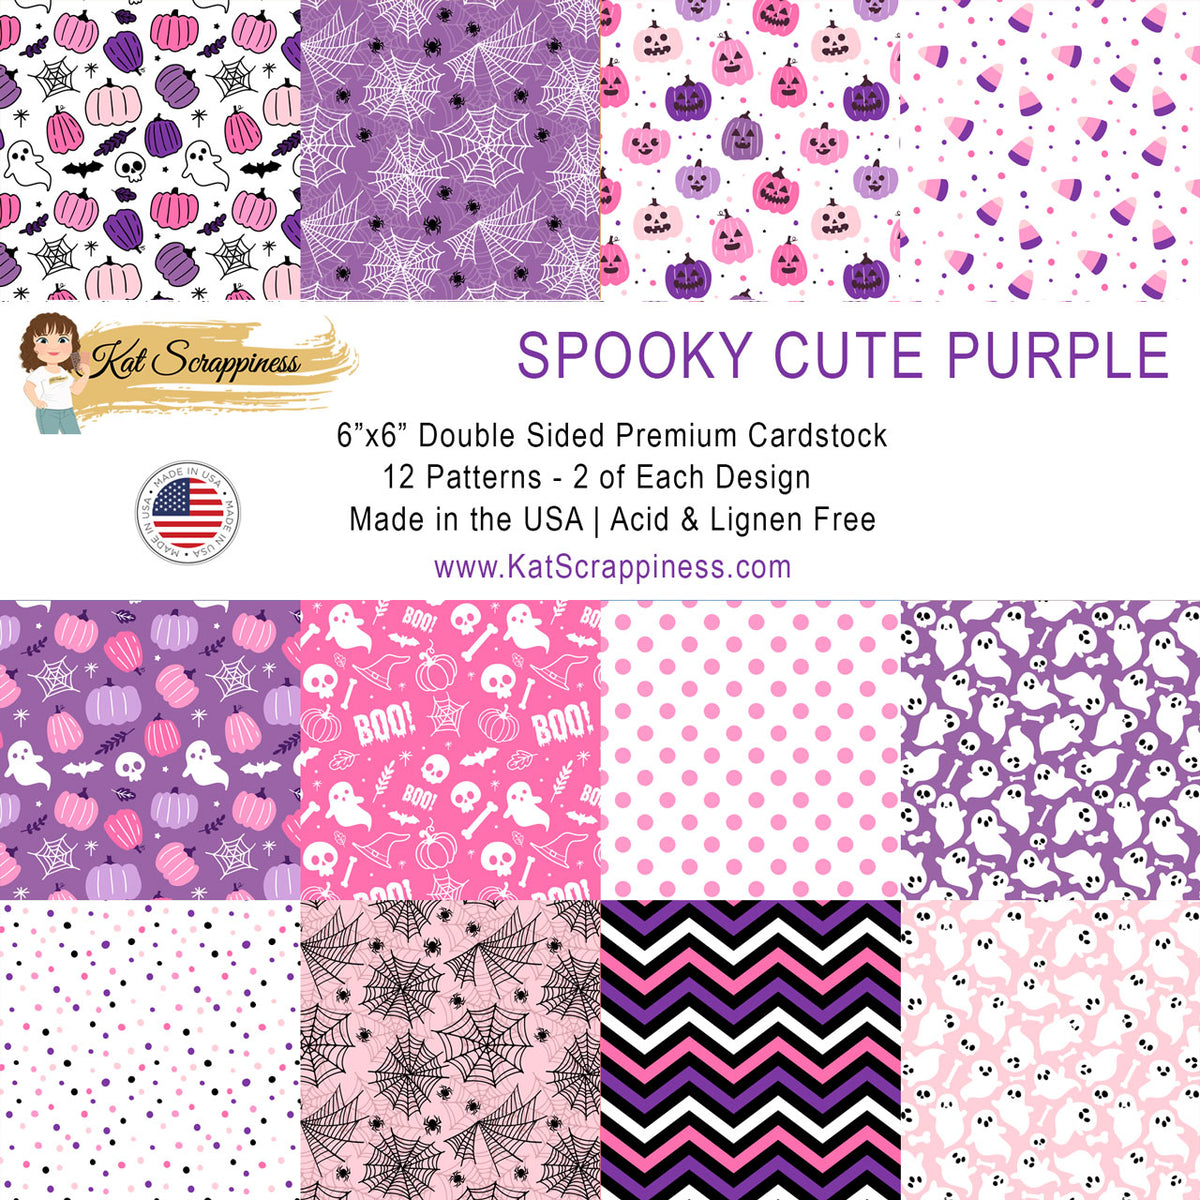
For the second card, I cut the card base from Simon Says Stamp Royal Purple Cardstock, and trimmed out the top right quadrant per the instructions. The rectangle mats for the front and back of the door were cut from Spellbinders Brushed White cardstock, and the patterned paper is from Kat Scrappiness and it is called Spooky Cute Purple Paper. Using the Scrapbook.com Nested Wavy Circles Die Set, I cut out a circle from the Brushed White Cardstock, and a mat layer circle from the Royal Purple Cardstock.
Creating the Inside Card
Next I wanted to make a top-folding A2 card to place inside as the background piece. I made the card out of the Brushed White Cardstock, then trimmed an eighth of an inch off of the bottom and side of the card. This helps the front half door close more easily over the inside card.
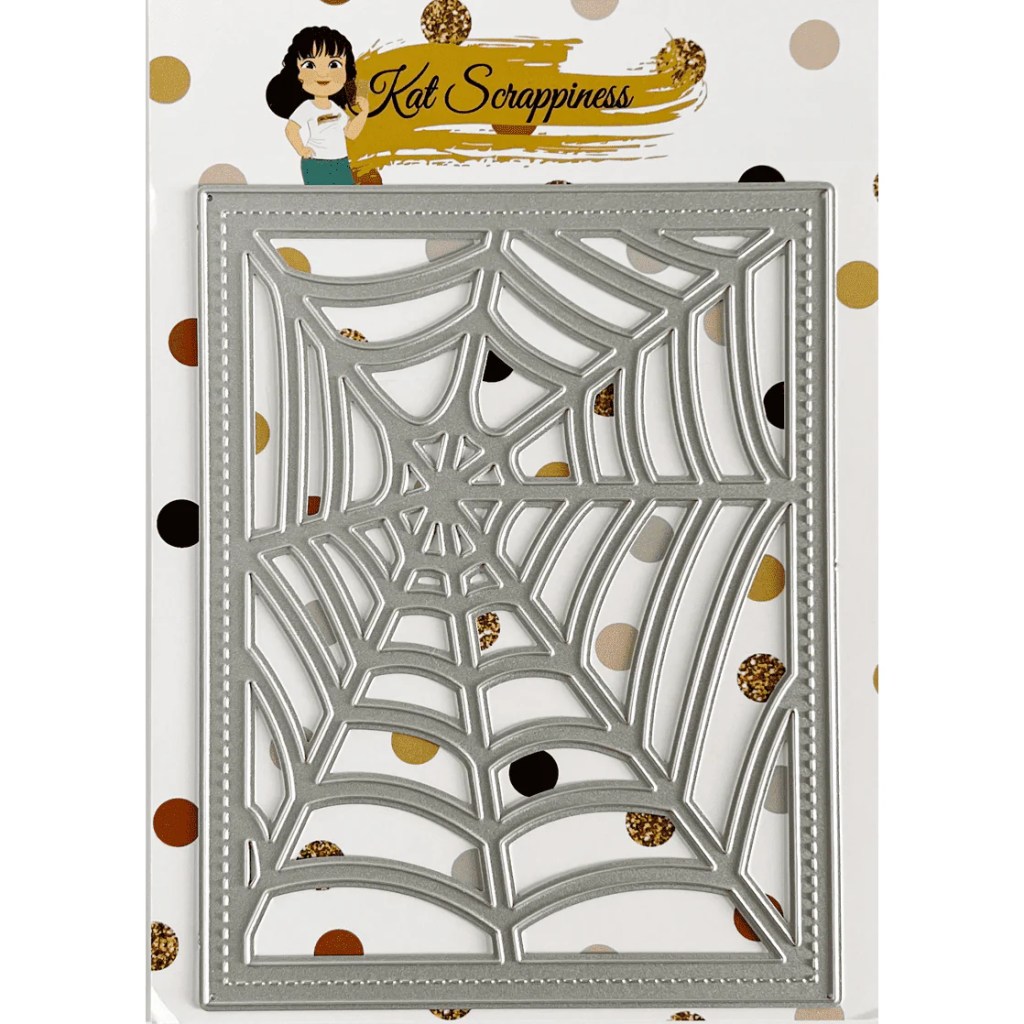
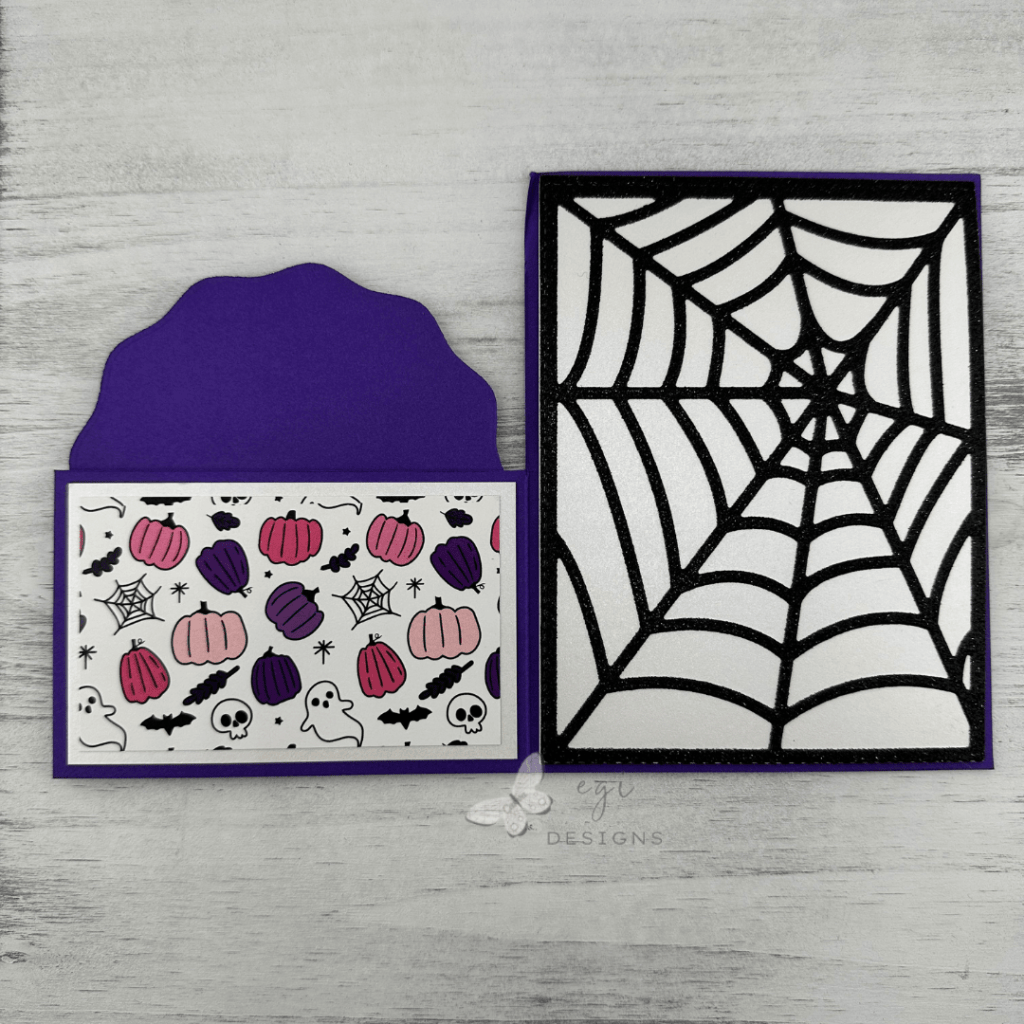
I added Altenew Double-Sided Adhesive Sheet to a piece of Recollections Black Glitter Cardstock, and then die cut the Kate Scrappiness Spiderweb Background from it. I cut down the Spiderweb panel to match the size of the inside card, peeled off the backing paper, and used my Scor-Buddy to help me line up the Spiderweb die cut on top of the card. I added the Brushed White card to the inside panel using my tape runner, then also added the rectangle patterned paper and mat pieces to both sides of the half door.
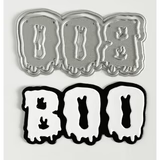
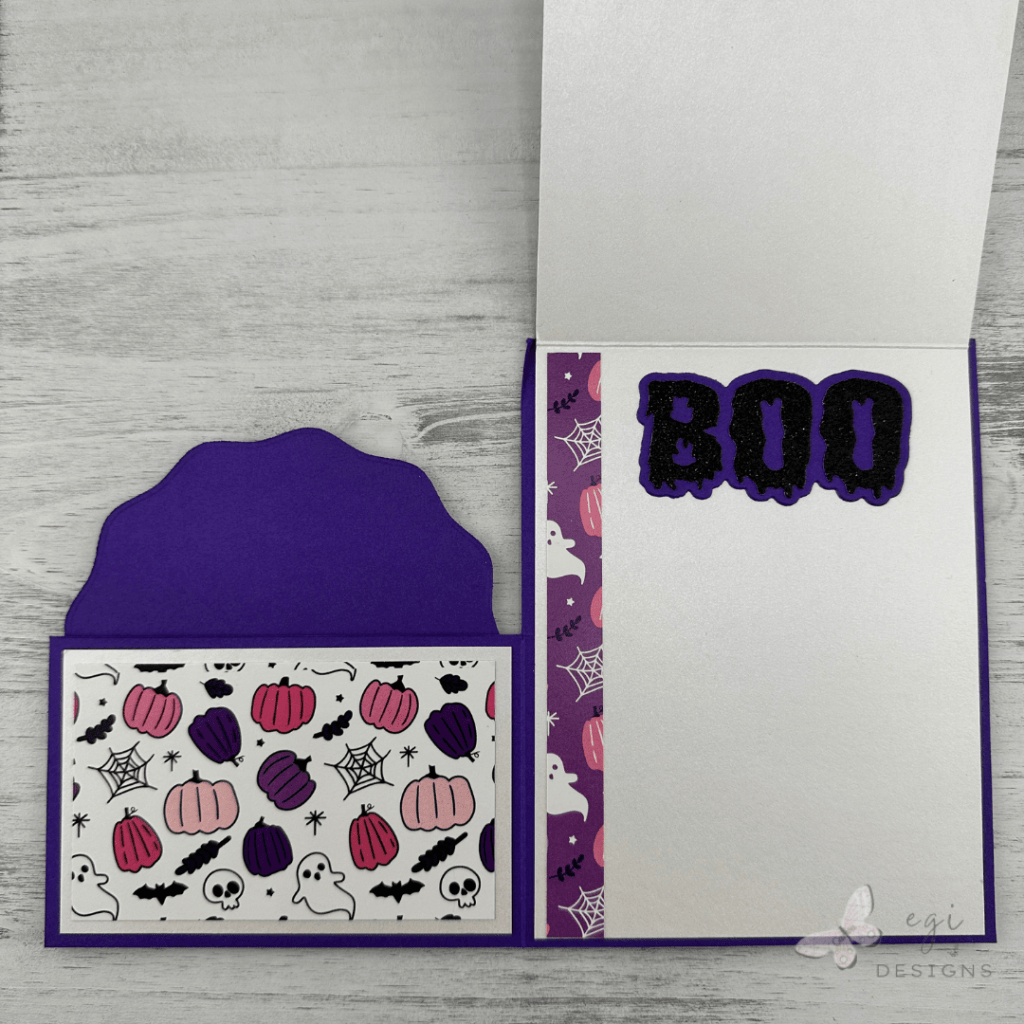
To decorate the inside of the top-folding card, I cut two strips of patterned paper and added them to the top flap, and along the left side on the bottom half. I also cut the shadow layer of Kat Scrappiness’ Spooky Boo Sentiment Die Set from the Royal Purple Cardstock, and the letters from the Recollections Black Glitter Cardstock, and added the assembled die cut inside the card.
Creating the Ghost Party
To create the ghosts, I added double-sided adhesive to the back of a piece of vellum, removed the backing paper, and then added three small pieces of the patterned paper to the adhesive. Once this was complete, I cut out three ghosts using the Kat Scrappiness Boo-gy Ghosts Die Set. The vellum overlay helped to tone down the brightness of the patterned paper.
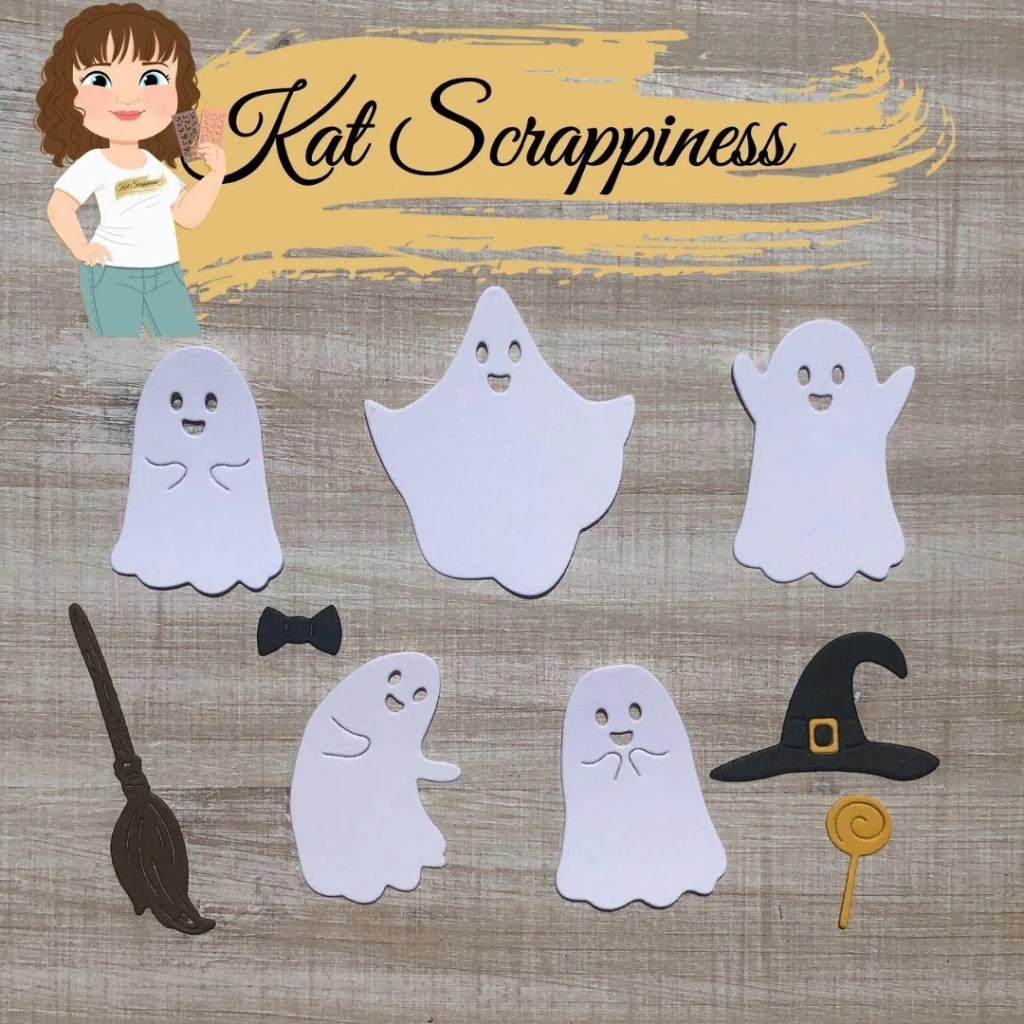
Using a circle punch, I cut out three circles from the left over adhesive-backed vellum, removed the backing paper, and placed a circle on the back of each ghost die cut over the eyes and mouth. I poured a small amount of Tim Holtz Rock Candy Glitter into the eye and mouth openings on the front, and used my bone folder to press the glitter into the exposed adhesive. This made the eyes and mouth super-sparkly but still see-through.
Finishing up the Card Front
I cut out the witch’s hat and bow from the Black Glitter Cardstock, and the lollipop from Simon Says Stamp Champagne Glitter Cardstock, and added the pieces to the ghosts. Then I glued the wavy circles to the half door, and arranged the three ghosts on top of the circle, gluing them in place. To finish off the card front, I added Black Jewel Dazzle Stickers from Paper Wishes.
Half Door Card Bonus: Vintage Birthday Card with Gift Card Pocket
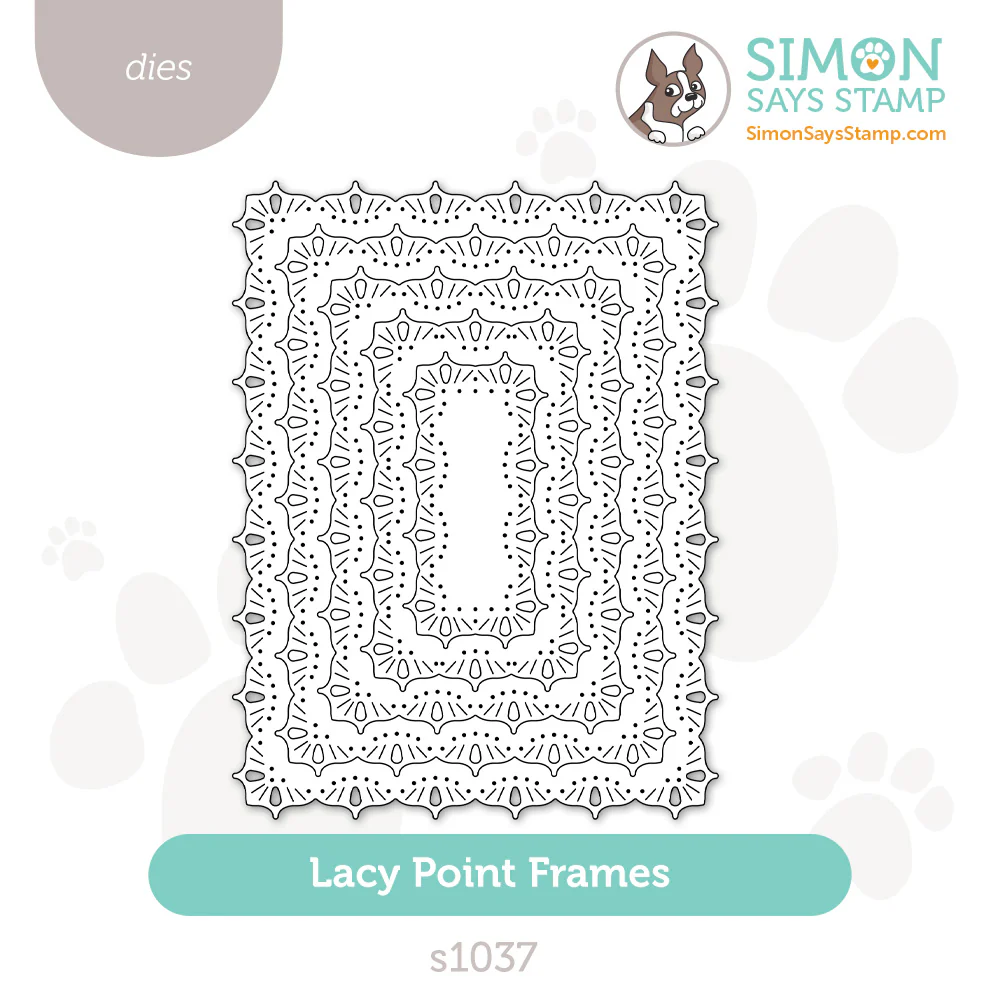
For the third card, I cut the card base from the sage paper in the PhotoPlay Beautiful Junque Solid Cardstock Pack, and trimmed out the top right quadrant per the instructions. The rectangle mats for the front and back of the door were cut from Gina K Designs Ivory cardstock, and the patterned paper is from the PhotoPlay Beautiful Junque Patterned Paper Pack. I cut two Ivory rectangles from the Simon Says Stamp Lacy Point Frames Die Set, and two larger mats out of the sage PhotoPlay solid paper.

Assembling the Card
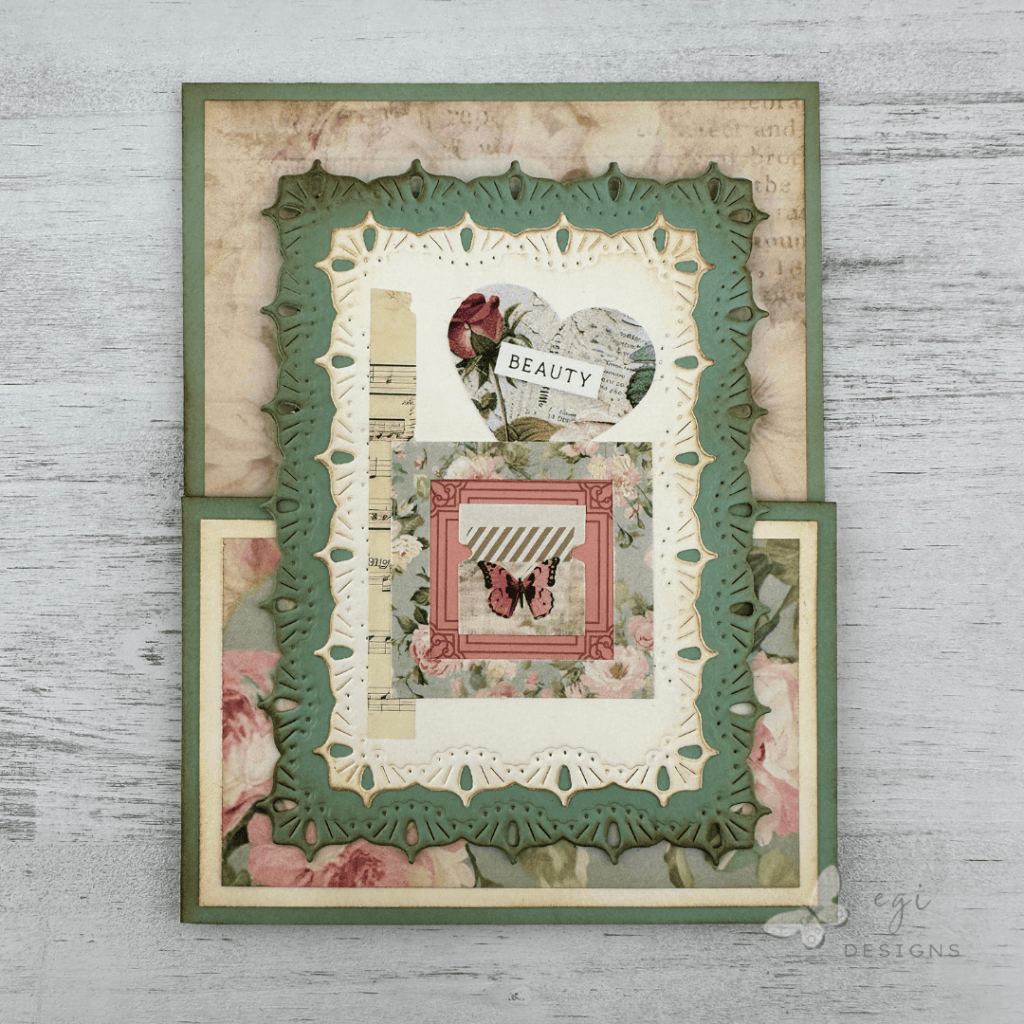
I wanted this card to have a vintage-vibe, so I used Tim Holtz Distress Ink in Vintage Photo with a blending brush, and inked the edges of all of the card pieces and card base. Once that was complete, I added the patterned paper panel inside the card, and a mat and rectangle piece to the front of the half door only. Then I added one of the sage lacy rectangle mats to the front of the half door, and placed the matching sage rectangle on the back of the half door, lining up the front and back lacy rectangles and gluing them together.
Creating the Gift Card Pocket
Once the sage rectangle was adhered to the back of the half door, I could then add the gift card pocket to the card inside. I added the patterned paper to the Ivory mat, and then used my circle punch to create a notch in the middle of the top edge. This will make it easier to take the gift card in and out of the pocket.
I added 1/2″ double-sided tape along the short edges of the rectangle, and 1/4″ tape along the bottom edge (without the notch). I removed the backing paper and then added the gift card pocket to the back of the half door. Using the Beautiful Junque Rub-on pack, I added a butterfly to the gift card pocket and a flourish border to the sage rectangle.

Finishing the Inside of the Card
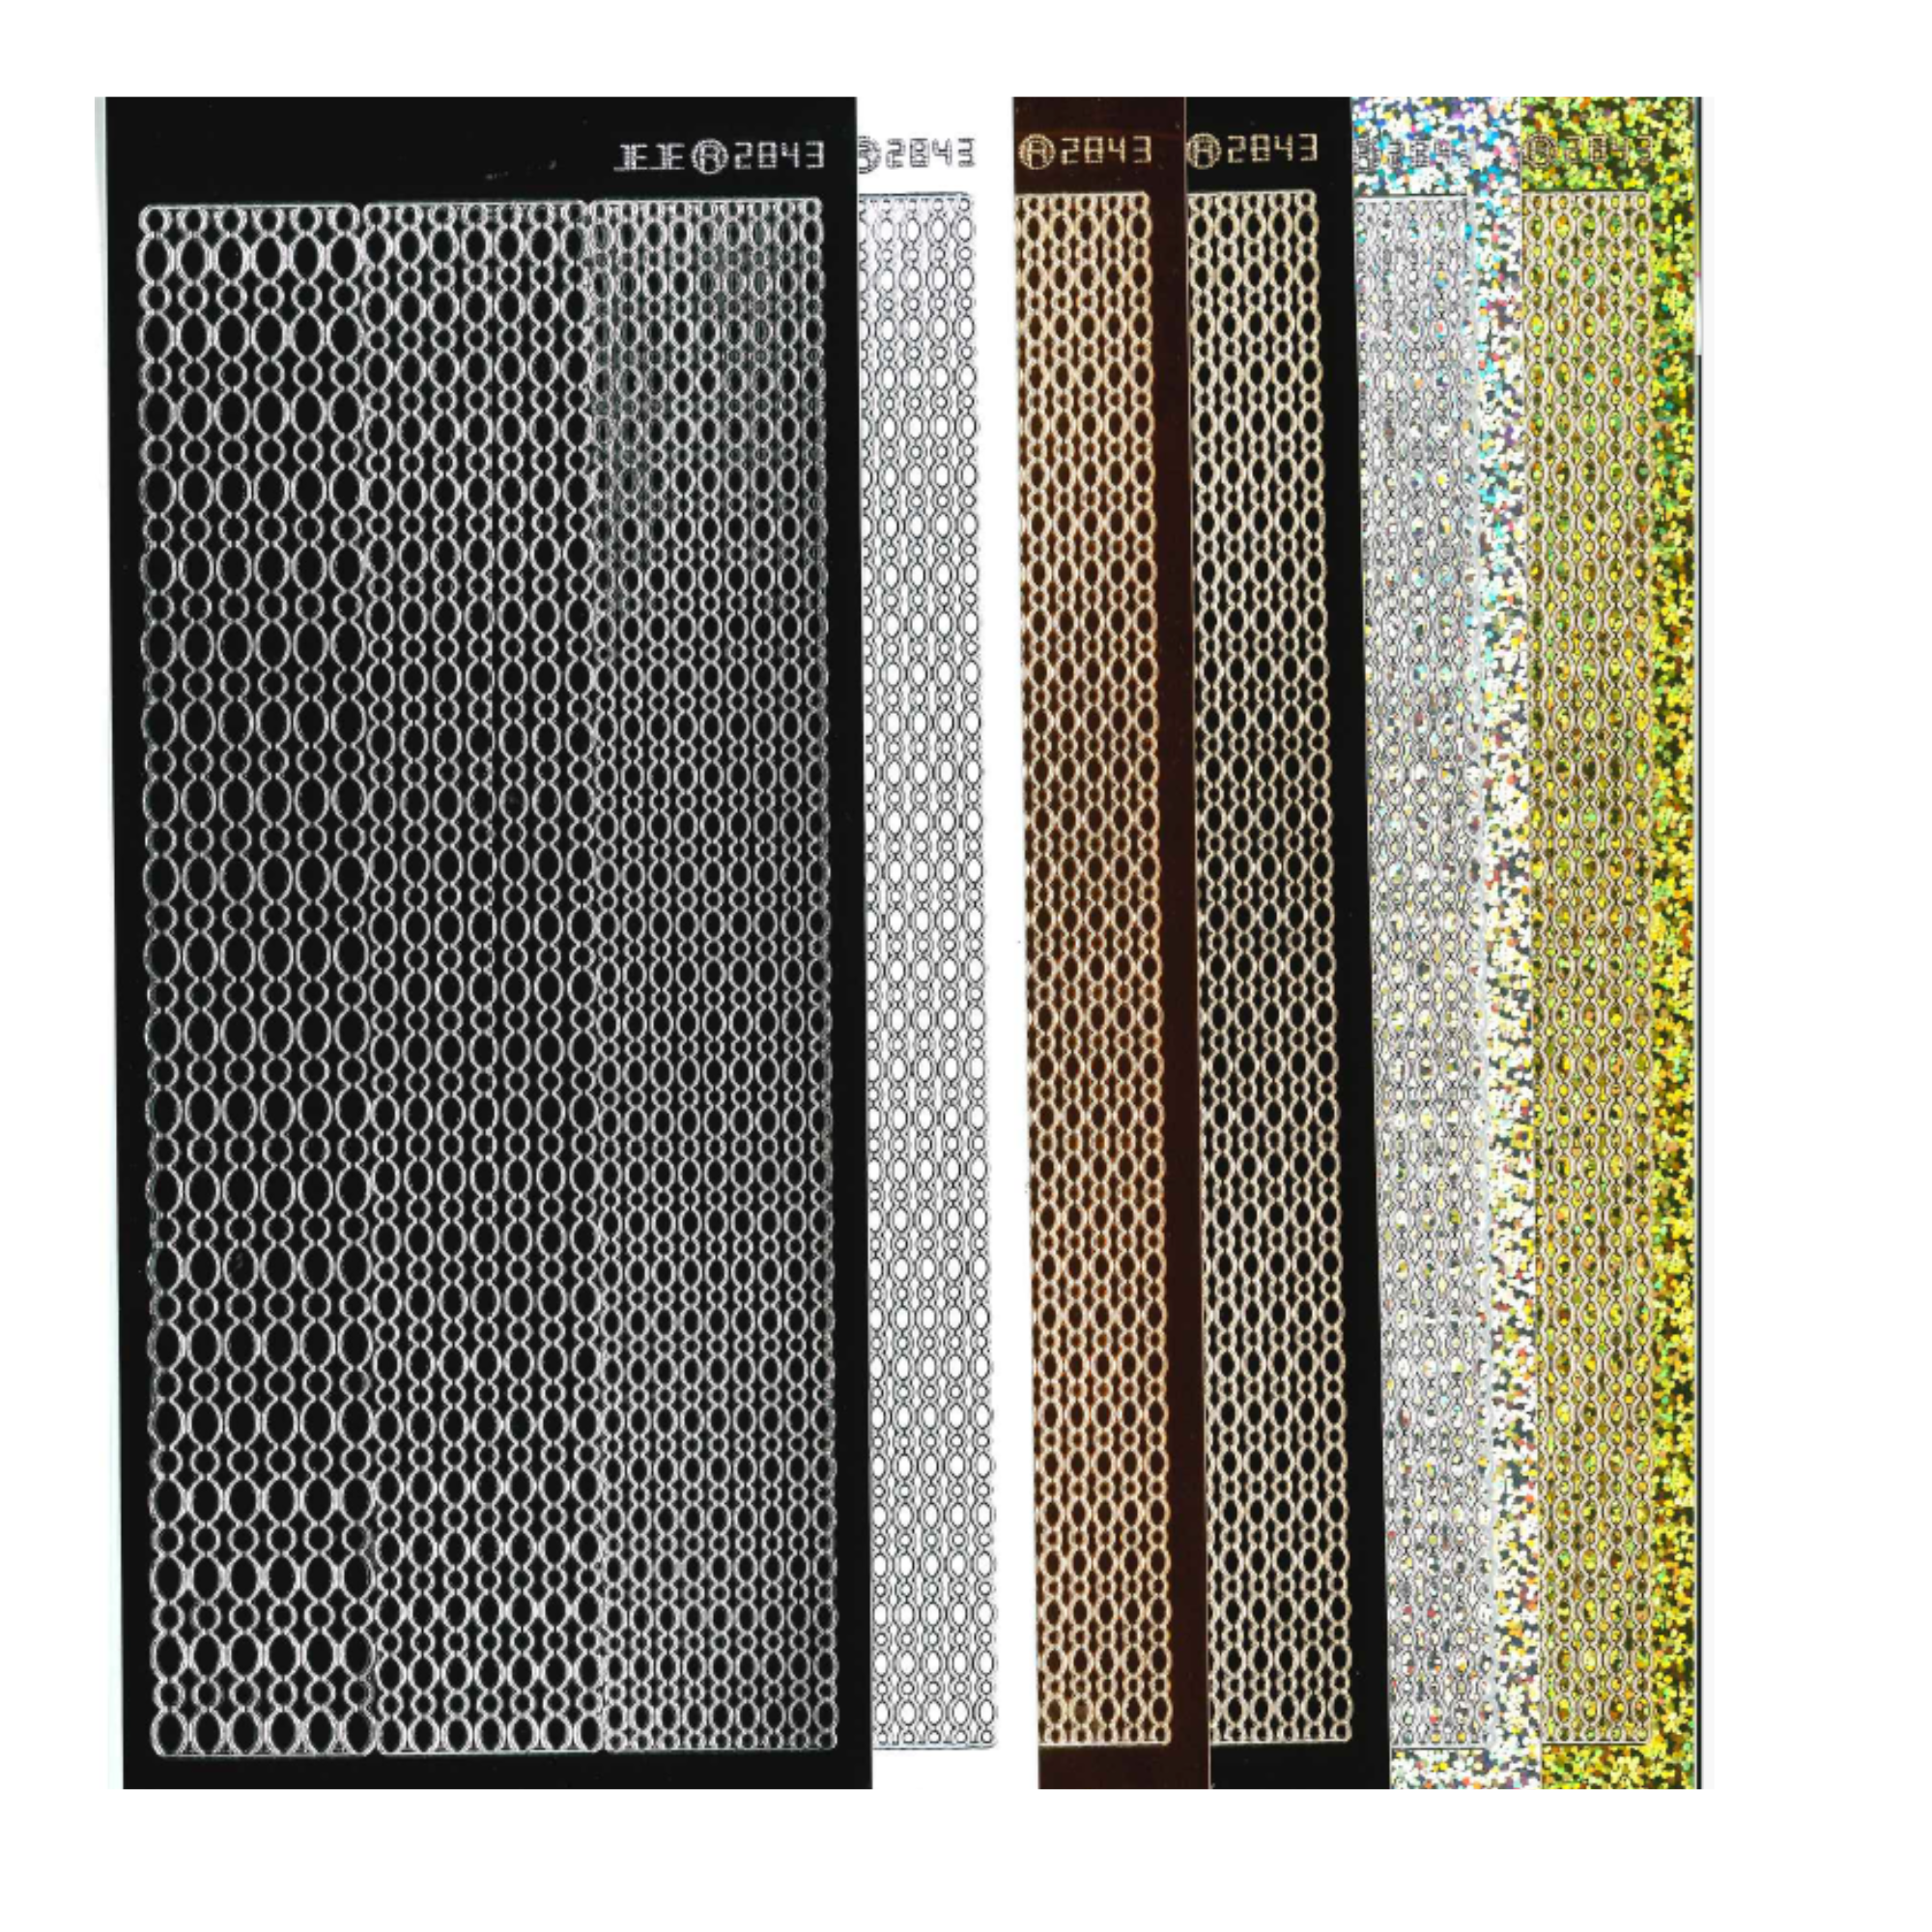
To finish up the inside of the card, I added a floral rub-on to the top left of the Ivory rectangle. Using my Mini Misti, I stamped the Birthday Wishes Sentiment from Papertrey Ink’s Say It Essentials Stamp Set in Versafine Clair Pinecone Ink. I adhered the rectangle to the center of the background panel, and then outlined it with Oval Border Dazzle Stickers in Mirror Brown with Gold from Paper Wishes. This added a nice and sparkly border detail to the inside of the card.
Finishing up the Focal Image
For the front of the card, I used a combination of the Beautiful Junque Ephemera Pack and Rub-on Pack to layer on top of the other Ivory rectangle. The music strip and the pink square were from the rub-on pack, and the heart, frame, and butterfly were from the ephemera pack. This created a fun vintage-looking collage for the focal image. Once that was complete, I added the Ivory rectangle to the middle of the sage rectangle on the card front.

Step-by-step tutorial:
I hope you enjoyed this project! For more card-making ideas, check out my YouTube playlist and card-making blog posts. I also have a Fall card playlist available for more card inspiration.
Product Information
Here are the products I used in today’s project. Please consider shopping through my affiliate links, as it greatly helps out my channel at no extra cost to you. Thanks so much for supporting me and my channel!
**Use code EGIDESIGNS for 15% off your order at Glassboard Studio**
|



















Additional Products Used:
- Recollections: Maple Leaves Stickers
- Recollections: Fall Leaf Die Cut Stickers
- Recollections: Black Glitter Paper
- PhotoPlay: Beautiful Junque
- Patterned Paper Collection
- Solids Paper Collection
- Ephemera Pack
- Rub-ons Pack
- Jute Twine
- Scrapbook.com: Nested Wavy Circles Die Set
- Spellbinders: Corrugated Embossing Folder