Altenew Fluttering Fantasies Die with Tim Holtz Indigo Paper
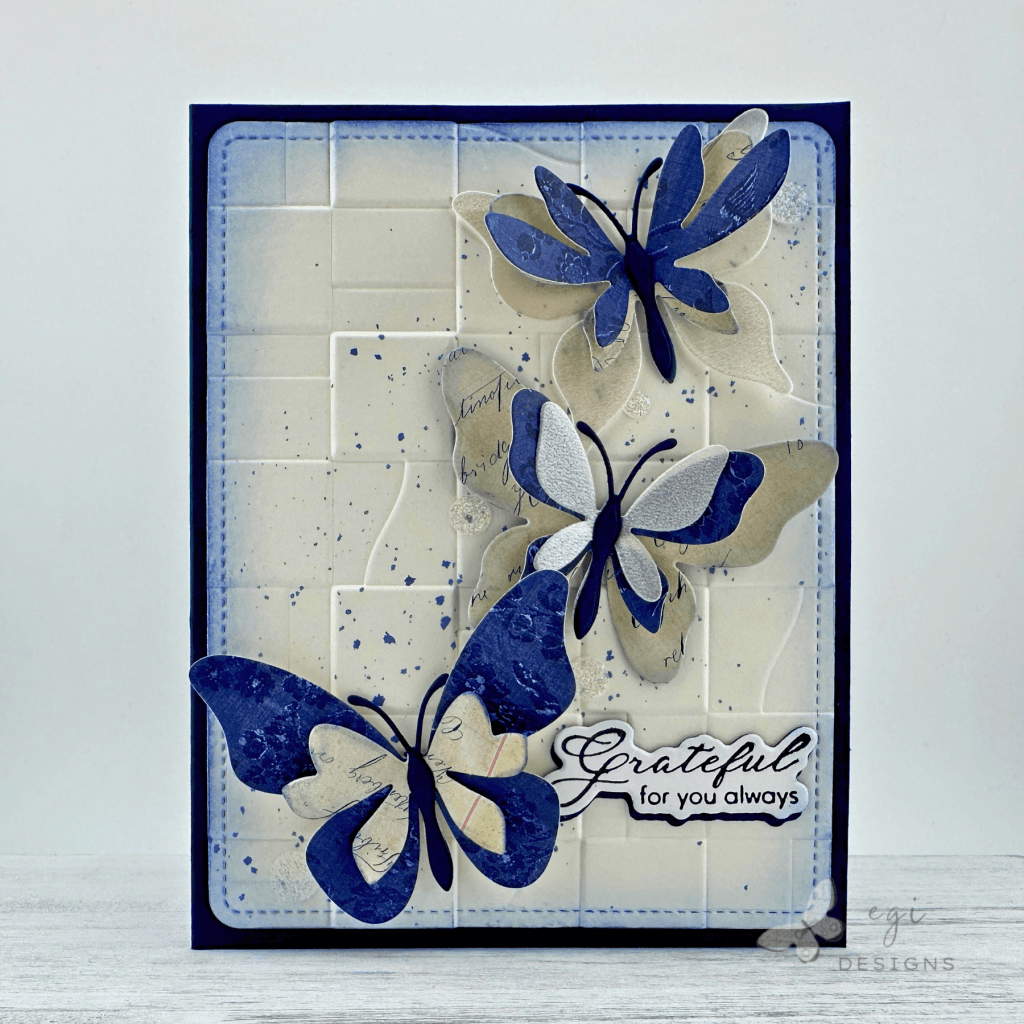
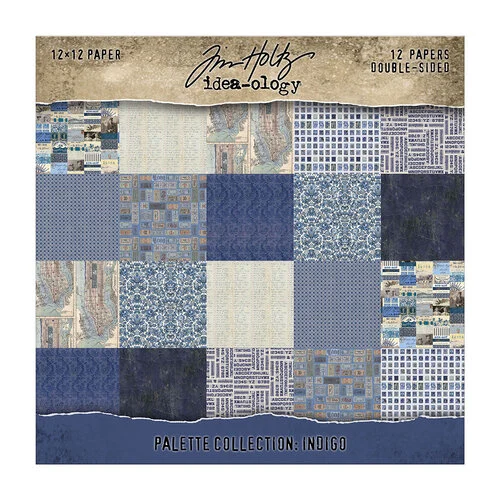
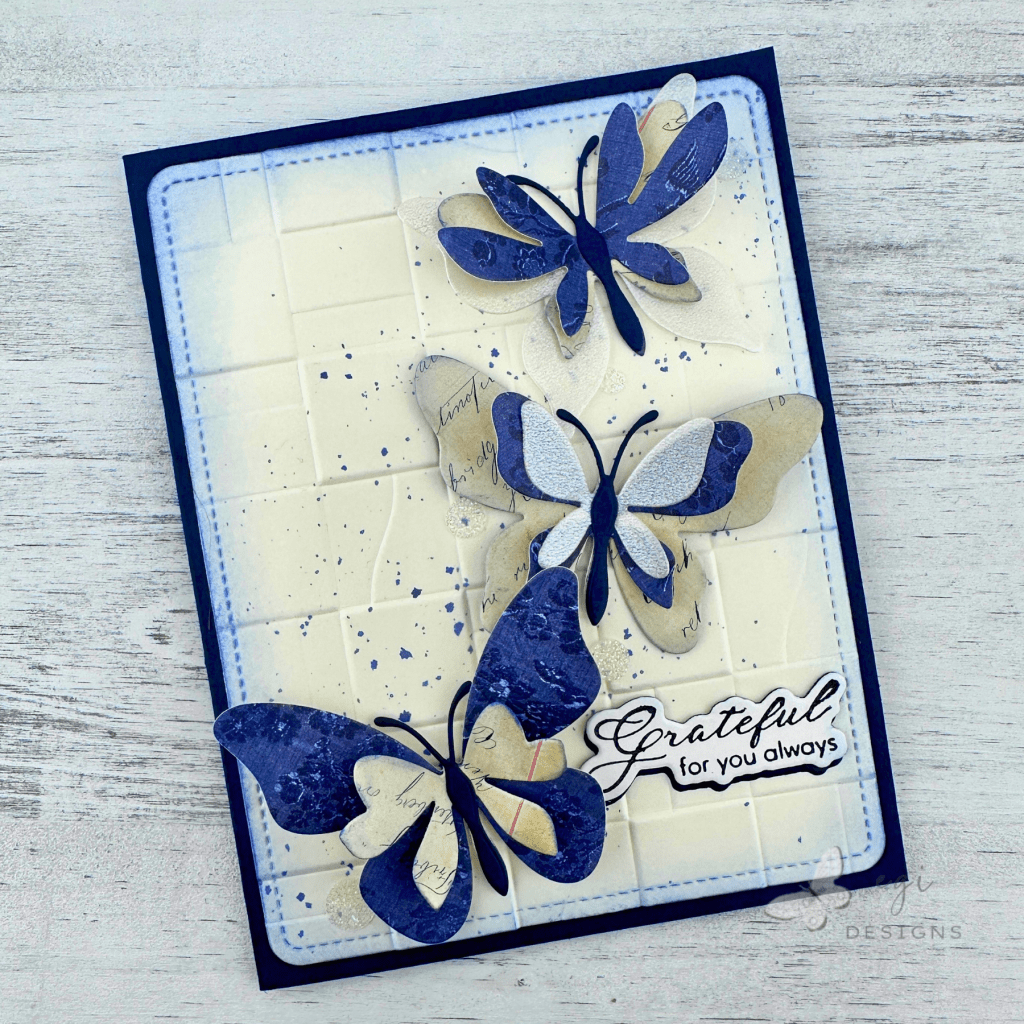
In today’s project, I made a beautiful Anniversary card using the Altenew Fluttering Fantasies die set with Tim Holtz Palette: Indigo paper and Simon Says Stamp Shimmer Vellum. All products used in today’s card tutorial project are listed below.
Measurements
Measurements:
A2 Card Base: 4 1/4 x 5 1/2"
8 1/2 x 5 1/2", Score at 4 1/4"

Stitched Rectangle: 4 x 5 1/4"

Inside Panel: 3 3/4 x 5"
Strip 1/2 x 5"
Creating the Butterflies
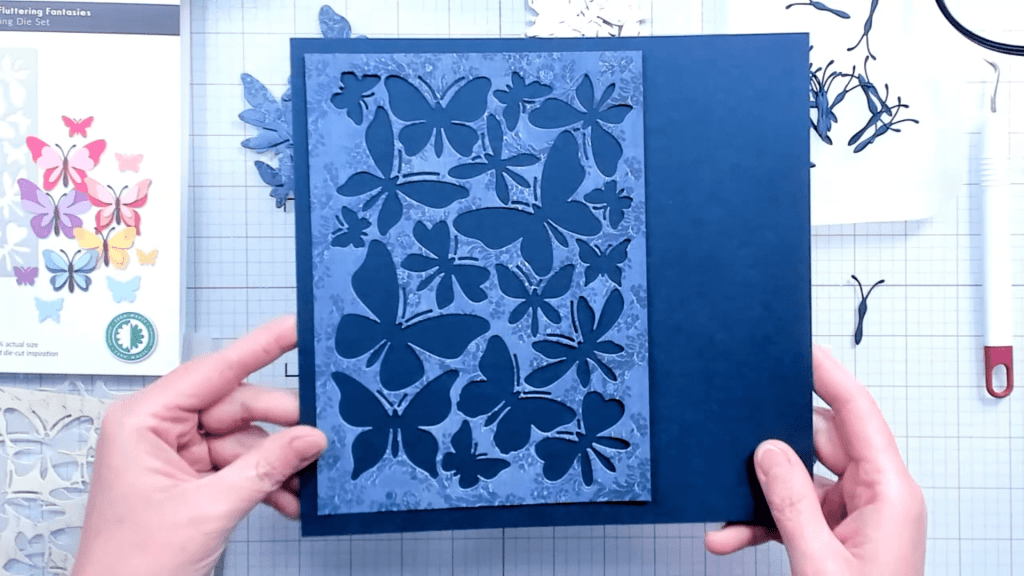
I cut two panels from the Tim Holtz Palette: Indigo paper collection, from a blue pattern and a ledger pattern. I also cut a panel of Simon Says Stamp Shimmer Vellum. Next, I used the Altenew Fluttering Fantasies die set to cut out the butterflies from the three panels, and then cut out the butterfly bodies from Taylored Expressions Blue Corn cardstock.
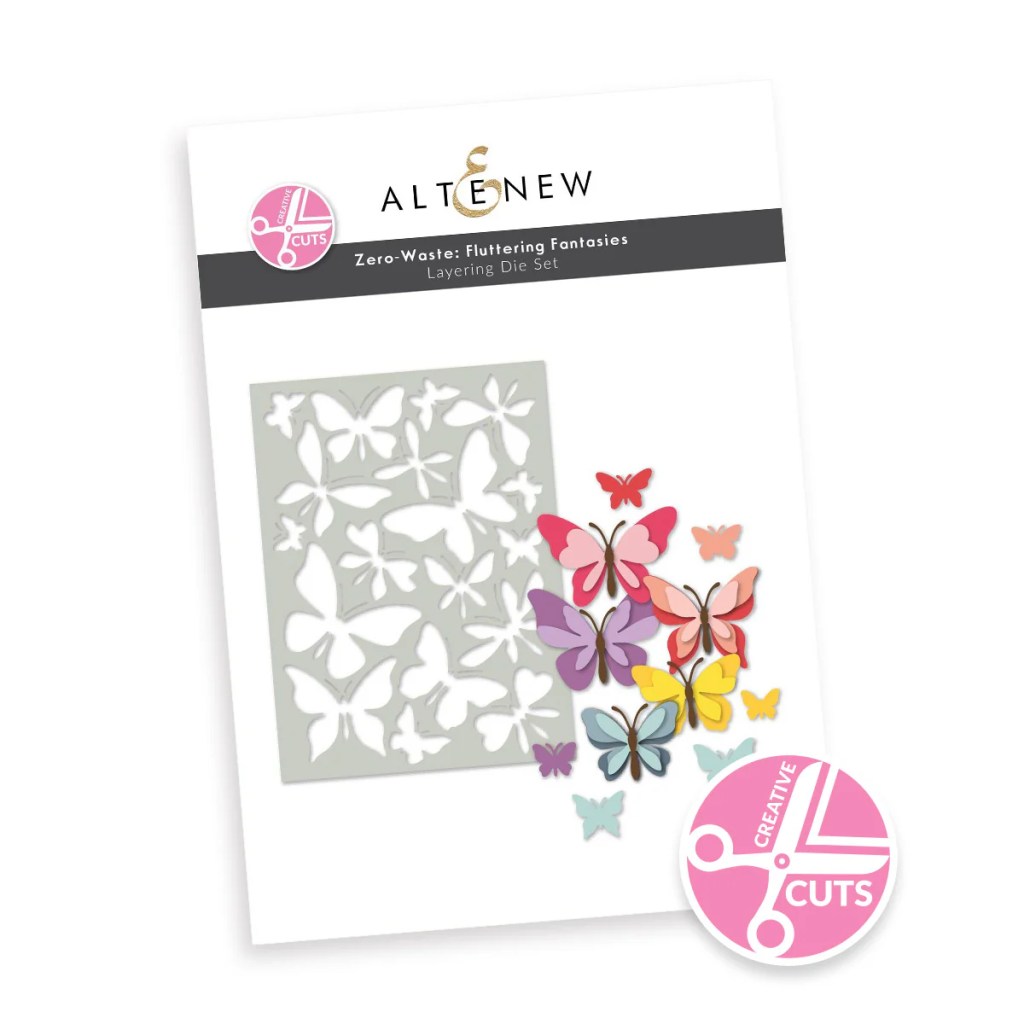
This Altenew die is a zero-waste die, so you can both layer up the butterfly cut-outs, and then also use the die cut panel on another project!

Once that was complete, I mixed and matched the pieces, using liquid glue to adhere them, and made a kaleidoscope of butterflies!


Creating the Background
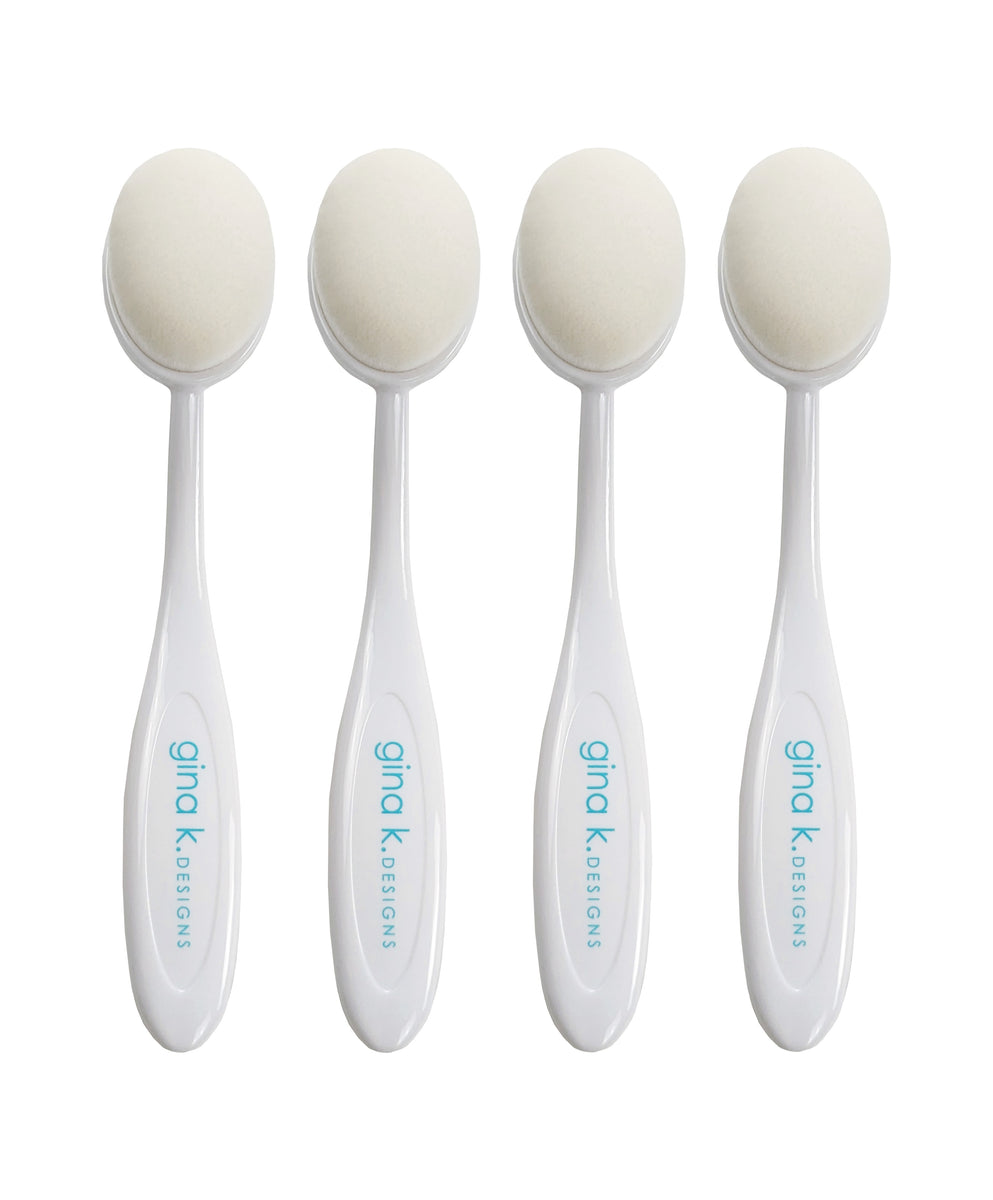
I first cut out a panel of Simon Says Stamp Ivory cardstock using a Pretty Pink Posh Stitched Rectangle die. Then I embossed it using the Altenew Paper Rhythm Embossing Folder to add some geometric texture. Using a Gina K Designs Blending Brush, I added Distress Chipped Sapphire Ink to the edges of the rectangle, then added splatter to the panel with the same ink and a paintbrush.


Assembling the Card Front
I added some Altenew Black Foam Tape to the back of the Ivory Panel, added glue to the tape for some wiggle room, and added it to the Taylored Expressions Blue Corn card base. Using thin and regular small foam squares, I added three butterflies to the card front.
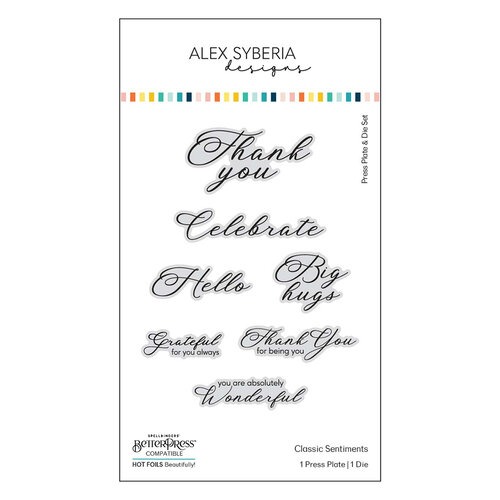
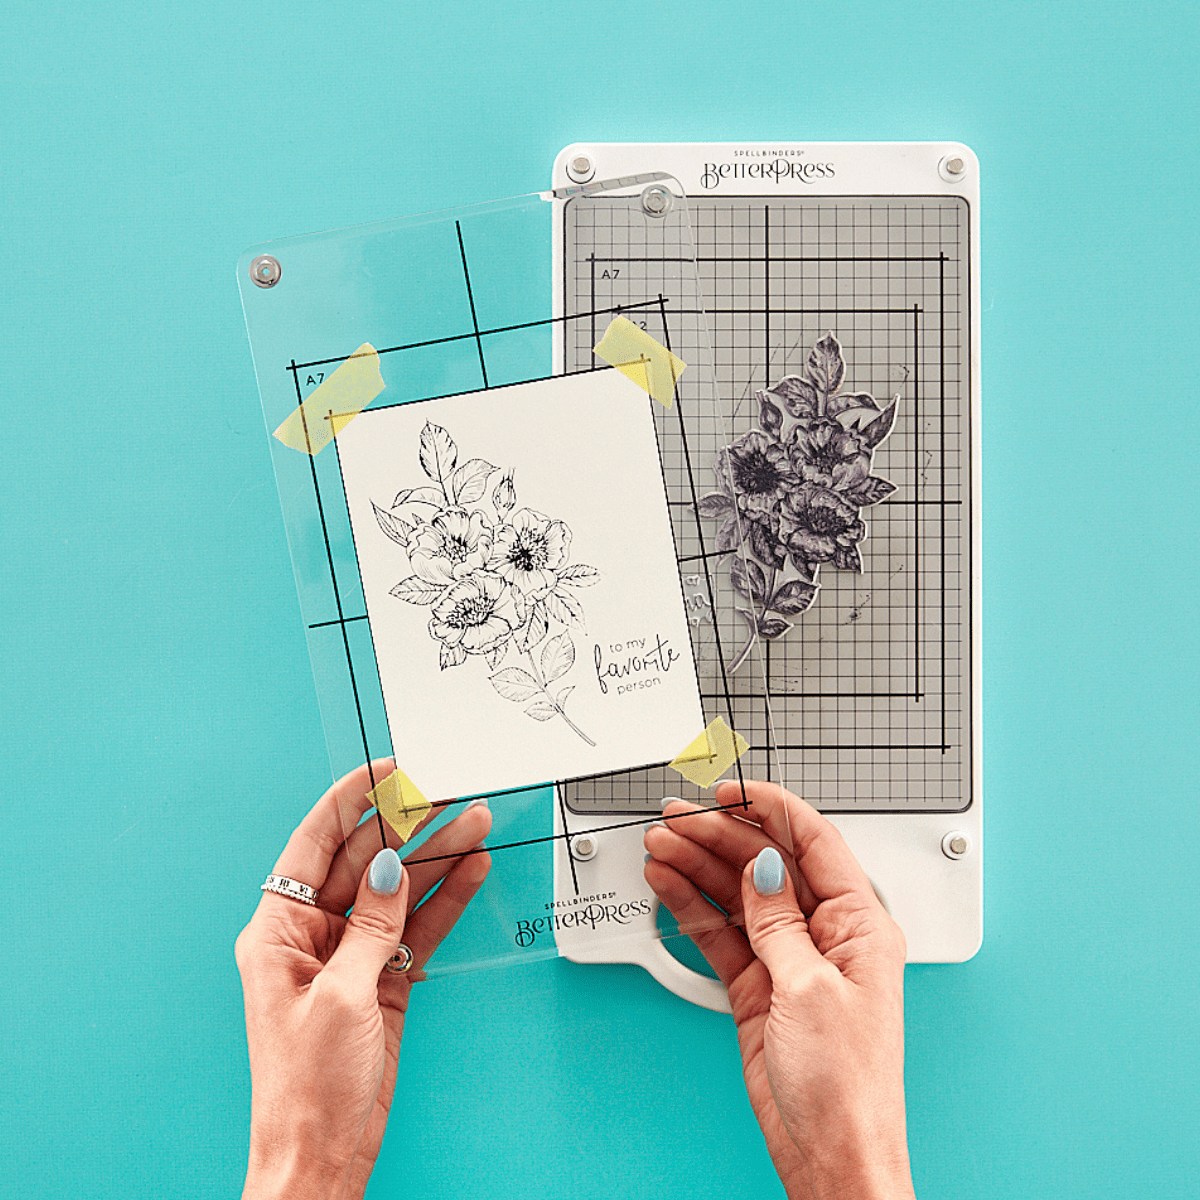
I used the Alex Syberia Classic Sentiments BetterPress plate for the sentiment, and then cut additional coordinating die cuts out of the Blue Corn cardstock. I added the extra die cuts behind the sentiment, off-setting them a bit to look like a drop shadow.

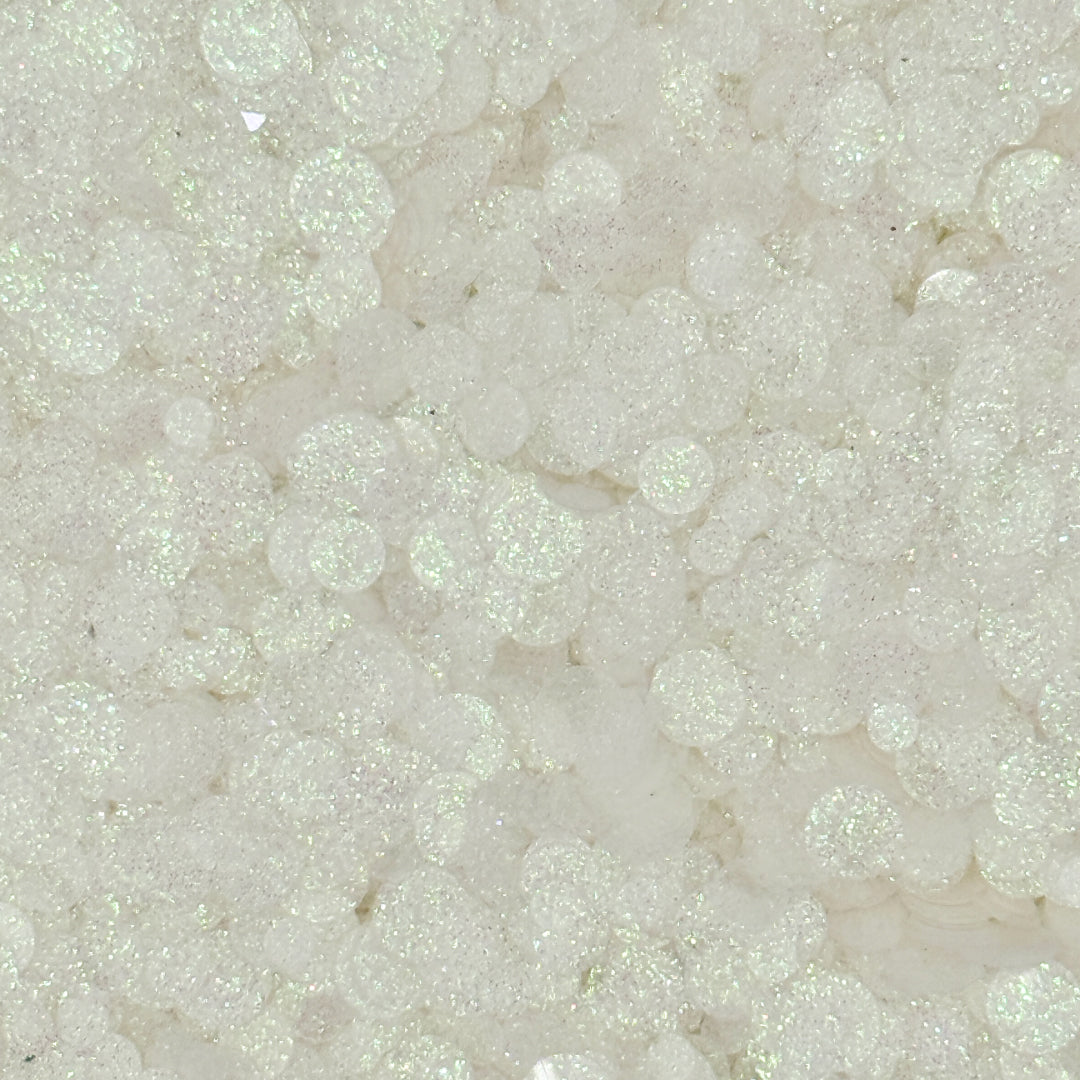
To finish off the card front, I added Trinity Stamps White Sparkle Spots Confetti around the butterflies to add some subtle sparkle.
Inside of the Card
For the inside of the card, I cut a panel of Ivory cardstock, and added a strip of the Indigo Patterned Paper to the left side. I used my BetterPress with the Holding Your Heart Sentiment Set and Distress Chipped Sapphire ink to create the inside sentiment.
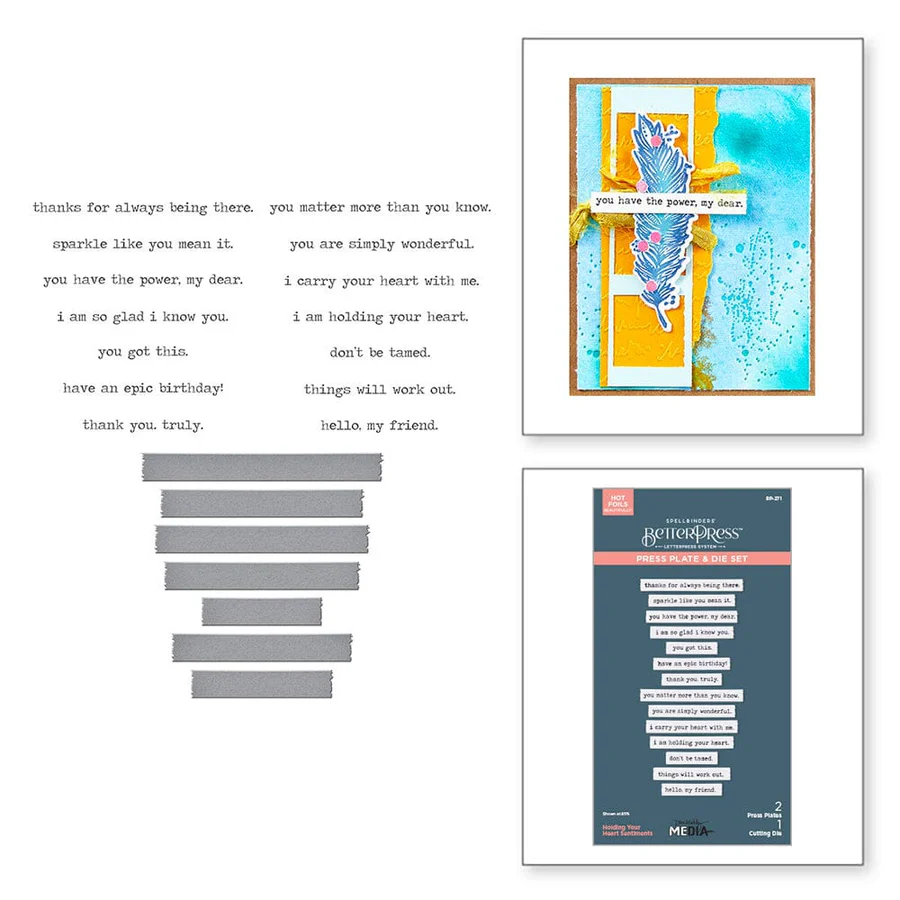

I then adhered the panel to the inside of the card using temporary adhesive. I find this is easier for me, so I can remove and replace the panel if I mess up when writing my message without having to tear my card apart.
If you are looking for additional ways to decorate the inside of your cards, check out my Part 1 and Part 2 videos with more easy ideas.
Step-by-step card tutorial:
I hope you enjoyed this project! For more card-making ideas, check out my YouTube playlist and card-making blog posts. I also have an Anniversary Card playlist for more card inspiration.
Product Information
Here are the products I used in today’s project. Please consider shopping through my affiliate links, as it greatly helps out my channel at no extra cost to you. Thanks so much for supporting me and my channel!
**Use code EGIDESIGNS for 15% off your order at Glassboard Studio**
|


Additional Products Used:
- Taylored Expressions: Blue Corn Cardstock