Holiday Harmony: Spellbinders Stencil of the Month Club, July 2026
In today’s video project, I walk through the July 2026 Spellbinders Stencil of the Month called Holiday Harmony. This is part of the “Cue the Merry” collection, which contains fun Holiday and Winter-themed products.
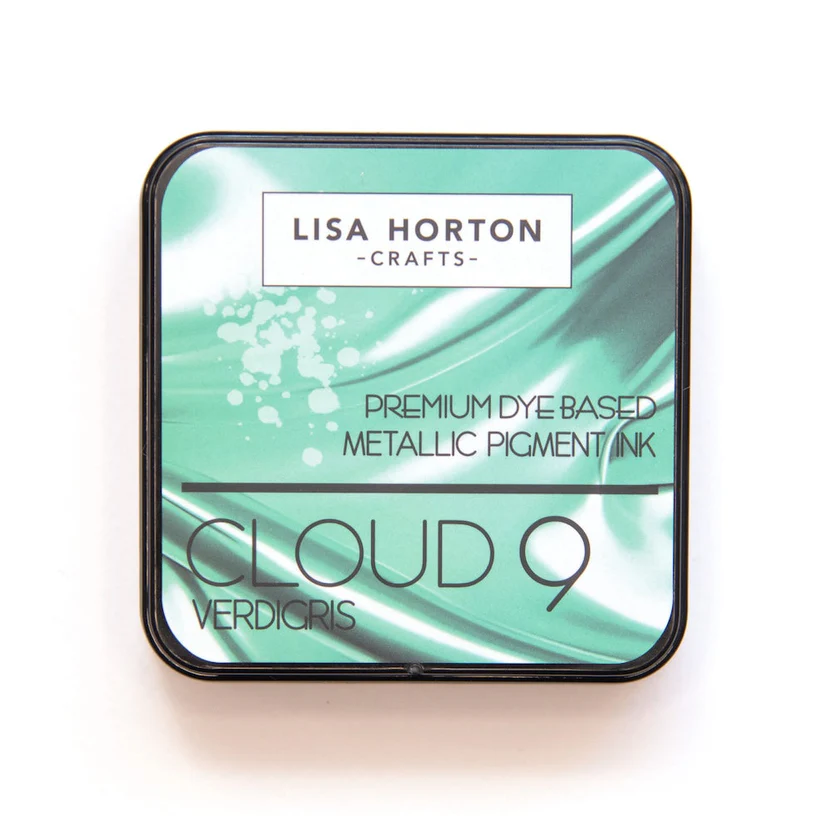
I used Lisa Horton Crafts Metallic and Interference Inks for the stenciling, Embossing Ink and WOW! Sparkle Embossing Powder inside the dots, and a BetterPress sentiment to finish up the card front.
All products used in today’s card tutorial project are listed below. Spellbinders sent me this stencil to have a play with, and I am grateful for the opportunity!

Club Subscription Information
Spellbinders offers a wide range of clubs: large die, small die, stitch die, BetterPress/Foiling, 3D embossing folder, 2D embossing folder, stencil, and stamp/die! There is also a club crate offered, where you will receive all of the club products for the month, plus bonus limited edition products!
Date Details
From the 1st to the 5th of the month, current club subscribers are able to go in and add/change/cancel their club selection for that month.
On the 6th of the month, the clubs open to current non-subscribers, and you can sign up for whatever club you want and receive that month’s current club offerings. On the 27th, club registrations close, and the products are sent to club members. The club products are offered at a discount.
On the 10th of the next month, the previous month’s club offerings are added to the Spellbinders online store. If they are sold out, they will be added when they come back in stock.
Check out the club landing page for more details and pricing information.
Measurements
Measurements:
A2 Card Base: 4 1/4 x 5 1/2"
8 1/2 x 5 1/2", Score at 4 1/4"

Stenciled Panel: 3 1/8 x 4 1/4"
Scalloped Layer: 3 3/4 x 4 7/8"

Inside Scalloped Panel: 3 3/4x 4 7/8"
Creating the Stenciled Background
For this card, I taped a panel of Spellbinders Classic White cardstock to my glass mat, and stenciled using the following Lisa Horton Crafts inks:
- Stencil 1: Verdigris Metallic Ink
- Stencil 2: Ultraviolet Metallic Ink
- Stencil 3: Lovestruck Metallic Ink
- Stencil 4: Yuletide Sky Interference Ink


Stencil 5: Decoration Layer, Simon Says Stamp Embossing Ink and WOW! Sparkle Embossing Powder
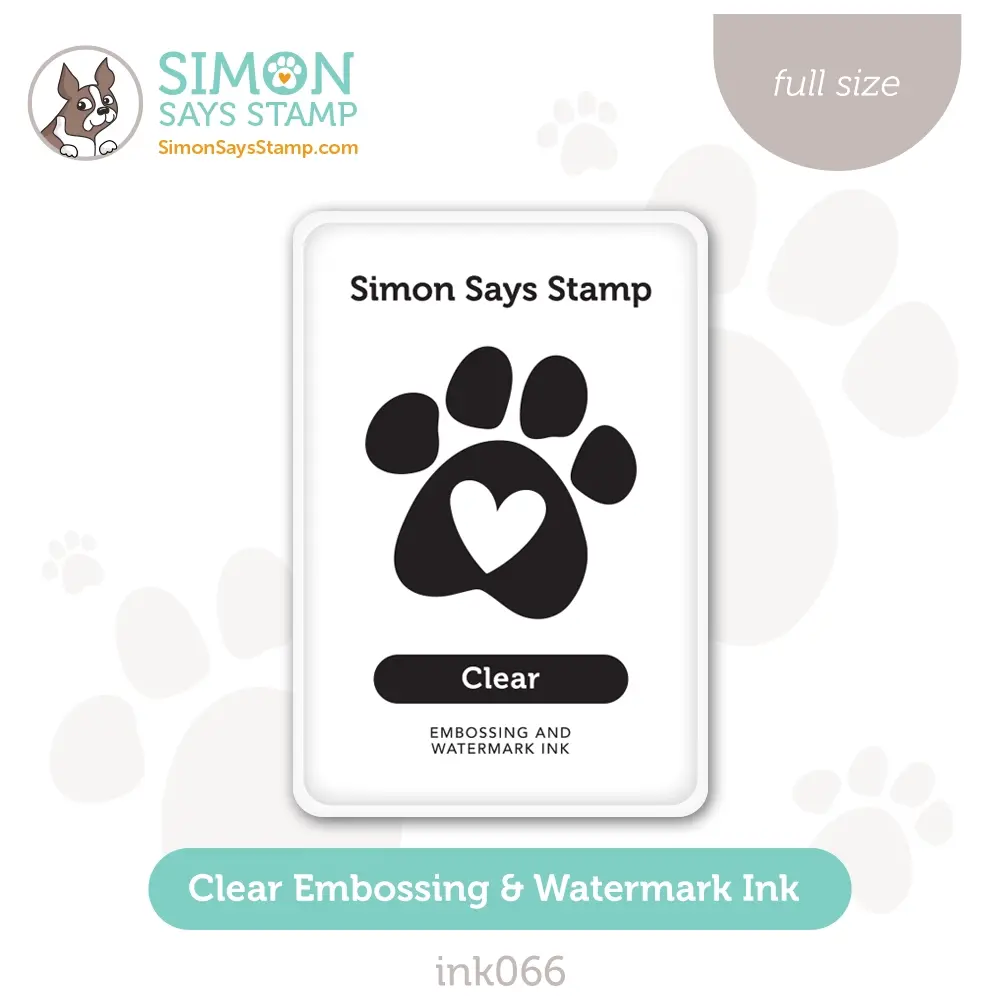

For the fifth layer, I used Simon Says Stamp Embossing Ink with a sponge applicator to apply the ink through the stencil. Once complete, I added WOW! Clear Sparkle Embossing Powder over the ink and heat set it. This added gorgeous sparkle and fun designs to the stenciled dots.
Mat Layer, Card Base
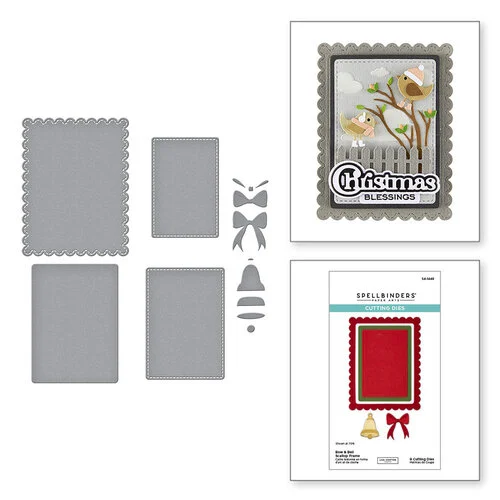
I cut out a section of the stenciled panel using the Spellbinders Bow and Bell Scallop Frame Die Set, and then cut a scalloped mat layer from Teal Topaz cardstock to go behind it. The A2 card base was cut from Concord & 9th Capri cardstock.


BetterPress Sentiment
For the sentiment, I used the Spellbinders Fancy Sentiment Strips BetterPress plate and die set, using Yuletide Sky Ink. This set presses and die cuts many sentiments in one pass.

I used the coordinating die to cut out all the sentiments, and then cut an additional mat flag layer from the Capri cardstock. I cut the flag die-cut in half horizontally, then glued one half behind the sentiment at the top and the other half at the bottom. This left a channel on the back of the sentiment, and a mat-looking layer on the front.
I added Vivant Silver Thread to the card front, securing it on the back of the card with double-sided adhesive tape. I added glue to the back of the sentiment and adhered it to the card front, placing the channel over the silver thread so the sentiment would lay flat on the card front. The right side of the sentiment flag overhung the stenciled panel, so I trimmed the extra off with sharp scissors.
Assembling the Card Front
I added the stenciled panel to the mat layer using Altenew Black Foam Tape and glue, then added that to the card base using tape runner.

Inside of Card
For the inside of the card, I cut a strip off from the leftover stenciled piece and added that towards the left side of a white panel. Then I used the scalloped die and cut out the panel, overlapping the strip. This left a fun detailed edge on the panel. To finish off the inside, I stamped a sentiment towards the top from the Simon Says Stamp Label Slides Christmas set, with Gina K Designs Passionate Pink ink.
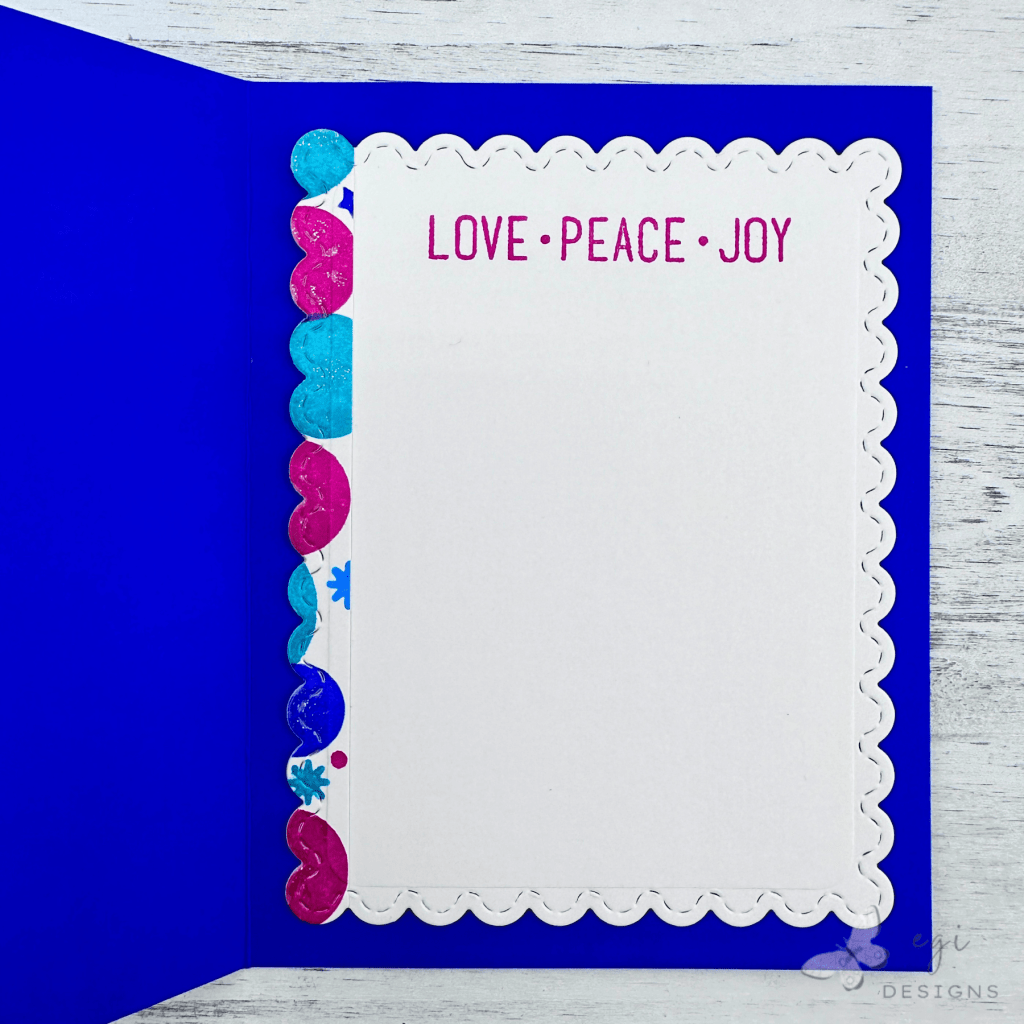
I then adhered the panel to the inside of the card using temporary adhesive. I find this is easier for me, so I can remove and replace the panel if I mess up when writing my message without having to tear my card apart.
If you are looking for additional ways to decorate the inside of your cards, check out my Part 1 and Part 2 videos with more easy ideas.
Card Tutorial
Check out the card tutorial video here:
For more Spellbinders new product unboxings and card tutorials, check out my YouTube playlist. I also have a Card-Making Tutorial playlist if you are looking for some more crafty inspiration!
Project Supply Links
If you would like to view the supplies I used to create today’s project, this link will show you all the products and where they are available for purchase. Please consider shopping through my affiliate links, as it greatly helps out my channel at no extra cost to you. Thanks so much for supporting me and my channel!
**Use code EGIDESIGNS for 15% your order at Glassboard Studio**