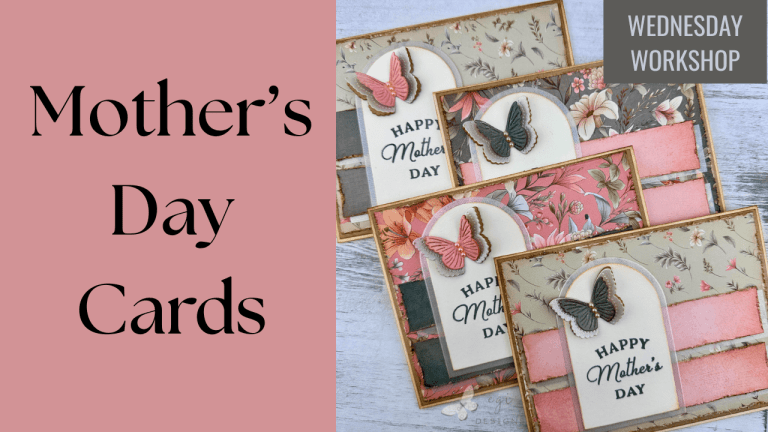
Four Unique Holiday Cards Using One Sketch: Wednesday Workshop Series
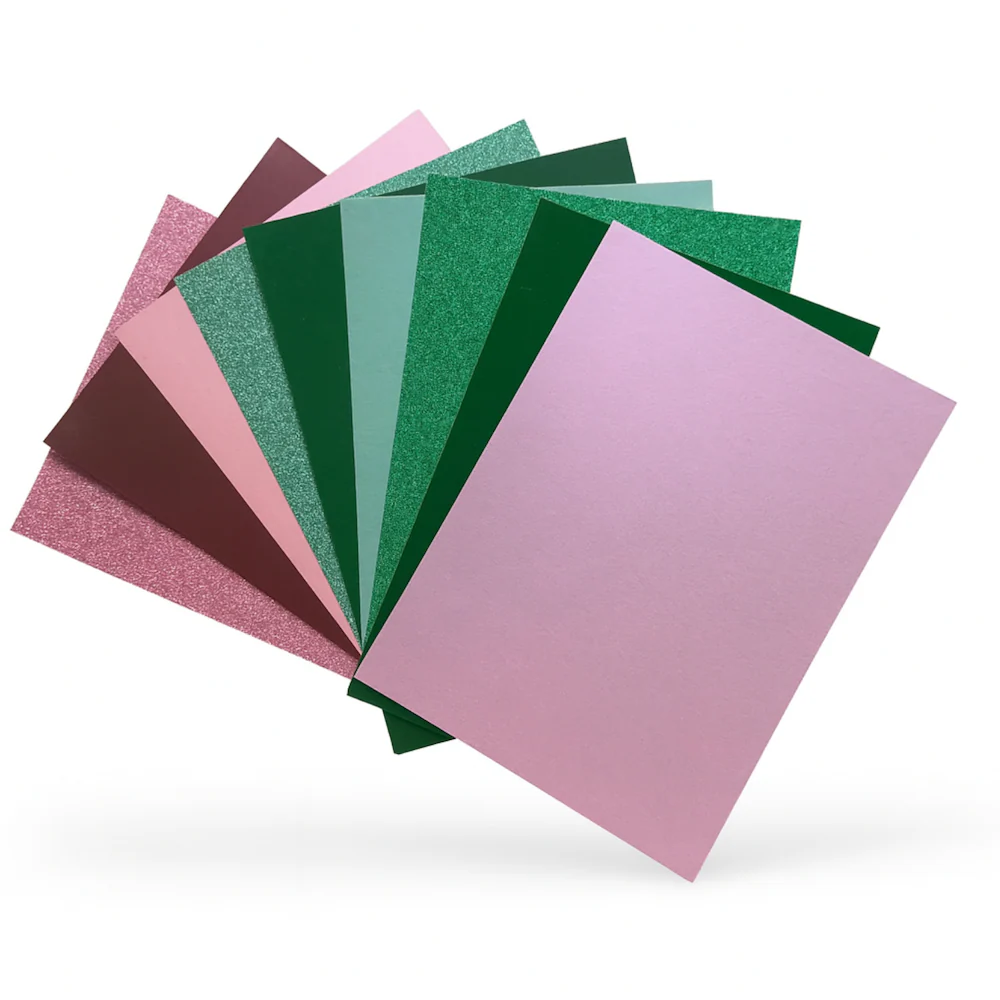
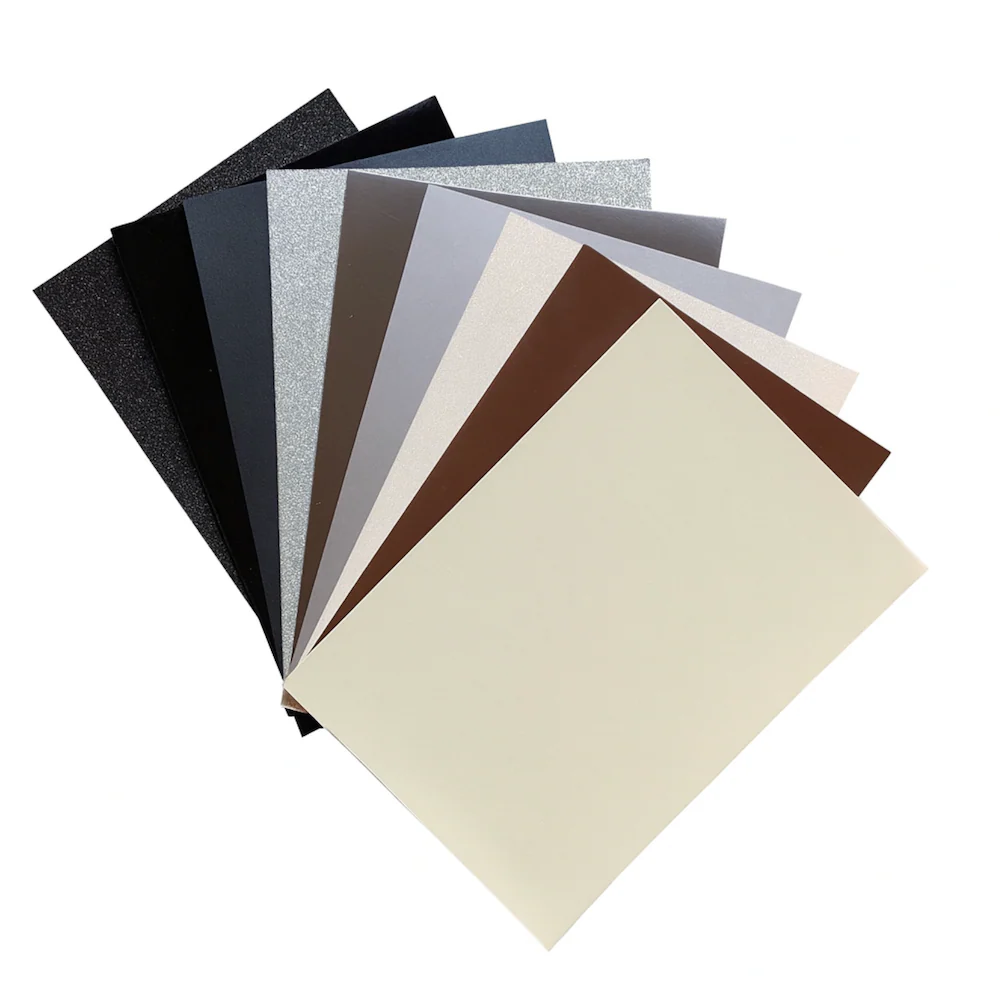
In this card project, I made four unique cards combining a card sketch with the Stack Cut Shuffle Technique. For the beautiful patterned paper, I used Brutus Monroe Sugarplum Pines 6×6″ pack. I also used the Alex Syberia Mystic Garden, and Black & Silver paper collections, for the snowflakes and Christmas tree die cuts. All products used in this project are listed below.

Wednesday Workshop | Sketches and Fun Fold Cards Series
This project is part of my new ‘Wednesday Workshop | Sketches and Fun Fold Cards’ Series. This series used to be published on Saturdays, but I have moved it to Wednesday for some mid-week card sketch inspiration! I have a playlist with all of the past episodes on YouTube if you want to check it out.
In this series, I find a card sketch on the internet and make a card (or more) using it. If making more than one card, the first one will stick closely to the sketch, while the others will have slight changes or demonstrate different techniques. I have added fun fold cards into the mix as well, so we have lots of creative options.
Cardz TV Sketch with Stack Cut Shuffle Technique
To make these cards, I used sketch #74 from Cardz TV with Mary, and combined it with the Stack Cut Shuffle Technique. This allowed me to create four cards easily from a single sketch. For each card, I used the same patterned paper and stamp set, but changed some of the techniques to show a variety of card possibilities. This allows for different card options depending on your supply stash and crafting time.
Measurements: (differ from sketch)
Card #4 Mat Layer: 4 1/8 x 5 3/8"

Inside Scalloped Panel: 3 3/4 x 4 7/8"
Scallop Frame from Spellbinders: Bow & Bell Scallop Frame Die Set

**See Cardz TV with Mary's blog for the sketch layout and additional measurements**
Main Products Used
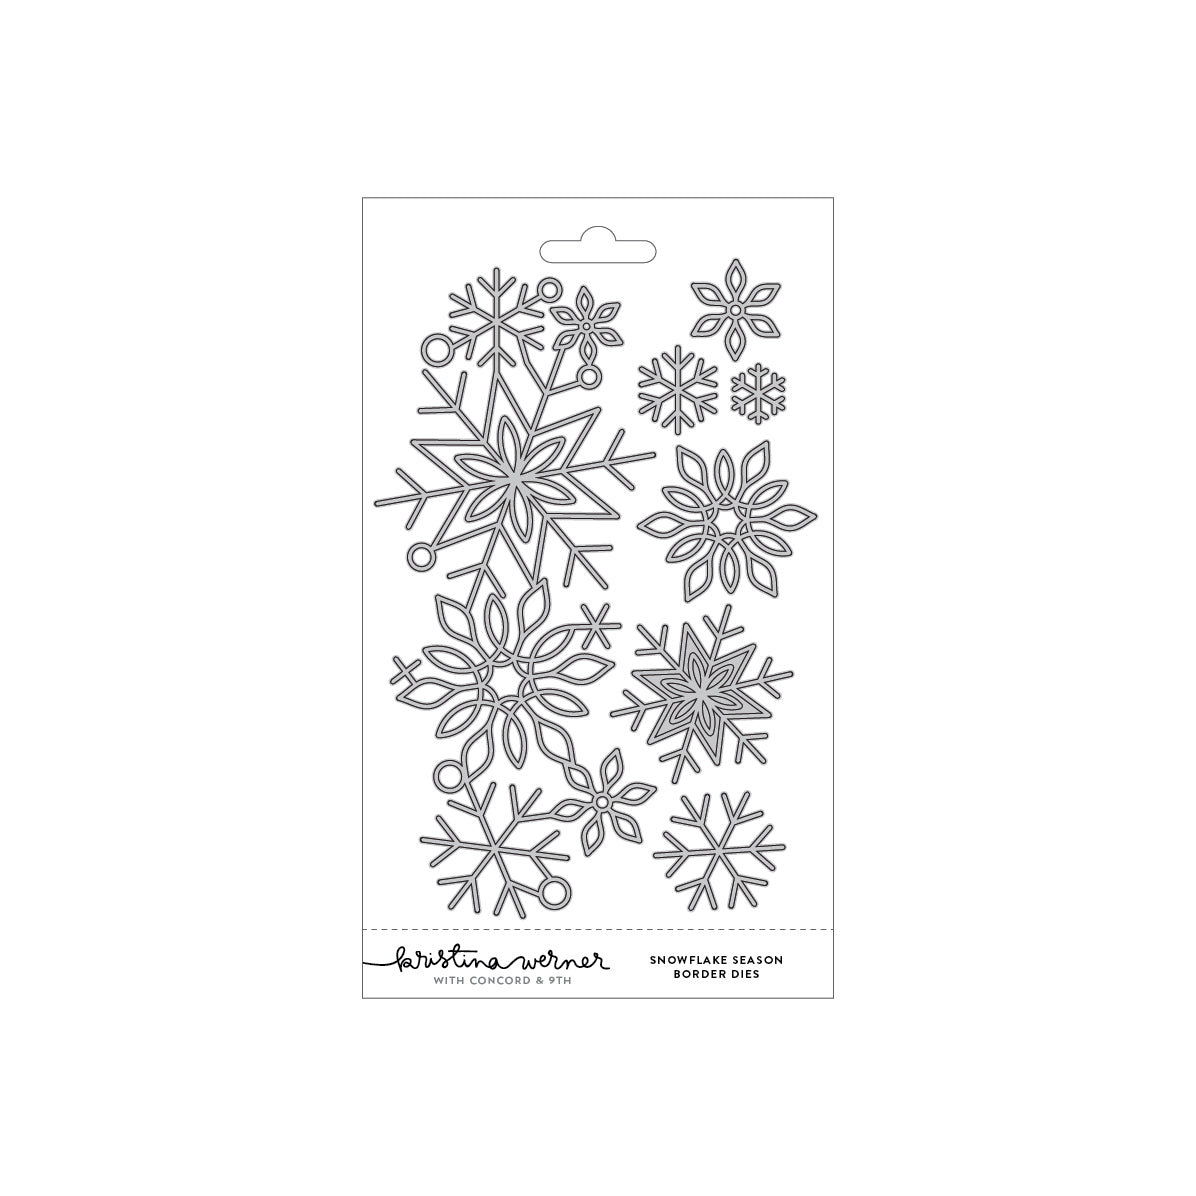
For these cards, I used the Alex Syberia Mystic Garden and Black & Silver cardstock packs, with the Concord & 9th Snowflake Season Border Dies, to create the snowflake and tree embellishments.

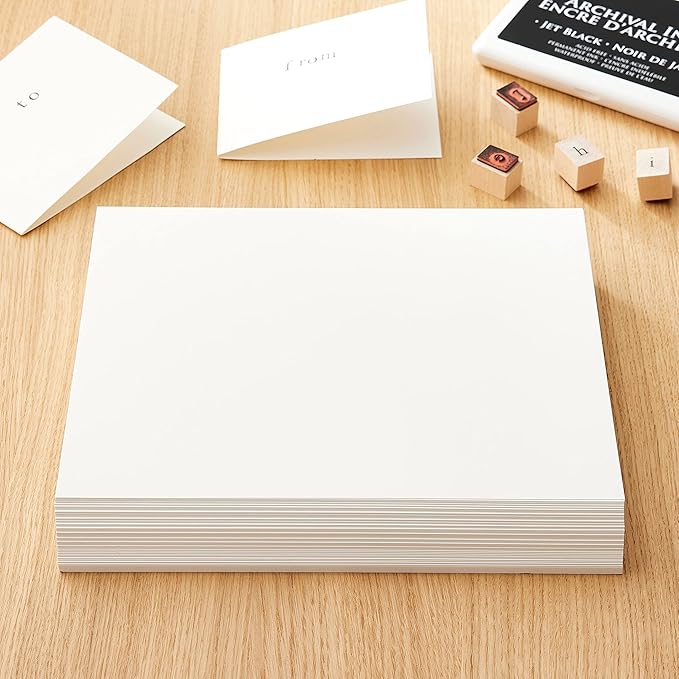
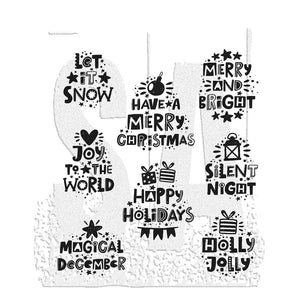
For the sentiments, I used Recollections White Dove 110lb. cardstock, Tim Holtz Holiday Whatnots Stamp Set, and Altenew Jade Fresh Dye Ink. I stamped them using my Misti Stamp Positioner.


I used the Brutus Monroe Sugarplum Pines paper to create the Stack Cut Shuffle backgrounds, and assembled them onto A2 card bases made from Spellbinders Sage cardstock.


Stack Cut Shuffle Technique
STACK: I picked out four pieces of the patterned paper and cut each to 4 x 5 1/4″. CUT: Next, I stacked the papers together and cut the stack vertically at 2″. Then I turned the left strip and cut the left-side column at 3 1/4″, which created a 2 x 3 1/4″ stack for the top section, and 2 x 2″ for the bottom section.
For the right-side column, I turned the right strip and cut it at 2″. This created a 2 x 2″ stack for the top section, and 2 x 3 1/4″ for the bottom section. The top-left and bottom-right sections measure 2 x 3 1/4″, and the bottom-left and top-right sections measure 2 x 2″.

SHUFFLE: After the pieces were cut, it was time to shuffle the pieces in the stacks to make the “packages” for each card front. For the paper stack #1 (top-left), leave it as is. For stack #2 (top-right), move the top layer to the back. For paper stack #3 (bottom-right), move the top two layers to the back. Finally, for stack #4 (bottom-left), move three layers to the back; the original bottom piece should now be on top of the 4th stack. Once this is complete, there should be one pattern of each paper showing on the top layer.
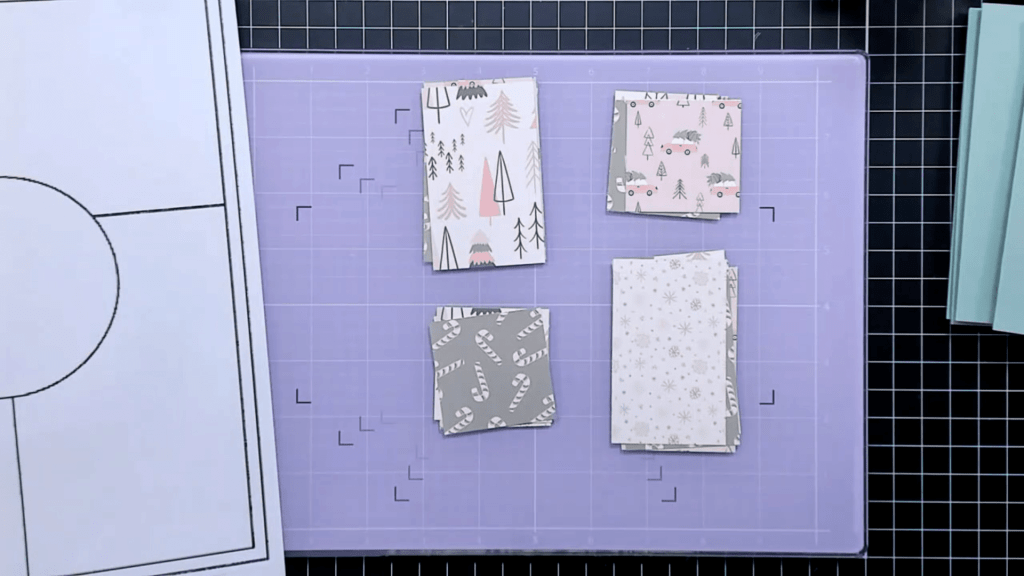

I went in order and took the top layer from each stack, and placed those rectangles on a scrap sheet of paper. I did the same for the rest of the layers in each stack until I had four packages of rectangles, each one having four different patterned papers on it.
Card #1 – True to Sketch
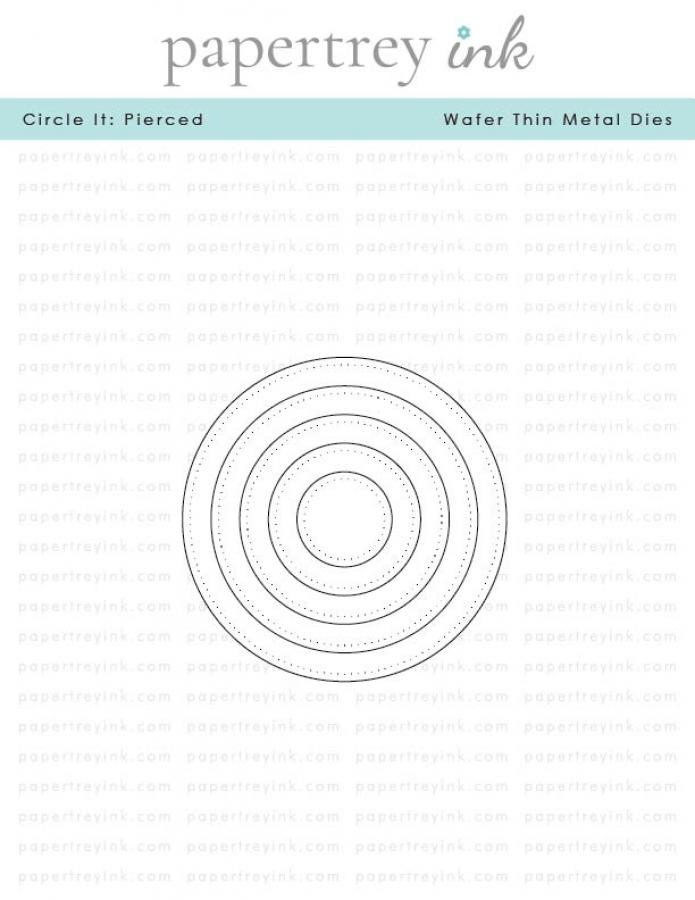
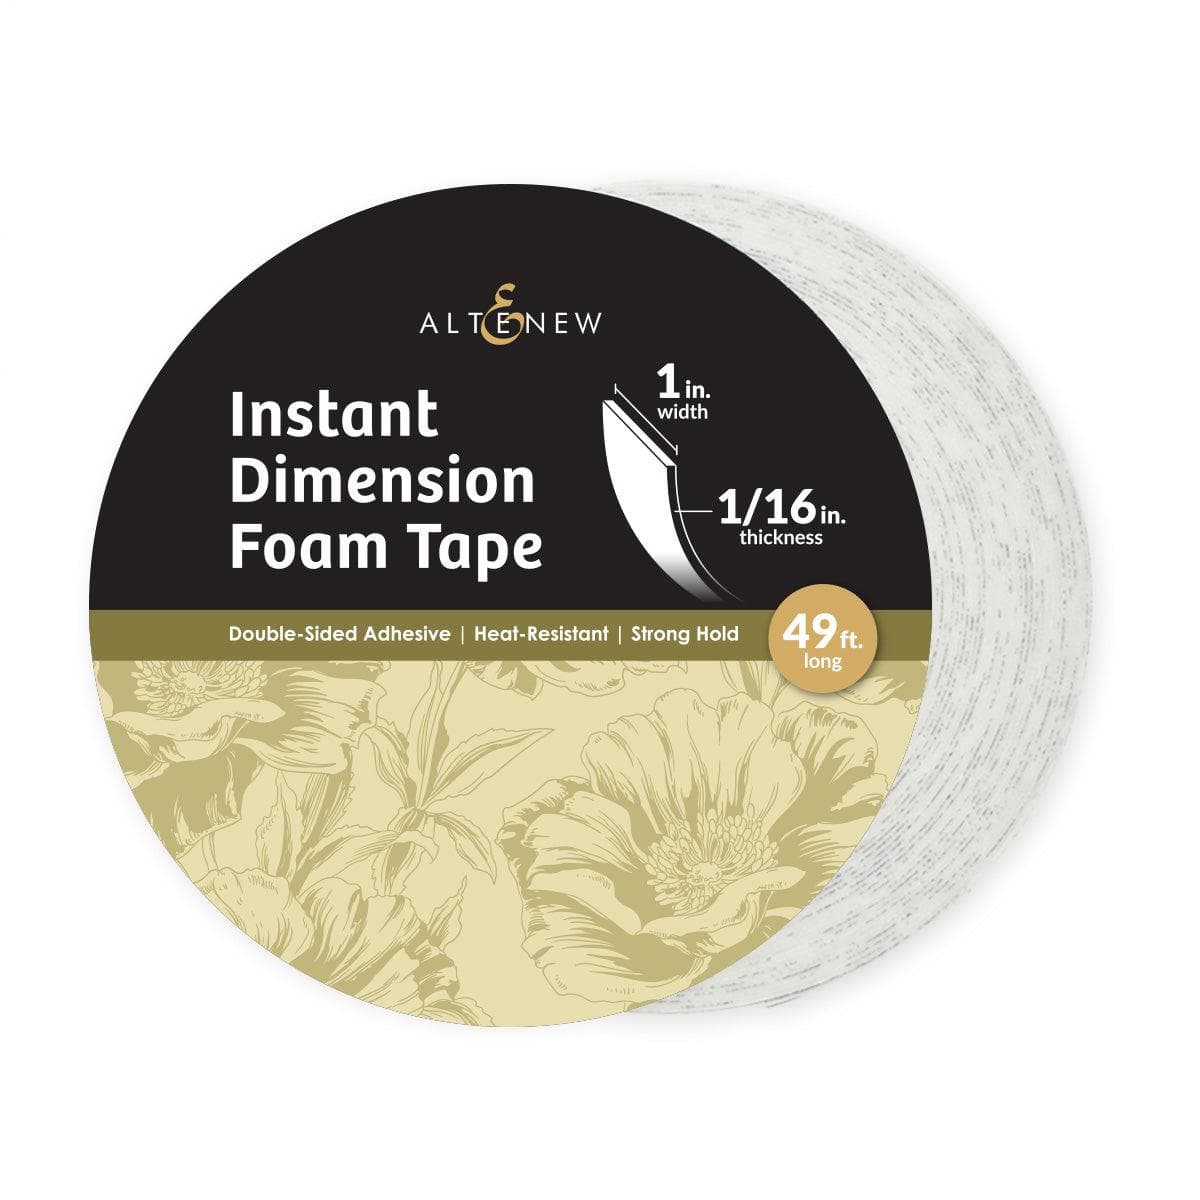
For this card, I adhered the four rectangles directly onto the card base using glue, with the pieces touching in the middle. I cut out the Merry and Bright sentiment using a circle from the Papertrey Ink Circle It: Pierced Die Collection. I added a couple of the snowflakes to the card front, and then placed the sentiment circle over the snowflakes using Altenew 1″ wide, 1/16″ loft foam tape.

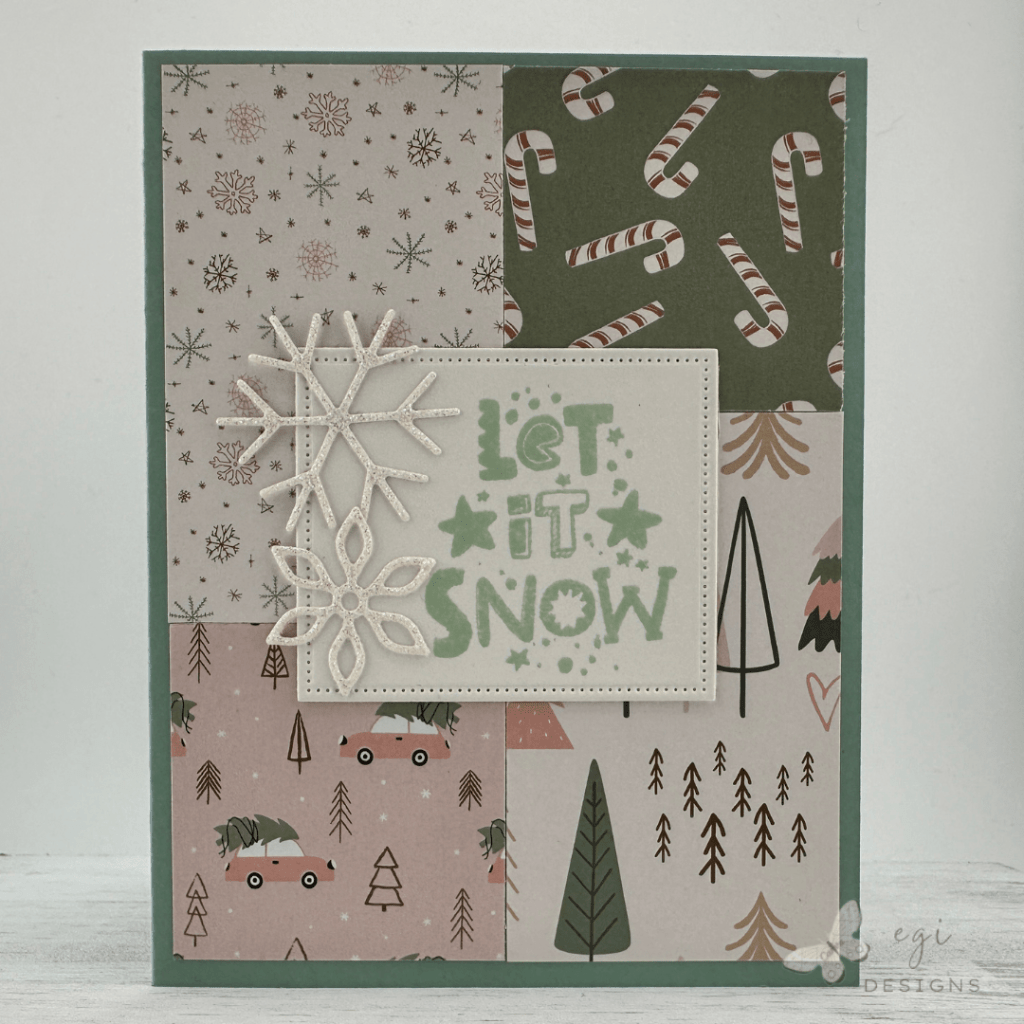
Card #2 – True to Sketch, Changed Sentiment Shape
For this card, I adhered the four rectangles directly onto the card base using glue, with the pieces touching in the middle. I cut out the Let It Snow sentiment using a rectangle from the Waffle Flower Nesting Piercing Tags Die-n-Stencil. I added the sentiment to the card front using glue, and then glued a couple of the white snowflakes to the rectangle.

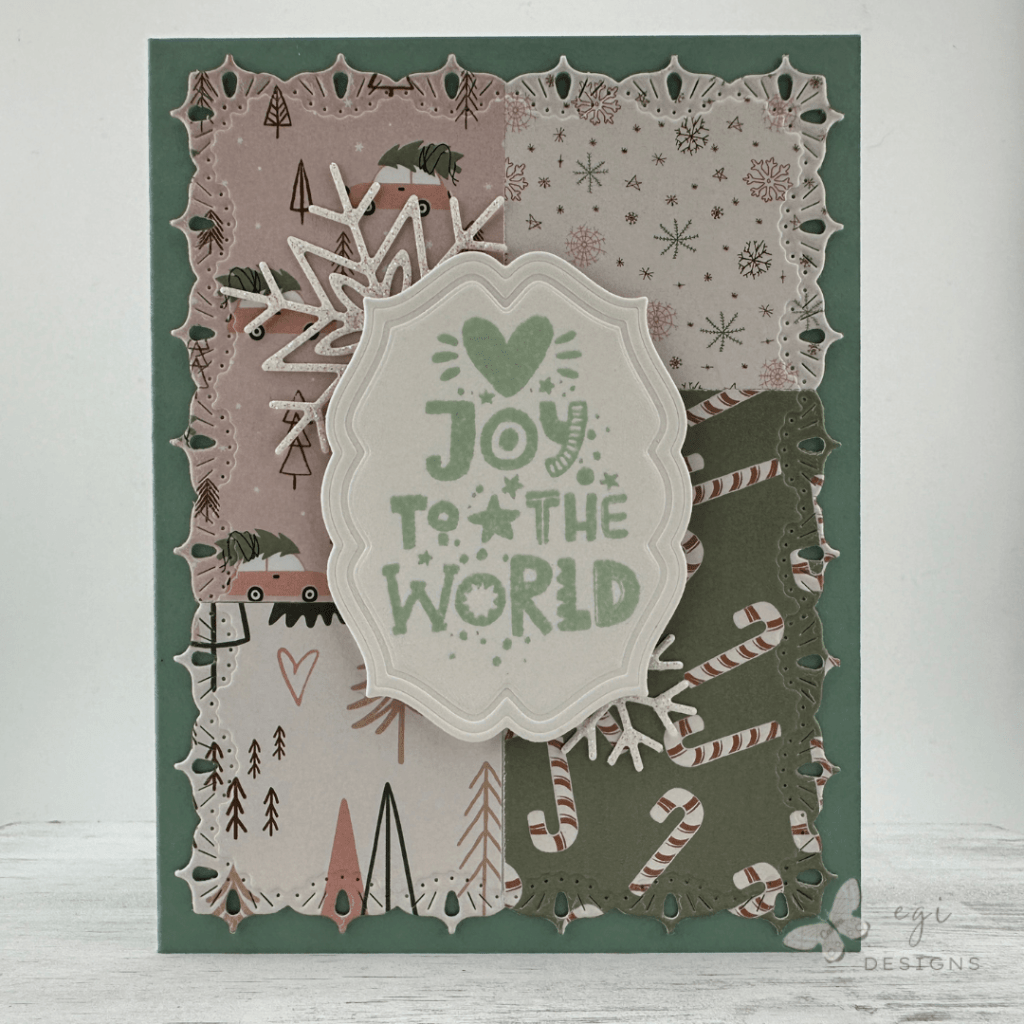
Card #3 – Die Cut Panel
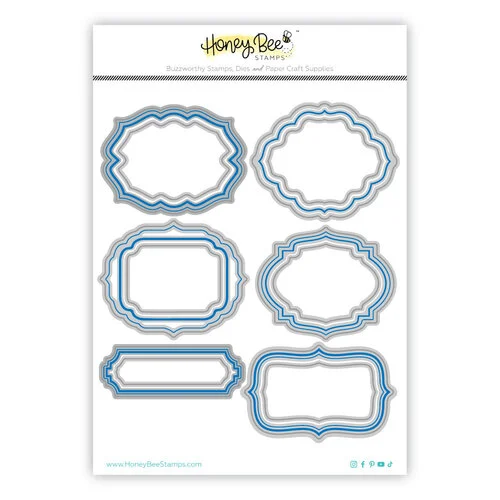
For this card, I adhered the four rectangles onto a piece of copy paper cut to 4 x 5 1/4″, meeting the pieces in the middle. After the pieces were adhered, I cut out the panel using the Simon Says Stamp Lacy Point Frames dies. This added gorgeous detail and interest to the background. I cut out the Joy To The World sentiment using a label die from the Honey Bee Stamps Festive Frames Die Set. These dies add a lovely embossed edge to the die-cut image. I added a couple of snowflakes to the card front, and then placed the sentiment label over the snowflakes using Altenew 1″ wide, 1/16″ loft, foam tape.

Card #4 – Embossed Panel, Added Mat Layer
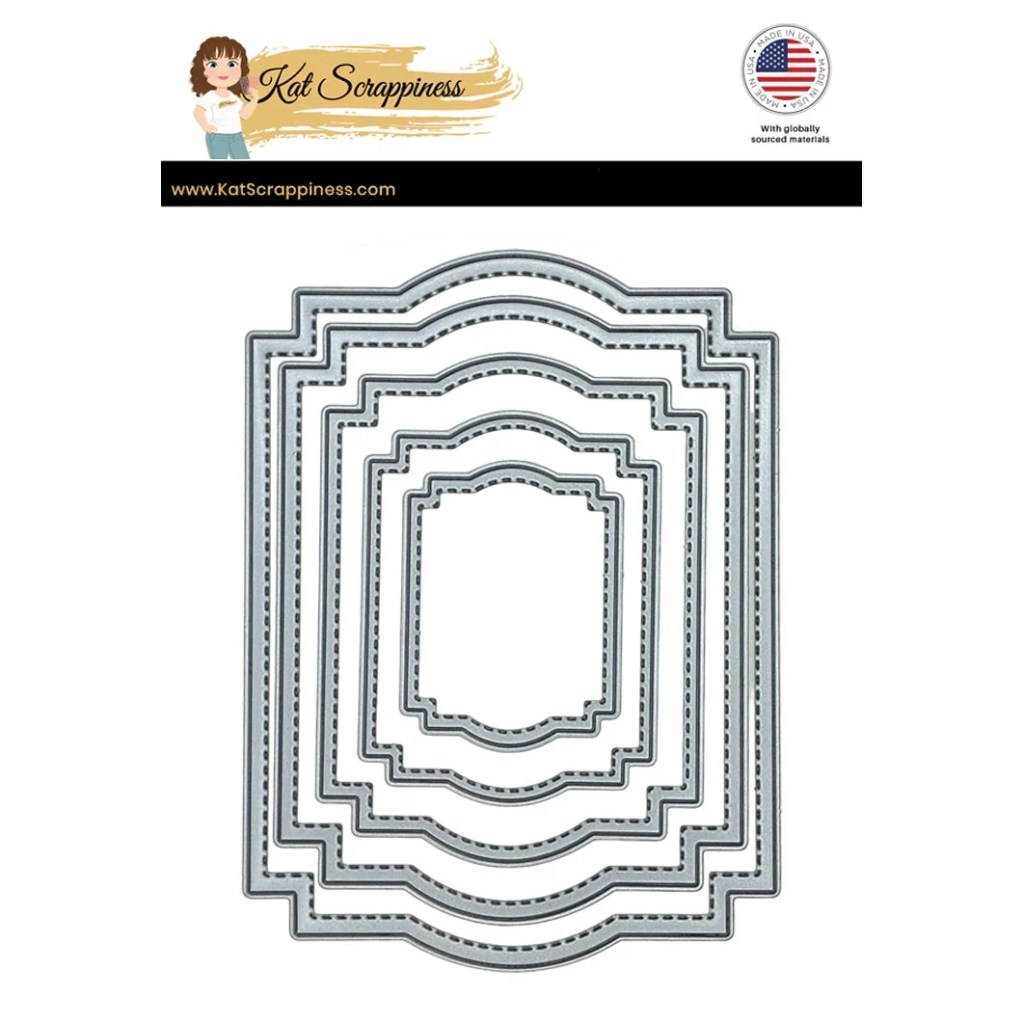
For this card, I adhered the four rectangles onto a piece of copy paper cut to 4 x 5 1/4″, meeting the pieces in the middle. After the pieces were adhered, I embossed the panel using the Simon Says Stamp Splendid Snowflakes Embossing Folder. I cut out the Holly Jolly sentiment using a label from the Kat Scrappiness Stitched Label Frame Craft Die Set.


After the panel was embossed, I trimmed it down to 3 3/4 x 5″. I added the panel to the white glitter mat using Altenew 1″ foam tape, and added it to the card base using tape runner.
I added Altenew double-sided adhesive sheets to the cardstock before die-cutting the layers of the Holiday Tree Die Set from Scrapbook.com. The back layer was cut from white glitter cardstock, and the top layer from a pearlescent green cardstock. I attached the label sentiment to the card front using tape runner, and then added the tree die cut to the label with glue.
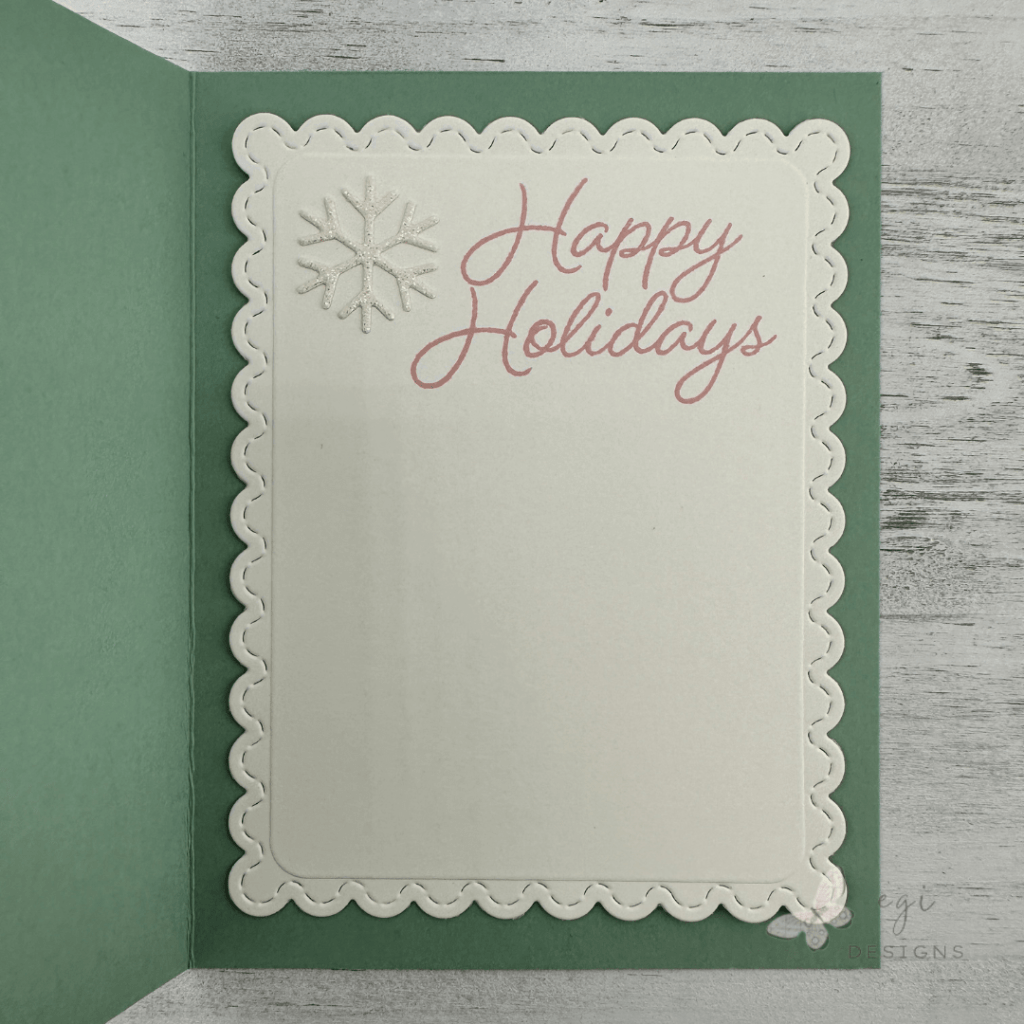
Inside of the Card
I cut the inside card panels using the Spellbinders Bow and Bell Scallop Frame Die Set and Recollections White Dove cardstock. For the sentiment, I used the Happy Holidays sentiment from Papertrey Ink’s Christmas Your Way Stamp Set, with Altenew Dusty Pink Fresh Dye Ink. I added some of the die-cut snowflakes to the upper left of the scalloped panel to carry the design from the card front into the inside.


If you are looking for additional ways to decorate the insides of your cards, check out my video with more easy ideas.
Step-by-step video:
I hope you enjoyed this project! For more card-making ideas, check out my YouTube playlist and card-making blog posts. I also have a Stack Cut Shuffle playlist on YouTube, as well as a Winter Card playlist for more Holiday card ideas.
Product Information
Here are the products I used in today’s project. Please consider shopping through my affiliate links, as it greatly helps out my channel at no extra cost to you. Thanks so much for supporting me and my channel!
**Use code EGIDESIGNS for 15% off your order at Glassboard Studio**
|


Additional products used:
- Scrapbook.com: Holiday Trees Die Set
- Scrapbook.com: Artis Glue
- Brutus Monroe: Sugarplum Pines Patterned Paper