Postage Die + Stack Cut Shuffle Technique = 7 Easy Cards!
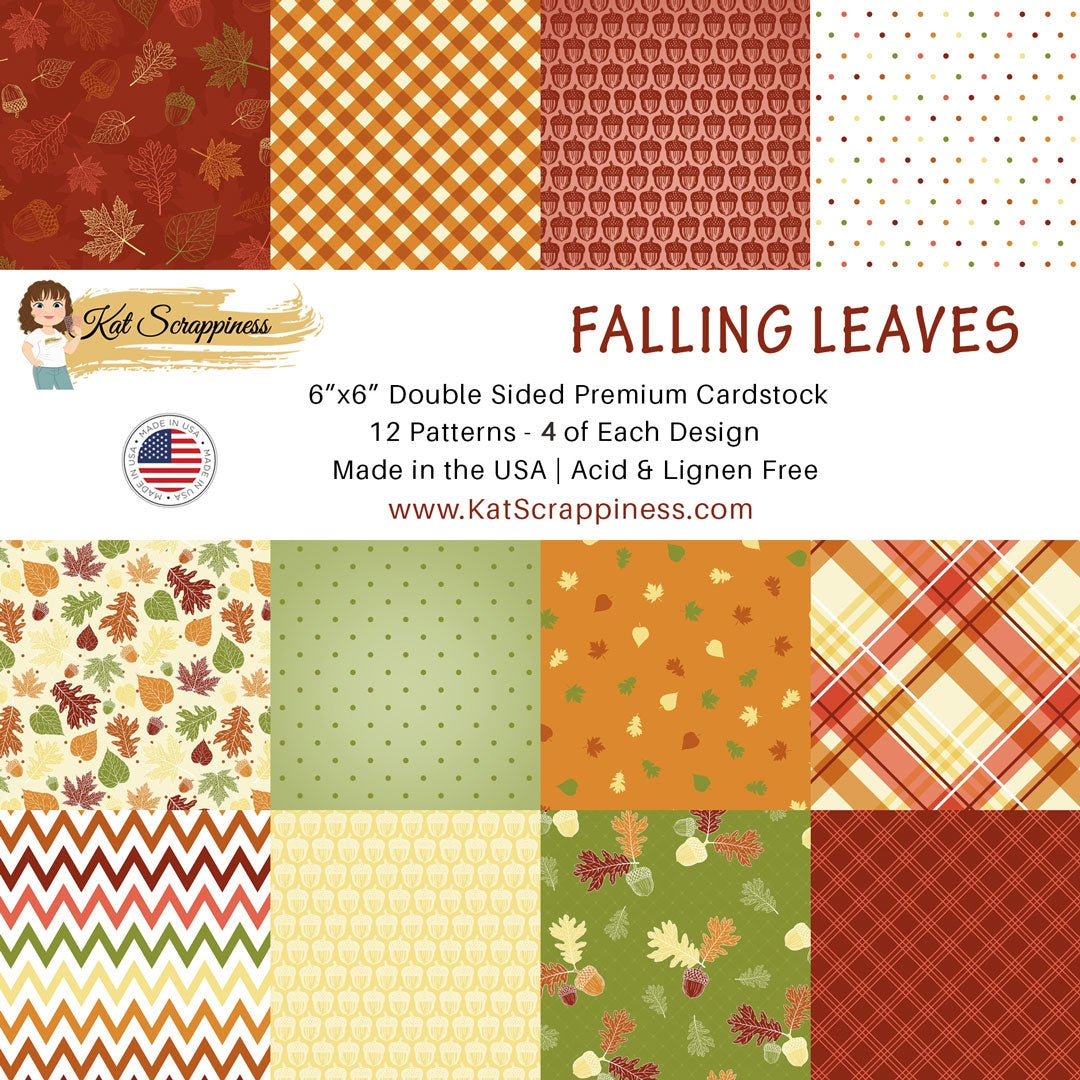
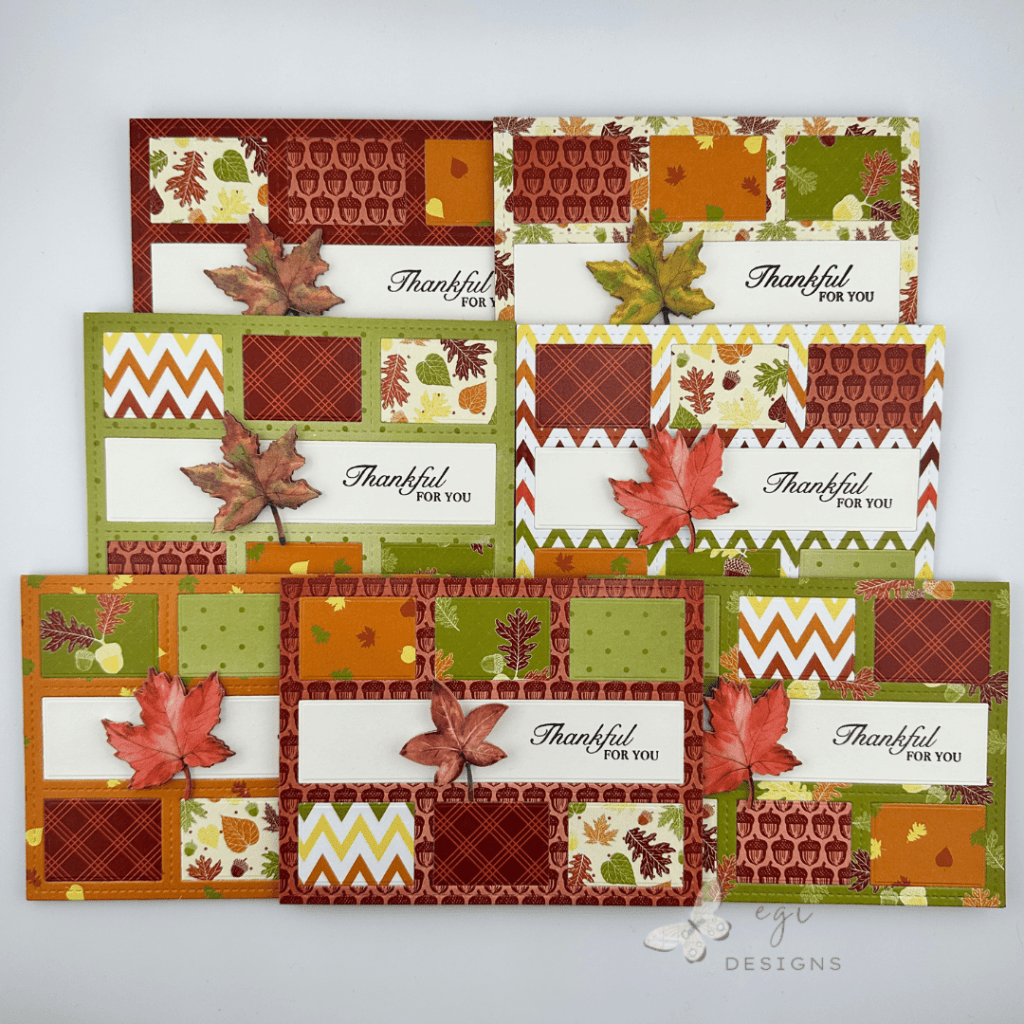
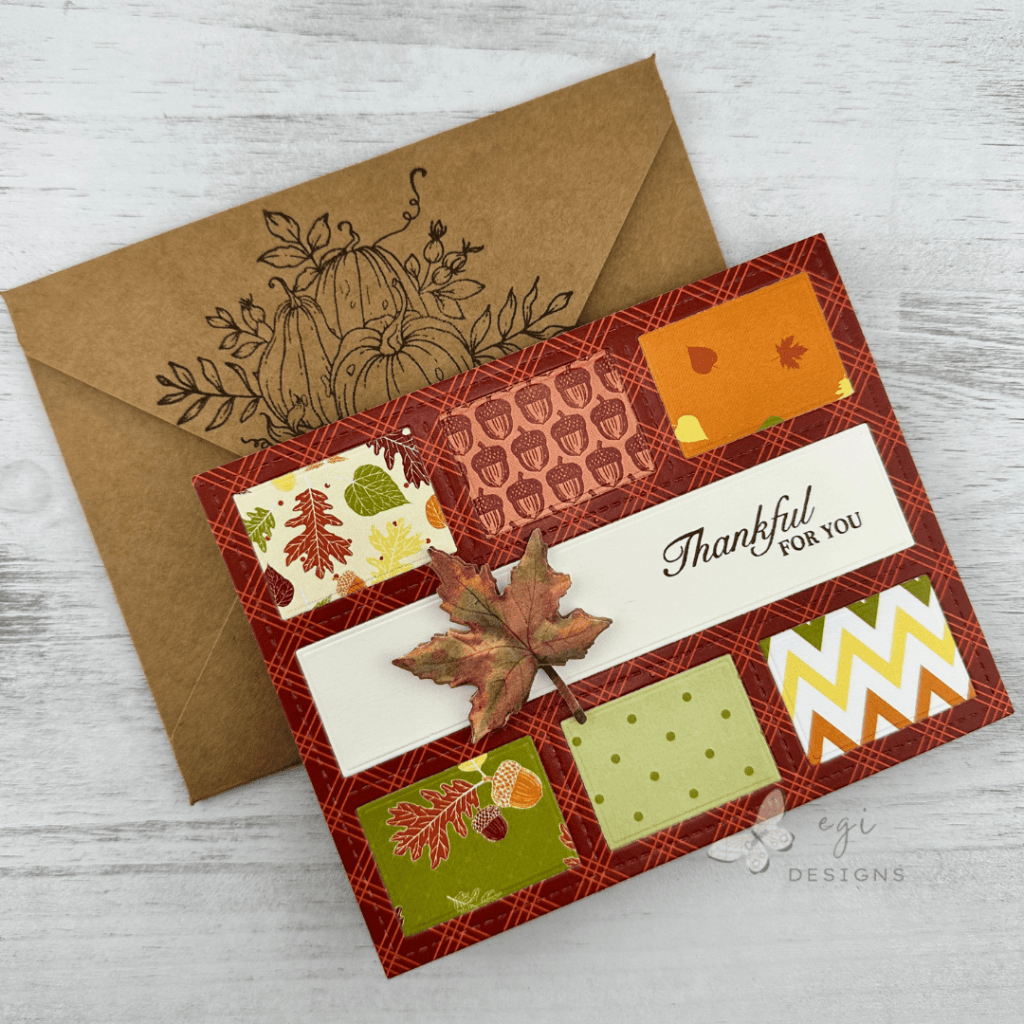
In this video project, I combined a Kat Scrappiness postage die with the Stack Cut Shuffle Technique to make seven easy Thanksgiving cards! I used seven sheets of the Kat Scrappiness Falling Leaves patterned paper, with the Kat Scrappiness Essential Card Builder Dies 2, to create these cards. All products used in this project are listed below.
Measurements
Strips to cut out with center of postage die: (7) 5 1/4 x 1 1/4"
Patterned Paper to cut out with postage die: (7) 6 x 4 1/4"

A2 Card Base: 5 1/2 x 4 1/4"
8 1/2 x 5 1/2", Score at 4 1/4"

Inside Panel: 5 x 3 3/4"
Inside Strip: 3/4 x 3 3/4"
Getting Everything Ready
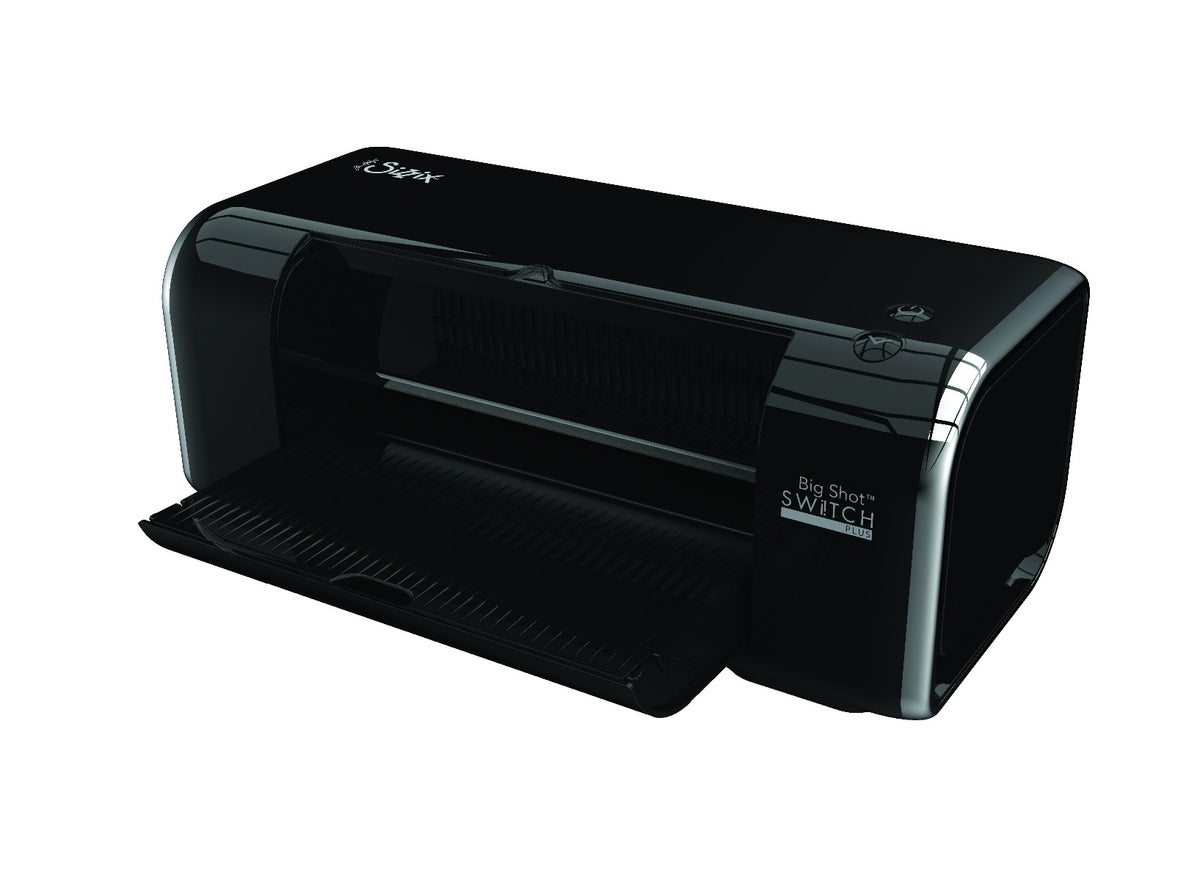
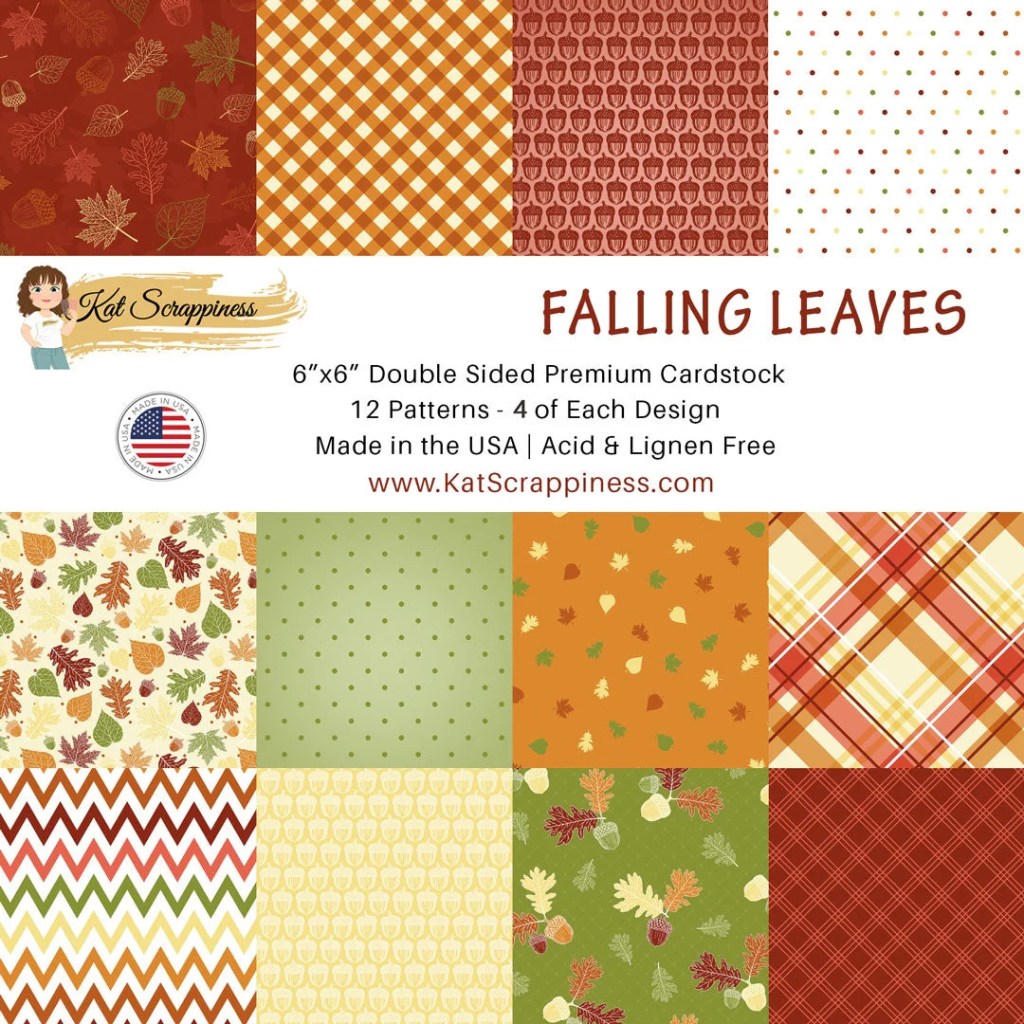
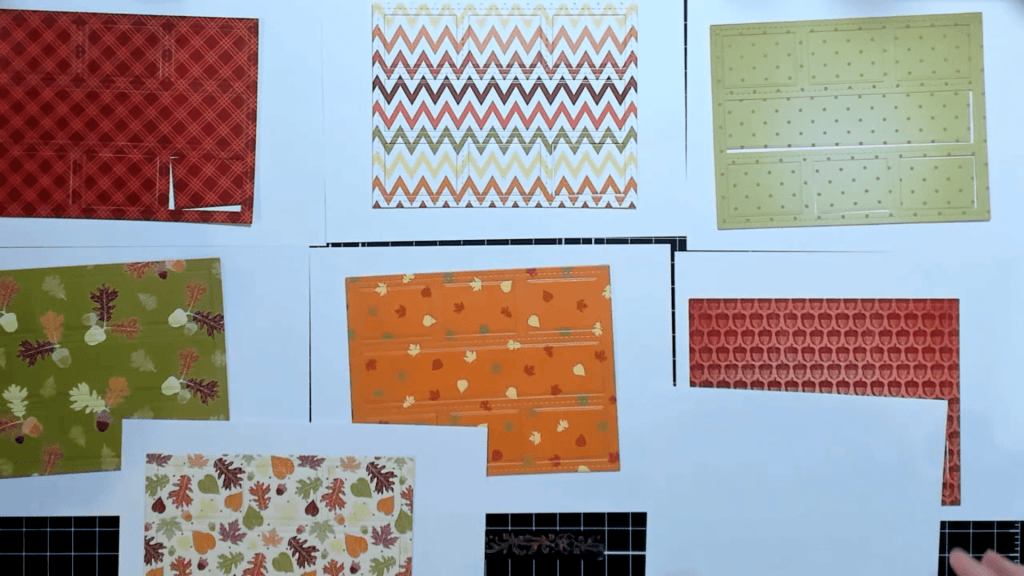
To prepare for these cards, I trimmed down seven sheets of the Kat Scrappiness Falling Leaves 6 x 6″ patterned paper to fit the Kat Scrappiness Essential Card Builder Dies 2. I used seven different sheets of paper as I wanted a unique pattern in each of the six small windows and the frame. I ran the die and paper through my Sizzix Switch die-cut machine and placed one full panel of die cuts on a piece of scrap paper. I did this for each of the patterned papers.
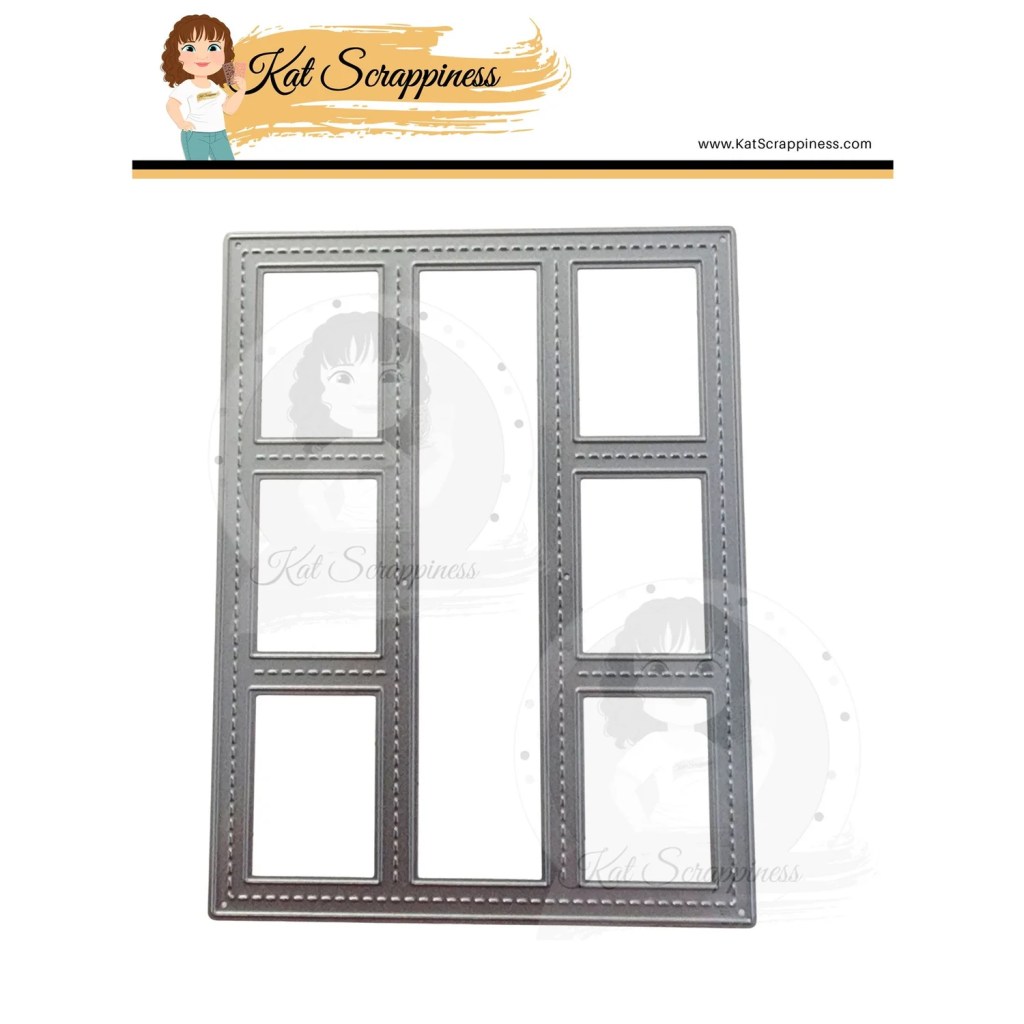
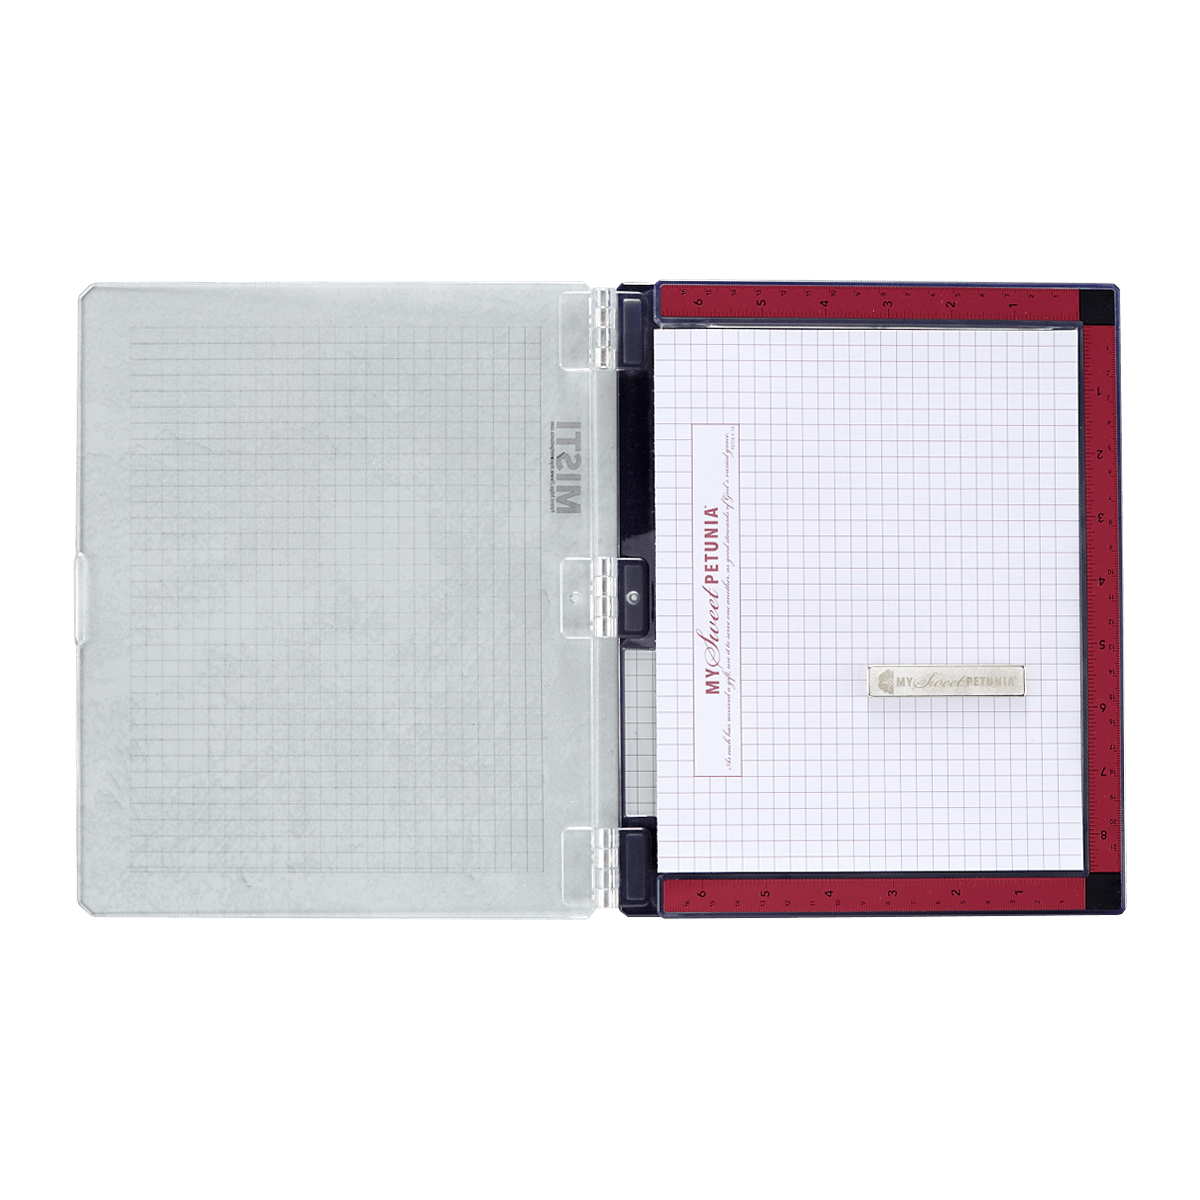
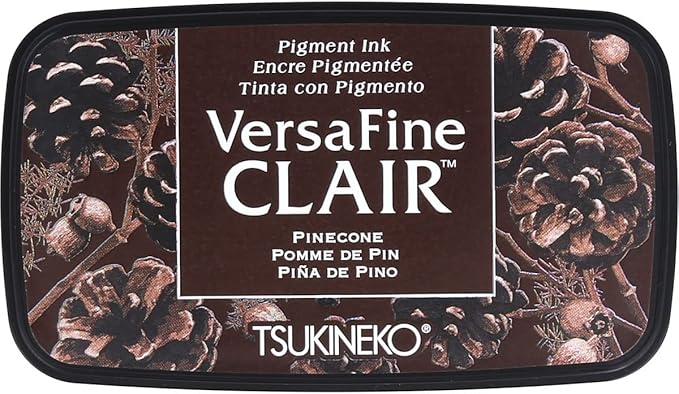
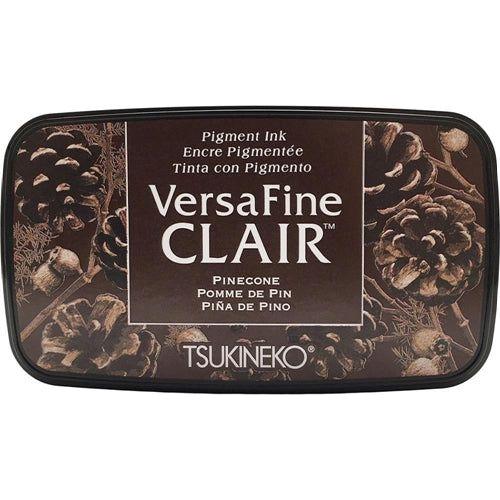
For the long middle strip, I trimmed down seven strips of Gina K Designs Ivory cardstock, and then ran them through my die-cut machine with the center of the die over the Ivory strip. After the strips were cut out, I stamped on the right side of each strip using my Misti stamping tool, Gina K Designs Harvest of Love stamp set, and VersaFine Clair Pinecone ink.

Stack Cut Shuffle Technique
I laid out the seven stacks of die cuts and started making my “packages” for each card. It is important to stack the pieces in a consistent order, placing on top or behind, and taking from the stacks in order 1-7 or 7-1. Whatever order works best for you, stick with it throughout the package-making process. Check out the video for more detailed instructions.


Shuffle Time!
Once all the pieces are stacked up, it’s time to do the shuffle! I considered the frames as stack #1, the top row of postage pieces as stacks 2-4, and the bottom row of postage pieces as stacks 5-7. For the first stack (frames), I left it as is. For stack #2, I moved the top layer to the back. For stack #3, I moved the top two layers to the back.
For stack #4, I moved the top three layers to the back. For stack #5, I moved the top four layers to the back. For stack #6, I moved the top five layers to the back. And finally, for stack #7, I moved the top six layers to the back. This should give seven stacks with seven unique patterns visible on top of each pile.
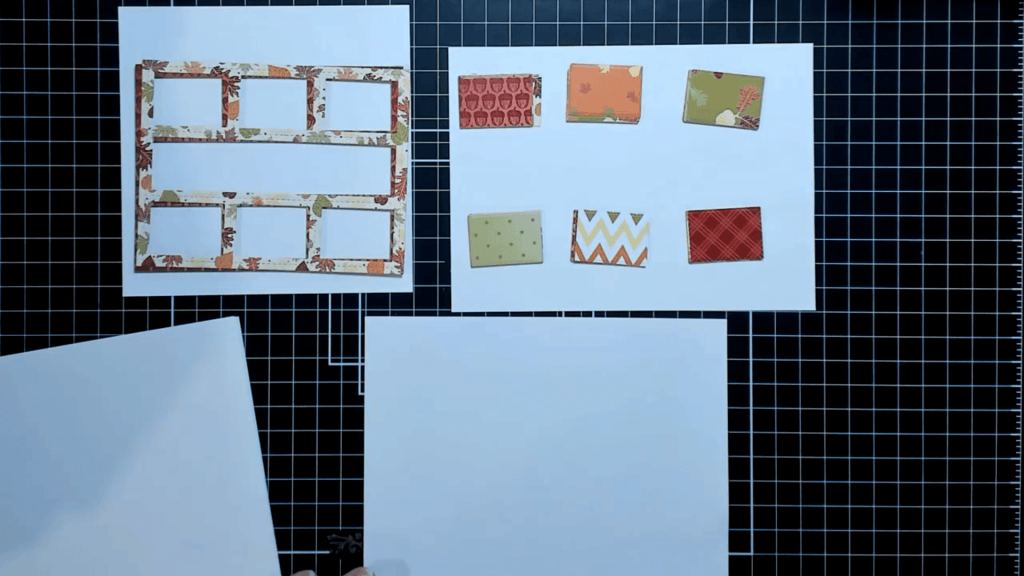

I took the top layer from each stack, in order, and placed them on a scrap sheet of paper to make the card “package”, and I added one of the stamped sentiment strips to each package as I was making it. I did this process seven times, placing each package on its own scrap piece of paper, and stacking the packages on top of each other.
Building the Card Fronts
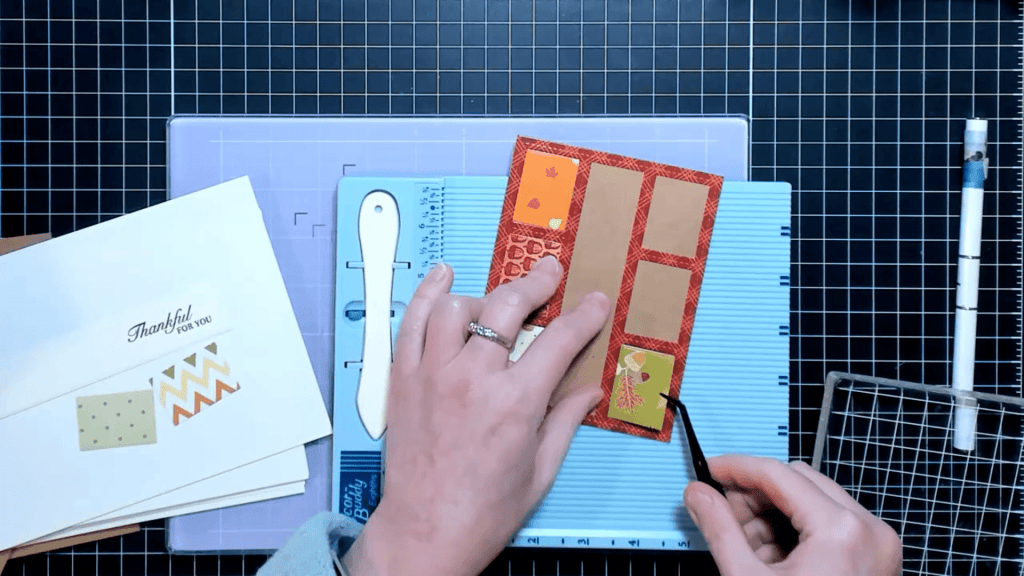
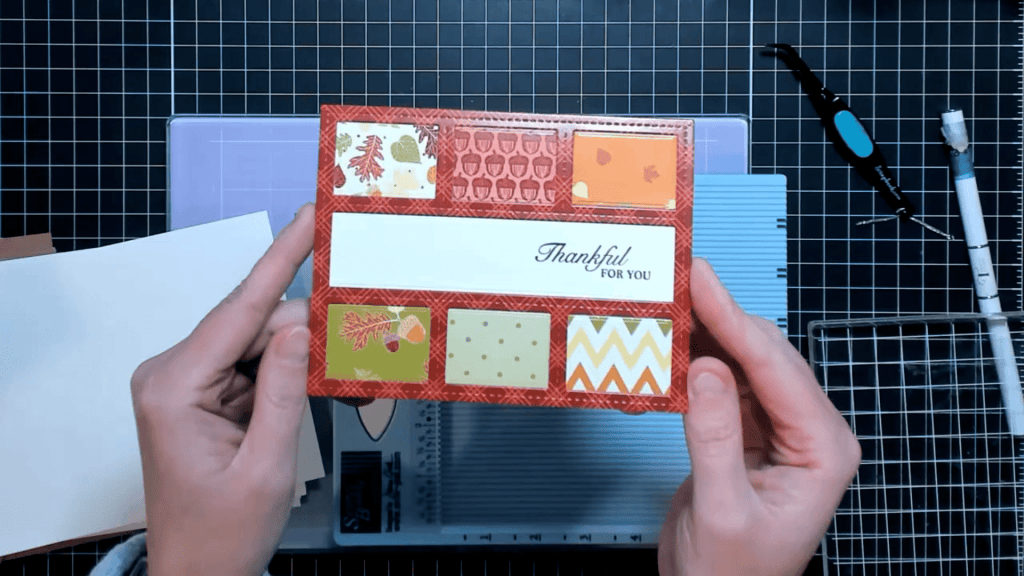
I went through one package layer at a time for this step. I first added the frame piece to the card base, which I made from Bear Boss Kraft cardstock. I used my Scor Buddy to help me line up the frame on the card front as it was edge-to-edge. After that was adhered, I went in order and placed the postage pieces and sentiment strip inside their frame spots using liquid glue. Another great option would be to use double-sided adhesive sheets.
Inside of Card
The inside panel was cut from Gina K Designs Ivory cardstock and stamped with a sentiment from the Harvest of Love stamp set. I cut a strip of the patterned paper and added that to the left side of the panel, matching the card front frame pattern to the paper I used inside the card.
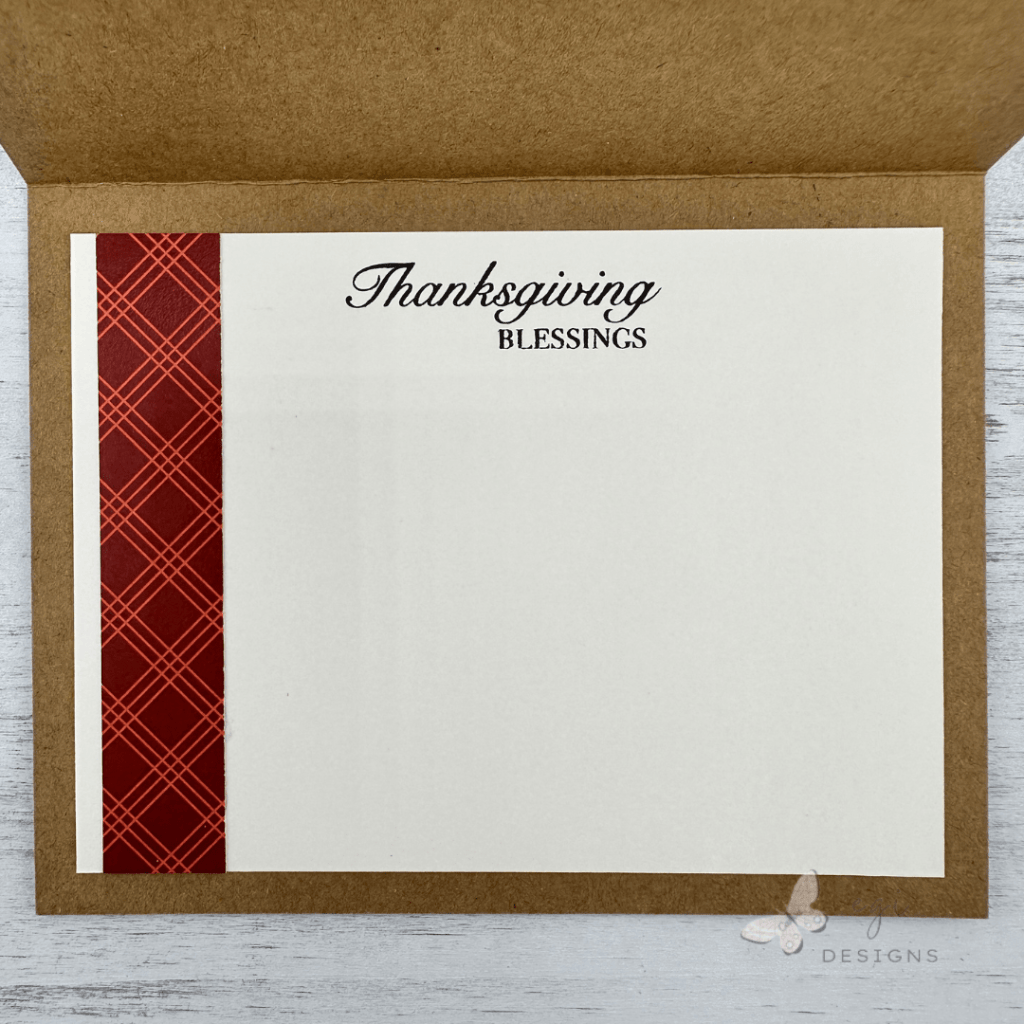
For more ideas on decorating the inside of cards, I have a video with lots of fun ideas for that!
Decorating the Envelopes
I made seven envelopes using the Bear Boss Kraft cardstock, and my 1-2-3 Punch Board from We R Memory Keepers. I used the pumpkins stamp from the Harvest of Love stamp set to decorate the envelope back flap.
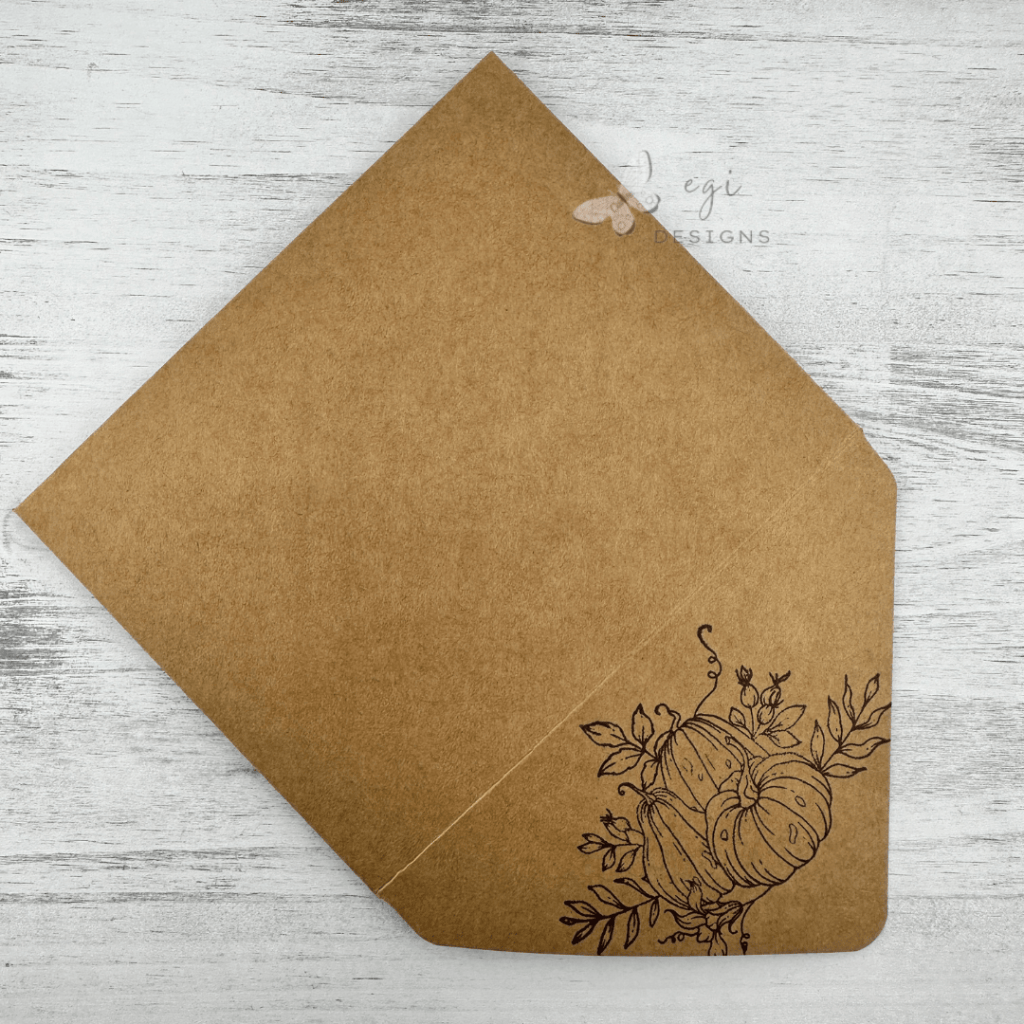
For more information on making envelopes for cards of any size, check out my Punch Board playlist on YouTube.
If you are looking for additional ways to decorate envelopes, I have two videos with lots of ideas for that: Five Ways and Five More Ways to Decorate Envelopes.
Finishing the Cards
To finish up the cards, I added a dimensional maple leaf sticker from Recollections to the left side of the sentiment strip. These are very sweet and easy cards to make!
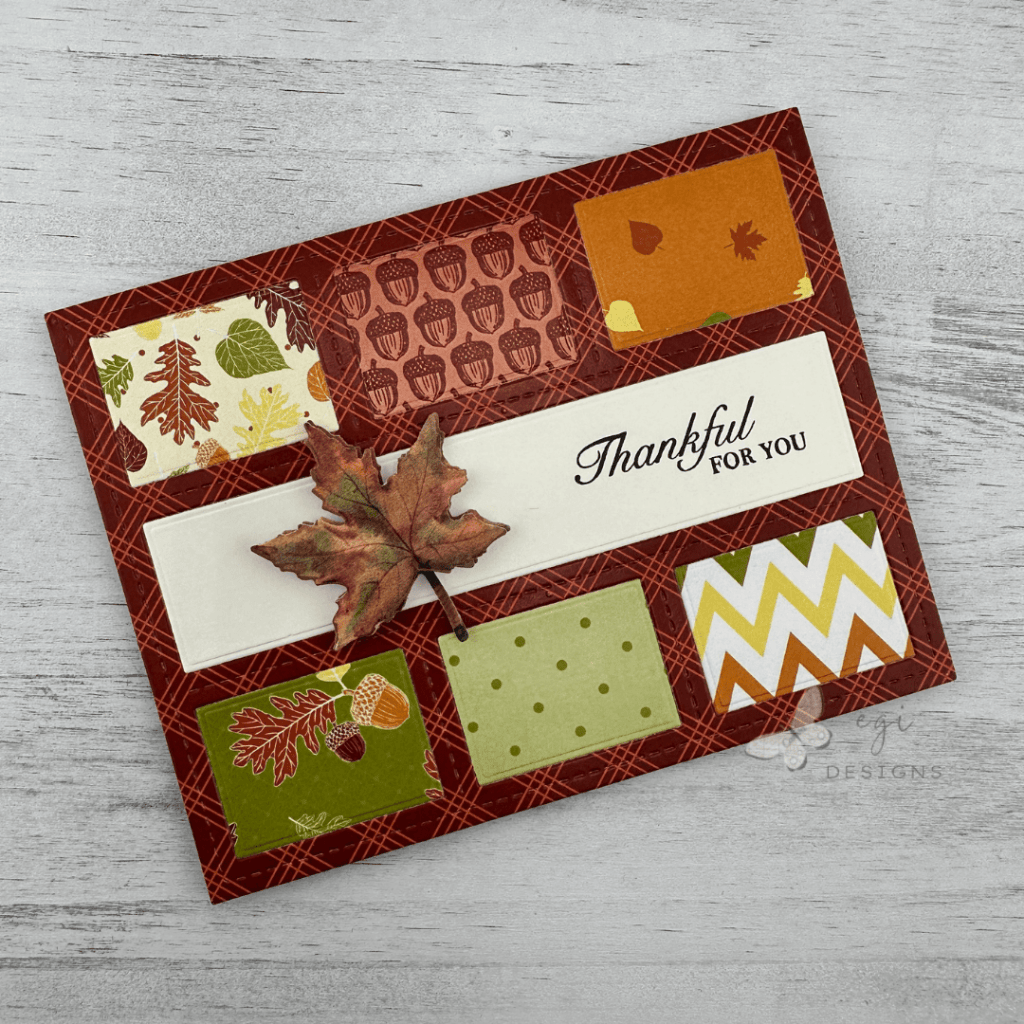
I have a couple of other projects using this paper: Half Door Cards and Joy Fold Cards. This is an awesome patterned paper pack!
Step-by-step card tutorial:
Hope you enjoyed this card project! For more card-making ideas, check out my YouTube playlist and card-making blog posts. I also have a Stack Cut Shuffle playlist in case you are looking for more ideas using this technique.
Product Information
Here are the products I used in today’s project. Please consider shopping through my affiliate links, as it greatly helps out my channel at no extra cost to you. Thanks so much for supporting me and my channel!
**Use code EGIDESIGNS for 15% off your order at Glassboard Studio**
|