Two Easy Cards from One 6 x 6″ Patterned Paper
This is the 7th episode of my new card-making series, Saturday Sketches and Fun Fold Cards. In this episode, I made two cards using the Jess Crafts 6 x 6″ Paper-Busting Template #28, Recollections Jewels & Jolly Patterned Paper, and Simon Says Stamp/Gina K Designs Merry & Light and Shimmering Christmas stamp sets. All products used in today’s card tutorial projects are listed below.
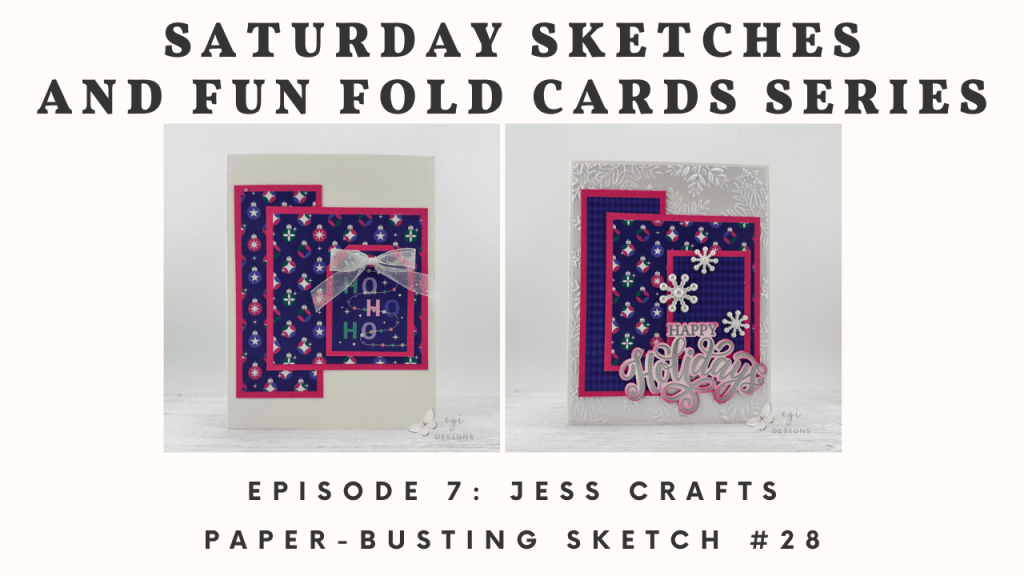
In this series, I find a card sketch on the internet and make a card (or more) using the card sketch. If making more than one card, the first one will stick closely to the sketch, while the others will have slight changes or demonstrate different techniques. I also show how to make fun fold cards in the series, so we have lots of card-making creative options.
Measurements Different From Template:
Inside Panel: 3 3/4 x 5"
Inside Mat: 4 x 5 1/4"
Inside Strip: 1/4 or 1/2 x 5"

Card 2-
Background Mat Layer: 4 1/8 x 5 3/8"
Saturday Sketches and Fun Fold Cards Series: Card Sketch Information
For these cards, I used the Jess Crafts 6 x 6″ Paper Busting Template #28. This sketch creates two cards from a 6 x 6″ sheet of paper with no scraps. The mat measurements are also included on the sketch. Click over to Jess Crafts’ blog post about this specific template, where you can find and download the sketch.
Jess Crafts has a wide variety of paper-busting templates for all sizes of paper. Be sure to check out her YouTube channel and blog for more templates.
Paper Products Used
Card 1 & 2
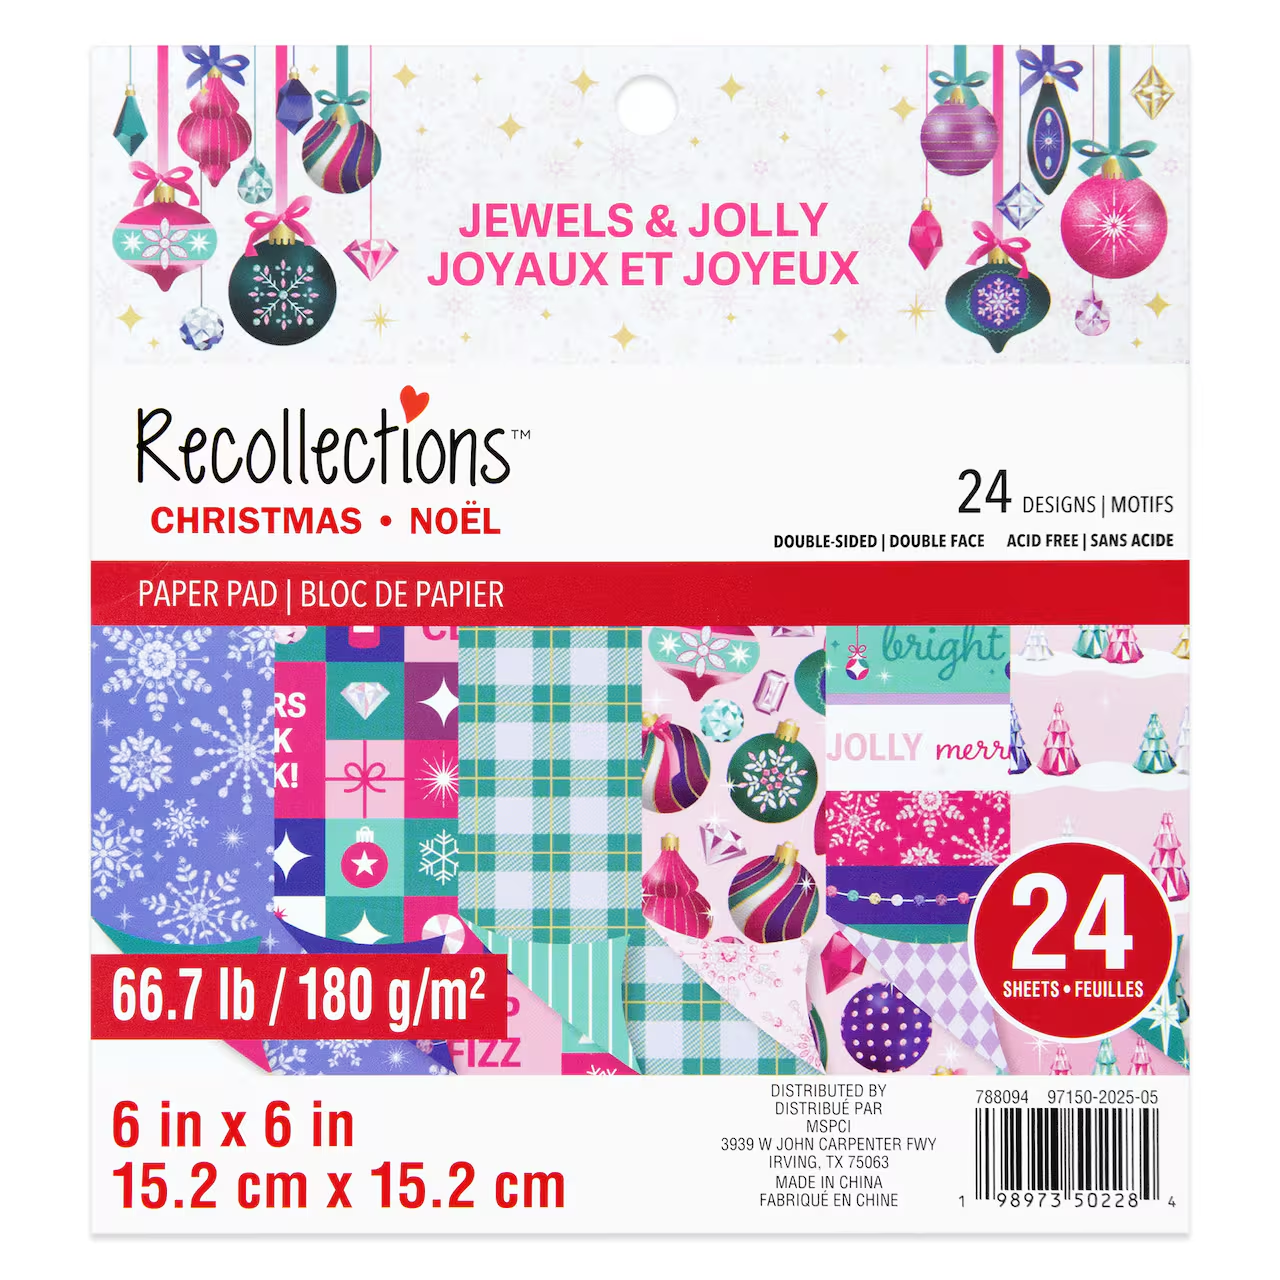
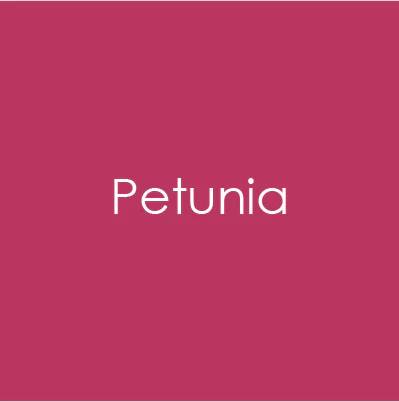
For these cards, I used a sheet of the Jewels & Jolly 6 x 6″ Patterned Paper from Recollections. The card bases were made from Gina K Designs White Heavyweight cardstock, and the mat layers were cut from Gina K Designs Petunia cardstock. On the inside of the card, I used a panel of Gina K Designs Layering Weight cardstock and a mat layer of the Petunia cardstock.
Card #2 – Stepped Up Version
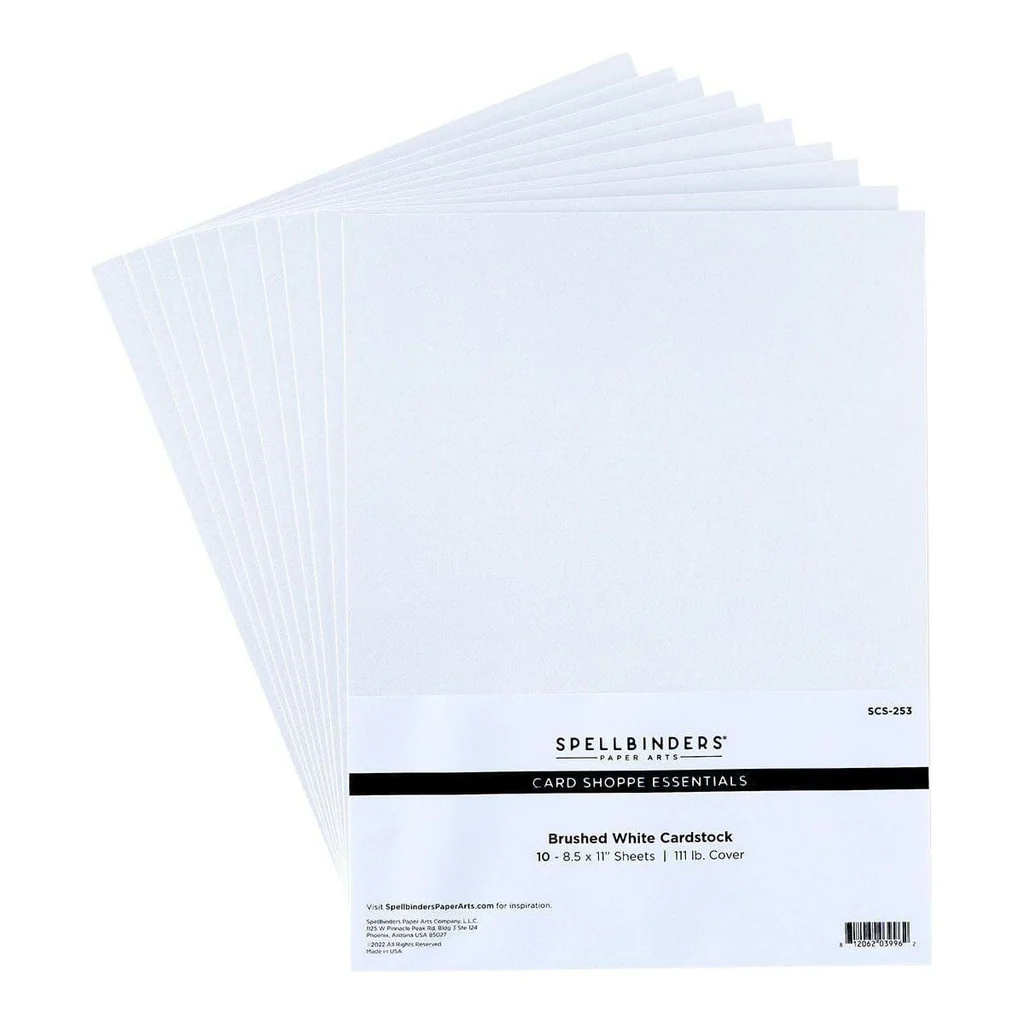
For this card, I added a background panel of Spellbinders Brushed White cardstock. This is a gorgeous pearlescent paper.
Assembling Card #1- True to Sketch
I followed the card measurements and cut out the panels from the 6 x 6″ paper, and also cut out the mats from the Petunia cardstock. I added the patterned paper to the mats using my tape runner. For the smallest piece, I swapped it out with one of the tag cut-aparts from the paper pad.
I added the pieces to the card front using the card sketch as a guide. For the small patterned paper piece that I didn’t use on the front, I added it behind the square piece to even out that layer, since it was sitting partially on top of the long piece.
For the embellishment, I cut a piece of Stampin’ Up! White Glittered Organdy Ribbon and made a bow with it. I added the bow to the top of the tag using a glue dot.
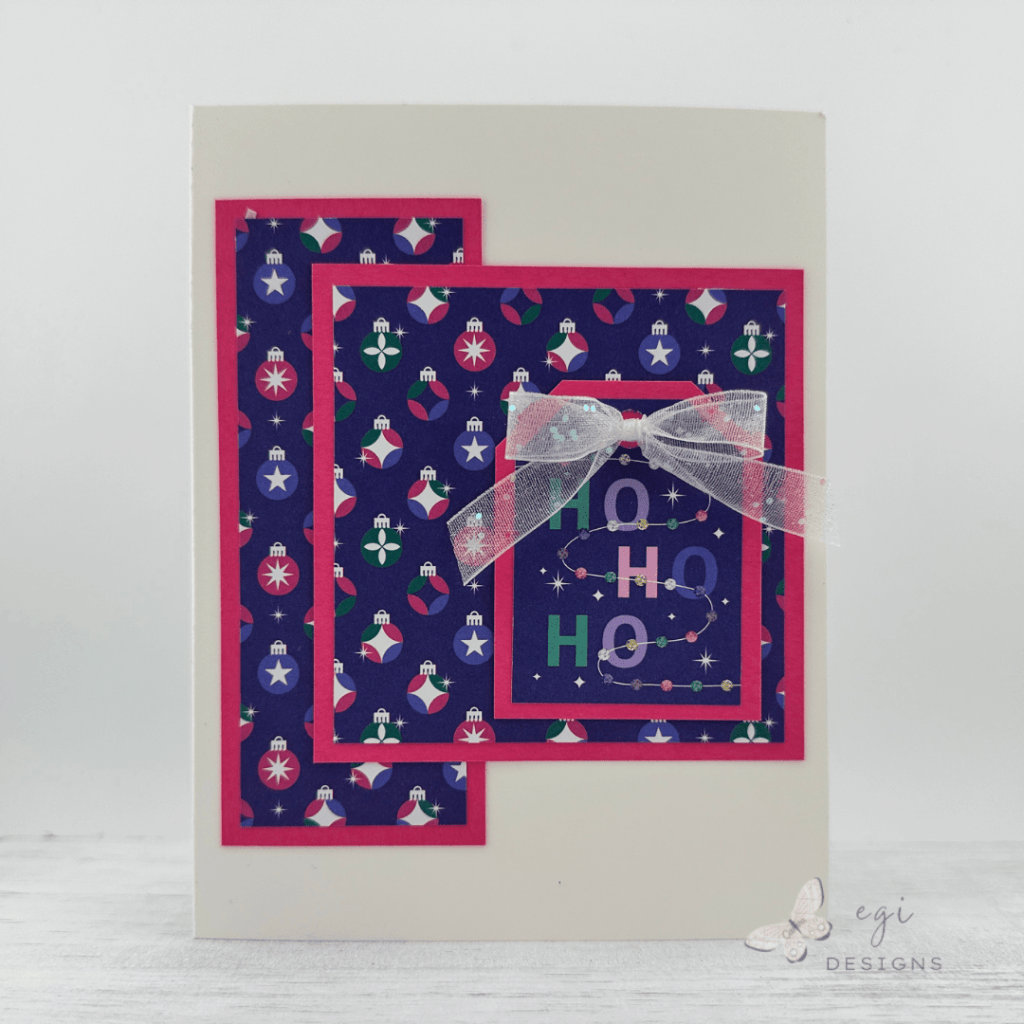
While I stayed true to the sketch on this card, there are still many easy options to change up the look of the card front. One option is flipping over one or more of the patterned paper pieces to add additional interest to the card front. You could also use an embossing folder on any of the patterned paper pieces or mat layers.
Assembling Card #2 – Stepped Up Version
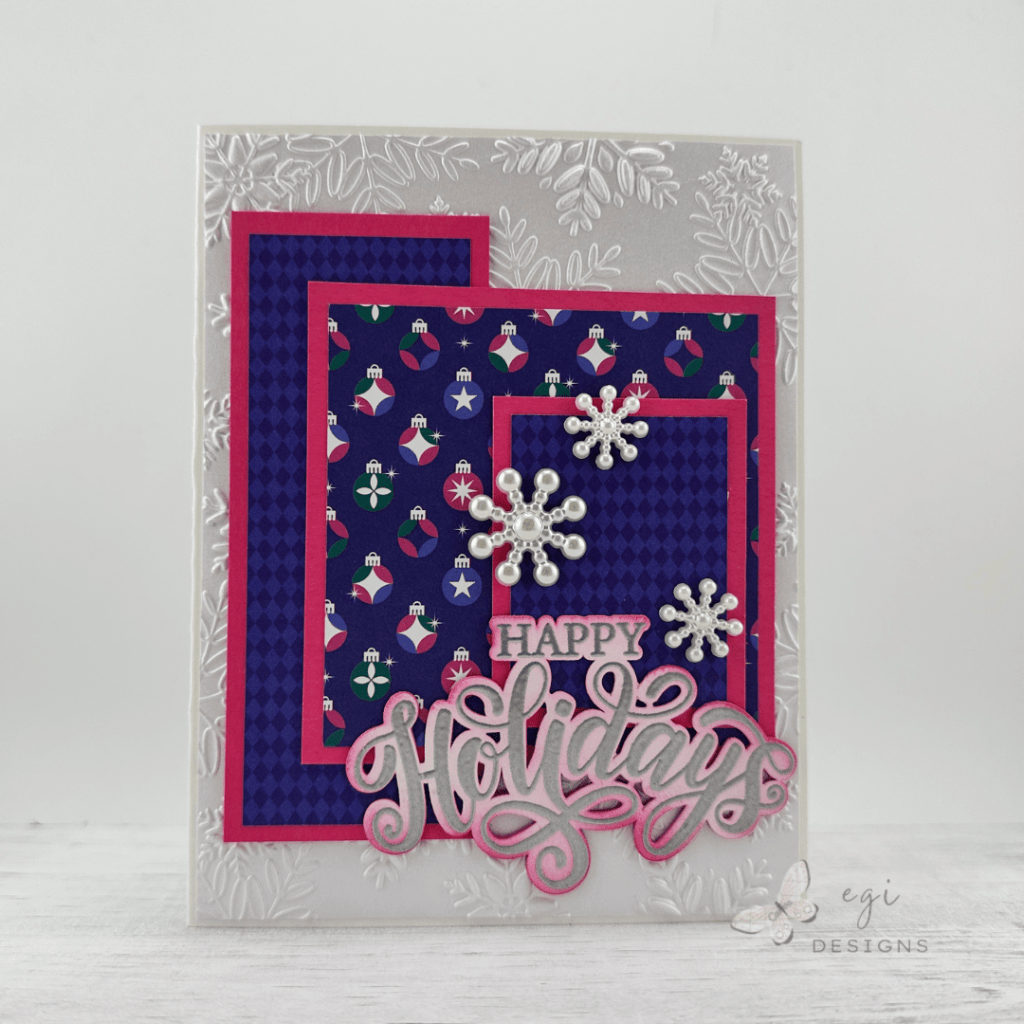
For this card, I embossed the Brushed White cardstock background with the Simon Says Stamp Splendid Snowflakes Embossing Folder. I added it to the card base, and then used my tape runner to attach the patterned paper pieces and mat layers to the card front. On this card, I flipped over two of the patterned papers to add interest to the card front.
The sentiment comes from the Gina K Designs Merry and Light stamp set. I heat embossed the Happy Holidays sentiment using Gina K Designs Fine Detail Silver Embossing Powder, then cut it out using the coordinating die. I cut another layer from the Petunia cardstock, and an additional bottom half of the sentiment die to help keep the sentiment level on the card front.
I layered all those pieces together with glue, then used a blending brush with Petunia ink to add some color to the edges of the sentiment. Once that was complete, I added the sentiment to the card front with liquid glue. To embellish the card, I added three pearl snowflake stickers from Recollections to the card front.


The Merry and Light Stamp Set is from a recent Create Together class collaboration between Simon Says Stamp and Gina K Designs. While the full card kit for the class has sold out, the individual pieces from the kit are available at Simon Says Stamp, including many stamp/die/ink/poly-glaze bundles. I have listed the options in the links below. There is also a free class from Gina K Designs and Simon Says Stamp available on YouTube using this stamp set and card kit.
Inside Card Panels
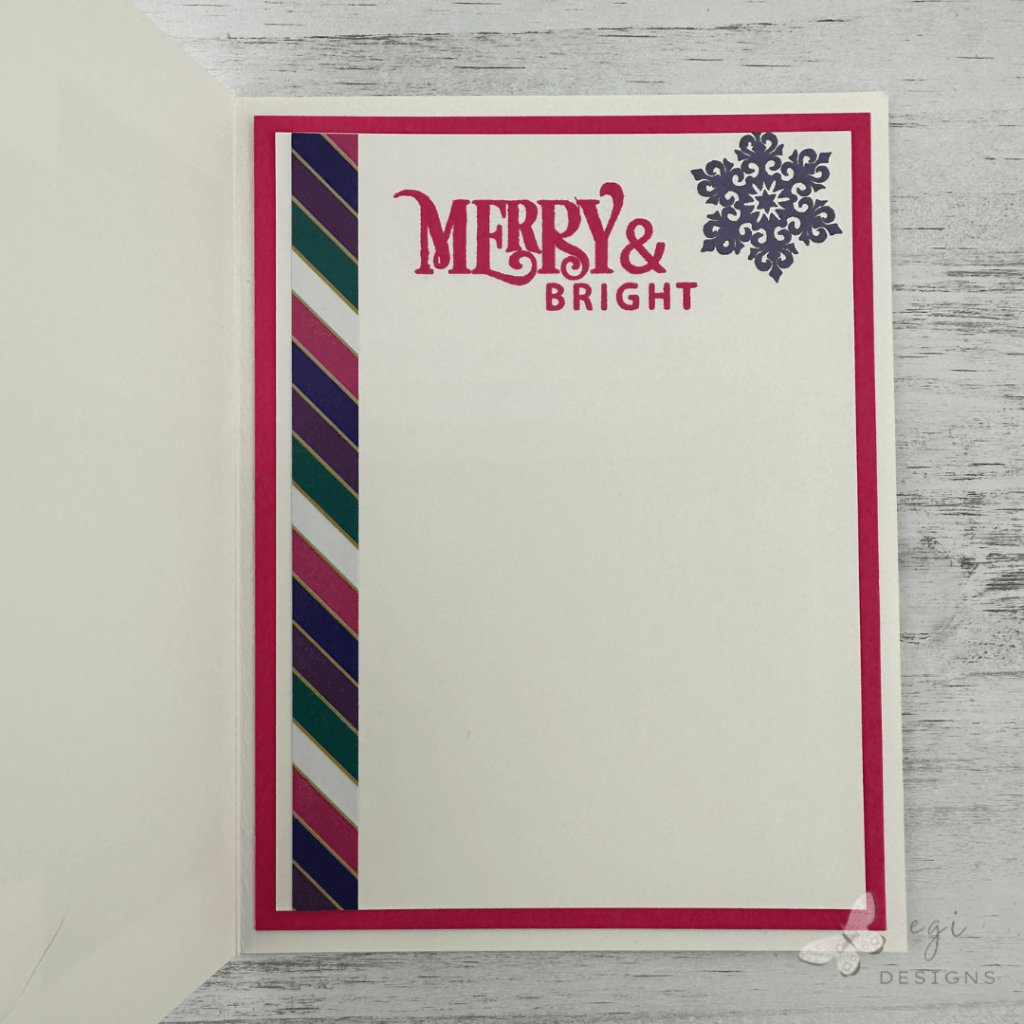
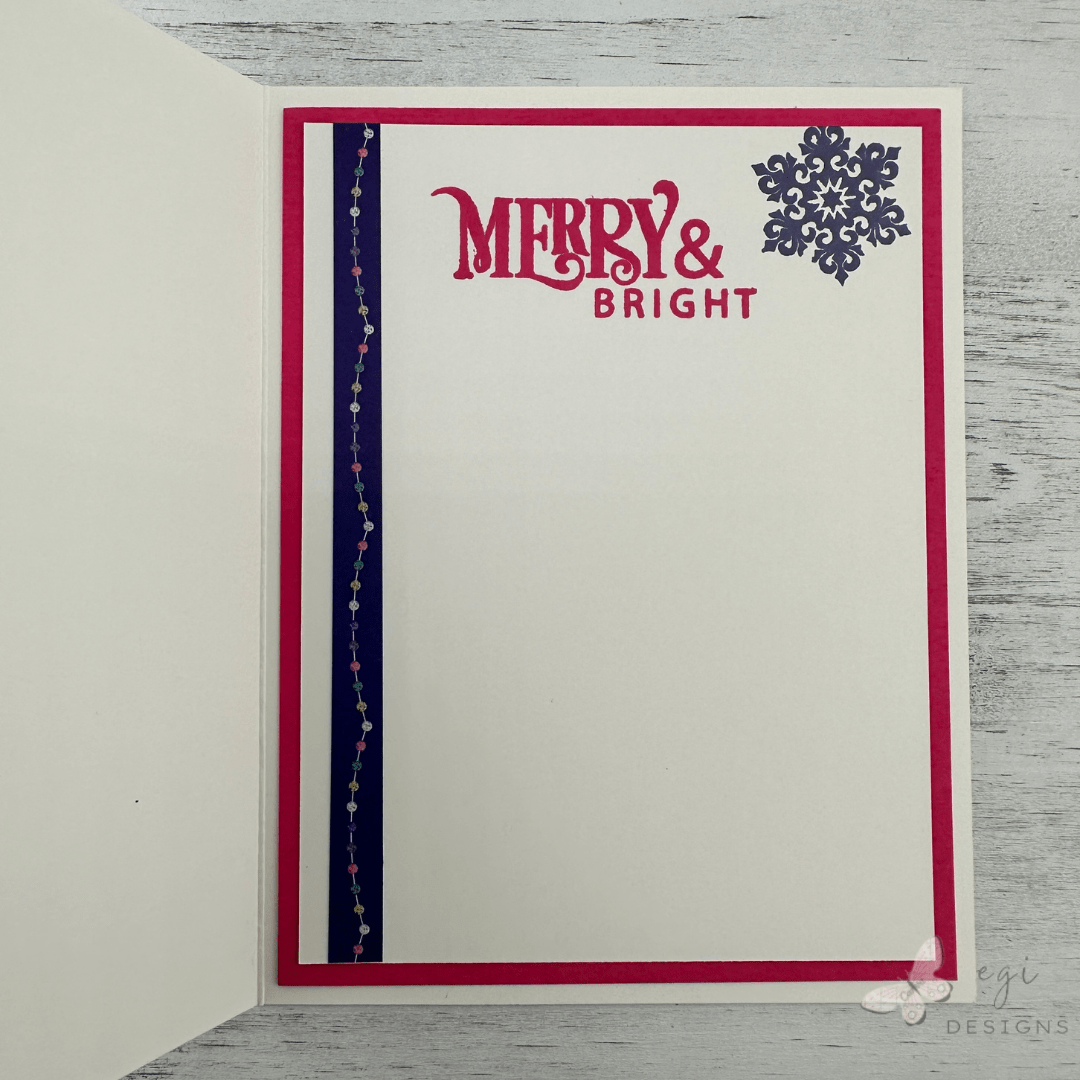
For the inside of both cards, I used the Simon Says Stamp/Gina K Designs STAMPtember 2025 stamp set called Shimmering Christmas. I added the sentiment towards the top middle of the panel using Petunia ink. Next, I added a snowflake on the right side from the same stamp set, using Altenew Twilight Sky ink. To finish off the inside card panels, I cut two border strips from the paper pad and added one on the left side of each panel.

For more ideas on decorating the inside of cards, I have a video with lots of fun ideas for that!
Step-by-step tutorial:
I hope you enjoyed this project! For more card-making ideas, check out my YouTube playlist and card-making blog posts. I also have a Saturday Sketches and Fun Fold Cards playlist if you want to check it out.
Product Information
Here are the products I used in today’s project. Please consider shopping through my affiliate links, as it greatly helps out my channel at no extra cost to you. Thanks so much for supporting me and my channel!
**Use code EGIDESIGNS for 15% off your order at Glassboard Studio**
|















Additional Products Used:
- Recollections: Jewels & Jolly 6 x 6″ Paper Pad
- Recollections: Pearl Snowflake Stickers
- Simon Says Stamp/Gina K Designs: STAMPtember – Shimmering Christmas
- Stampin’ Up!: White Glittered Organdy Ribbon