
Sheetload of Cards Sketch: August 2026 | 8 Unique Cards!
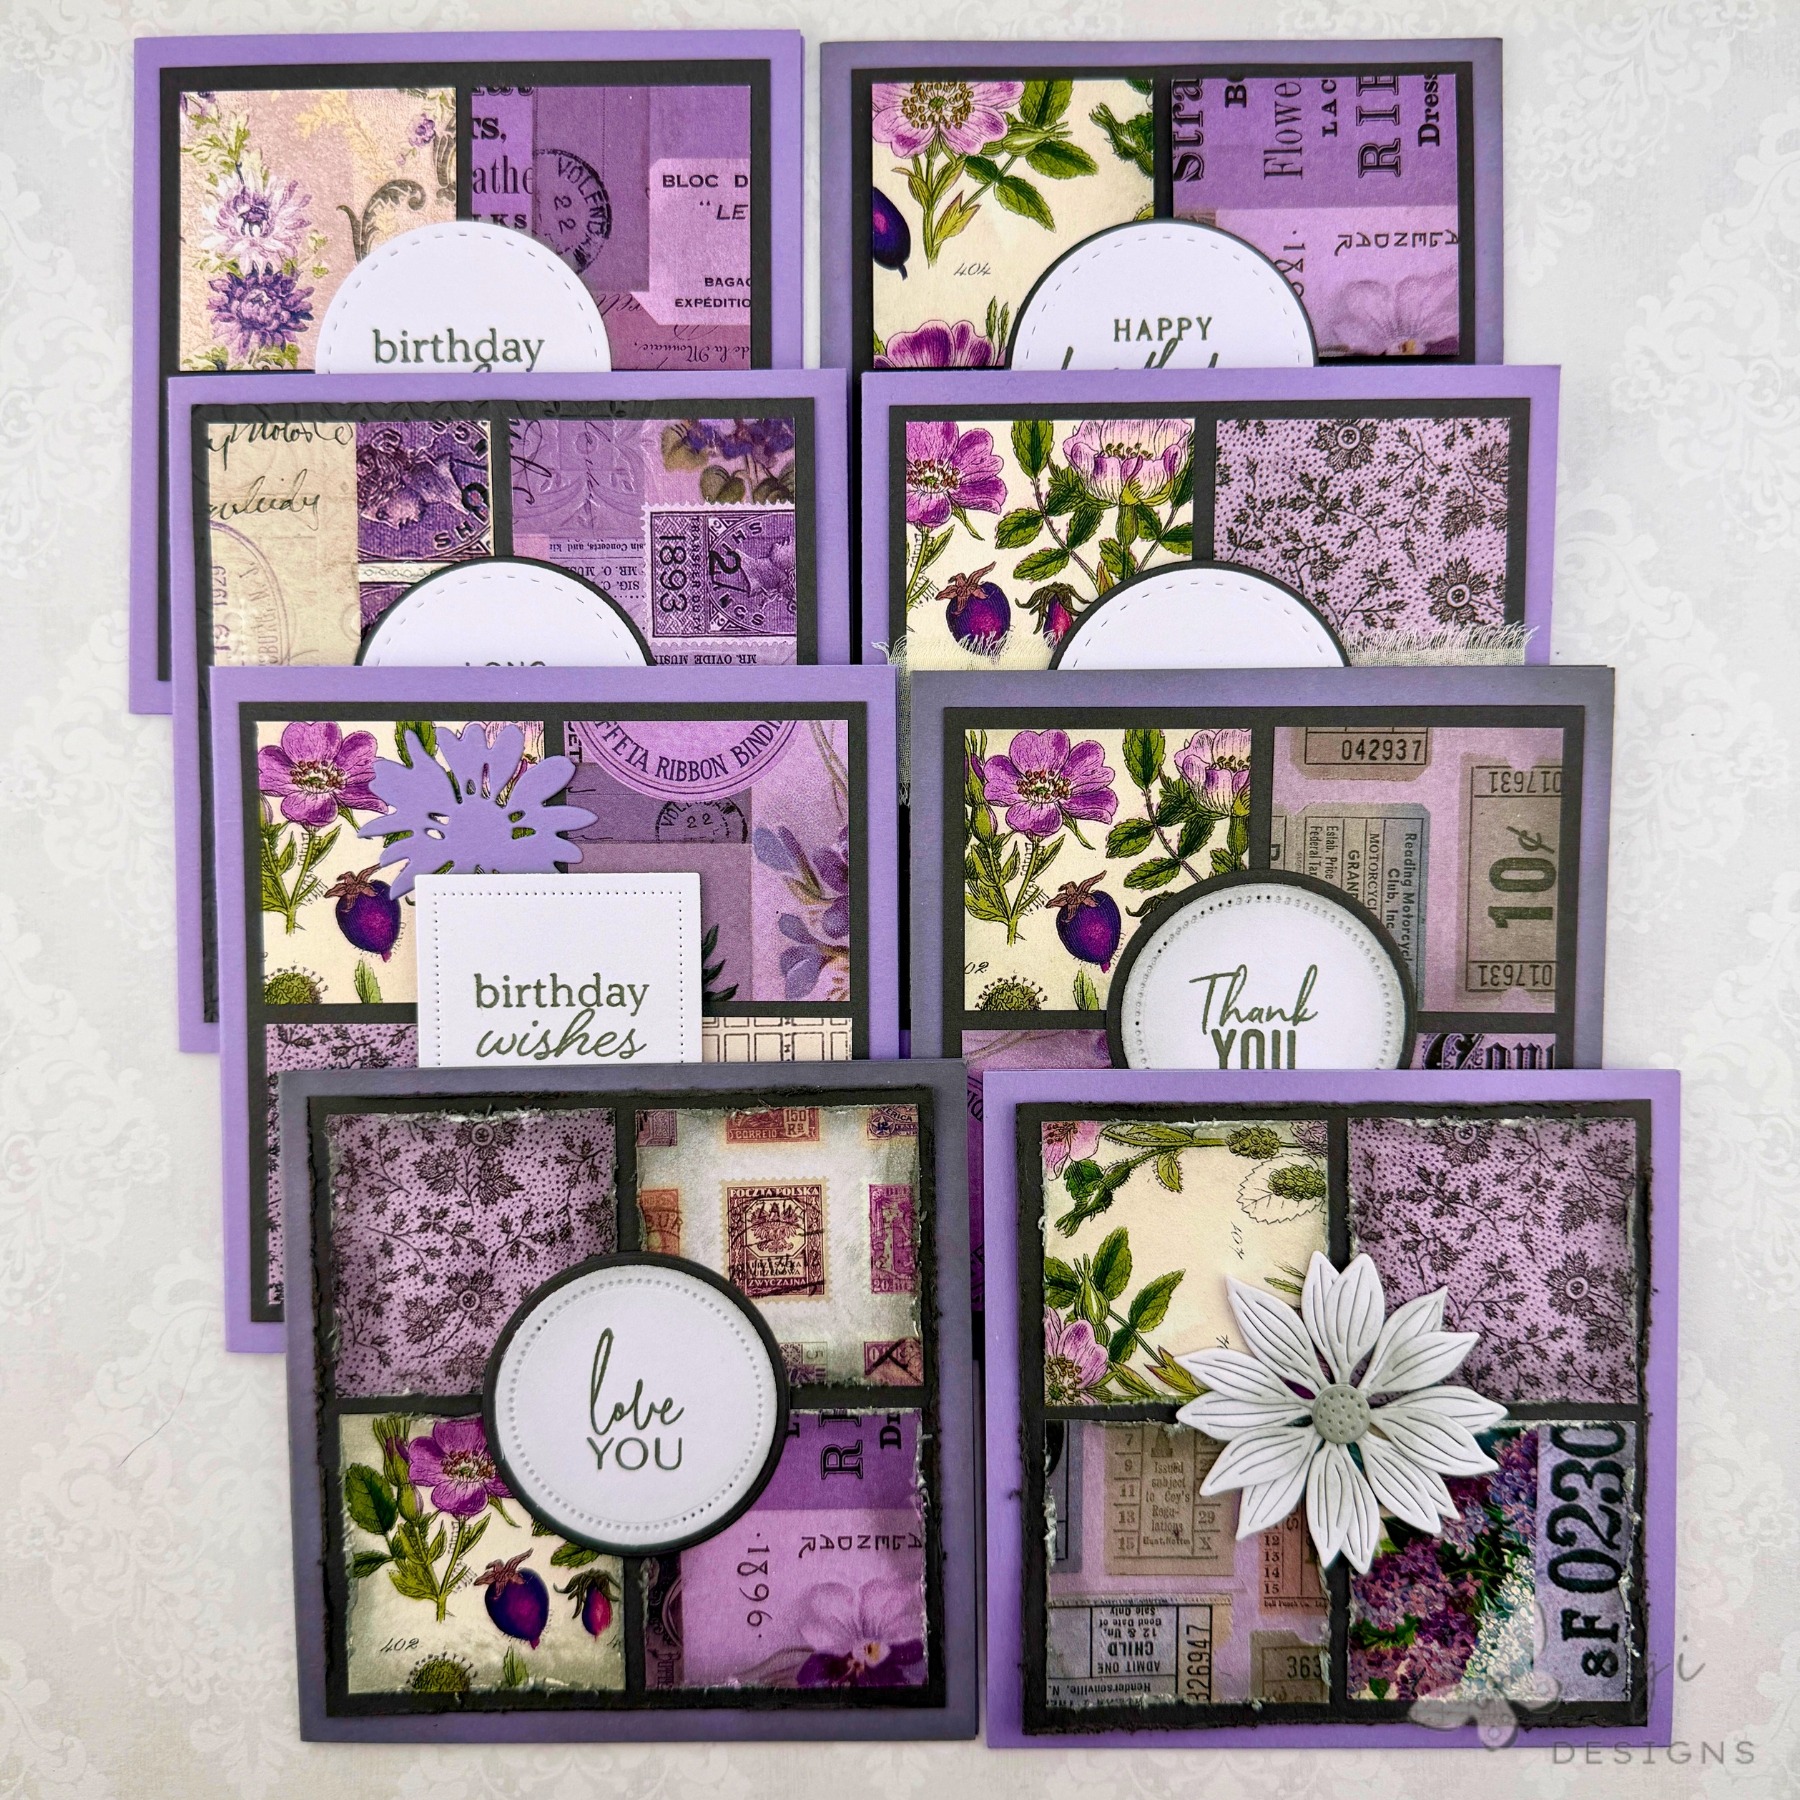
I am delighted to announce that I am the Guest Artist for the August SheetLoad of Cards sketch!! Using this sketch, I created eight unique cards with the same supplies. On each one, I changed part of the design or added a technique to demonstrate how you can make card sketches your own. All products used in today’s card tutorial project are listed below.
Sheetload Card Instructions
To make the cards, I used the Call Me Crafty Al’s SheetLoad of Cards Sketch for August 2026. Her video is linked in the box below, and it is where you can download the printable card sketch. This sketch makes eight cards if you follow the directions exactly. It also lists the instructions to make one card if desired.
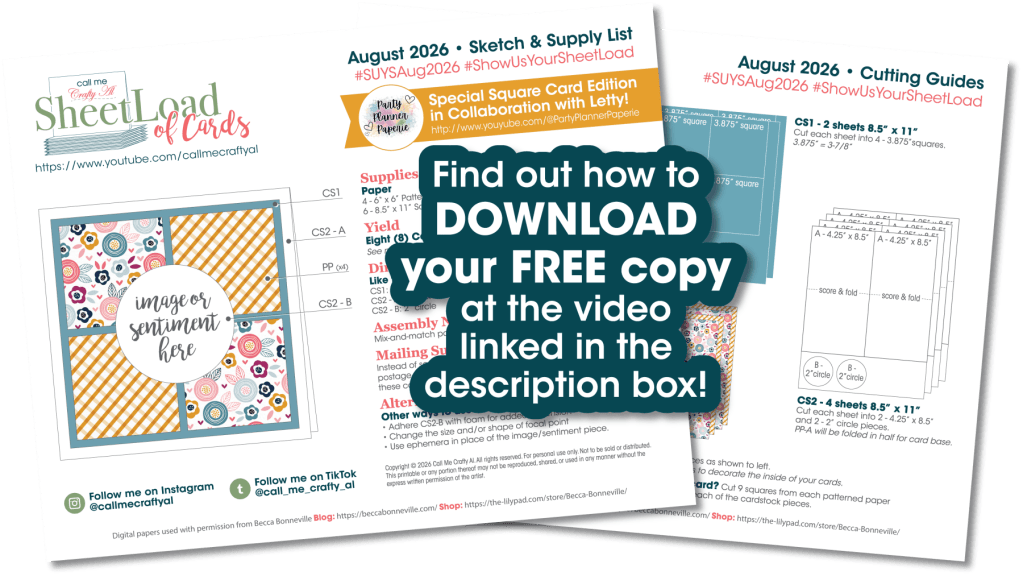
Measurements: (different than sketch)
Inside Panel: 3 3/4 x 3 3/4"

**See the Call Me Crafty Al SheetLoad of Cards August 2026 Sketch video for the sketch layout and additional measurements**
Related Videos/Playlists:
Check out this month’s playlist of videos from the SheetLoad Creative Team!
SheetLoad Creative Team Channels:
- *GUEST* Me! Ellen https://www.youtube.com/@egidesigns
- *INSPIRED BY* Letty https://www.youtube.com/@PartyPlannerPaperie
- Tobey https://www.youtube.com/@BittyPenny
- Beth https://www.youtube.com/@BourbonCreekCrafts
- Carmen https://www.youtube.com/@ChooseJoyWithCarmen
- Chelsey https://www.youtube.com/@creativechelsey
- Ashleigh https://www.youtube.com/@MintTwistCards
- Regan https://www.youtube.com/@UniquelyReganHandcraftedCards
- Justine https://www.youtube.com/@JustineDvorak
- Yvette https://www.youtube.com/@YvetteOleaCreates
- Bec Ann https://www.youtube.com/@becnsamCraftingFun
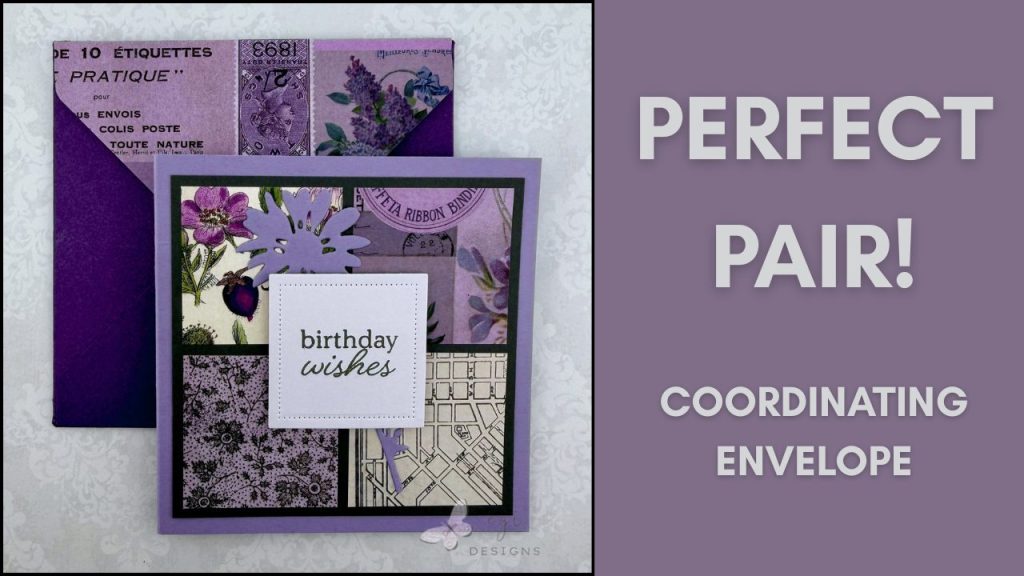
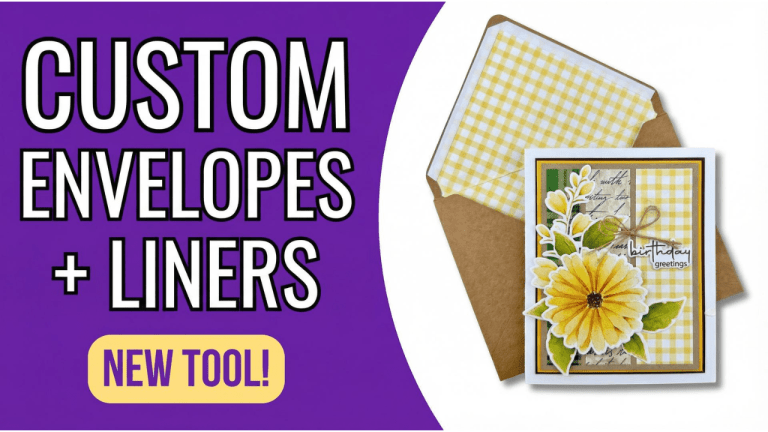
I have a coordinating envelope project available, which I created using the We R Makers Envelope Punch Up Board, Paper Accents Pearlized Paper, and a scrap of the Tim Holtz Palette: Purple paper. I have a video and blog post for the envelope project.
Preparing the Card Front Pieces and Card Bases
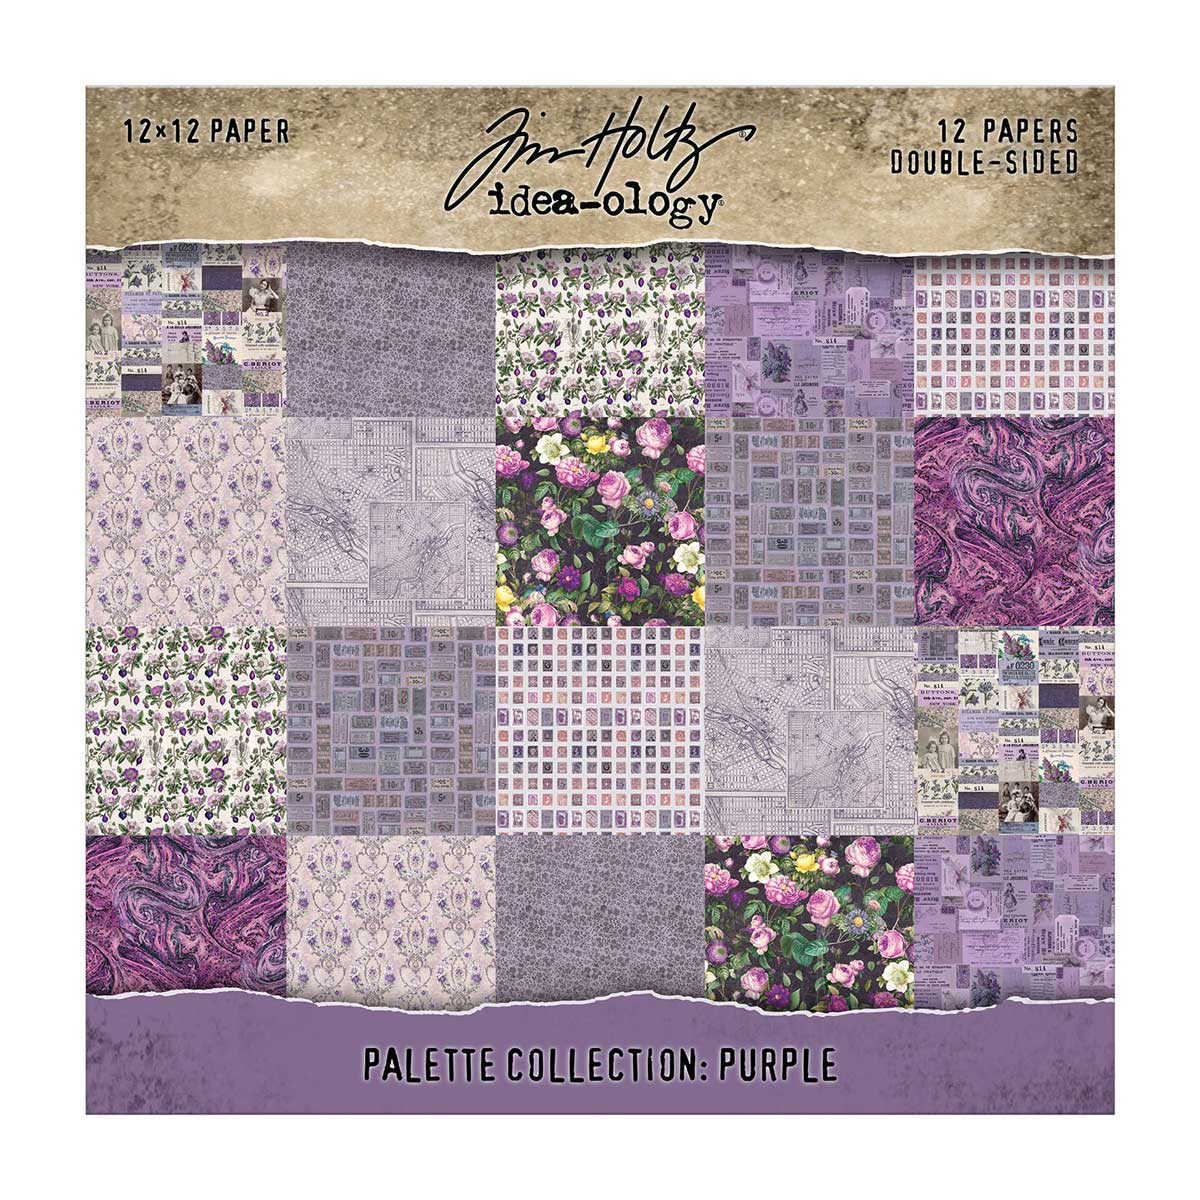
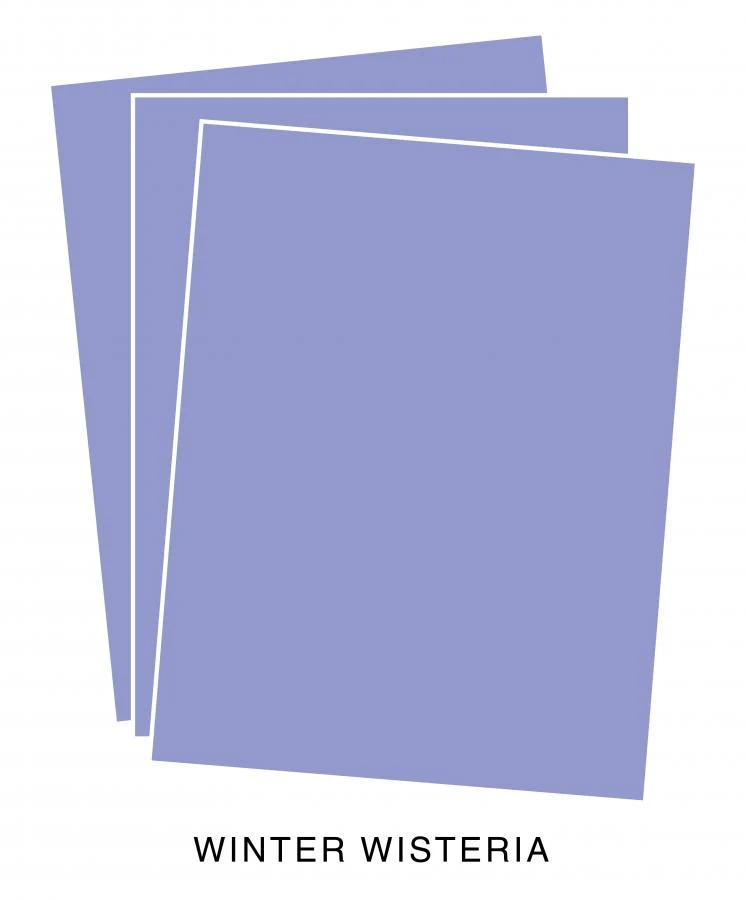
To create these cards, I cut the Tim Holtz Palette: Purple Paper according to the sketch, for the small squares on the card front. I cut the mat layer from Altenew Pure Graphite cardstock, and the card bases from Papertrey Ink Winter Wisteria cardstock.

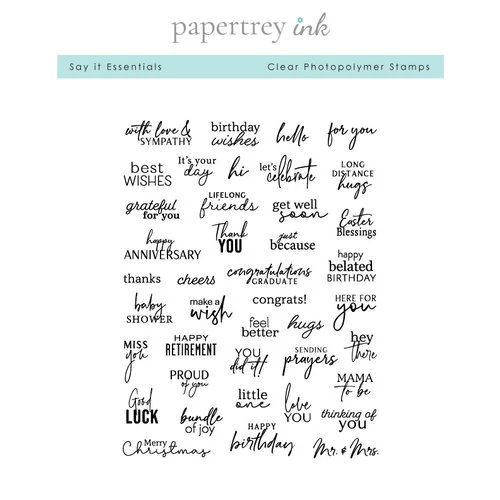
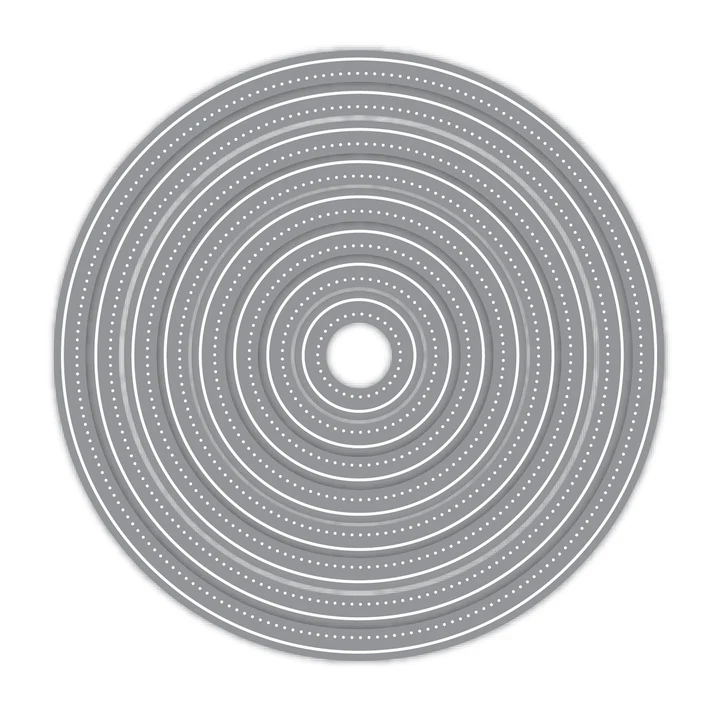
For the sentiments, I used a variety of stamps from the Papertrey Ink Say It Essentials stamp set, stamped with Altenew Rock Collection inks. I cut the sentiments out using a variety of die sets: Papertrey Ink Circle It Stitched, LDRS Pinpoint Circles, and the Waffle Flower Nesting Piercing Squares Die Set. For the mat layers for the circles, I used the Papertrey Ink Circle It Die Set, and Simon Says Stamp Basic Shapes Circles Die Set.


Stepped Up Card Elements
For this sketch, there are four squares on top of a square mat, and then that panel is placed on the card base. I wanted to add different design details to each card to show easy ways to step up a sketch card layout. To accomplish this, I added: inked edges, popped up the pieces, distressed the edges, added a mat layer to the sentiments, added a die cut, used an embossing folder, and added a distressed chiffon ribbon.
Card Assembly Tip:
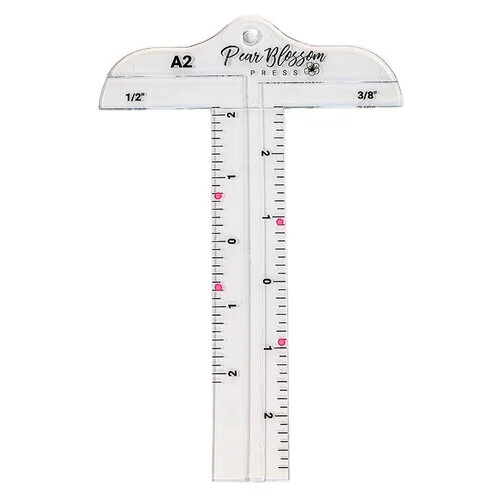
Use a spacing tool like the Pear Blossom Press T-square ruler to line up and place the squares on the mat. The A7 ruler has spacing placement for 1/4″ and 1/8″ layers, and the A2 ruler has placement for 3/8″ and 1/2″ layers.

Techniques Listed:
Set 1

| Top Left Card: Exact to Sketch Papertrey Ink: Circle It: Stitched Die Set | Top Right Card: Papertrey Ink: Circle It: Stitched Die Set Mat Layer for Sentiment Inked Edges with Altenew Silver Stone Ink Popped Up Squares with Foam Tape |
| Bottom Left Card: Papertrey Ink: Circle It: Stitched Die Set Mat Layer for Sentiment Embossed Squares and Mat Layer: Crafter’s Companion Mediterranean Dreams Decorative Tiles Embossing Folder | Bottom Right Card: Papertrey Ink: Circle It: Stitched Die Set Mat Layer for Sentiment Distress Chiffon Ribbon Sentiment Popped Up with Foam Tape |
Set 2

| Top Left Card: LDRS Pinpoint Circles Die Set Mat Layer for Sentiment Distressed Edges on Squares and Mat Layer Inked Edges with Altenew Industrial Diamond Ink | Top Right Card: Waffle Flower Nesting Piercing Squares Die Set Tim Holtz Vault Wildflowers Die Set Popped up Sentiment with Foam Tape |
| Bottom Left Card: Distressed Edges on Squares and Mat Layer Inked Edges with Silver Stone No Sentiment SSS Rustic Layering Flower Die Set: Spellbinders Fairy Tale Cardstock, Altenew Limestone and Silver Stone Inks | Bottom Right Card: LDRS Pinpoint Circles Die Set Mat Layer for Sentiment Inked Edges with Altenew Silver Stone Ink |
Inside of Cards
I cut the inside panels from Spellbinders Fairy Tale cardstock, and added scraps of the patterned paper to the left side of the panels. On some of them I used a paper strip from top to bottom, and on others I cut the strips into little flags of different lengths and layered them together.

I adhered the panel inside the card bases using temporary adhesive, and I will add permanent adhesive once I write out the message. This allows me to replace the panel if I mess up the writing, instead of having to tear the whole card apart.
If you are looking for additional ways to decorate the inside of your cards, check out my Part 1 and Part 2 videos with more easy ideas.
Mailing Tips
There are two options for mailing this card. You can use a square envelope, and it will require a non-machinable stamp (add an extra ounce stamp if the card is over 1 oz.).
Since this card is 4 1/4″ wide, you can also use a regular A2 envelope, and pay regular postage (add an extra ounce stamp if the card is over 1 oz.).
If using an A2 envelope, I would recommend cutting two A2 card panels, embossing them with an embossing folder, and placing the square card between the layers before putting it into the envelope. This will smooth out the contents inside the envelope and erase the missing section of card inside the envelope. See the mailing tips section of my SheetLoad video for a visual explanation of this method.
If you need an explanation guide on how to calculate postage for mailing cards, I have a video about that with lots of good information on how to choose the correct stamps for mailing.
Card tutorial video:
I hope you enjoyed this project! For more card-making ideas, check out my YouTube playlist and card-making blog posts. I also have a Sheetload of Cards playlist on YouTube.
Product Information
If you would like to view the supplies I used to create today’s project, this link will show you all the products and where they are available for purchase. Please consider shopping through my affiliate links, as it greatly helps out my channel at no extra cost to you. Thanks so much for supporting me and my channel!
**Use code EGIDESIGNS for 15% your order at Glassboard Studio**
Additional Products Used:
- Tim Holtz/Sizzix: Vault Wildflowers 666565
- Crafter’s Companion: Mediterranean Dreams Decorative Tile Embossing Folder



One Comment