Easy Holiday Foiled Cards | Spellbinders Season’s Greetings BetterPress and Foil Plate
In today’s video project, I used Spellbinders products to create a gold-foiled Season’s Greetings card on Cranberry cardstock. For the background, I used the Molded Frame Embossing Folder with gold foil cardstock, and added some poinsettias to the card front from the Holiday Blooms Die Set.
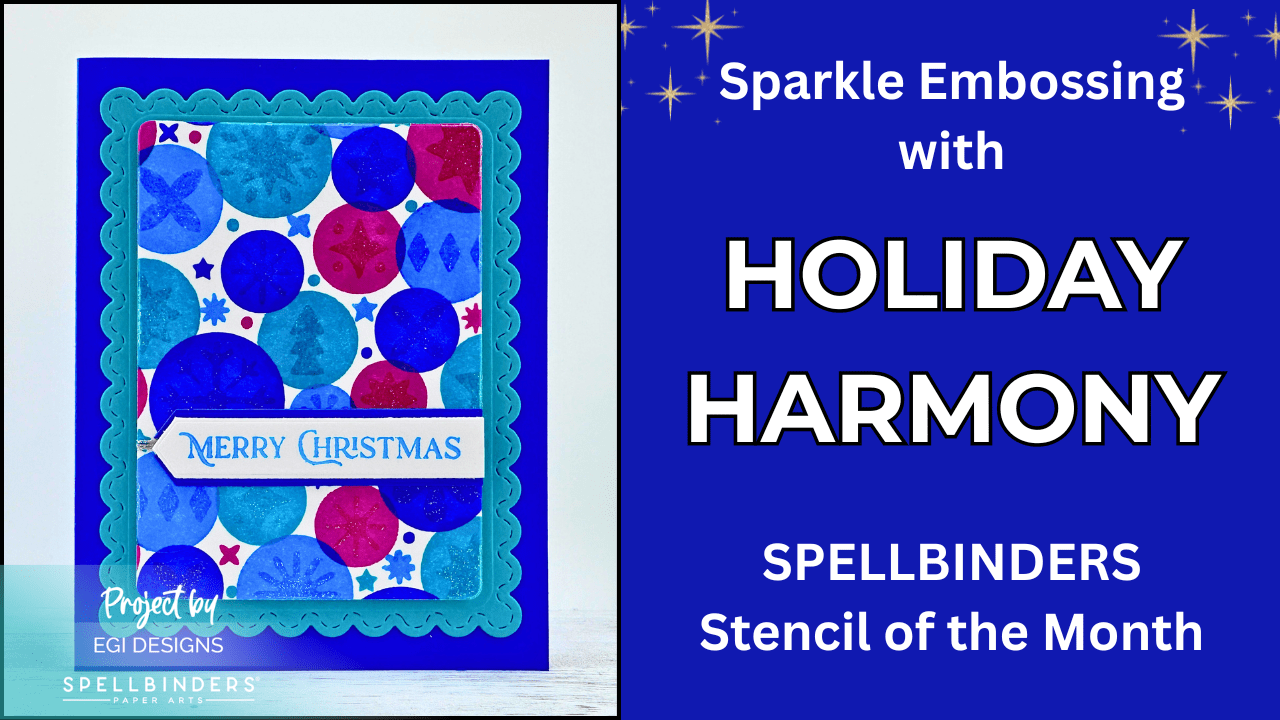
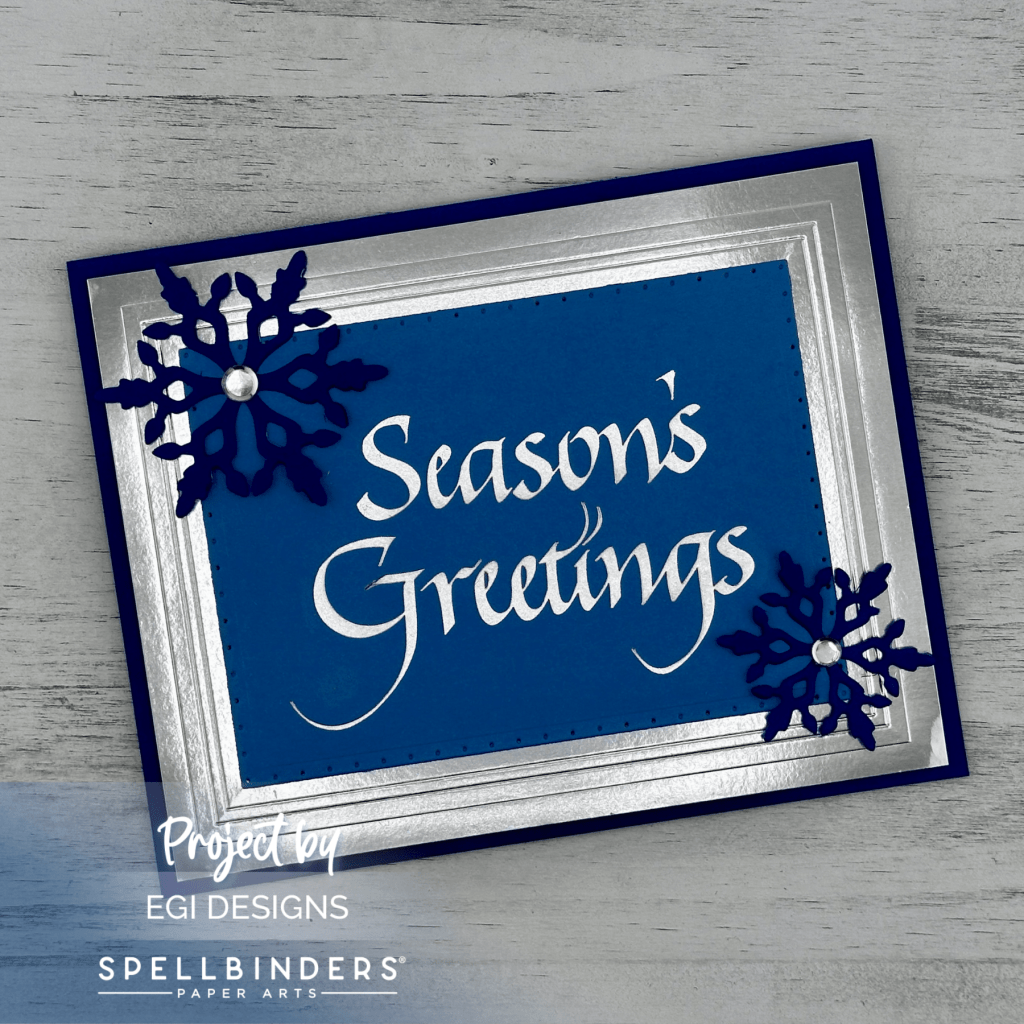
Towards the end of the video, I show an additional card where I used the same process, but used silver foil, Celestial blue cardstock, and the Layering Snowflakes die set for a different look.
All products used in today’s card tutorial project are listed below. Spellbinders sent me this BetterPress/Foiling plate to have a play with, and I am grateful for the opportunity!
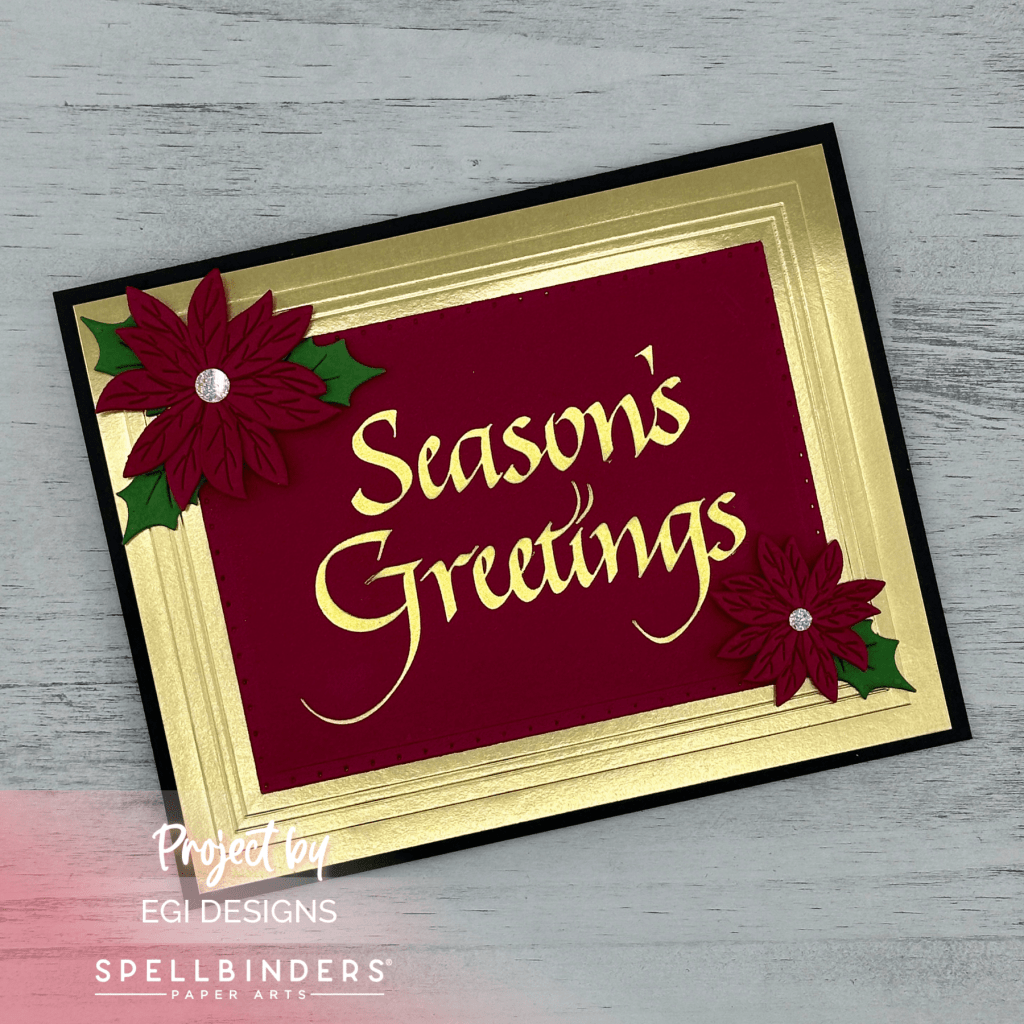
Measurements:
Card Base: 6 x 4 3/4"
6 x 9 1/2", Score at 4 3/4"

Middle Panel: 4 1/2 x 3 1/4"

Foil Frame: 5 3/4 x 4 1/2"
Related Videos/Playlists:
I have a Winter and Holiday Card playlist available with more festive card ideas.
Creating the Foiled Background and Frame
For this card, I cut a panel of Spellbinders Cranberry Cardstock, and a piece of Spellbinders Gold Glimmer Foil. I heated up my Spellbinders Glimmer Machine, and added the Spellbinders Upright Italic Season’s Greetings BetterPress and Foil Plate to the platform.

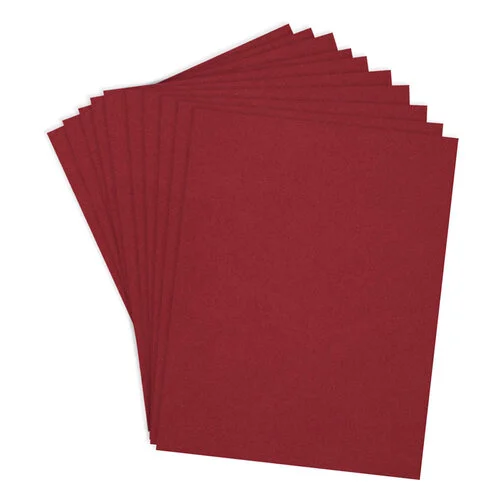
I used Pixie Tape to add the foil to the Cranberry cardstock, and when the Glimmer timer was finished, I added the cardstock on top of the foil plate, foil-side facing down, centering it on the platform. I added the top plates and ran the Glimmer Machine through my Sizzix Switch die-cut machine.
Next, I removed the cardstock from the platform and let it cool, then peeled off the foil. It left a gorgeous foiled image!! I used my white polymer eraser, and battery-powered eraser, to remove the over-foiling easily.
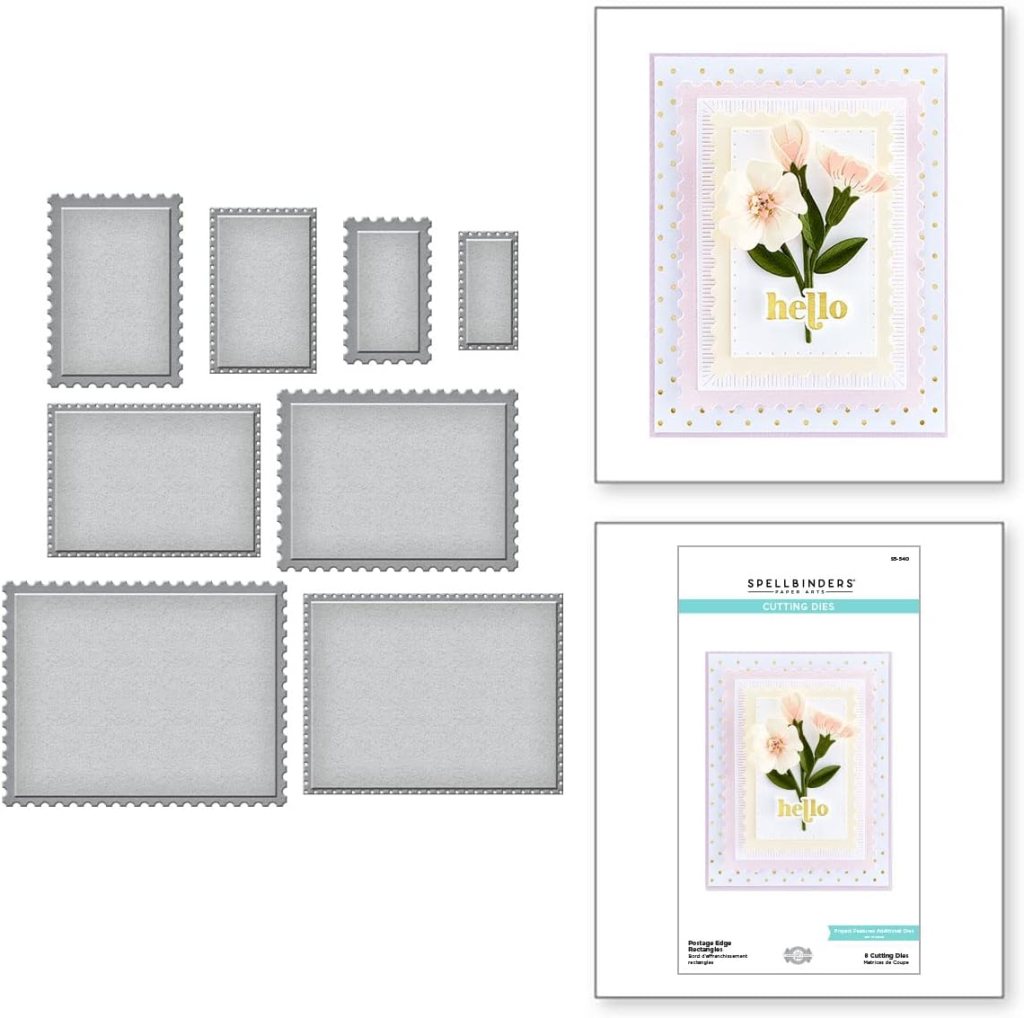
Once that was set, I trimmed the panel using the Spellbinders Postage Edge Rectangles Die Set. One of the rectangles was a perfect match to the dimensions inside the Spellbinders Molded Frames Embossing Folder.

I cut a piece of Spellbinders Matte Gold Foil Cardstock, and ran it through the Molded Frame Embossing Folder. Once that was complete, I used my trimmer to trim around the outside embossed frame to create the background panel.
Card Assembly
On the embossed foil piece, I added Altenew Black Foam Tape to the front and back where the frame design dips, to ensure the embossing wouldn’t flatten during mailing. I added glue to the foam tape and attached the Cranberry panel to the front of the embossed panel, centering it inside the frame area. I removed the release paper from the foam tape on the back of the panel, added glue to the foam for some wiggle time, then added the panel to a Spellbinders Raven cardstock card base.
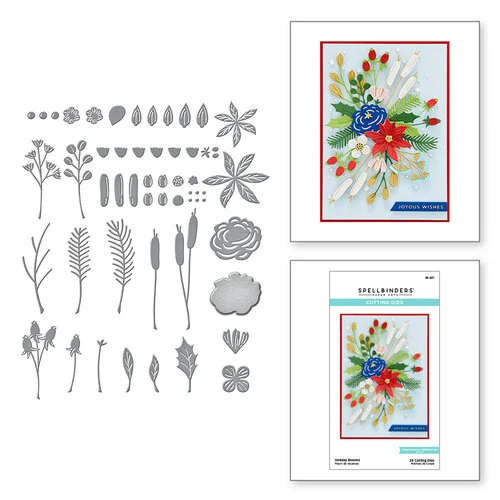

For the flowers, I cut out the poinsettia and leaves from Spellbinders Cranberry and Fern cardstocks, and then inked their edges using Gina K Designs Red Velvet and Medium Spruce inks. I added the poinsettias to the card front using thin foam squares, and added the leaves with glue.
Once the flowers and leaves were adhered, I added Trinity Stamps Gold Sparkle Spots as the flower centers to complete the card front.
Additional Card Example
I created an additional card using the same design, with a different color palette. For this card, I used Spellbinders Silver Foil cardstock, Silver Hot Foil, Celestial cardstock for the foiled panel, Cosmic Sky cardstock for the card base and snowflakes, Layering Snowflakes Die Set, and Silver Smooth Discs to embellish the snowflake centers.
Inside of Card
I did not create the inside panels for these cards yet, but if you are looking for easy ways to decorate the inside of your cards, check out my Part 1 and Part 2 videos with lots of ideas.
Card Tutorial
Check out the card tutorial video here:
For more Spellbinders new product unboxings and card tutorials, check out my YouTube playlist. I also have a Card-Making Tutorial playlist if you are looking for some crafty inspiration!
Project Supply Links
If you would like to view the supplies I used to create today’s project, this link will show you all the products and where they are available for purchase. Please consider shopping through my affiliate links, as it greatly helps out my channel at no extra cost to you. Thanks so much for supporting me and my channel!
**Use code EGIDESIGNS for 15% your order at Glassboard Studio**