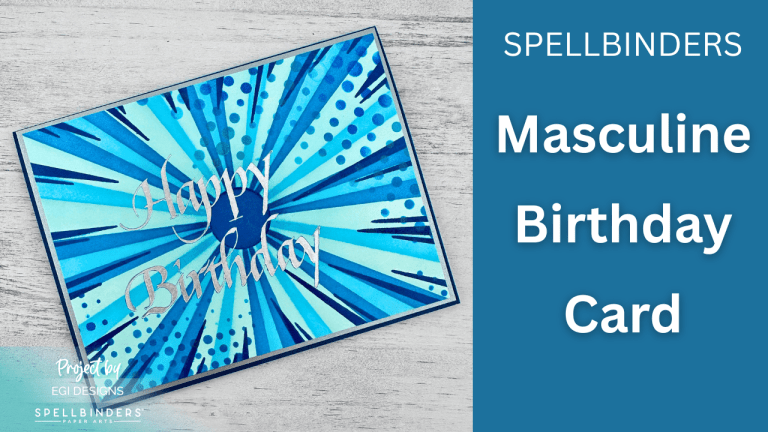
Joy Fold Cards: Saturday Sketches and Fun Fold Cards-Ep. 6
This is the 6th episode of my new card-making series, Saturday Sketch Series! I have added to the topics covered in this series to include Fun Fold Cards. The new series name is Saturday Sketches and Fun Fold Cards. In this episode, I made two Joy Fold cards, in both vertical and horizontal orientations.
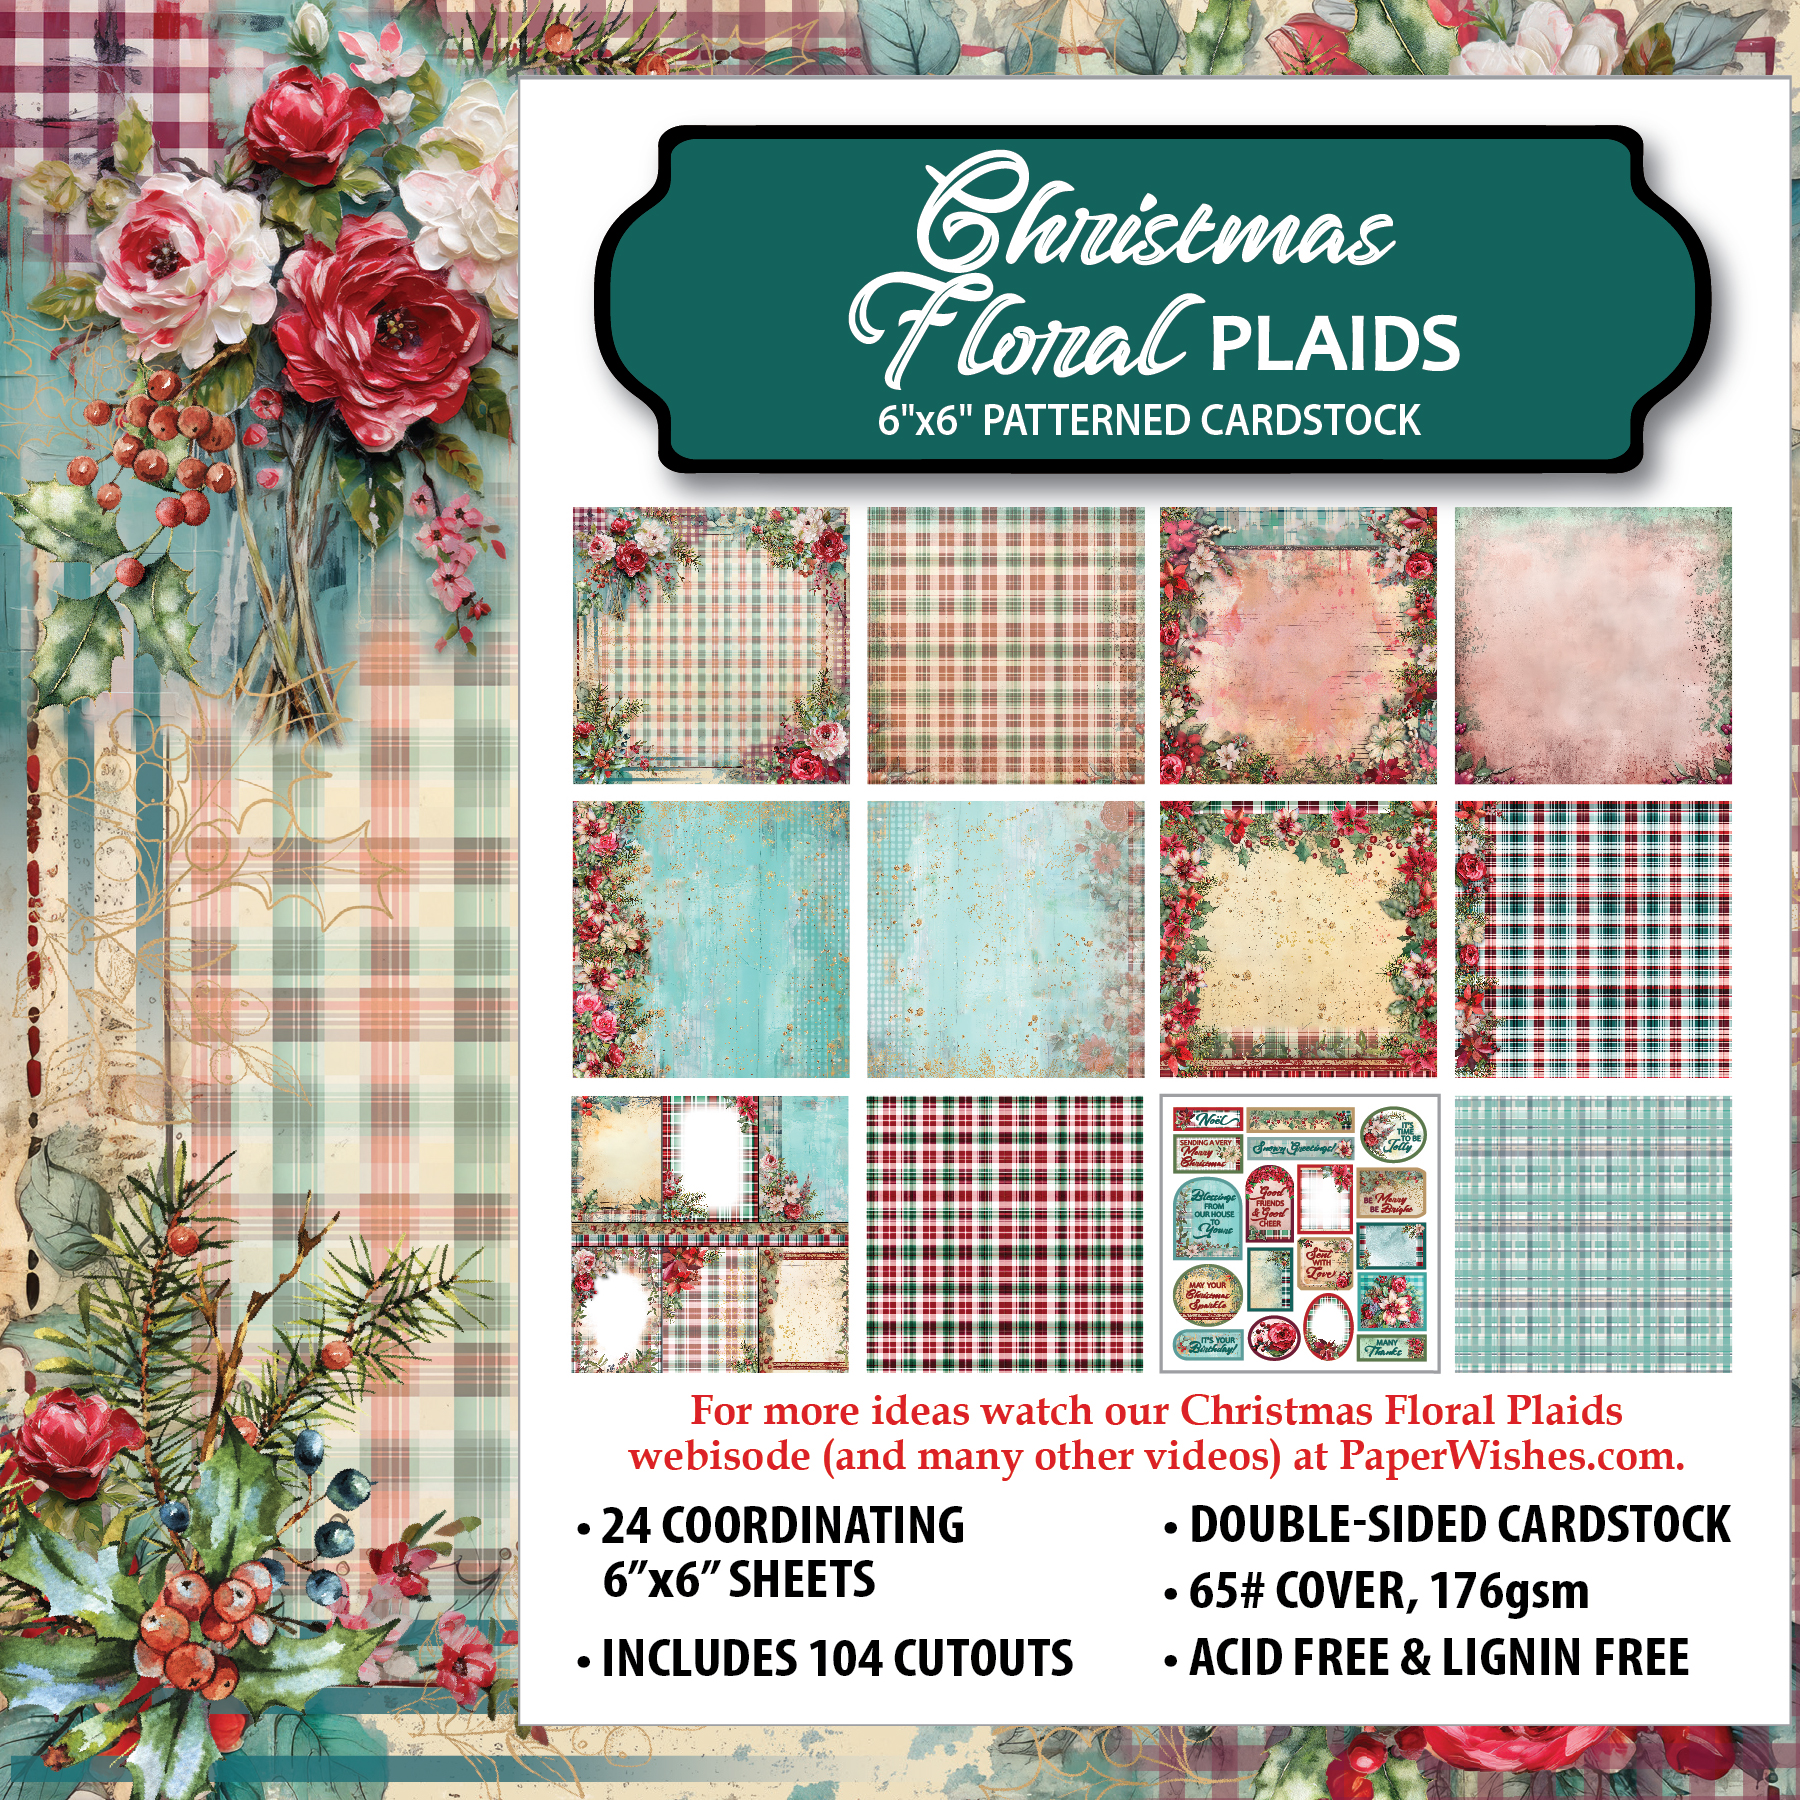
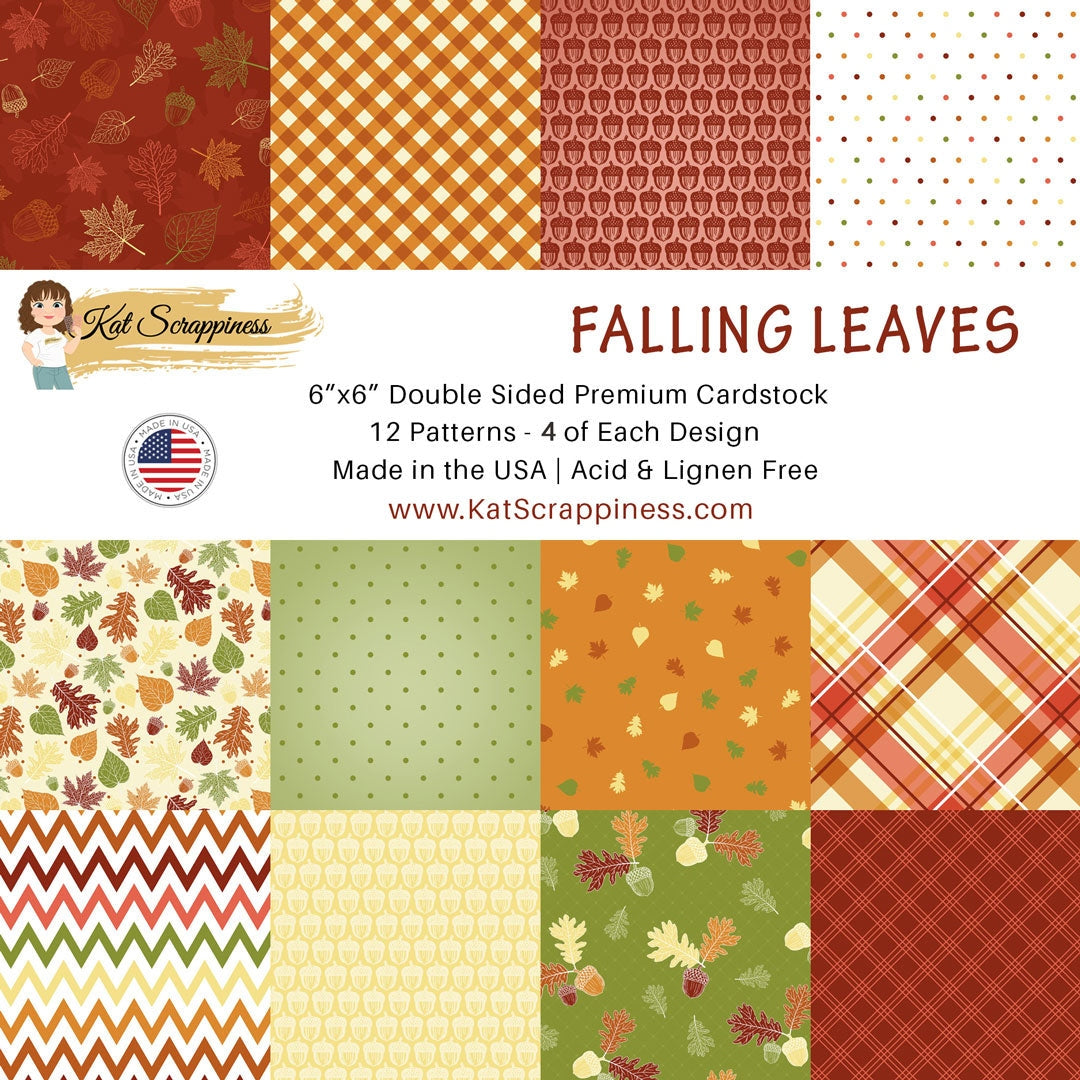
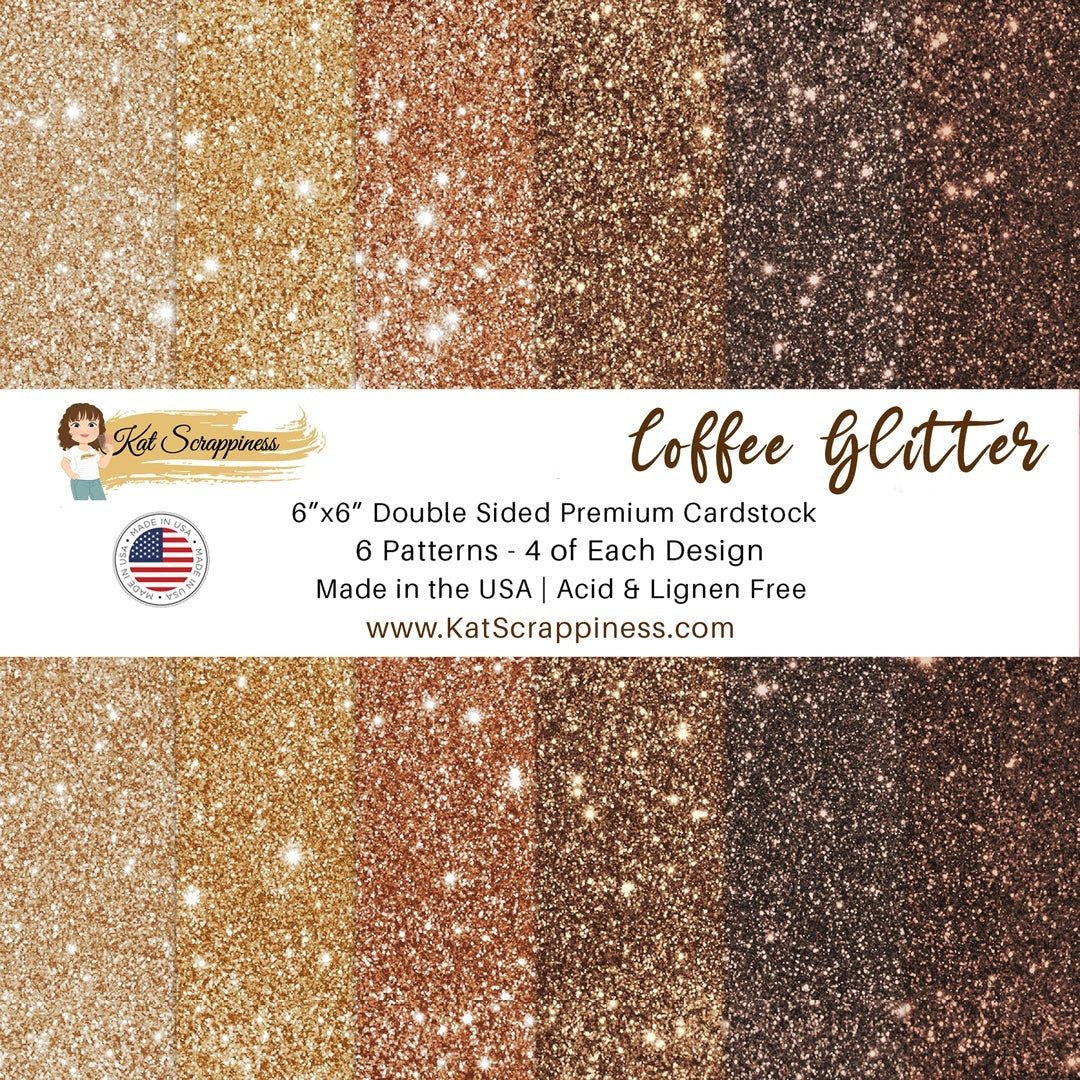
On the first card, I used the Paper Wishes/Hot Off the Press Christmas Floral Plaids Collection to make a horizontal Joy Fold card. For the second card, I used the PhotoPlay Birthday Bash Collection to create a vertical Joy Fold card. On the third card, I show a vertical Joy Fold card I made with Kat Scrappiness Falling Leaves paper, Coffee Faux Glitter paper, and the Stitched Rounded Rectangles Die Set with the Prima Marketing Fall Sweet Fall stamp set. All products used in today’s card tutorial projects are listed below.

In this series, I find a card sketch on the internet and make a card (or more) using the card sketch. If making more than one card, the first one will stick closely to the sketch, while the others will have slight changes or demonstrate different techniques. I am also adding fun fold cards into the mix so we have lots of creative options.
Measurements
Card 1- Horizontal
Card Base: 4 1/4 x 8 1/2", Score at 5 1/2"
Mini Card: 3 x 8", Score at 4"
Panels: (2) 2 3/4 x 3 3/4"
Inside Panel: 4 x 5 1/4"
Front Panel: 4 x 2 3/4"

Card 2- Vertical
Card Base: 5 1/2 x 7", Score at 4 1/4"
Mini Card: 4 x 6", Score at 3"
Panel and Cut-apart: 2 3/4" x 3 3/4"
Front Mat Layer: 2 7/8 x 3 7/8"
Inside Panel: 4 x 5 1/4"
Front Panel: 2 1/2 x 5 1/4"

Card 3- Vertical
Same as above, omit cut-apart
Rounded Rectangle Die: 2 3/8 x 3 3/4"
Paper Products Used
Card #1 – Horizontal Joy Fold Card
For this card, I used the 6 x 6″ Patterned Paper and the Die Cut Pack from the Paper Wishes/Hot Off the Press Christmas Floral Plaids Collection. The card base and mini card were cut from Concord & 9th Lakefront cardstock. I used Simon Says Stamp Ivory cardstock for the mini card panels.


Card #2 – Vertical Joy Fold Card
For this card, I used the patterned paper from the PhotoPlay Birthday Bash Collection. The card base and mini card were cut from Gina K Designs In The Navy cardstock, and the mini card inside panel was from Simon Says Stamp Ivory cardstock.


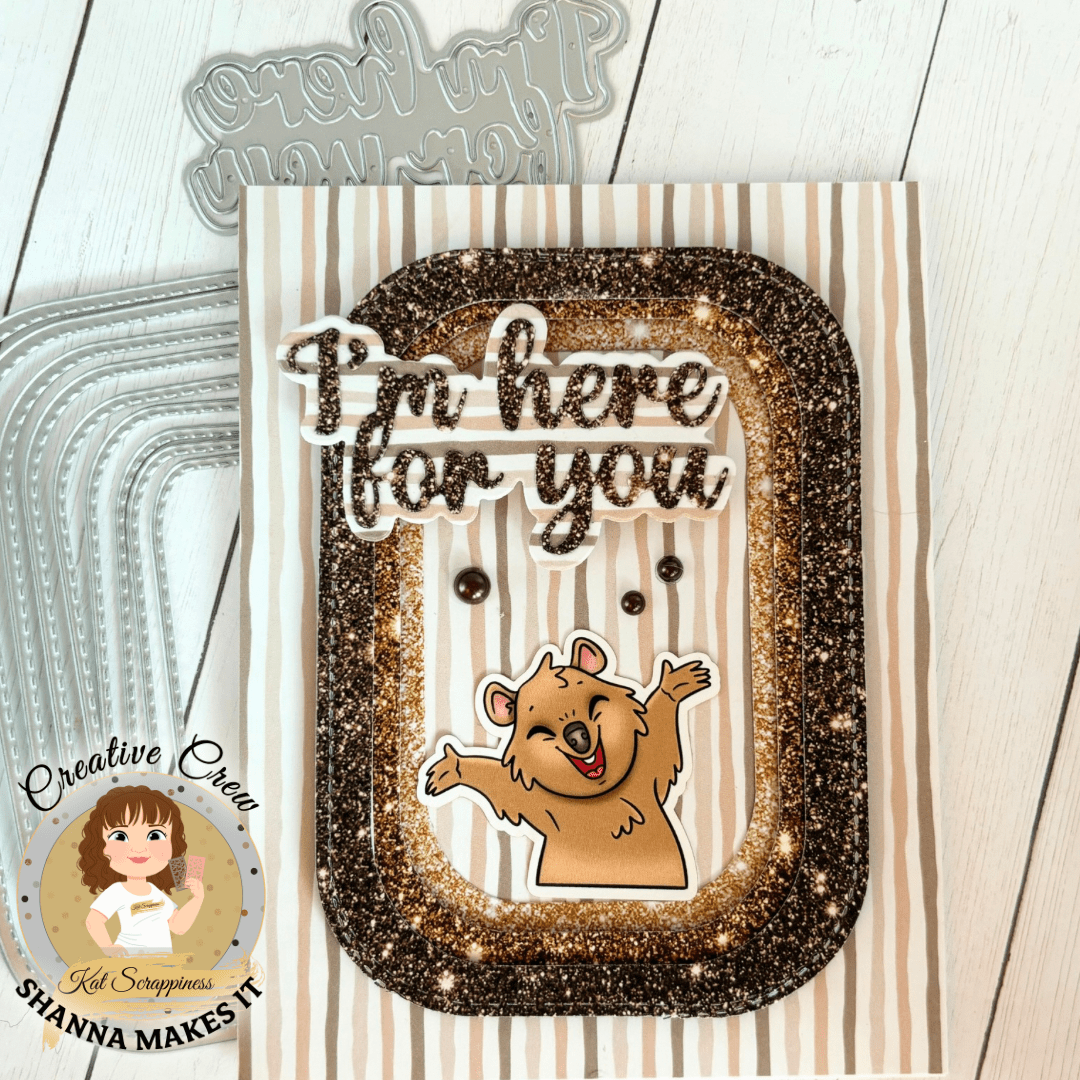
Card #3 – Vertical Joy Fold Card
For this card, I used Kat Scrappiness Falling Leaves patterned paper and the Coffee Glitter paper. The card base and mini card were cut from Simon Says Stamp Dark Chocolate cardstock, and the mini card inside panel and the front stamped panel were cut from Simon Says Stamp Ivory cardstock.


Assembling Card #1- Holiday Joy Fold Card
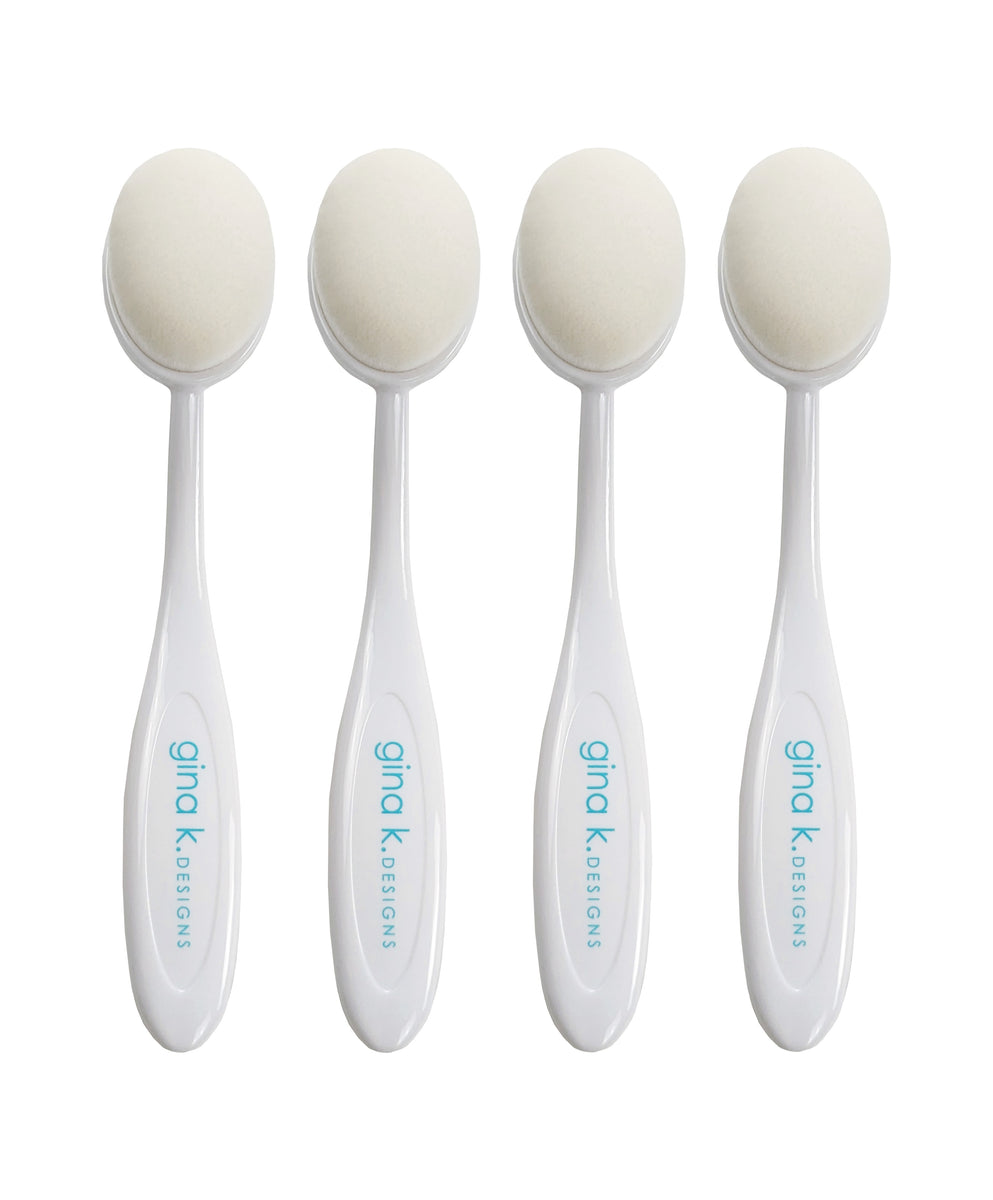
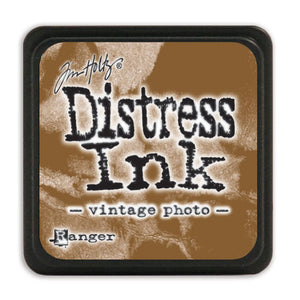
I followed the card measurements and cut out the card base and mini card from the Lakefront cardstock. I cut out the panels from the Christmas Floral Plaids and glued them to the card base. For the card front focal image, I used Vintage Photo Distress Ink with a Gina K Designs Blending Brush to add some ink to the edges of the Ivory mini card panel and the Christmas Floral Plaids Die Cut. This gave the pieces a vintage-feel and helped them match the patterned paper better.
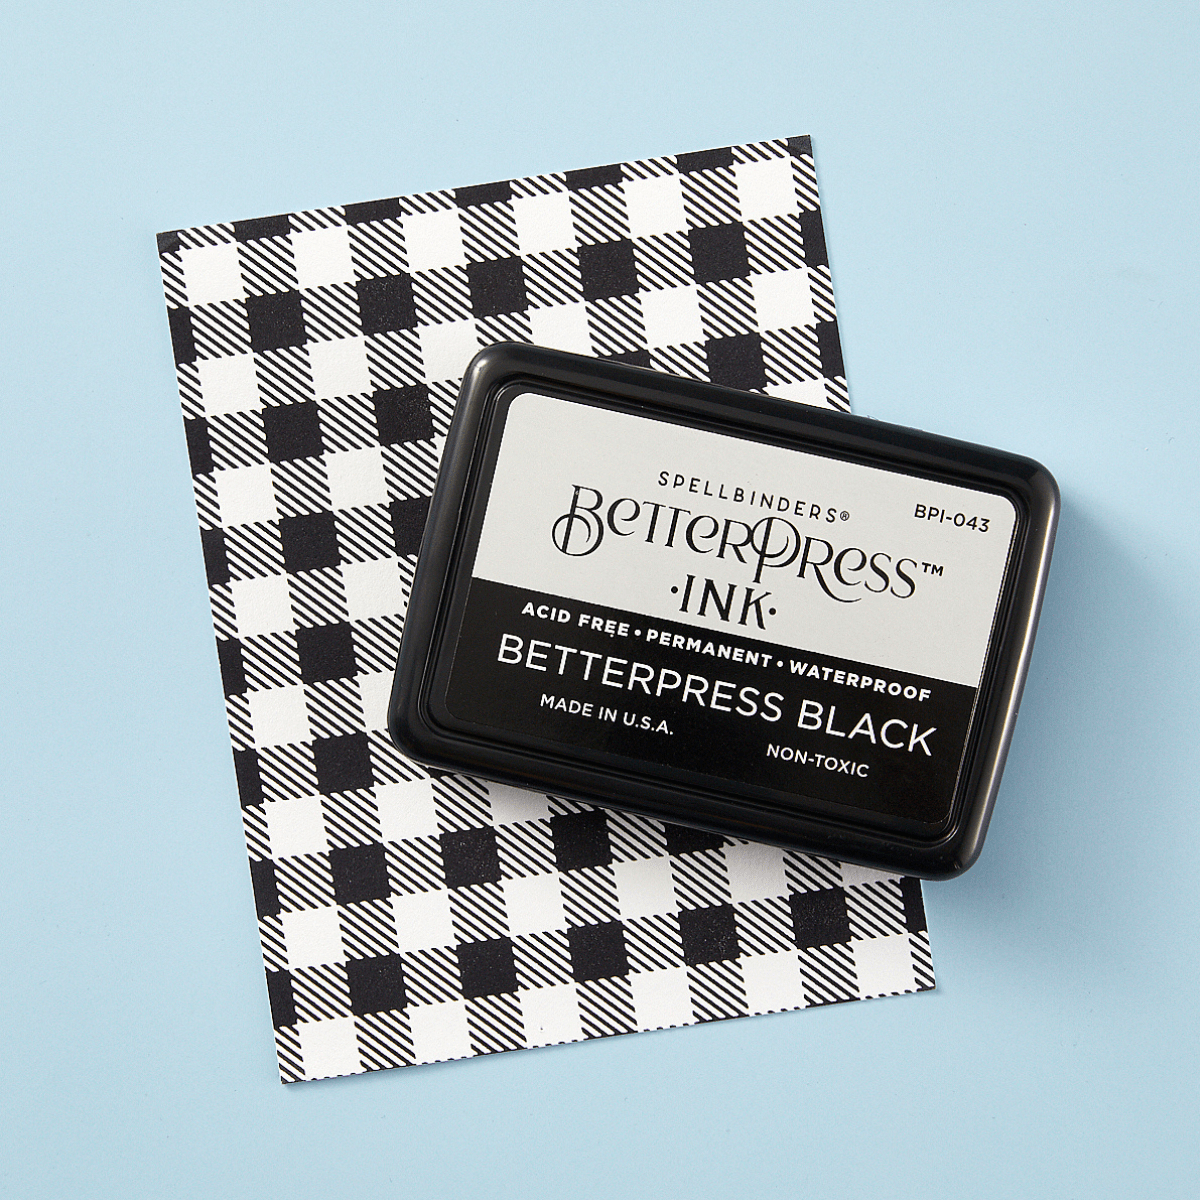
I used a sentiment from Papertrey Ink‘s Christmas Your Way stamp set, with Spellbinders BetterPress Black ink, to stamp on top of the die-cut piece. I added the inside card panel to the mini card after stamping it with a sentiment from the Christmas Your Way stamp set, and snowflakes from the Simon Says Stamp Heartfelt Snowflakes stamp set. For the stamping, I used Concord & 9th Lakefront and Tidepool inks.


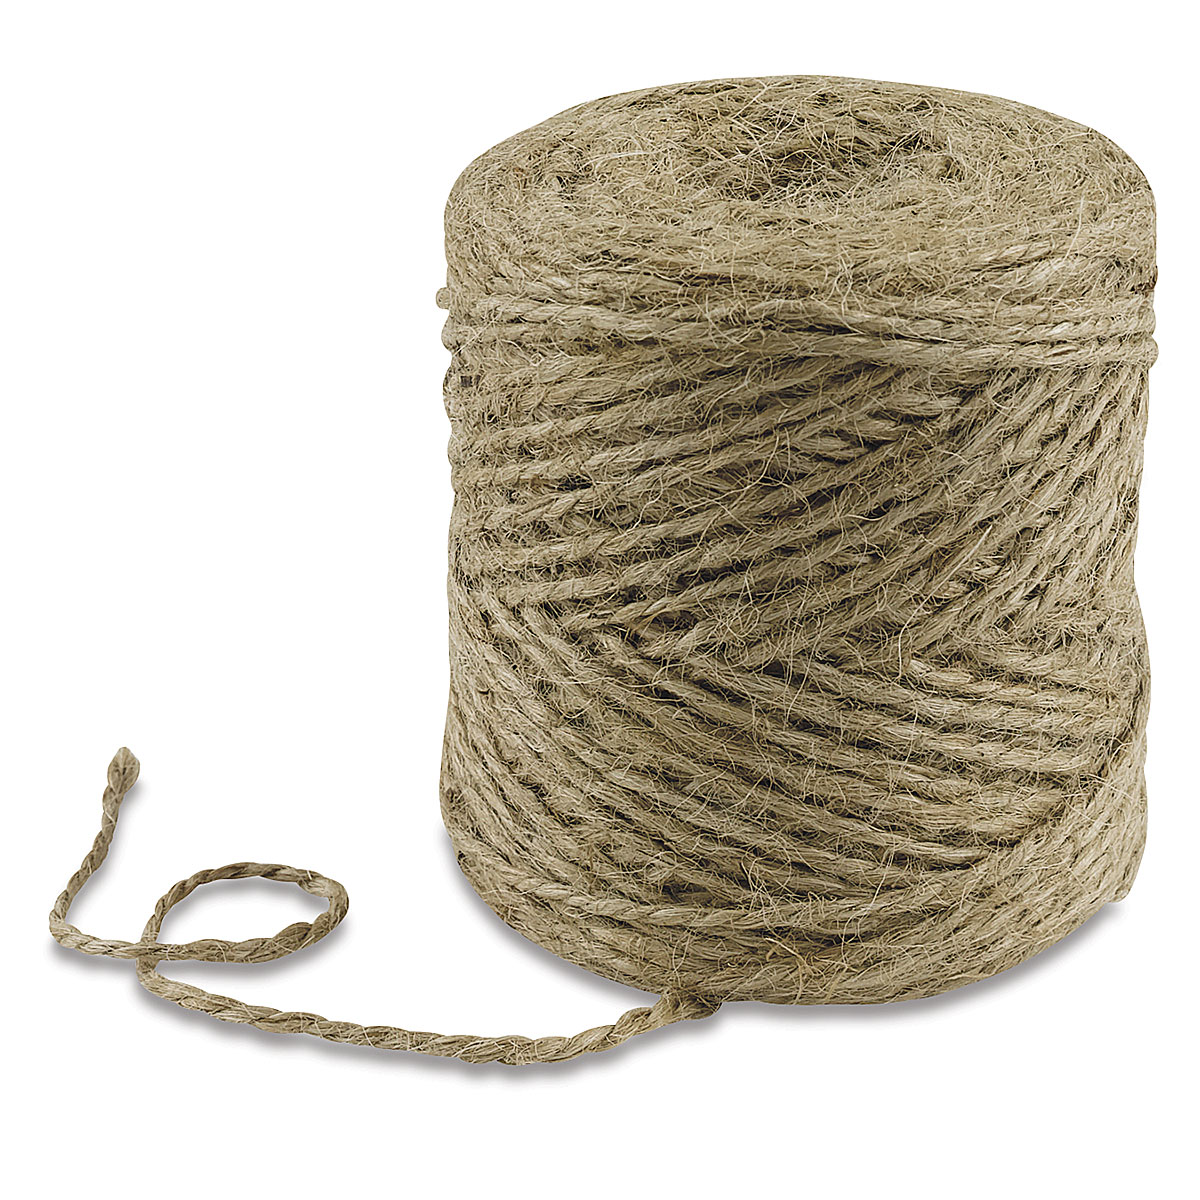
Next, I added the mini card onto the card base, centering it on the background panel, and making sure the mini card opening was facing towards the left. Once that was adhered, I added the Ivory panel to the front of the mini card, and the die-cut tag on top of that. To finish up the card, I made a small bow from jute twine and added it to the tag using a glue dot.


I have a couple of other projects where I used the Christmas Floral Plaids Collection: a Sheetload of Cards Sketch for September 2025, and a Christmas Quilt Card.
Assembling Card #2 – Birthday Joy Fold Card
I cut the card base and mini card from Gina K Designs In The Navy cardstock, and cut the background and flap panels from the PhotoPlay Birthday Bash Collection. I also trimmed out one of the cut-aparts from the collection, and cut out a patterned paper mat for it. This Joy Fold layout is perfect for using 3 x 4″ cut-aparts from paper packs.
Next, I added the patterned paper panels to the card base and the Ivory panel to the inside of the mini card. I placed a Happy Birthday sticker from the patterned paper collection onto the Ivory panel for my sentiment. Then I added the mini card onto the card base, centering it on the patterned paper panel and making sure that the mini card was opening to the left.
Once that was adhered, I added the patterned paper mat and the cut-apart to the front of the mini card to finish up the card.


Card #3 – Thanksgiving Joy Fold Card
For this card, I used Simon Says Stamp Dark Chocolate cardstock for the card base and mini card. I cut the patterned paper panels from Kat Scrappiness Falling Leaves Patterned Paper, and cut a mat for the front of the mini card from Kat Scrappiness Coffee Glitter paper. The inside panel for the mini card is from Simon Says Stamp Ivory cardstock.
I used Gina K Designs Dark Chocolate ink to stamp on the inside of the mini card, and for the focal image on the front. For this, I used the Prima Marketing Fall Sweet Fall stamp set, and cut out the elongated stamped image using the Kat Scrappiness Rounded Stitched Rectangles Die Set.


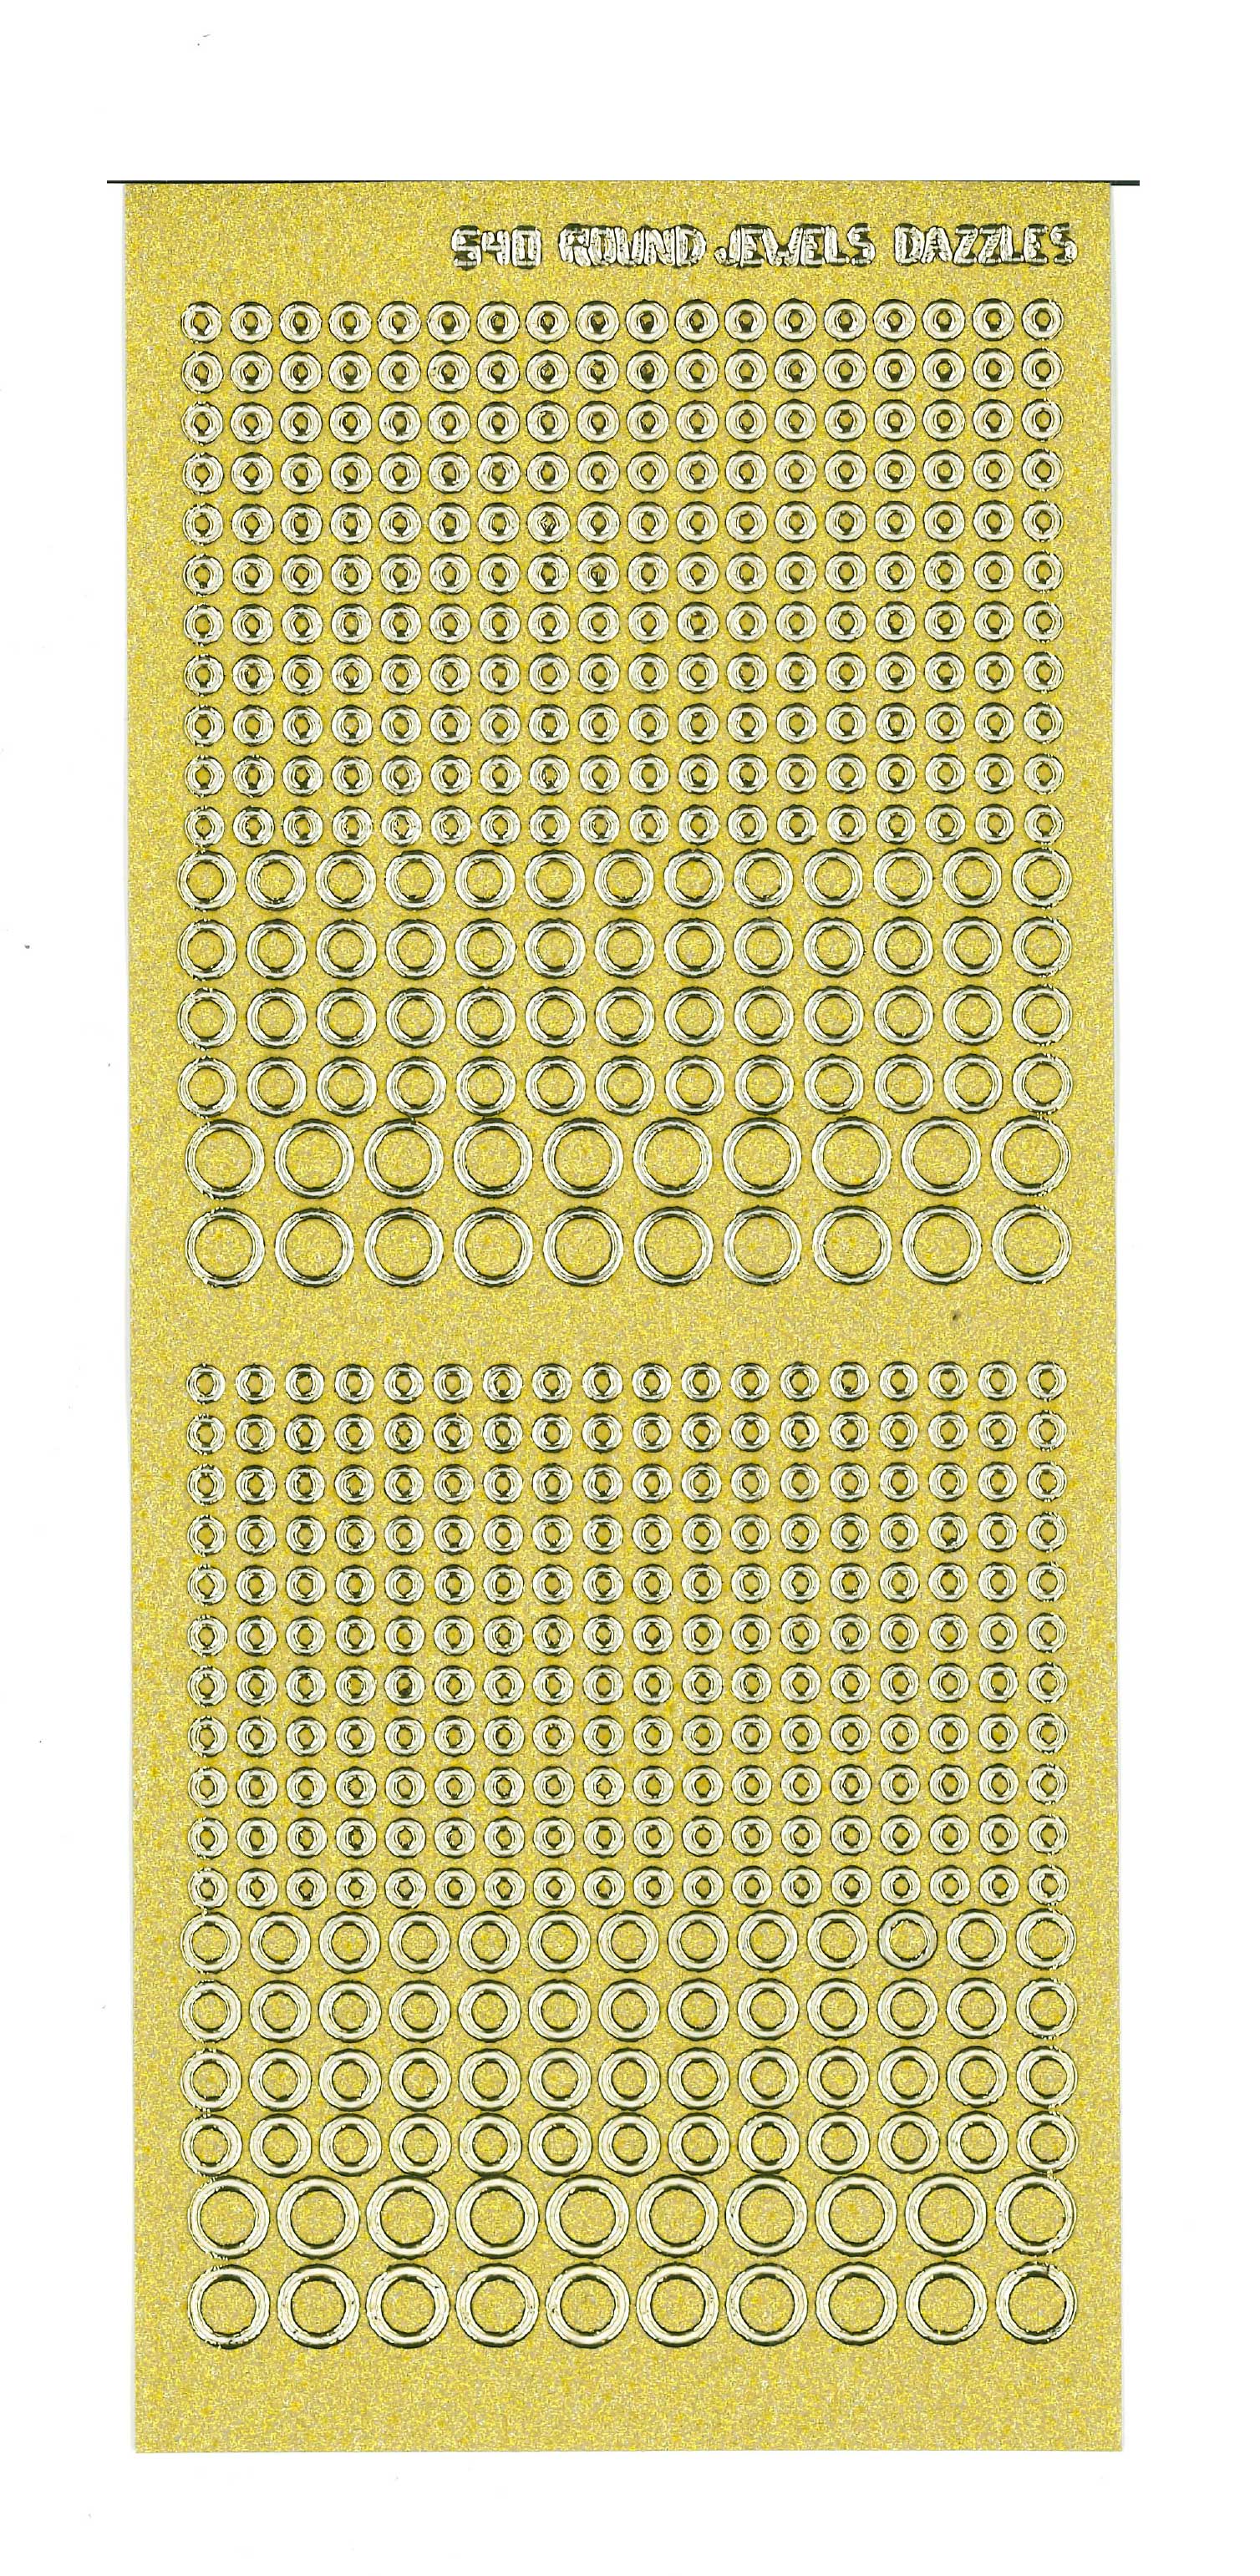
Once that was cut out, I added the stamped focal image to the Coffee Glitter mat on the front of the mini card. To add a little sparkle and shine to the card front, I scattered some Paper Wishes Gold Pearl Jewel Dazzle Stickers on the card front.


For more ideas on decorating the inside of cards, I have a video with lots of fun ideas for that!
Step-by-step tutorial:
I hope you enjoyed this project! For more card-making ideas, check out my YouTube playlist and card-making blog posts. I also have a Saturday Sketches and Fun Fold Cards playlist if you want to check it out.
Product Information
Here are the products I used in today’s project. Please consider shopping through my affiliate links, as it greatly helps out my channel at no extra cost to you. Thanks so much for supporting me and my channel!
**Use code EGIDESIGNS for 15% off your order at Glassboard Studio**
|