Sheetload of Cards Sketch for September 2025, Vintage Holiday Cards
In this card project, I made eight vintage-inspired Holiday cards using the September 2025 Sheetload of Cards sketch by Call Me Crafty Al, using the Paper Wishes/Hot Off The Press Christmas Floral Plaids Collection. All products used in this project are listed below.


Measurements
A2 Side-folding Card Base: 4 1/4 x 5 1/2" when folded
8 1/2 x 5 1/2", Scored at 4 1/4"

Front Mat Layer: 4 1/8 x 5 3/8"

Inside card panel: 3 3/4 x 5"
Inside decorative Strip: 1/2 x 5"
**See the Call Me Crafty Al Sheetload of Cards September 2025 Card Sketch video for additional measurements**
Sheetload Card Instructions
To make the cards, I used the Call Me Crafty Al’s Sheetload of Cards Sketch for September 2025. Her video is linked in the box above, and it is where you can download the printable card sketch. This card sketch makes eight cards if you follow the directions exactly. There are also instructions on how to make one card if desired.
Main Products Used
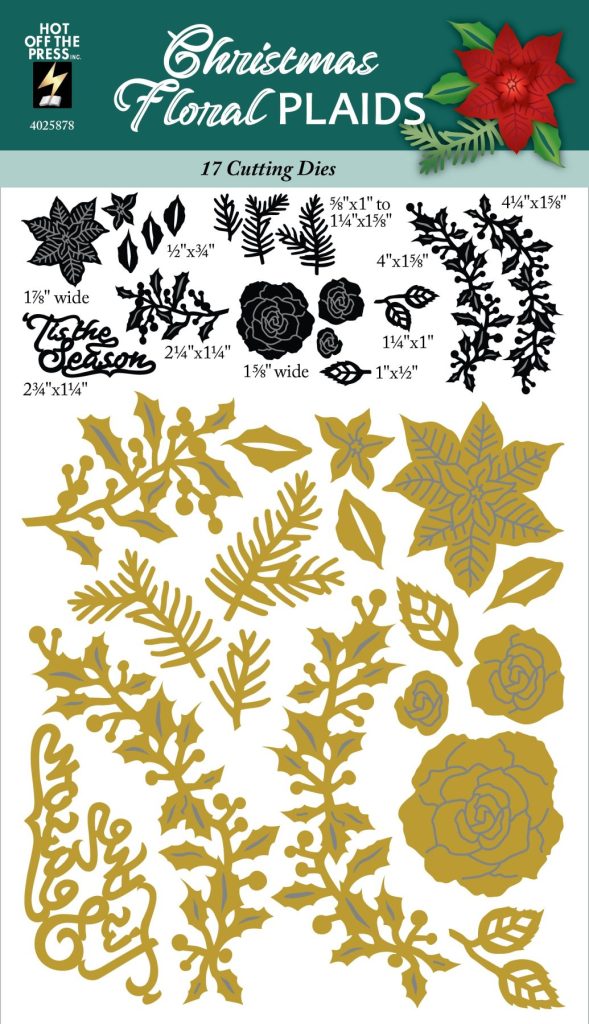
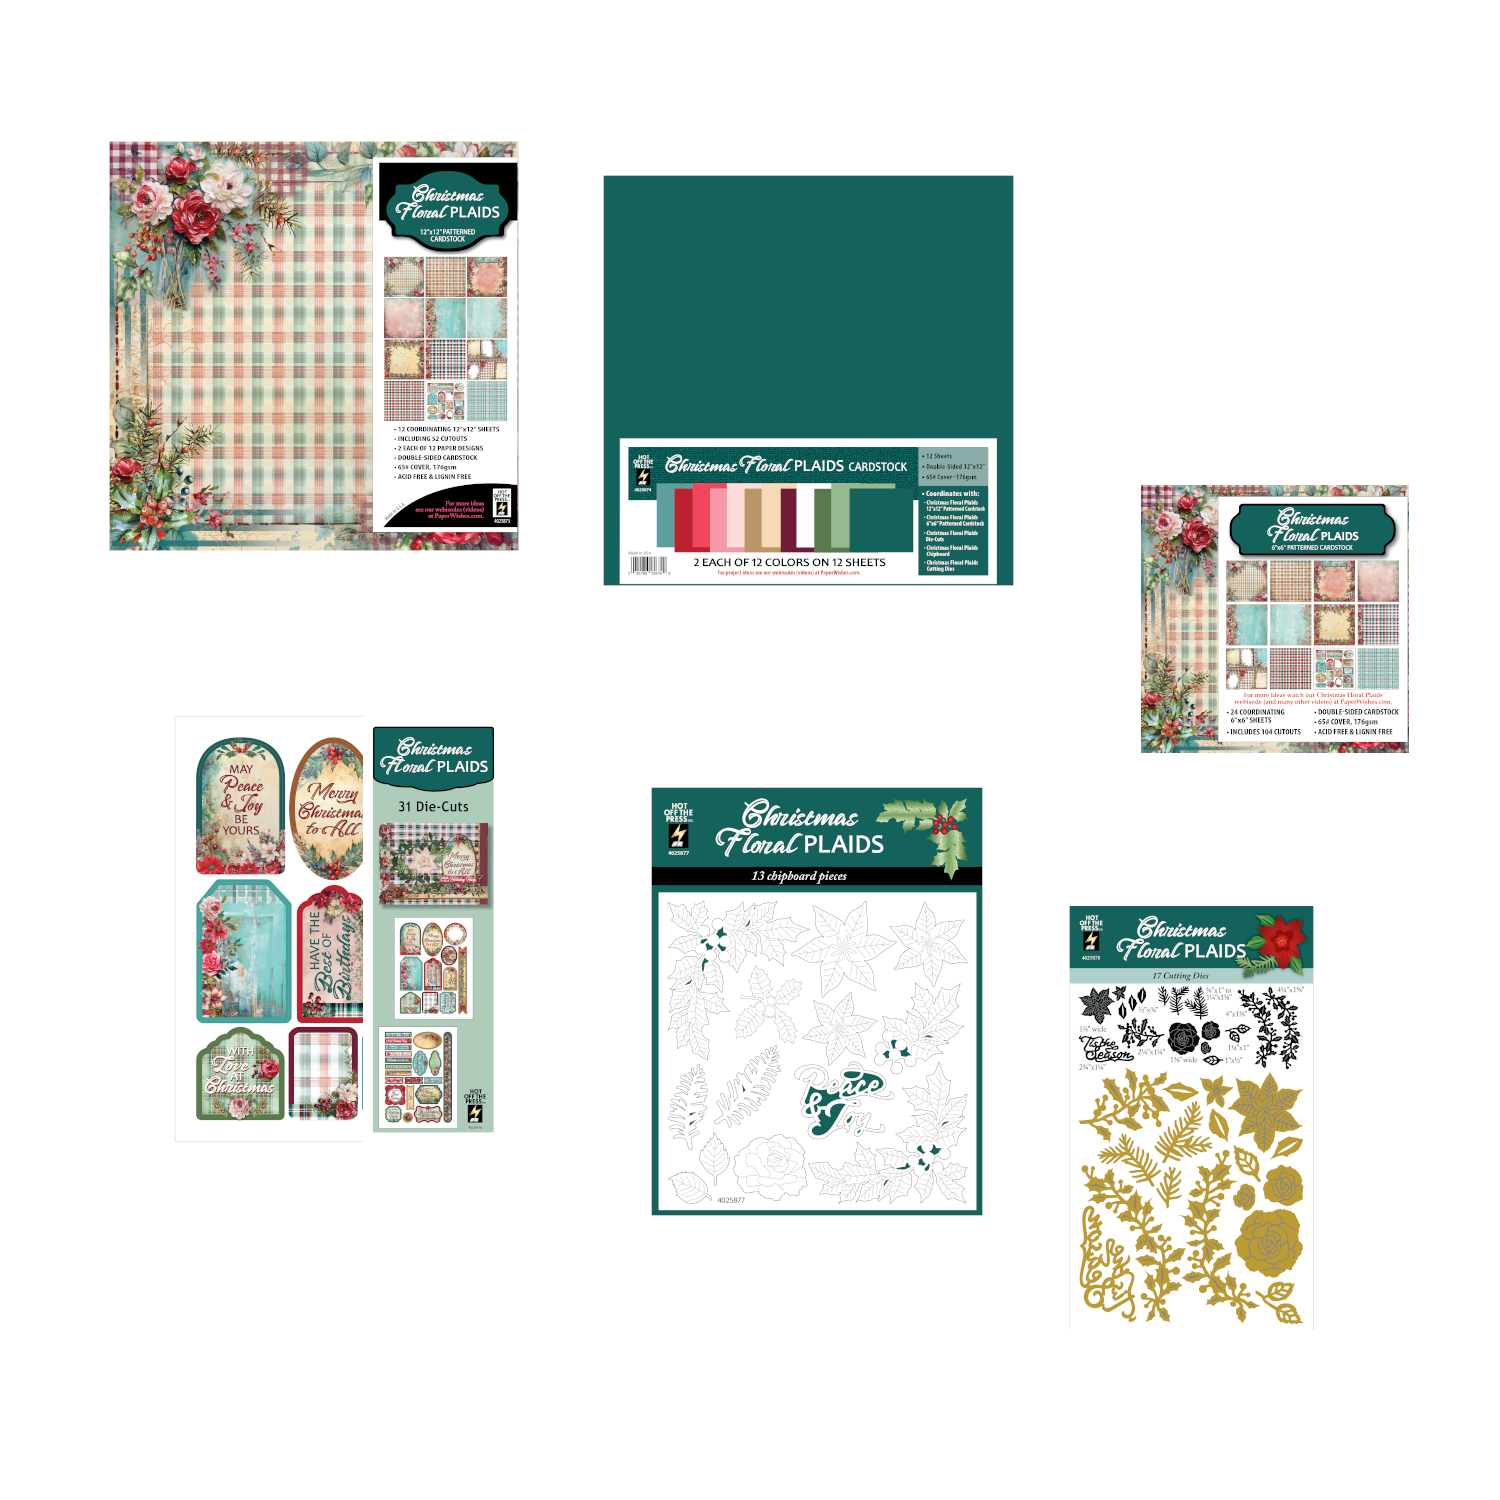
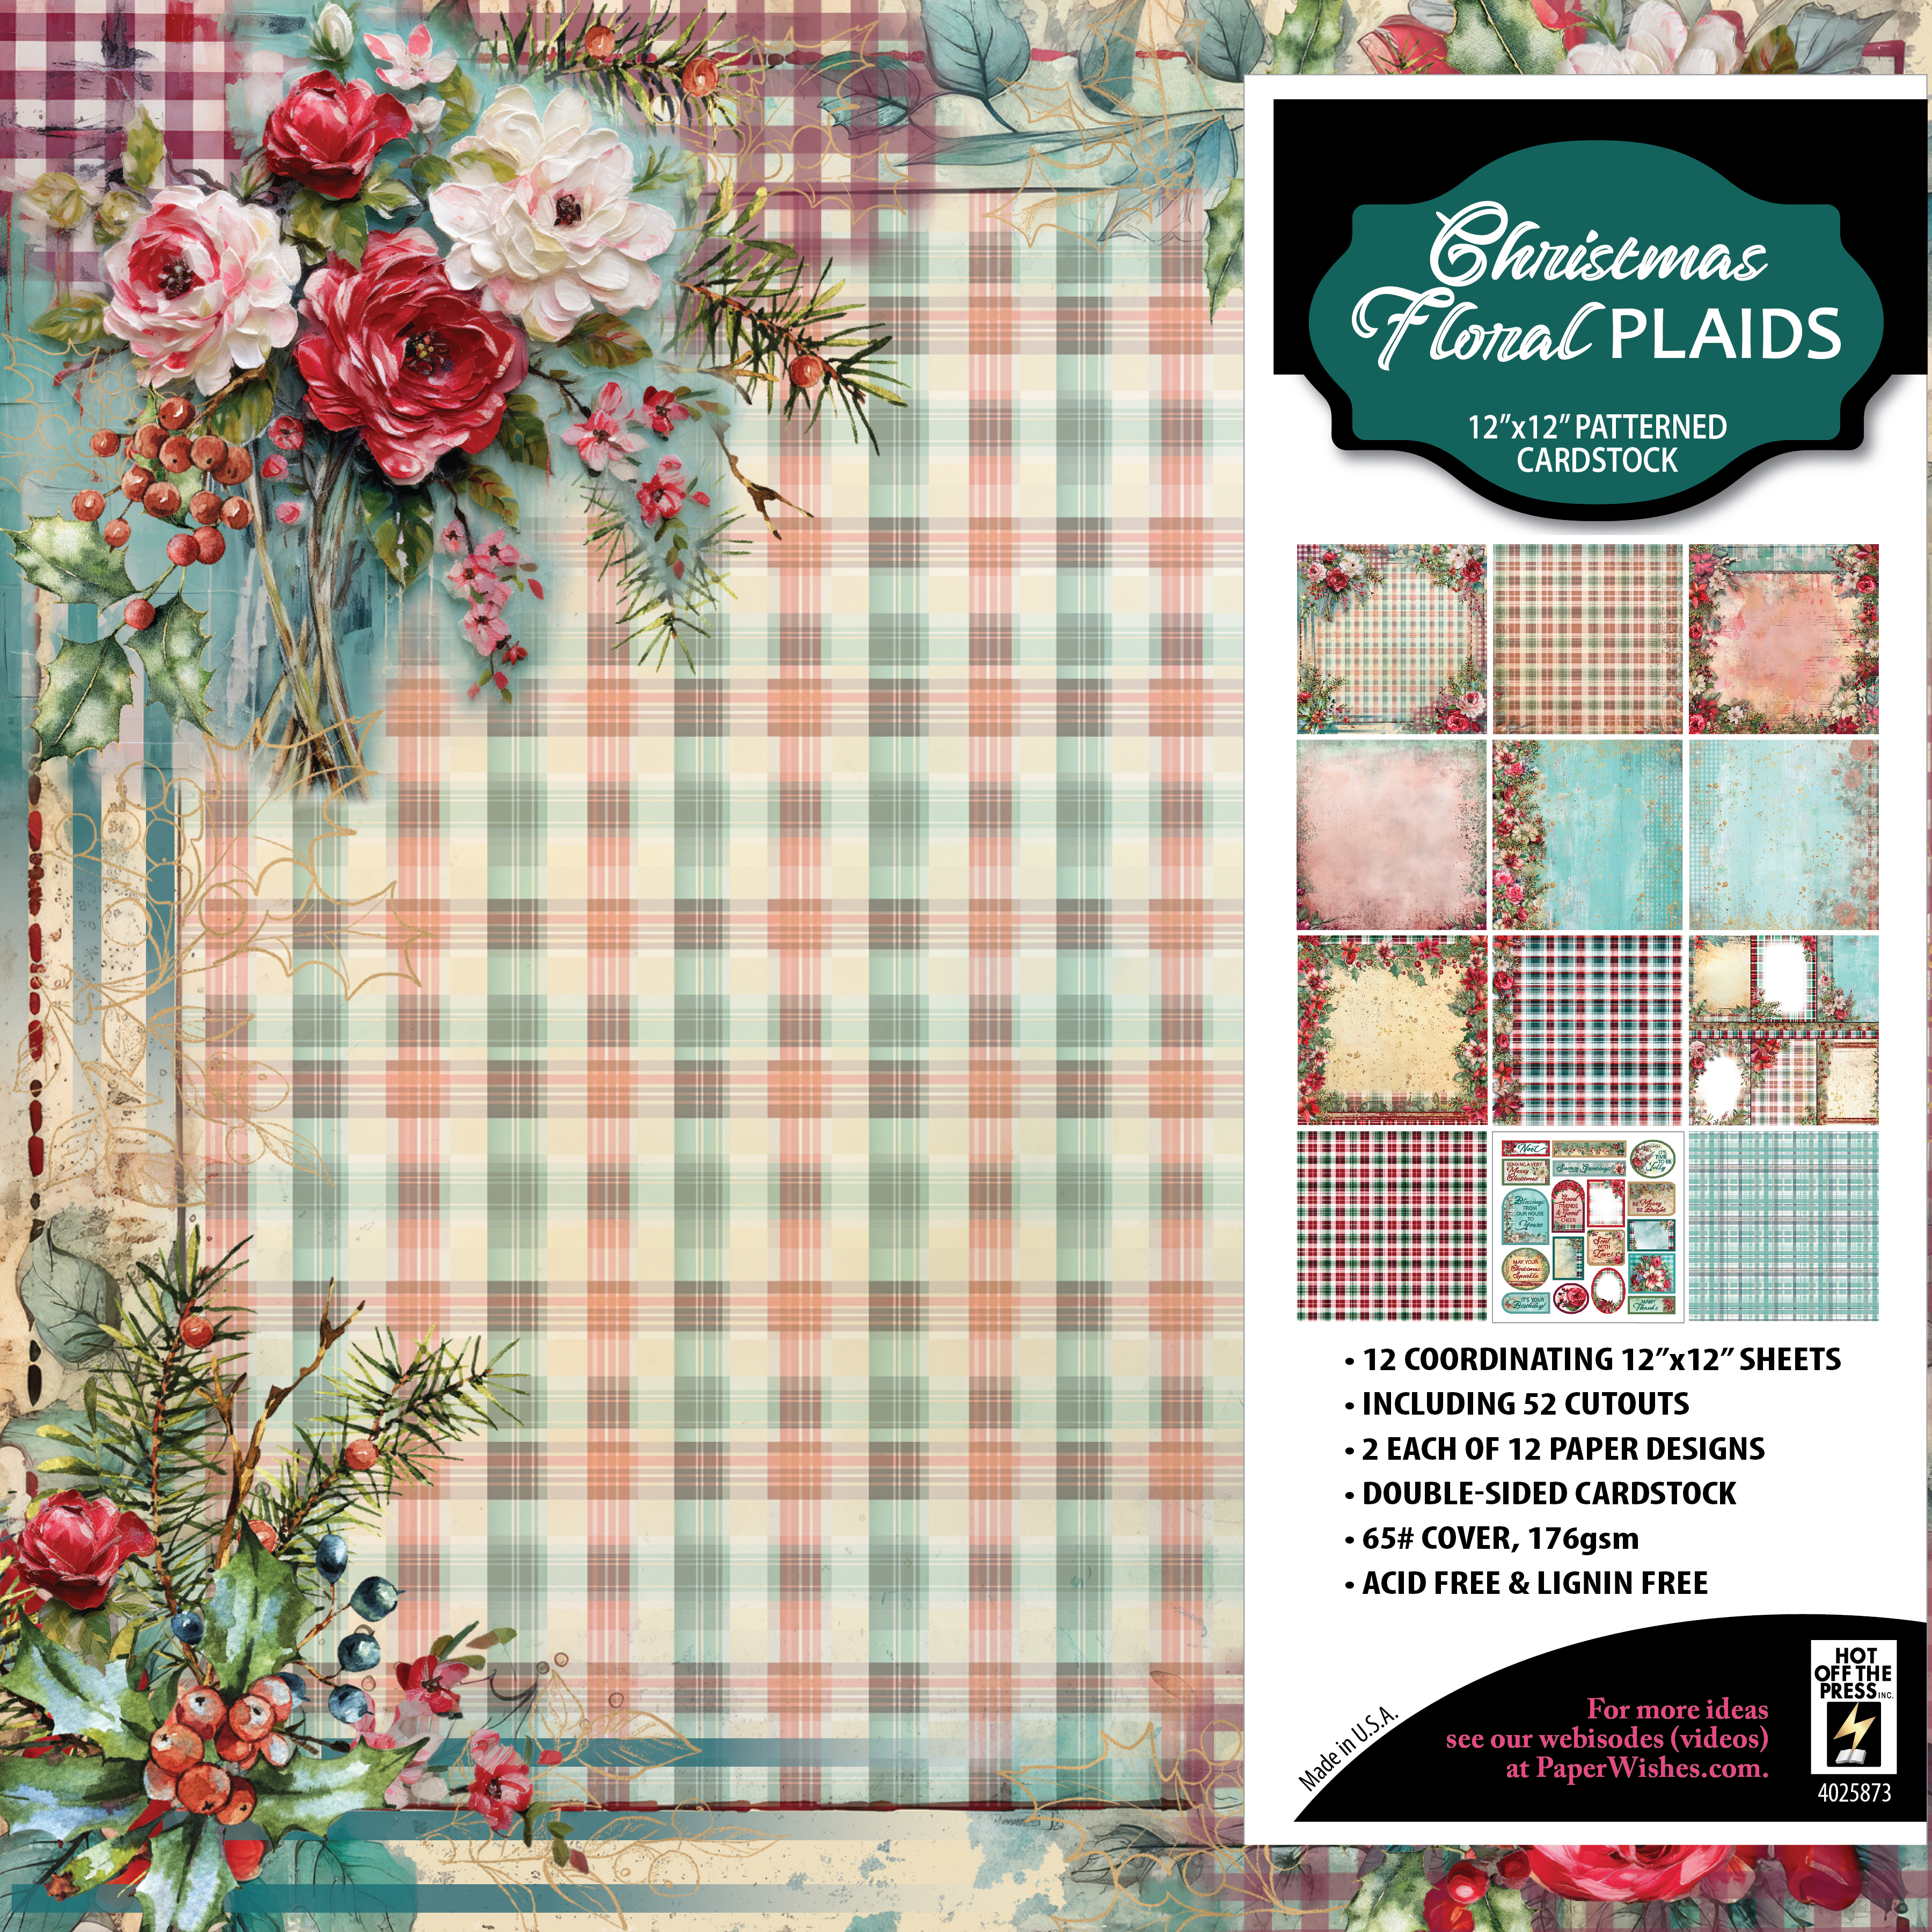
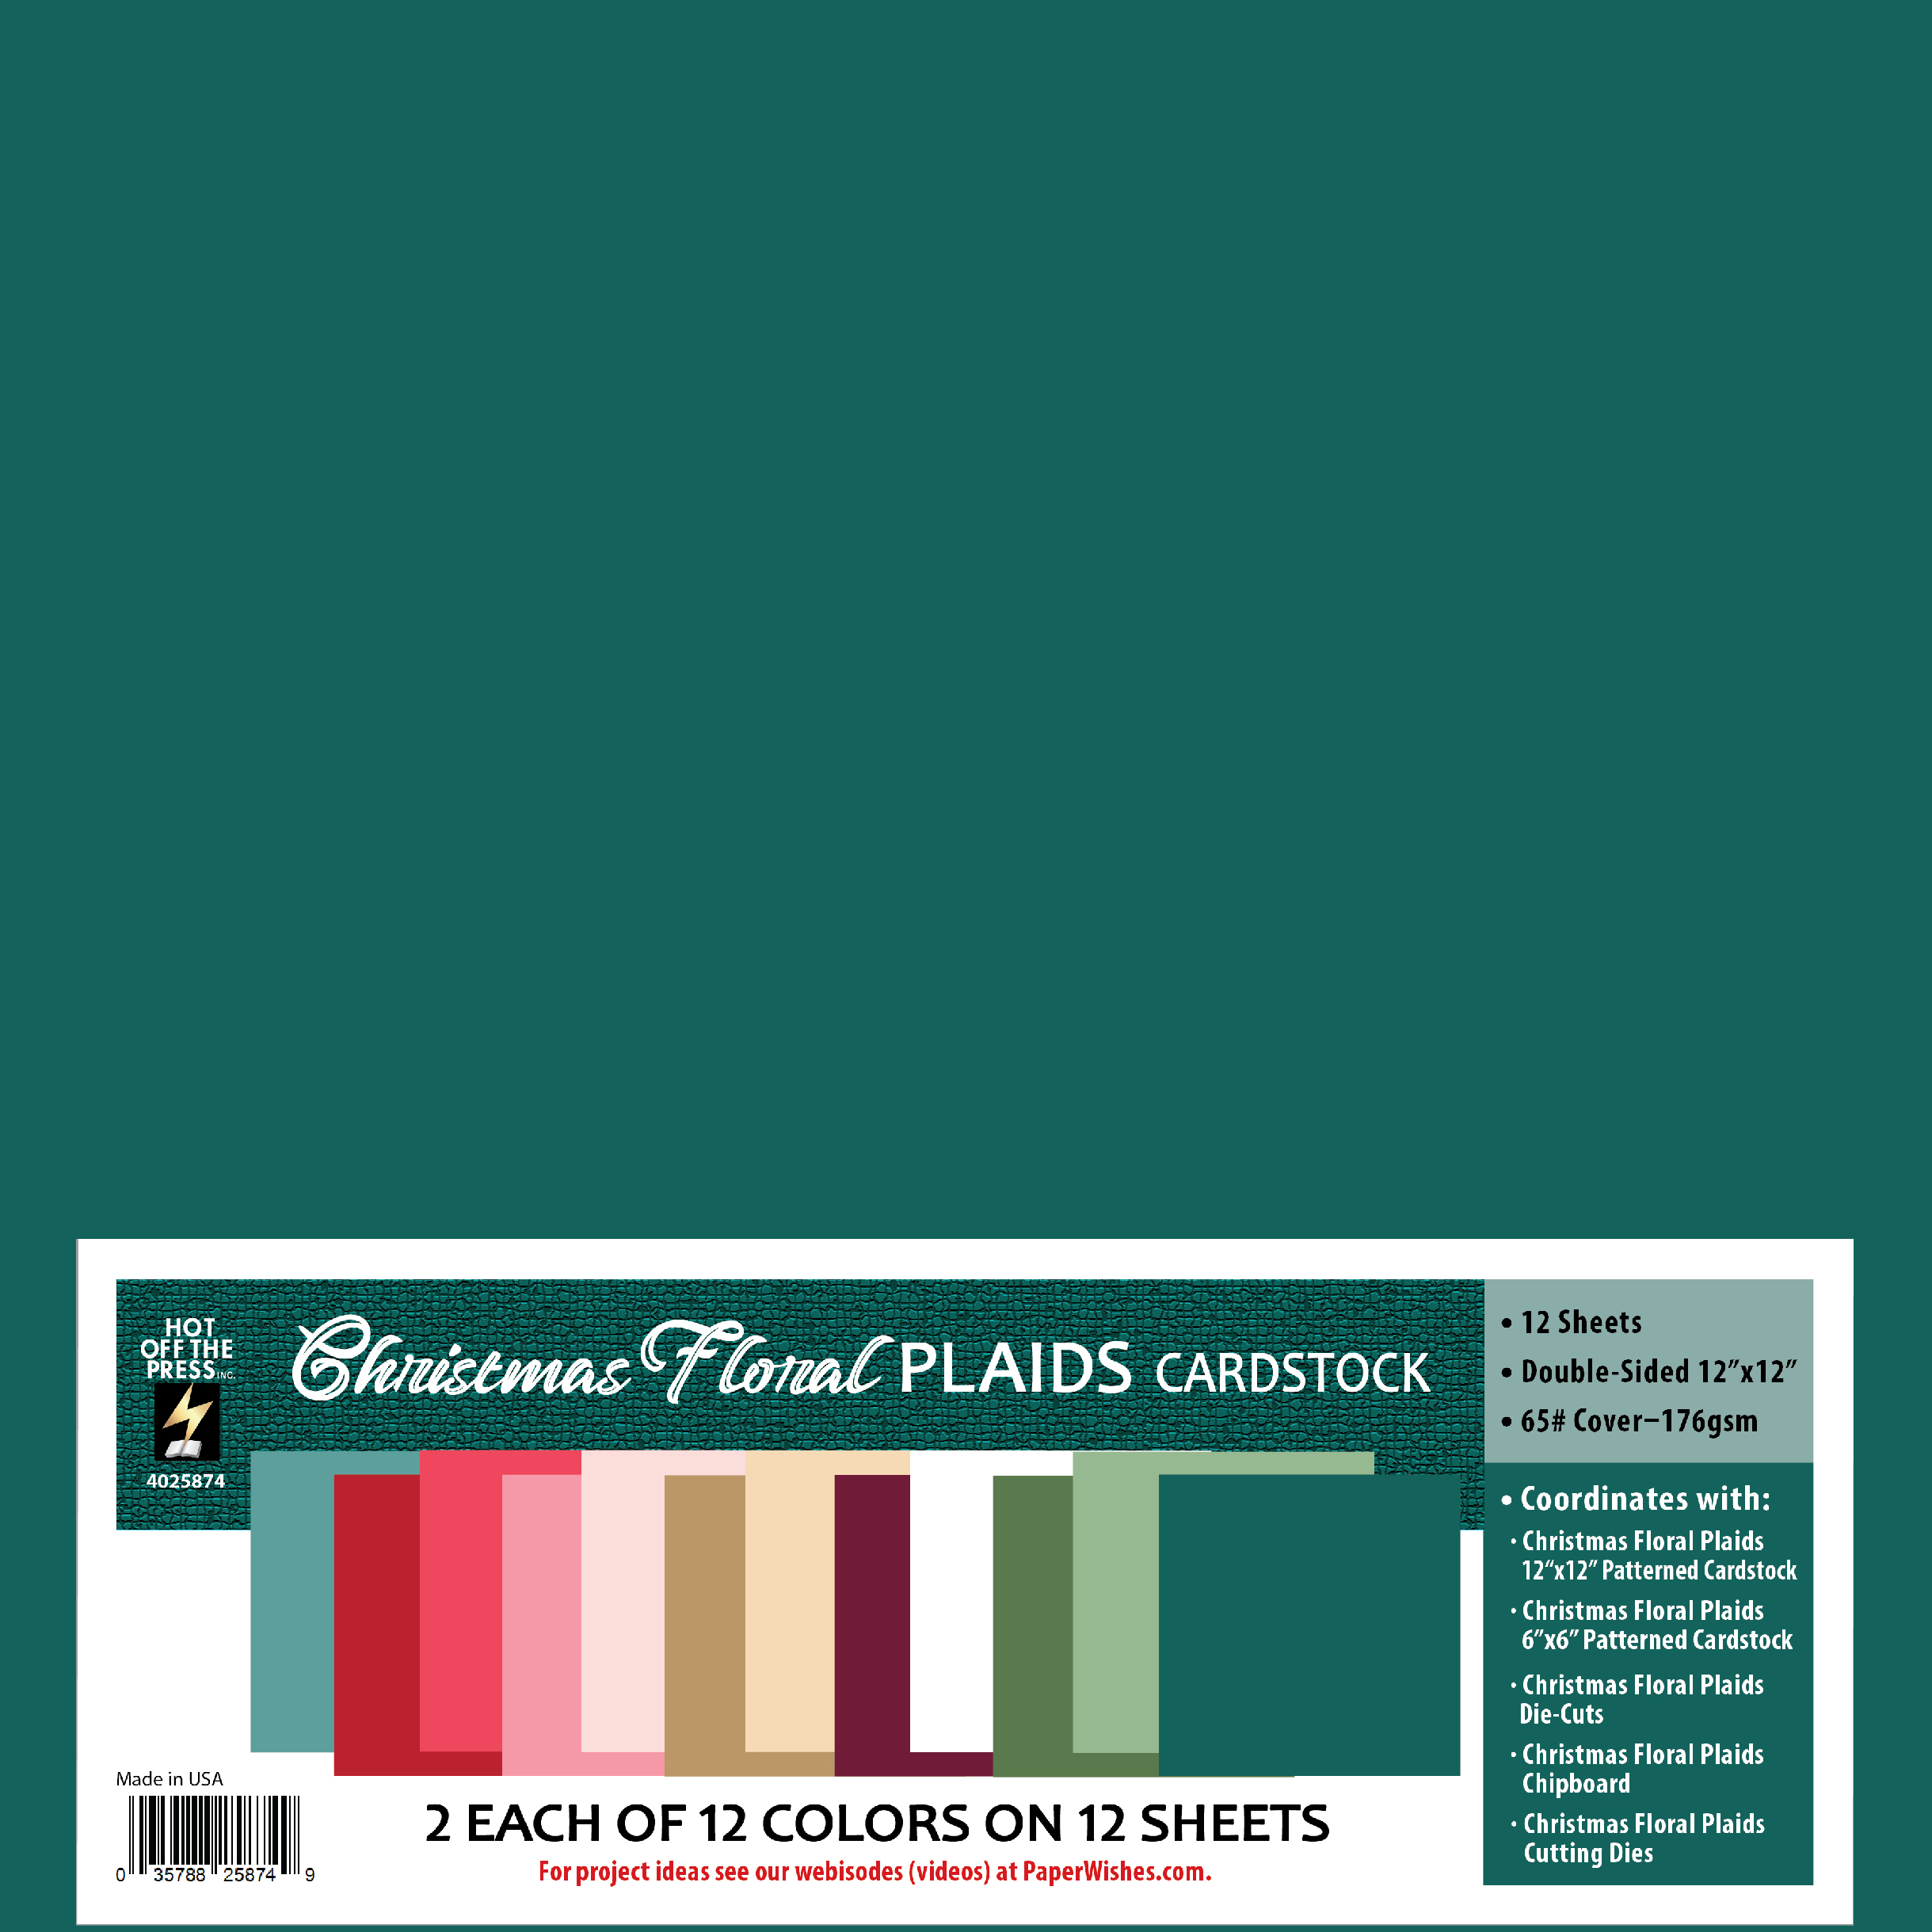
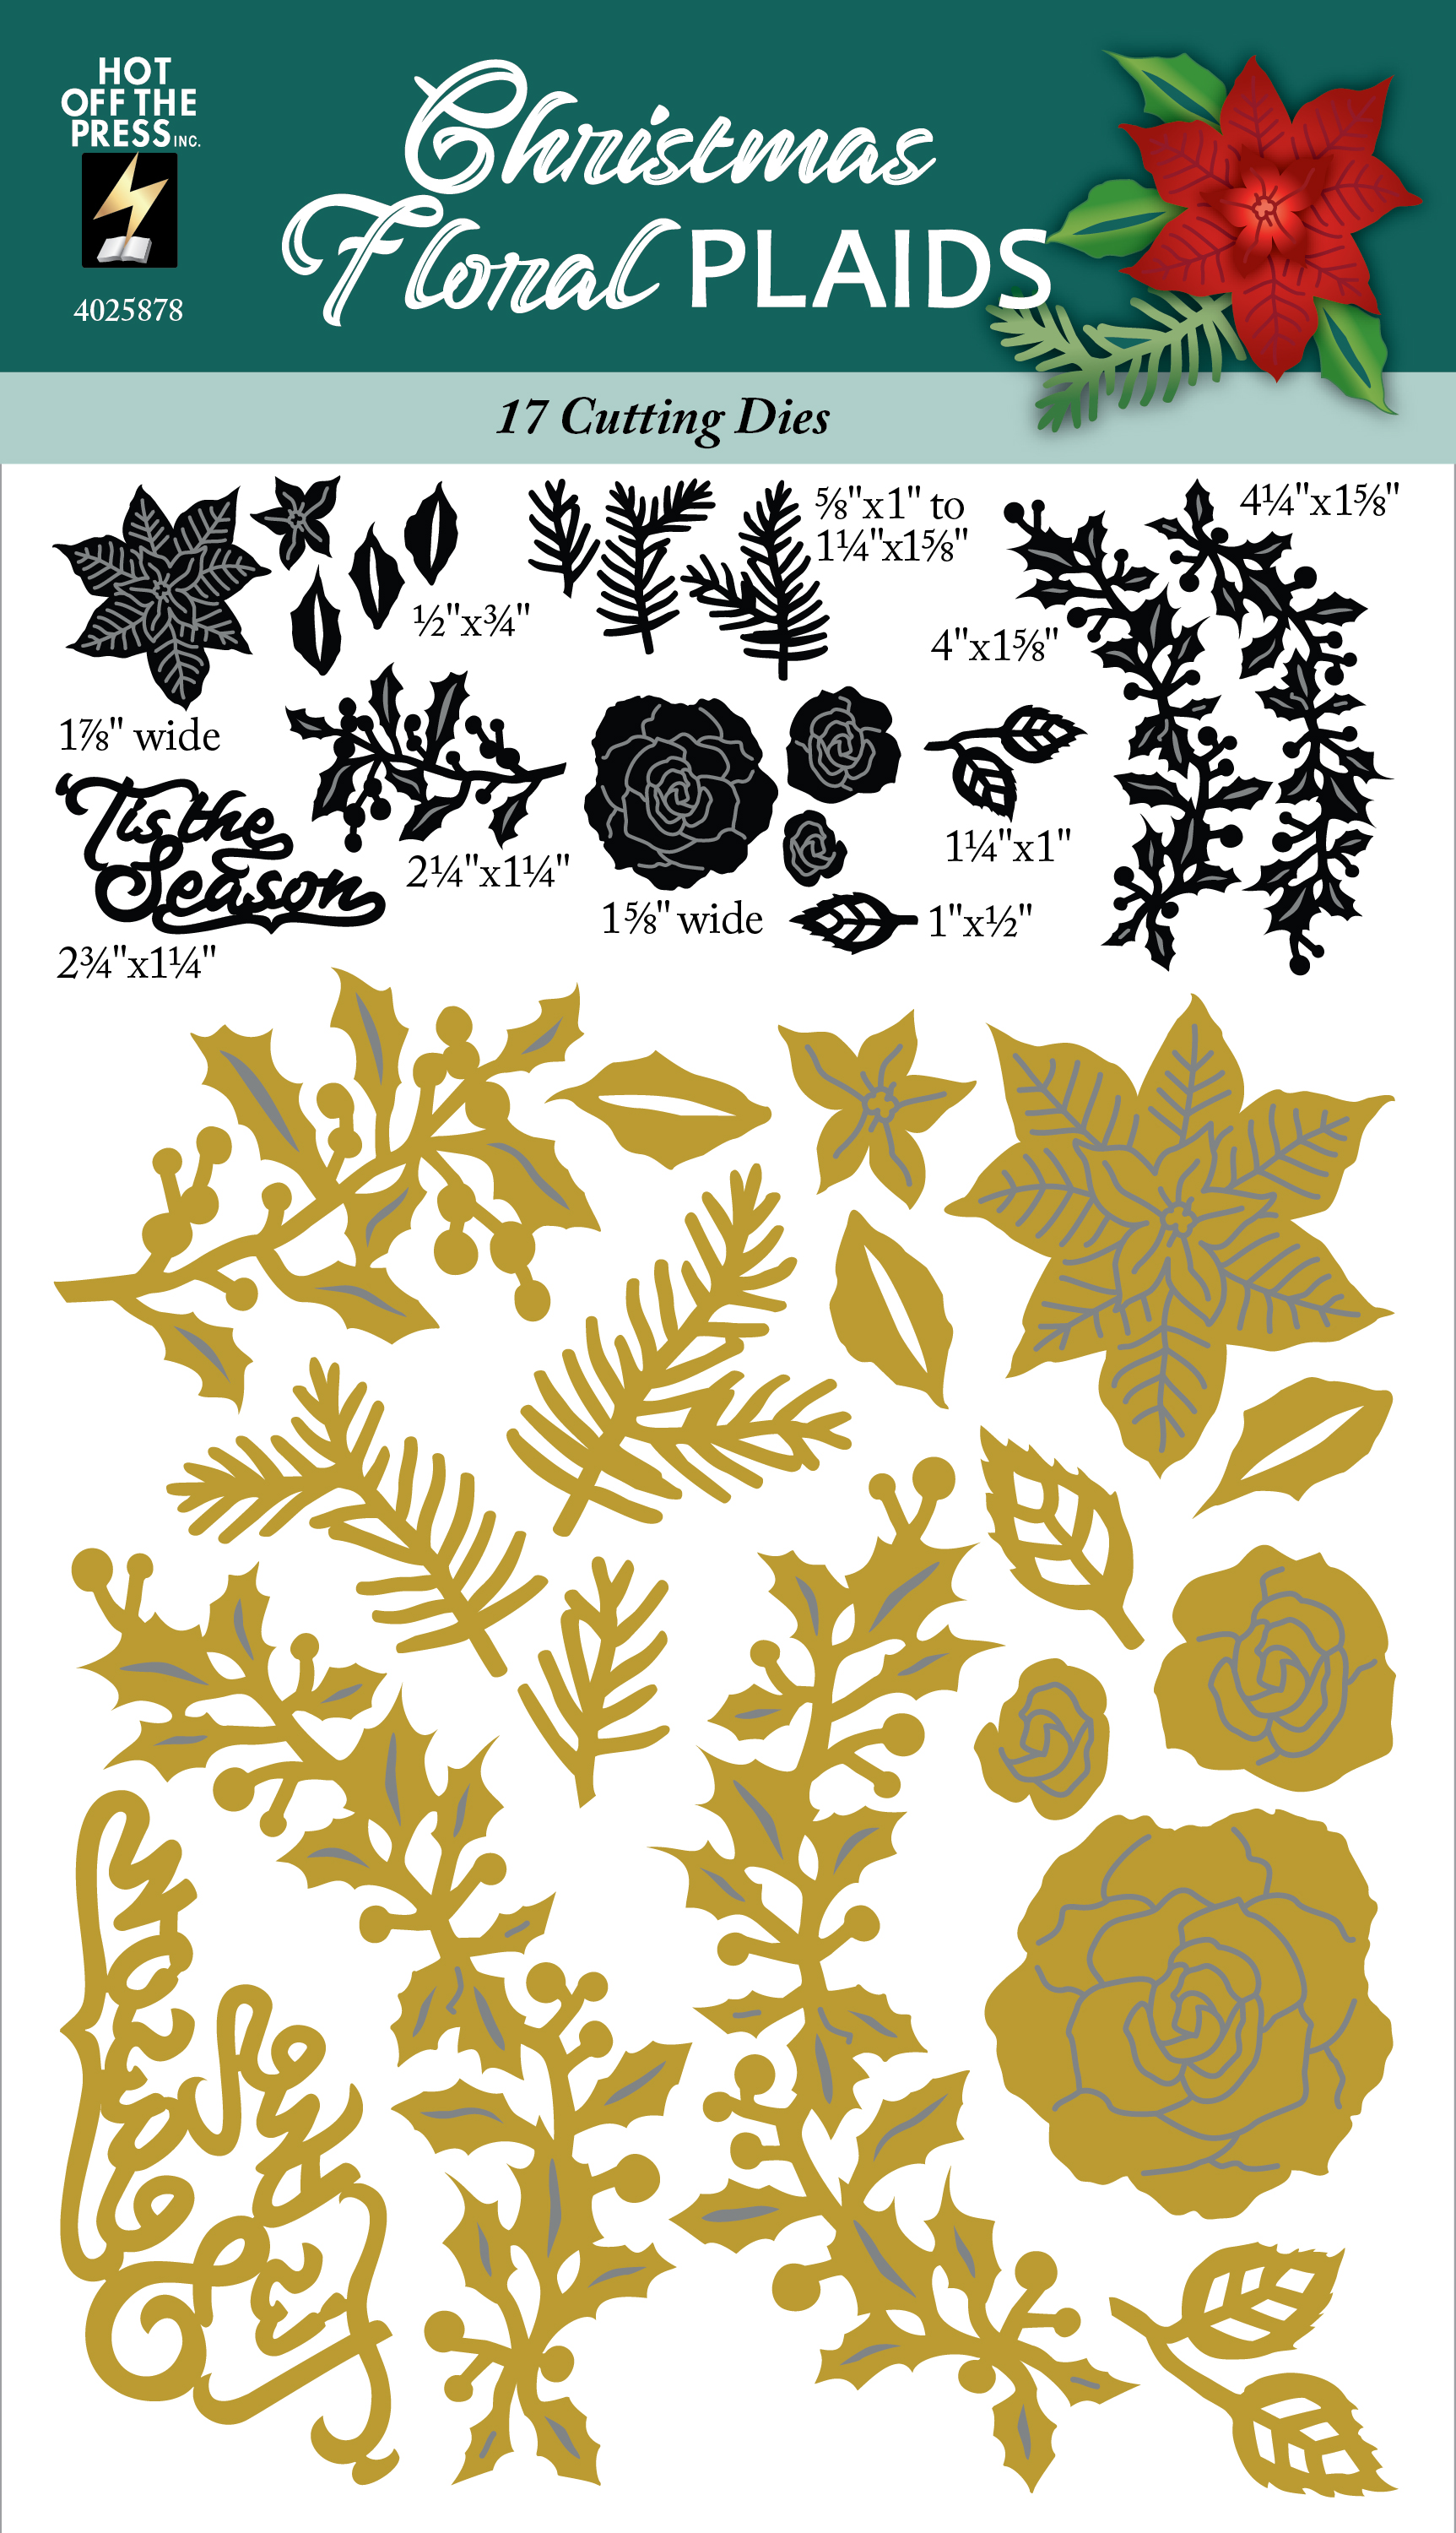
I used the Paper Wishes/Hot Off the Press Christmas Floral Plaids 12×12 Patterned Paper, 12×12 Solids Pack, and coordinating die set for this project. This is a gorgeous collection and the papers have a vintage-feel to them. Check out my recent walkthrough blog post for this collection, which also includes 6×6″ patterned paper, die-cut toppers, and chipboard pieces.


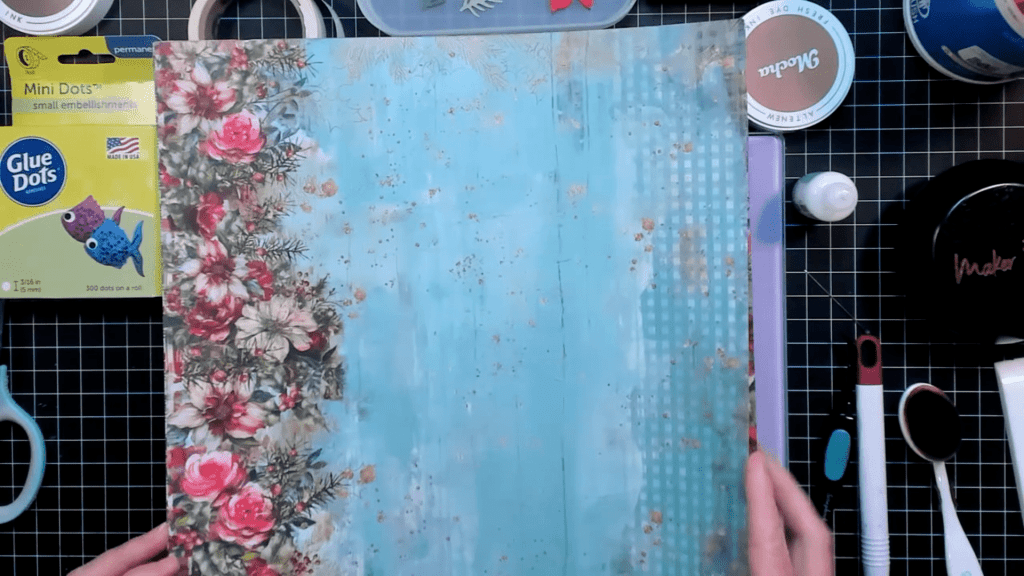
This is a perfect sketch to use patterned papers that have a design along one edge. For the blue cards, I trimmed off the flower strip to make the square panels, and used the rest of the paper to make the background panels. For the red and green card, I trimmed off the flower strip on one of the patterned papers, and cut the panels from a plaid paper that I really wanted to use for the project.

Card Front Pieces
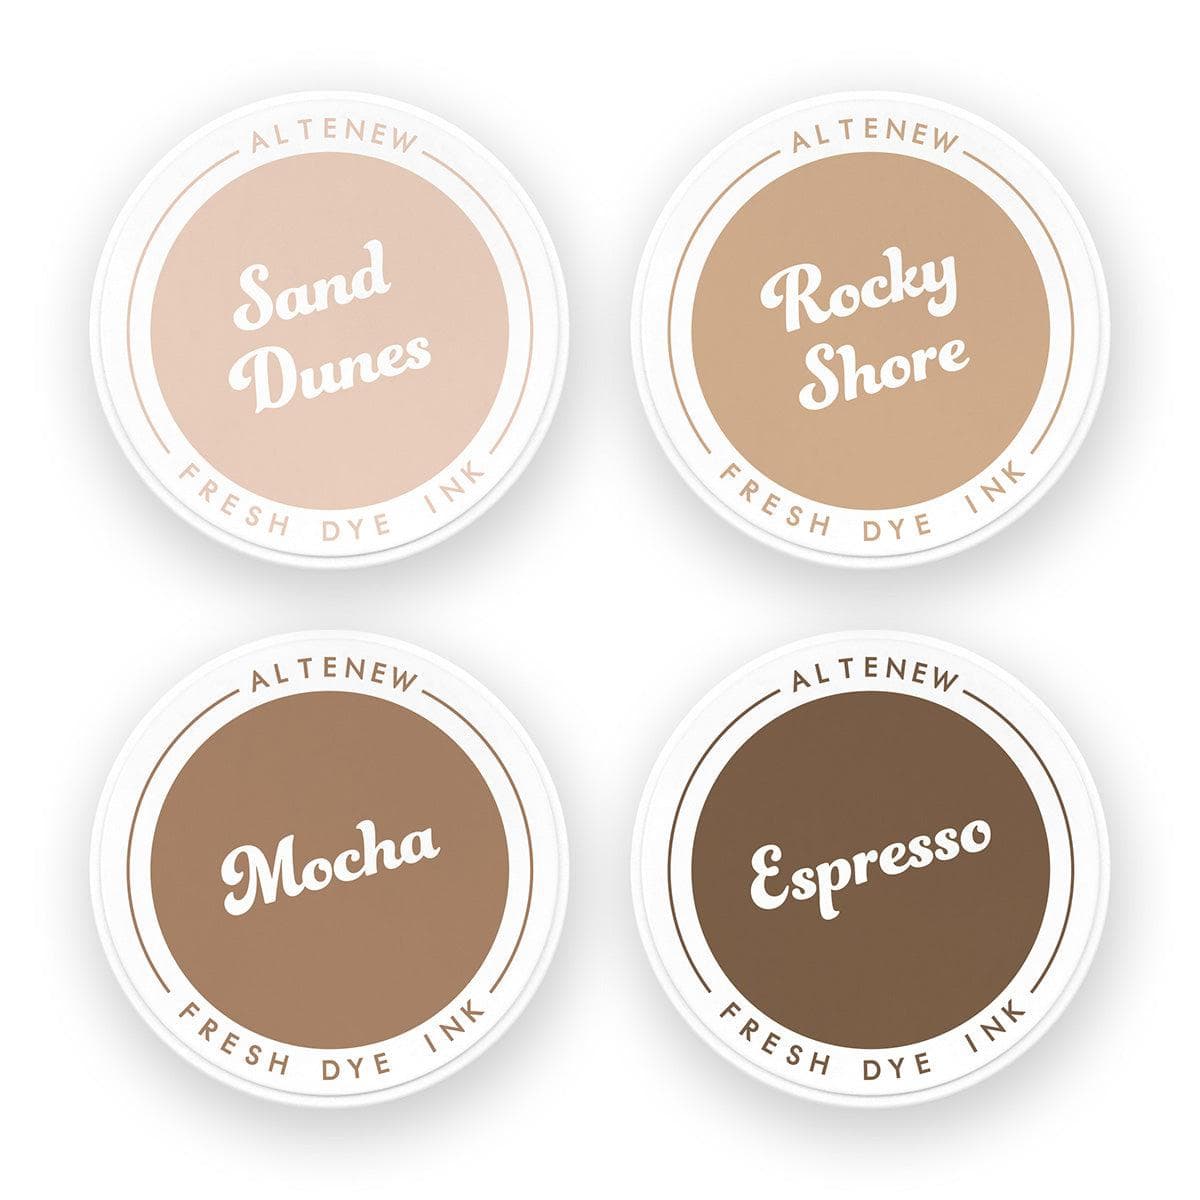
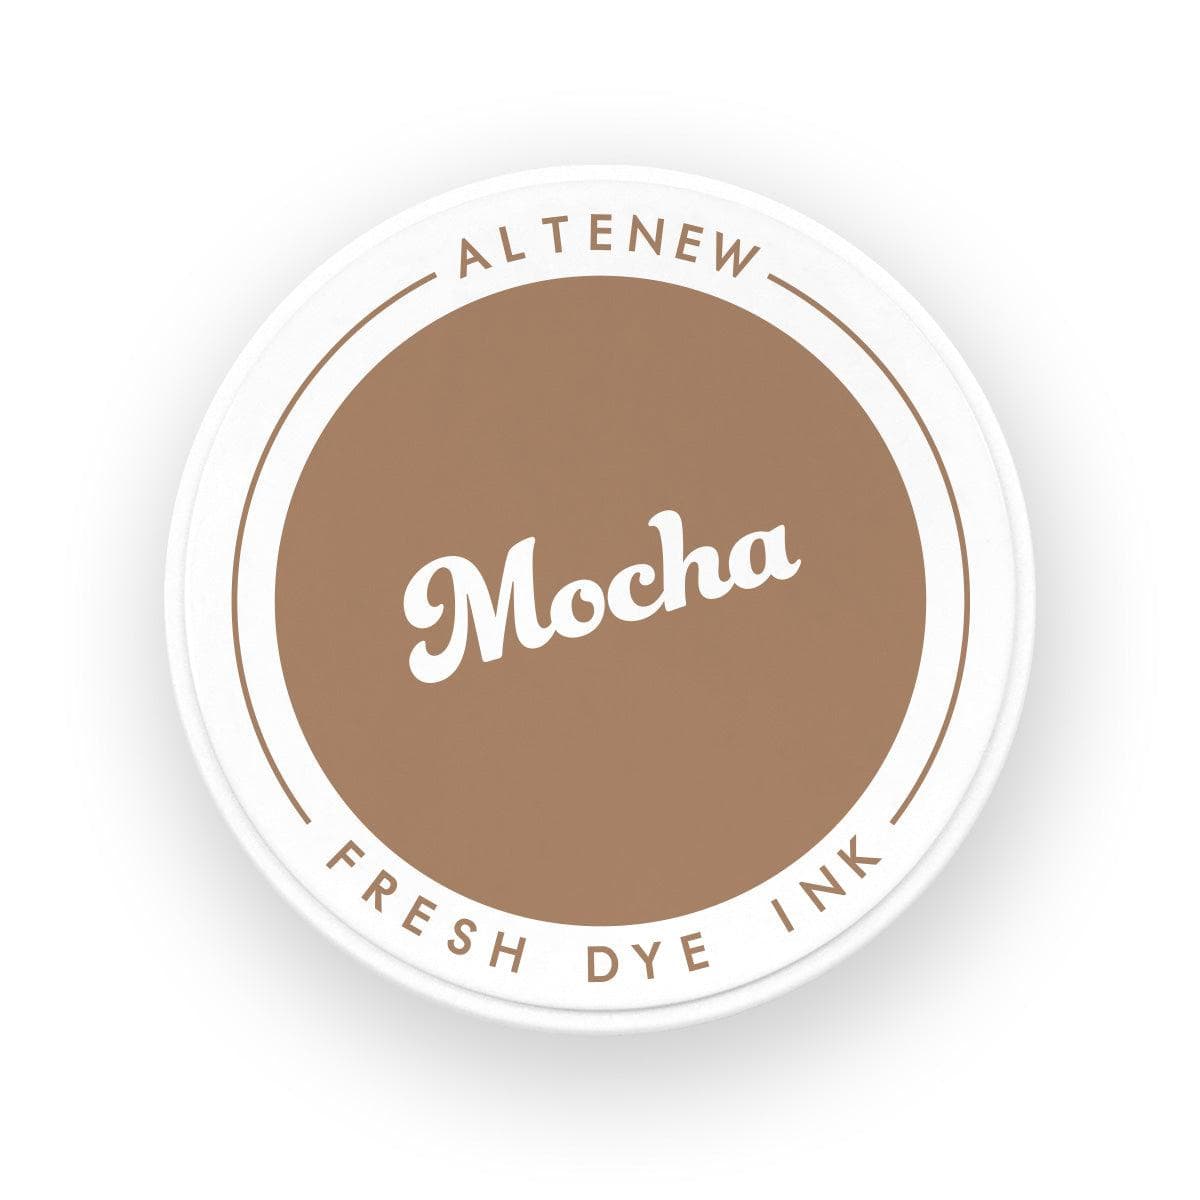
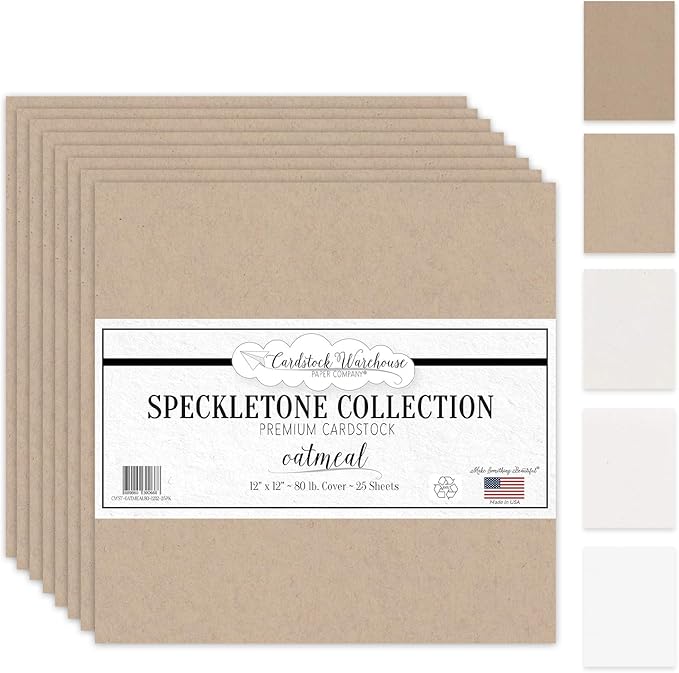
I cut the mats from the solids pack, and made the card bases out of Oatmeal Cardstock. For the tags, I used Recollections White Dove cardstock and the Simon Says Stamp Nested Tags Die Set. I wanted the cards to have a vintage-feel, so I added Altenew Mocha Ink to the edges of all the panels and the foliage pieces, and to the edges of the card base and tag. Then I assembled the card pieces, putting the panels together with Scrapbook Adhesives E-Z Tape Runner, and liquid glue to add the triangles to the card front. I added the panel to the mat, then added all that to the card base.
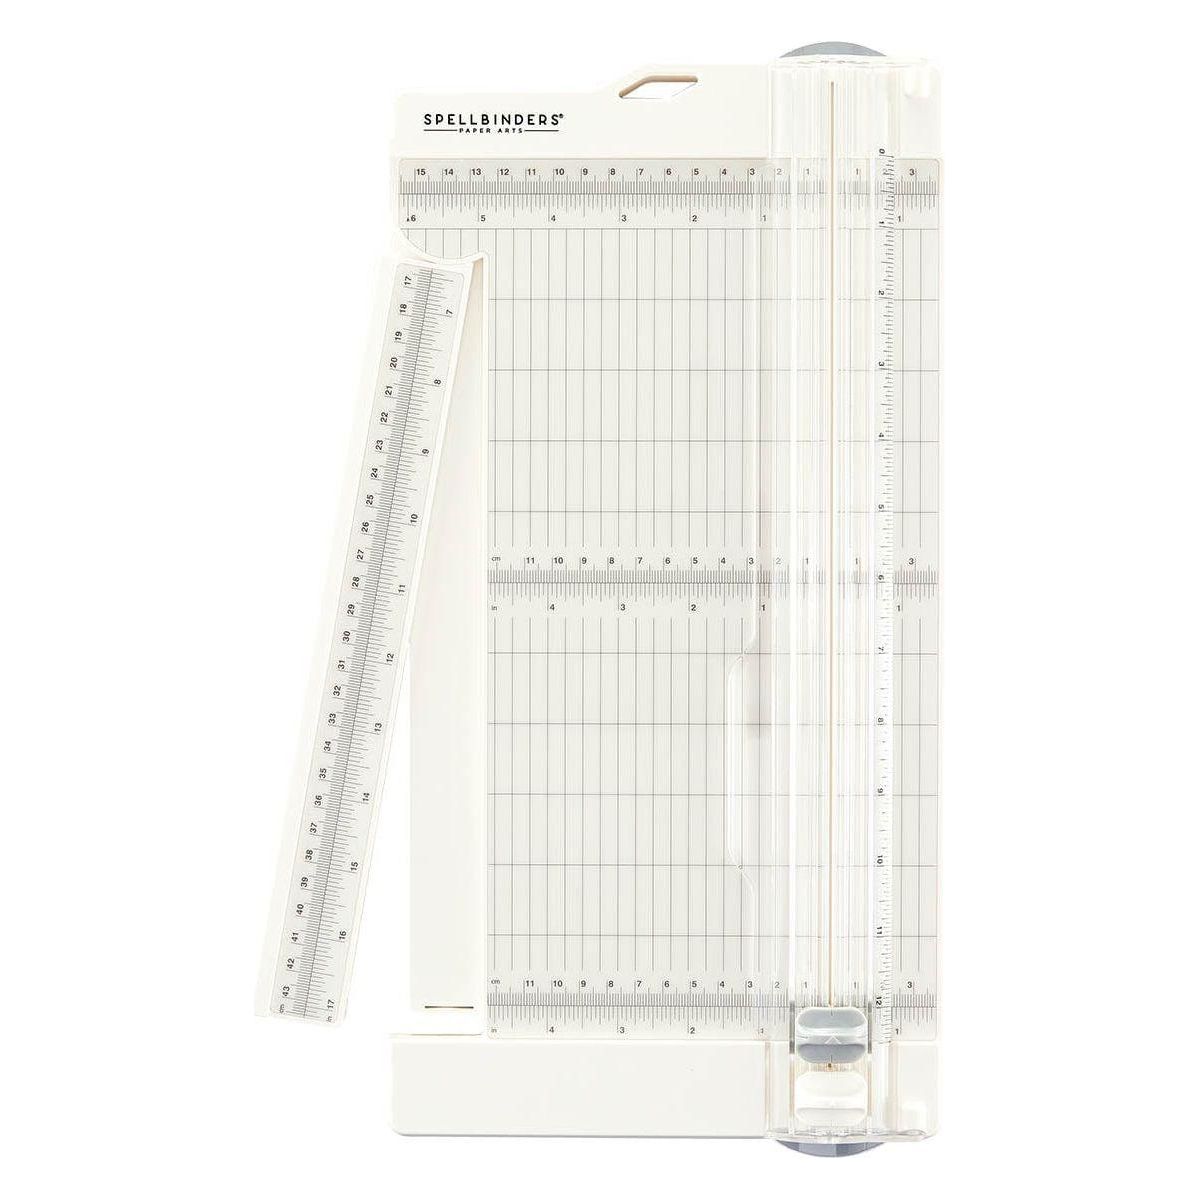
Tip: Use the ledge on a score board or paper trimmer to help when gluing on the triangles. This will ensure that the edges line up perfectly!
Decorating the Card Front
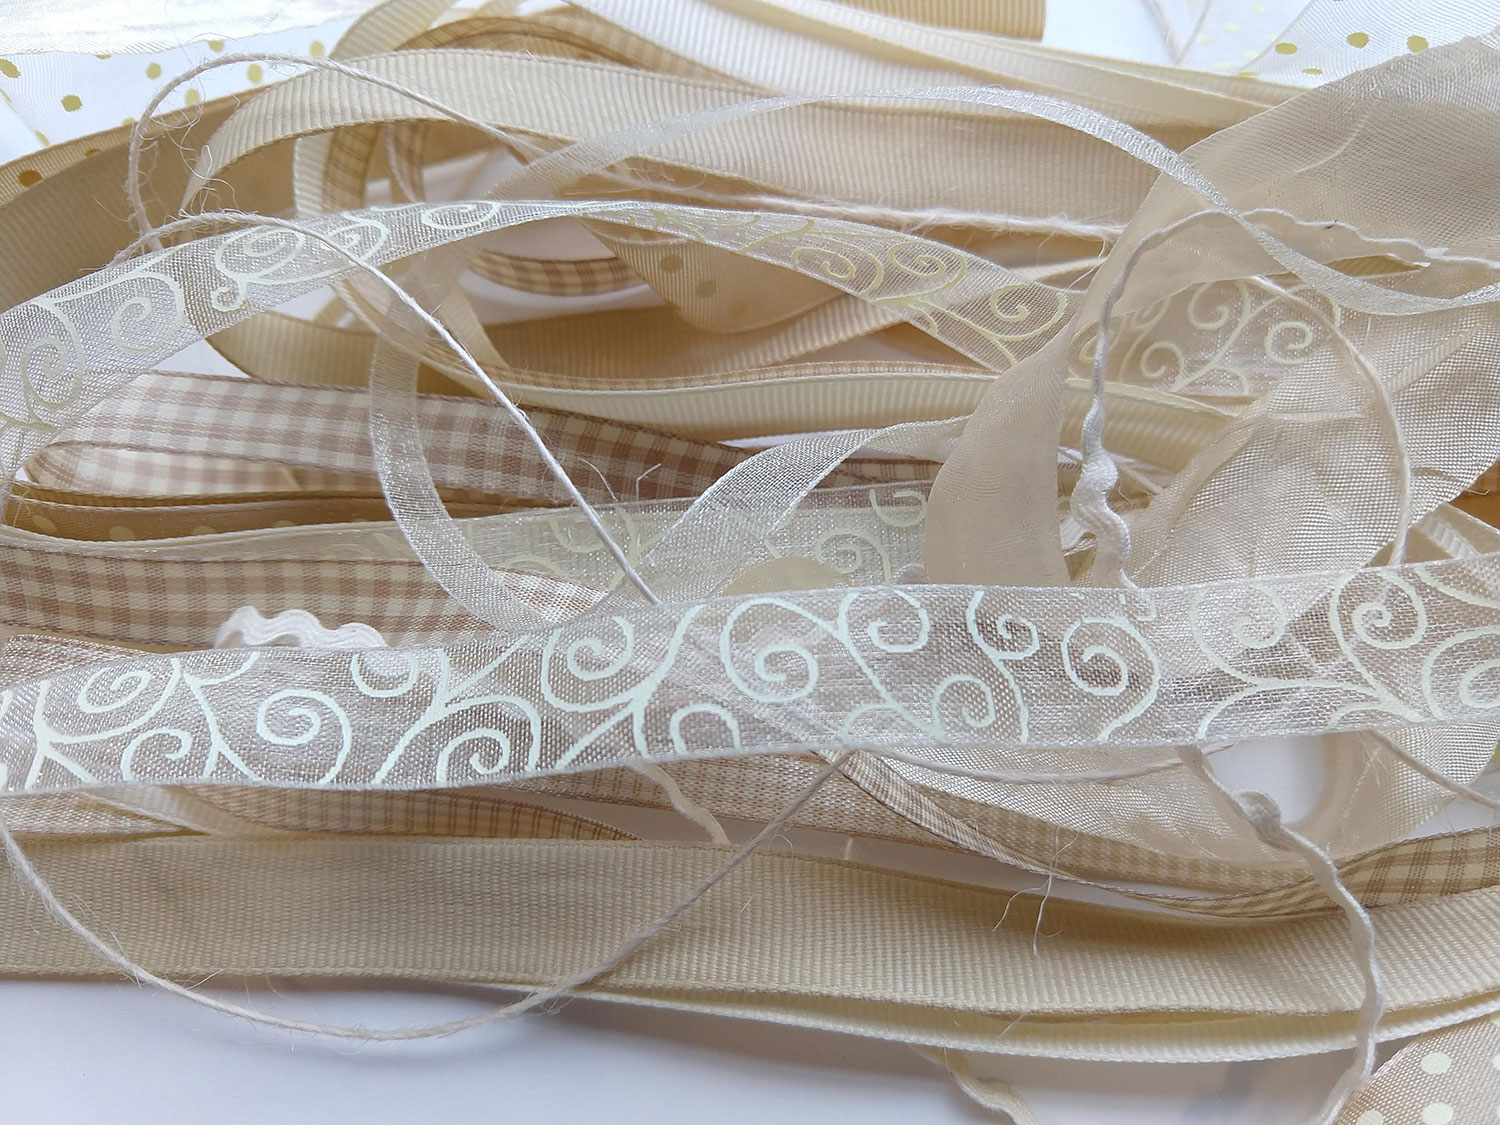
Once the card front was assembled, it was time to decorate! I used my Mini Misti to stamp the tags with Altenew Mocha or Espresso ink, and the Simon Says Stamp Making Spirits Bright stamp set. This is such a versatile Holiday sentiment set! I made bows from the Paper Wishes Ivory Ribbon Set, putting a small drop of glue on the back of the bow to hold the knot in place. Once the bows had dried, I added them to the tags using a Glue Dot.


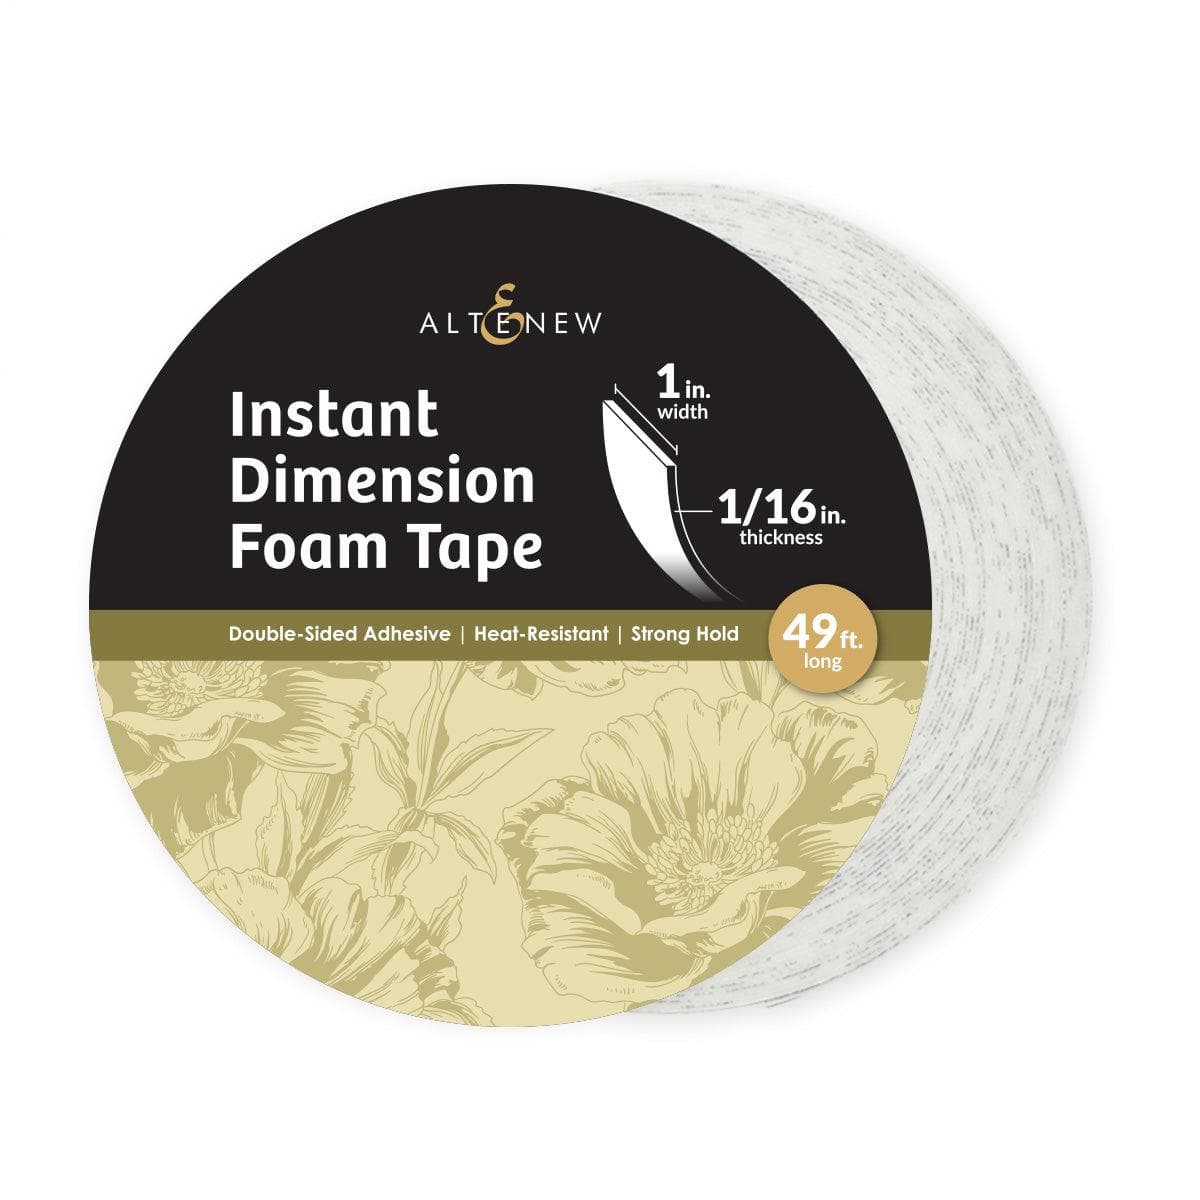
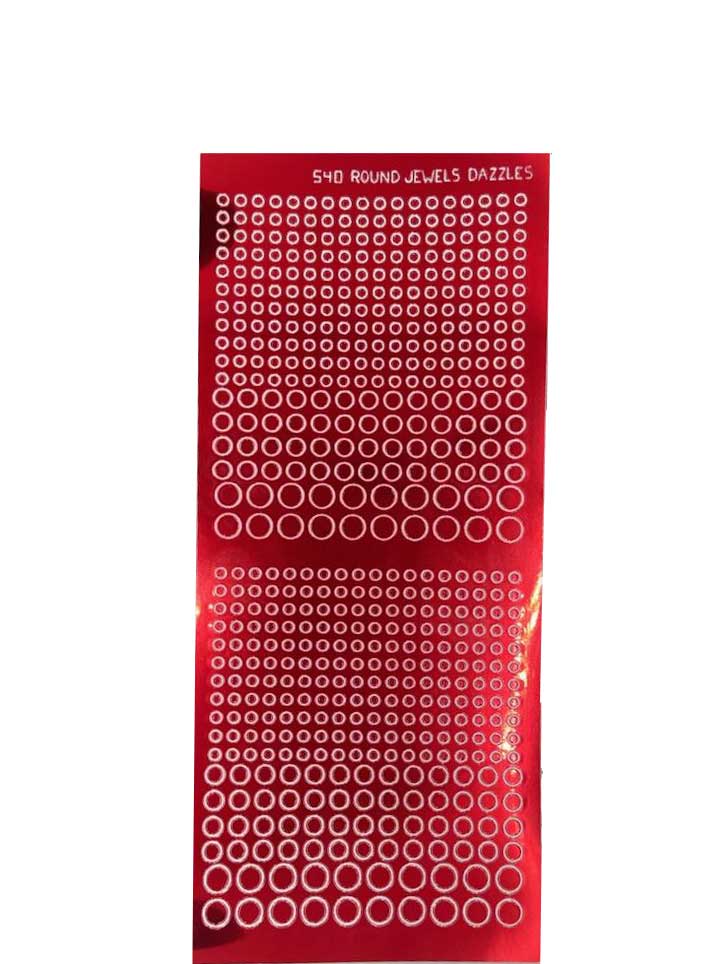
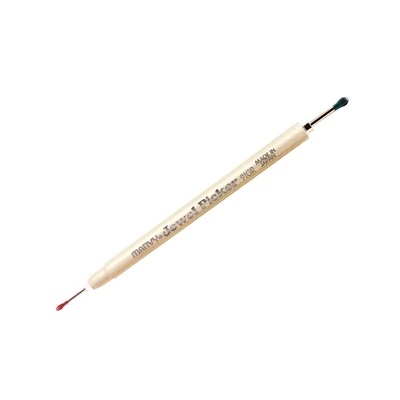
I attached the tags on flat with Simon Says Stamp glue, or used Altenew’s 1″ wide 1/16″ thick foam tape. For the cards where I glued on the tag, I added some small scraps of paper to the open space between the triangles to help the tag lay flat across the triangles. After adding the tags to the cards, I added some of the foliage die cuts to the tags or poking out from underneath the tags. For the holly foliage die cuts that had spots for berries, I added Paper Wishes Red Jewel Dazzle stickers as the berries to give the card some sparkle and shine.
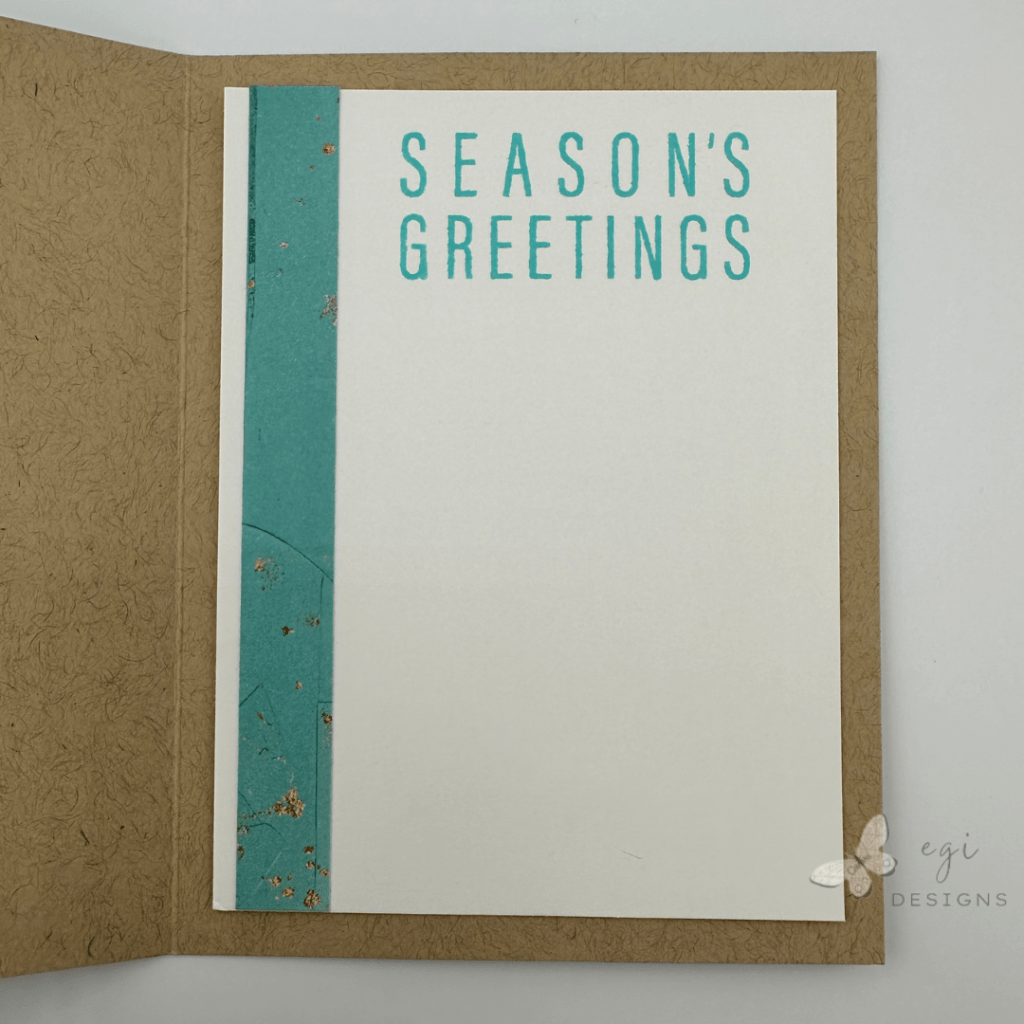
Decorating the Inside of the Card
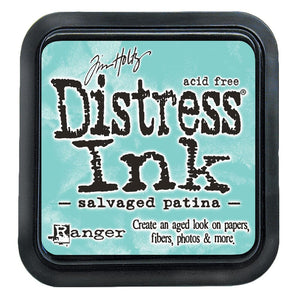
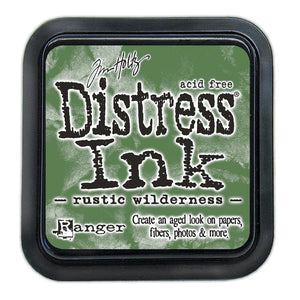
For the inside of the cards, I cut card panels out of Recollections White Dove cardstock. and used 1/2″ skinny strips cut from the patterned paper and glued them onto the left side of the panel. I used another sentiment from the Making Spirits Bright Stamp Set, and stamped onto the inside panel using Distress Salvaged Patina for the blue cards, and Distress Rustic Wilderness for the green and red cards.

If you are looking for additional ways to decorate the insides of your cards, check out my video with more easy ideas.
Check out my video and blog post where I made two Birthday cards using this awesome sketch with the 49 and Market Flower Emporium Collection!!


Step-by-step video:
I hope you enjoyed this project! For more card-making ideas, check out my YouTube playlist and card-making blog posts. I also have a Sheetload of Cards playlist on YouTube.
Product Information
Here are the products I used in today’s project. Please consider shopping through my affiliate links, as it greatly helps out my channel at no extra cost to you. Thanks so much for supporting me and my channel!
**Use code EGIDESIGNS for 15% off your order at Glassboard Studio**
|


Additional products used:
- Scrapbook.com: Stamp Shammy


3 Comments