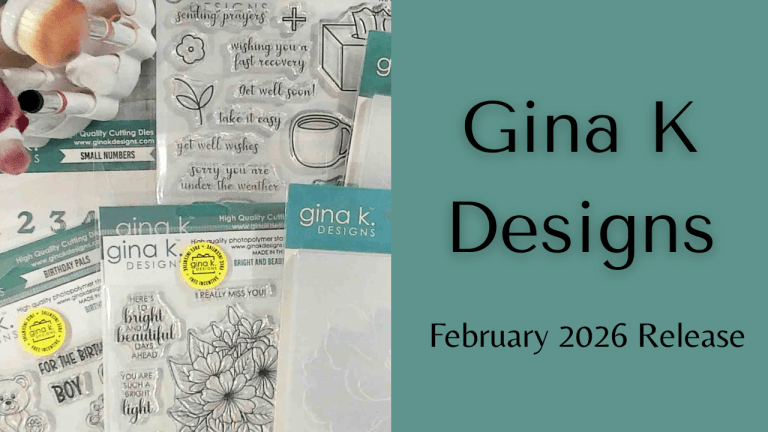
How to Make a Beautiful Mini Slimline Floral Card with Gina K Designs
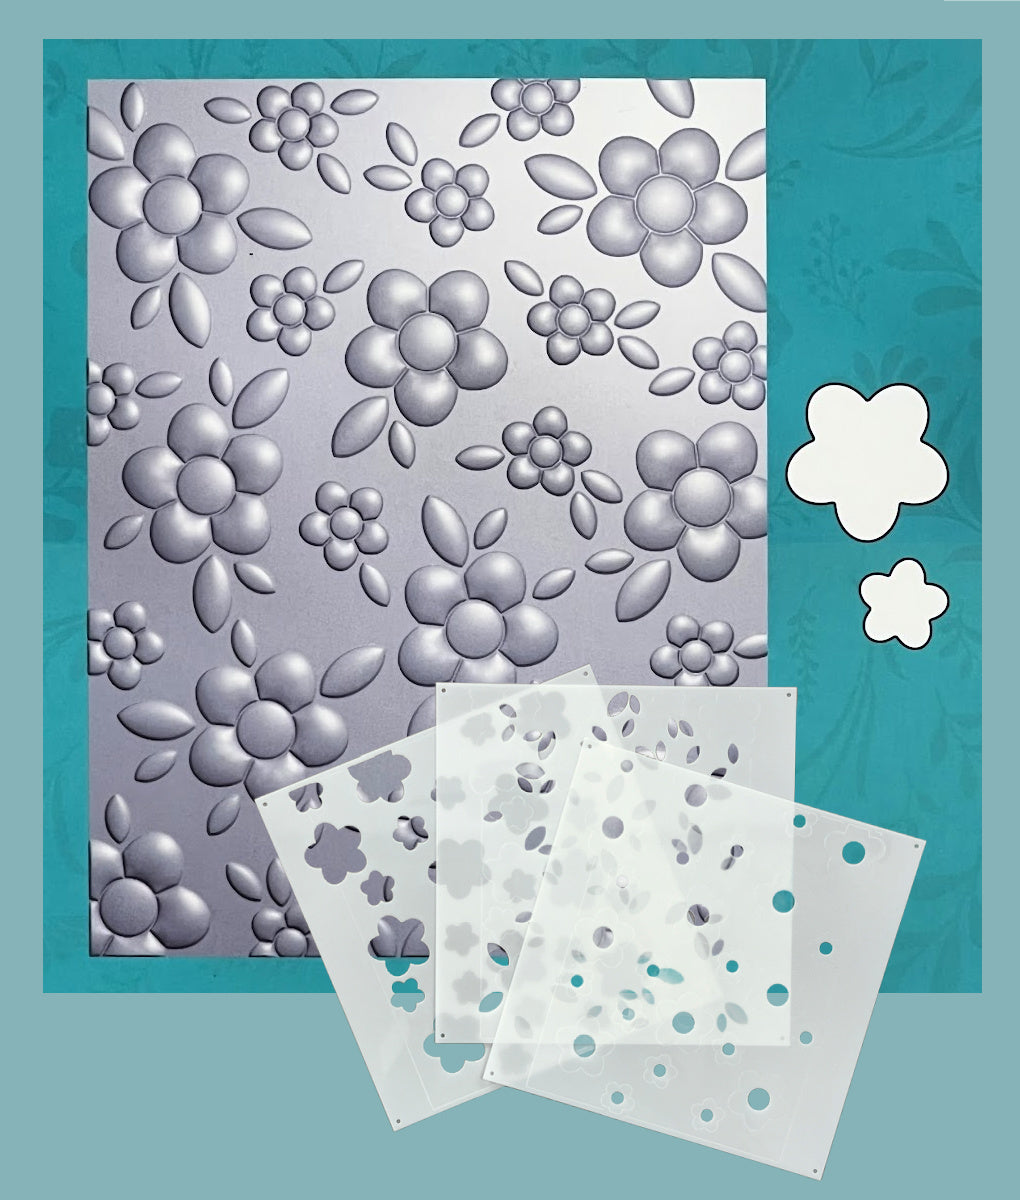
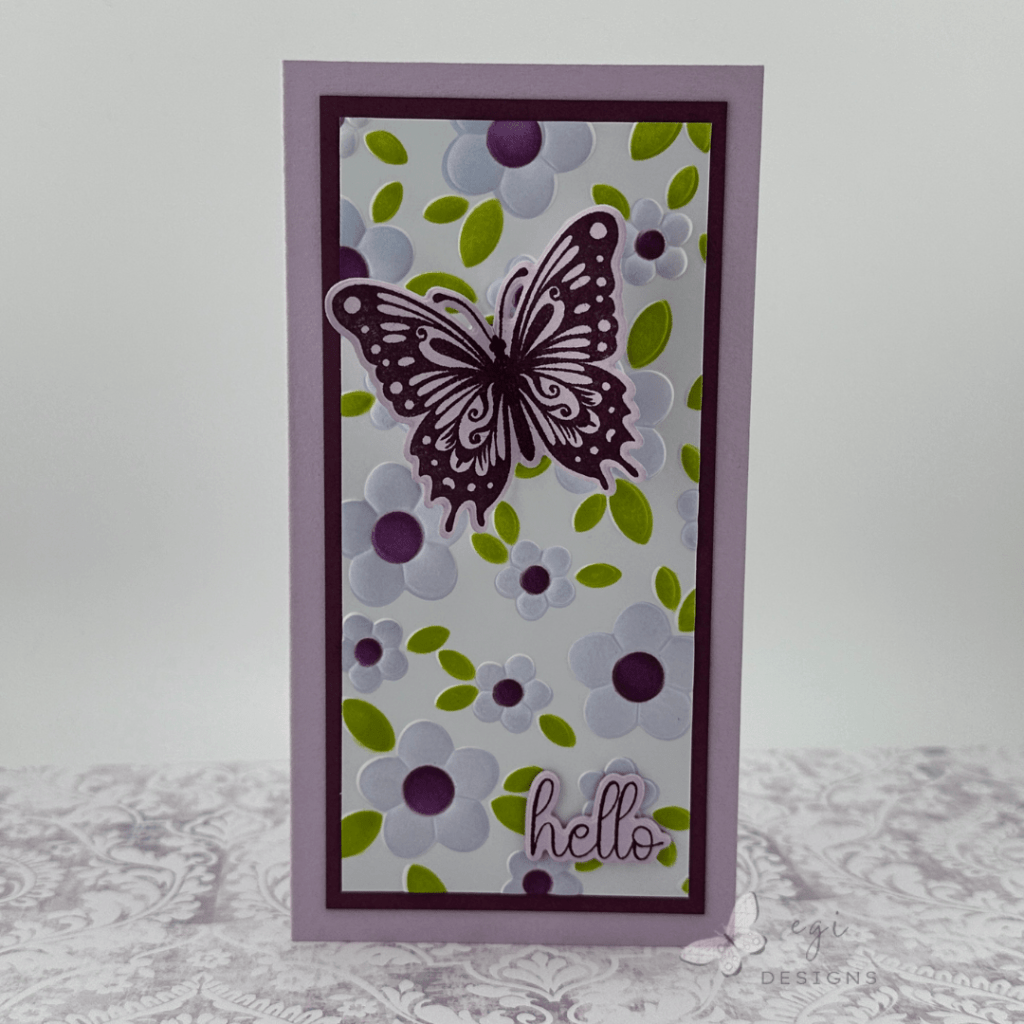
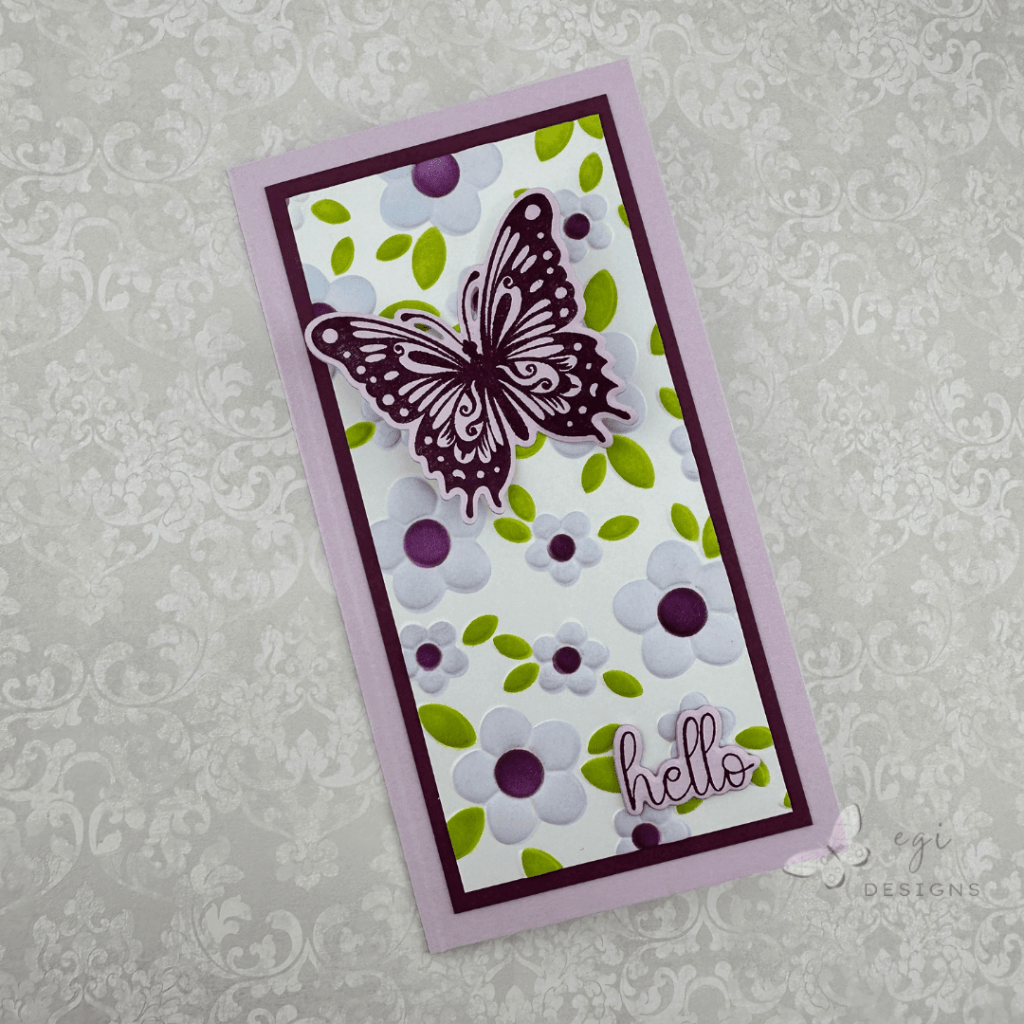
In this video project, I made a sweet Hello mini slimline card using the Gina K Designs Contemporary Floral 3D Embossing Folder and Stencil set, with the Celebrate You Stamp and Die Set. All products used on this project are listed below.
Measurements:
Original Embossed Panel: 4 1/4 x 5 1/2"
Mini Slimline Card Base: 3 1/4 x 6 1/4" when folded
6 1/2 x 6 1/4", Score at 3 1/4"
Floral Panel: 2 1/2 x 5 1/2"
Mat Layer: 2 3/4 x 5 3/4"
Card Instructions
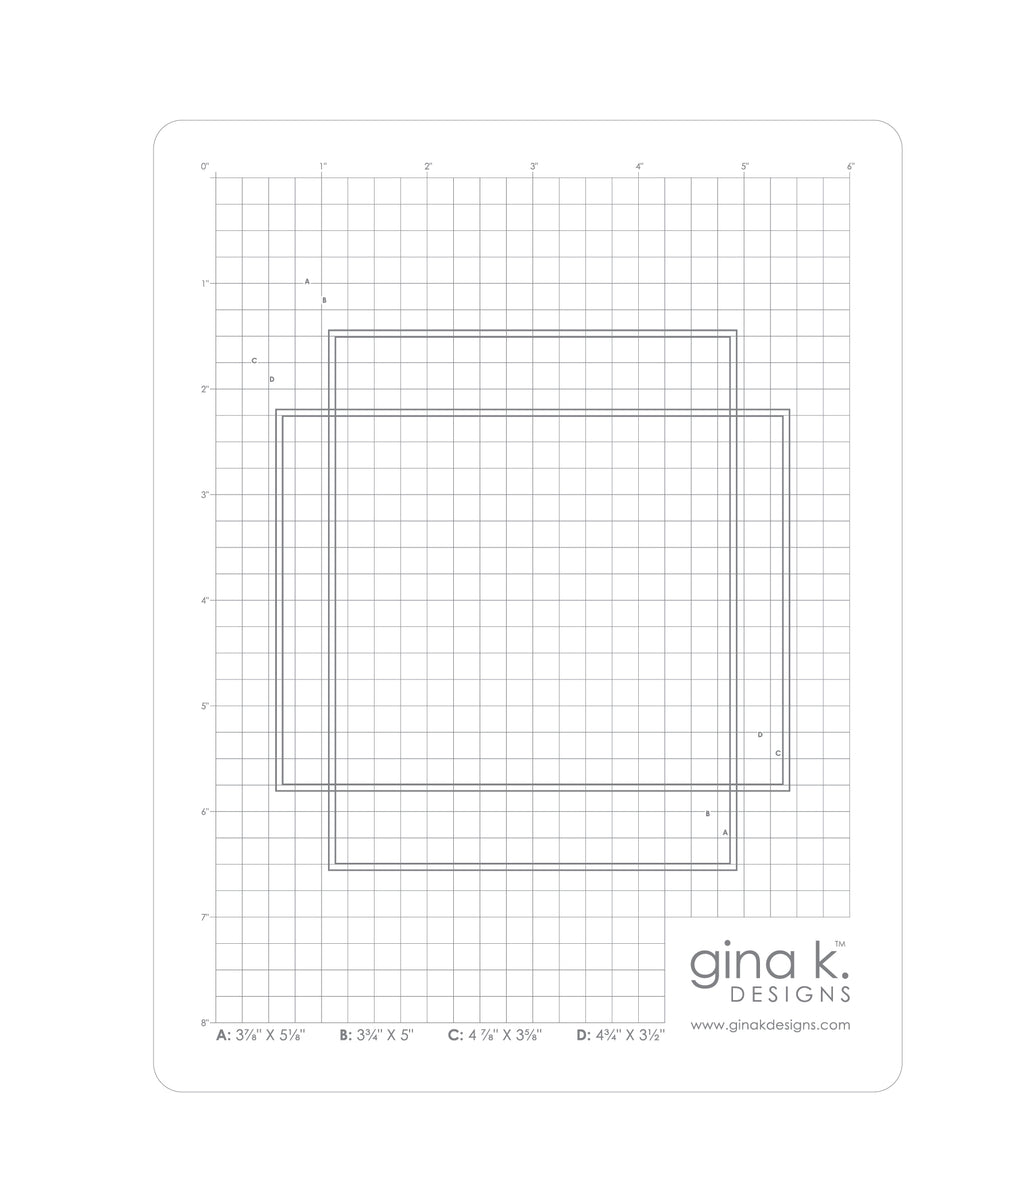
For this card, I embossed a piece of white cardstock with the Gina K Designs Contemporary Floral 3D Embossing Folder. I stuck the panel to a Gina K Designs Sticky Mat to hold the panel and stencils down while stenciling. For the ink colors, I used Lovely Lavender for the petals, Plum Punch for the flower centers, and Key Lime and Jelly Bean Green for the leaves.


Next, I cut down the stenciled panel to 2 1/2 x 5 1/2″, and cut a mat layer for it from Plum Punch cardstock. I made the mini slimline card base from Lovely Lavender cardstock (3 1/4 x 6 1/4″ when folded: 6 1/2 x 6 1/4″, Score at 3 1/4″). I attached the card panel to the mat using my tape runner, then added those to the card base.
Decorating the Card Front
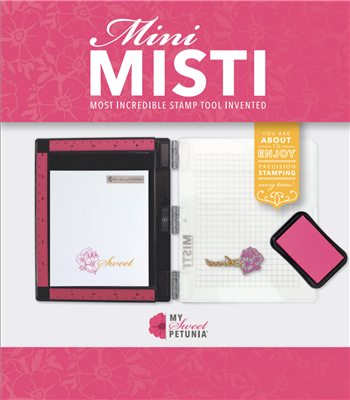
The sentiment and butterfly image are from the Gina K Designs Celebrate You Stamp and Die Set. I used my Mini Misti to stamp the images on Lovely Lavender cardstock using Plum Punch ink.

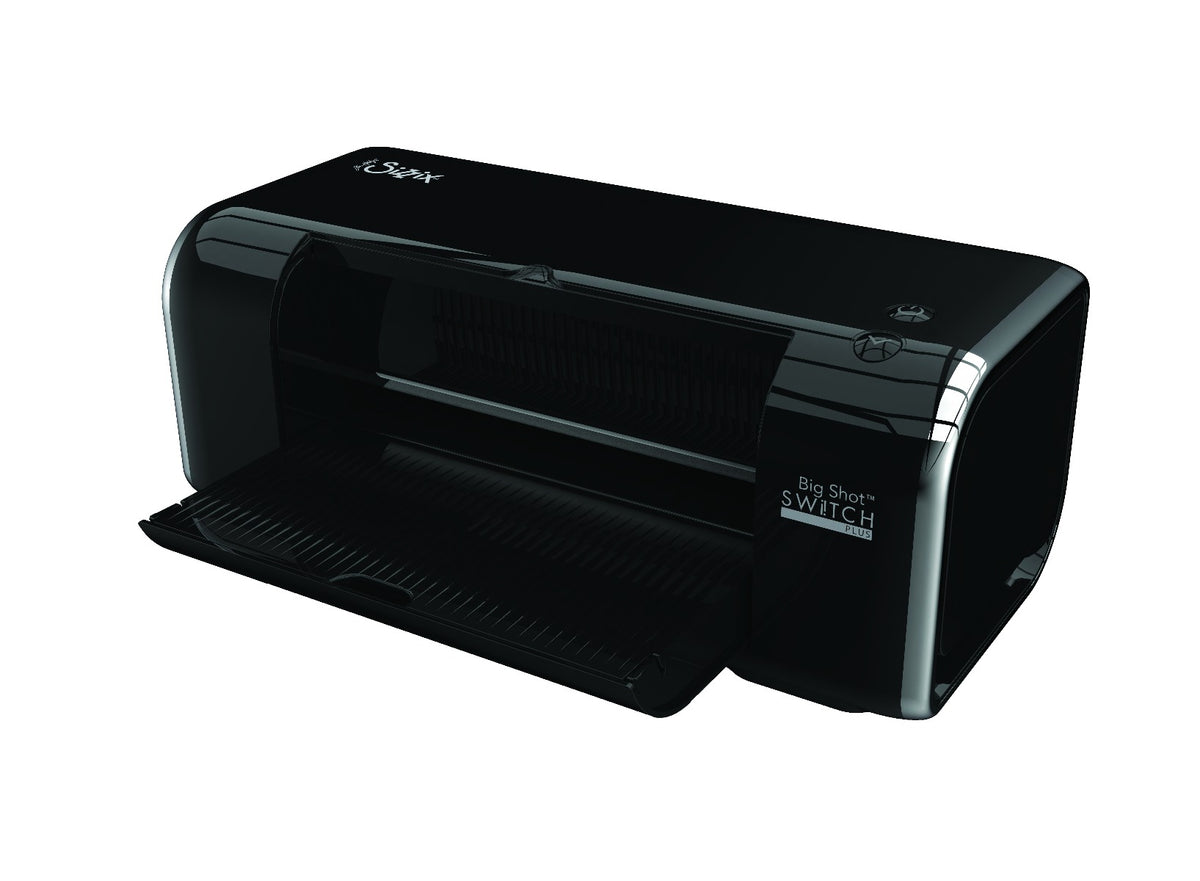
Then I cut out the images using the matching dies with my Mini Empress Die Cut Machine. I cut out two more ‘hello’ dies to add some dimension behind the sentiment. I glued all three layers together using glue, with the stamped image on the top layer.
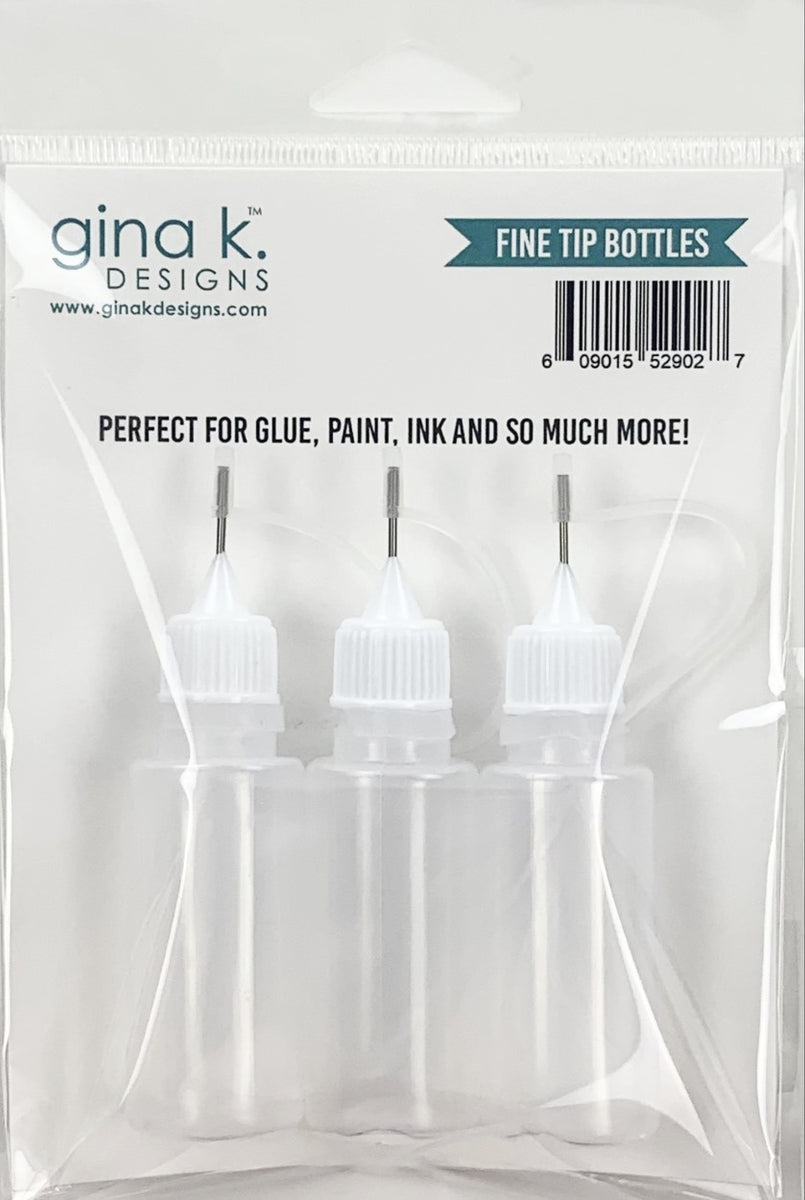
Using a fine tip glue bottle, I added the Hello sentiment to the bottom of the card, and put glue only behind the butterfly body so I could pop the wings up after the glue was dry.
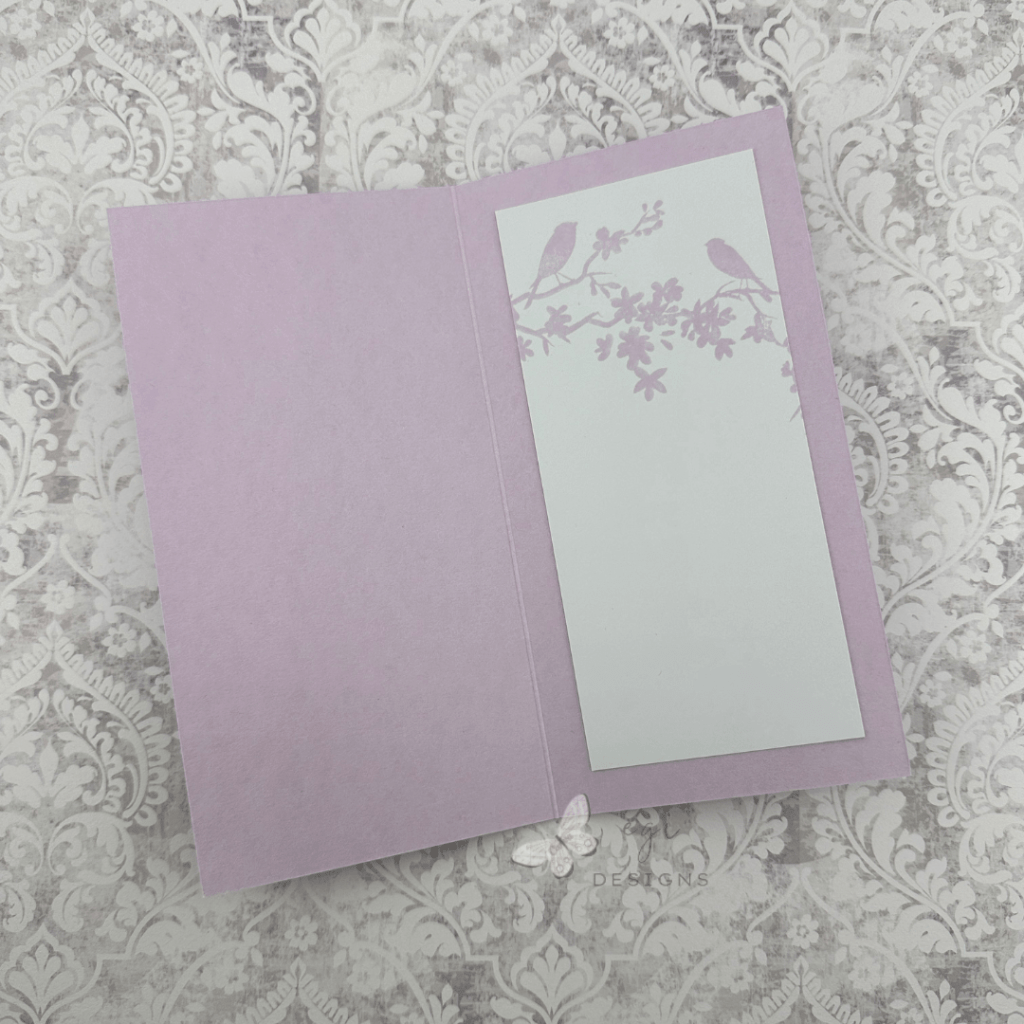
Finishing up the inside of the card
I cut a 2 1/2 x 5 1/2″ white cardstock panel for the inside of the card, and stamped it with Lovely Lavender ink and the bird images from the Celebrate You stamp set.
Hope you enjoyed this card project!
Step-by-step video:
For more card-making ideas, check out my YouTube playlist and card-making blog posts.
Product Information
Here are the products I used in today’s project. Please consider shopping through my affiliate links, as it greatly helps out my channel at no extra cost to you. Thanks so much for supporting me and my channel!
**Use code EGIDESIGNS for 15% off your order at Glassboard Studio**
|