How to Make a Beautiful Circle-Shaped Mosaic Birthday Card Step by Step
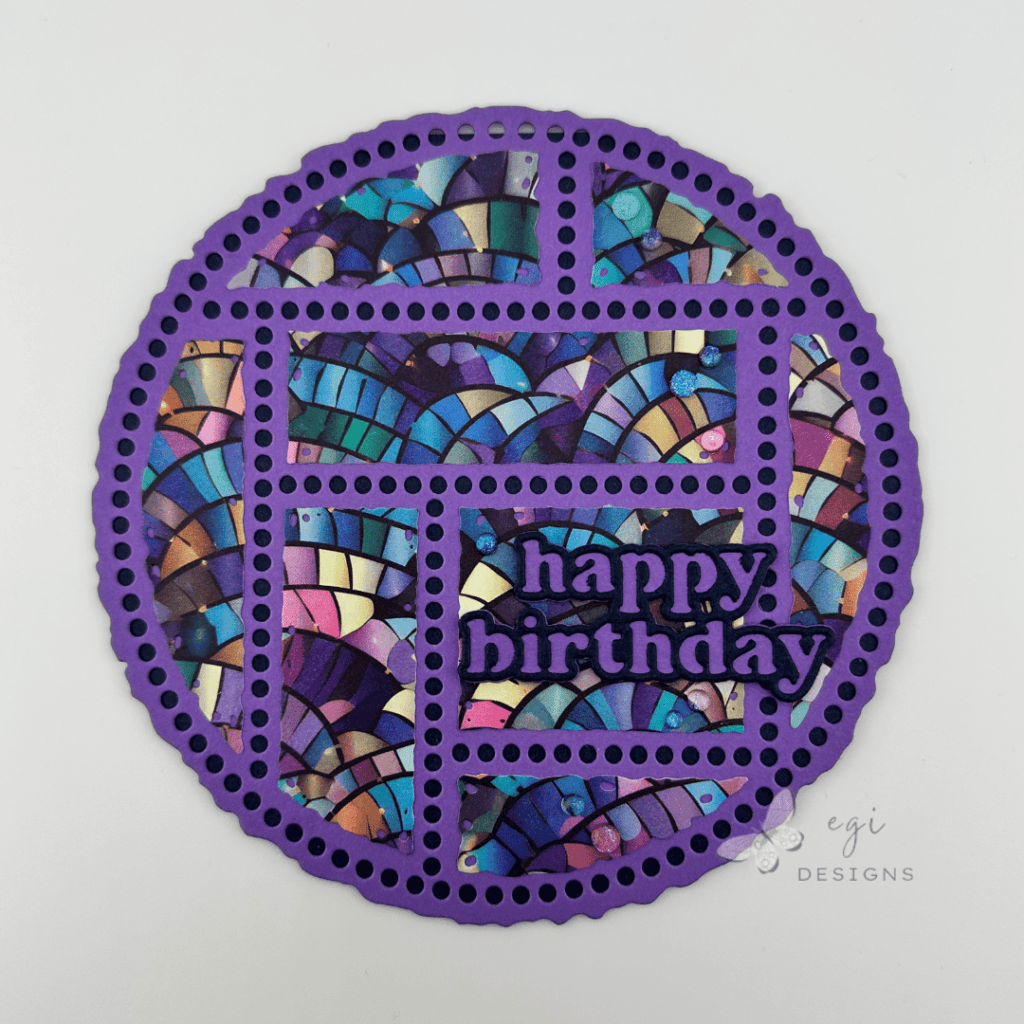
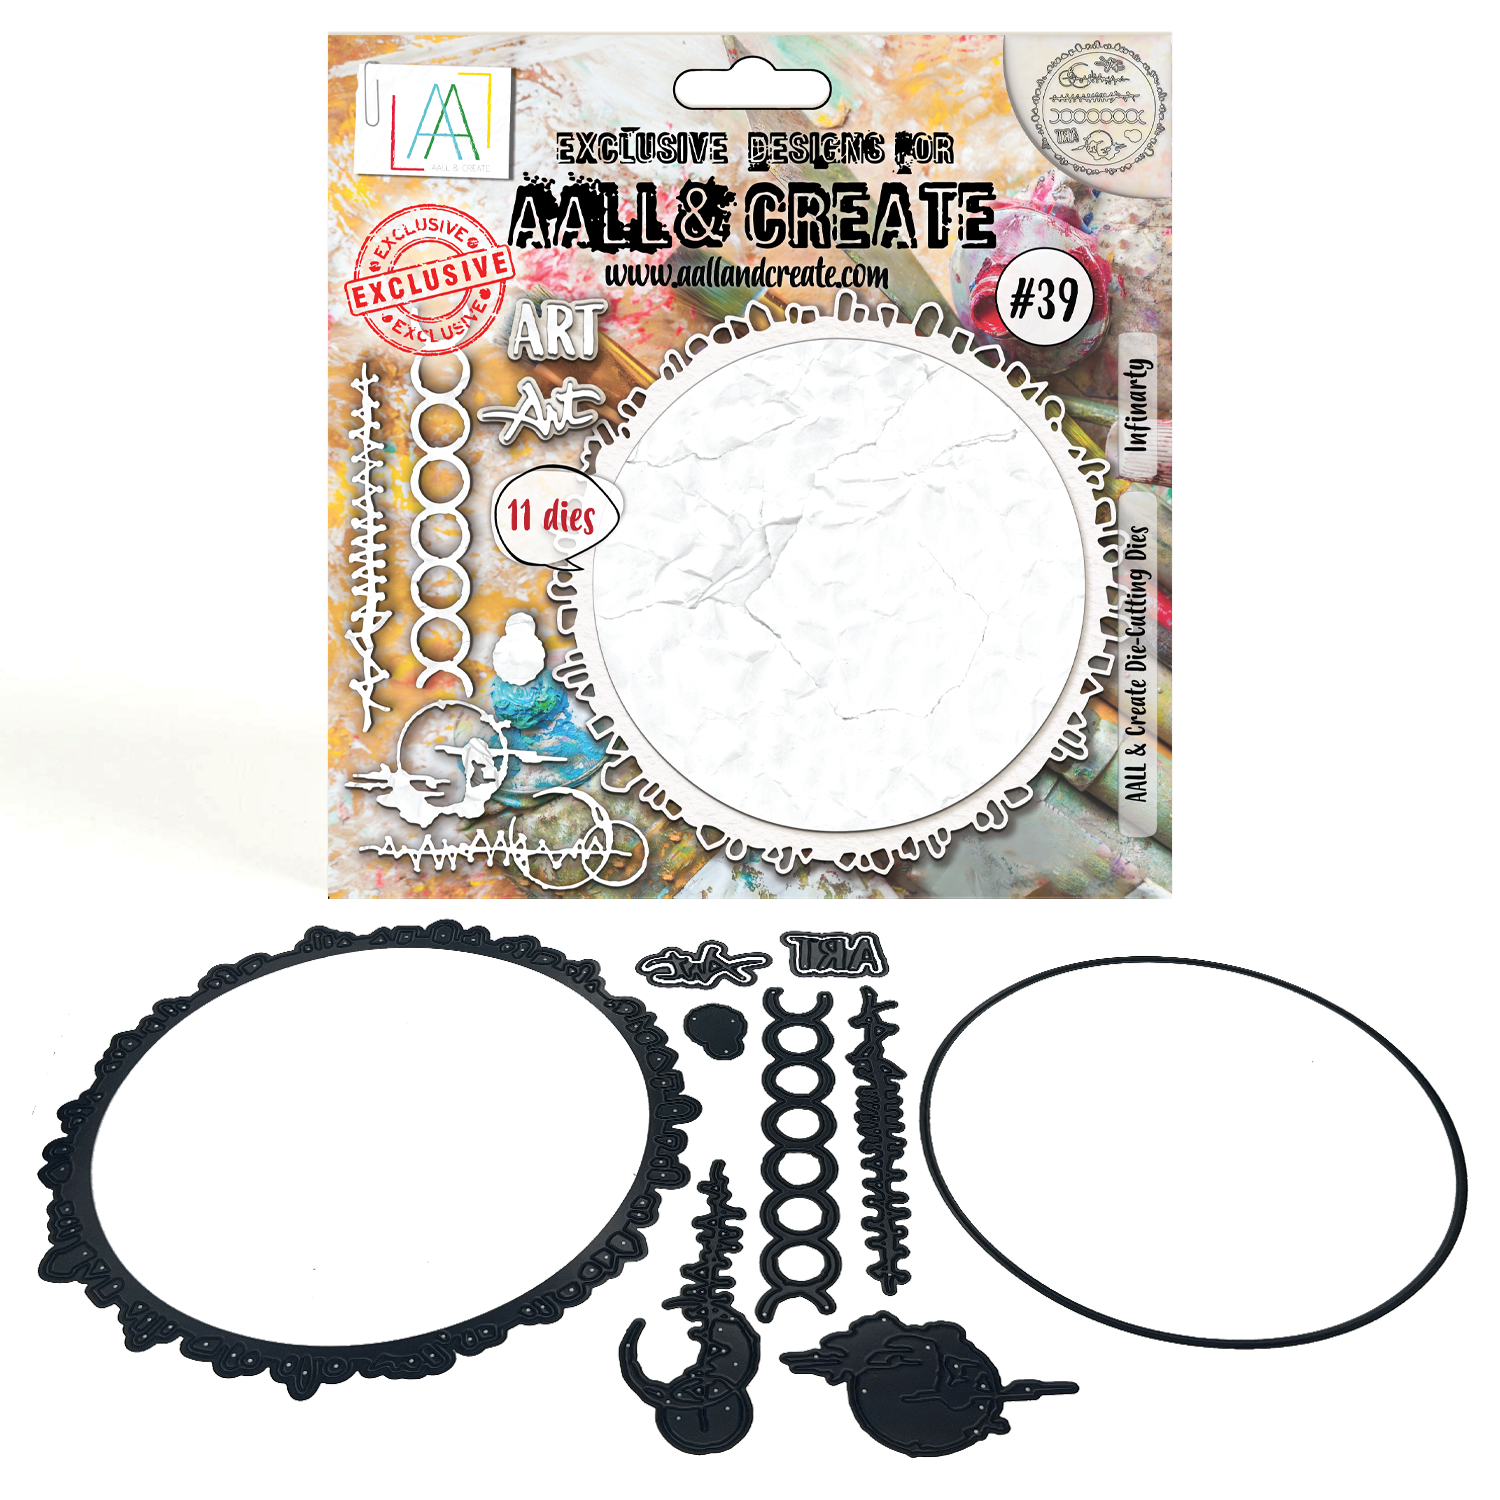
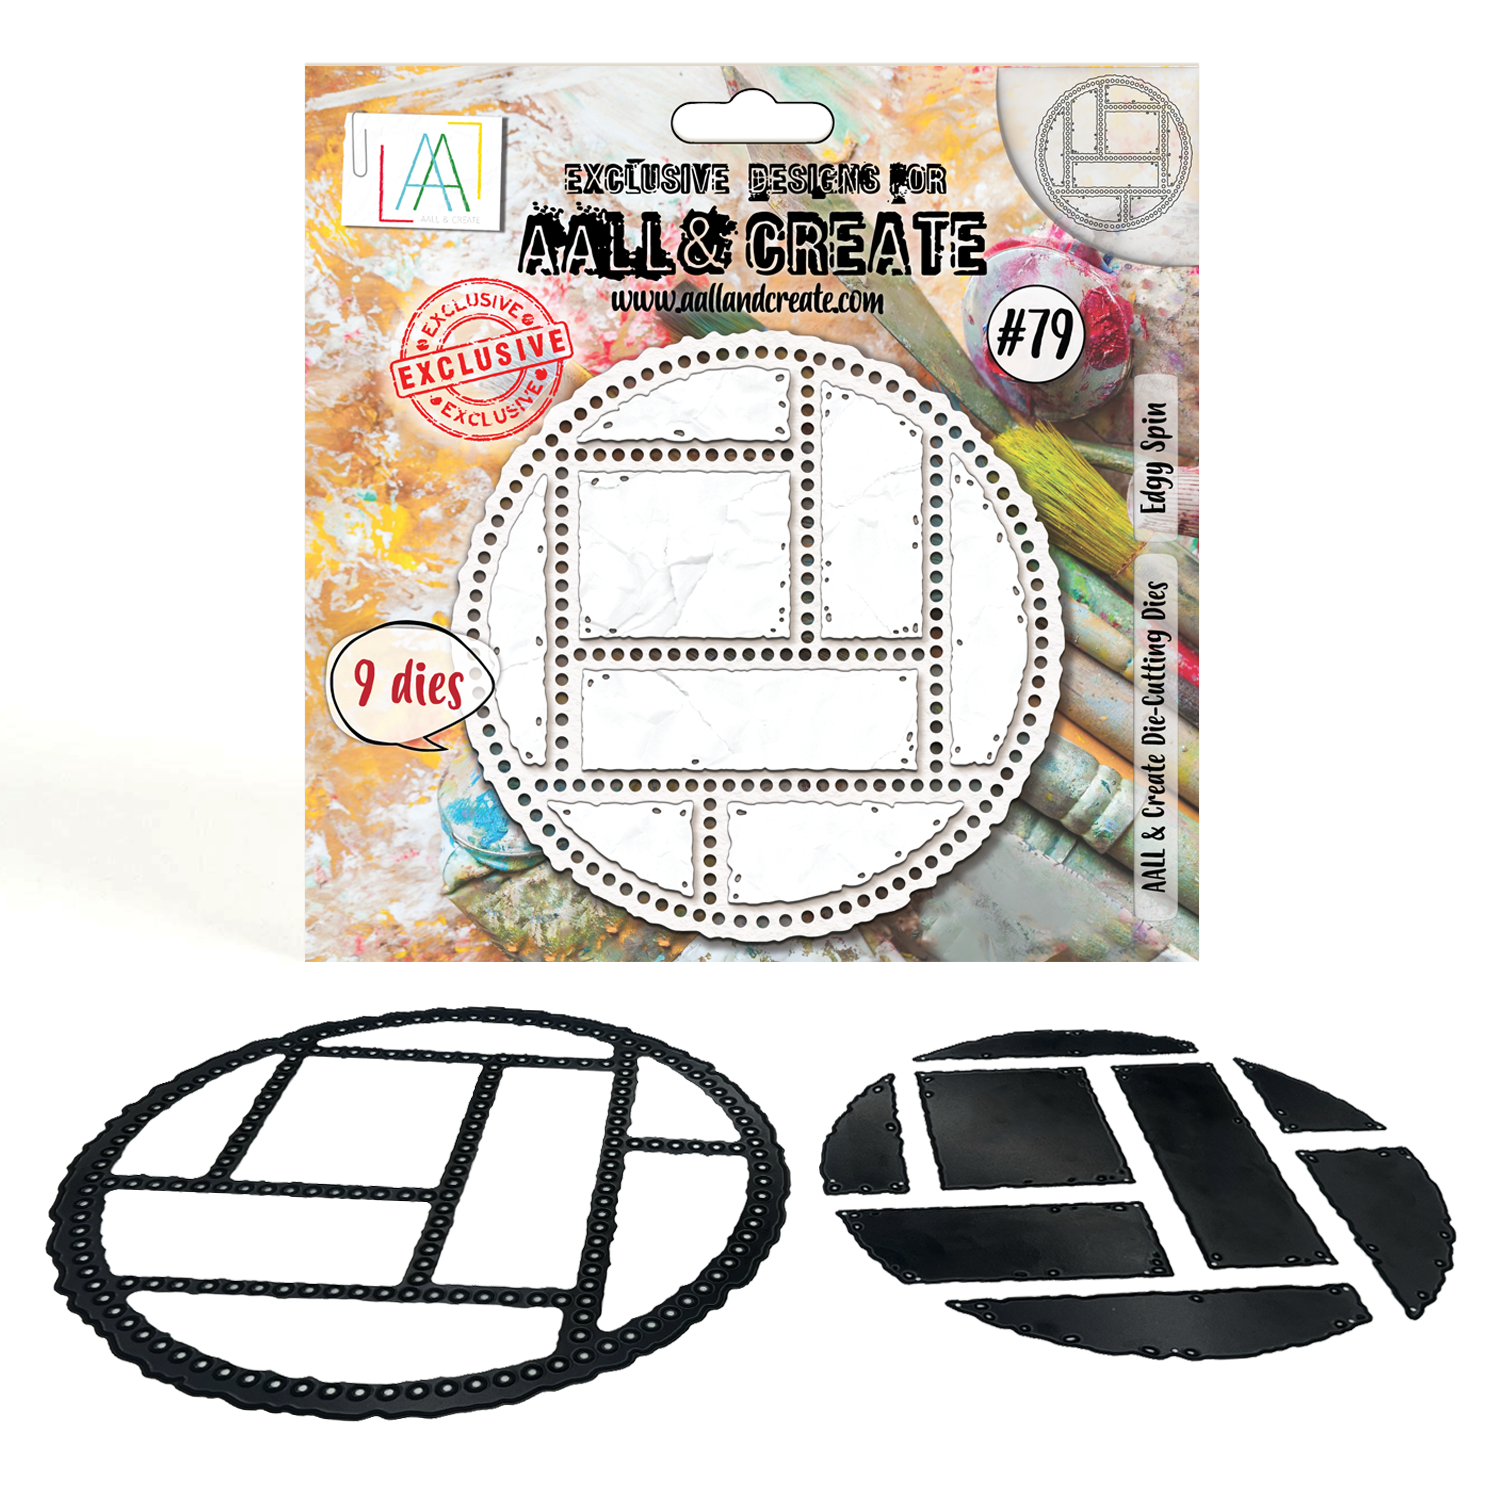
In this video project, I made a beautiful mosaic circle-shaped birthday card using Aall & Create die sets #39 Infinarty and #79 Edgy Spin, with the Mosaic Moments Paper Pack. The sentiment is from Birch Press Design and is called Happy Birthday Vintage Sentiment. All products used for this project are listed below.
I have a companion video for this project where I made an envelope and embossed packet to keep the card safe while mailing.
Measurements:
Card Base: 11 x 5 3/4", Score at 5 1/2"
Use circle die to cut card base, leaving a space at the top of the circle where the die won't cut through (this leaves a hinge)
5 1/2" Round Circle for Card Base
5 3/4" Circle Postage Die
Card Instructions
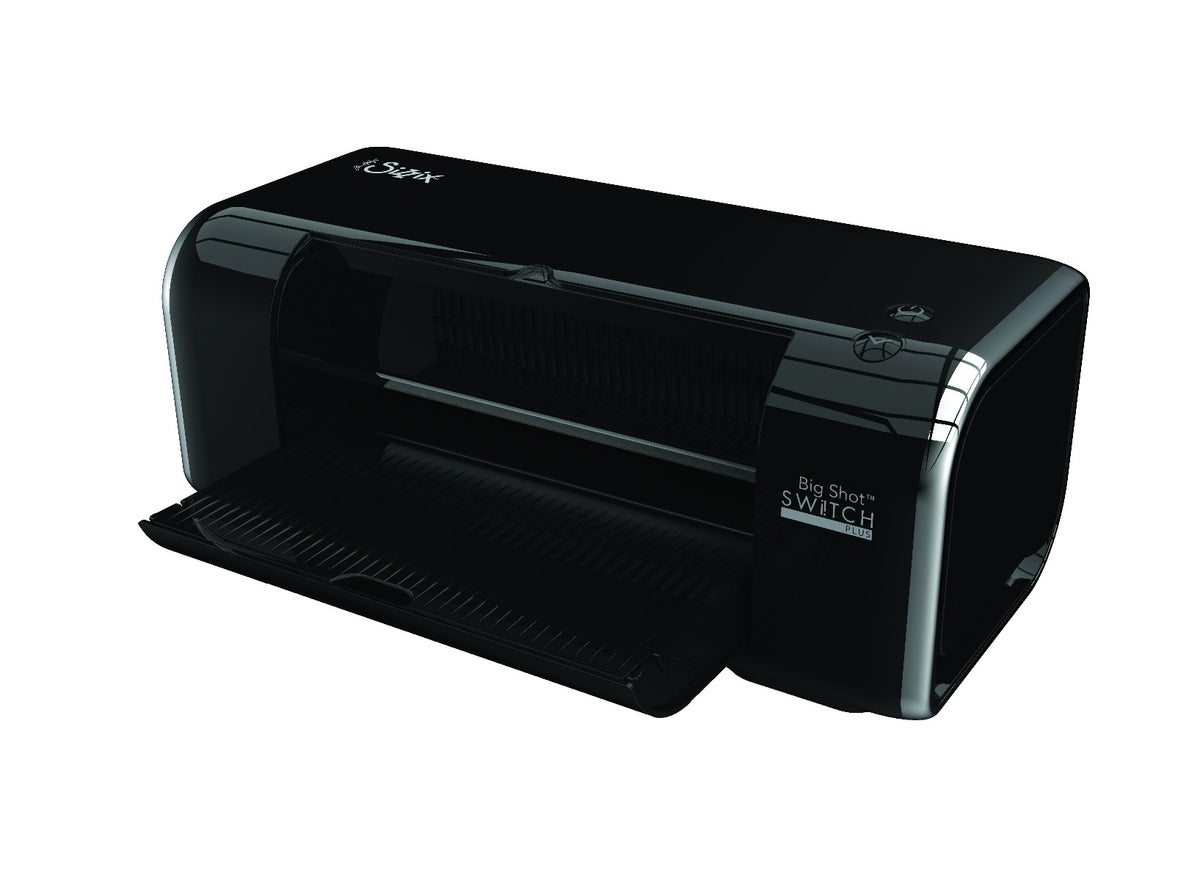
For this birthday card, I used the Aall & Create #79 Edgy Spin die set to cut the postage collage image from Spellbinders Lilac Cardstock. I then placed the postage die on top of the mosaic paper from the Mosaic Moments Paper Pack, and added the eight inset pieces into their correct openings. I wanted the final image to be a continuous image, which is why I used this method. After all the dies were in plate, I ran the paper through my Sizzix Switch machine. This left me with a mosaic frame outer piece, and the eight mosaic panels.
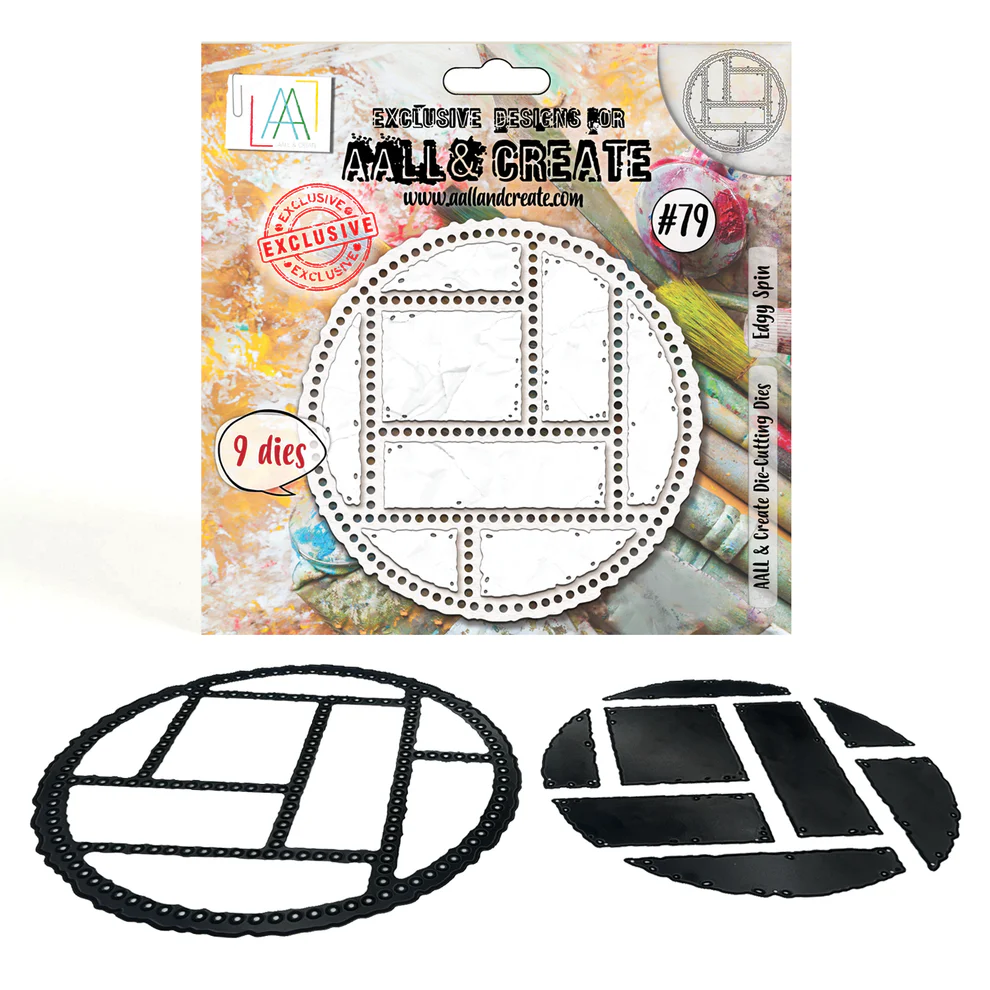

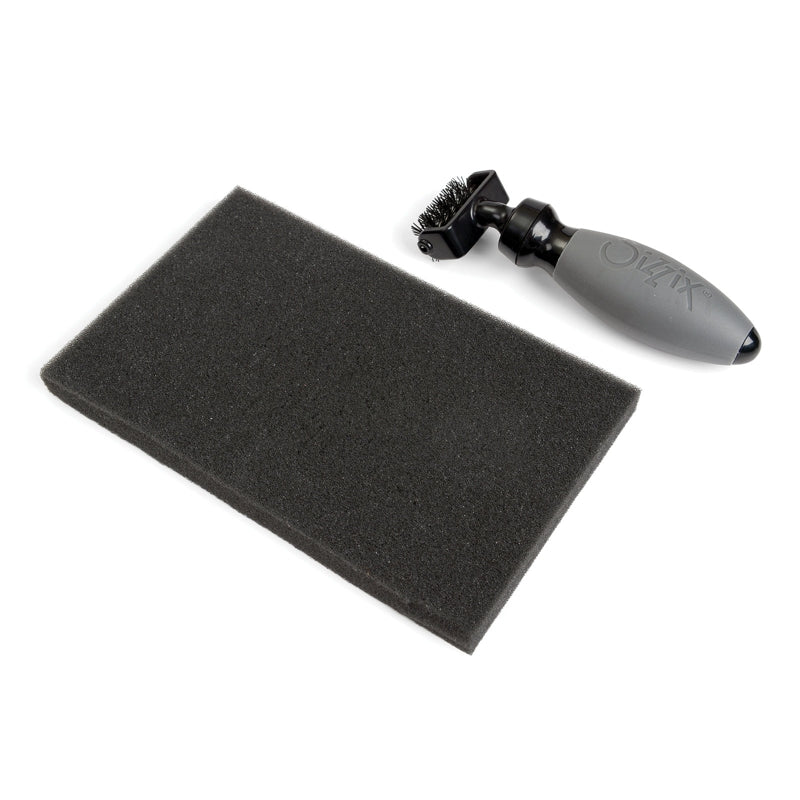
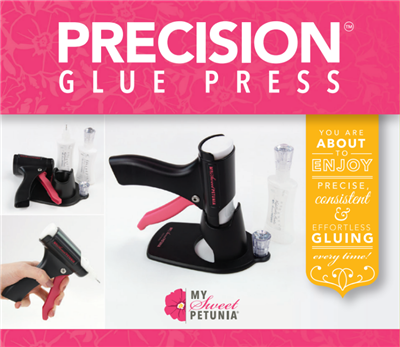
I then added the mosaic outline frame on top of the Lilac layer, and taped it in place to use it as a guide for lining up the mosaic inset pieces. I put glue on the back of each inset piece using my Glue Press, and placed them into their correct spot in the frame. Once all the pieces were added, I removed the frame piece carefully and made sure the mosaic pieces were adhered down well to the postage collage background panel.

How to Make the Card Base
I wanted to make this a shaped-card, so I made a circle card base using the large circle die from the Aall & Create #39 Infinarty Die Set. The postage collage die measures about 5 3/4″, the circle die measures at 5 1/2″, and it fits perfectly behind the postage image. I cut a piece of Spellbinders Indigo Cardstock to 11 x 5 3/4″, and scored it at 5 1/2″.
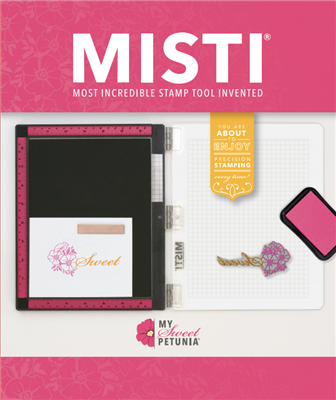
To make the card base, I took the circle die and lined it up on the cardstock, then scootched up the die so the top part was hanging over the score line. I ran this through my Switch and it cut through both layers of cardstock, but left a hinge at the top of the card base. I used my Misti to help me line up the placement of the card front with the card base, and adhered them together with glue.
Decorating the Card Front
The sentiment is from Birch Press Design and is called Happy Birthday Vintage Sentiment. This die set is really cool, as you get the back layer, and the top layer. On the top layer, the letters fall out to leave an outline piece. You can leave the letters out and place the outline on the back layer to let the back layer color show through, or die cut the top layer from another color and paper-piece the letters into the outline piece for another look. This set is very versatile and customizable.
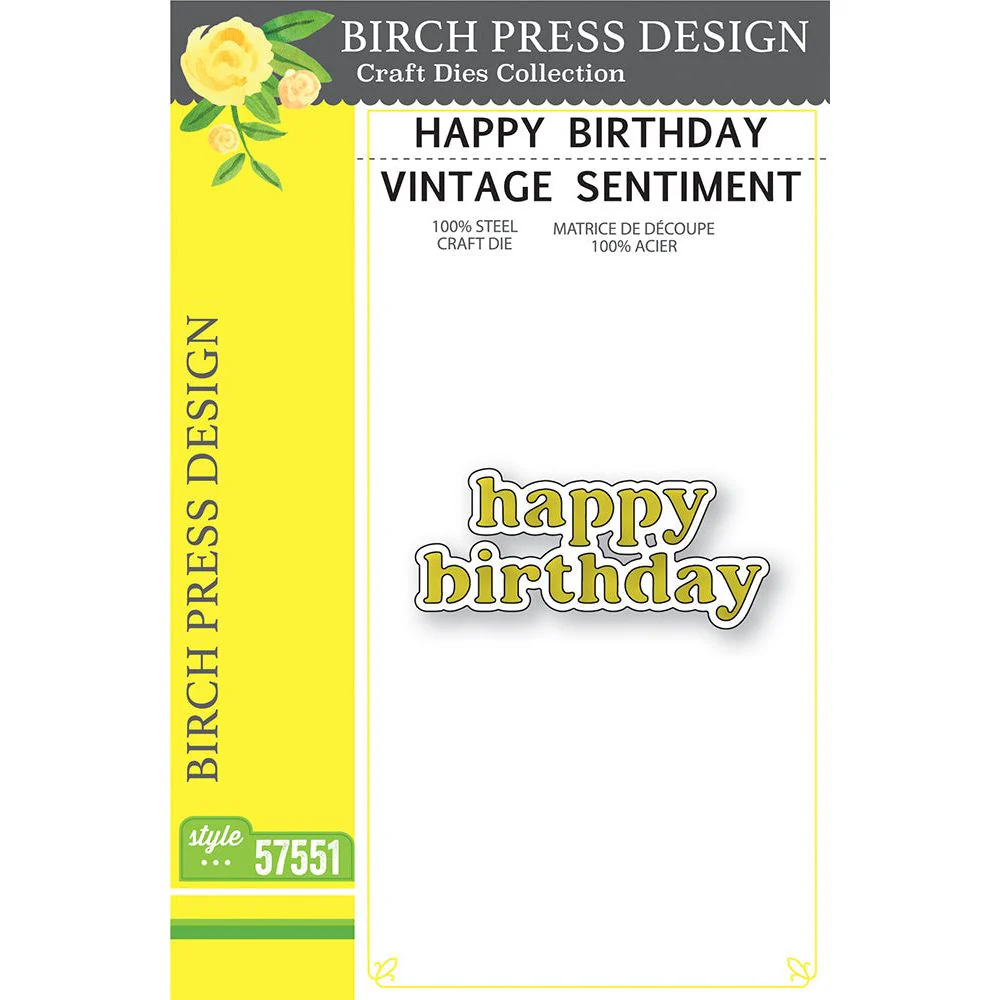
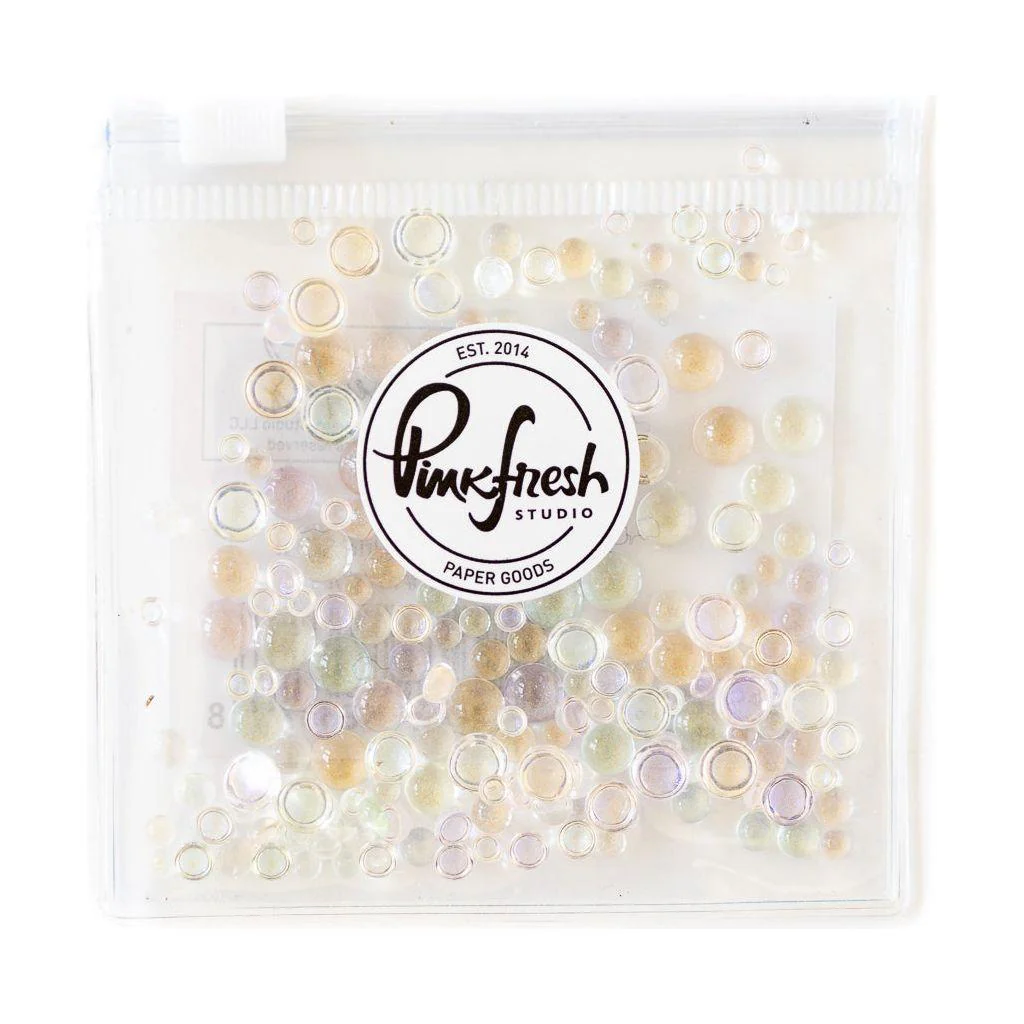
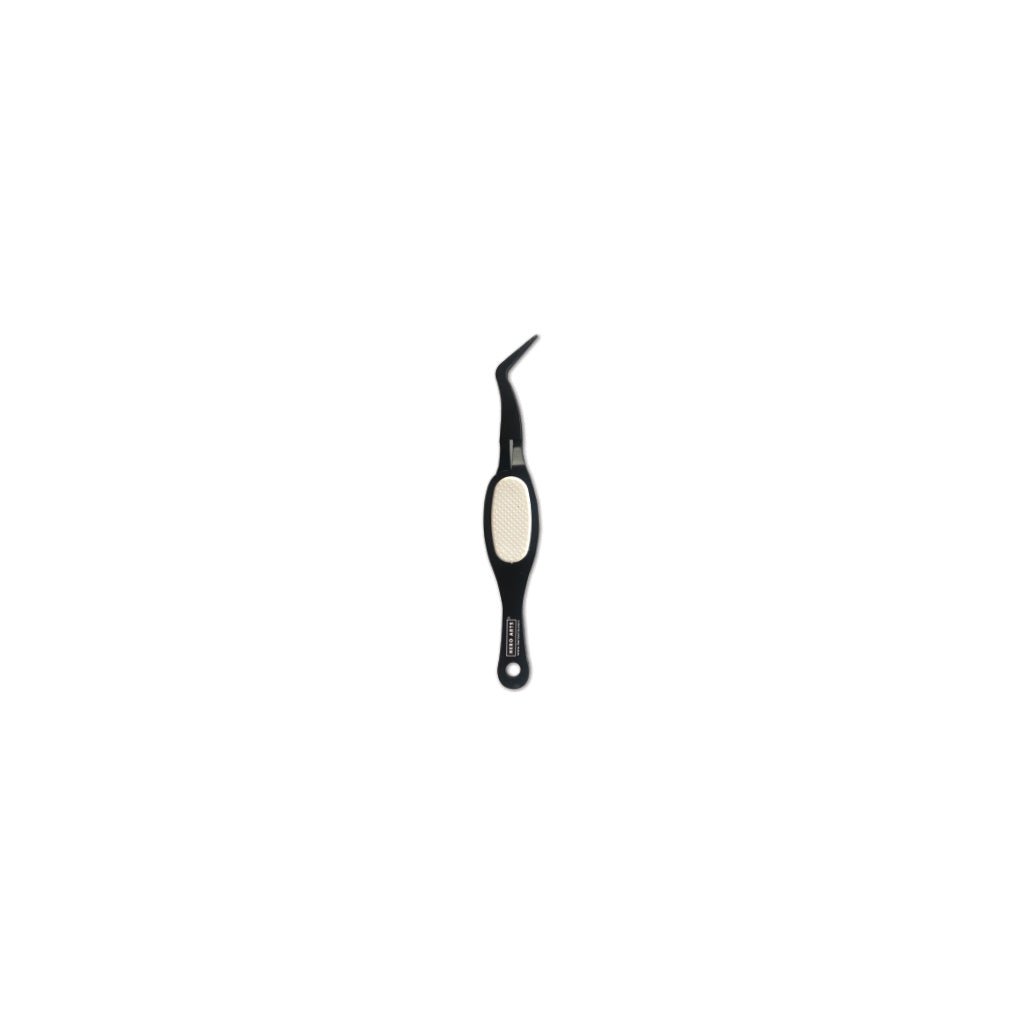
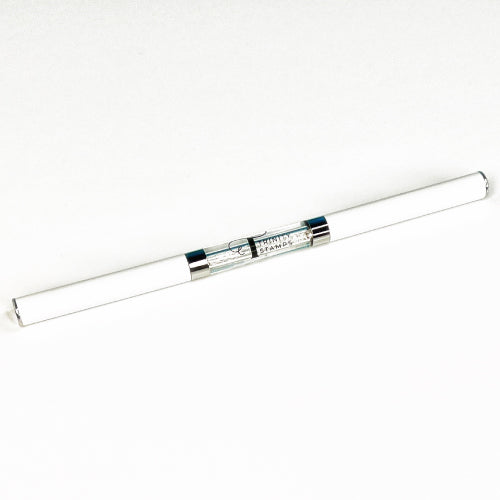
I cut two layers of the back layer from Spellbinders Lilac cardstock, and the top layer from Spellbinders Indigo cardstock. I added a piece of Altenew double-sided adhesive sheet to the back of the Indigo piece before die cutting to make it easier to attach to the back layer. Then I glued the two Lilac layers together, and added the Indigo sticker layer to the top. I added some Pinkfresh Studio Iridescent Dew Drops to the card front using my Trinity Stamps Pickup Tool and Glue Press. These embellishments pick up all the different colors in the card and are just gorgeous.
Decorating the Inside of the Card
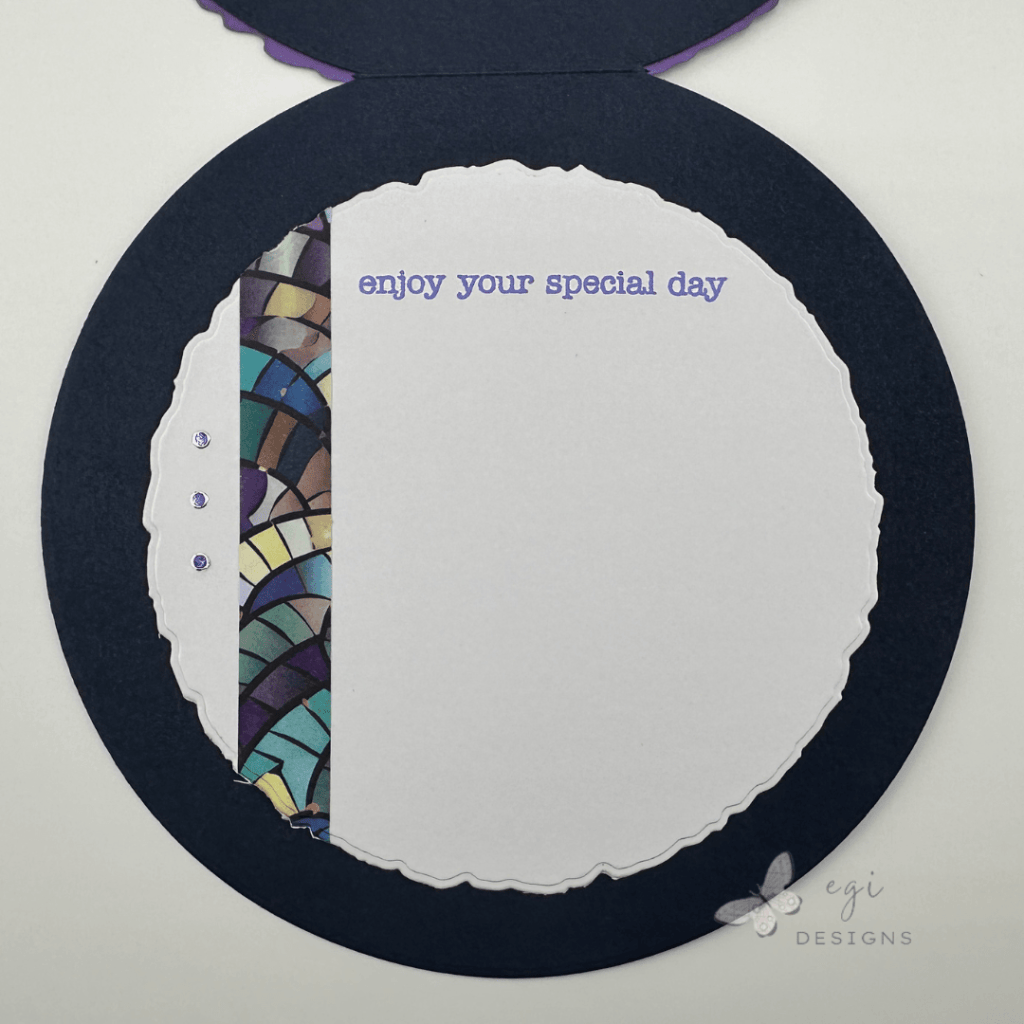
For the inside of the card, I cut a piece of white cardstock and added a strip of the mosaic paper towards the left side of the panel. I then cut out a circle from the panel using the Honey Bee Deckle Edge Die Set. Next, I stamped a sentiment from the Avery Elle Simple Sentiments Stamp Set in Gina K Designs Wild Wisteria ink, and added a row of Paper Wishes Purple Jewel Dazzle Stickers to the left of the mosaic strip.
Hope you enjoyed this card project!
Step-by-step video:
For more card-making ideas, check out my YouTube playlist and card-making blog posts.
Product Information
Here are the products I used in today’s project. Please consider shopping through my affiliate links, as it greatly helps out my channel at no extra cost to you. Thanks so much for supporting me and my channel!
**Use code EGIDESIGNS for 15% off your order at Glassboard Studio**
|












Additional Products Used:
- Avery Elle: Simple Sentiments Stamp Set