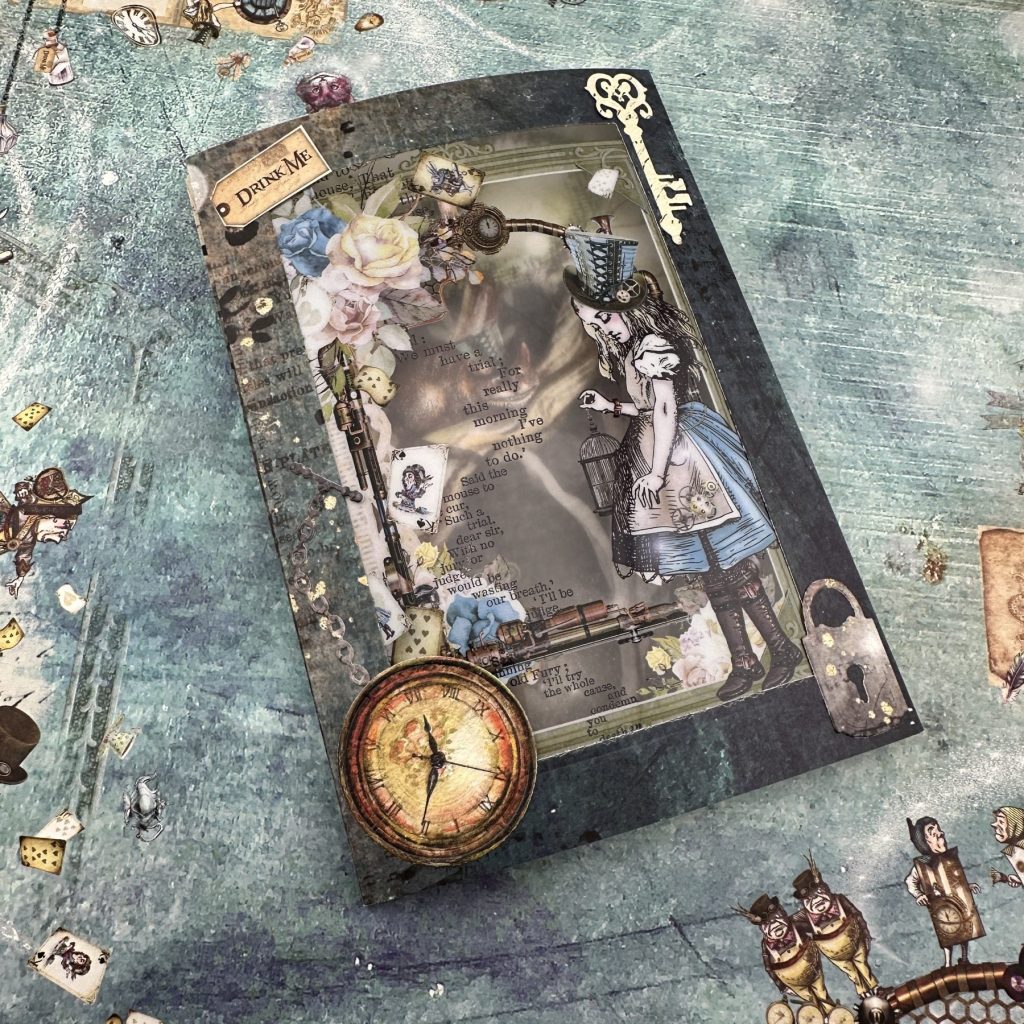
Making an Alice In Wonderland Shadow Box Card
For this card project, I used the Wonderland Collection from Memory Place to create a Shadow Box Card for my husband’s birthday card. He loves vintage Alice in Wonderland illustrations, so this paper pack was perfect for the occasion. It includes scrapbook paper, as well as two sheets of transparencies. There are also a couple of cut-apart sheets, one having many iconic images on it. I used some of these to decorate the front of the card. I also used the Crafter’s Companion Buttons and Buckles Die Set to cut out the key and watch elements for the front of the card. All products used for the project are listed below.
I was inspired to make this card from a video on the Cards and Coffee Time Channel. The card shown was for an A2-sized card, so I had to upsize the measurements for a 5×7 card. I will list the measurements for both sizes here:
Measurements for 5x7 Tunnel Card:

Card Base - 10 x 7", Score at 5"

Tunnel Mechanism - 7 x 7", Score on each side at 1/2" and 1"

Back Panel - 4 3/4 x 6 3/4"

Measurements for A2 Tunnel Card (not shown in video):

Card Base - 8 1/2 x 5 1/2", Score at 4 1/4"

Tunnel Mechanism - 6 1/4 x 5 1/2", Score on each side at 1/2" and 1"

Back Panel - 4 x 5 1/4"
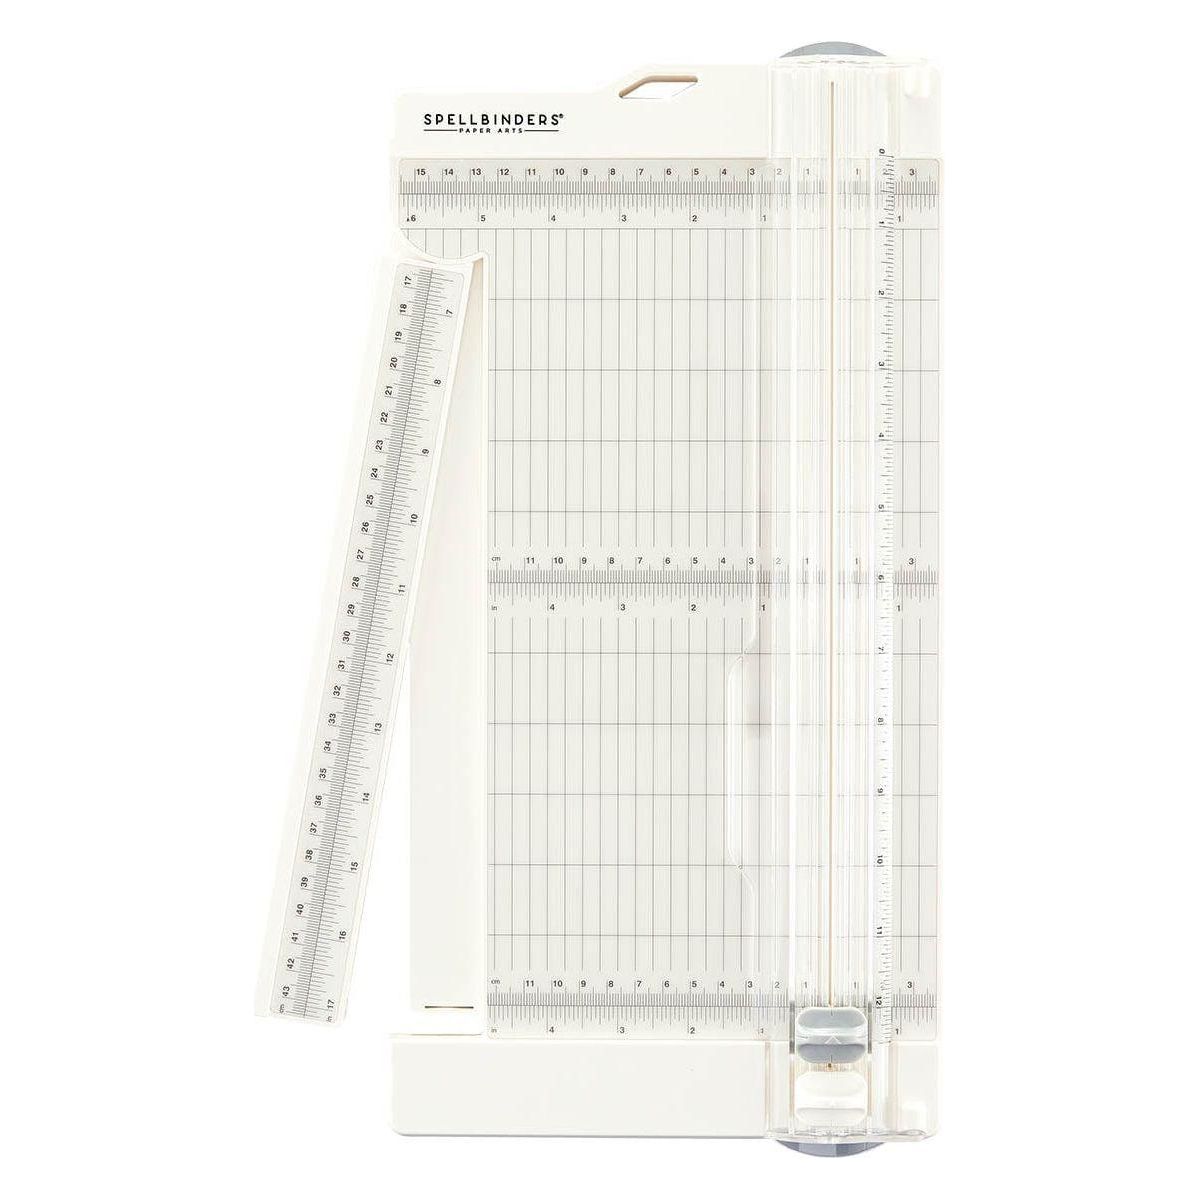
After scoring the tunnel mechanism, I used the Spellbinders Nestabilities 5 x 7 Matting Basics B Die Set to cut out an aperture from the center of the panel. I attached one of the transparencies behind the opening to make the window into the card. I strategically cut a panel from the scrapbook paper to make sure the Cheshire Cat image would be viewable in the background. I used a sheet of the scrapbook paper for the card base as it added a lot of interest to the inside and the outside of the card.

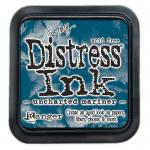
I put the card front together, and then decorated the inside of the card using a cut-apart, Papertrey Ink’s Birthday Your Way Stamp Set for the sentiment (stamped in Uncharted Mariner), and Lavinia Stamps Fairy Charms Stamp Set (stamped in Lumberjack Plaid).
After completing the card, I made a matching 5×7 envelope using the We R Memory Keepers 1-2-3 Punch Board and a piece of the scrapbook paper.

Check out the step-by-step process video here:
For more card-making ideas, check out my YouTube playlist and card-making blog posts. I have an additional card using the cut-apart sheets from the Wonderland Collection.
Product Information
Here are the products I used in today’s project. Please consider shopping through my affiliate links, as it greatly helps out my channel at no extra cost to you. Thanks so much for supporting me and my channel!
|