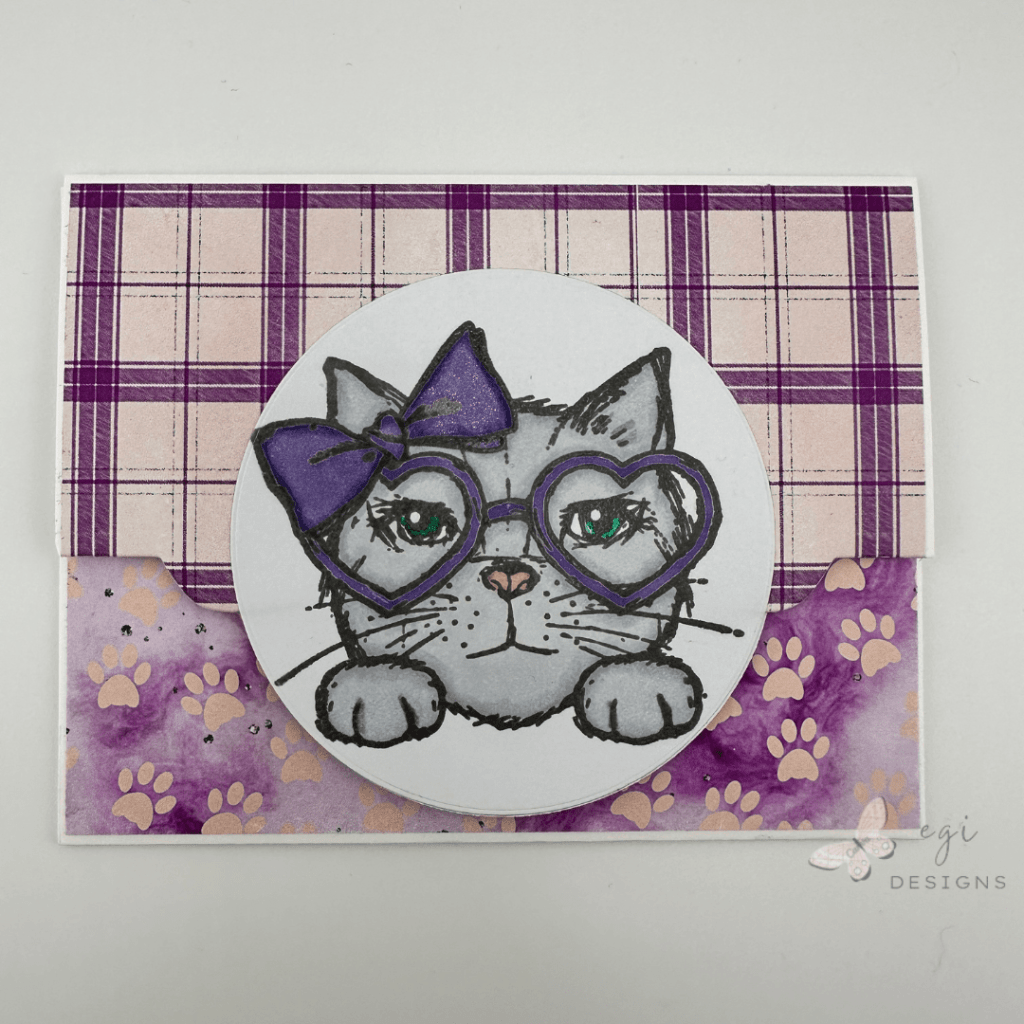
Fun and Easy Cat Folio Card with a Magnetic Closure
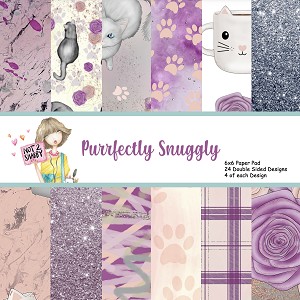
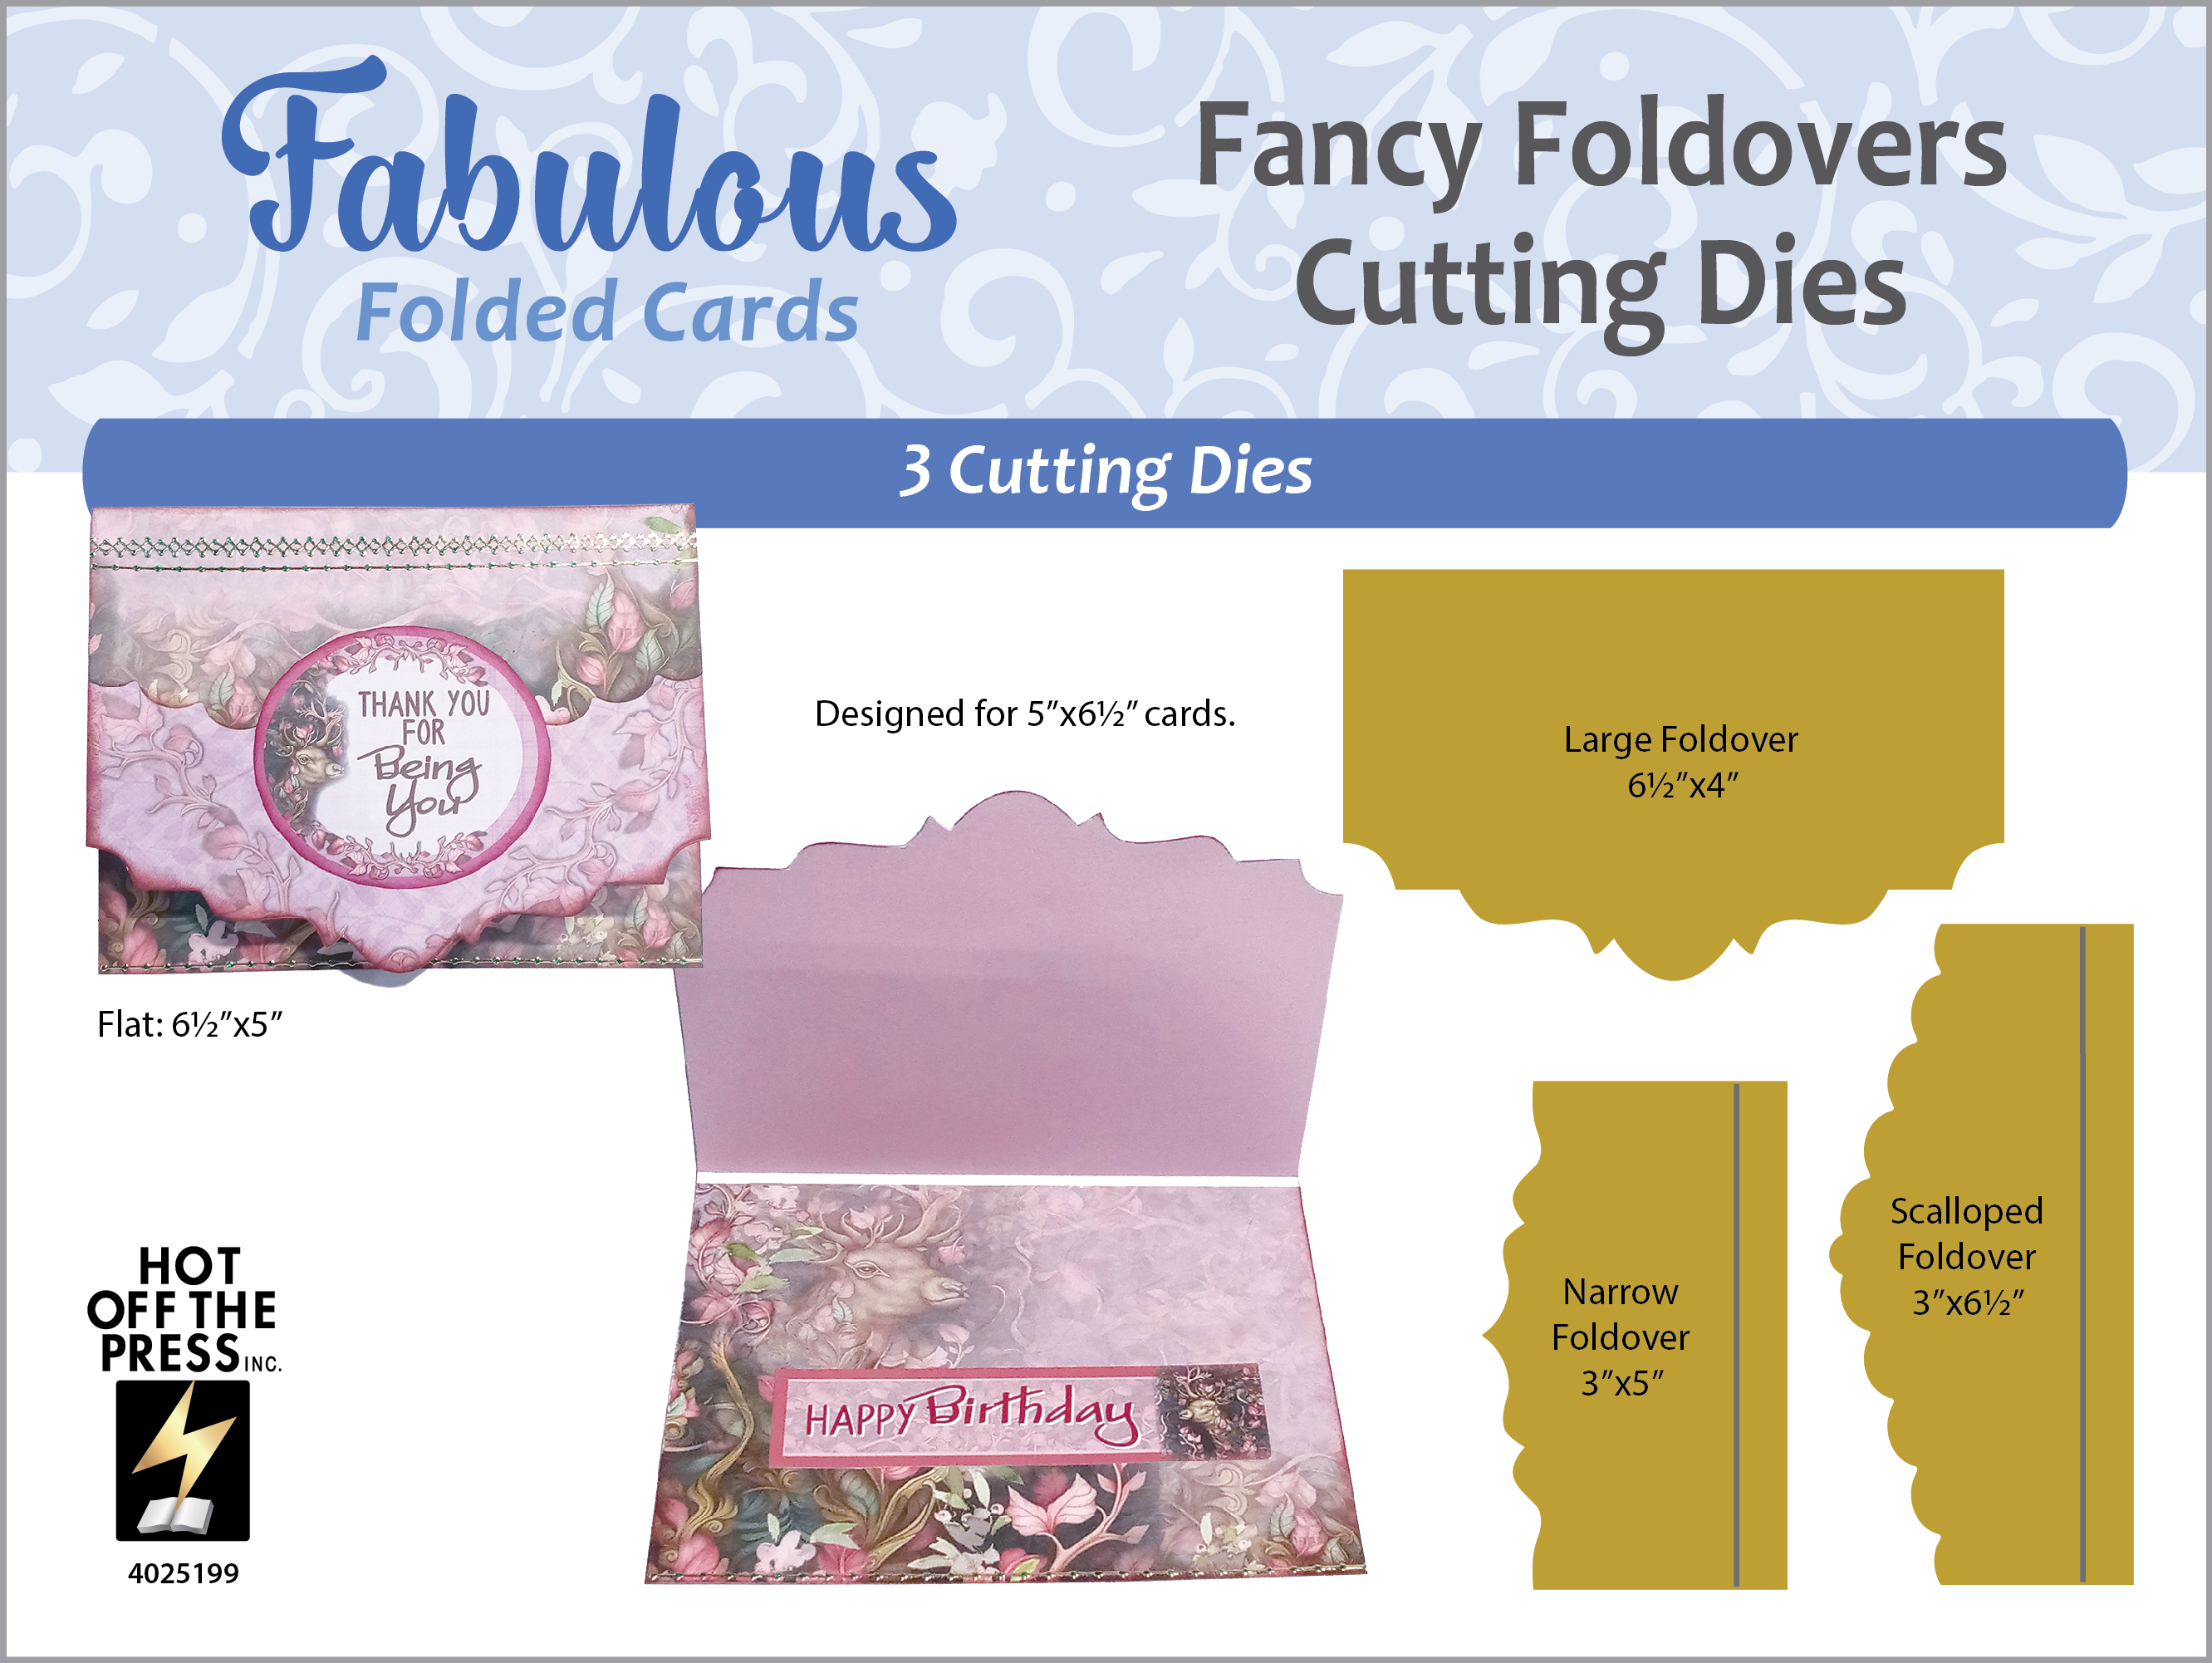
In this project, I made a super fun folio-style card that has cats on the outside and Graduation on the inside, for a graduate that loves kitties. I used the Hot Off The Press Fabulous Folded Cards Fancy Foldovers Die Set for the flap design, Love Kitties Stamp Set from Unity Stamp Co. for the focal image, Not 2 Shabby‘s Purrfectly Snuggly Patterned Paper, Echo Park Graduation Collection Pack, and the Dreams and Plans dies and stamps from The Greetery. This folio card includes a hidden magnetic closure. All products used in making this project are listed below.
Measurements
Card Base: 12 x 5 1/2"
Scored at 4 1/4", 8 1/2"

Patterned Paper Sections
(2) 5 3/8 x 3 1/2" Top
(2) 5 3/8 x 4 1/8" Middle
(2) 5 3/8 x 4" Bottom

Inside Panel: 5 3 3/4"

Focal Image Circle: (2) 3 3/8"
Making the Folio Base and the Card Flap
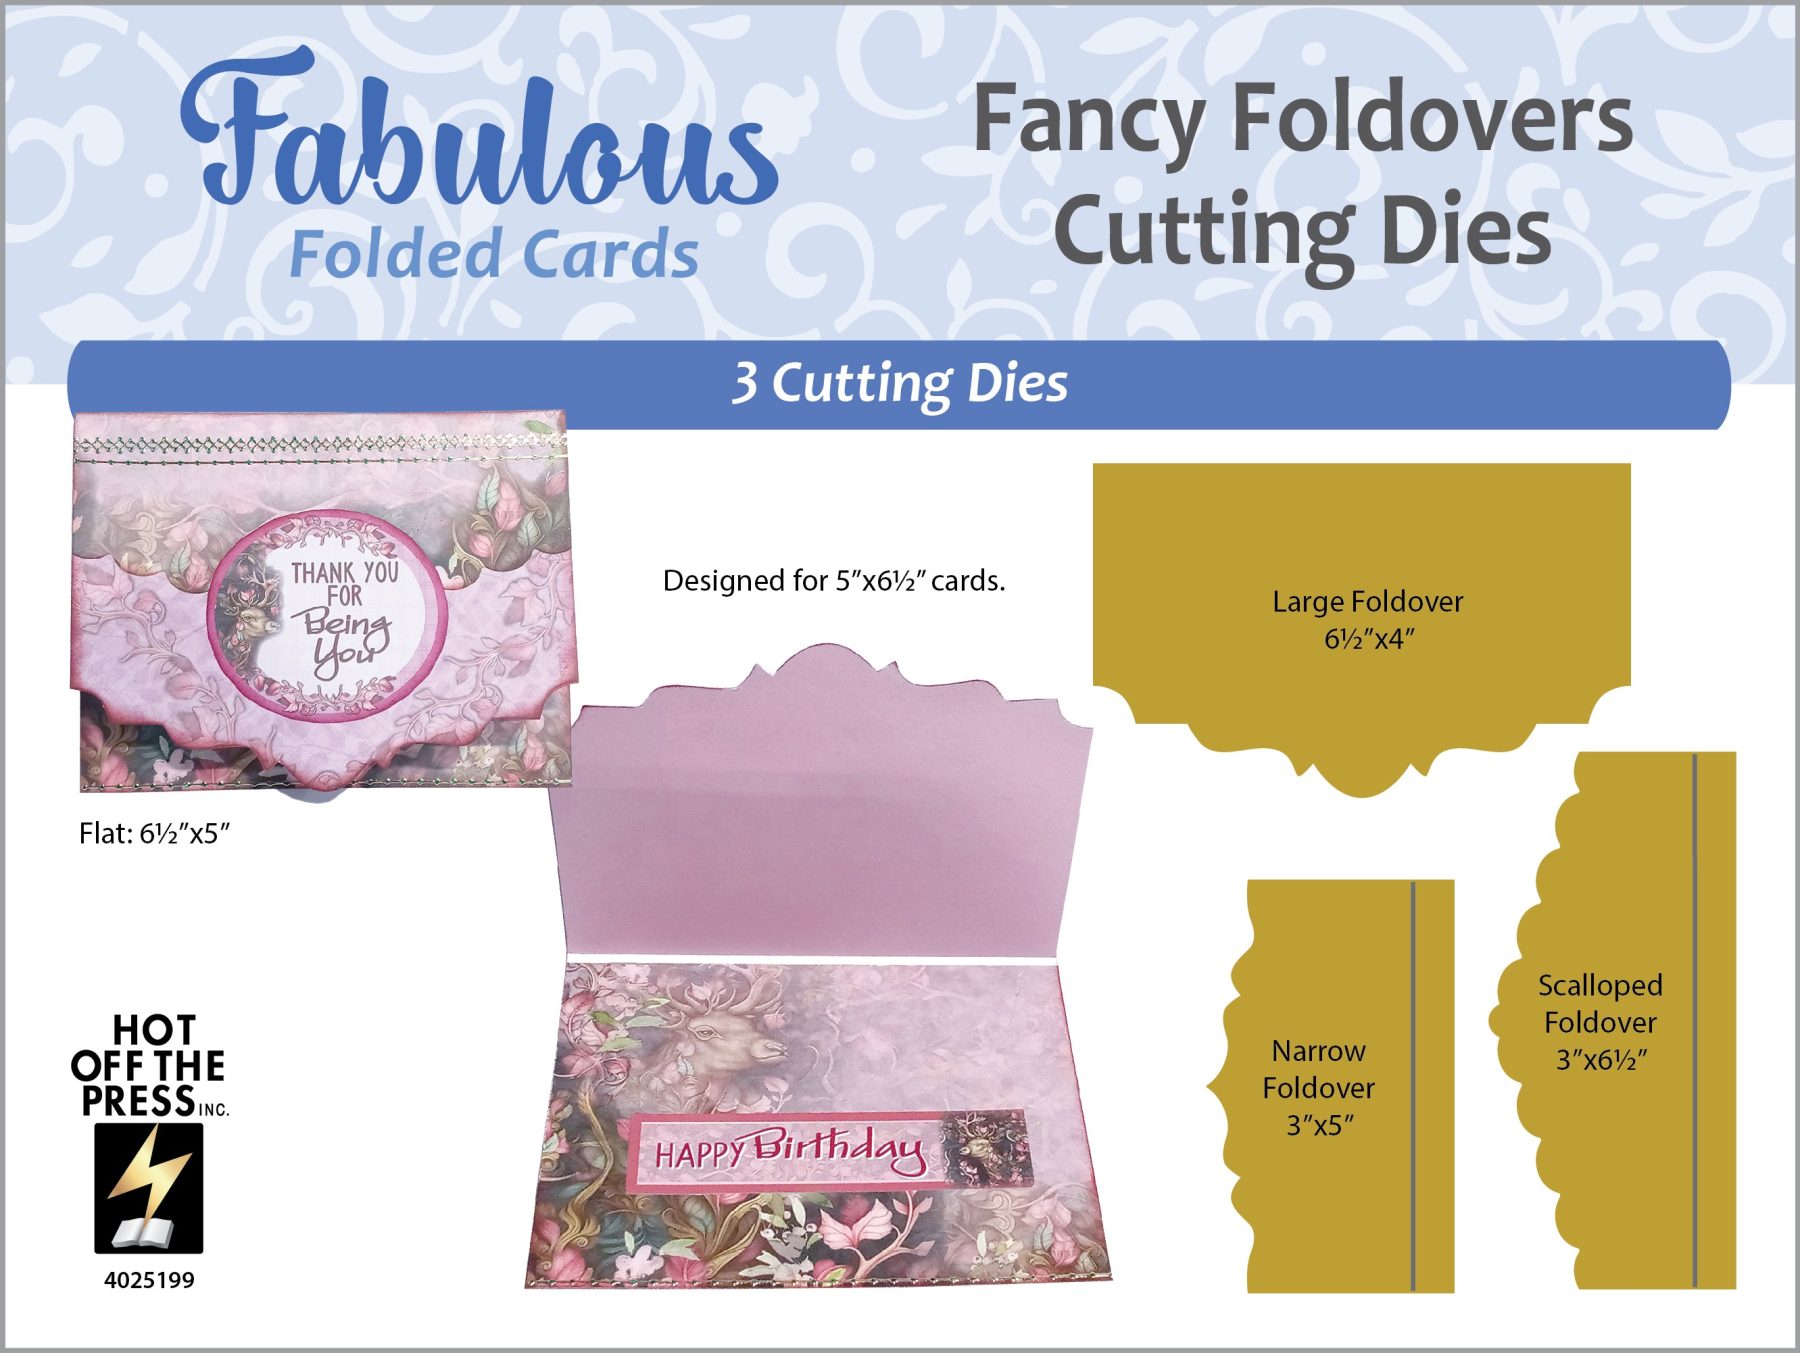
I cut a 12 x 12″ piece of cardstock down to 5 1/2 x 12″, and then scored it at 4 1/4″ and 8 1/2″. This creates an A2 sized card when folded. The smallest section is the top flap for this folio, and I added a plaid layer from the Purrfectly Snuggly paper on the outside, and a diploma panel from the Graduation paper to the inside, using a Simon Says Stamp Glue Stick.
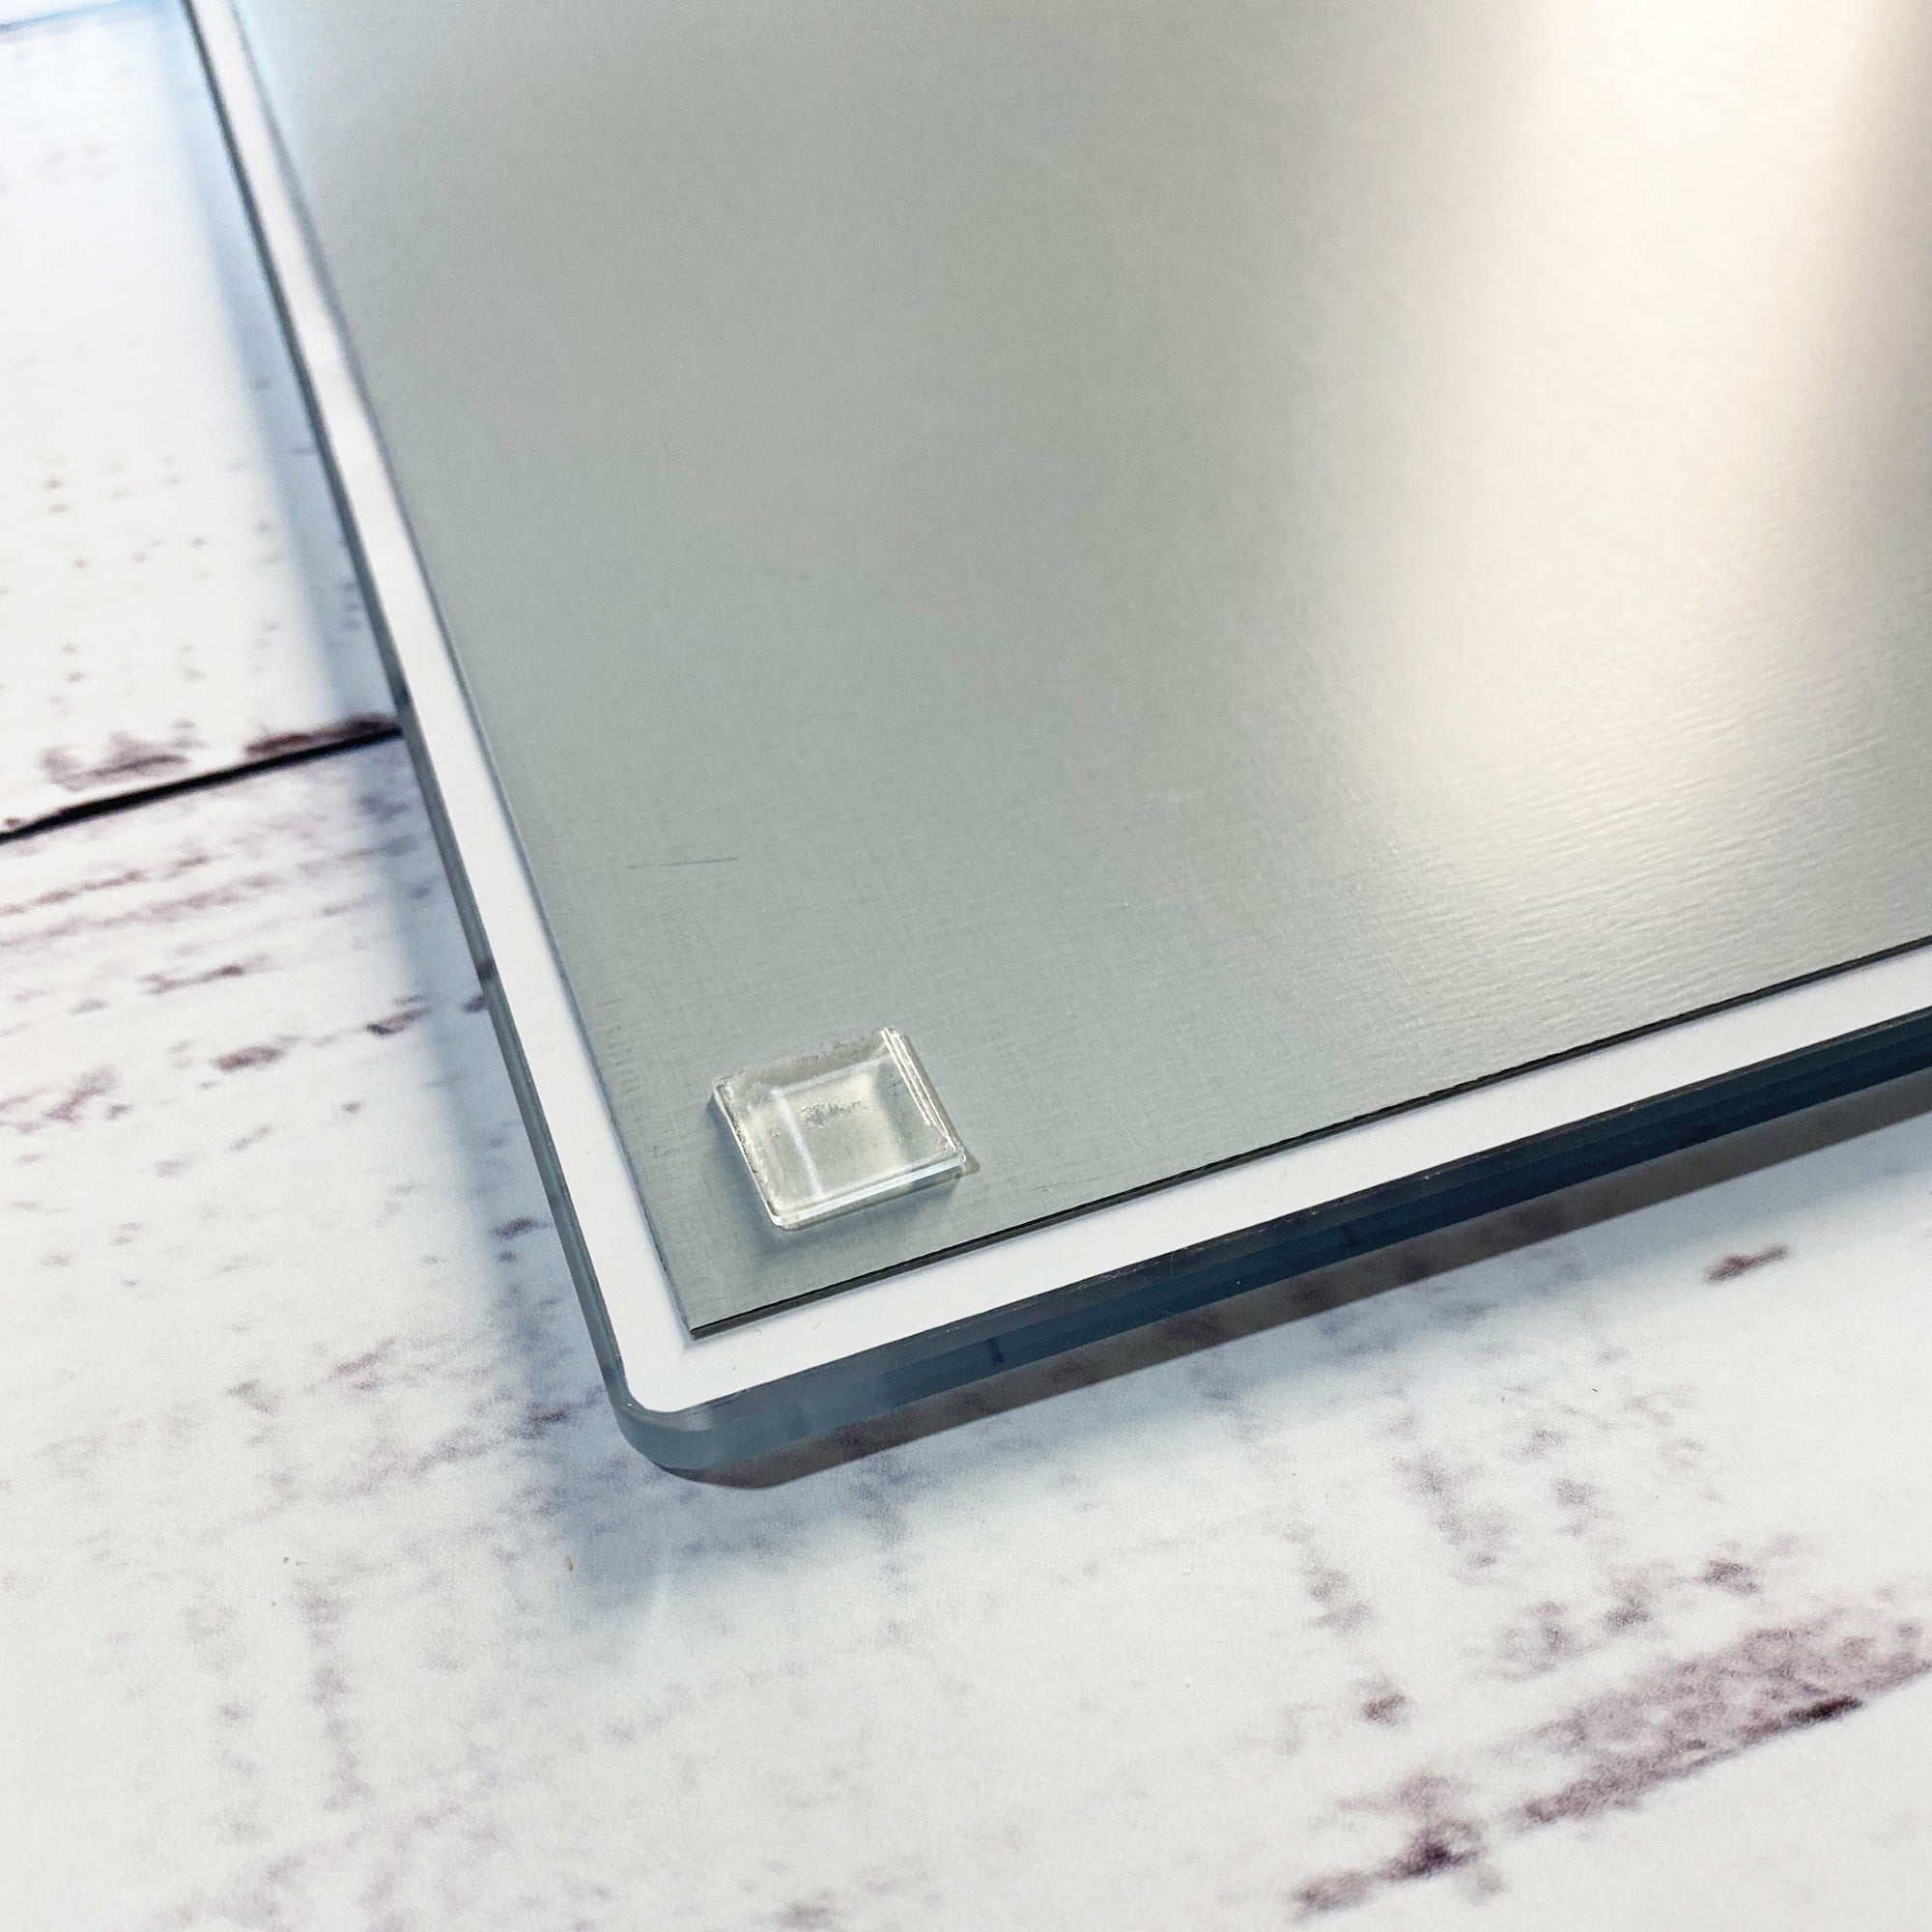
Next, I used the Fabulous Folded Cards Fancy Foldovers Die Set to cut the design into the flap. This die set is awesome as it has three different flap choices: 3 x 5″, 3 x 6 1/2″, and 6 1/2 x 4″. The largest one only cuts along the flap edge, so you can use it on any-sized flap. I used my Sizzix Chrome Precision Base Plate in my die cut sandwich to help the die cut through the three layers of cardstock.
Adding the Magnetic Closure to the Folio Flaps
I used the glue stick again to add all of the panels to the outside and inside of the folio, except for the bottom outside section. This is where I want to hide the magnet under the paw print paper panel.
I took a + and – magnet out of the package and clicked them together. Peeling off one of the backers, I stuck the magnets to the back of the top flap. Then I took off the backer from the other magnet, leaving it attached to the first magnet. I folded over the top flap and pushed down where the magnets were located to get the second magnet to stick to the folio bottom flap. This ensured that the magnets were aligned perfectly for the folio closure. After the magnets were in place, I added the paw print paper over the magnet and adhered it with the glue stick.


Focal Image
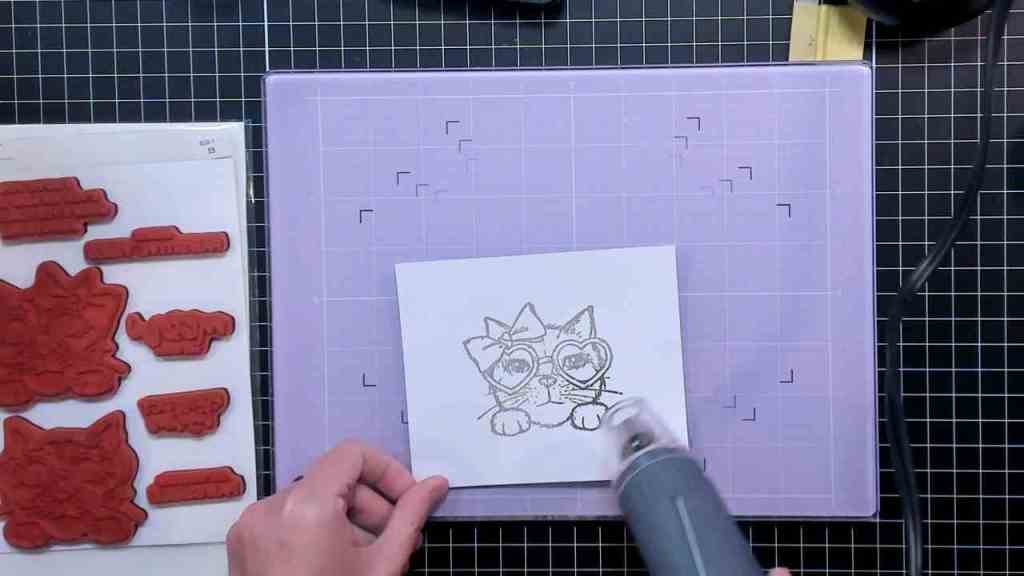
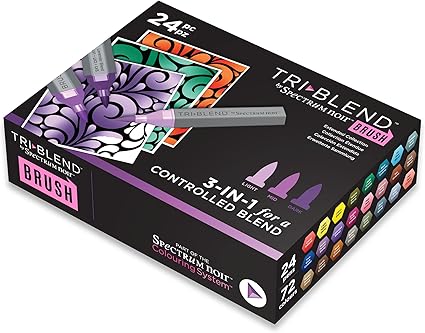
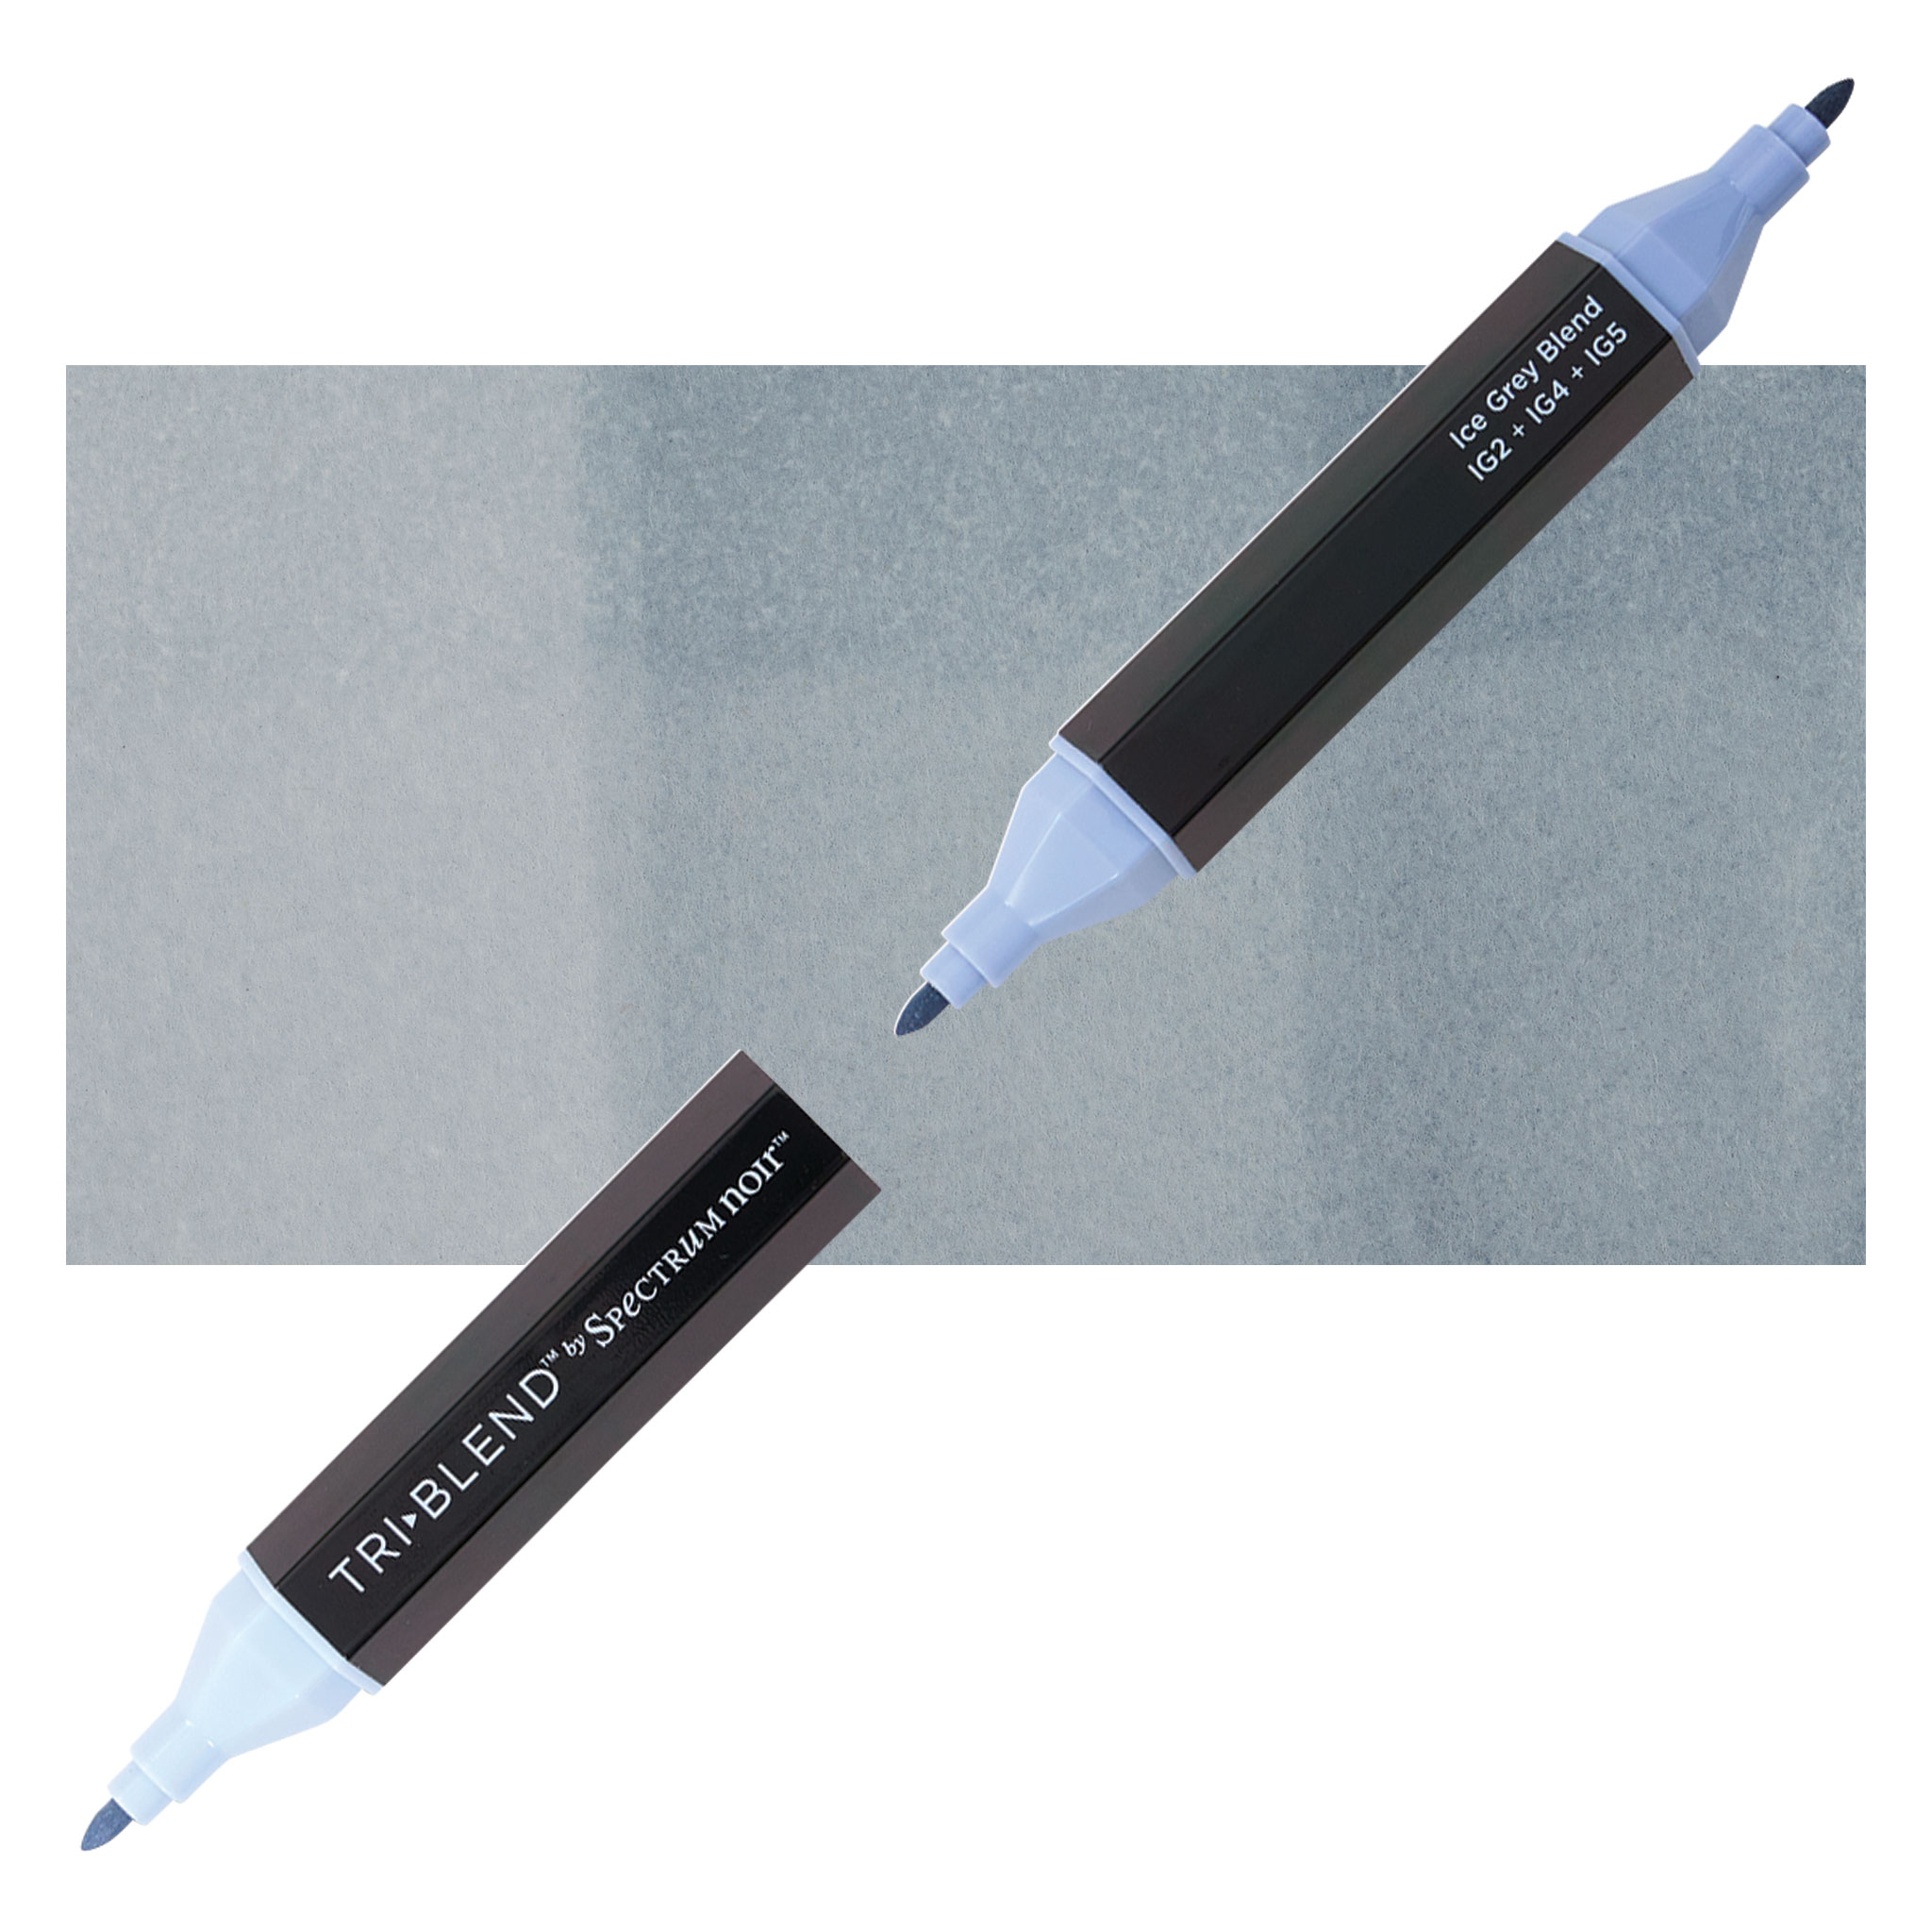
I stamped a cat face image from Unity Stamp Co.’s ‘Love Kitties’ Stamp Set with VersaFine Clair Morning Mist Ink, and then poured Simon Says Stamp Clear Embossing Powder over the stamped image and heat set it with my Chandler Heat Tool. Once the image had cooled, I used Spectrum Noir Triblend Markers in Antique Pink Blend for the nose, Ice Grey Blend for the fur, and Lavender Blend for all the purple coloring.
Using the green Gina K Designs Iridescent Gel Pen, I colored in the kitty’s eyes, which really made them shine. I used a sparkle brush pen from Scrapbook.com to add some sparkle to the hair bow. Once everything was dry, I used the Simon Says Stamp Basic Shapes Circles Die Set to cut out the cat image, and also cut out a second plain circle.
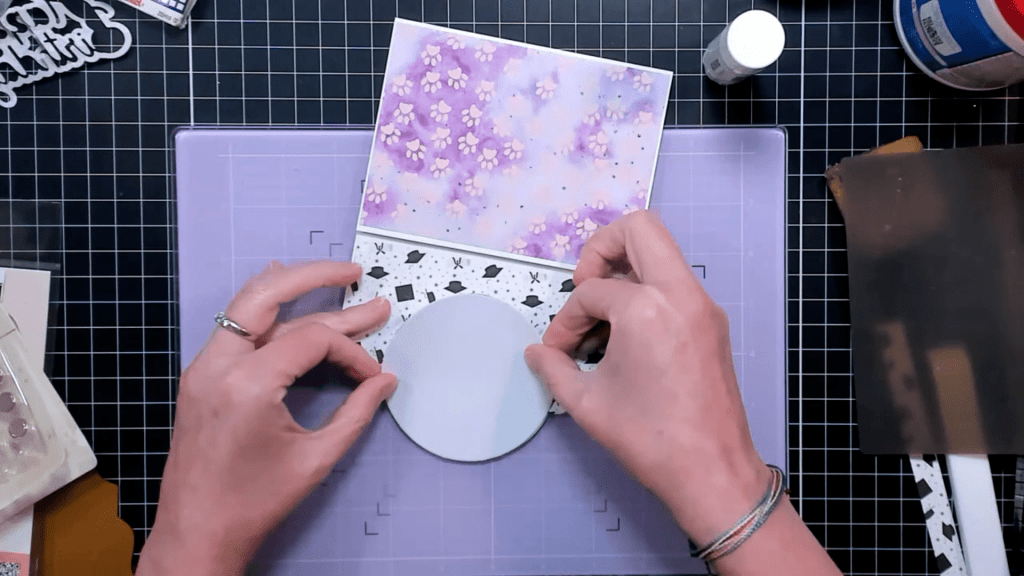
I added the cat focal image to the front of the folio flap, and then added the plain circle on the inside of the folio flap, matching up the circles, using the glue stick to adhere the circles. This hid the magnet on the back of the flap.
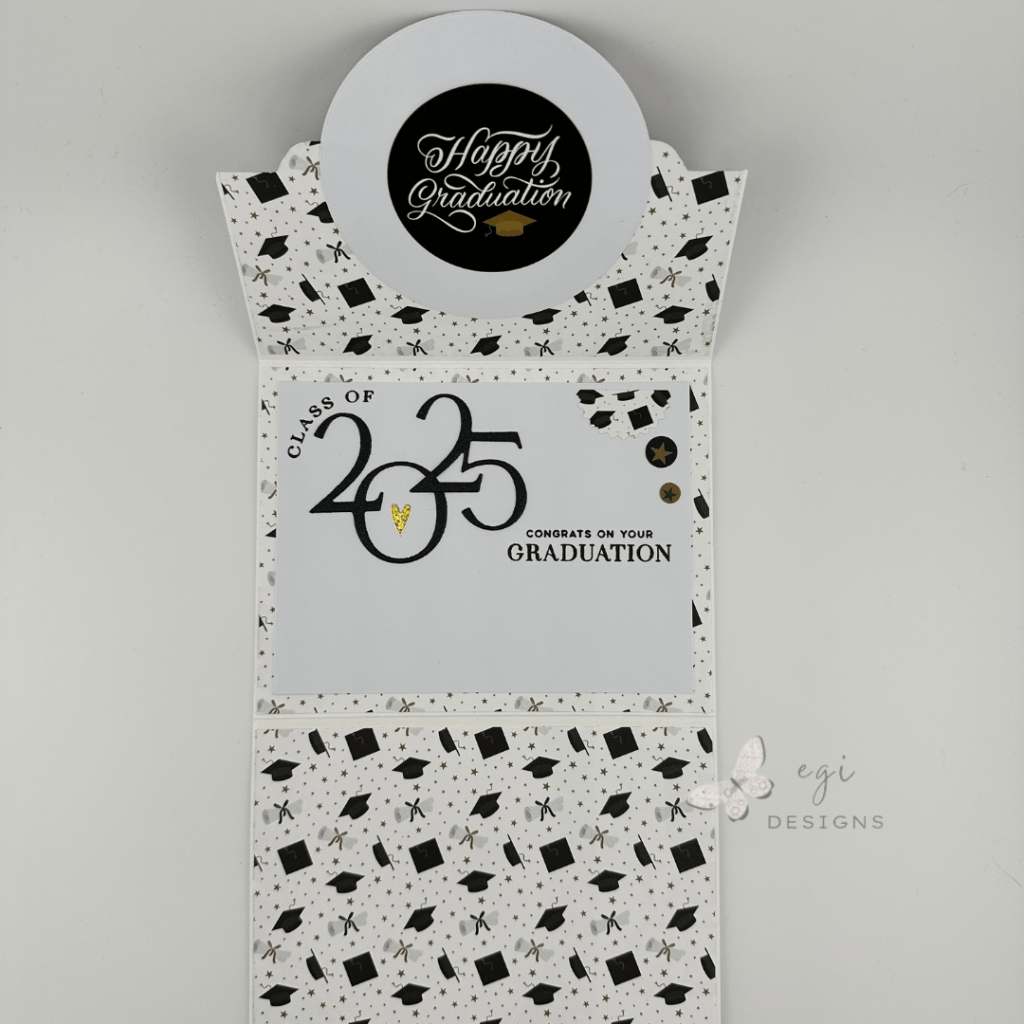
Inside of the Folio Card
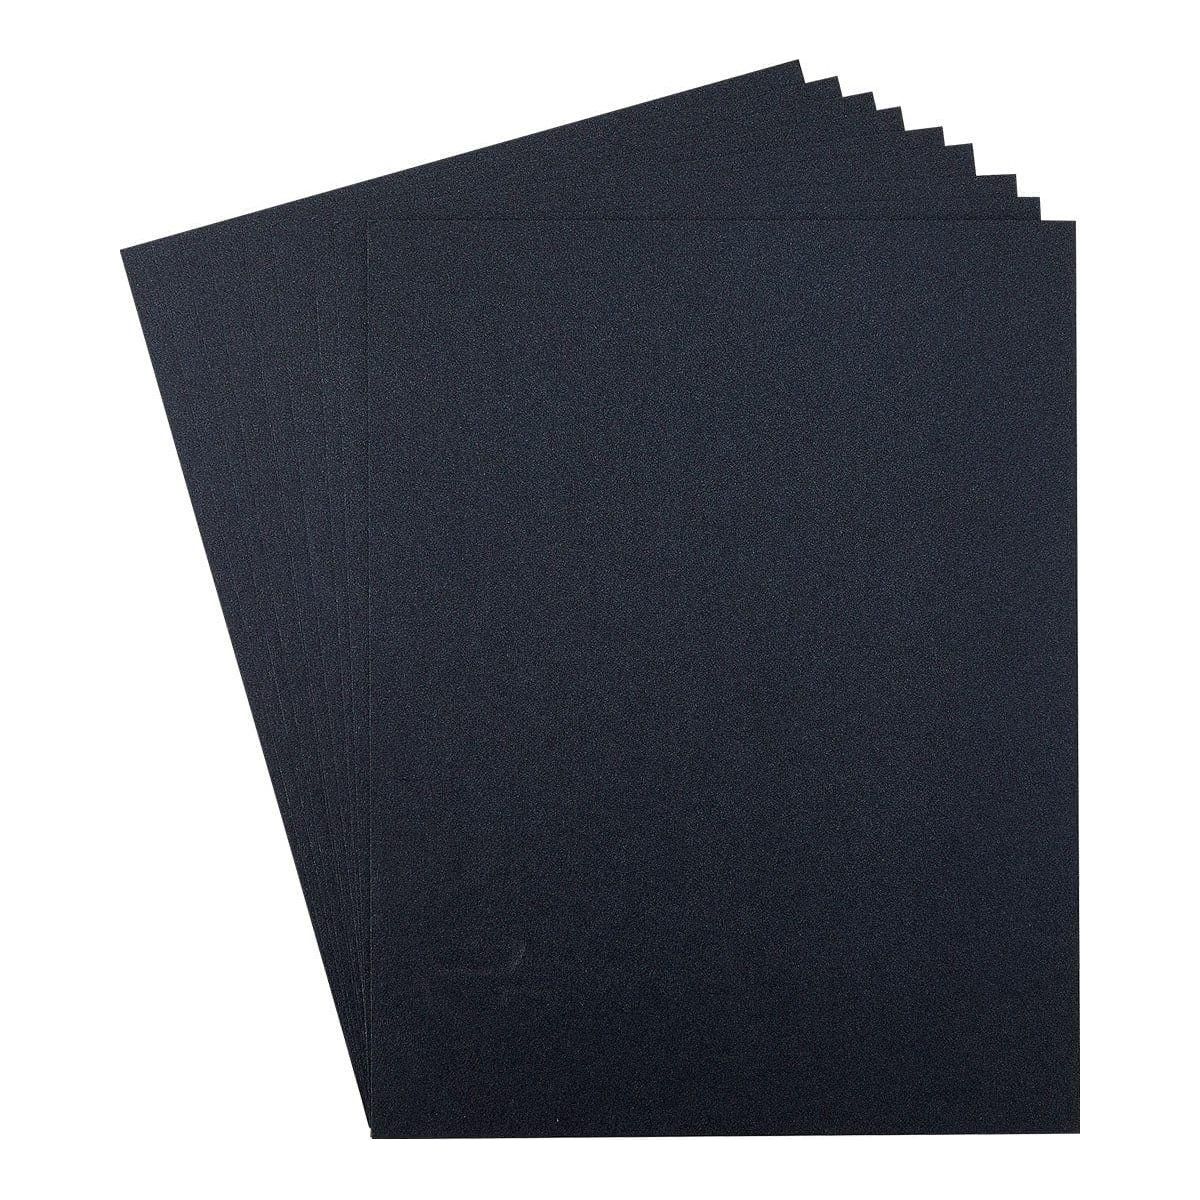
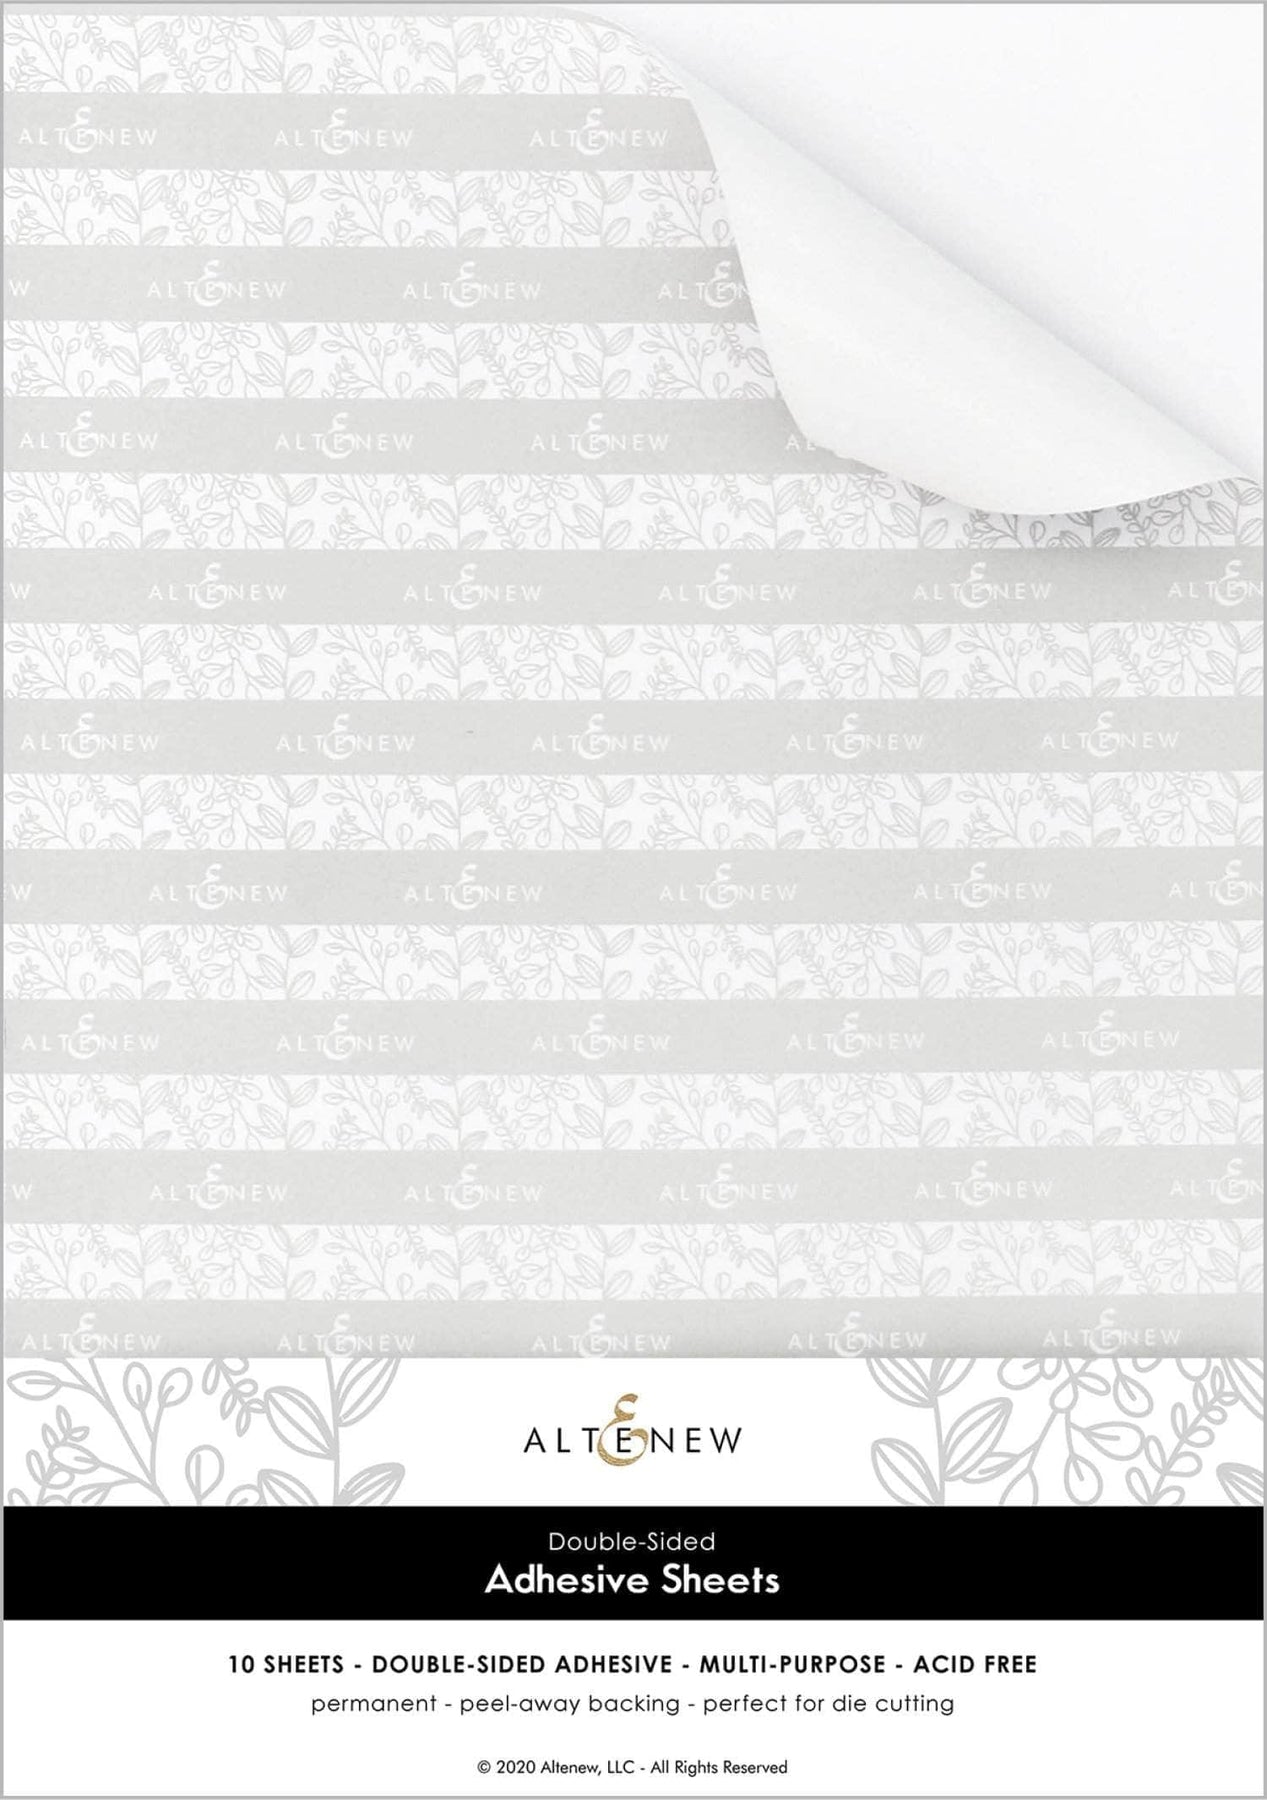
I added a piece of Altenew Double-Sided Adhesive Sheets to the back of a piece of Spellbinders Black Brushed cardstock. I then used the number dies from The Greetery’s Dreams and Plans die set to cut out ‘2025’. Once that was done, I peeled the liner off the numbers and added them to the inside panel, then used the Dreams and Plans Stamp Set to add the ‘Class of’ stamp around the numbers, as well as a sentiment to the inside.
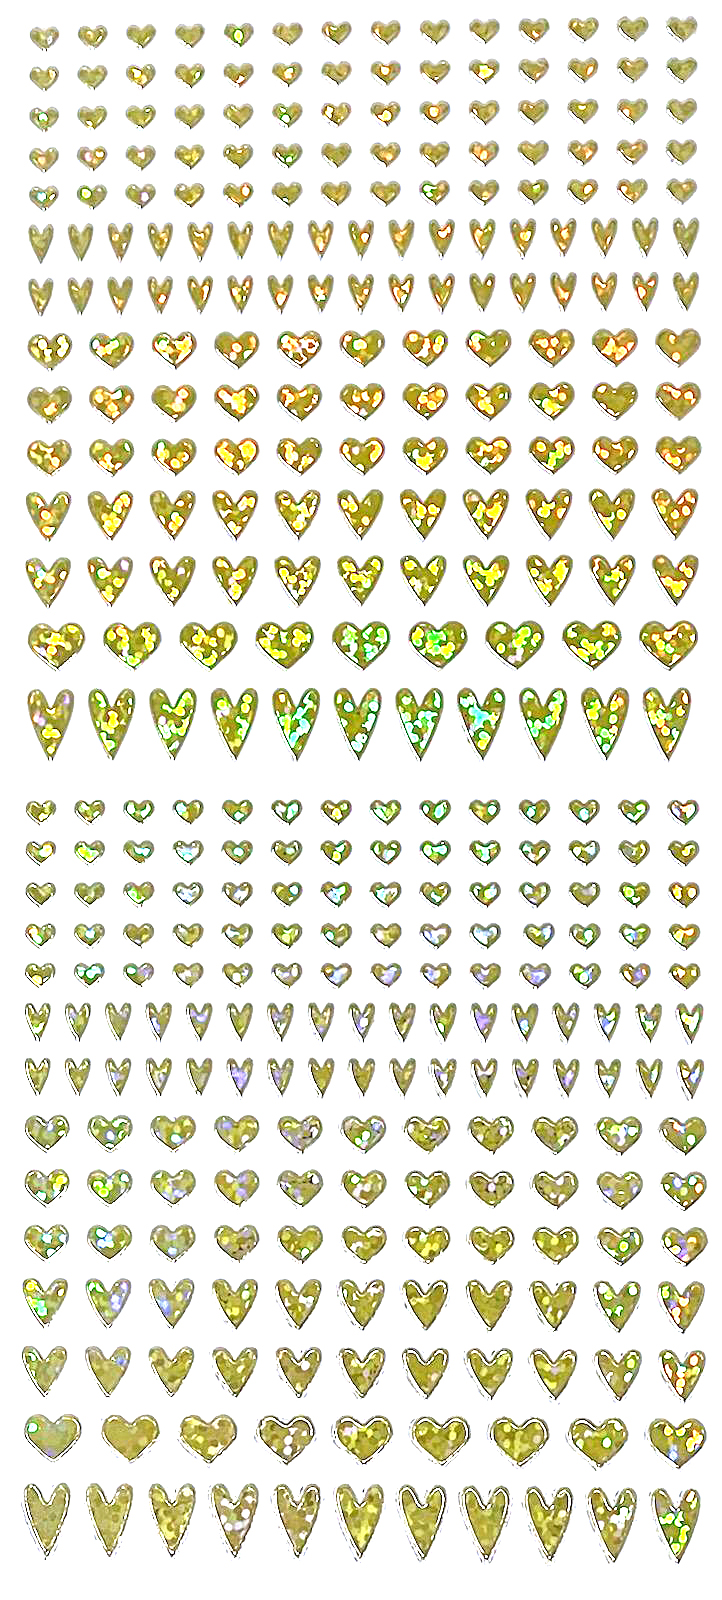
After that, I added some stickers from the Graduation pack to the inside panel, back of the inside circle, and to the bottom inside flap to add more decoration. For the decorations on the bottom flap, I added them after I took a picture of the full inside, so I have a picture below showing what stickers I added afterwards. I also placed a Gold Heart Dazzle Sticker from Paper Wishes to the inside of the 0.


Decorating the Envelope
I made an A2-sized envelope on my We R Memory Keepers 1-2-3 Punch Board using Gina K Designs Kraft cardstock. After the envelope was assembled, I added a strip of the paw print paper to the bottom front of the envelope. I was sending the envelope in a package so I didn’t need to worry about keeping glued decorations away from the bottom of the envelope.
I also added the cat paper to the back flap using the glue stick. Once the paper had adhered, I used my scissors to trim around the envelope flap and cut away any excess patterned paper.

If you want to see videos with instructions on how to make varying sizes of envelopes using the 1-2-3 Punch Board, I have a playlist on my YouTube Channel.
If you are looking for additional ways to decorate envelopes, I have two videos with lots of ideas for that: Five Ways and Five More Ways to Decorate Envelopes.
Step-by-step video:
I hope you enjoyed this project! For more card-making ideas, check out my YouTube playlist and card-making blog posts.
Product Information
Here are the products I used in today’s project. Please consider shopping through my affiliate links, as it greatly helps out my channel at no extra cost to you. Thanks so much for supporting me and my channel!
**Use code EGIDESIGNS for 15% off your order at Glassboard Studio**
|


Additional products used:
- Unity Stamp Co.: Love Kitties Stamp Set
- The Greetery: Dreams and Plans Stamp and Die Set
- Scrapbook.com: Sparkle Pen