Simple and Stepped Up: Z-fold Cards | Wednesday Workshop Series
In this episode of my Wednesday Workshop Series, I created two easy Z-Fold Fun Fold cards using the Simple Stories Simple Vintage Junk Drawer Collection and the Simon Says Stamp Card Kit: Long Stem Florals. The first card is very simple, and the second card is stepped up a bit with watercoloring and other techniques. All products used in today’s card tutorial project are listed below.

Wednesday Workshop | Sketches and Fun Fold Cards Series
This project is part of my Wednesday Workshop | Sketches and Fun Fold Cards Series. This series used to be published on Saturdays, but I have moved it to Wednesday for some mid-week card inspiration! I have a playlist on YouTube with all the past episodes if you’d like to check them out.
In this series, I find a card sketch on the internet and make a card (or more) using it. If making more than one card, the first one will stick closely to the sketch, while the others will have slight changes or demonstrate different techniques. I have added fun fold cards and one sheet wonders into the mix as well, so we have lots of creative options!
Measurements
Measurements (for both)
A2 Card Base:
8 1/2 x 5 1/2", Score at 2 1/8" and 4 1/4"

Flap Panel: 1 7/8 x 5 1/4"
Inside Panel: 4 x 5 1/4"
Inside Postage Panel: 3 x 4 1/4"
-
Card 1: Blue Butterfly
Cut-apart: 3 x 4"
Blue Patterned Paper: 3 1/2 x 4 1/2"
Steel Mat: 3 3/4 x 4 3/4"
-
Card 2: Pink Long Stem Floral
Pink Patterned Paper: 3 1/2 x 4 1/2"
Apricot Mat: 3 3/4 x 4 3/4"
Related Videos:
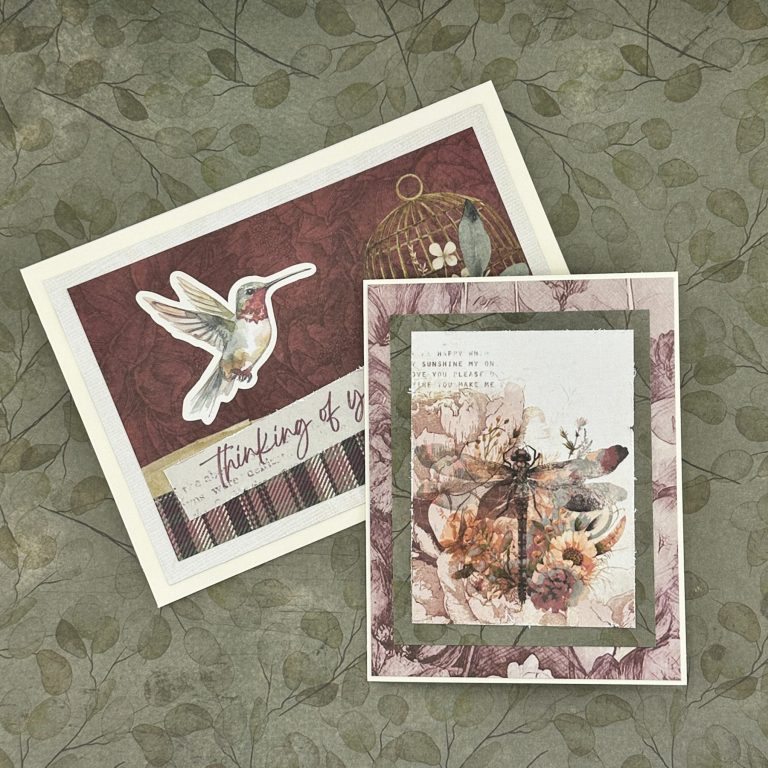
I have a video and blog post where I made a card using a card sketch with the Simple Stories Simple Vintage Junk Drawer paper.

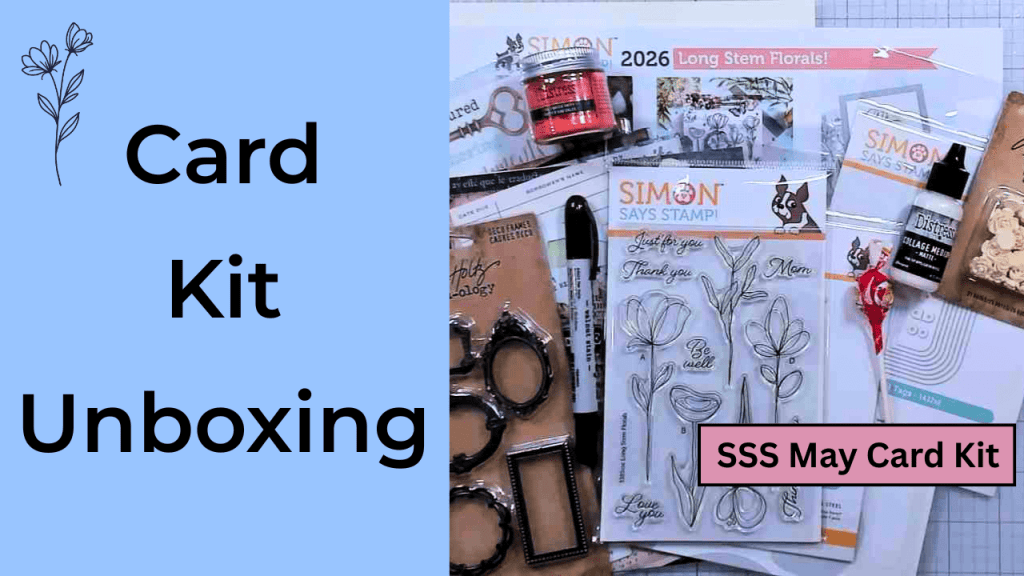
I have a video and blog post where I unbox the Simon Says Stamp Card Kit: Long Stem Florals, which includes many of the supplies I used in today’s project.
I have a video and blog post where I unbox the Simple Stories Simple Vintage Junk Drawer Collection.

Card #1: Simple Version
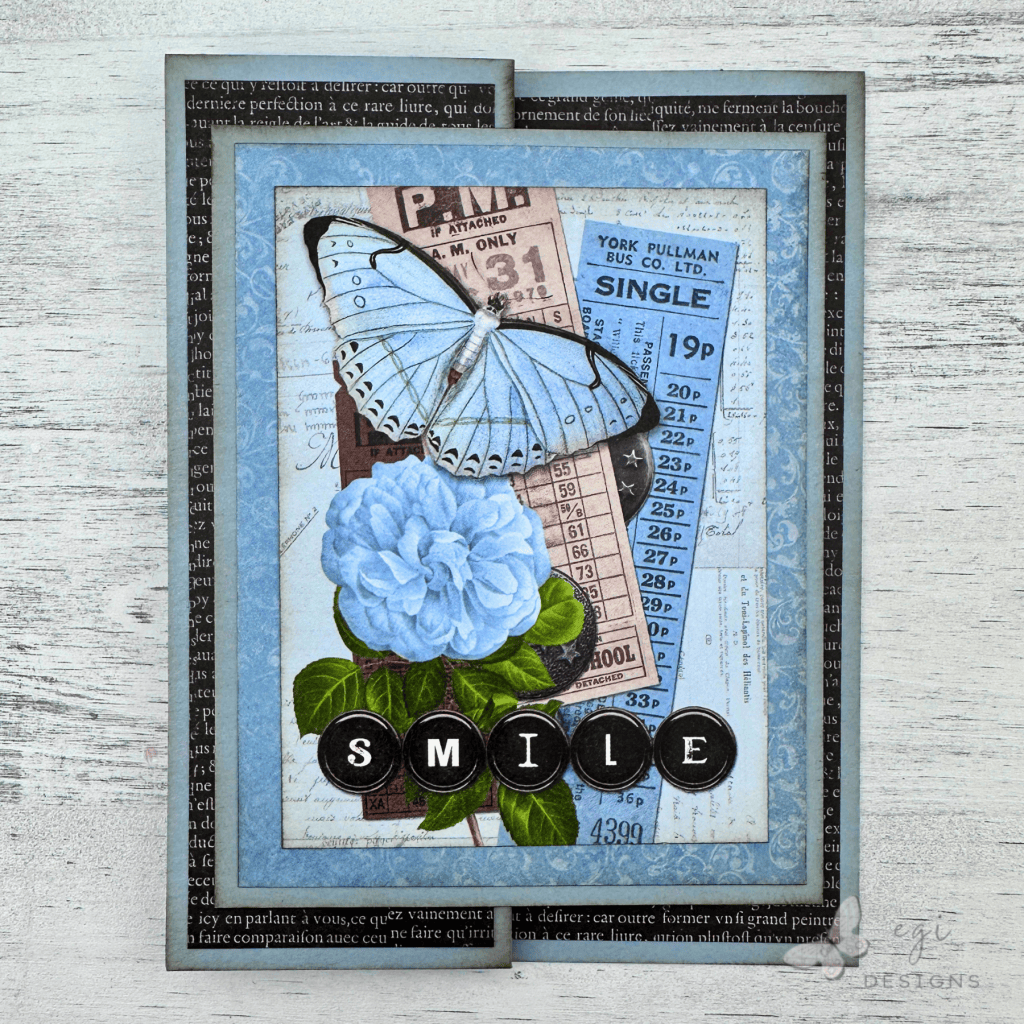
To create this card, I made the z-fold card base from Simon Says Stamp Steel cardstock, included in the Long Stem Florals Card Kit. I used one of the cut-aparts from the Simple Stories Simple Vintage Junk Drawer paper (also in the kit) and trimmed a mat layer from the patterned paper. The largest mat was cut from the Steel cardstock.
The paper on the flap, and on the inside, was cut from the patterned paper collection. I wanted them to look like a continuous piece, so I made sure to cut them next to each other from the same paper piece.
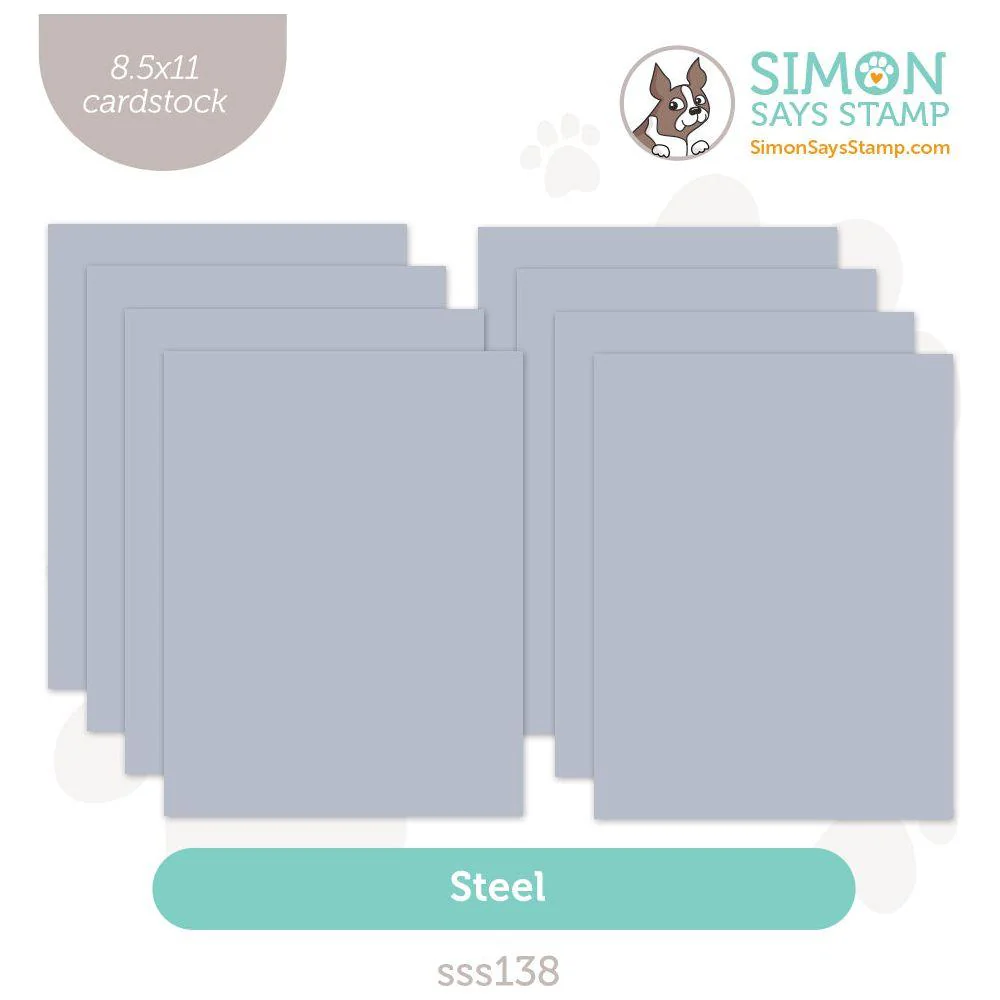
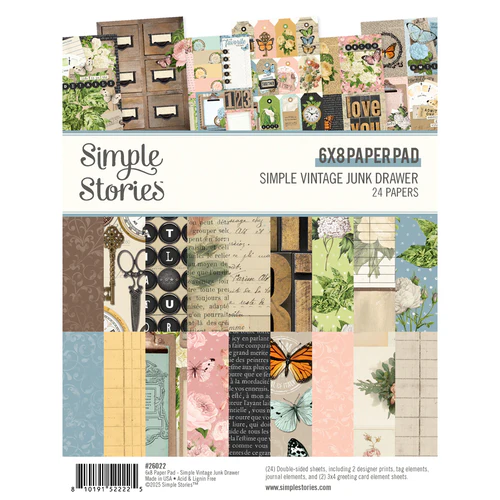
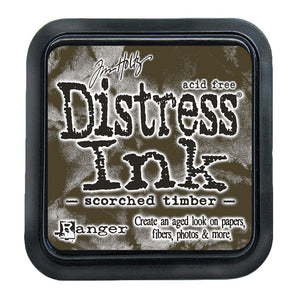
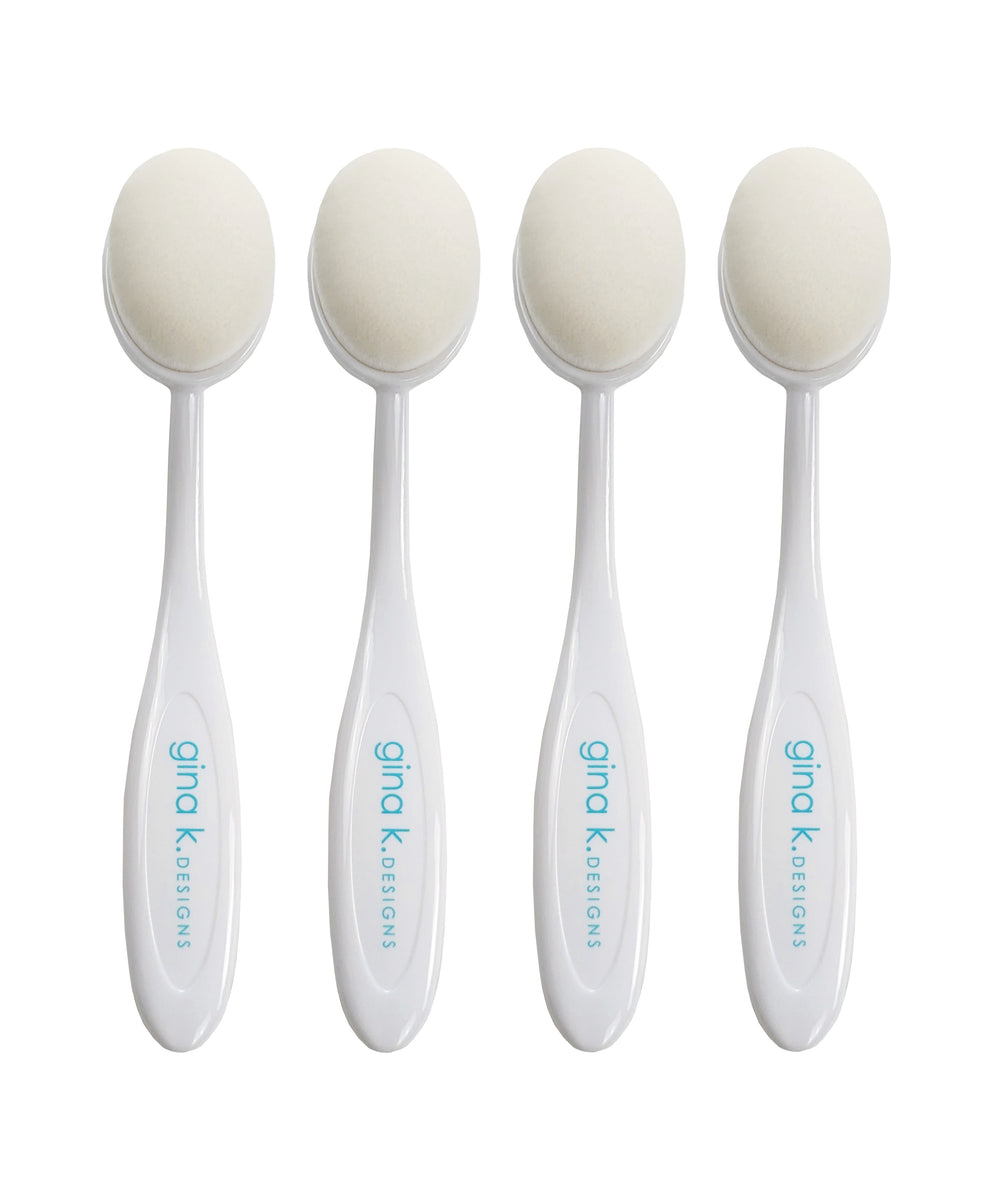
On all the paper pieces, ephemera, and card base, I used Distress Ink in Scorched Timber with a Gina K Designs Blending Brush to ink the edges. This gave the pieces a vintage feel, and also helped them stand out from the other layers.
Tip: Only add glue to one side of the front panel to attach it to the flap. It is easy to accomplish this by flipping over the panel and using the middle fold as a guide of where to add the glue.
Card #1: Inside
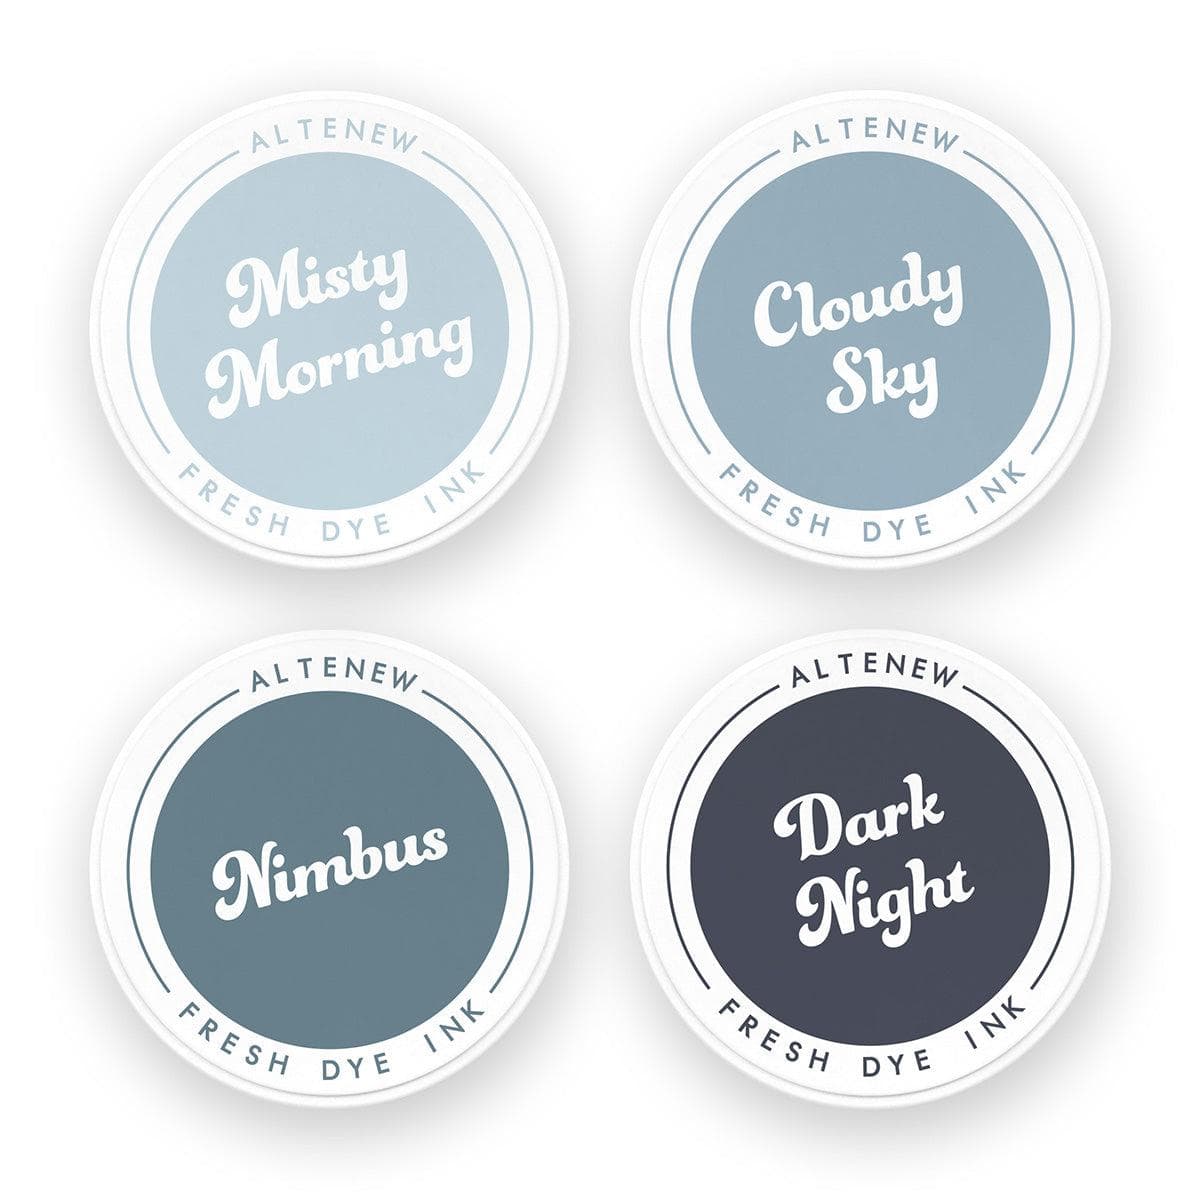
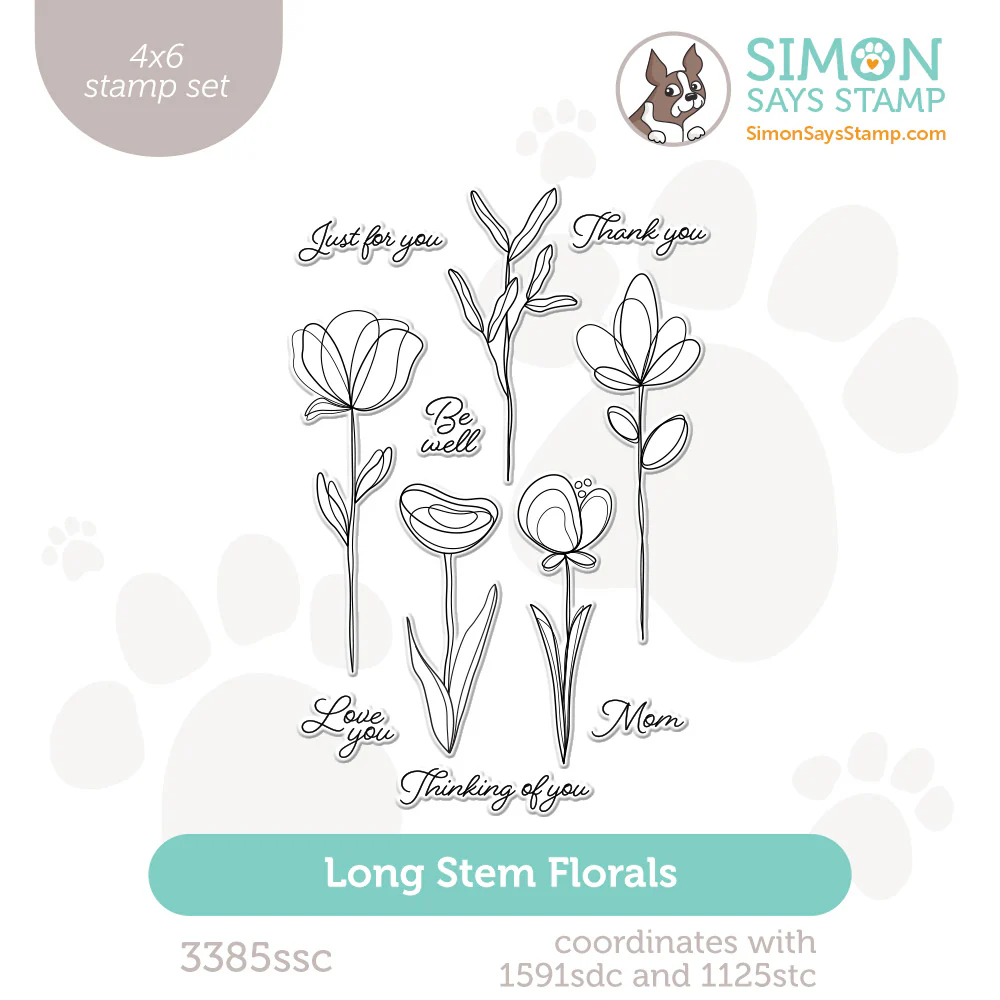
For the inside of the card, I used the Simon Says Stamp A2 Postage Rectangles Die Set with Simon’s Heavyweight White cardstock to create a panel for the inside of the card. I stamped one of the flowers from the Long Stem Florals Stamp Set along the left side using Altenew’s Cloudy Sky ink, and stamped the sentiment using Altenew’s Nimbus ink.

First, I added temporary adhesive to the back of the postage panel. I find this is easier for me, so I can remove and replace the panel if I mess up when writing my message without having to tear my card apart. Then I centered it behind the flap panel so it would be hidden when the card was closed, and lowered the back of the card onto the adhesive. This lined up the postage panel perfectly behind the flap.

Card #2: Stepped Up Version
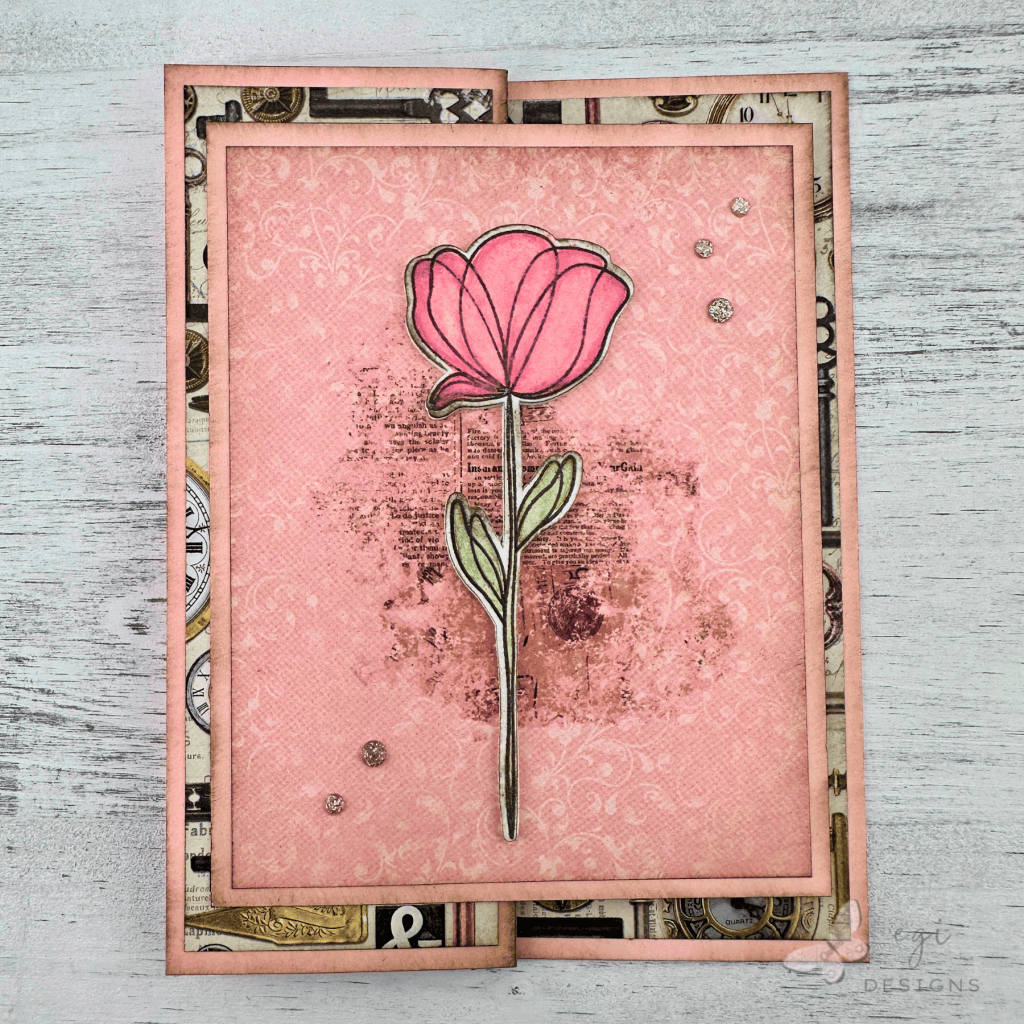
To create this card, I made the z-fold card base from Simon Says Stamp Apricot cardstock, included in the Long Stem Florals Card Kit. I trimmed a mat layer from the patterned paper, and then cut the largest mat from the Apricot cardstock. I added one of the Junk Drawer Rub-ons to the patterned paper to add some visual interest. The paper on the flap, and on the inside, was cut from the patterned paper collection.


On all the paper pieces, ephemera, and card base, I used Distress Ink in Scorched Timber with a Gina K Designs Blending Brush to ink the edges.
Just like on Card #1, I added the panel to the front of the card using my glue placement tip.
Watercoloring the Floral Image
I stamped a floral image from the Long Stem Florals stamp set with Distress Oxide in Scorched Timber, and then heat embossed it using WOW! Super Fine Clear Embossing Powder on Tim Holtz Distress Watercolor Cardstock.
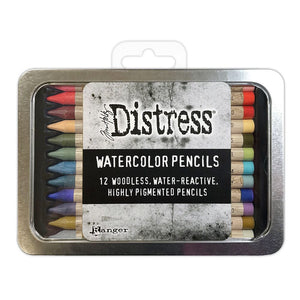
Next, I colored in the image using Tim Holtz Distress Watercolor Pencils. For the flower, I used Abandoned Coral (Set 6), and Saltwater Taffy (Set 4). For the stem and leaves, I used Bundled Sage (Set 6). Once I had applied pencil to the image, I used a water brush to paint over the pencil to turn it into watercolor ink. I went over all of the colored areas until the ink filled in the image.
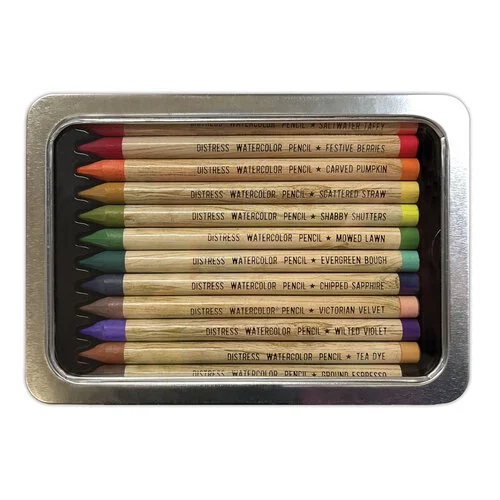
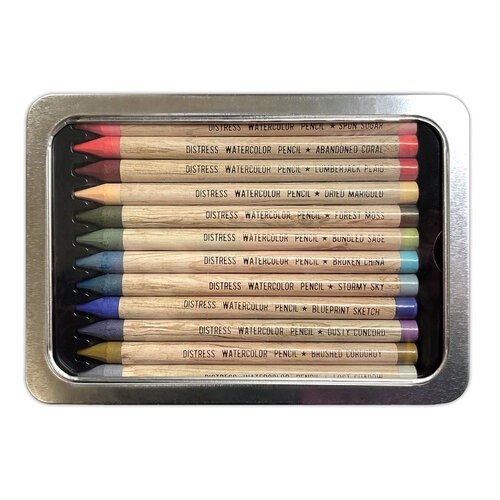
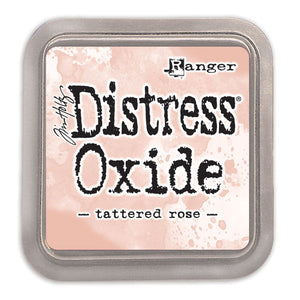
I noticed that the Abandoned Coral took over the coloring in the petals, so I pressed a Distress Oxide pad in Tattered Rose onto my glass mat, and used the water brush to pick up the ink and paint it over the petals. Since Oxides are pigment inks, they stay on top of the paper and have a chalky, milky finish. This was a perfect solution to tone down the abandoned coral color.
I dried the image with my Ranger Heat-it tool, then die-cut it using the Long Stem Florals coordinating dies. I also cut a few extra flower die cuts from Simon Says Stamp Heavyweight White cardstock. I glued two extra die cuts behind the flower, and then added the stack to the card front. To finish off the card, I added a few Pinkfresh Champagne Glitter Drops to add a touch of sparkle.
Card #2: Inside
For the inside of the card, I used the Simon Says Stamp A2 Postage Rectangles Die Set with Simon’s Heavyweight White cardstock to create a panel for the inside of the card. I added one of the Junk Drawer Rub-ons to decorate the inside. Finally, I used the same method as Card #1 to center and adhere the inside panel correctly.

If you are looking for additional ways to decorate the inside of your cards, check out my Part 1 and Part 2 videos with more easy ideas.
Step-by-step tutorial:
I hope you enjoyed this project! For more card-making ideas, check out my YouTube playlist and card-making blog posts. I also have a Wednesday Workshop Series playlist for additional inspiration.
Product Information
Here are the products I used in today’s project. Please consider shopping through my affiliate links, as it greatly helps out my channel at no extra cost to you. Thanks so much for supporting me and my channel!
**Use code EGIDESIGNS for 15% off your order at Glassboard Studio**
|