Simple and Stunning Cards: Cardz TV Sketch #81 | Wednesday Workshop Series
In this episode of my Wednesday Workshop Series, I created an easy Anniversary Card using the Simple Stories Simple Vintage Junk Drawer Collection. I also show a second card using the 49 and Market Plume & Petal Collection. Both cards were created using Cardz TV Sketch #81. All products used in today’s card tutorial project are listed below.

Wednesday Workshop | Sketches and Fun Fold Cards Series
This project is part of my Wednesday Workshop | Sketches and Fun Fold Cards Series. This series used to be published on Saturdays, but I have moved it to Wednesday for some mid-week card inspiration! I have a playlist on YouTube with all the past episodes if you’d like to check them out.
In this series, I find a card sketch on the internet and make a card (or more) using it. If making more than one card, the first one will stick closely to the sketch, while the others will have slight changes or demonstrate different techniques. I have added fun fold cards and one sheet wonders into the mix as well, so we have lots of creative options!
Measurements
Measurements: (differs from sketch)

Inside Layer: 3 3/4 x 5"


Wednesday Workshop Series: Card Sketch Information
In today’s episode, I used card sketch #81 from Cardz TV with Mary. She has a website and also a YouTube channel. Be sure to check out her blog for more card sketches.

Card #1: Vintage Anniversary Card

To create this Anniversary Card, I used the Simple Stories Simple Vintage Junk Drawer Collection. I cut the background piece, the diagonal piece, and the square drawer piece from the patterned paper pack. The compass piece is from the Page Pieces Pack, and the card base was made from Gina K Designs Heavyweight Ivory Cardstock.


On all the paper pieces, ephemera, and card base, I used Distress Ink in Scorched Timber with a Gina K Designs Blending Brush to ink the edges. This gave the pieces a vintage feel, and also helped them stand out from the other layers.
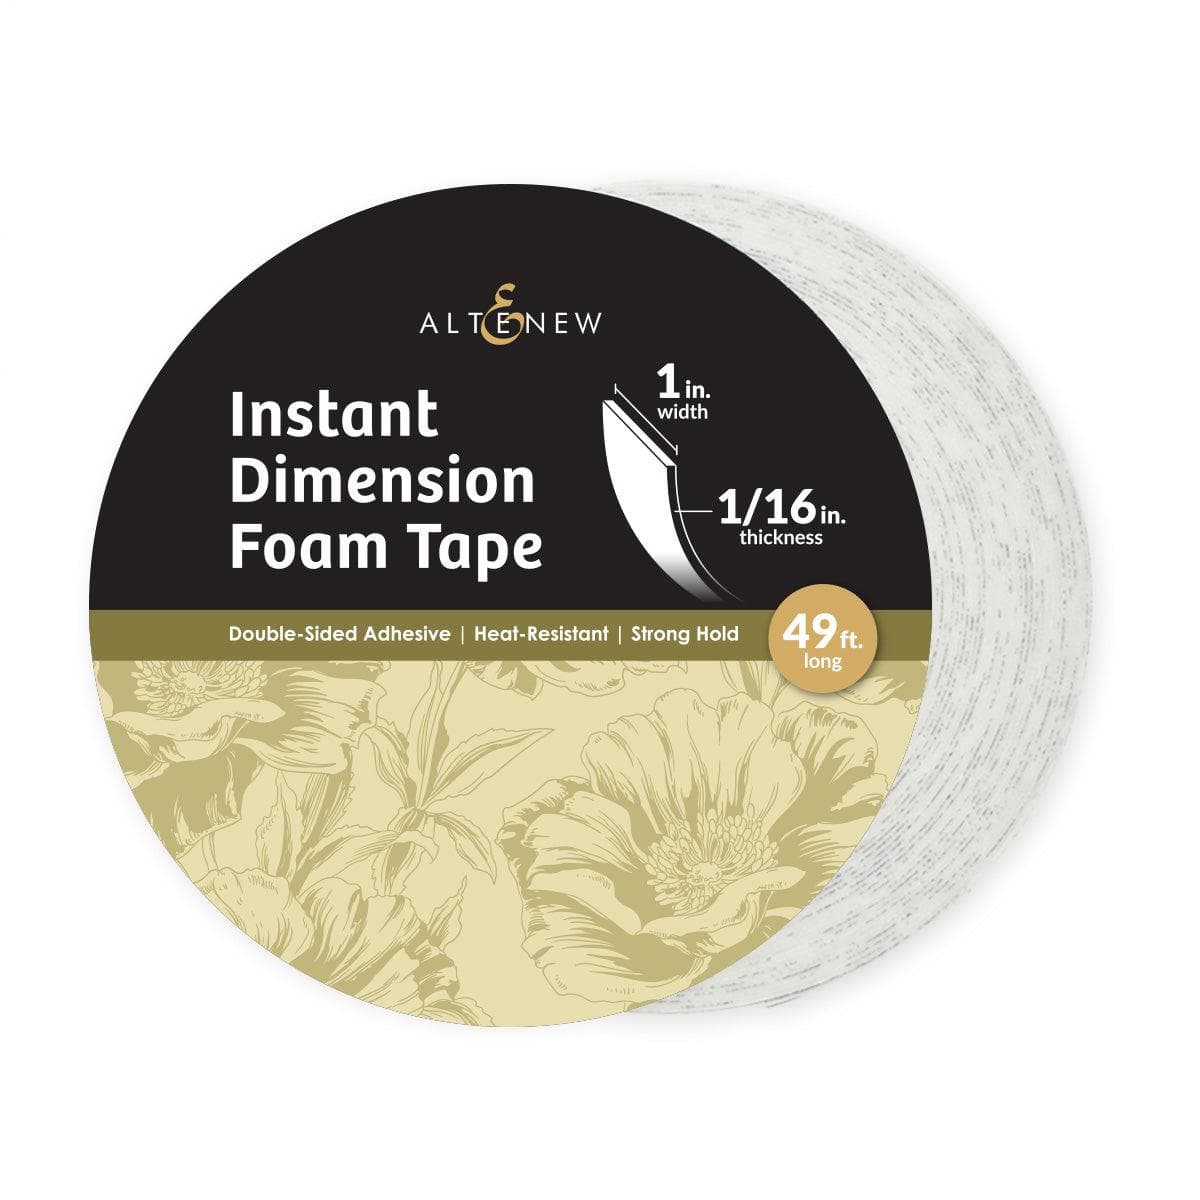
I glued the pink piece to the background panel, then the drawer piece on top of that, following the card sketch layout. Next, I added some pink distressed chiffon ribbon towards the bottom of the panel, using double-sided adhesive tape. Then I added the panel to the card base using a tape runner. Once that was adhered, I added the compass ephemera over the ribbon using Altenew Foam Tape.


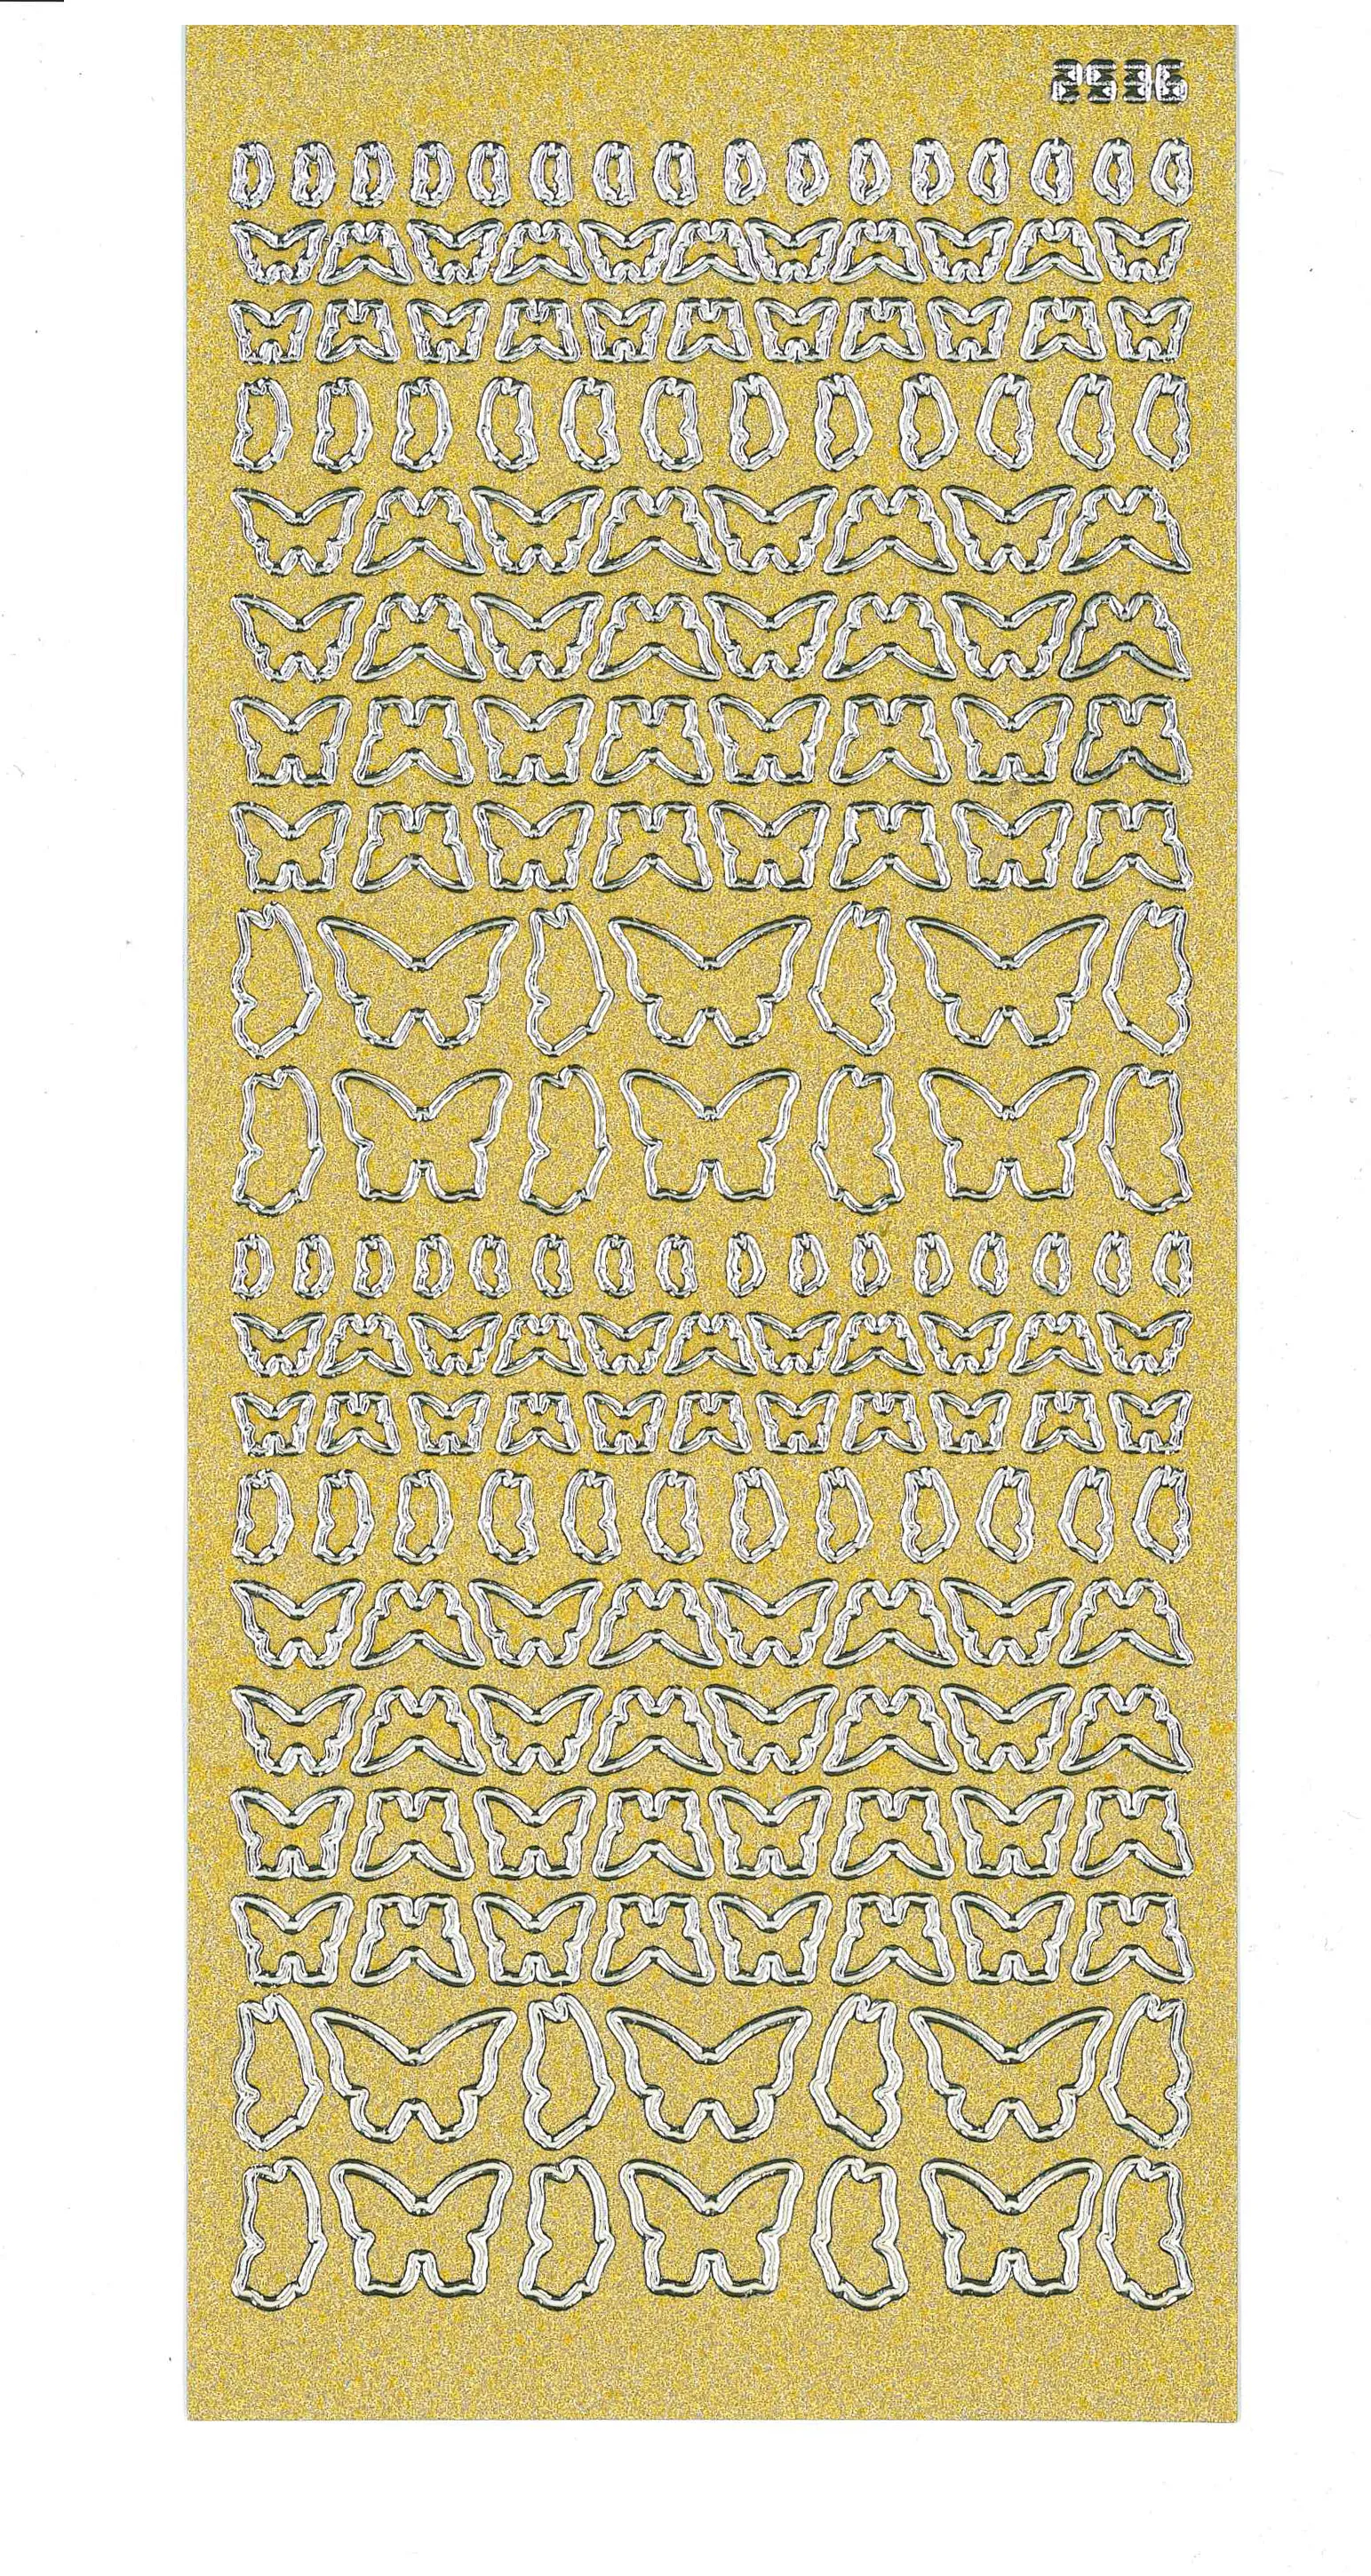
To finish off the card front, I inked two heart ephemera pieces and added them above the compass ephemera piece. Next, to add a little shine to the card front, I added a gold butterfly sticker from Paper Wishes to the top left of the pink panel, and two gold dots to the drawer label plate on the compass ephemera piece.
Card #1: Inside
For the inside of the card, I first used the distressed words stamp in the Junk Drawer Stamp Set with Scorched Timber ink to add some detail in the corners on the card base.

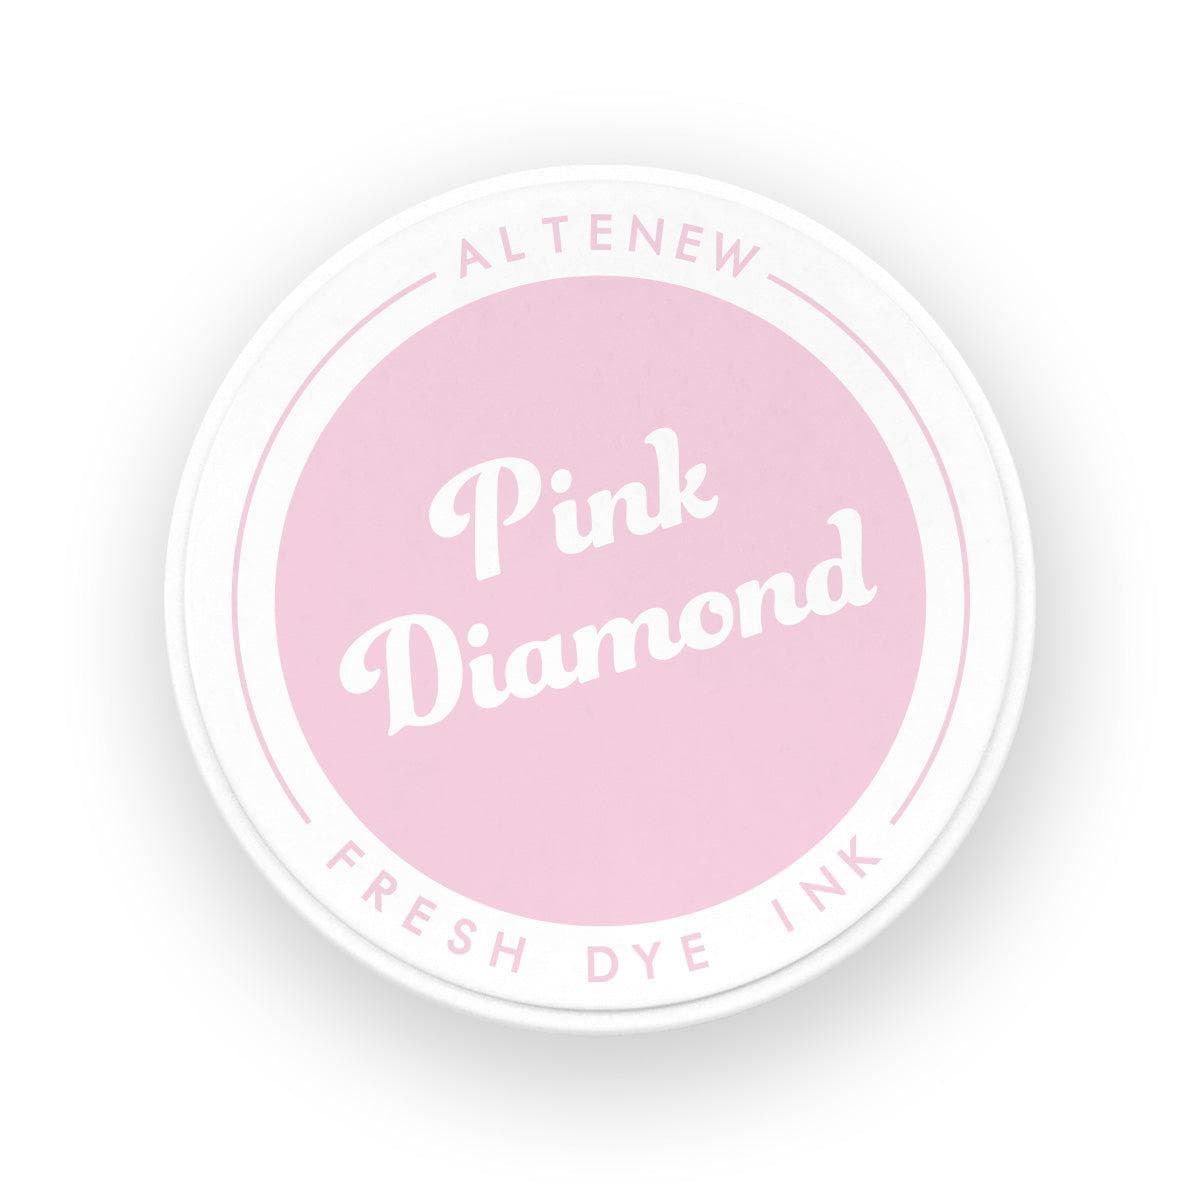
I cut a panel from Ivory cardstock and stamped the key image and LOVE in Scorched Timber, then added the butterfly and heart images in Altenew Pink Diamond ink.

I then adhered the panel to the inside of the card using temporary adhesive. I find this is easier for me, so I can remove and replace the panel if I mess up when writing my message without having to tear my card apart.
Card #2: Purple Hello Card

To create this Hello Card, I used the gorgeous 49 and Market Plume & Petal Collection. I cut the background piece from the Patterned Paper Pack, the diagonal piece from the Solids Pack, and the tag piece from the Ephemera Pack. The card base was made from Gina K Designs Heavyweight Ivory Cardstock.


I added the tiled detail piece from the Laser Cut Elements pack to the top-left of the background panel, then added the purple diagonal piece, following the card sketch layout. The tag piece was a little long for the card design, so I trimmed off the bottom and then glued it on top of the tag to shorten it up.


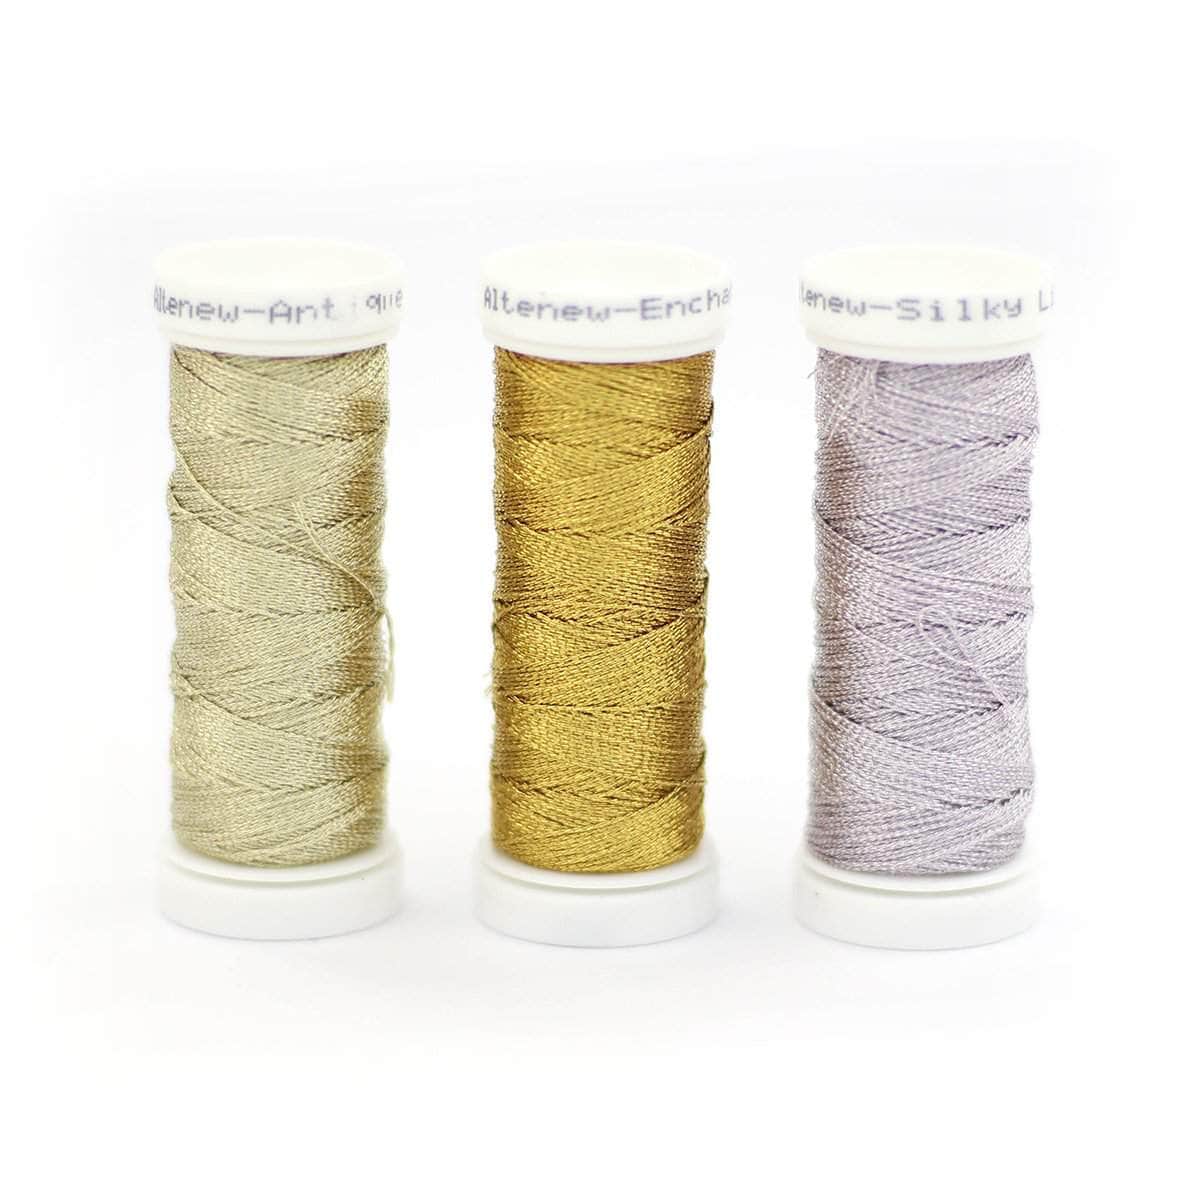
Using some lavender distressed chiffon ribbon, I threaded it through the hole in the top of the tag, and used Altenew Metallic Silky Lilac Thread to secure the ribbon.
I placed Altenew Black Foam Tape behind the tag piece, and added it to the card front. Next, I used a strip from the Washi Sheets pack to add a stripe across the card front, and added a piece of the branding strip from the patterned paper on top of that.


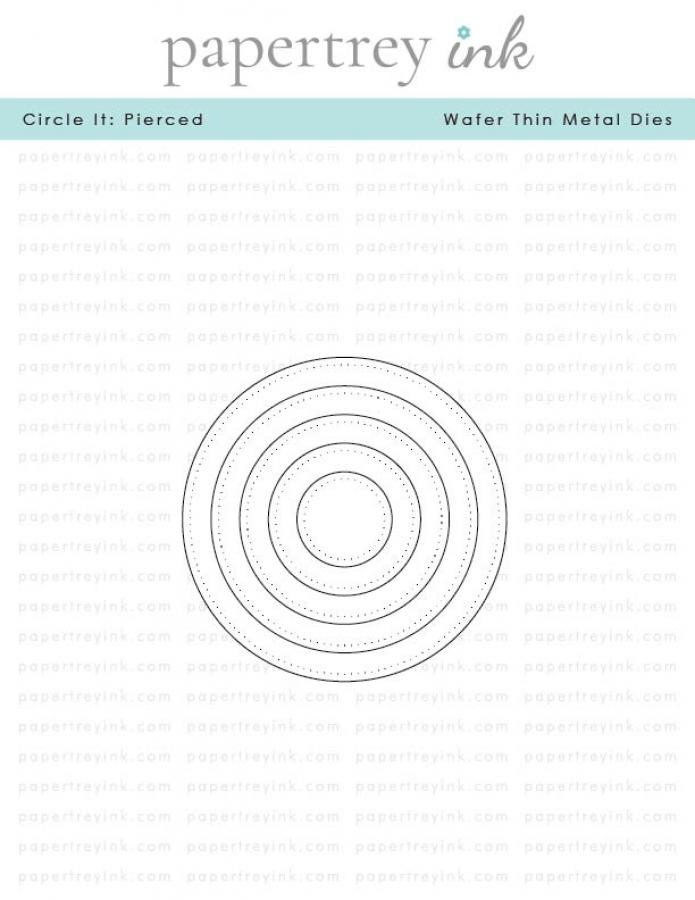
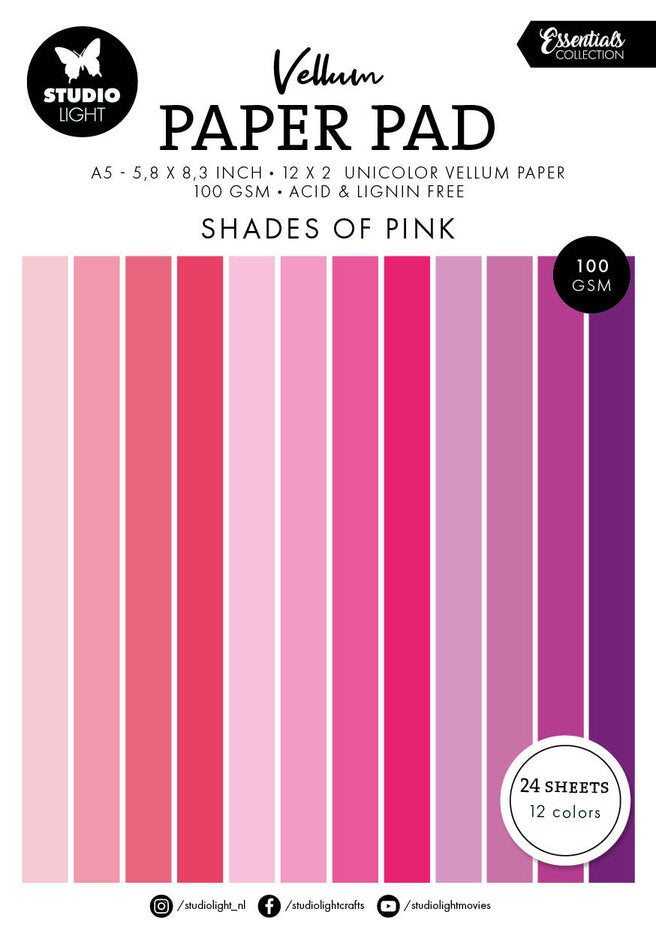
I added a feather image from the Rub-on Pack to a piece of Simon Says Stamp Vellum, and then cut it out using a circle die from Papertrey Ink Circle It: Pierced Die Collection. I cut an additional circle from purple vellum in the Studio Light Shades of Pink Vellum paper pad. Using a Xyron sticker maker, I added adhesive on the back of the white vellum, and then placed it over the purple circle to glue them together.

Once that was complete, I added foam tape to the back of the vellum circle and added it to the card panel, overhanging the right and bottom edges. I trimmed off the excess and then added the panel to the card base.
For the Hello sentiment, I used the Taylored Expressions Sketchbook Florals Stamp Set with 49 and Market Lavender Kisses ink to stamp above the horizontal strip on the card front.
Card #2: Inside
For the inside of the card, I cut a panel from Ivory cardstock and inked the edges with Lavender Kisses ink. Then I added a leftover piece from the branding strip to the left side of the panel. Once I know who the recipient is for this card, I will add a stamped sentiment to the top of the panel.
Once the panel was finished, I adhered it to the inside of the card using temporary adhesive.

If you are looking for additional ways to decorate the inside of your cards, check out my Part 1 and Part 2 videos with more easy ideas.
Step-by-step tutorial:
I hope you enjoyed this project! For more card-making ideas, check out my YouTube playlist and card-making blog posts. I also have a Wednesday Workshop Series playlist for additional inspiration.
Product Information
Here are the products I used in today’s project. Please consider shopping through my affiliate links, as it greatly helps out my channel at no extra cost to you. Thanks so much for supporting me and my channel!
**Use code EGIDESIGNS for 15% off your order at Glassboard Studio**
|














Additional Supplies Used:
- Taylored Expressions: Sketchbook Florals Stamp Set


2 Comments