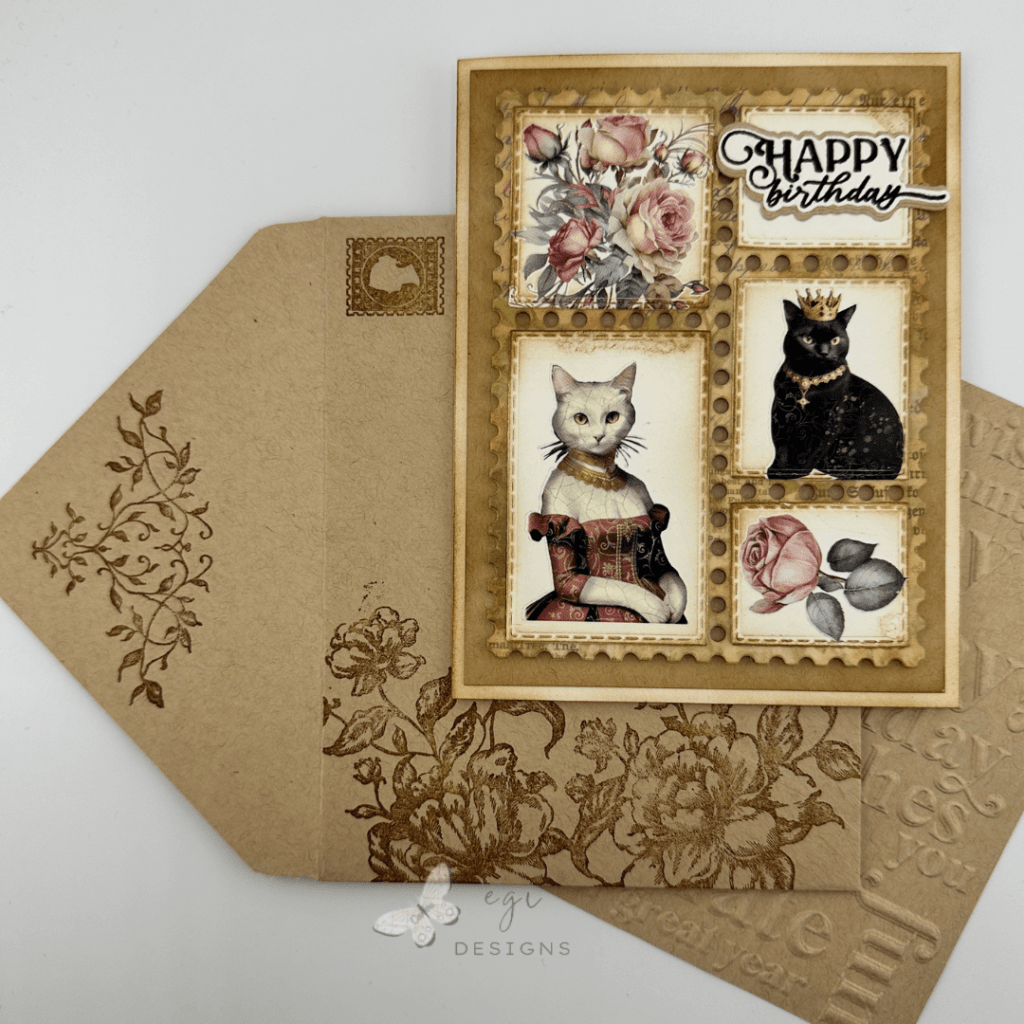
Save Time Creating a Fun Birthday Card with Rub-on Transfers
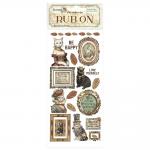
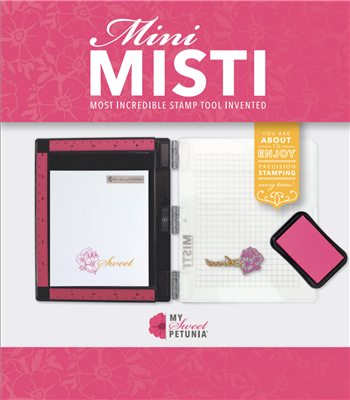
In this video project, I made a Birthday card for my teen daughter using the Stamperia Roses Rub-on Transfers from the Venice City of Art Collection, Stamperia Be Happy Lady Cat Rub-ons from the Alterego Collection, and Not 2 Shabby‘s EZ Wonder Die #3 and Add-On Die Set. All products used in making this project are listed below.

Measurements
A2 Card Base, 4 1/4 x 5 1/2" when folded
8 1/2 x 5 1/2", Scored at 4 1/4"

Postage Area: 3 5/8 x 4 3/4"
Mat Layer: 4 x 5 1/4"

Inside Panel: 3 3/4 x 5"
Mat Layer: 4 x 5 1/4"
Postage Panel
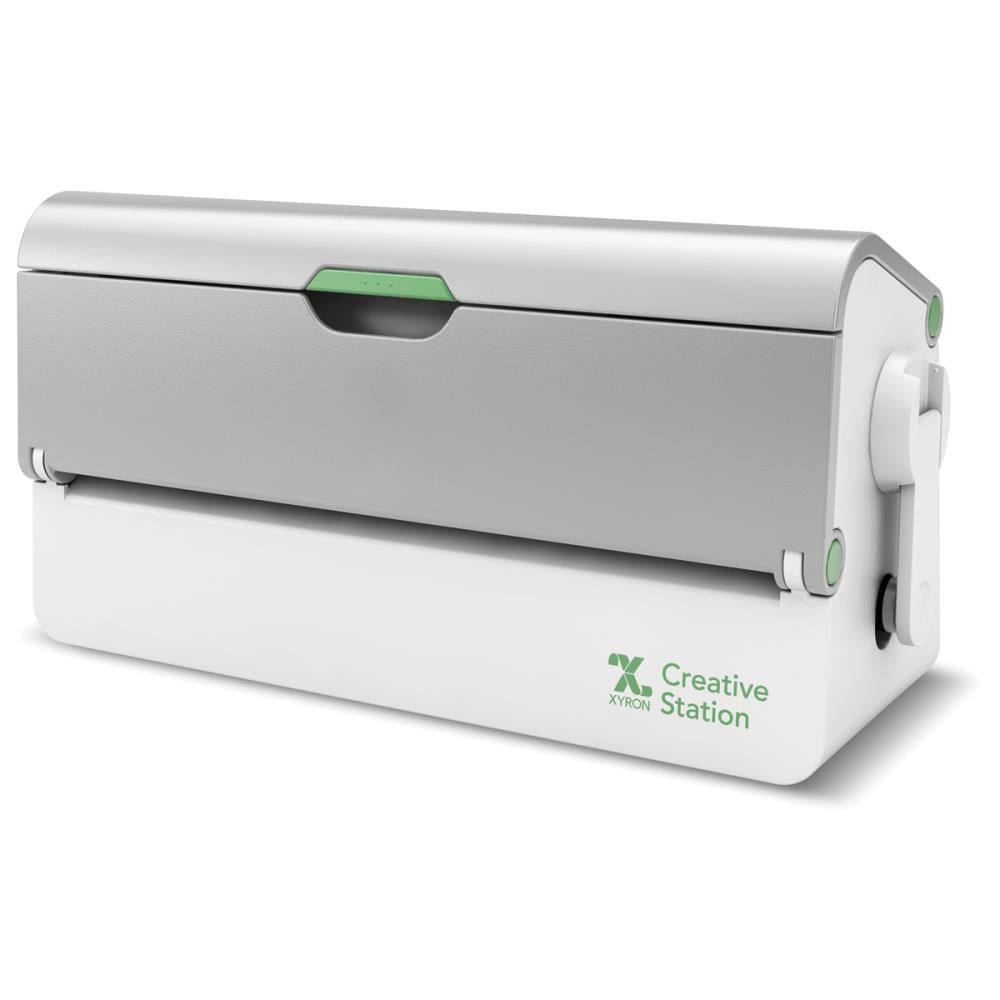
For the background postage panel, I wanted to use a piece of the Stamps By Me Whimsical Chapters vellum, but that would be too thin and flimsy to support the rest of the card front. I used my Xyron Creative Station to add adhesive to the back of the vellum, and then added that to a panel of Ivory card stock from Gina K Designs.

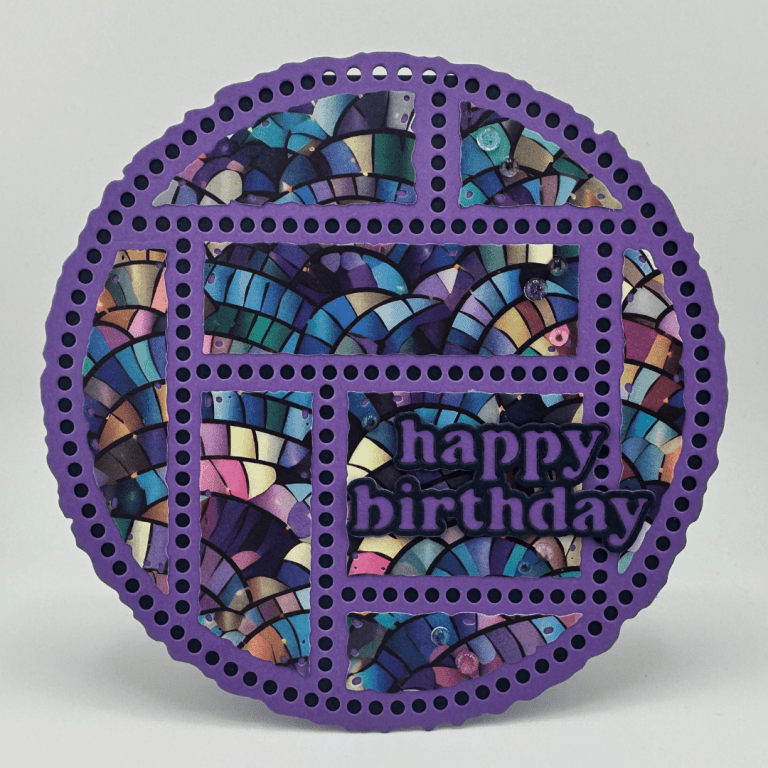
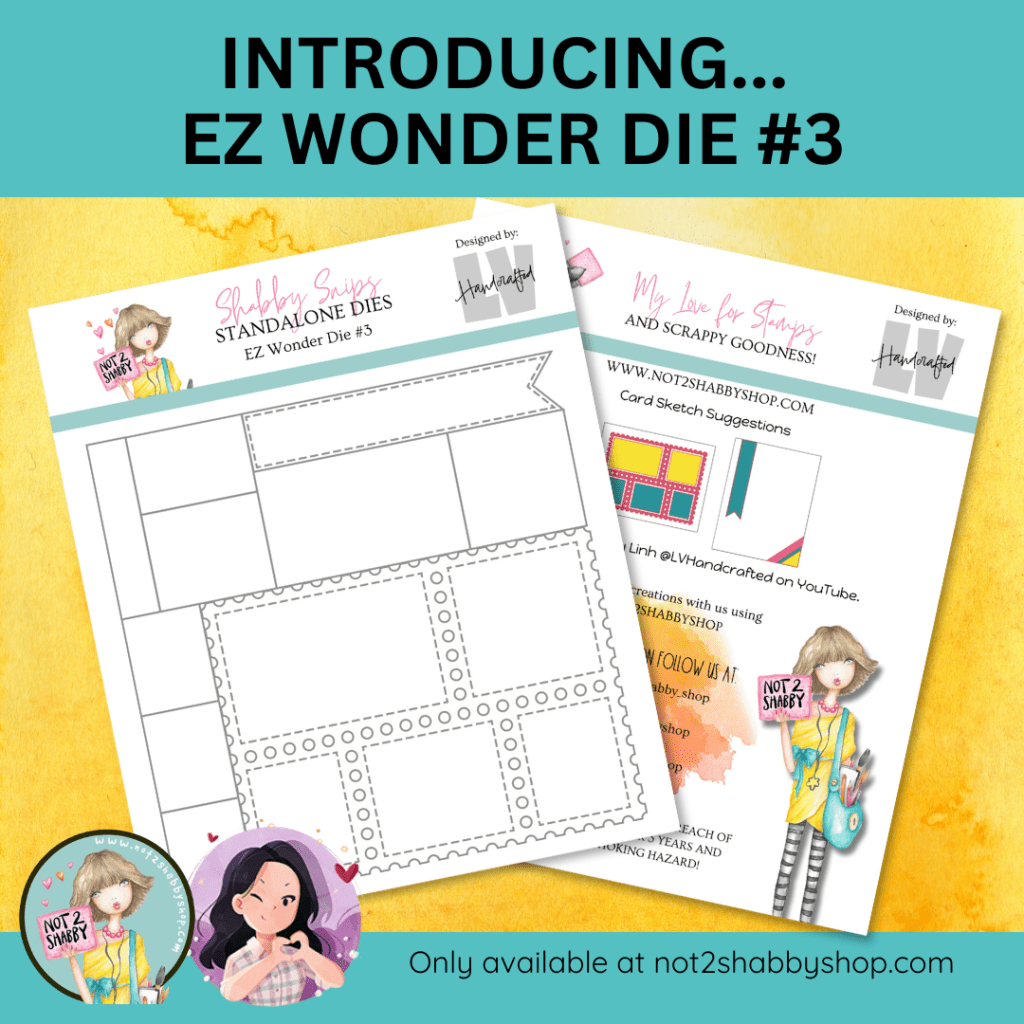
Next, I used the Not 2 Shabby EZ Wonder Die #3 to cut out the postage background. This is a great die as it cuts out the postage part, and also cuts out all the rectangle pieces to layer on top of the postage cut out. A banner die is included to add a sentiment to if desired. The EZ Wonder Die #3 Add-on die set is a great compliment to the EZ Wonder Die #3 as it has stitched rectangles that can be added as mat layers for the rectangles cut out from the postage die, or you can use them in place of the rectangles if you want the stitched detail. It also includes quite a few other dies and embossing dies. The coolest one is a die that will cut a postage-edge detail into any size or shape. You could make a custom size square, rectangle, triangle, or border for your project using the die.

Stamperia Rub-on Transfers
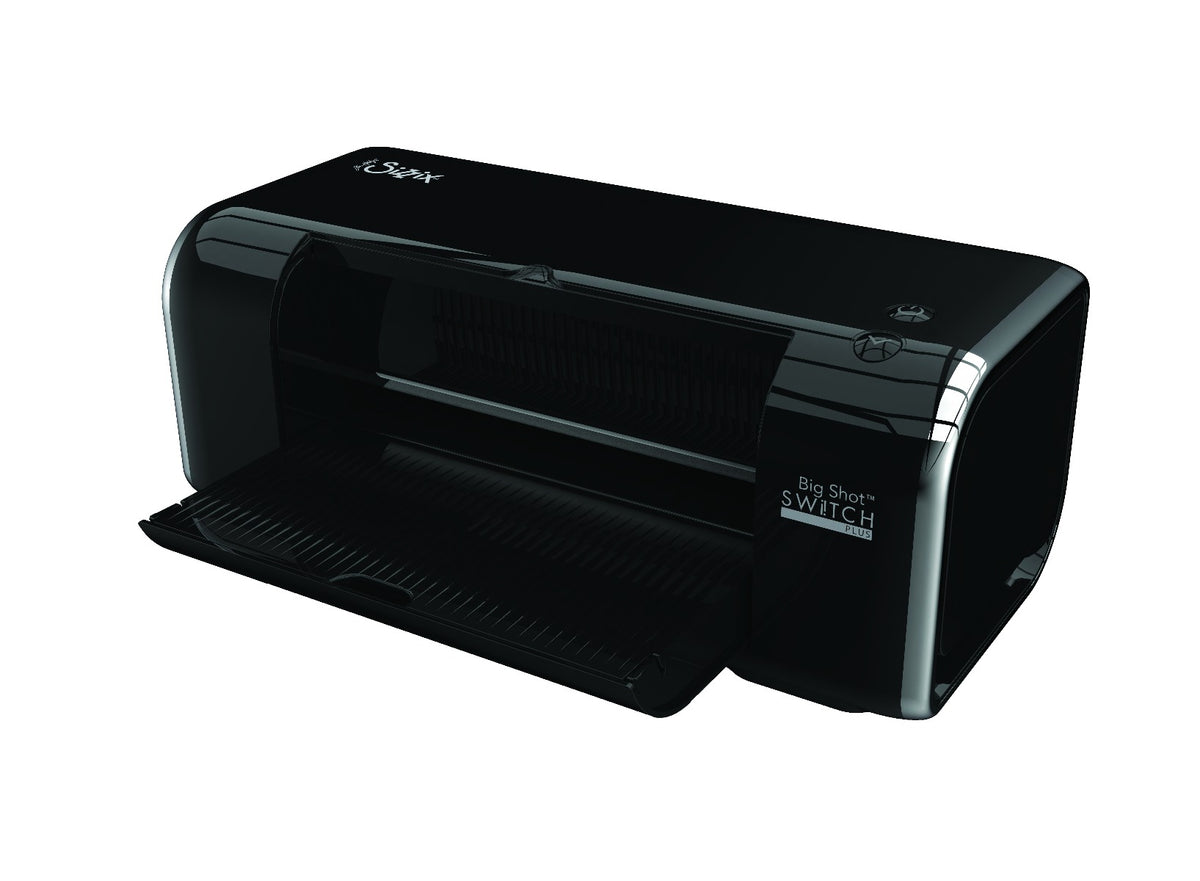
I added Rub-ons from two Stamperia collections, Roses and Be Happy Lady Cat, to a piece of Ivory cardstock. I made sure there was enough room around each image to be able to cut them out with the stitched rectangle dies from the add-on die set. Next I ran the piece of cardstock through my Sizzix Switch machine to transfer the rub-on images to the cardstock. This was the first time I had used this trick and it worked great! After that, I cut out the images with the stitched rectangles, and cut out one additional small plain one to add the sentiment to later on.


Putting the Card Front Together
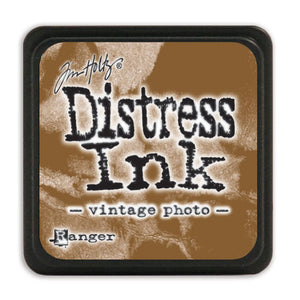
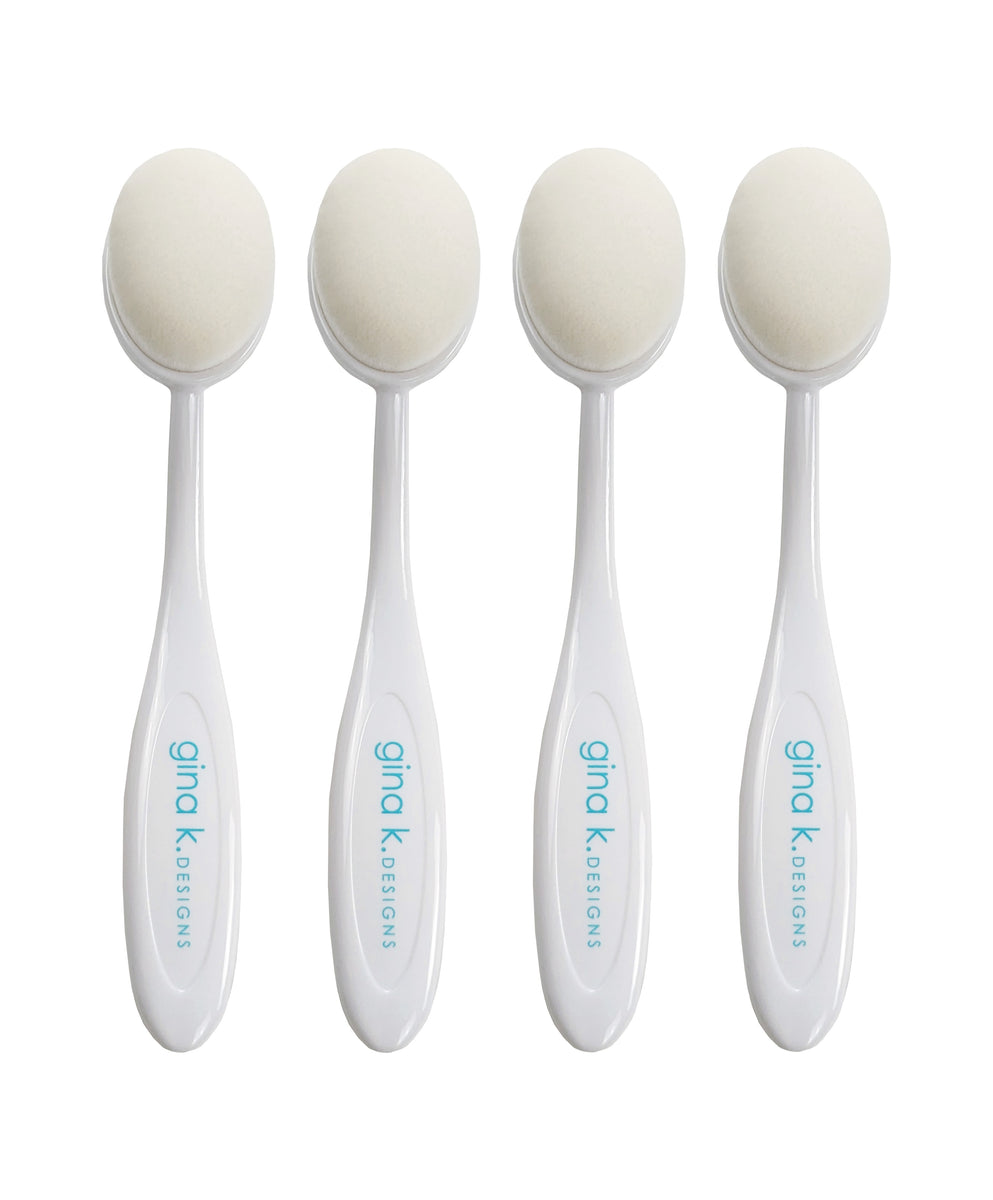
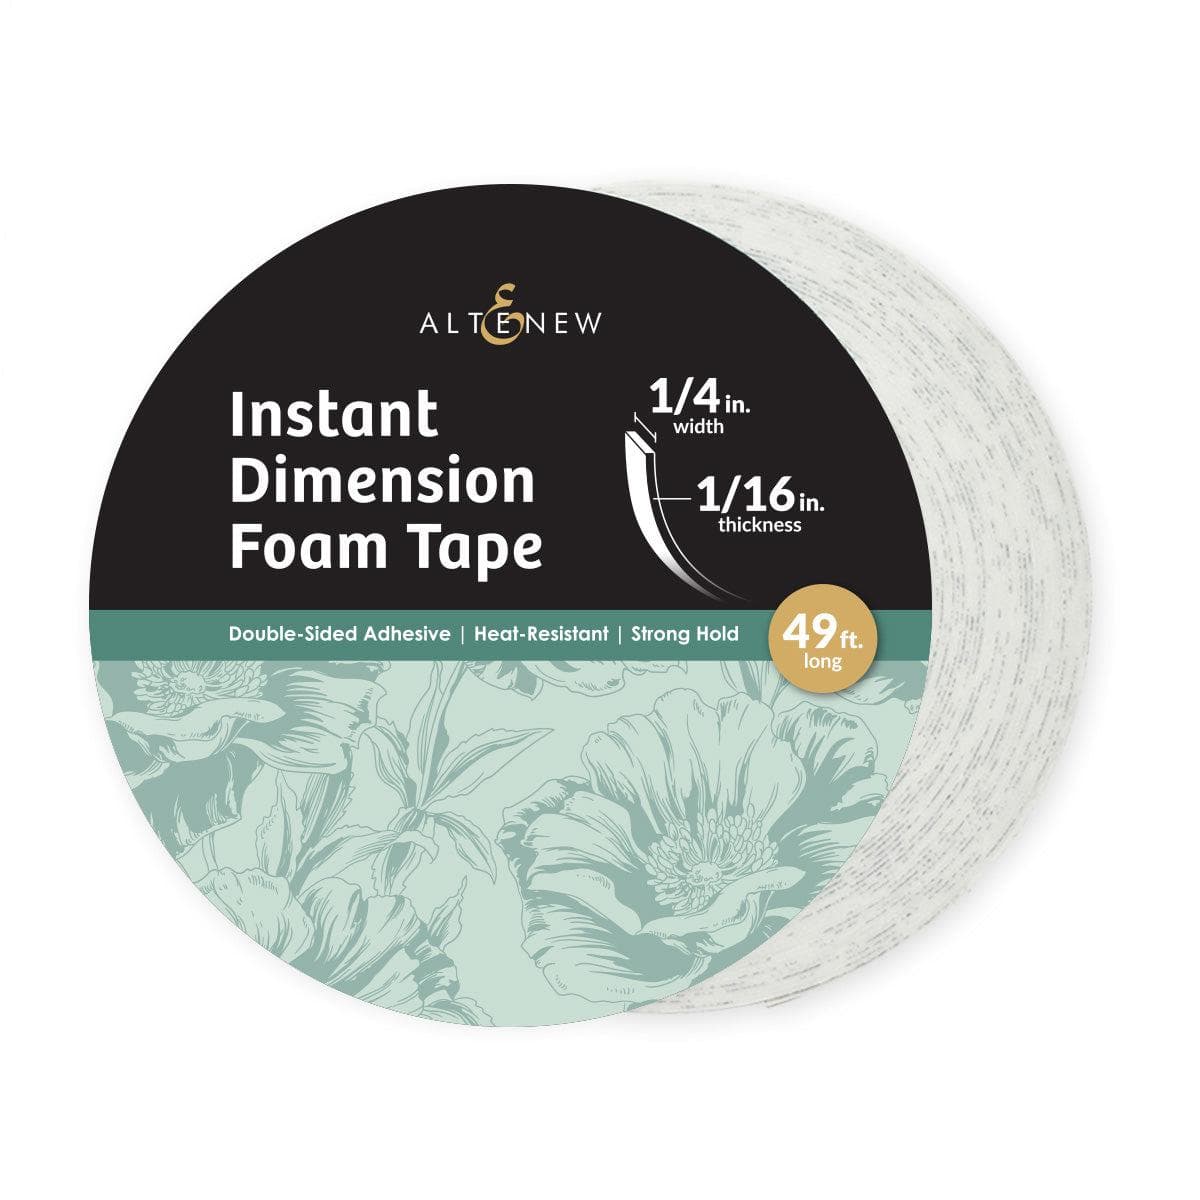
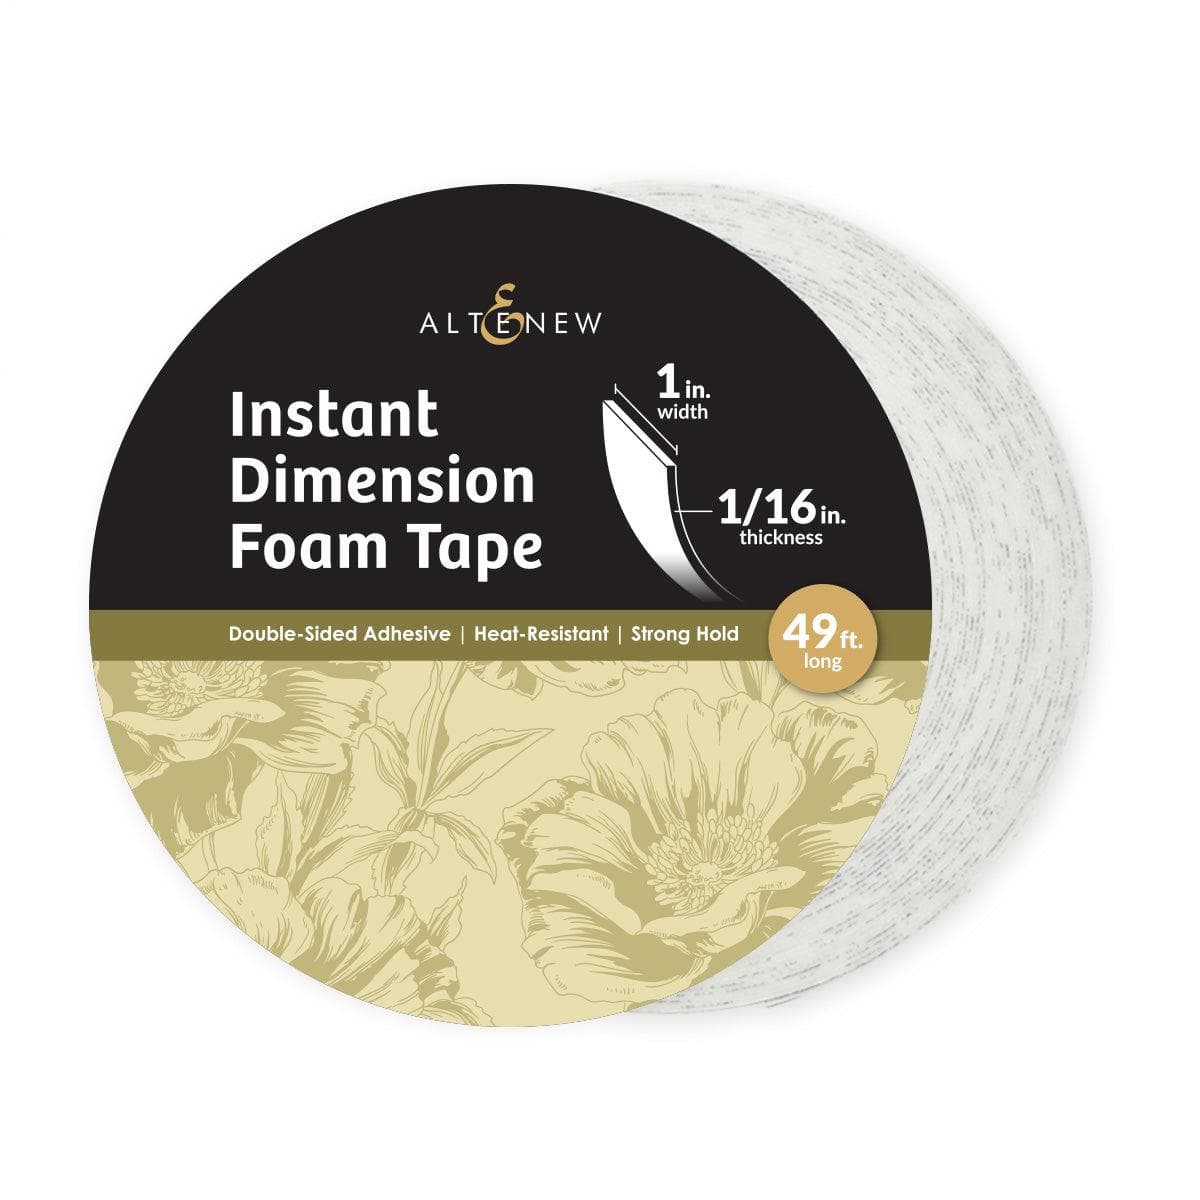
I used Tim Holtz Distress Ink in Vintage Photo, with a Gina K Designs blending brush, to ink the edges of every piece of the card, including the card base and postage die cut. Next I added double-sided tape to the backs of the stitched rectangles and placed them in their matching spots on the postage die cut. I added Altenew Foam Tape to the back of the postage die cut and then placed it on the mat layer. I added those layers onto the card base using my Scrapbook Adhesives EZ Runner Grand tape runner.

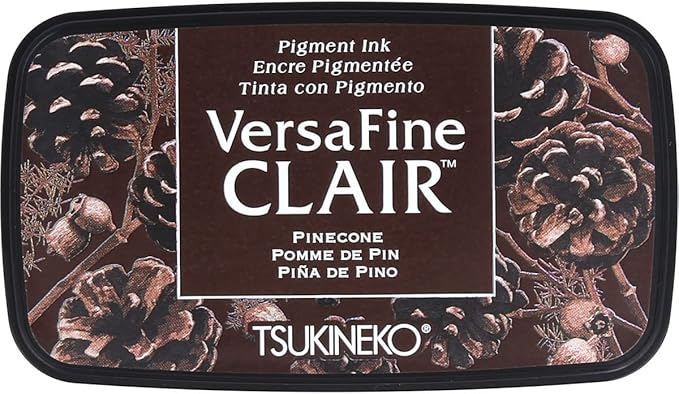
I heat embossed the sentiment onto Ivory cardstock from the Vintage Blooms stamp set, using Versafine Clair Pinecone ink and clear embossing powder. Then I cut out the sentiment with the matching die, and also cut out two additional die cuts from Altenew Parchment cardstock. I added one of the die cuts towards the bottom of the sentiment, hanging over the bottom edge, and added one of the die cuts towards the top of the die cut, hanging over the top edge. This created a faux shadow layer to help the sentiment stand out from the background.
Decorating the Inside of the Card
For the inside of the card, I cut a panel of Ivory cardstock and stamped it with a large floral image from the Vintage Blooms stamp set. The sentiment is from the Simon Says Stamp Loving Thoughts stamp set. I inked all the edges of the Ivory panel and the Altenew Parchment mat layer with Vintage Photo ink to age them, and added both pieces to the card using my tape runner.

For more ideas on decorating the inside of cards, I have a video with lots of fun ideas for that!
Envelope to Match
I made a coordinating A2 envelope for this card using the 1-2-3 Punch Board from We R Memory Keepers, Altenew Parchment Cardstock, and Simon Says Stamp Loving Thoughts and Vintage Blooms stamp sets, stamped with Vintage Photo Distress Ink. To protect the front of the card for mailing and to make it easier to insert into the envelope, I cut a A2-sized piece of cardstock and embossed it using the Simon Says Stamp Birthday Sentiments Embossing Folder.
For more information on making envelopes for cards, check out my Punch Board playlist on YouTube. If you are looking for additional ways to decorate envelopes, I have two videos with lots of ideas for that: Five Ways and Five More Ways to Decorate Envelopes.
Step-by-step tutorial:
I hope you enjoyed this project! For more card-making ideas, check out my YouTube playlist and card-making blog posts. I also have a Birthday card playlist available for more card inspiration.
Product Information
Here are the products I used in today’s project. Please consider shopping through my affiliate links, as it greatly helps out my channel at no extra cost to you. Thanks so much for supporting me and my channel!
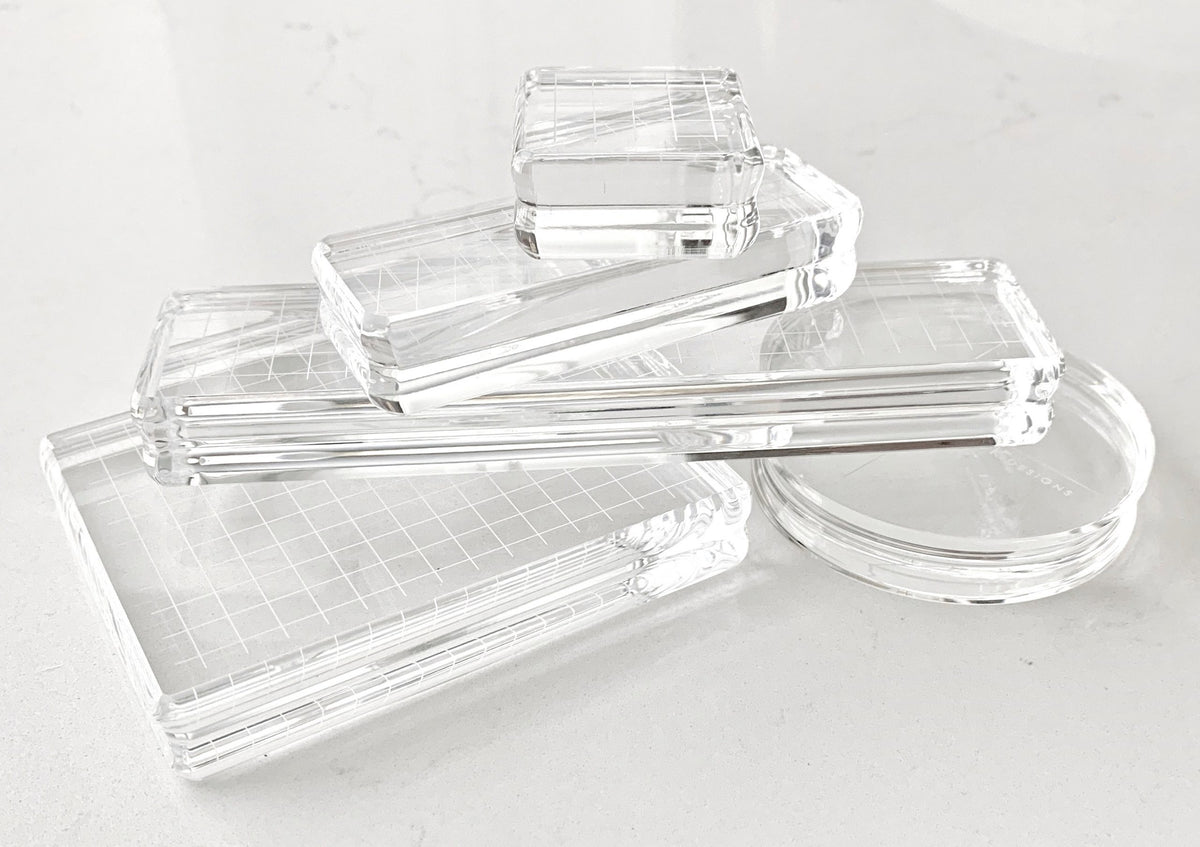
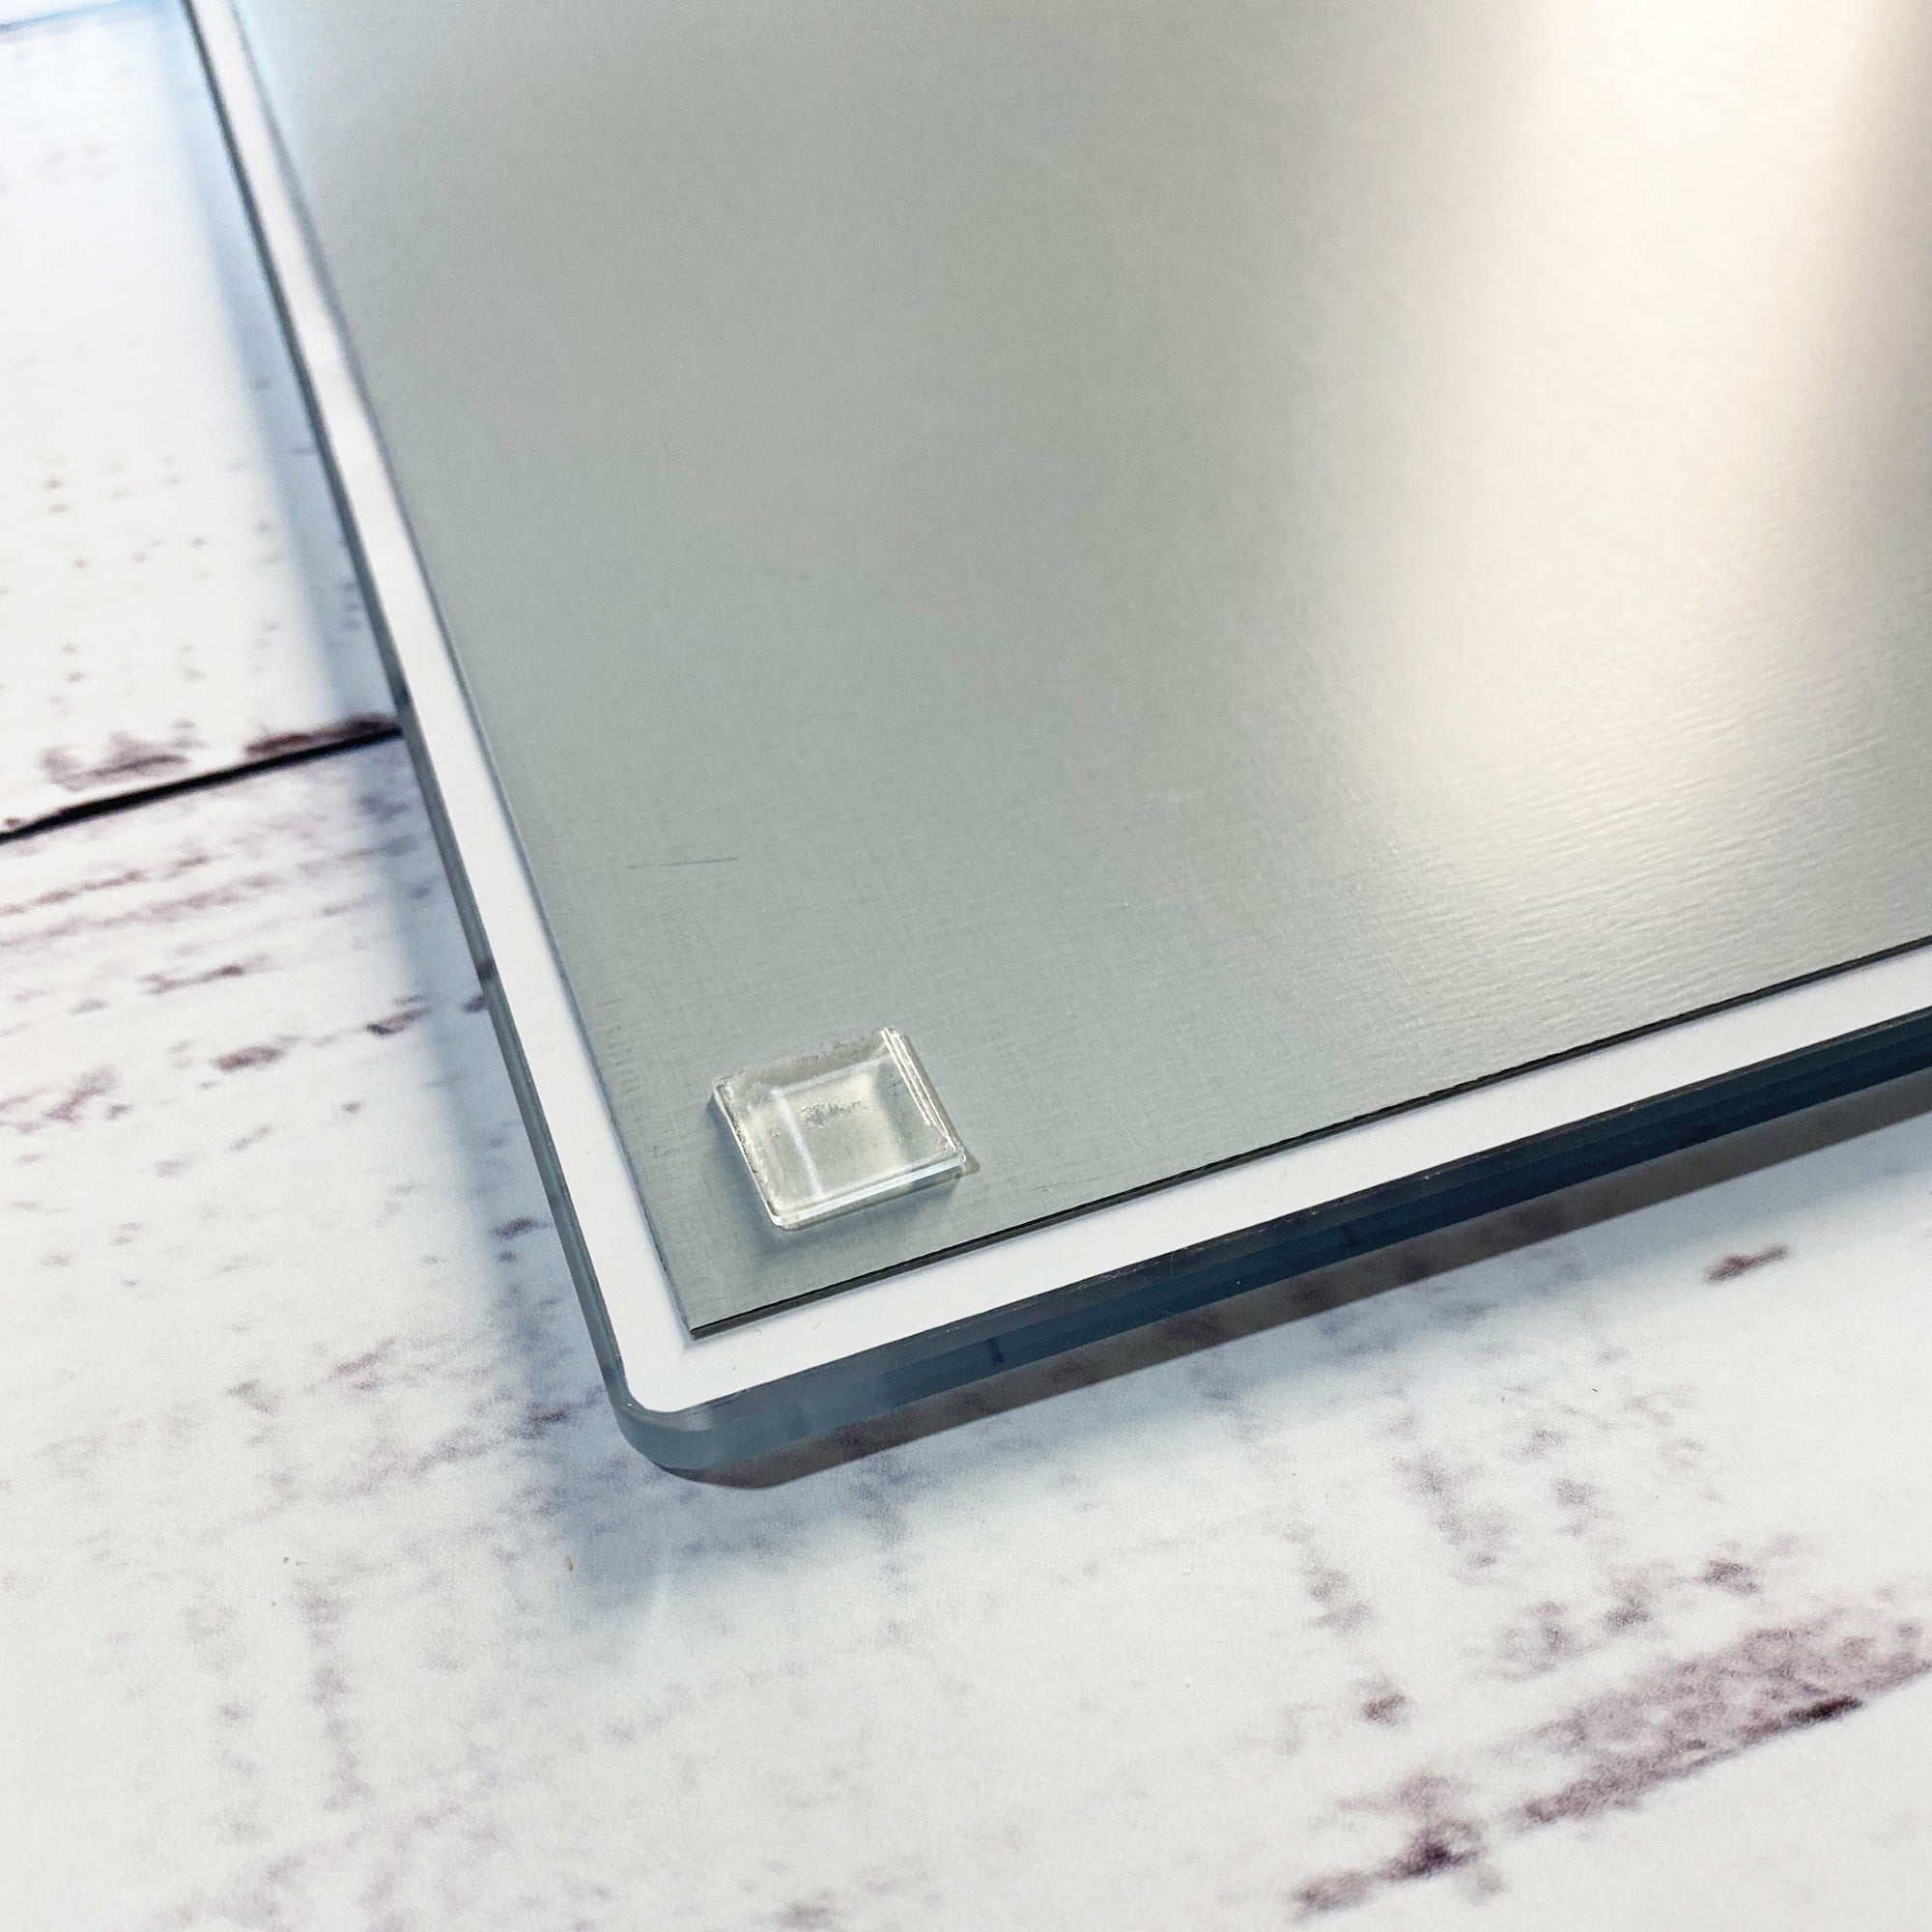
**Use code EGIDESIGNS for 15% off your order at Glassboard Studio**
|


.png)
.png)


Additional Products Used:
- Altenew Parchment Cardstock