
Easy Snow Hack! | Sheetload of Cards May 2026 | Wednesday Workshop
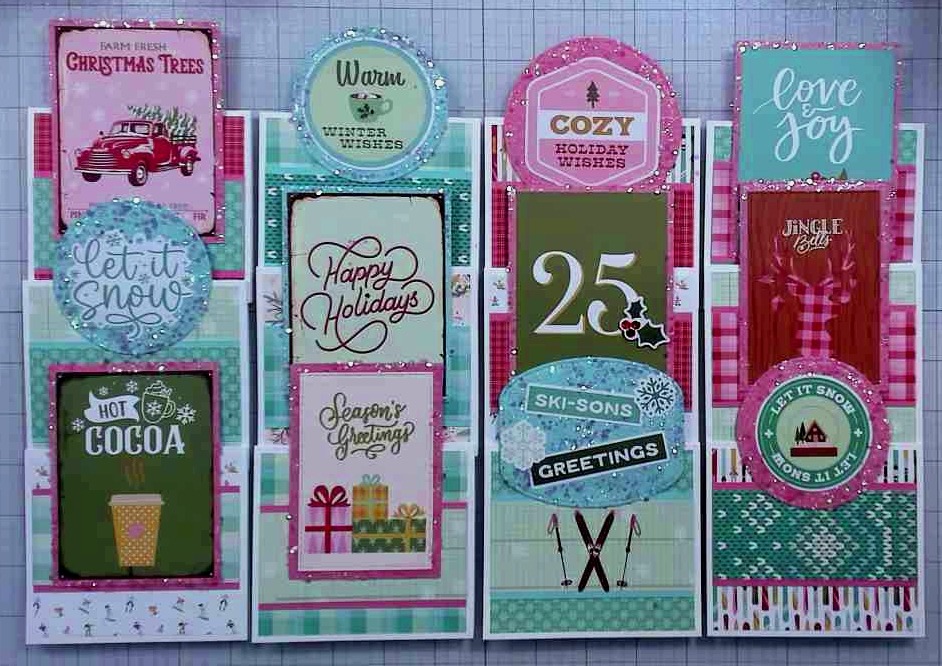
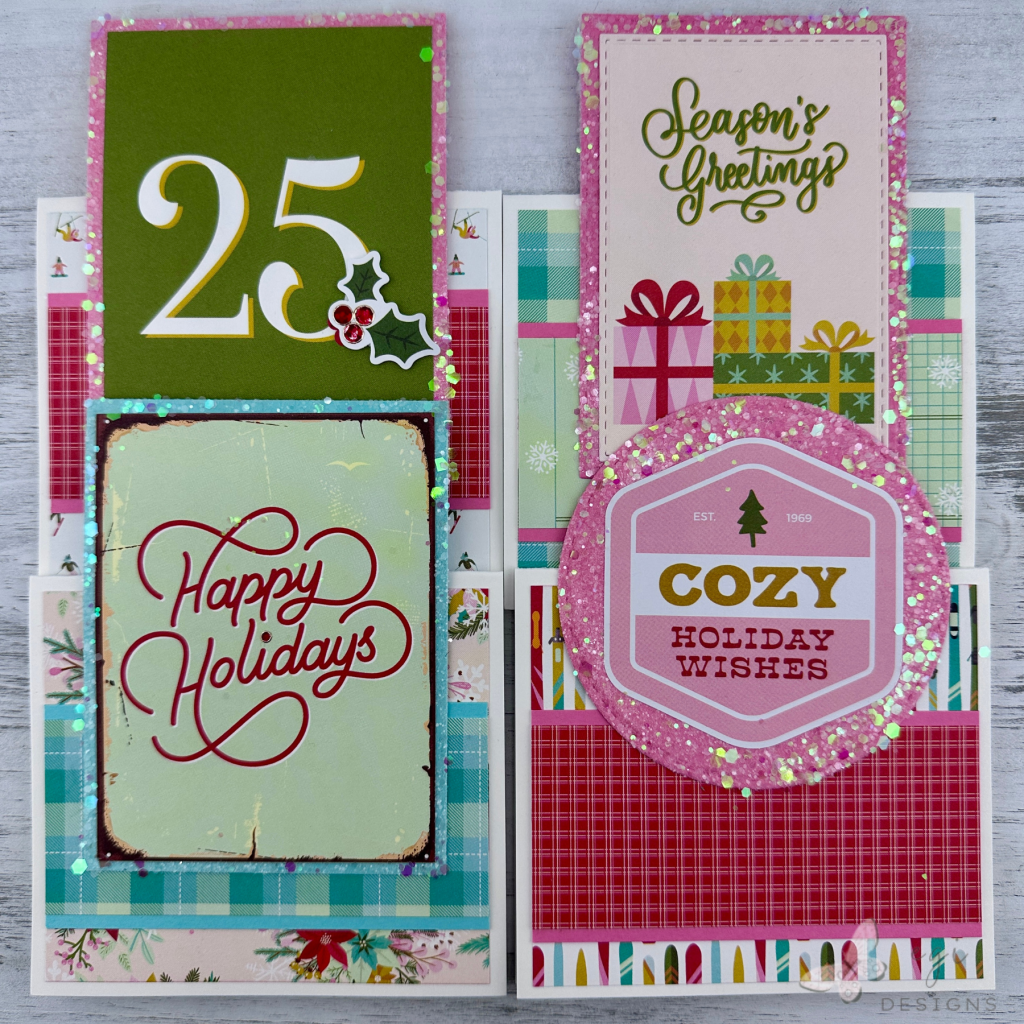
For this episode of my Wednesday Workshop Series, I followed the May 2026 Sheetload of Cards sketch to create twelve Holiday and Christmas cards, using the Simple Stories Snow Pine Lodge Collection with a fun snow glitter hack on the card toppers. All products used in today’s card tutorial project are listed below.
Wednesday Workshop | Sketches and Fun Fold Cards Series
This project is part of my ‘Wednesday Workshop | Sketches and Fun Fold Cards’ Series. This series used to be published on Saturdays, but I have moved it to Wednesday for some mid-week card sketch inspiration! I have a playlist with all of the past episodes on YouTube if you want to check it out.
In this series, I find a card sketch on the internet and make a card (or more) using it. If making more than one card, the first one will stick closely to the sketch, while the others will have slight changes or demonstrate different techniques. I have added fun fold cards and one sheet wonders into the mix as well, so we have lots of creative options.
Sheetload Card Instructions
To make the cards, I used the Call Me Crafty Al’s Sheetload of Cards Sketch for May 2026. Her video is linked in the box below, and it is where you can download the printable card sketch. This sketch makes twelve cards if you follow the directions exactly. It also lists the instructions to make one card if desired. Today I made twelve cards using six pieces of 6×8″ patterned paper.
Measurements: (different than sketch)
Six Pieces of 6 x 8" Patterned Paper
Inside Panel: 3 3/4 x 3 1/4"
Inside Mat: 4 x 3 1/2"
Inside Decorative Strips: 1/2 x 3 1/4"

**See the Call Me Crafty Al Sheetload of Cards May 2026 Sketch video for the sketch layout and additional measurements**
Related Videos:
I have an unboxing video and blog post for the Simple Stories Christmas Mystery Box, from which the Snow Pine Lodge Collection used in this video came from.

I have a YouTube Shorts video showing a quick process for my glitter snow hack.

Preparing the Card Front Pieces
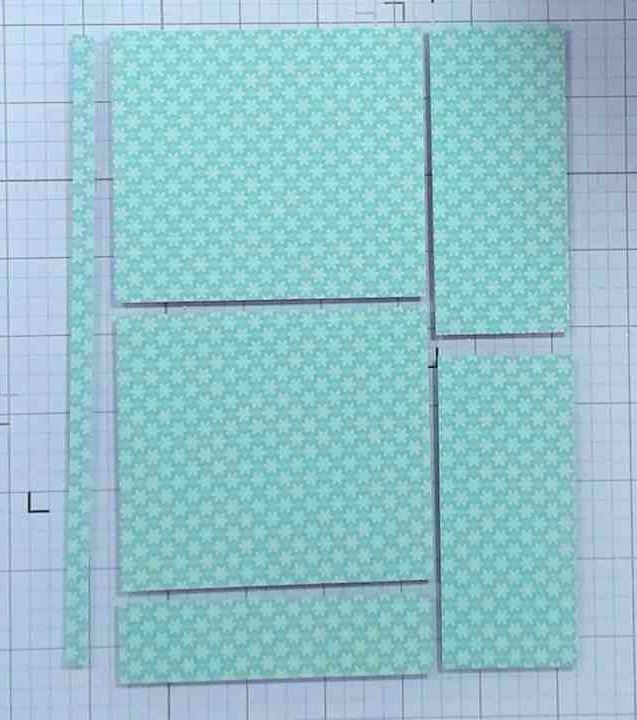
For this card, I cut six pieces of the Winter Pine Lodge 6 x 8″ Paper Pad according to the sketch. Here is a screenshot showing how I cut the pieces. I used the long strip and the smallest rectangle to decorate the inside of the cards.
For the mat layers on the cards, I used Gina K Designs Dusty Rose and Spellbinders Waterfall cardstock. I created the card bases out of Gina K Designs White Heavyweight cardstock.

I added the patterned paper pieces and the coordinating mats to the card front according to the sketch.
Assembling the Card Toppers
For the card toppers, I used many rectangle cut-aparts from the 6 x 8″ Paper Pad, and ephemera from the Sentiment Bits package.
Glitter Snow Hack
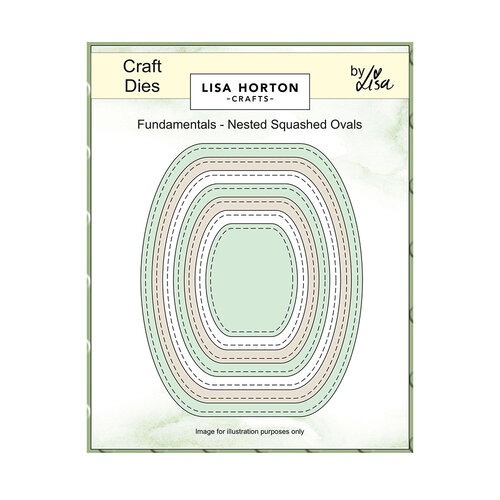
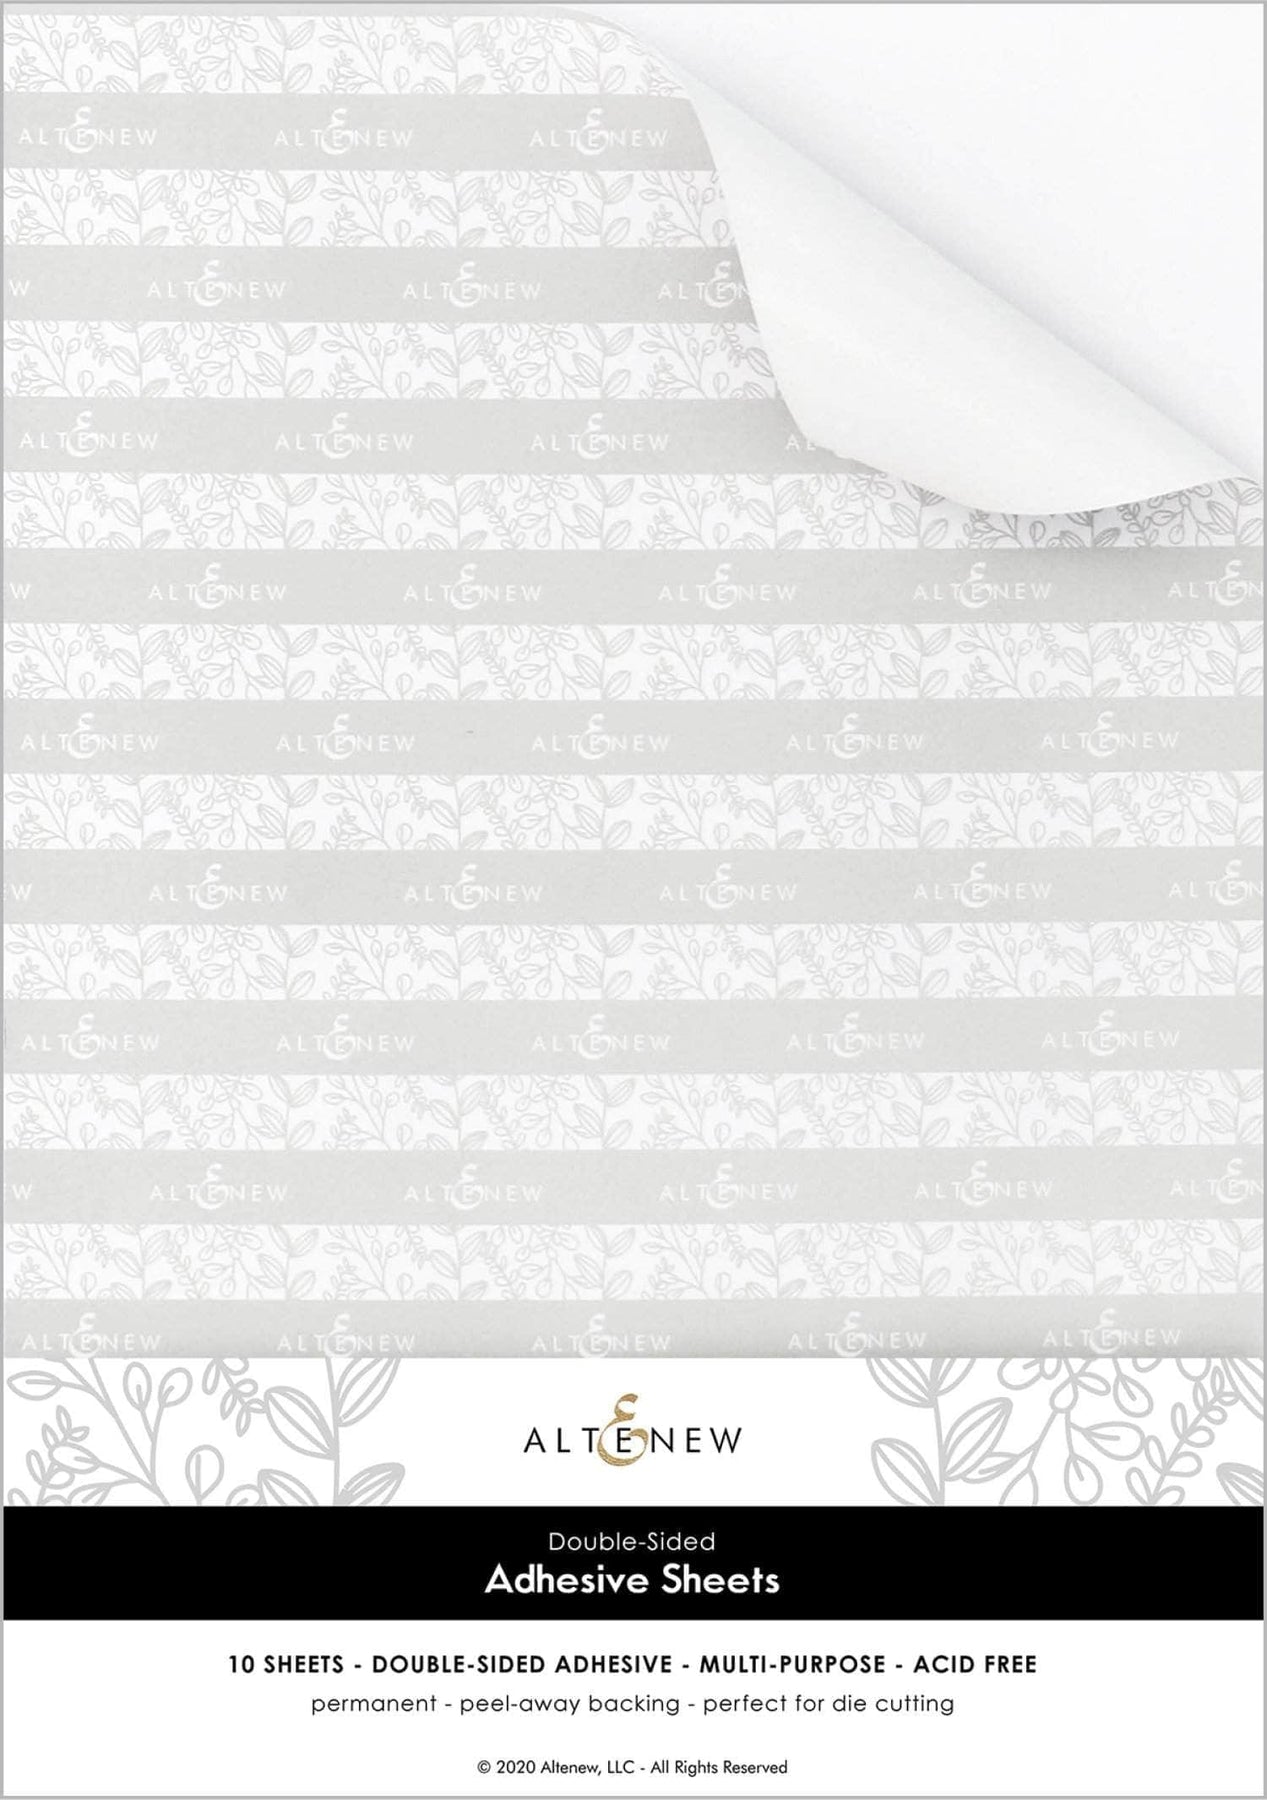
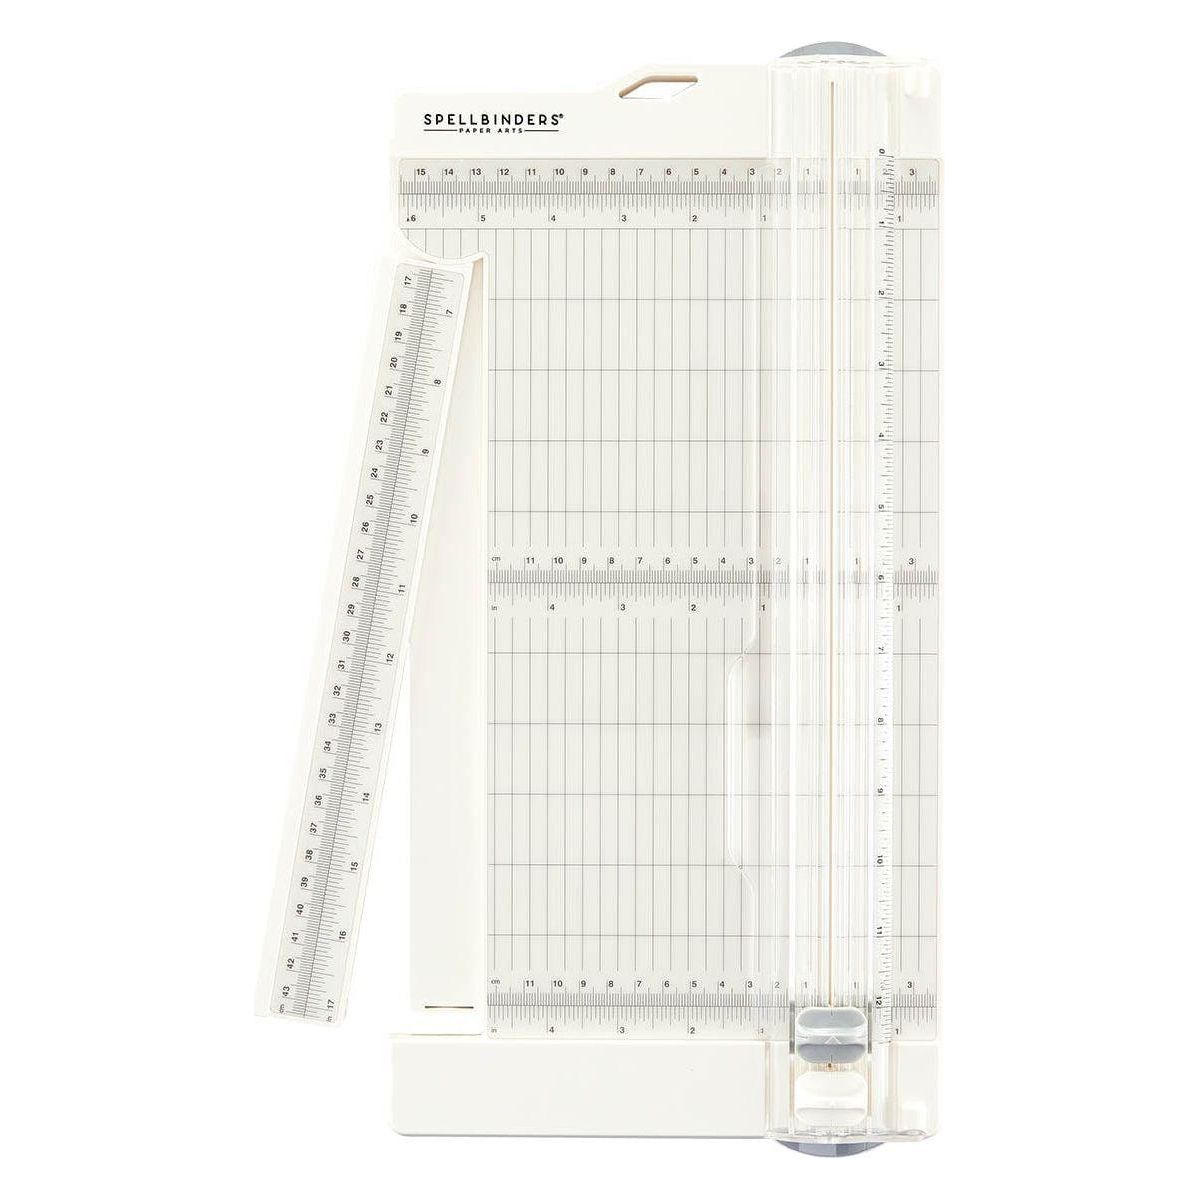
I wanted to create an easy way to add a sparkly snow effect to the card toppers. To accomplish this, I added Altenew double-sided adhesive sheets to the front side of cardstock, and either die-cut a shape into the cardstock or trimmed it using my Tim Holtz Guillotine Trimmer. For the dies, I used Lisa Horton Crafts Nested Squashed Ovals, and Scrapbook.com Nested Stitched Circles and Rectangles.


Easy Layers Line Up
I peeled back the release paper a small bit, and then creased it at the fold. Next, I lined up the coordinating ephemera/die cut with an even border all around on the non-sticky side, and walked my fingers up to stick the piece to the sticky side. From there, I pulled out the release paper from underneath, and smoothed down the die cut/ephemera as I pulled off the release paper.

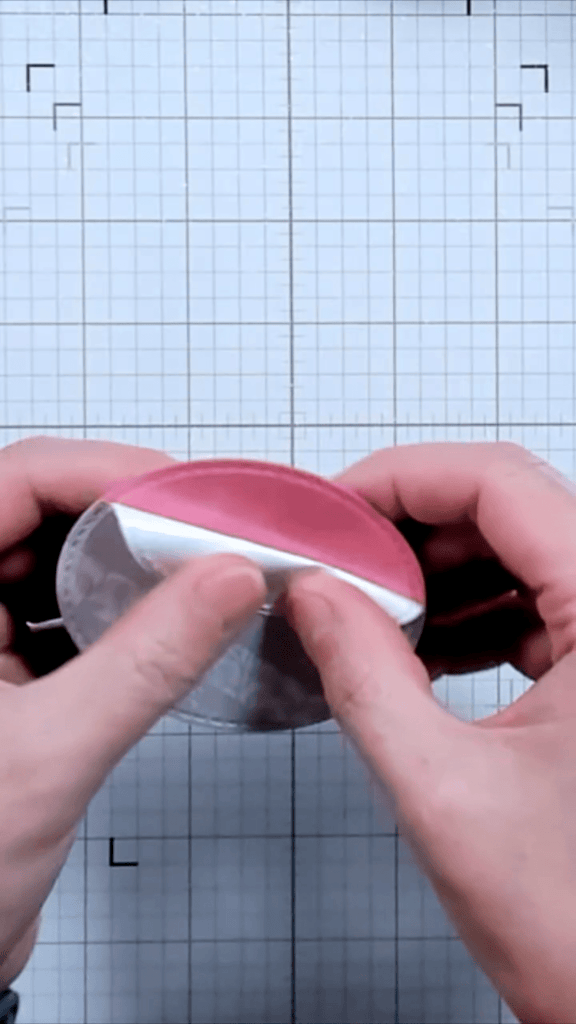

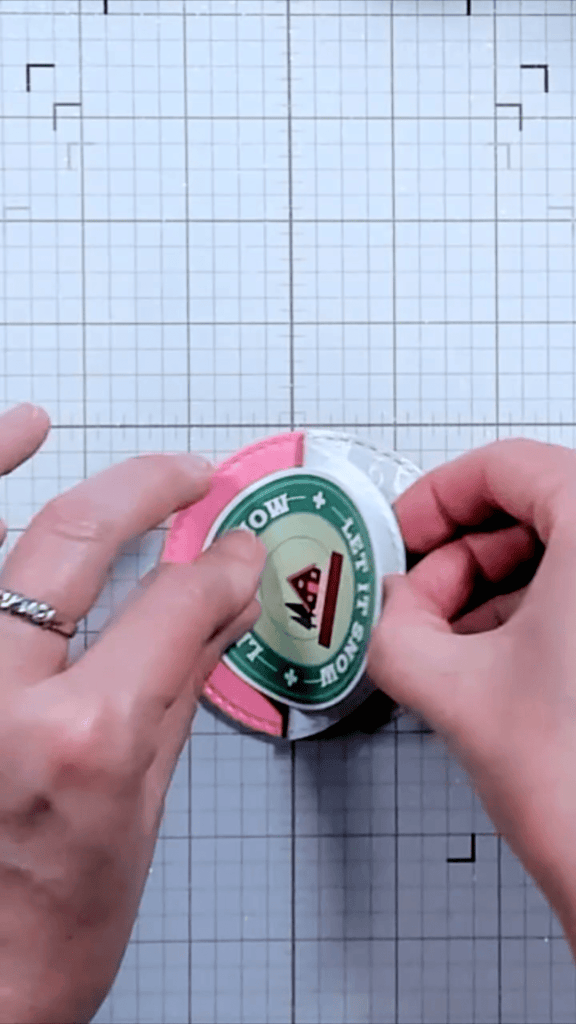
By lining up the ephemera on the non-sticky side, this allows for perfect placement of the ephemera onto the sticky background.
Adding the Glitter Snow
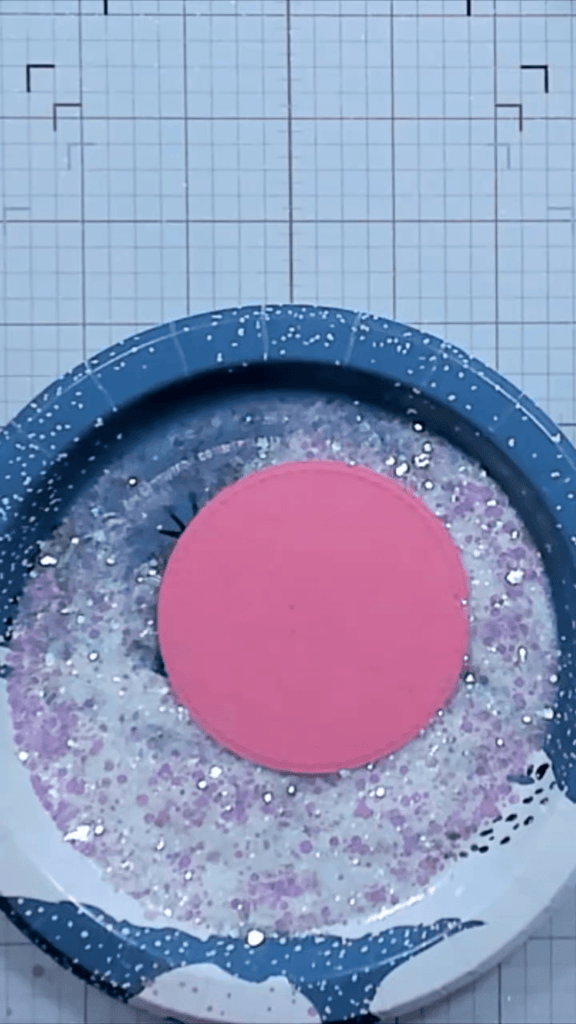
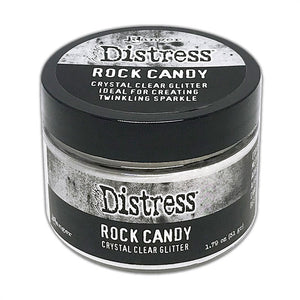
On a paper plate, I added a mix of Tim Holtz Rock Candy Glitter, Rock Candy Chunky Glitter, and Scrapbook.com Unicorn Shimmer Flakes. I dipped the exposed adhesive into the glitter and pressed on the back of the cardstock to ensure good adhesion. The result was a gorgeous sparkly card topper!

Adding the Card Toppers
This card sketch has a mini card on the bottom, and then you add the card topper on the top to reach the A2 card size. When adding the card topper, it is important to make sure that the card will stay within the A2 size frame. If you print off the SheetLoad sketch at 100%, you can use the photo of the assembled card as a guide. In my video, I used an A2 card base to help me line up the toppers properly.
I added small scraps to the middle upper card base to even out underneath the topper, as the middle strip is two layers high. I used the A2 card base as a guide and lined up the topper, then held the topper and card base together, flipped it, and marked on the back of the topper where the adhesive should go. I used liquid glue below the pencil line, erased the pencil line using my battery-powered eraser, and added the topper to the card front. I repeated these steps for all 12 cards.
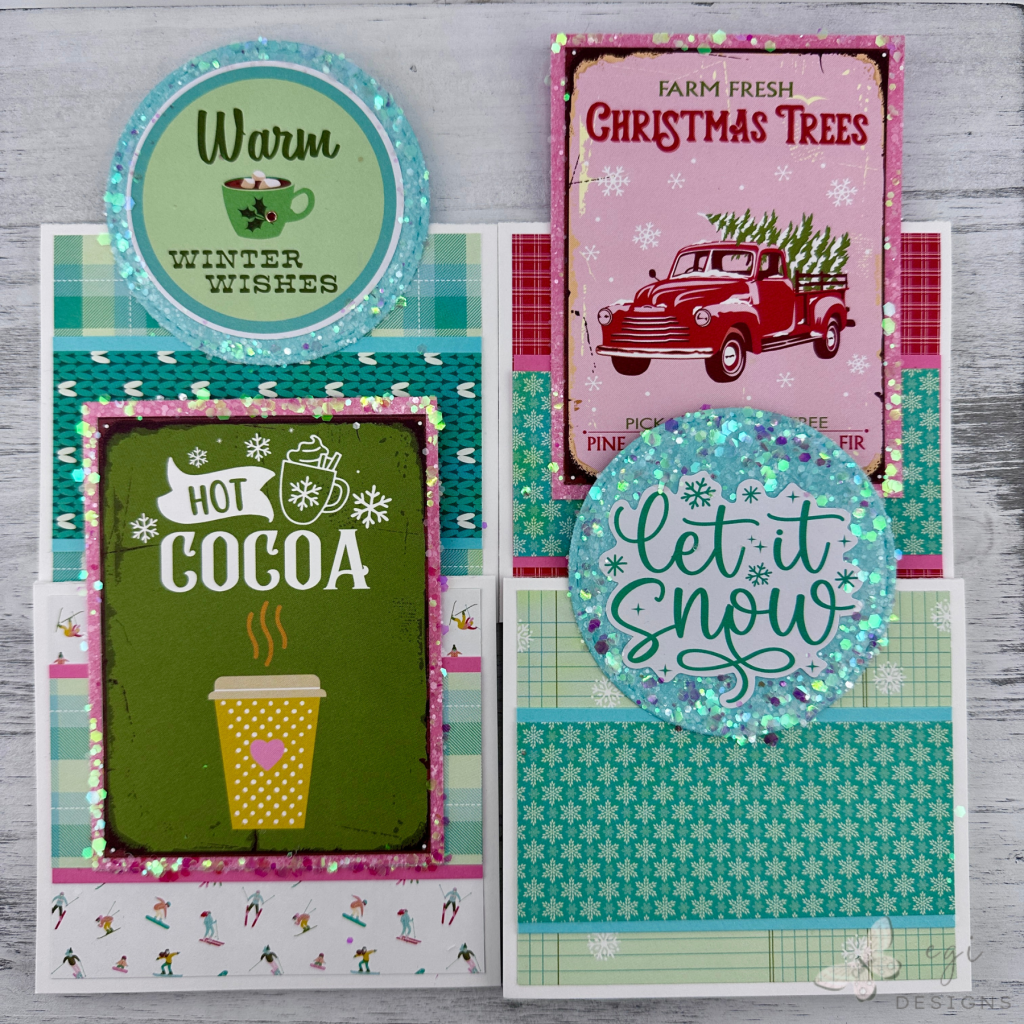
On some of the toppers, I added Paper Wishes Red Dazzles Stickers to add some sparkle and shine. On other toppers, I added small die cuts with foam squares to add dimension. On one of the cards, I used the Snow Pine Lodge Rub-ons to add more details to the card front.
Finished Card Fronts

Inside of Card
For the inside of the card, I cut panels from Gina K Designs Layering White Cardstock, and mat layers from Spellbinders Waterfall and Pink Sand cardstock. I added coordinating patterned paper strips to the left or top of the white panel, and then stamped a Holiday sentiment using the Papertrey Ink Christmas Your Way Stamp Set. I stamped the sentiments using Concord & 9th Lakefront and Dragonfruit inks.
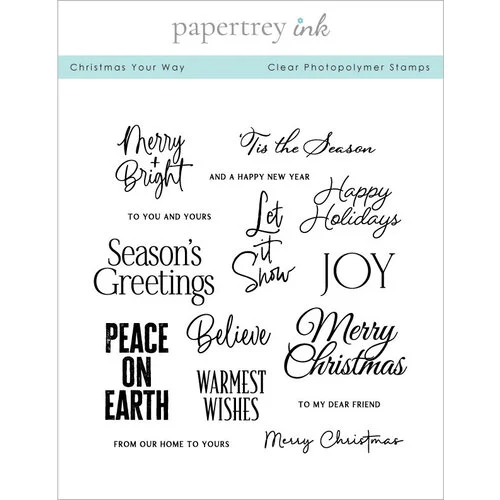
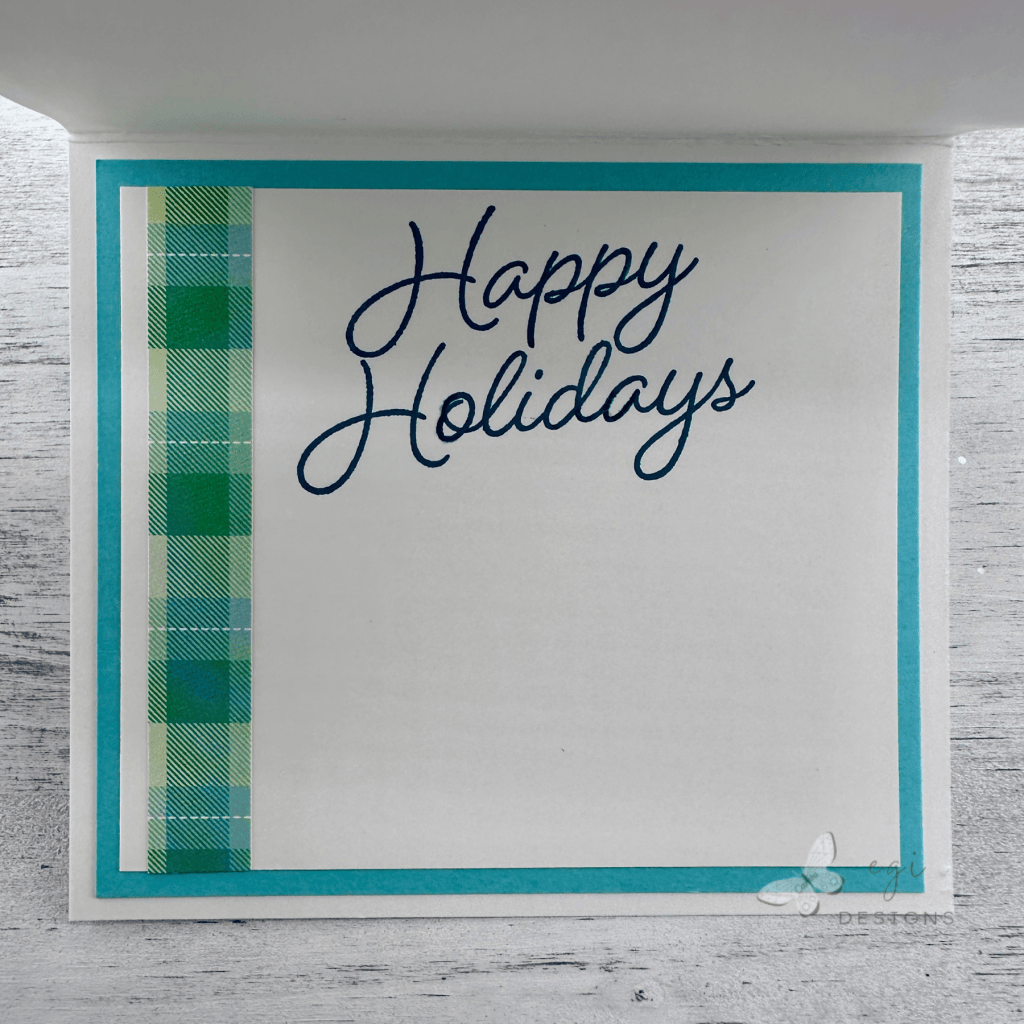
I adhered the panel inside the card base using temporary adhesive, and I will add permanent adhesive once I write out the message. This allows me to replace the panel if I mess up the writing, instead of having to tear the whole card apart. I matched the patterns on the strips to the background panels on the card fronts.
If you are looking for additional ways to decorate the inside of your cards, check out my Part 1 and Part 2 videos with more easy ideas.
Card tutorial video:
I hope you enjoyed this project! For more card-making ideas, check out my YouTube playlist and card-making blog posts. I also have a Sheetload of Cards playlist on YouTube, as well as a Wednesday Workshop Series playlist for additional inspiration.
Product Information
Here are the products I used for this project. Please consider shopping through my affiliate links, as it greatly helps out my channel at no extra cost to you. Thanks so much for supporting me and my channel!
**Use code EGIDESIGNS for 15% off your order at Glassboard Studio**
|














Additional Products Used:
- Spellbinders: Pink Sand Cardstock




One Comment