
Using Fabric on Cards | Sheetload of Cards April 2026
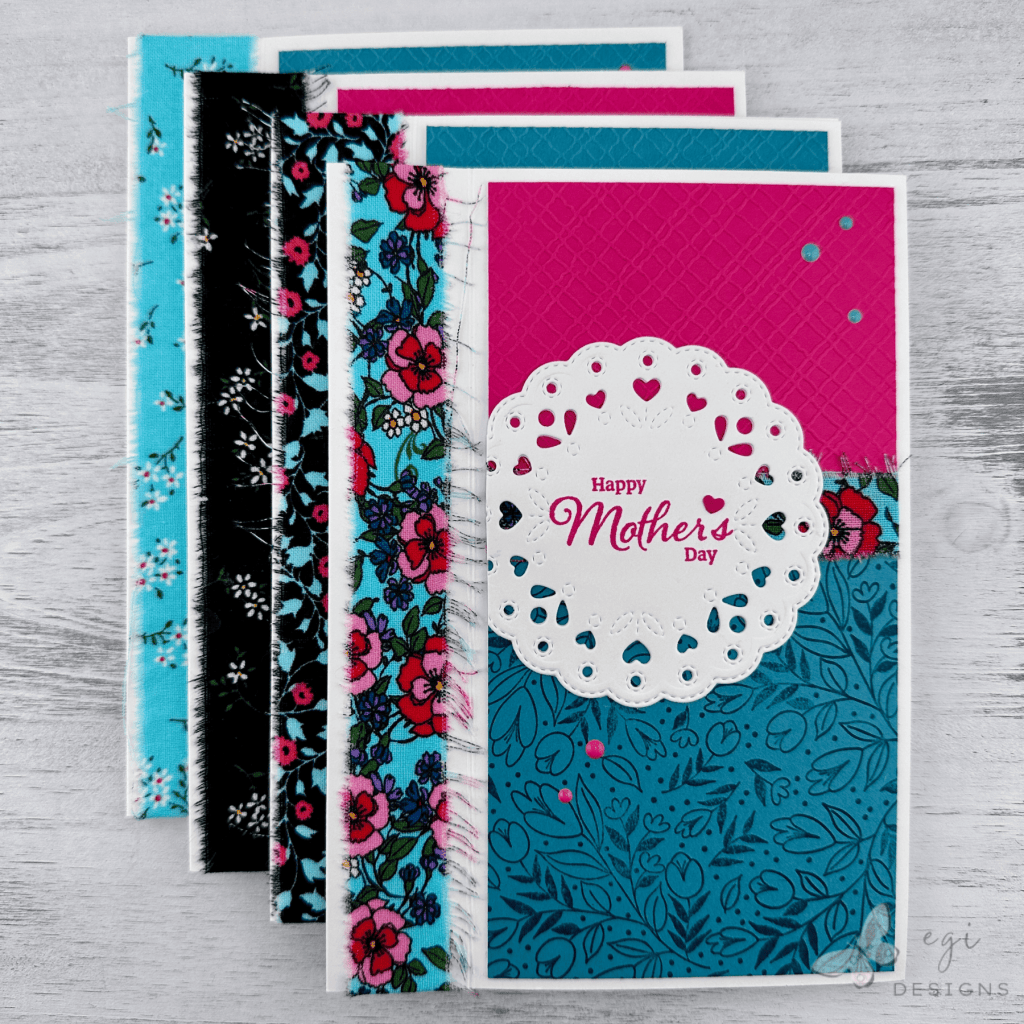
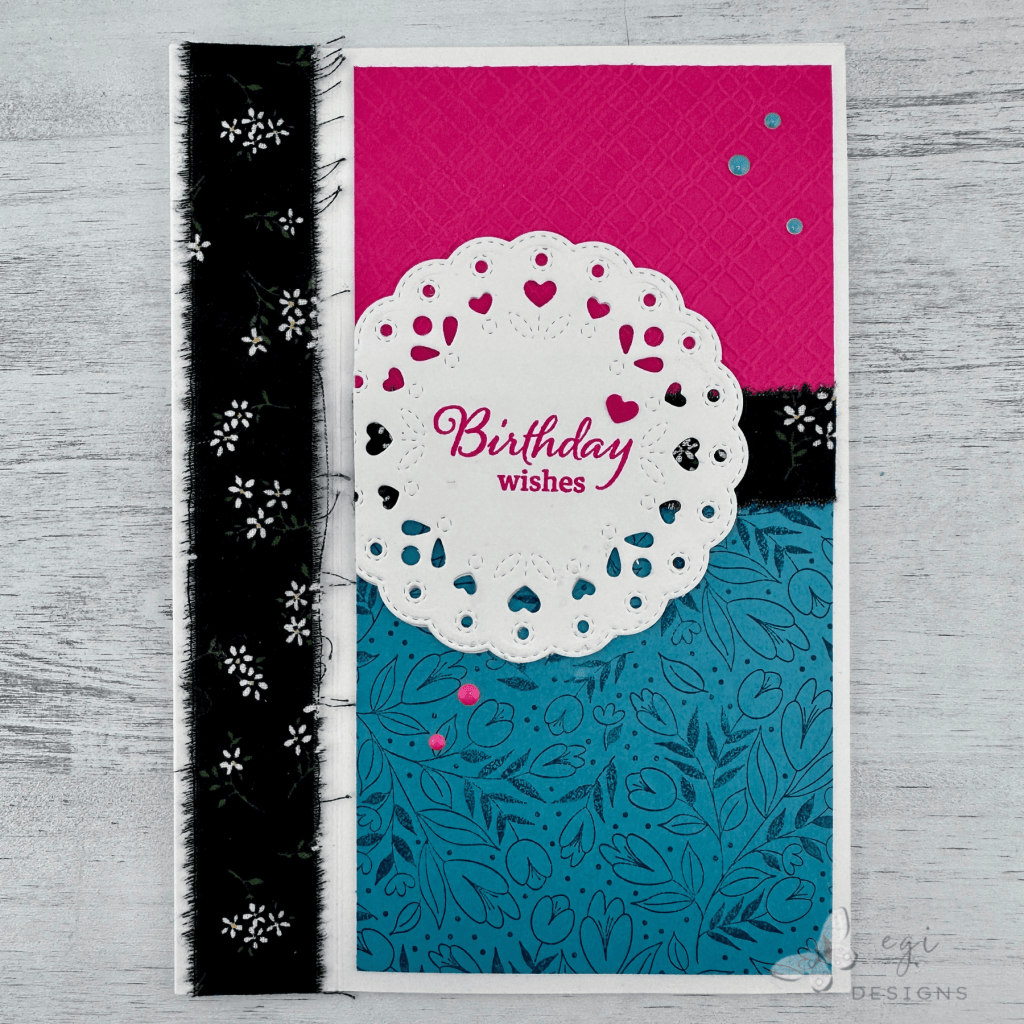
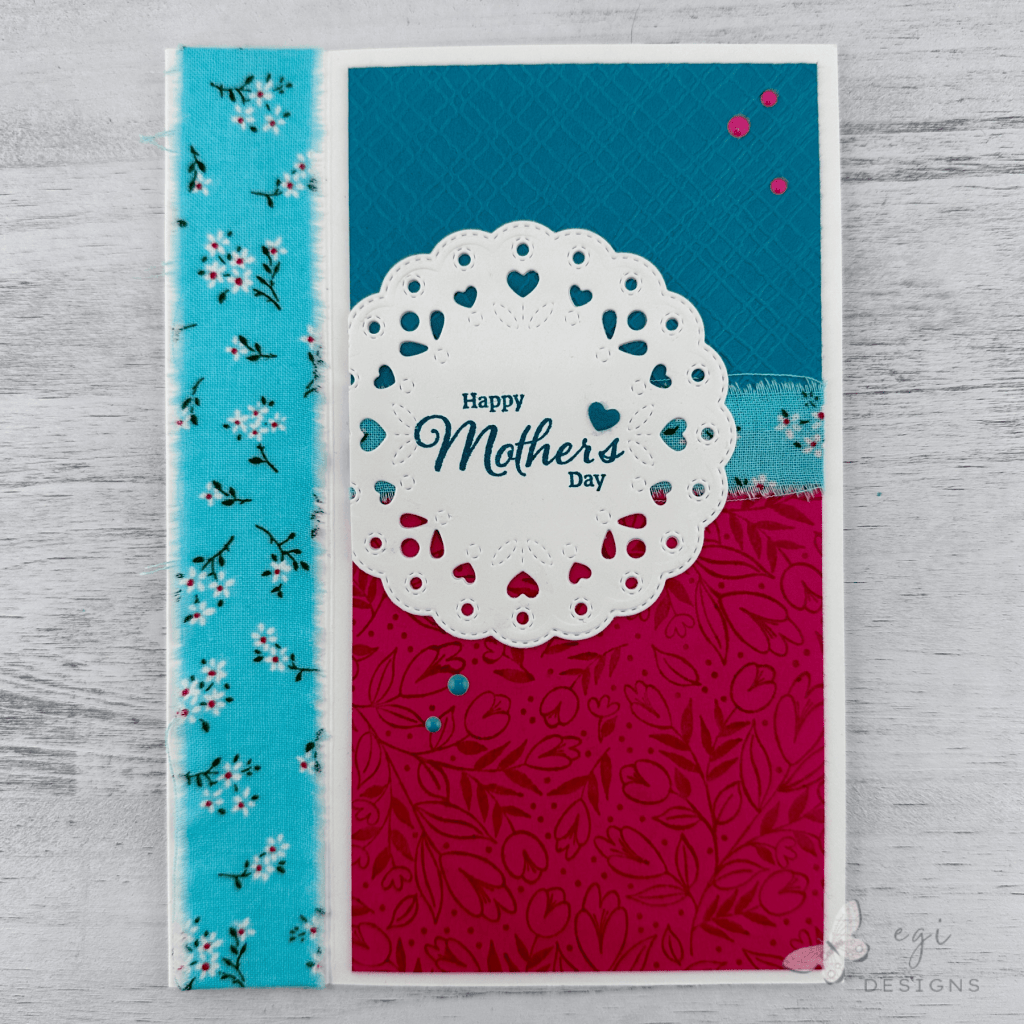
For this episode of my Wednesday Workshop Series, I followed the April 2026 Sheetload of Cards sketch to create four cards, substituting fabric for some of the cardstock. I made two Mother’s Day cards, a Birthday card, and a Friendship card. For the cardstock, inks, and enamel dots, I used Concord & 9th’s Berry Kiss and Lakefront. All products used in today’s card tutorial project are listed below.
Wednesday Workshop | Sketches and Fun Fold Cards Series
This project is part of my ‘Wednesday Workshop | Sketches and Fun Fold Cards’ Series. This series used to be published on Saturdays, but I have moved it to Wednesday for some mid-week card sketch inspiration! I have a playlist with all of the past episodes on YouTube if you want to check it out.
In this series, I find a card sketch on the internet and make a card (or more) using it. If making more than one card, the first one will stick closely to the sketch, while the others will have slight changes or demonstrate different techniques. I have added fun fold cards and one sheet wonders into the mix as well, so we have lots of creative options.
Sheetload Card Instructions
To make the cards, I used the Call Me Crafty Al’s Sheetload of Cards Sketch for April 2026. Her video is linked in the box below, and it is where you can download the printable card sketch. This sketch makes ten cards if you follow the directions exactly. It also lists the instructions to make one card if desired. Today I made four cards using four panels of 3 1/2 x 6 3/4″ cardstock.
Measurements: (different than sketch)
Two Pieces Each of Two Colors of Cardstock: 3 1/2 x 6 3/4", Cut at 4"
Inside Panel: 3 1/4 x 6 1/2"
Inside Mat: 3 1/2 x 6 3/4"

**See the Call Me Crafty Al Sheetload of Cards April 2026 Sketch video for the sketch layout and additional measurements**

Preparing the Card Front Pieces
For this card, I pulled out some old fabric from a pack that had a lot of pinks, teals, and black in it. I paired this with Concord & 9th cardstocks in Berry Kiss and Lakefront. I first cut out two panels each from both colors of cardstock, then cut them all at the 4″ mark. This left four smaller sections, two pink and two green, and four larger sections, two pink and two green.


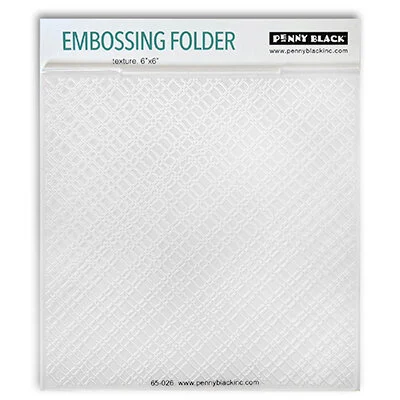
For the smaller pieces, I embossed them with the Penny Black Texture Embossing Folder to add a little extra interest. For the larger pieces, I used an older Simon Says Stamp Background Stamp called Spring Flowers, and stamped the panels tone on tone with Berry Kiss and Lakefront inks.
The fabric came in long strips, so I cut off about an 8″ section, and then tore it top to bottom to create the distressed fabric strips. One strip was about an inch wide to go on the left side of the card front, and the other was a skinnier strip to replace the horizontal piece of cardstock in the middle of the card sketch. I created strips from four different patterns of fabric, one for each card.
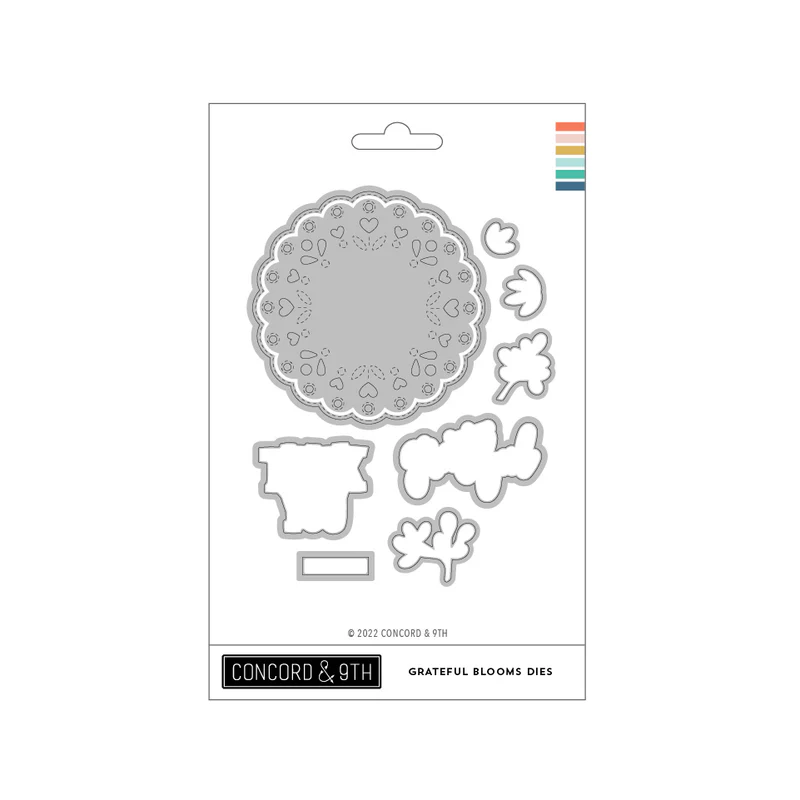
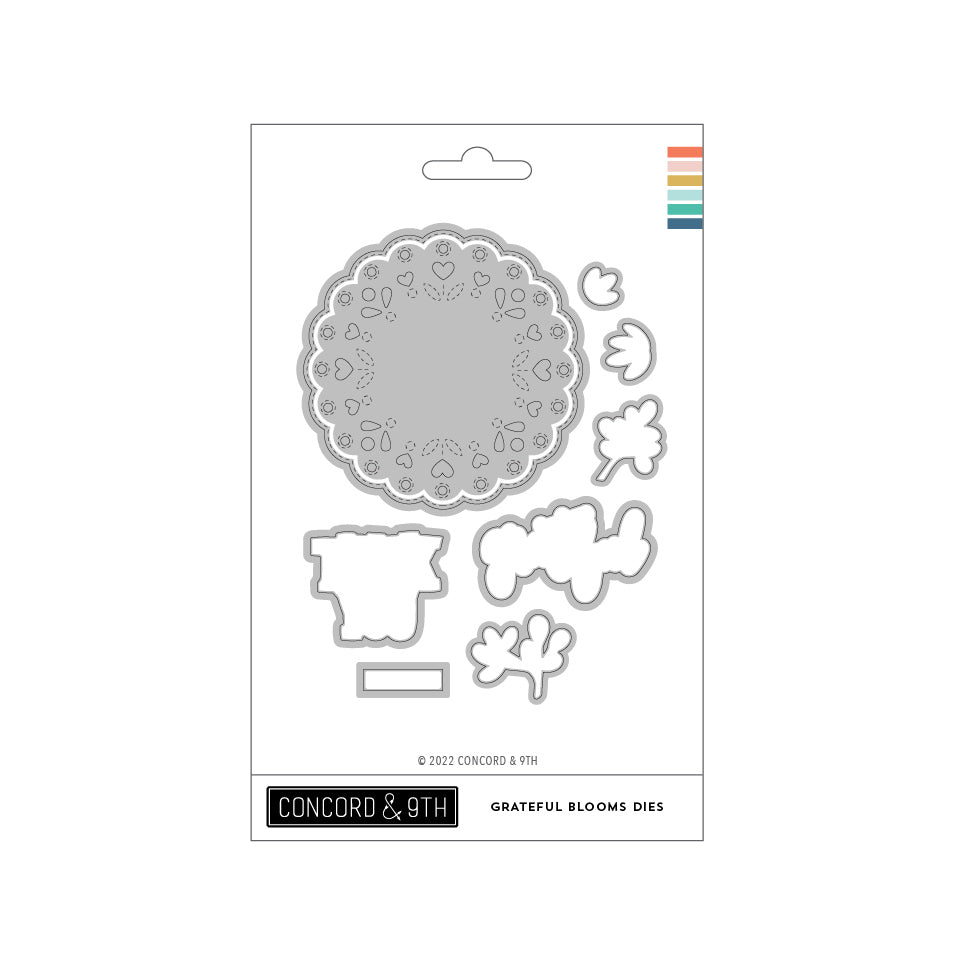
For the card bases and the doily pieces, I used Recollections White Dove cardstock. This is an off-white cardstock that is not too yellow, and it paired well with the off-white in the fabric. The doilies were die cut using the Concord & 9th Grateful Blooms Die Set. This doily die is so sweet as it has embossed details and hearts around the edge of the circle. I also took a small strip of Berry Kiss and Lakefront cardstock and die-cut out colored hearts using the edge of the doily die.

For the sentiments, I used an older Gina K Designs/Brutus Monroe stamp set called Seeds of Joy. I used the Berry Kiss and Lakefront inks to stamp two Mother’s Day sentiments, one Birthday sentiment, and one Friendship sentiment.
Assembling the Card Panel
I first made card packages that included the card base, fabric pieces, stamped doily, and one small panel and one large panel of opposite colors. Then it was time to assemble the cards.
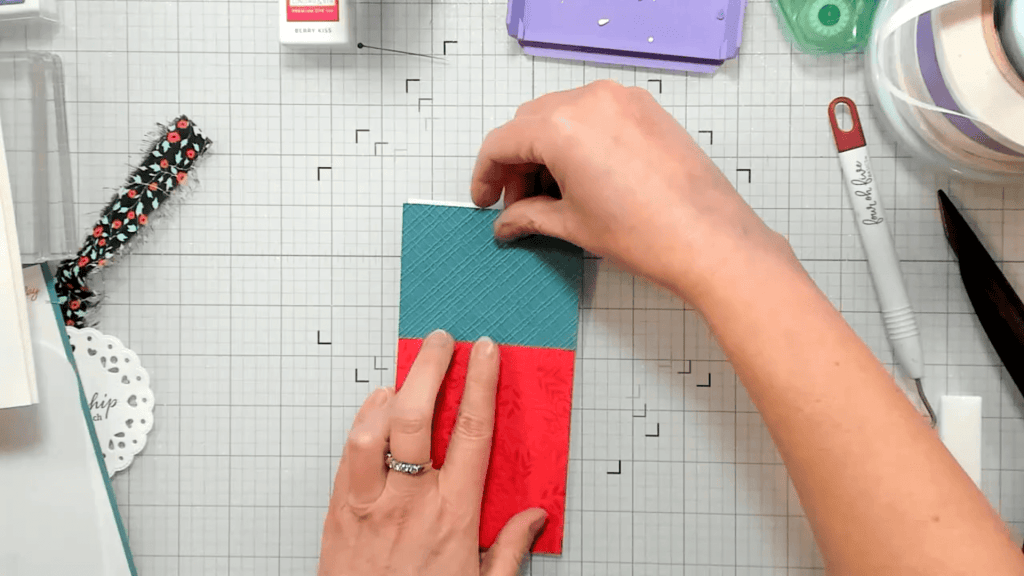
**TIP: When adding panels that will touch and require correct spacing on a card front, first adhere the panels to a piece of copy paper. Then add the whole panel together to the card front. This makes it so much easier to line up the pieces with accurate spacing.
Using the tip above, I added the card panels to copy paper to make the spacing easier, instead of trying to place the pieces separately. Then I added a strip of 3/8″ double-sided tape along the seam between the colors and around to the back of the panel, and adhered the skinnier fabric strip to the tape. I wrapped the ends of the fabric around to the back of the panel and cut off the excess.
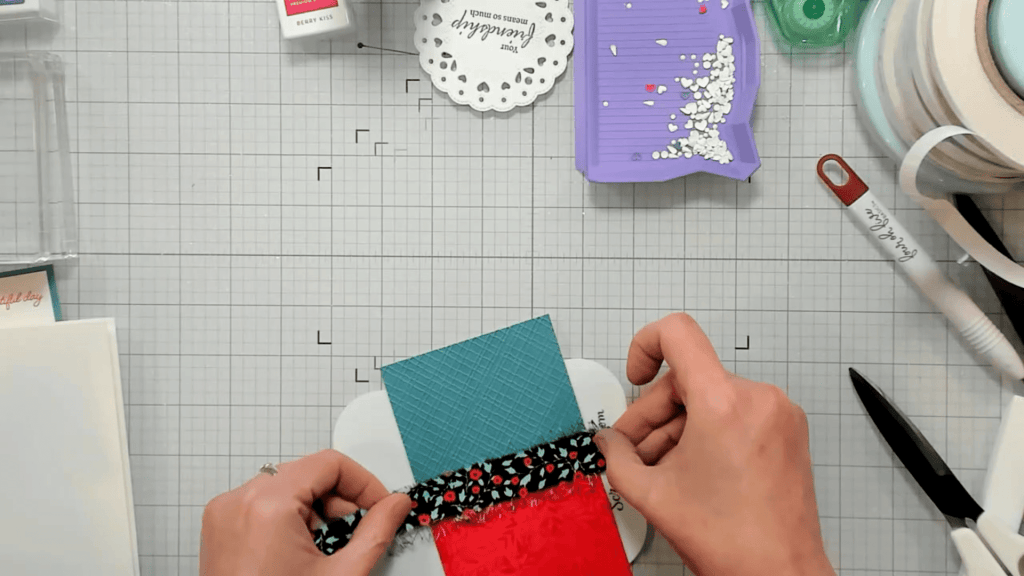

I die cut four extra doilies, and I used my trimmer to cut off a strip at the top and bottom of the doily, removing the middle area. I added the tops and bottoms to the backs of each of the doilies with glue, which left a channel through the middle section on the back side. This will allow the doily to sit over the fabric strip and lay evenly on the card front. Using an extra die cut in this way is a lot easier than fiddling with foam tape on such an intricate die cut. I added the doily towards the left of the panel with glue, and then cut off the overhanging piece once dry.
Adding the Fabric to the Card Base
I scored the card base according to the sketch to create the bookbinding fun fold layout. Next, I added a strip of double-sided tape along the left side of the card front, wrapping it around to the inside of the card. I added the wider strip of fabric over the tape and wrapped it around to the inside as well, cutting off the excess.
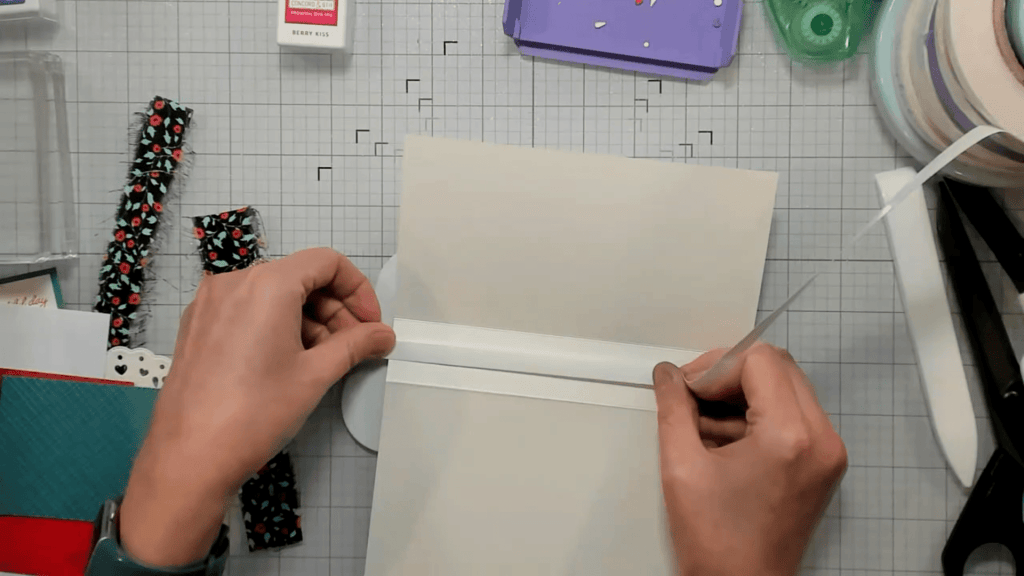

Then I added tape over the fabric on the inside of the card and along the small section. Removing the release paper from the tape, I folded the card over on itself and adhered the small left area together. This creates the bookbinding effect. Once that was set, I added the main panel to the card flap using tape runner.
Embellishing the Card
Once the card was complete, I added one colored heart to each sentiment doily. In the case of the Mother’s Day cards, I replaced the apostrophes with hearts. I also added Concord & 9th Berry Kiss and Lakefront Enamel Dots to the card fronts, using the opposite color from the cardstock so they would pop from the background.
Finished Card Fronts


Inside of Card
For the inside of the card, I stamped panels of Recollections White Dove cardstock using the Berry Kiss and Lakefront inks, with the Gina K Designs Wildflowers Stamp Set. I added a mat layer cut from Lakefront cardstock to help the panel pop off the card base.
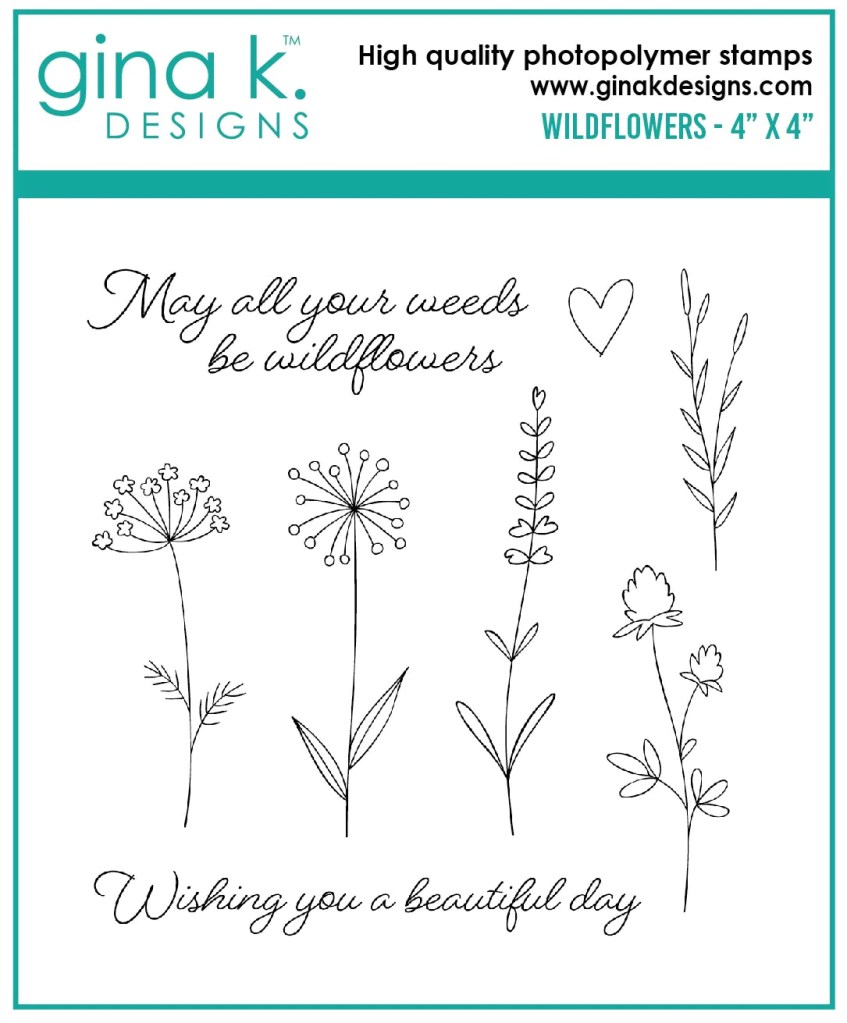

I adhered the panel inside the card base using temporary adhesive, and I will add permanent adhesive once I write out the message. This allows me to replace the panel if I mess up the writing, instead of having to tear the whole card apart. I matched the patterns on the strips to the background panels on the card fronts.
If you are looking for additional ways to decorate the inside of your cards, check out my Part 1 and Part 2 videos with more easy ideas.
Card-tutorial video:
I hope you enjoyed this project! For more card-making ideas, check out my YouTube playlist and card-making blog posts. I also have a Sheetload of Cards playlist on YouTube, as well as a Wednesday Workshop Series playlist for additional inspiration.
Product Information
Here are the products I used for this project. Please consider shopping through my affiliate links, as it greatly helps out my channel at no extra cost to you. Thanks so much for supporting me and my channel!
**Use code EGIDESIGNS for 15% off your order at Glassboard Studio**
|







Additional Products Used:
- Simon Says Stamp: Spring Flowers Background Stamp
- Gina K Designs/Brutus Monroe: Seeds of Joy Stamp Set
- Gina K Designs: Wildflowers Stamp Set




One Comment