Sparkly Butterfly Card Using the Delicate Butterflies Embossing Folder from Gina K Designs
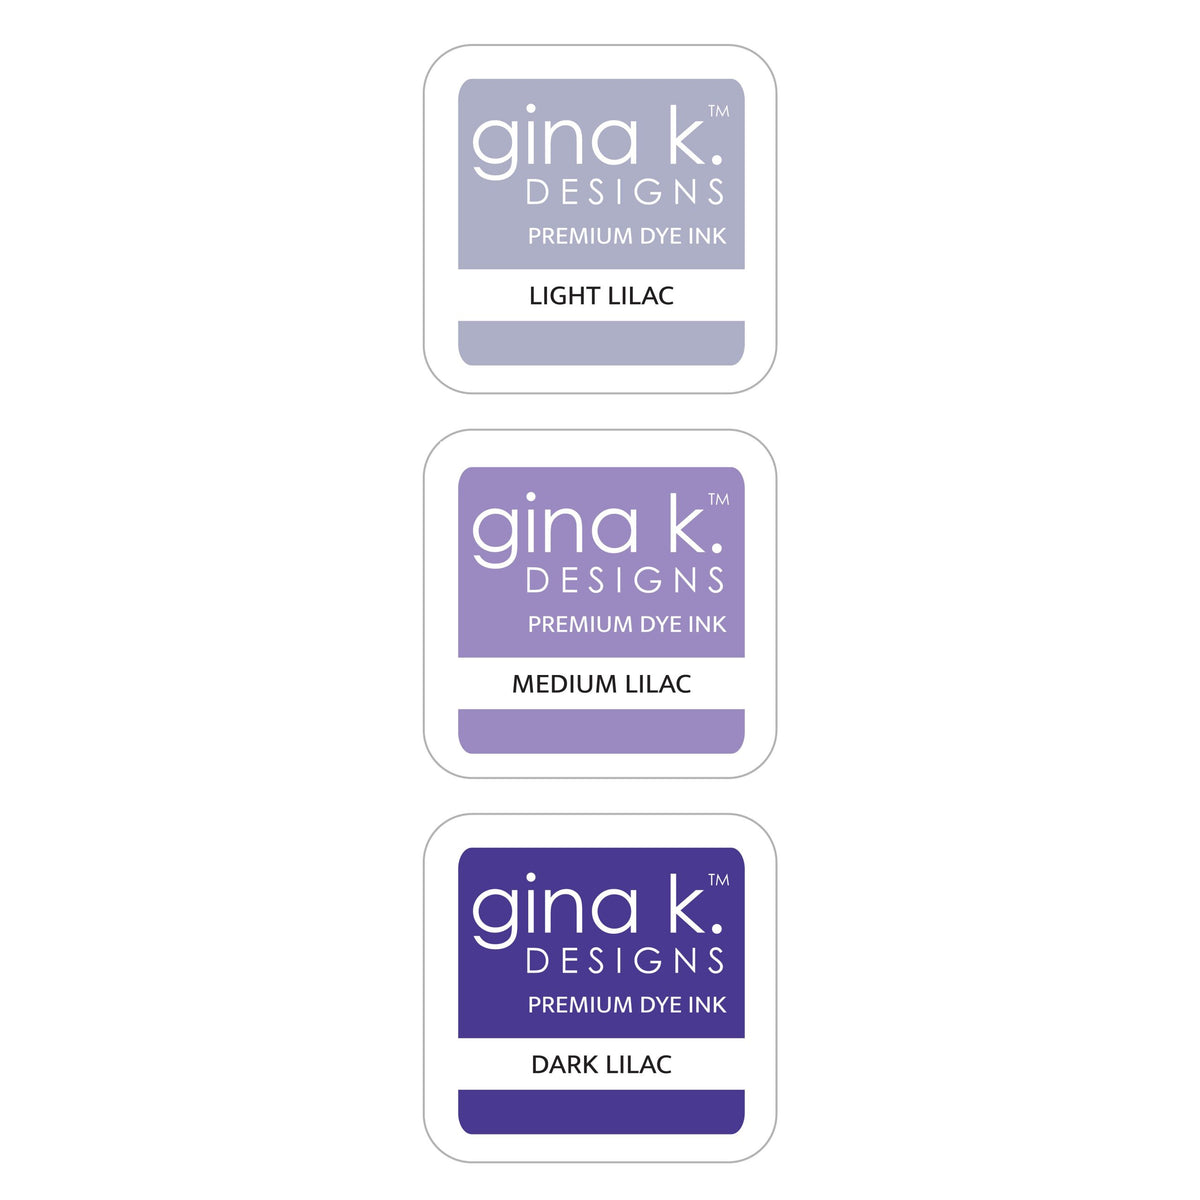
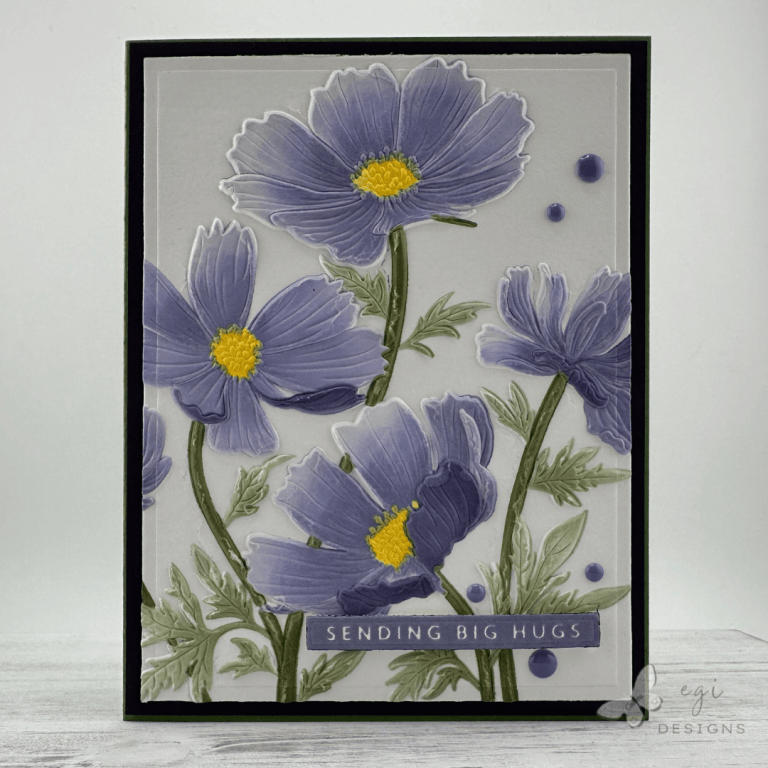
In today’s project, I made a gorgeous and sparkly butterfly card using the new Gina K Designs Delicate Butterflies Embossing Folder and Stencil Set. For the stenciling, I used the Gina K Designs Lilac Trio, and added embossing ink to the last layer and heat embossed using WOW! Sparkle Embossing Powder. The sentiment is from the Courtyard Silhouettes Stamp Set, which is part of the Spring Things Card Kit. All products used in today’s card tutorial project are listed below.

Measurements
Measurements:
A2 Card Base: 4 1/4 x 5 1/2"
8 1/2 x 5 1/2", Score at 4 1/4"

Butterfly Panel: 4 x 5 1/4"
Slate Mat: 4 1/8 x 5 3/8"

Inside Panel: 3 3/4 x 5"
Inside Mat: 4 x 5 1/4"
NEW Gina K Designs Products
To create this card, I used the new Gina K Designs Delicate Butterflies Embossing Folder and Stencil Set, which is part of a recent bundle release of three folders.
Creating the Butterfly Panel
I first cut an A2-sized panel of Gina K Designs Heavyweight White cardstock, and embossed it using the Delicate Butterflies Embossing Folder. After that, I used the Lilac Trio of inks with the stencil set to add color to the embossed panel.


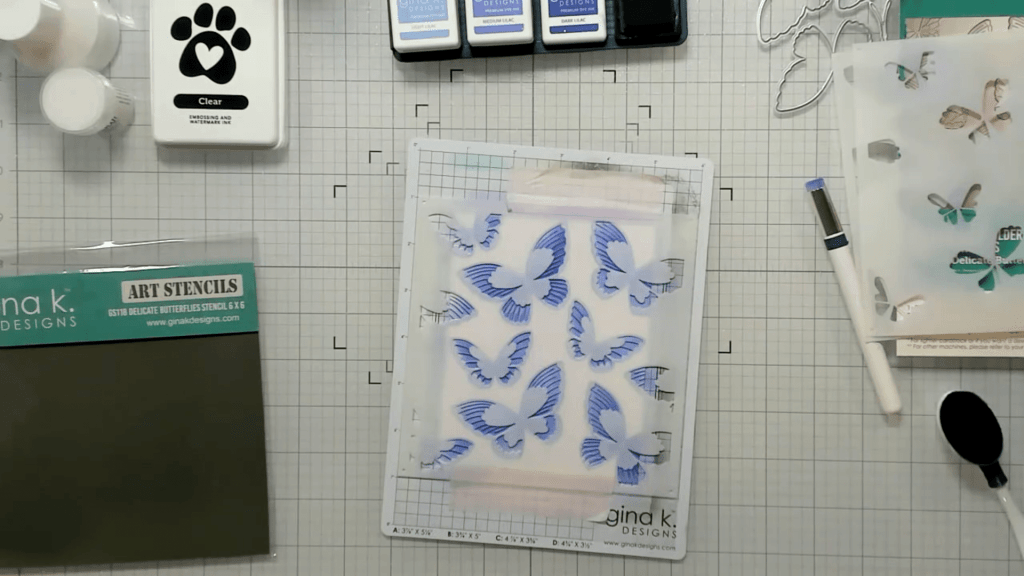
Heat Embossing
After I finished stenciling the third layer, I wiped the stencil off and then used a Picket Fence Studios Paper Pouncer with Embossing Ink to add ink through the stencil. Then I removed the stencil and added WOW! Clear Sparkle Embossing Powder over the embossing ink, and heat set the powder using an embossing tool. This added so much sparkle to the butterfly wings!


Putting Together the Card Front
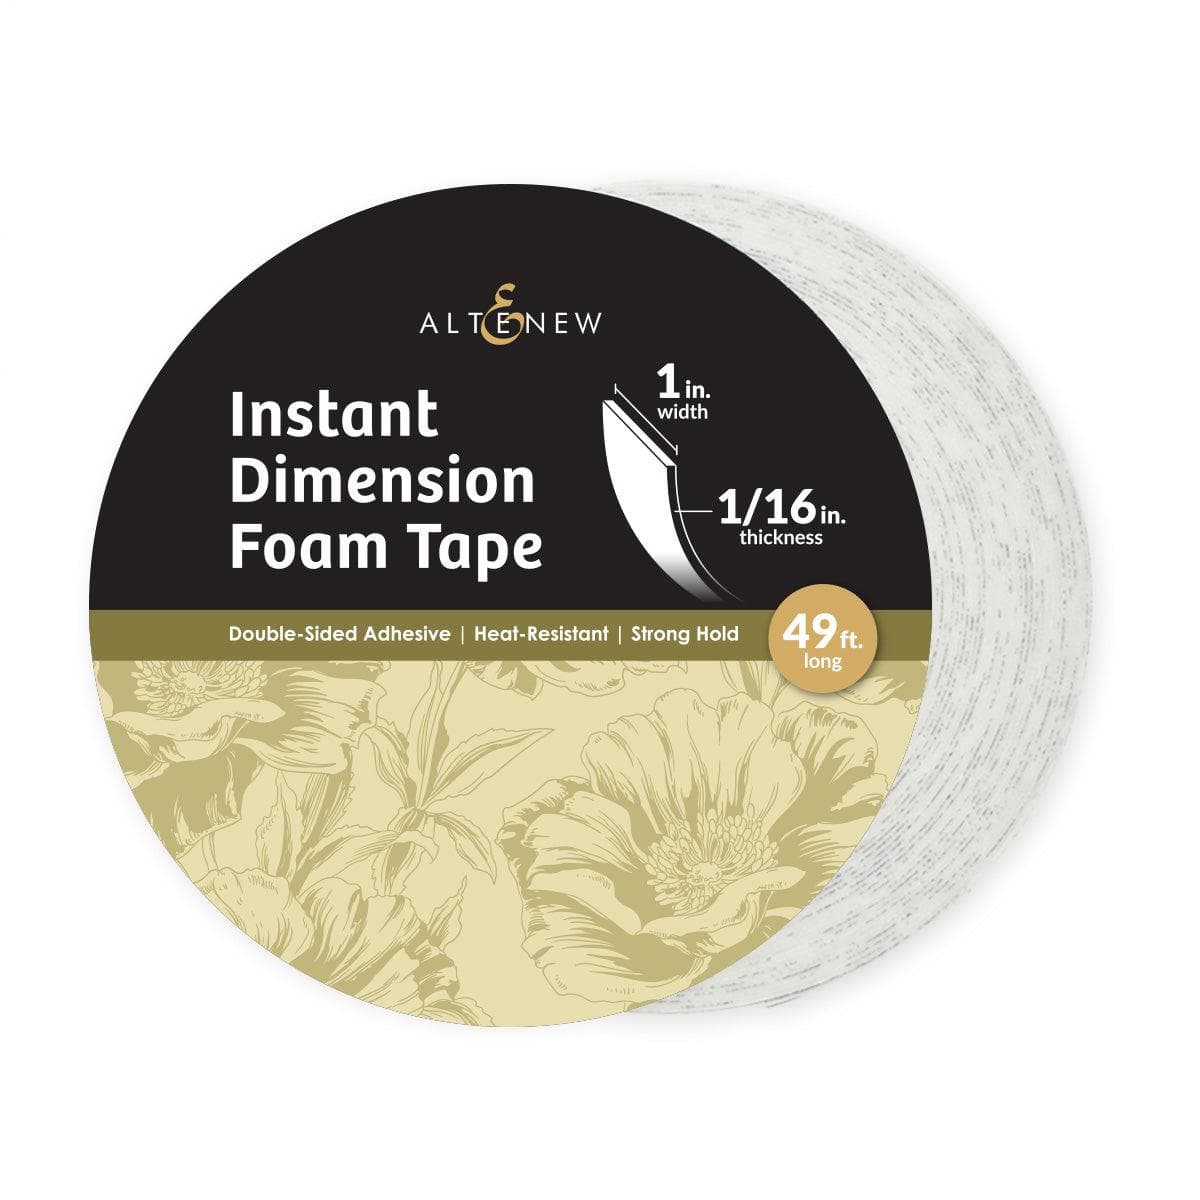
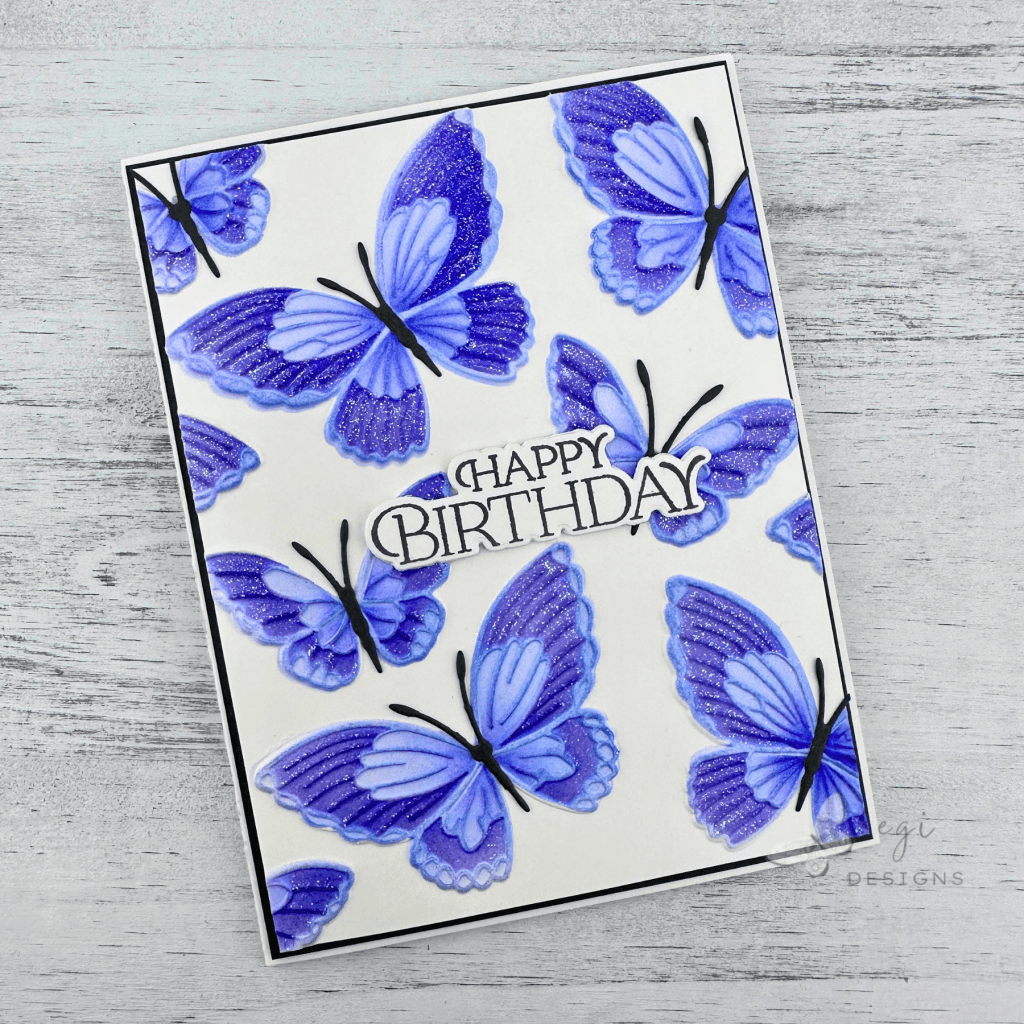
After the heat embossing was complete, I cut down the butterfly panel a bit, and then die-cut out butterfly bodies from Slate cardstock and glued them to the butterflies. Next, I added the butterfly panel to a Slate mat with Altenew Foam Tape, and then added that to the white card base.
Sentiment
For the sentiment, I stamped the Happy Birthday from the Courtyard Silhouettes Stamp Set, using Slate ink. I die cut it out using the coordinating die set, and also cut out two additional layers. I glued all of the layers together to provide extra stability to the sentiment, and to help it pop off the card front. I then added the sentiment to the card front using Bearly Art glue.
Inside of the Card
For the inside of the card, I stamped the butterfly image from the Spring Things Stamp Set in Medium Lilac ink on a white panel. I added this to a mat layer from Gina K Designs Slate Cardstock.

If you are looking for additional ways to decorate the inside of your cards, check out my Part 1 and Part 2 videos with more easy ideas.
Step-by-step card tutorial:
I hope you enjoyed this project! For more card-making ideas, check out my YouTube playlist and card-making blog posts. I also have a Gina K Designs unboxing playlist for additional information on her releases.
Product Information
Here are the products I used in today’s project. Please consider shopping through my affiliate links, as it greatly helps out my channel at no extra cost to you. Thanks so much for supporting me and my channel!
**Use code EGIDESIGNS for 15% off your order at Glassboard Studio**
|