Beautiful Floral Card: Lisa Horton Crafts Decorative Lattice with Garden Planter Set

In today’s video project, I created a beautiful floral card using the new Spellbinders and Lisa Horton Crafts Decorative Lattice and Garden Planter Die Sets. Spellbinders sent me these sets to have a play with, and I am grateful for the opportunity! All products I used in this project are listed below.

Measurements:
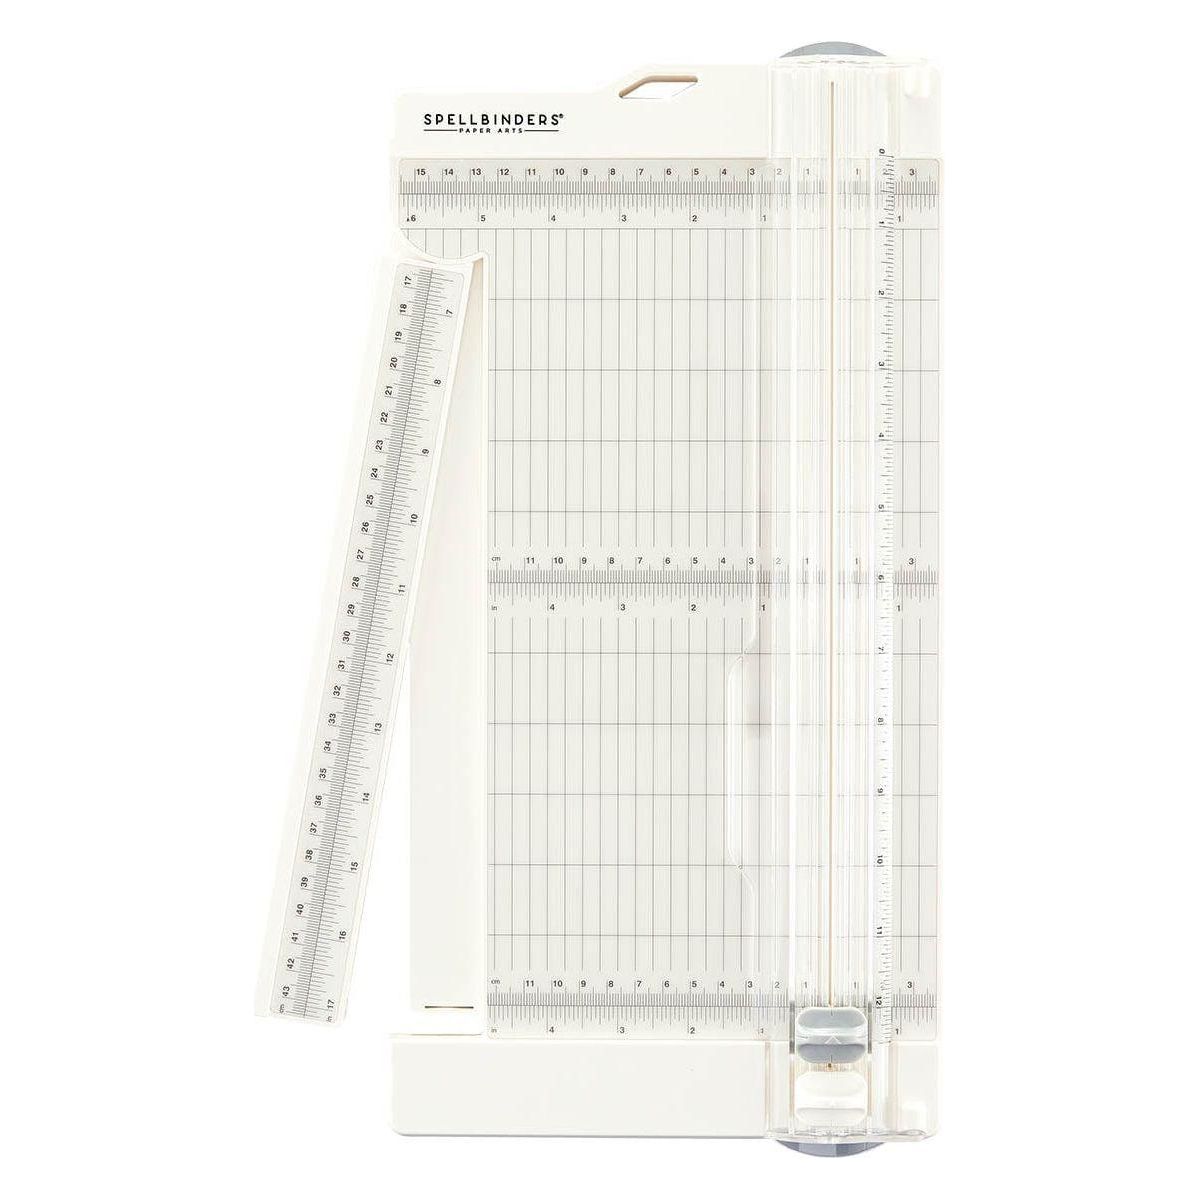
A2 Card Base: 4 1/4 x 5 1/2"
8 1/2 x 5 1/2", Score at 4 1/4"
Background Panel: 3 3/4 x 5"
Inside Panel: 3 3/4 x 5"
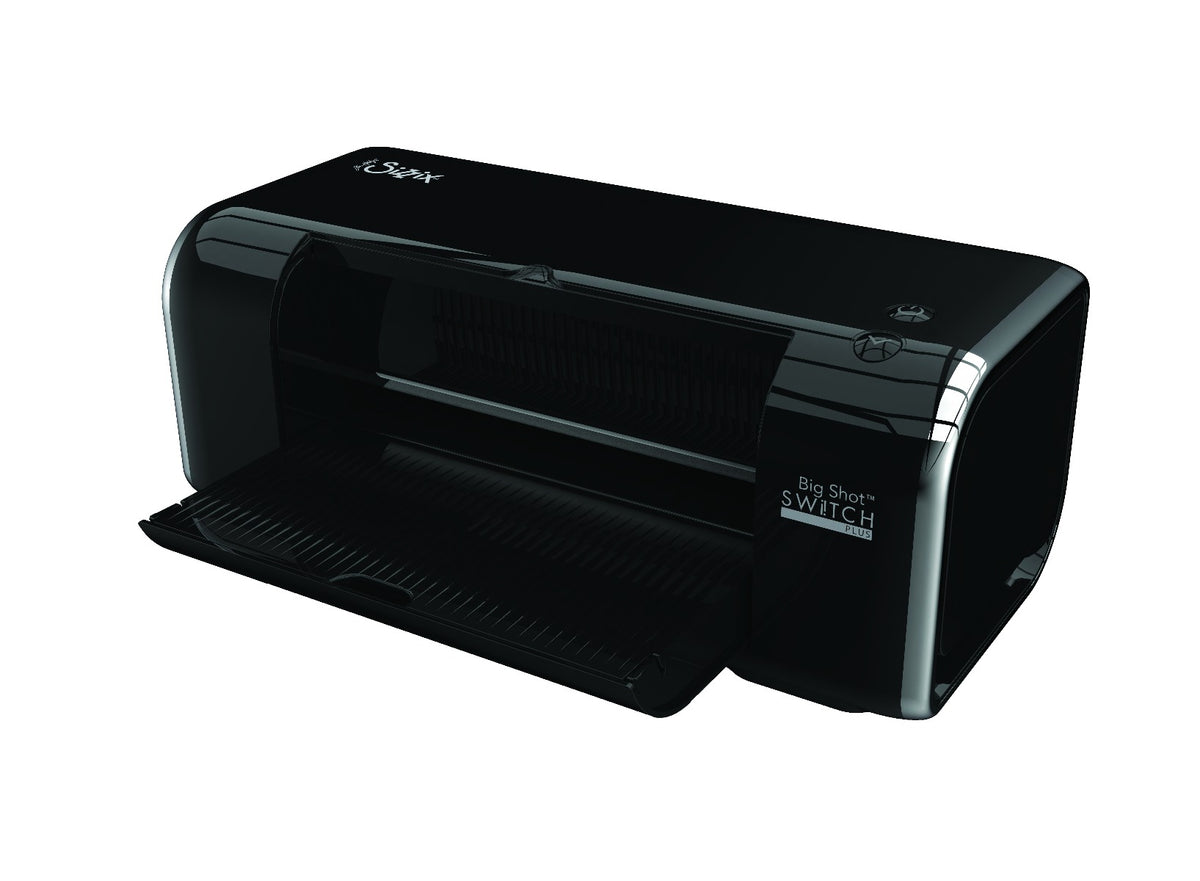
Die Cutting All the Card Pieces

The Spellbinders/Lisa Horton Crafts Decorative Lattice Die Set comes with the lattice part and a frame. This allows you to create a standalone lattice piece by using the dies together, or you can use the lattice die to cut a window into a panel. You can also cut out the frame to add a backer to the lattice piece.
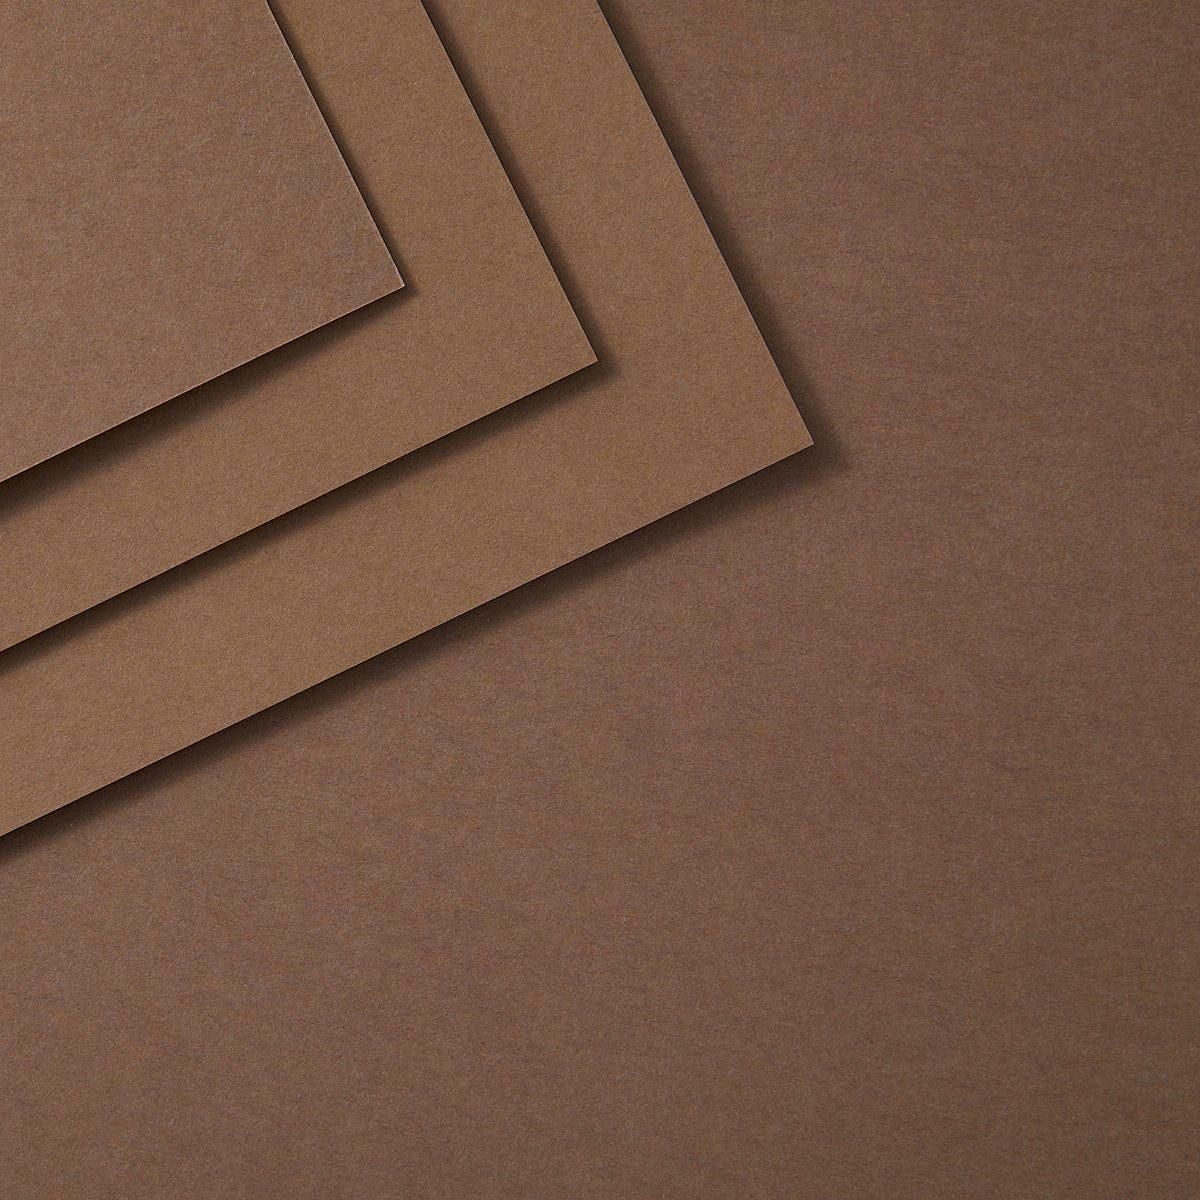
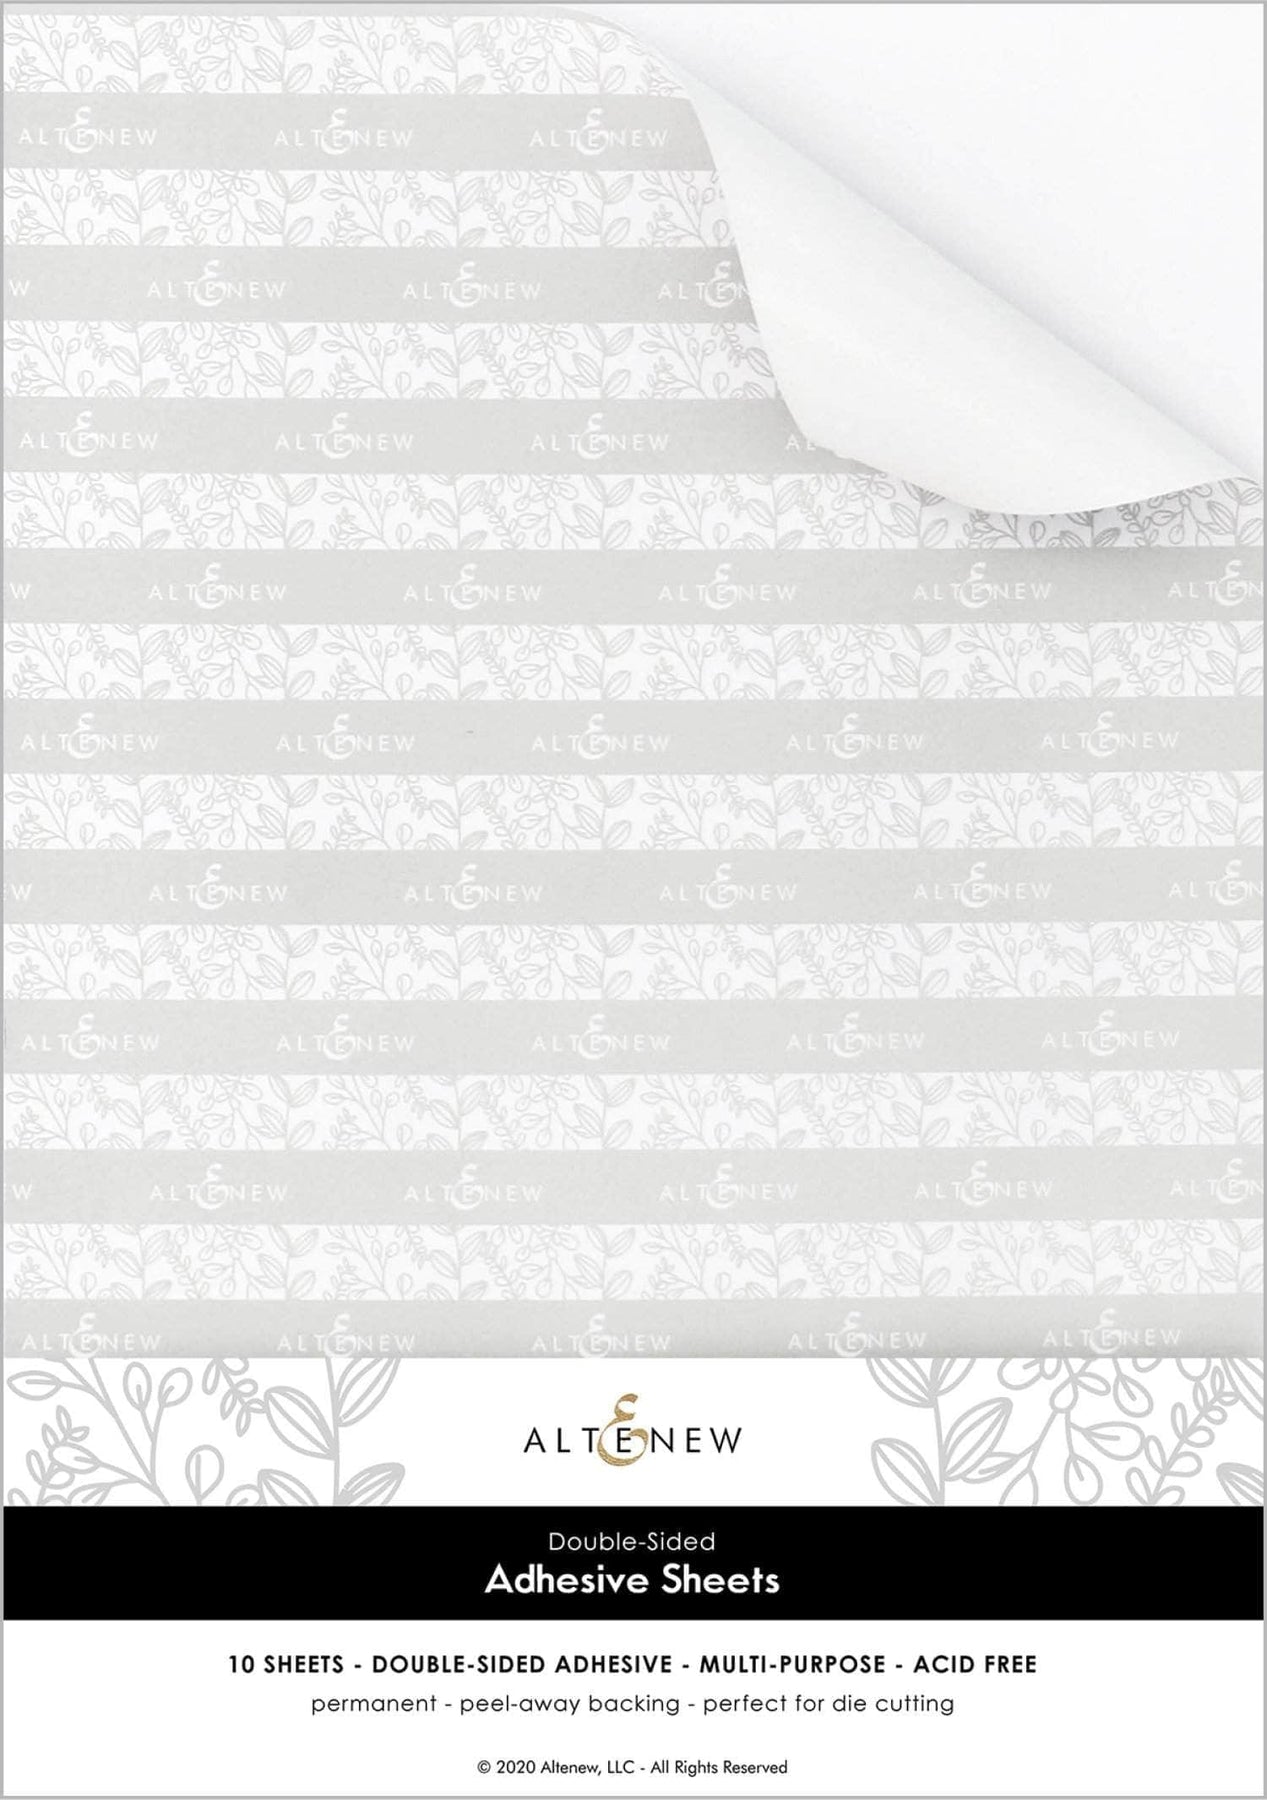
I first added a piece of Altenew Double-sided Adhesive Sheet to a panel of Spellbinders Truffle cardstock, and then cut out the lattice using both pieces in the die set. This turned the die cut into a sticker, and it helps make the card assembly easier later on.


To create the planter, I used the wood-looking paper from the Scrapbook.com Faux Finish Patterned Paper Collection, and the bands on the planter were cut from Spellbinders Truffle Cardstock.
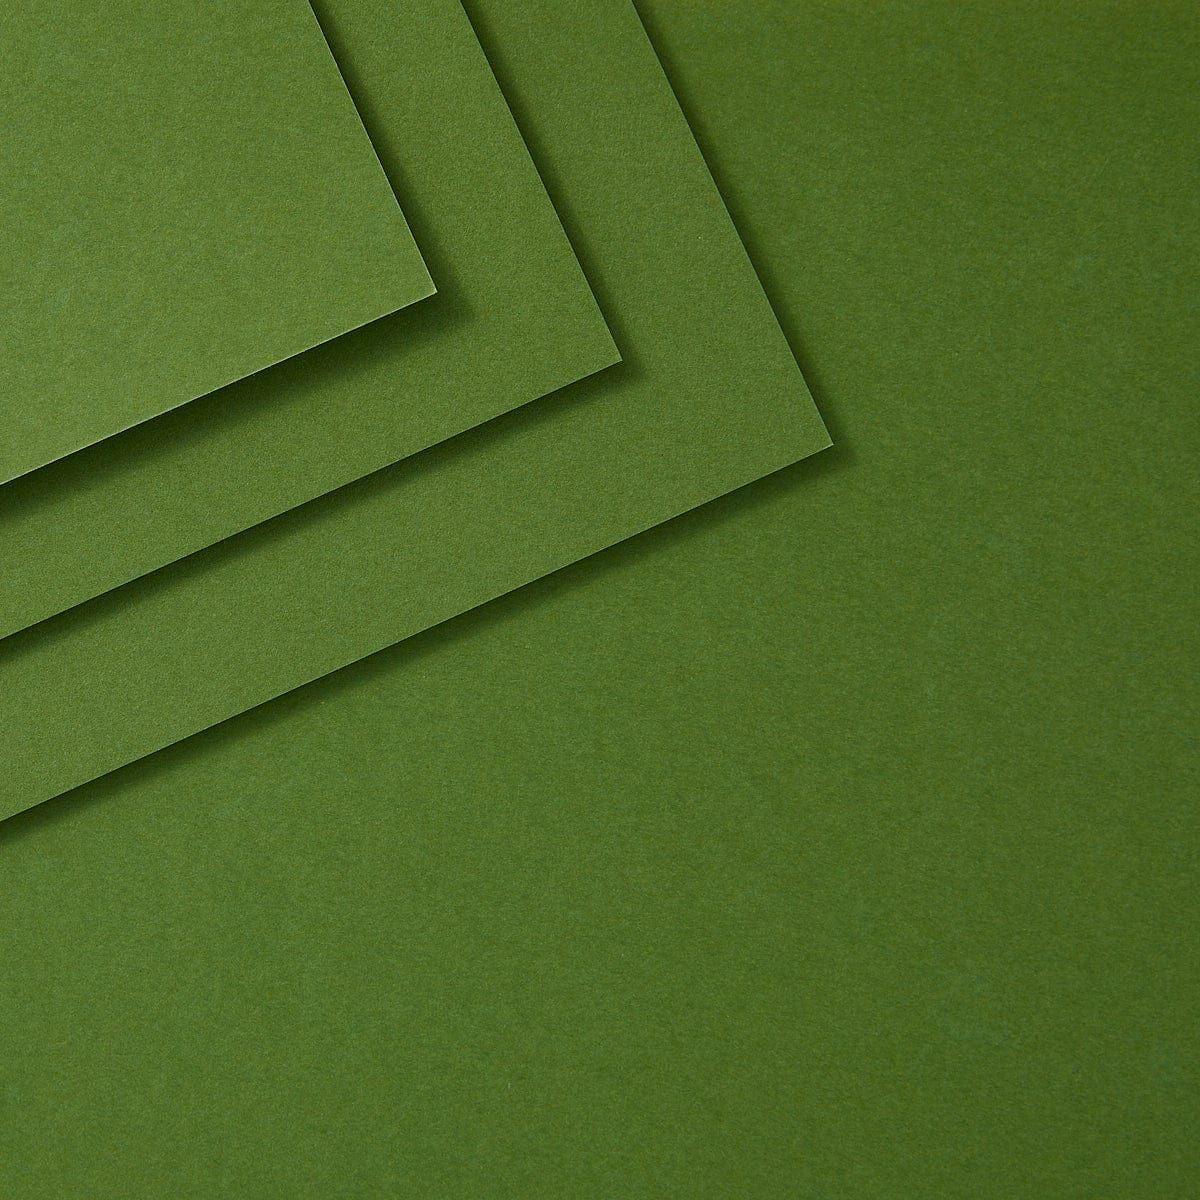
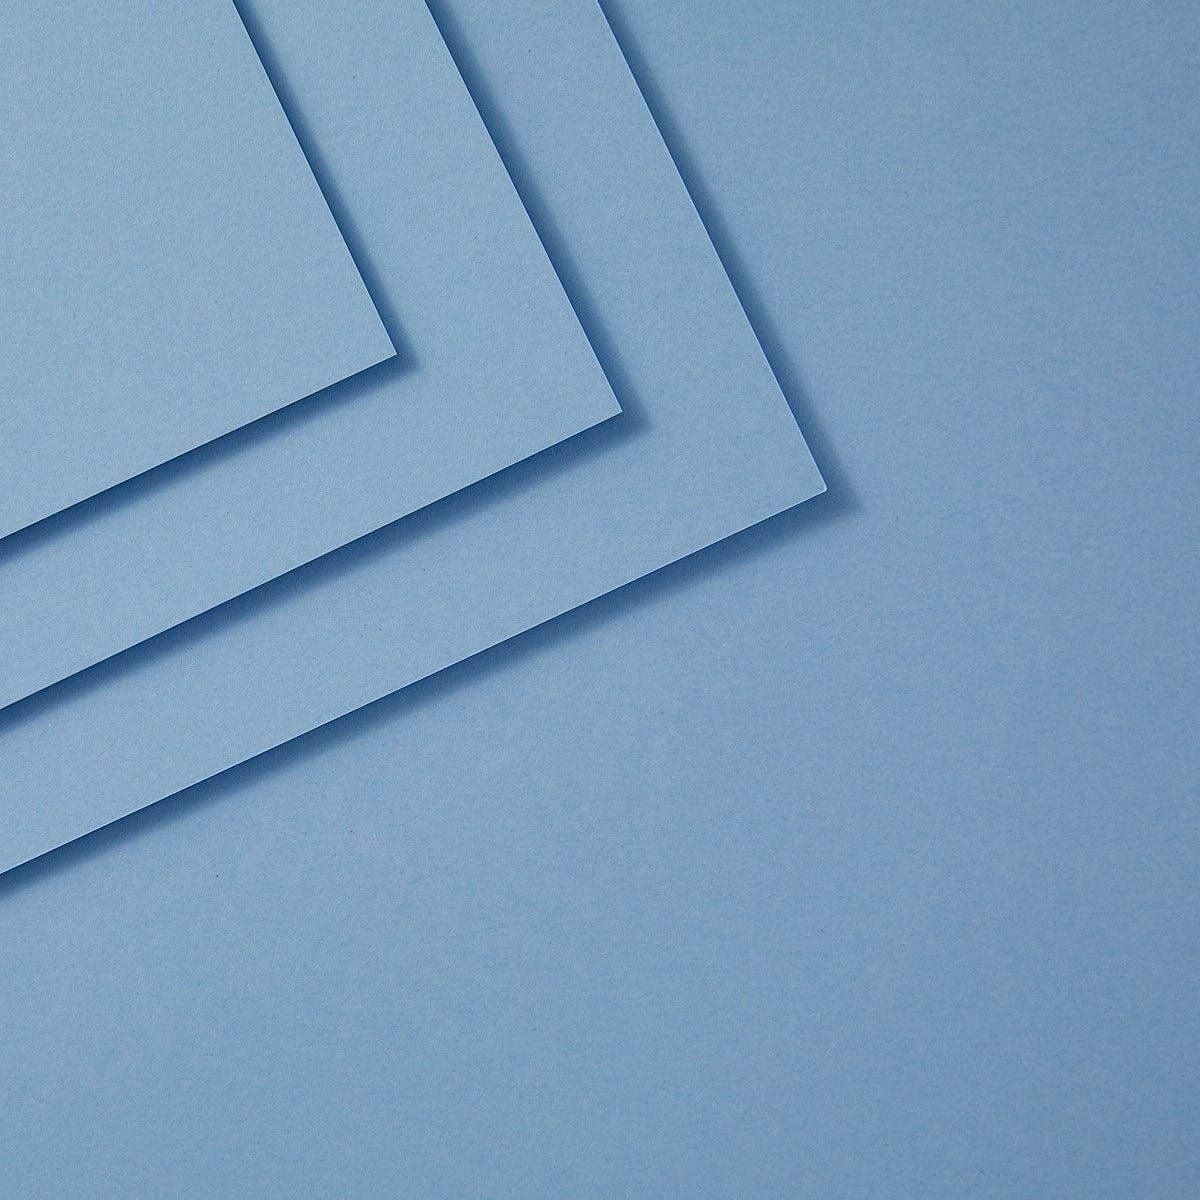
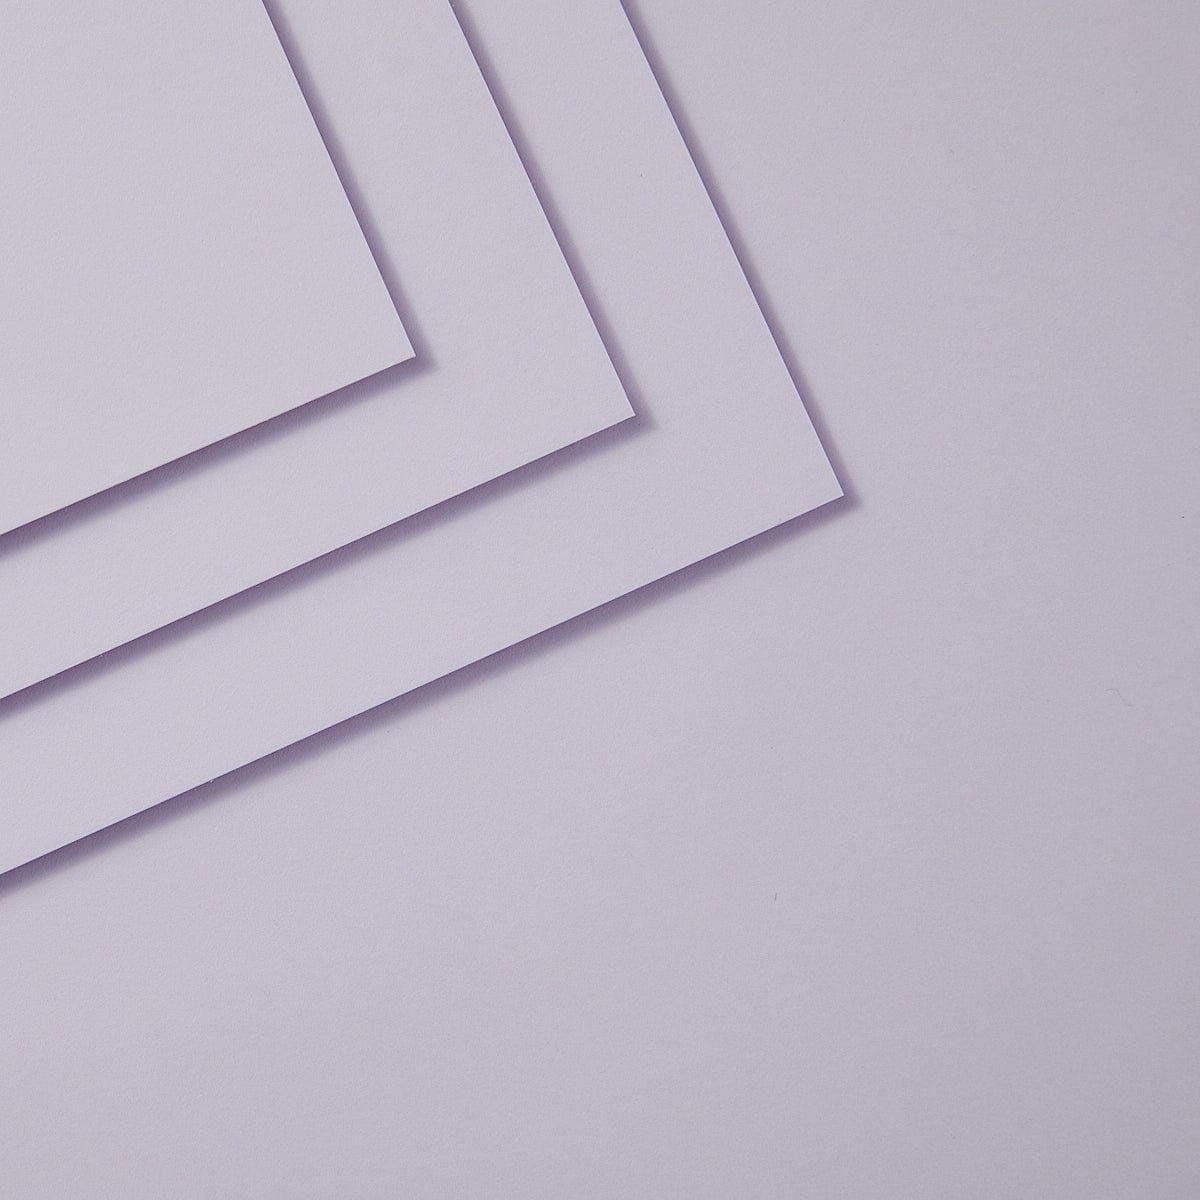
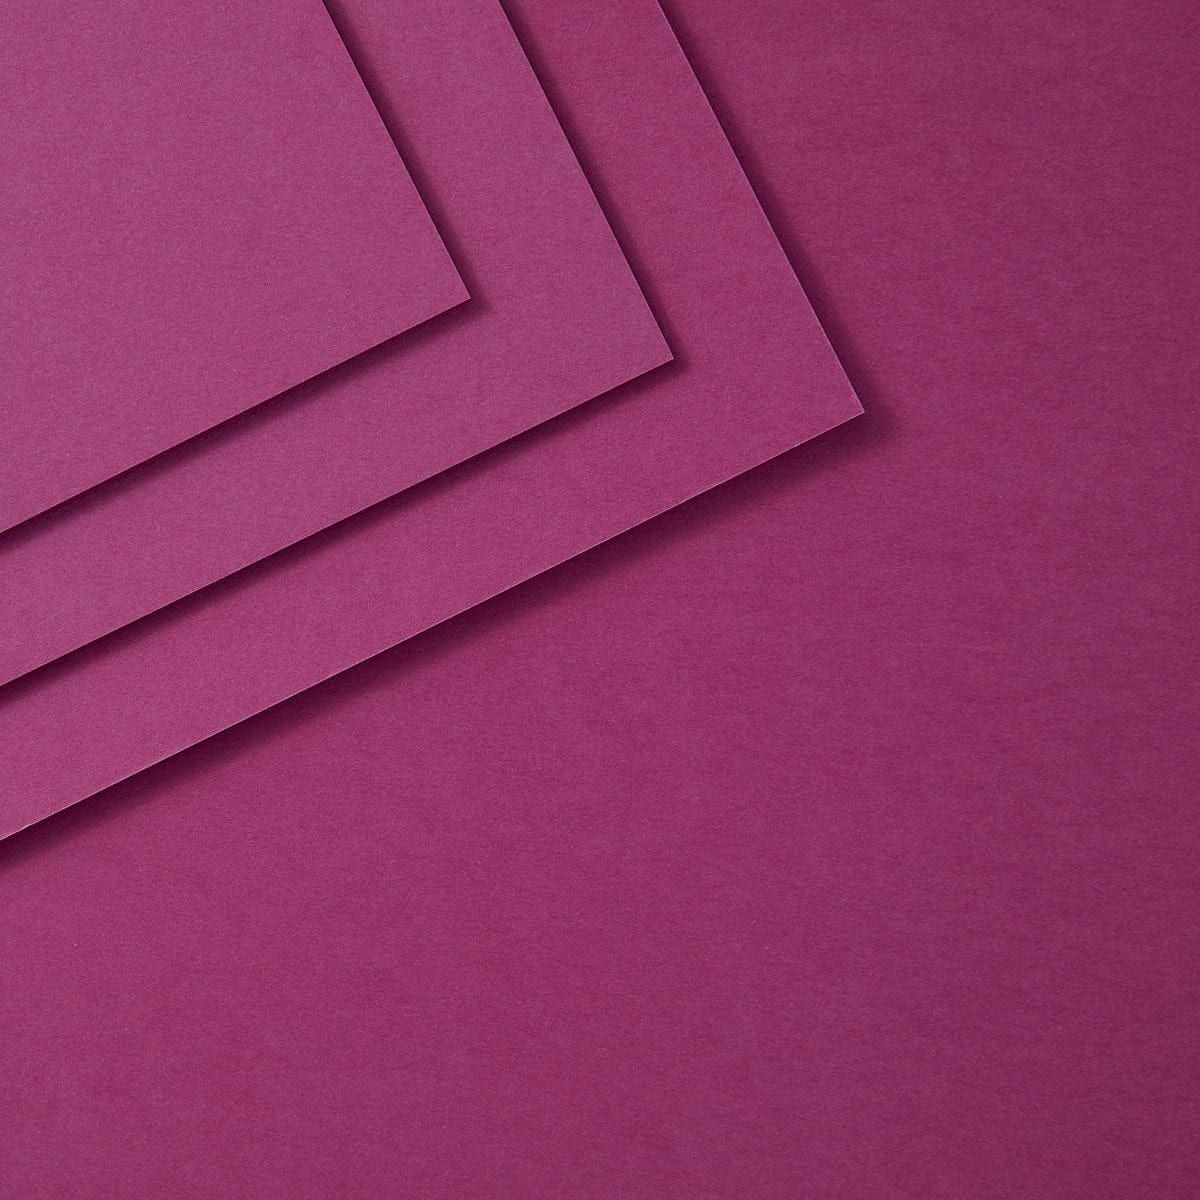
I die-cut the foliage pieces from Rainforest and Fern cardstocks, and the branches from Truffle cardstock. I wasn’t sure what color palette I wanted to go with for the flowers, so I die cut out a bunch of different ones. The colors included: Breeze, Windy, Cascade, Celestial, Fairy Tale, Mulberry, and Violet cardstocks. For the flower centers, I used Beeswax cardstock.
I assembled the flowers using liquid glue, layering the different-colored layers together. After that was complete, I decided to use a purple-pink palette for the flowers.
Putting Together the Card Front
I trimmed out a panel from the Faux Finish Patterned Paper Pad, and used a corner rounder on the panel. Then I peeled off the release paper from the lattice piece and stuck it to the background panel.
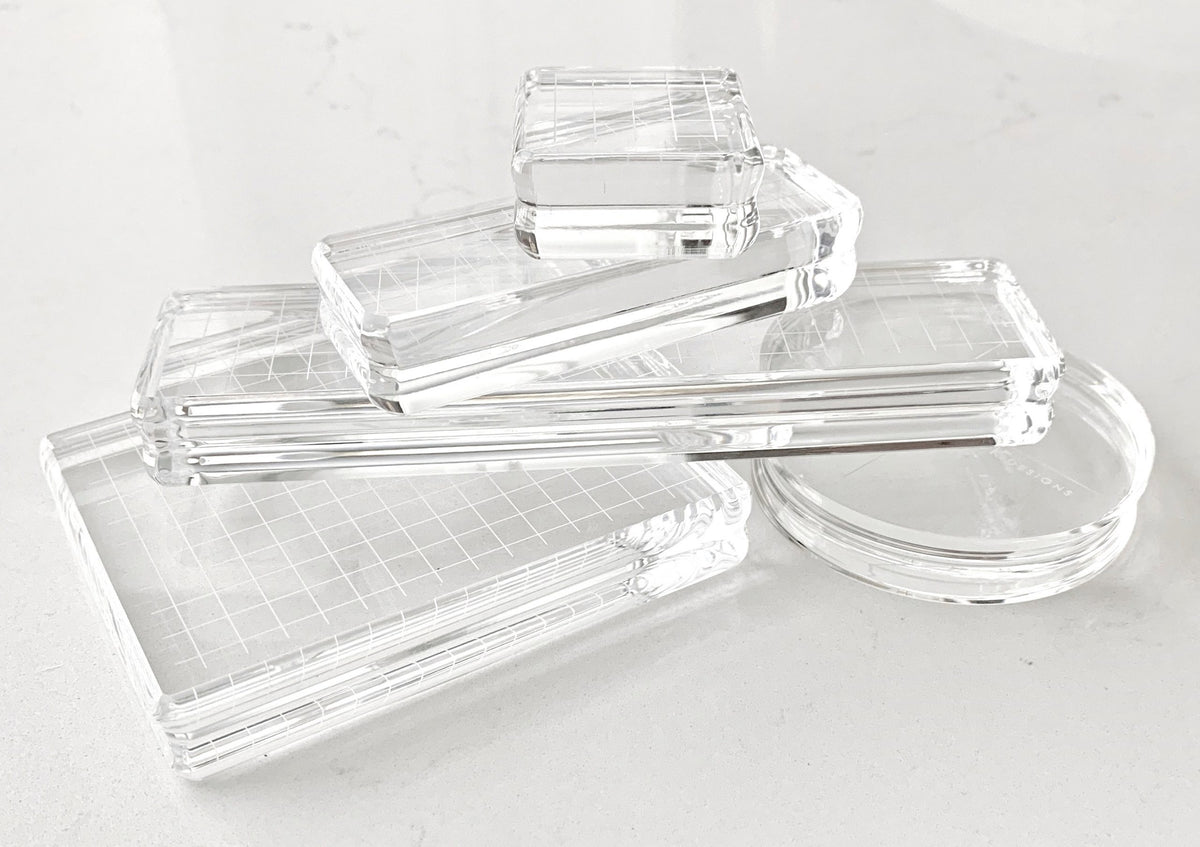
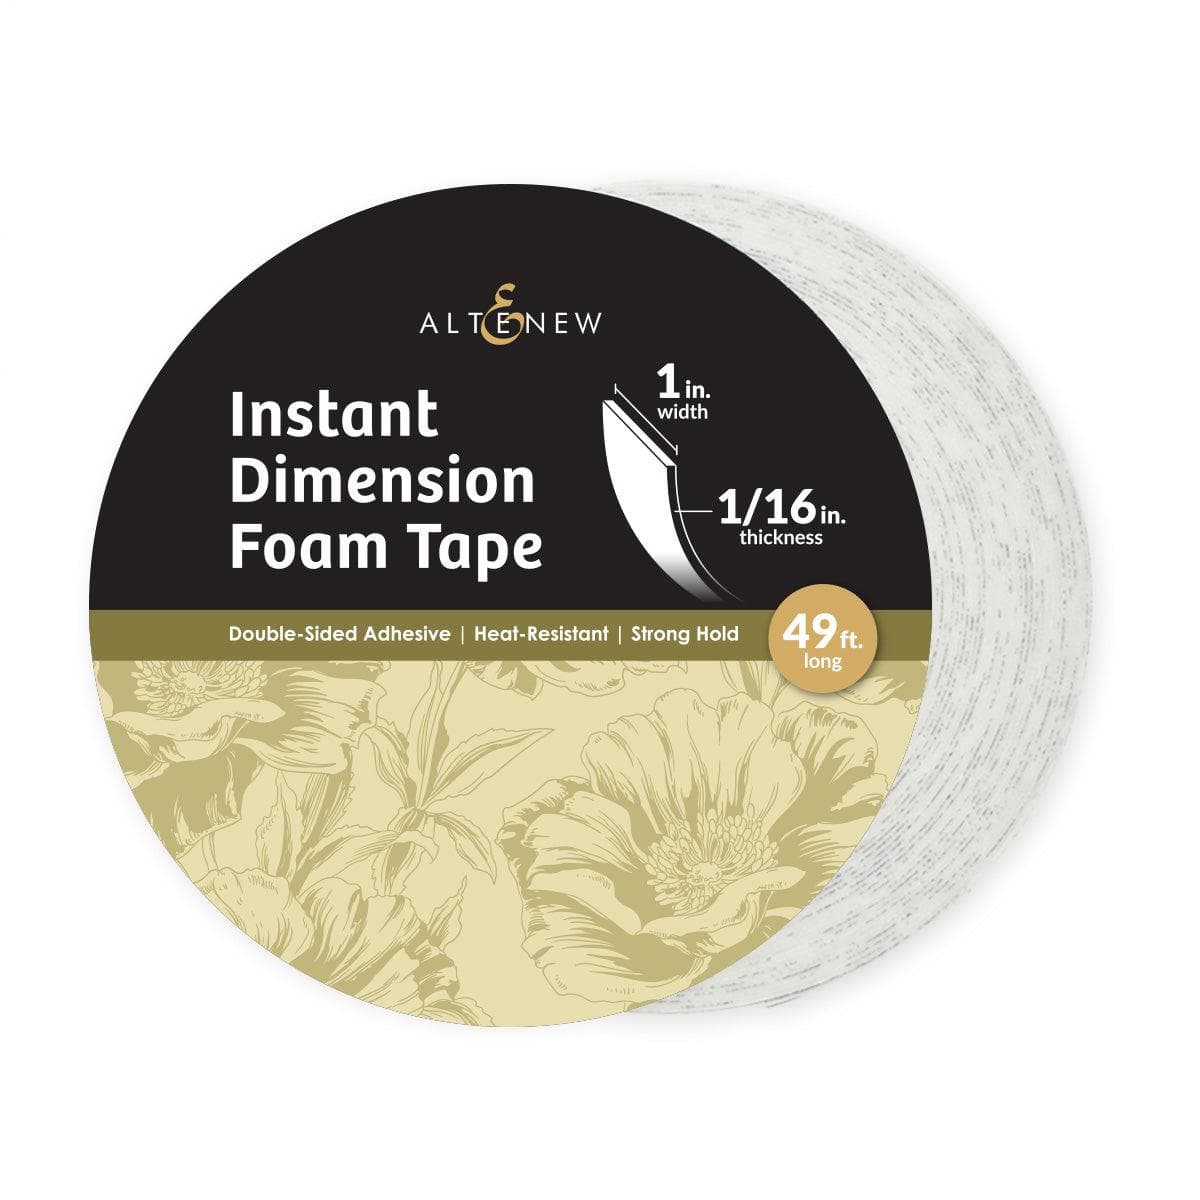
Using Altenew Foam Tape on the back of the planter, I added it to the bottom middle of the lattice piece. Then using a combination of glue and Scrapbook Adhesives Thin Foam Squares, I arranged the foliage and floral pieces into a nice garden planter display.

I added the panel to a Violet card base, which I had rounded the corners of as well. Then I added Spellbinders Orchid Gems to the card front for a little extra sparkle and shine.
Inside of Card

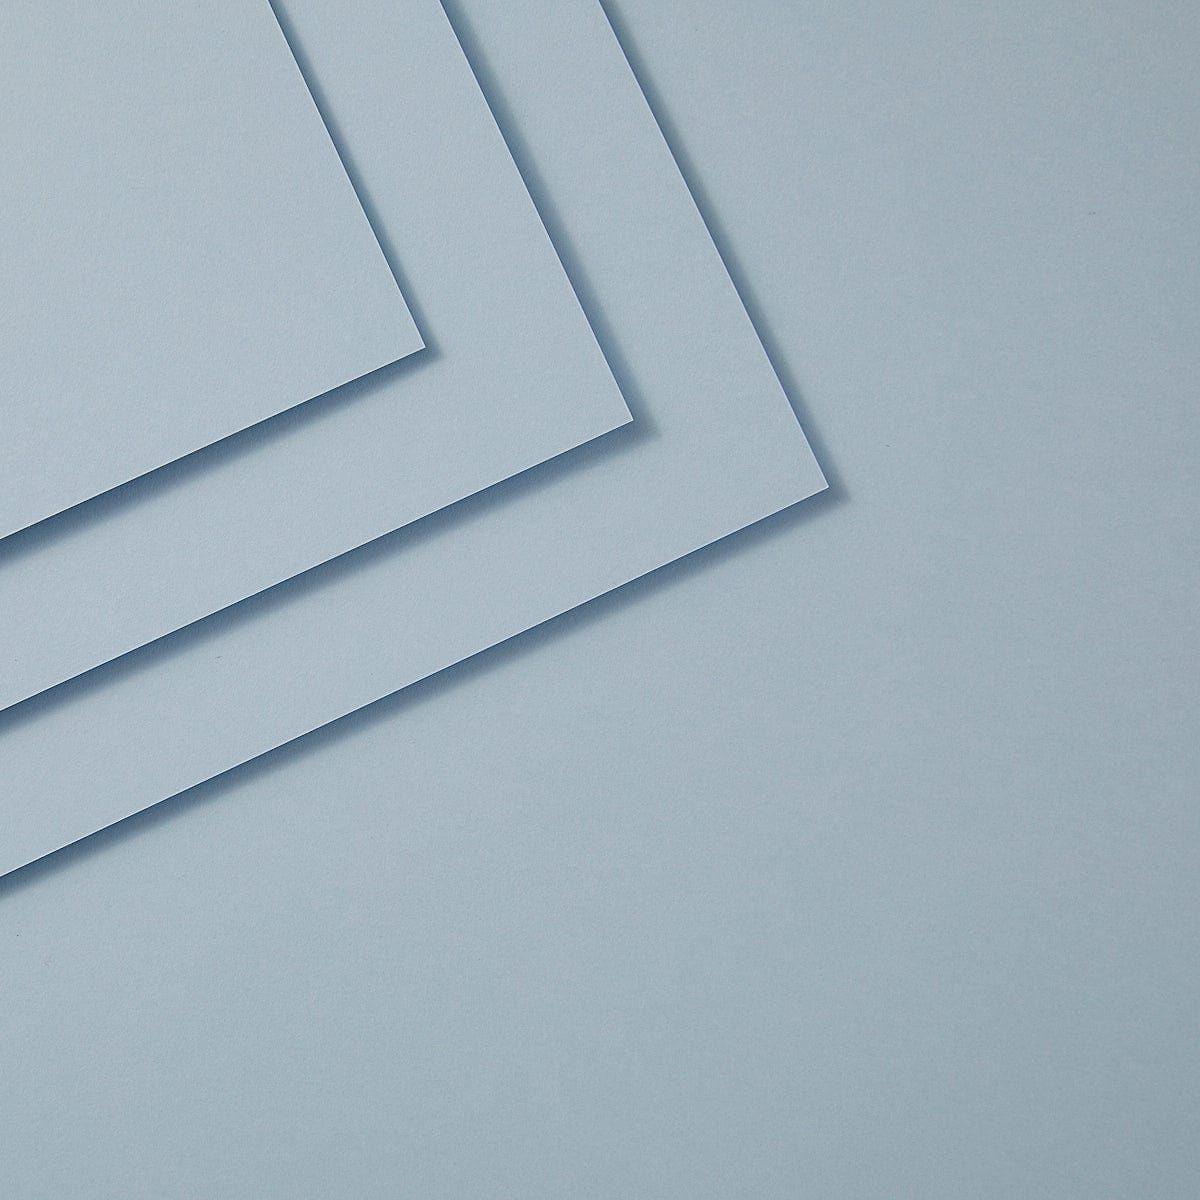
To decorate the inside of the card, I cut a panel of Fog cardstock, and then rounded the edges to match the card base. I added a couple of the leftover flowers to the top and bottom of the panel with liquid glue.
Next, I adhered the panel to the inside of the card using temporary adhesive. I find this is easier for me, so I can remove and replace the panel if I mess up when writing my message without having to tear my card apart.
If you are looking for additional ways to decorate the inside of your cards, check out my Part 1 and Part 2 videos with more easy ideas.
Project Video
Check out the card tutorial video here:
I have a YouTube playlist for videos related to Spellbinders new releases. I also have a Card-Making Tutorial playlist if you are looking for more crafty inspiration!
Product Links
Here are the products I used to make this card project. Please consider shopping through my affiliate links, as it greatly helps out my channel at no extra cost to you. Thanks so much for supporting me and my channel!
**Use code EGIDESIGNS for 15% your order at Glassboard Studio**
|