Let the Paper Do the Work! Easy Postage Card
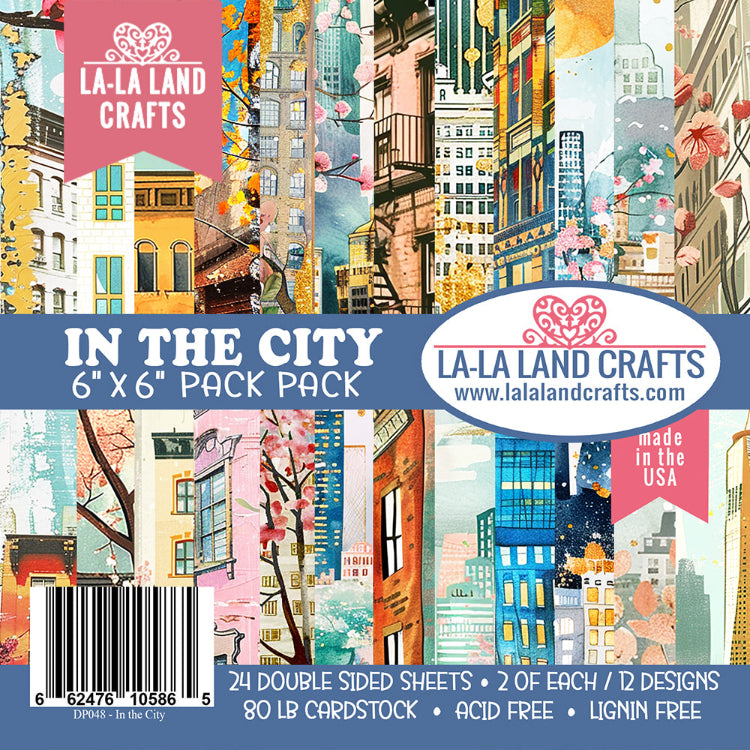
In this project, I made a super-easy postage card using the Alex Syberia Designs Postage Stamps Cover Die with the La-La Land Crafts ‘In the City’ Patterned Paper. This paper was originally included in the Simon Says Stamp Card Kit for July 2025 called Through the Window. All products used in this project are listed below.

Measurements:
A2 Card Base: 4 1/4 x 5 1/2" when folded
8 1/2 x 5 1/2", Score at 4 1/4"
Postage Panel: 4 x 5 1/4"
Inside Panel: 3 1/2 x 5 3/16"
Inside Strip: 1/2 x 5 1/4"
Postage Card Instructions
For this card, I used the postage die to cut out the image from a sheet of the patterned paper, as well as from a panel of Spellbinders Chiffon cardstock. This die cuts the postage edge and embosses rectangles into each quadrant of the postage die. In the video, I show one of my favorite hacks for removing the dots from the postage die cuts.
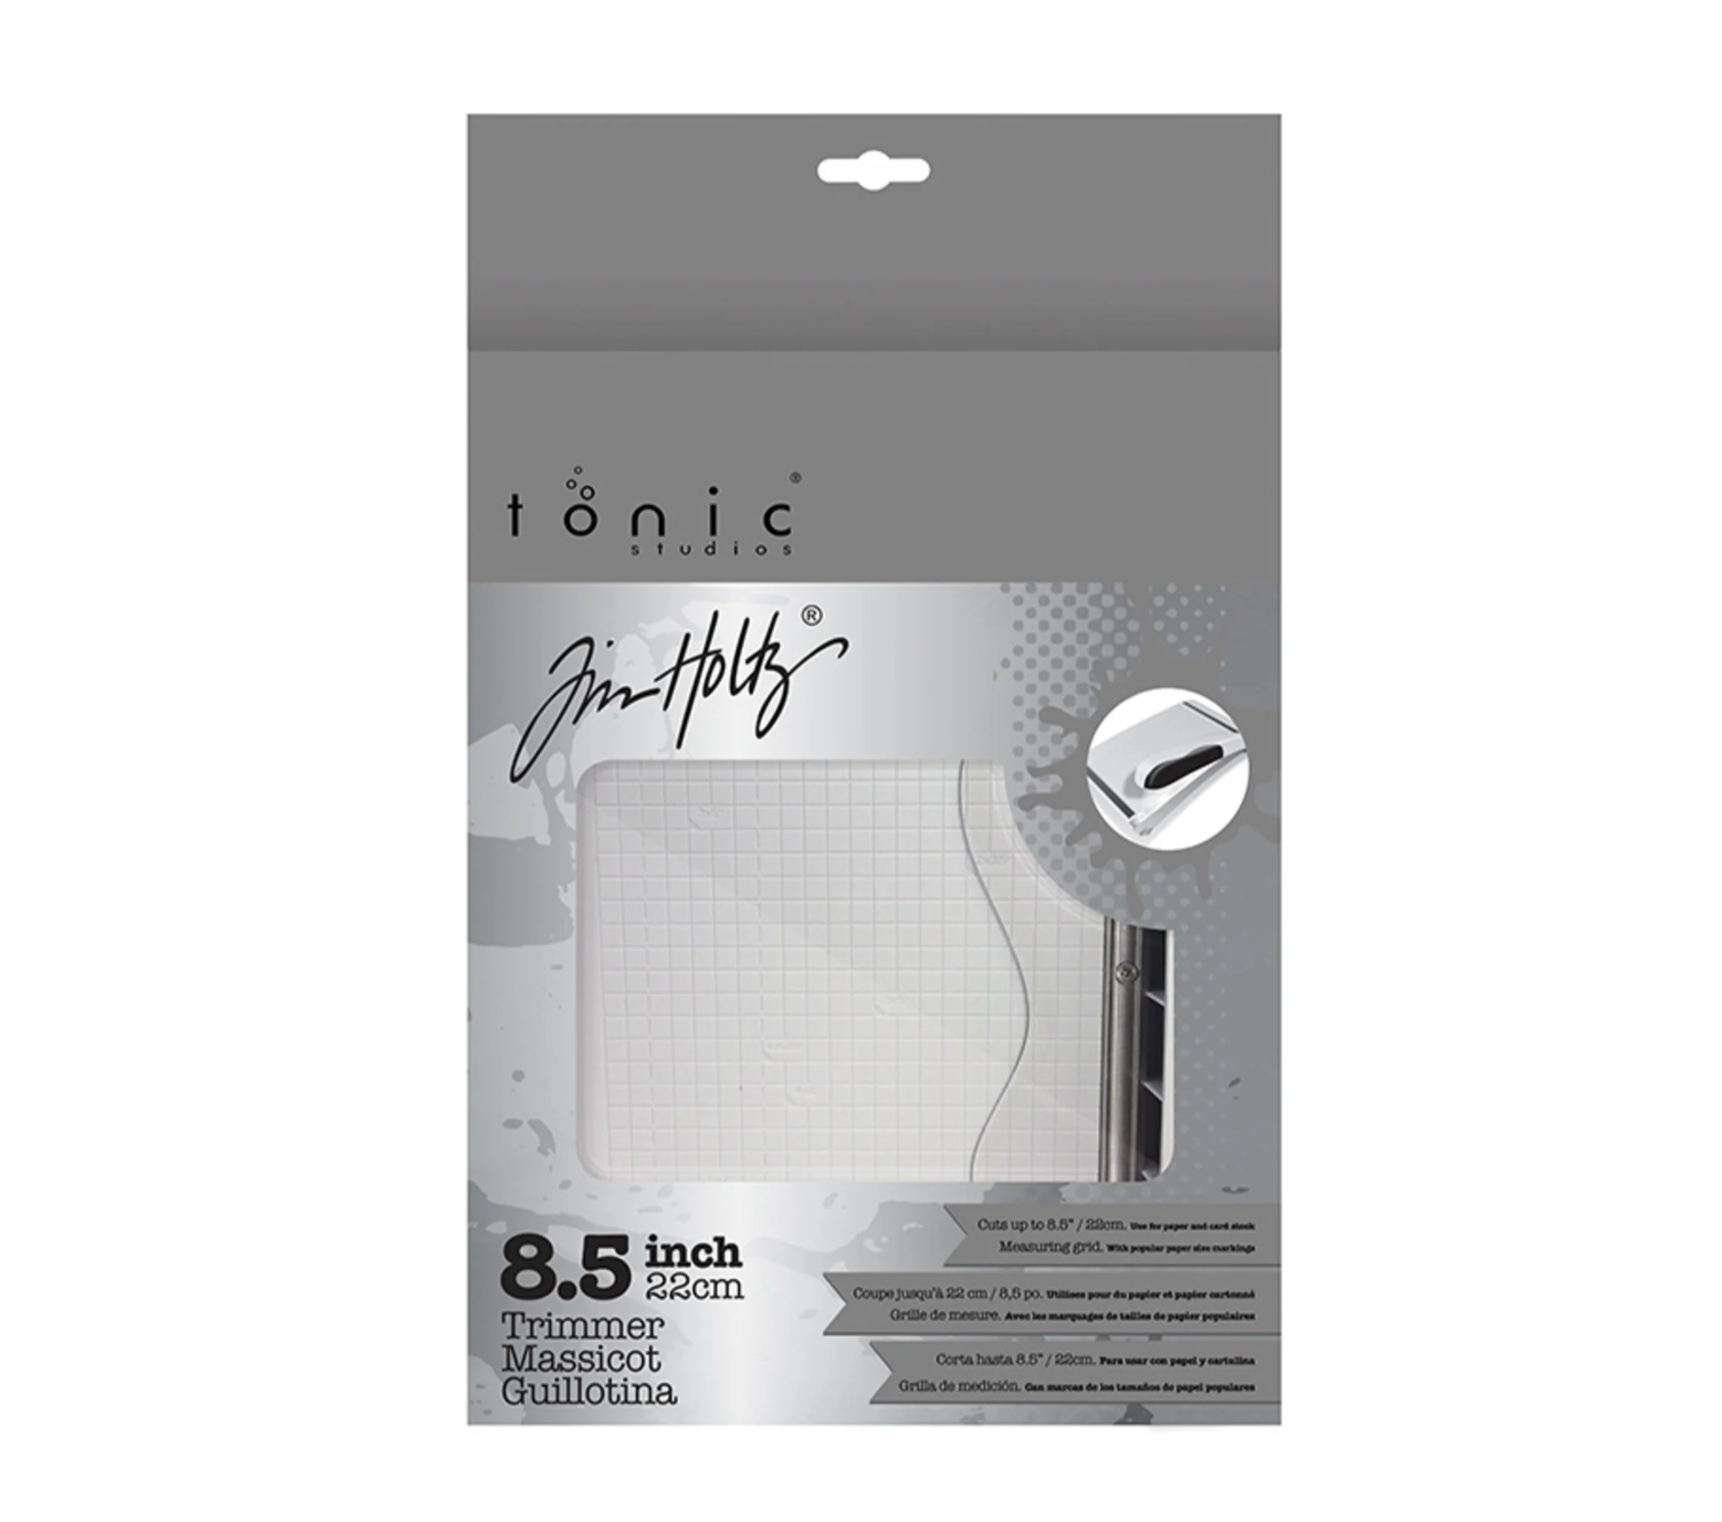
Next I used my Tim Holtz Guillotine Trimmer to cut the rectangles from the patterned paper die cut, following the embossed lines carefully. Once each rectangle was cut out, it was time to assemble the card!


Postage Card Assembly
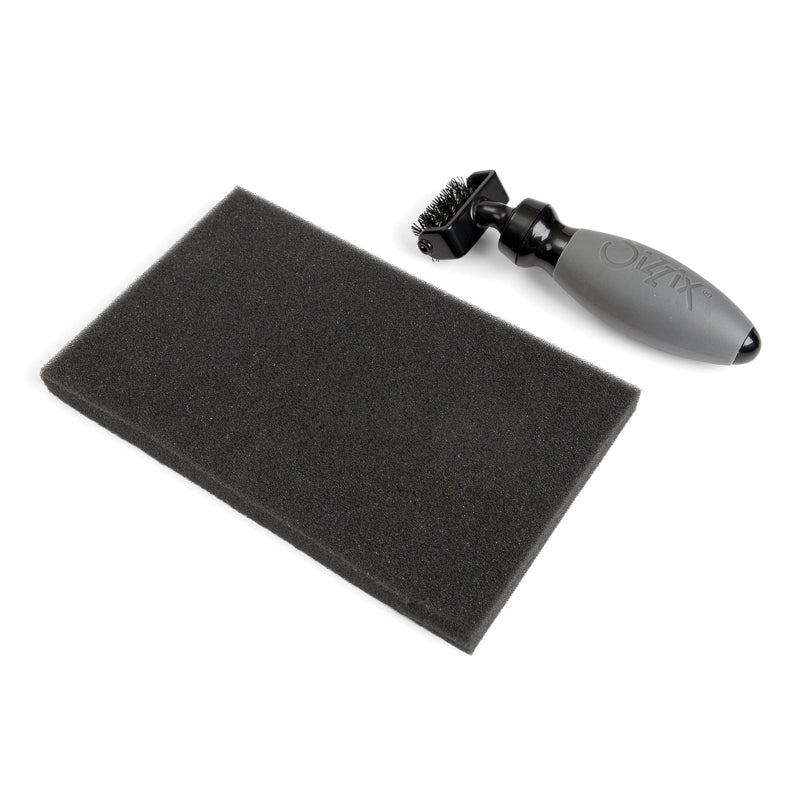
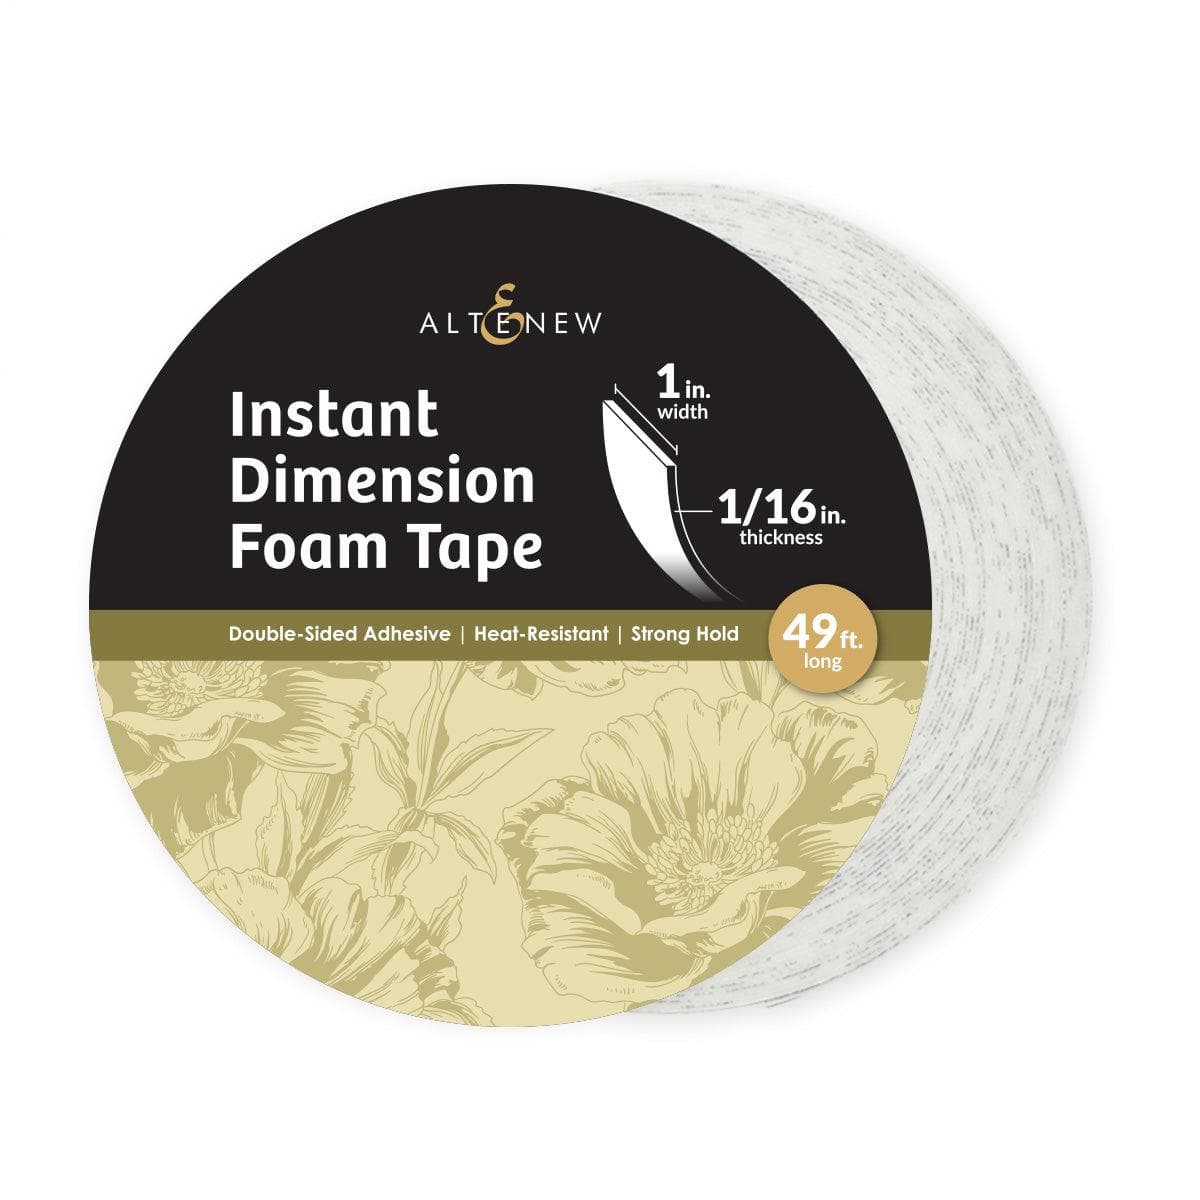
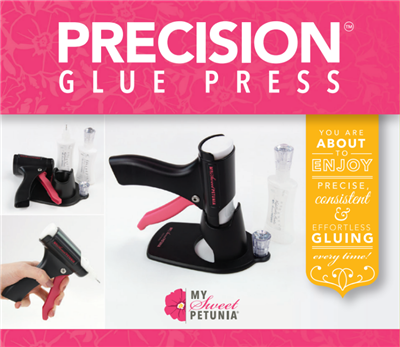
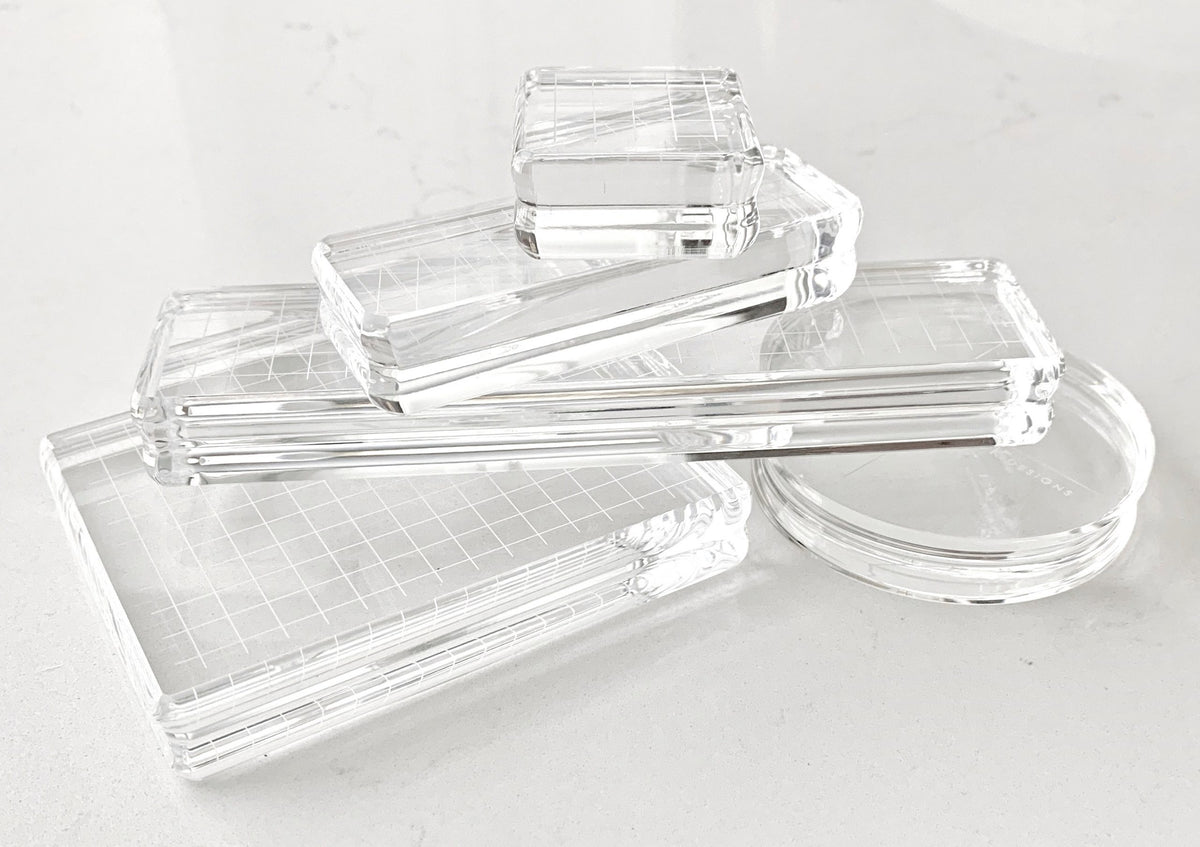
I used my Glue Press to add the patterned paper rectangles into the correct spots on top of the Chiffon Postage die cut. Next I added Altenew Foam Tape to the back of the Chiffon panel, making sure to avoid going over the holes in the paper. The foam tape I used was 1″ wide and 1/16″ in loft, and it fit perfectly behind each section. I added Simon Says Stamp glue on top of the foam tape to give me some wiggle room when adding it to the card base. The A2 card base was made from Spellbinders Cream cardstock.
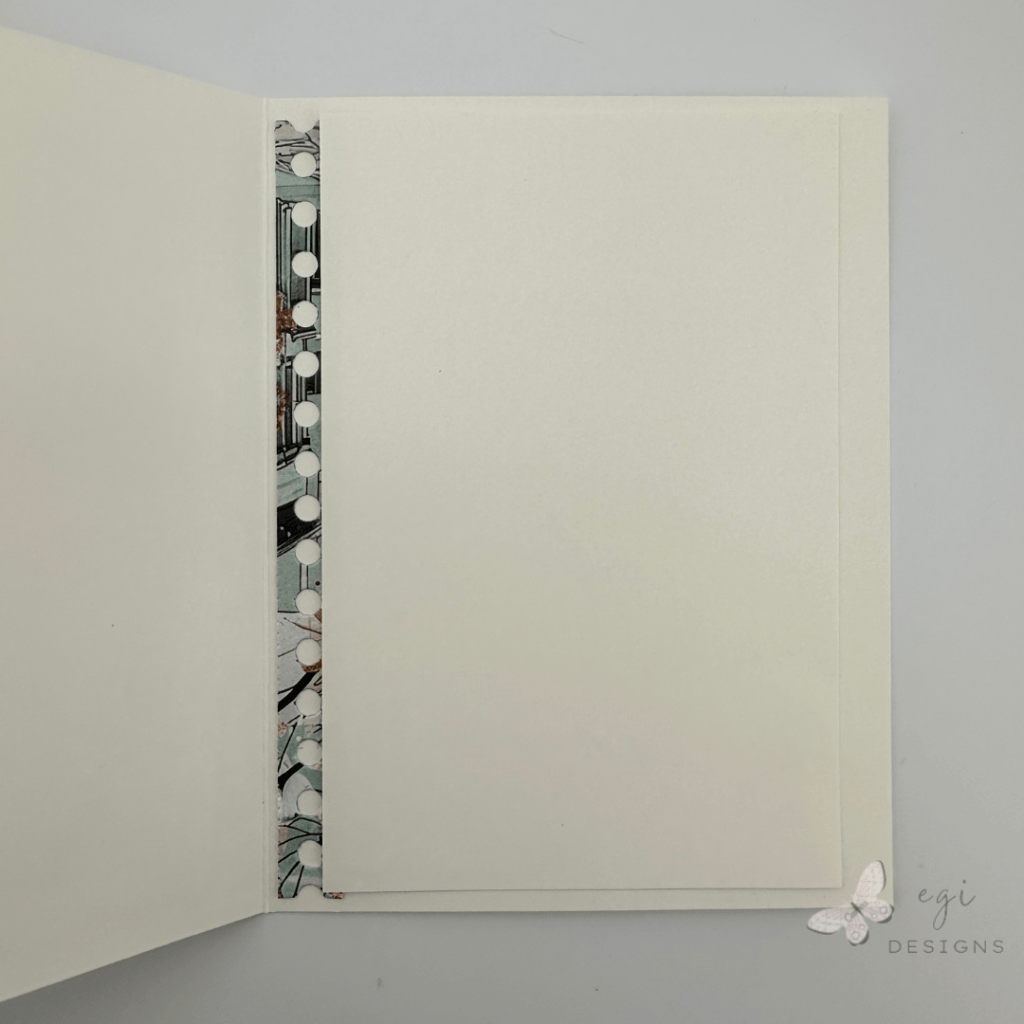
Inside of the Card
For the inside of the card, I trimmed down a leftover piece of the patterned paper that had the postage edge cut into it. I added this to the inside of the card on the left side and placed the card panel on top of it. This carried the theme from the card front into the inside of the card.
Hope you enjoyed this card project!
Step-by-step video:
For more card-making ideas, check out my YouTube playlist and card-making blog posts. I also have an unboxing video for Alex Syberia Designs where I show additional postage products that match with the postage die.
Product Information
Here are the products I used in today’s project. Please consider shopping through my affiliate links, as it greatly helps out my channel at no extra cost to you. Thanks so much for supporting me and my channel!
**Use code EGIDESIGNS for 15% off your order at Glassboard Studio**
|


Additional products used:
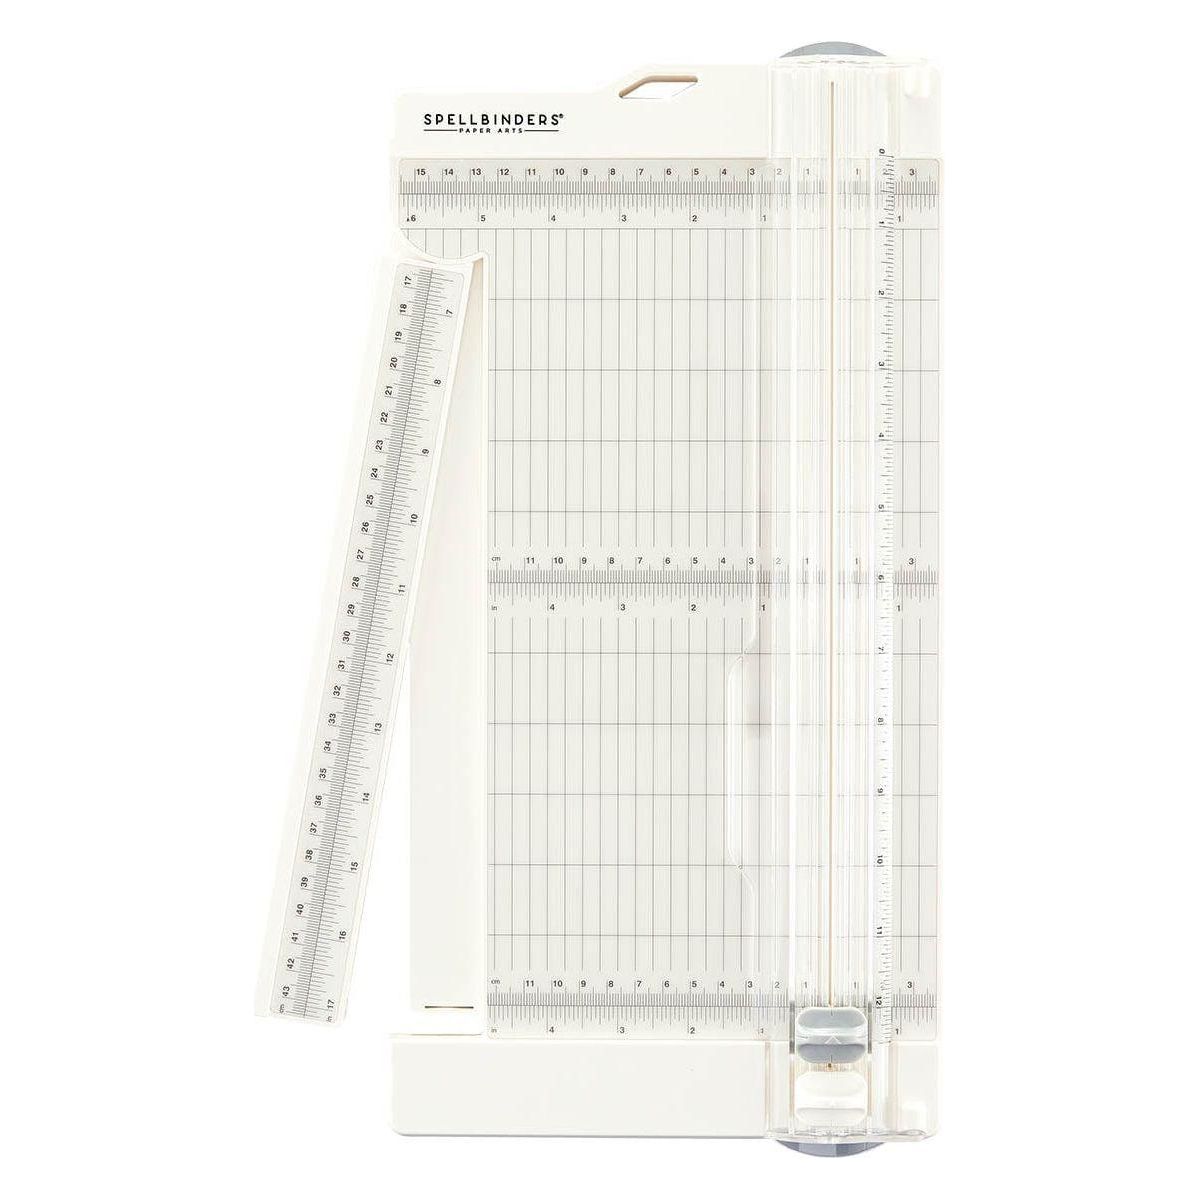
- Spellbinders Cream Cardstock