Easy Interactive Pull Up Birthday Card Using Dies
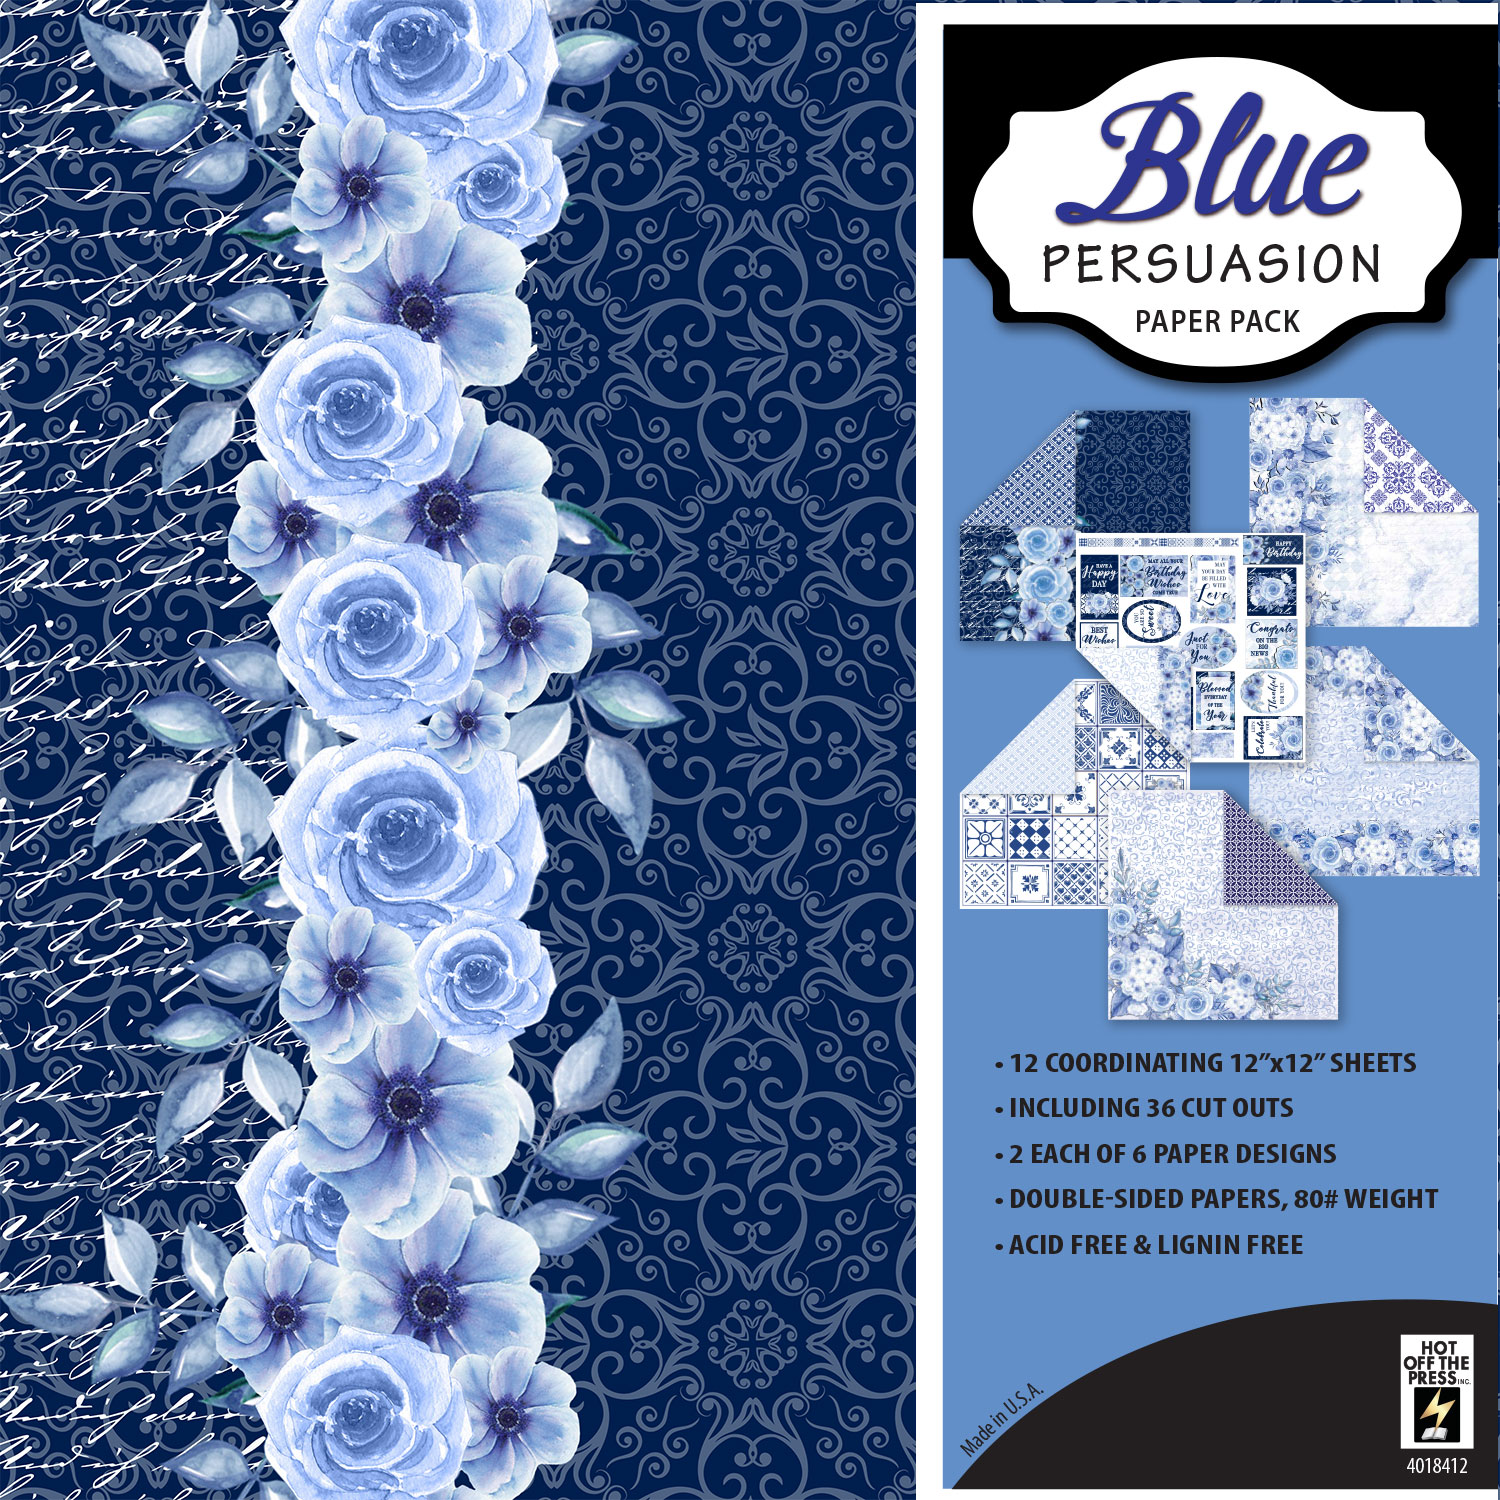
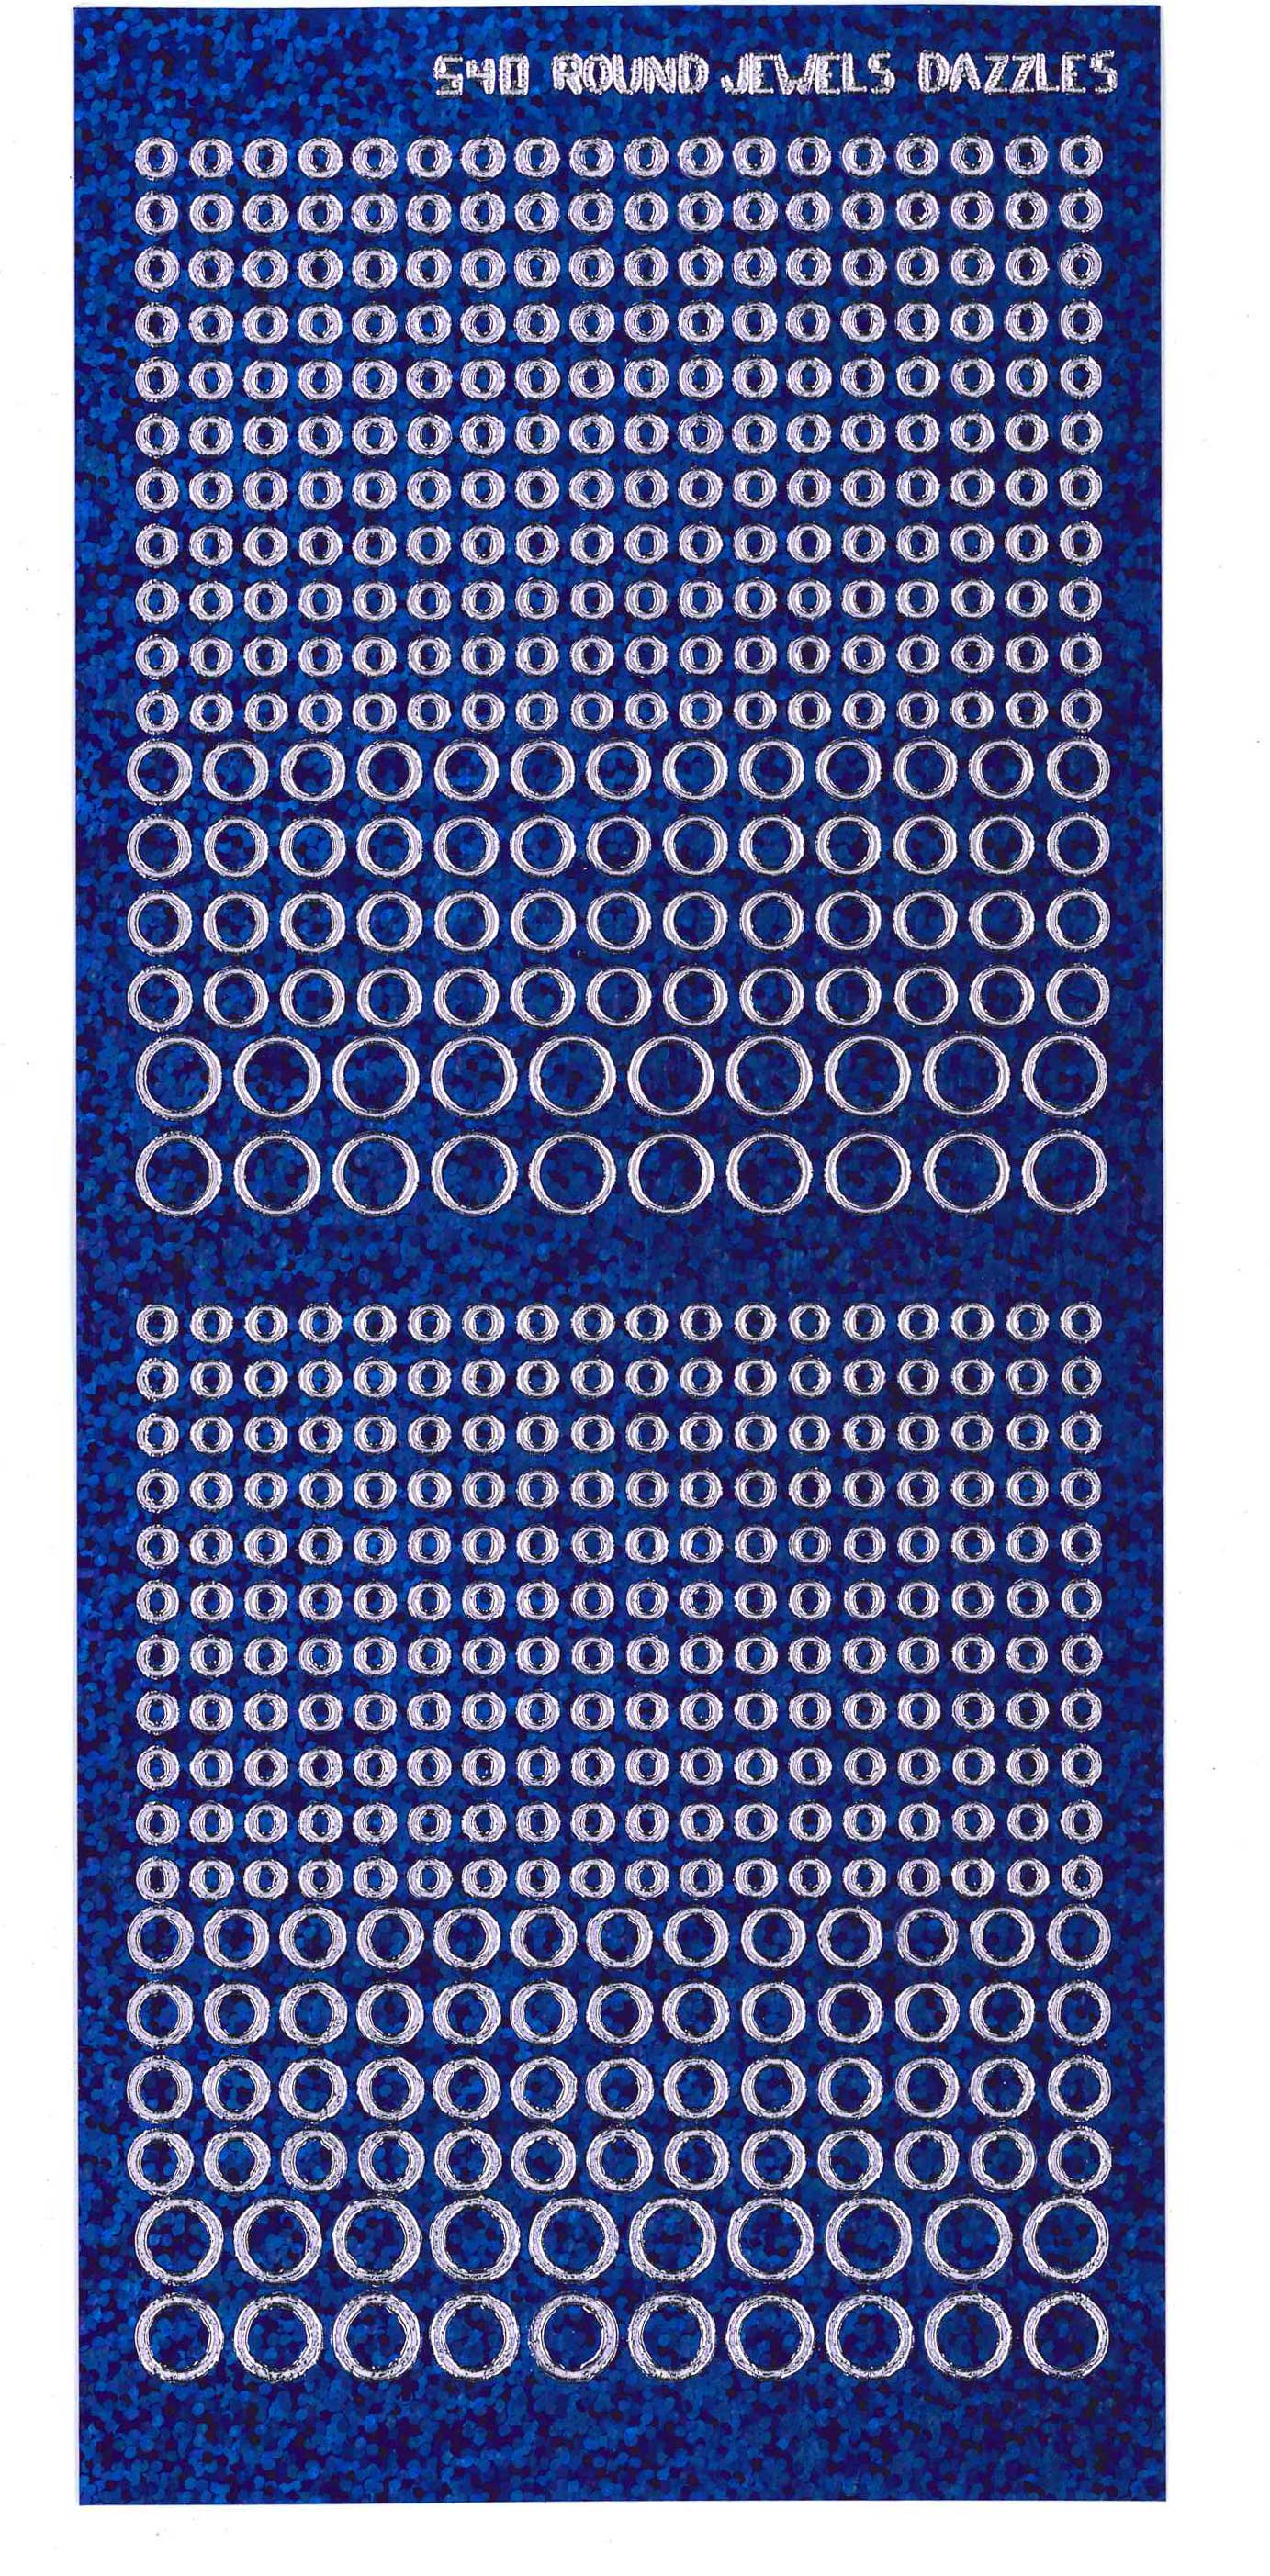
In this card project, I made a fun interactive birthday card using the Fabulous Folded Pull Up Card Cutting Die Set from Hot Off the Press at Paper Wishes. I used the Blue Persuasion Patterned Paper and Die Cuts on the project, and embellished the card with Blue Jewel Sparkle Dazzle Stickers. All products used in making this project are listed below.


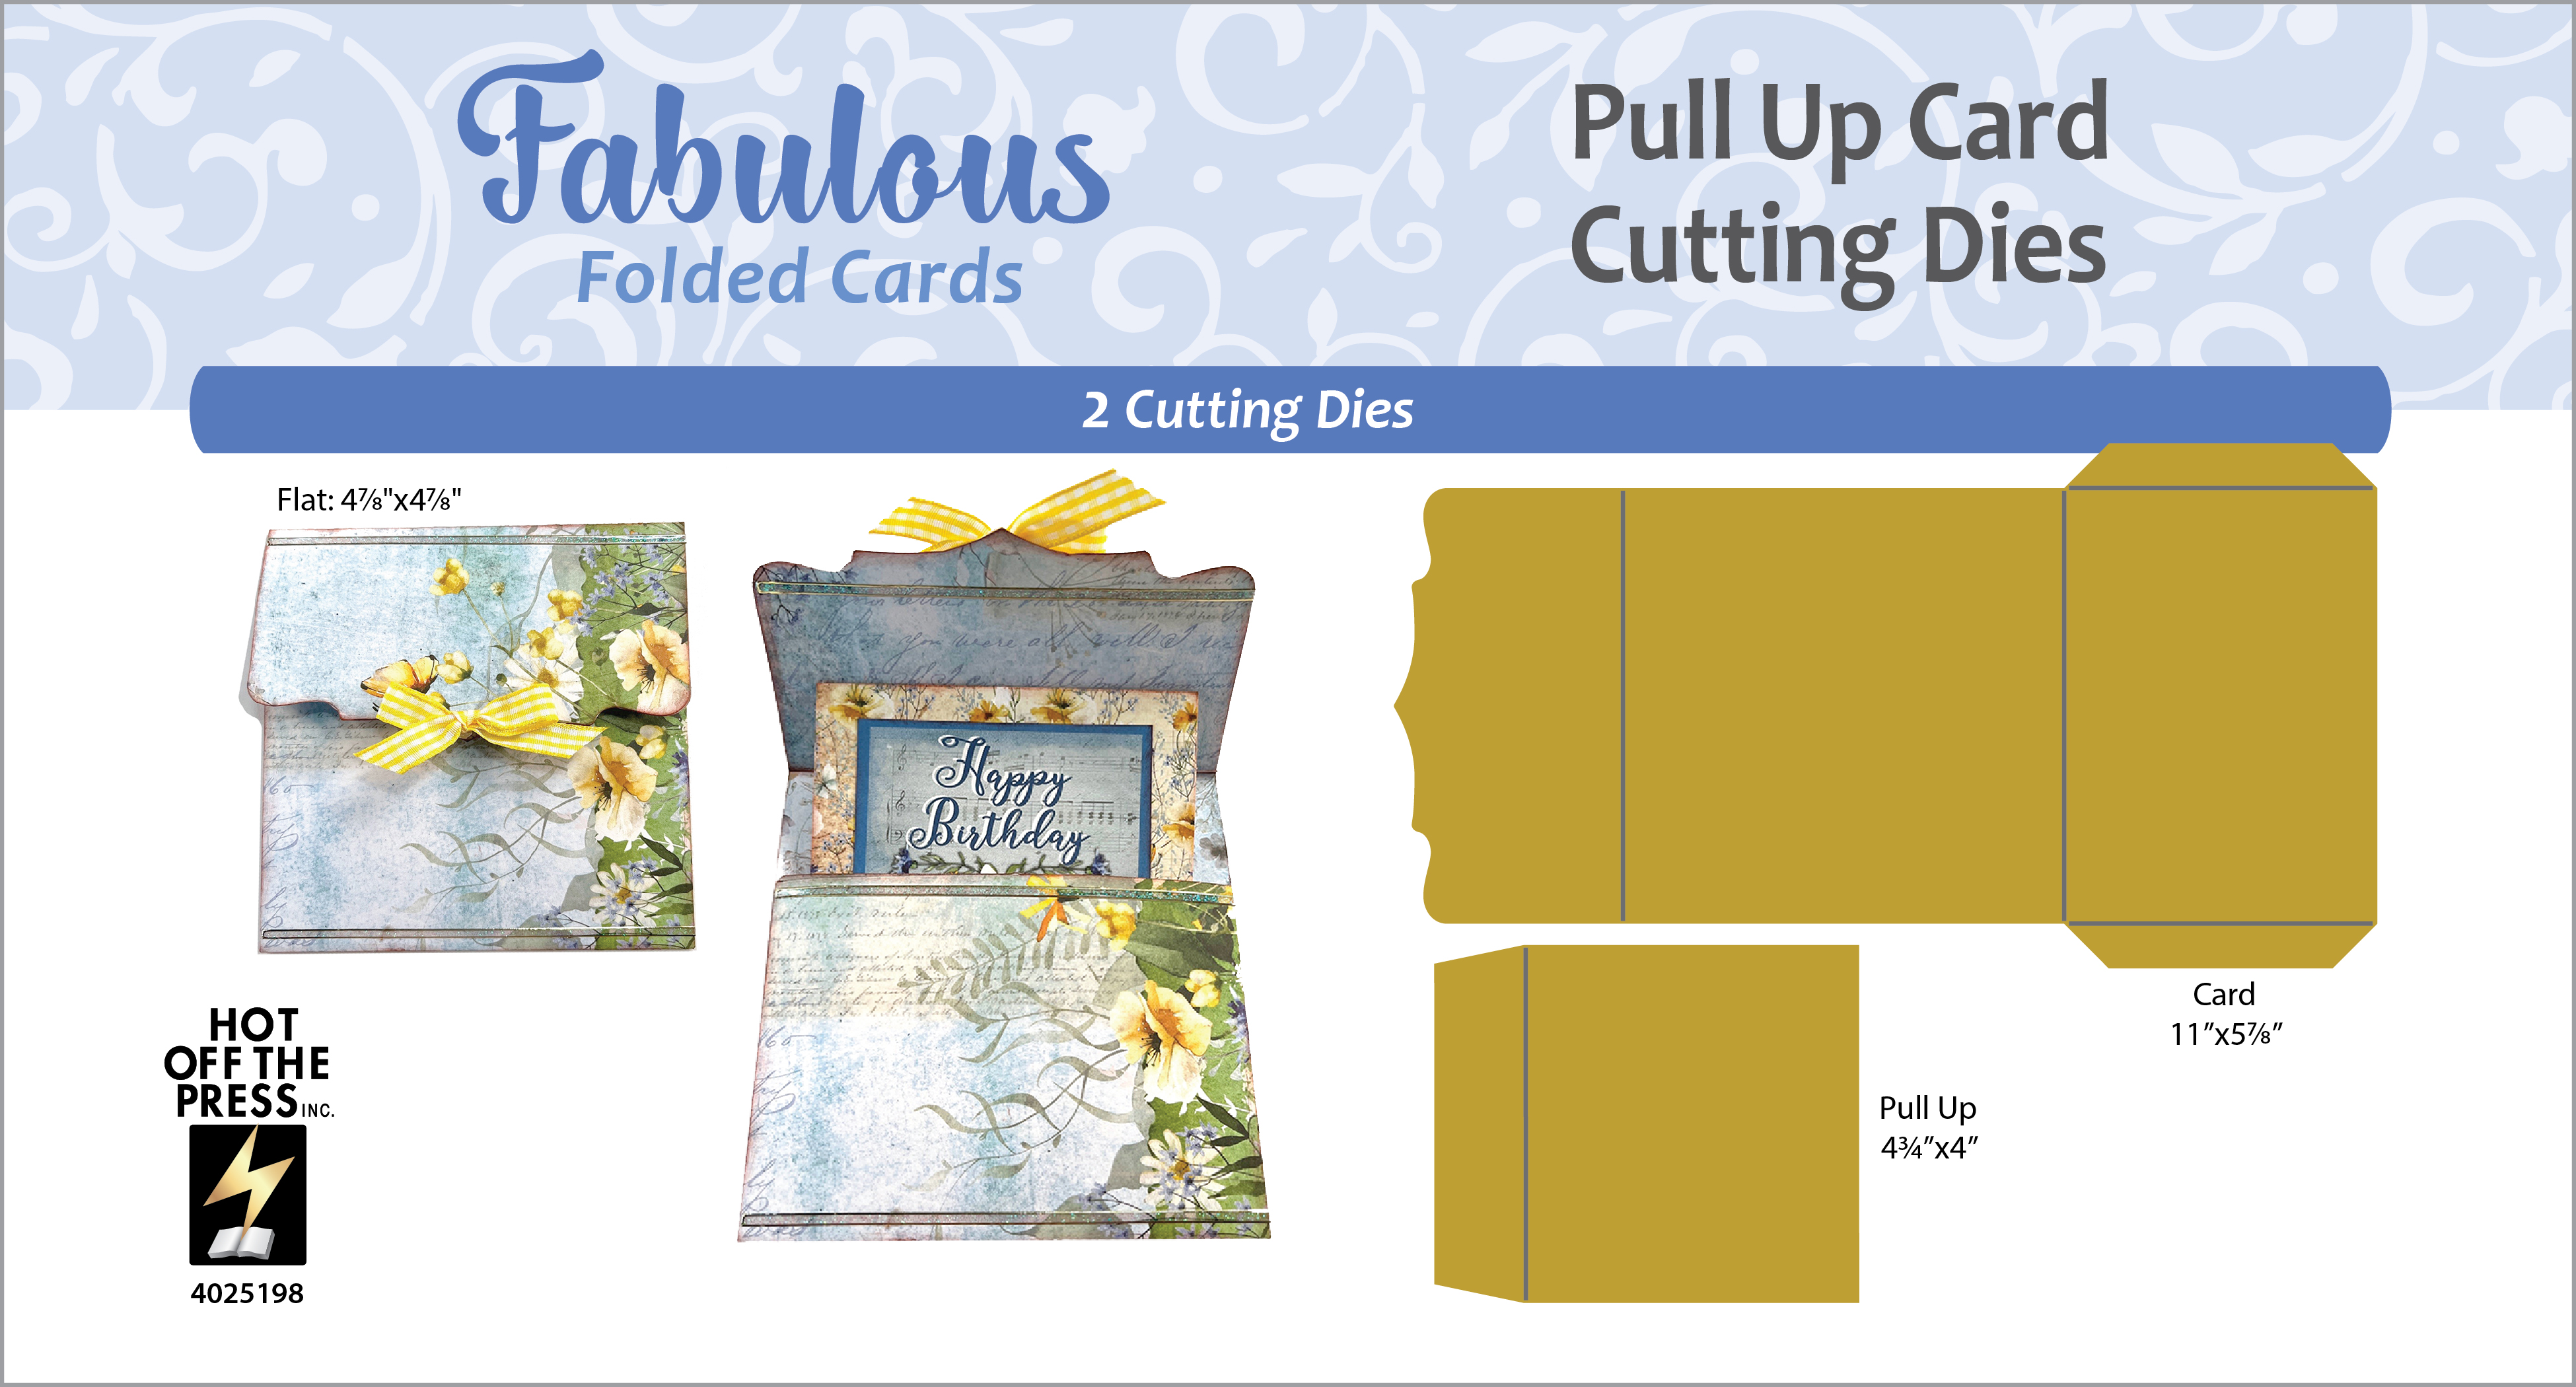
Card Instructions for Pull Up Card
For this card, I cut out the pieces in the Fabulous Folded Pull Up Card Cutting Die Set from the Blue Persuasion patterned paper. I chose one of the papers that had flowers along the side, and lined up the larger die so the flowers would be along the left hand side of the assembled card.
Following along with the instructions on the Pull Up Card packaging, I used 3/8″ double-sided Scor-Tape on the indicated tabs. I used my bone folder to reinforce all the score lines, and then folded the card according to the instructions. The main part folds up like an envelope, and the smaller piece creates the pull up mechanism. You can decorate the smaller inside piece before or after adding it to the inside of the card. The whole piece will not be visible when opened, so be sure to place your decorations accordingly and towards the top of the inside piece.
Decorating the Pull Up Mechanism
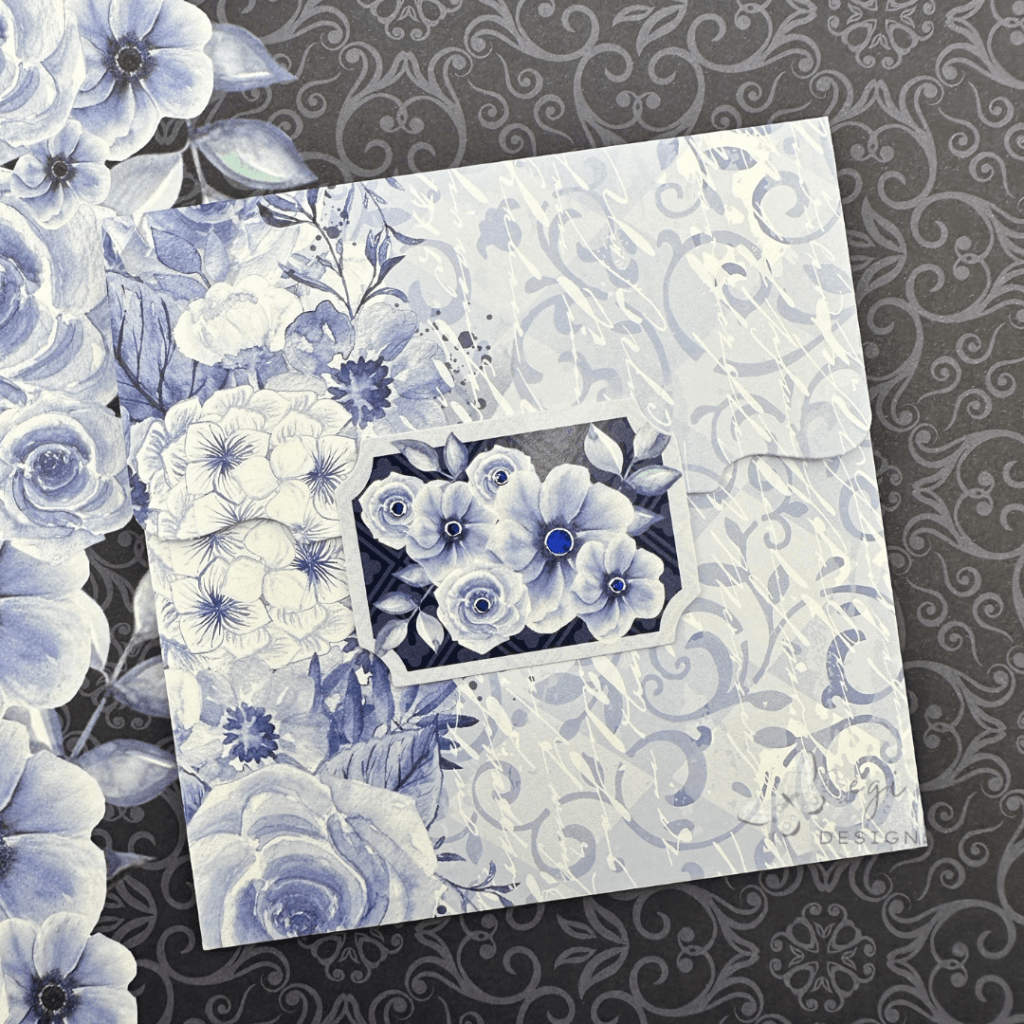
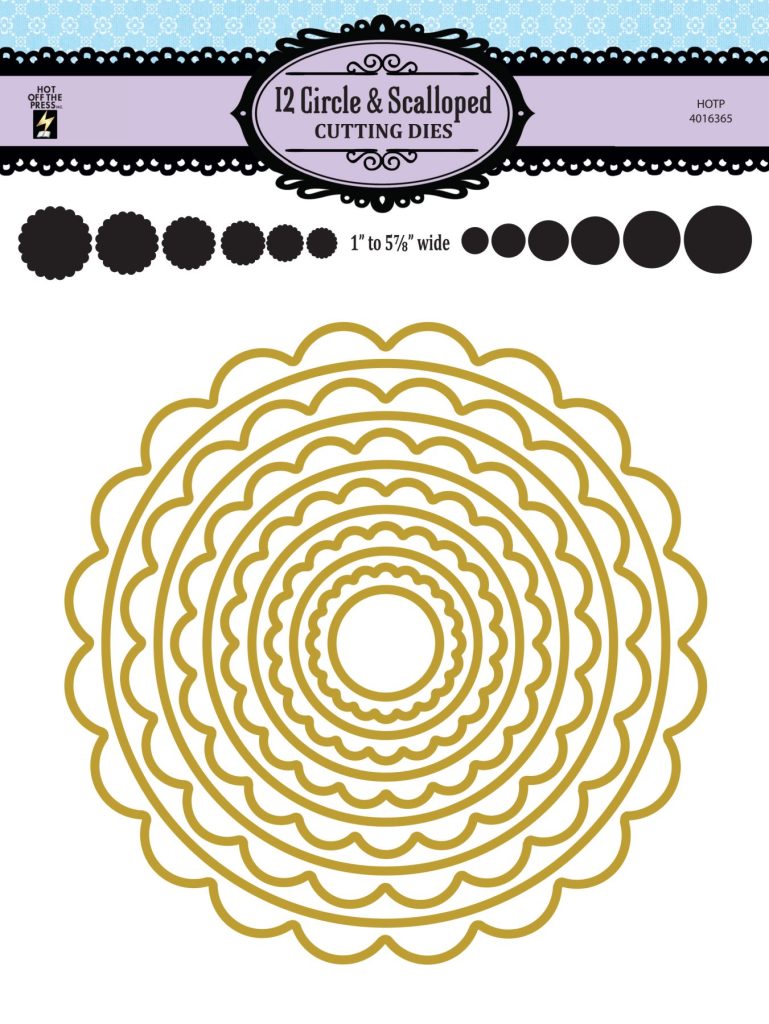
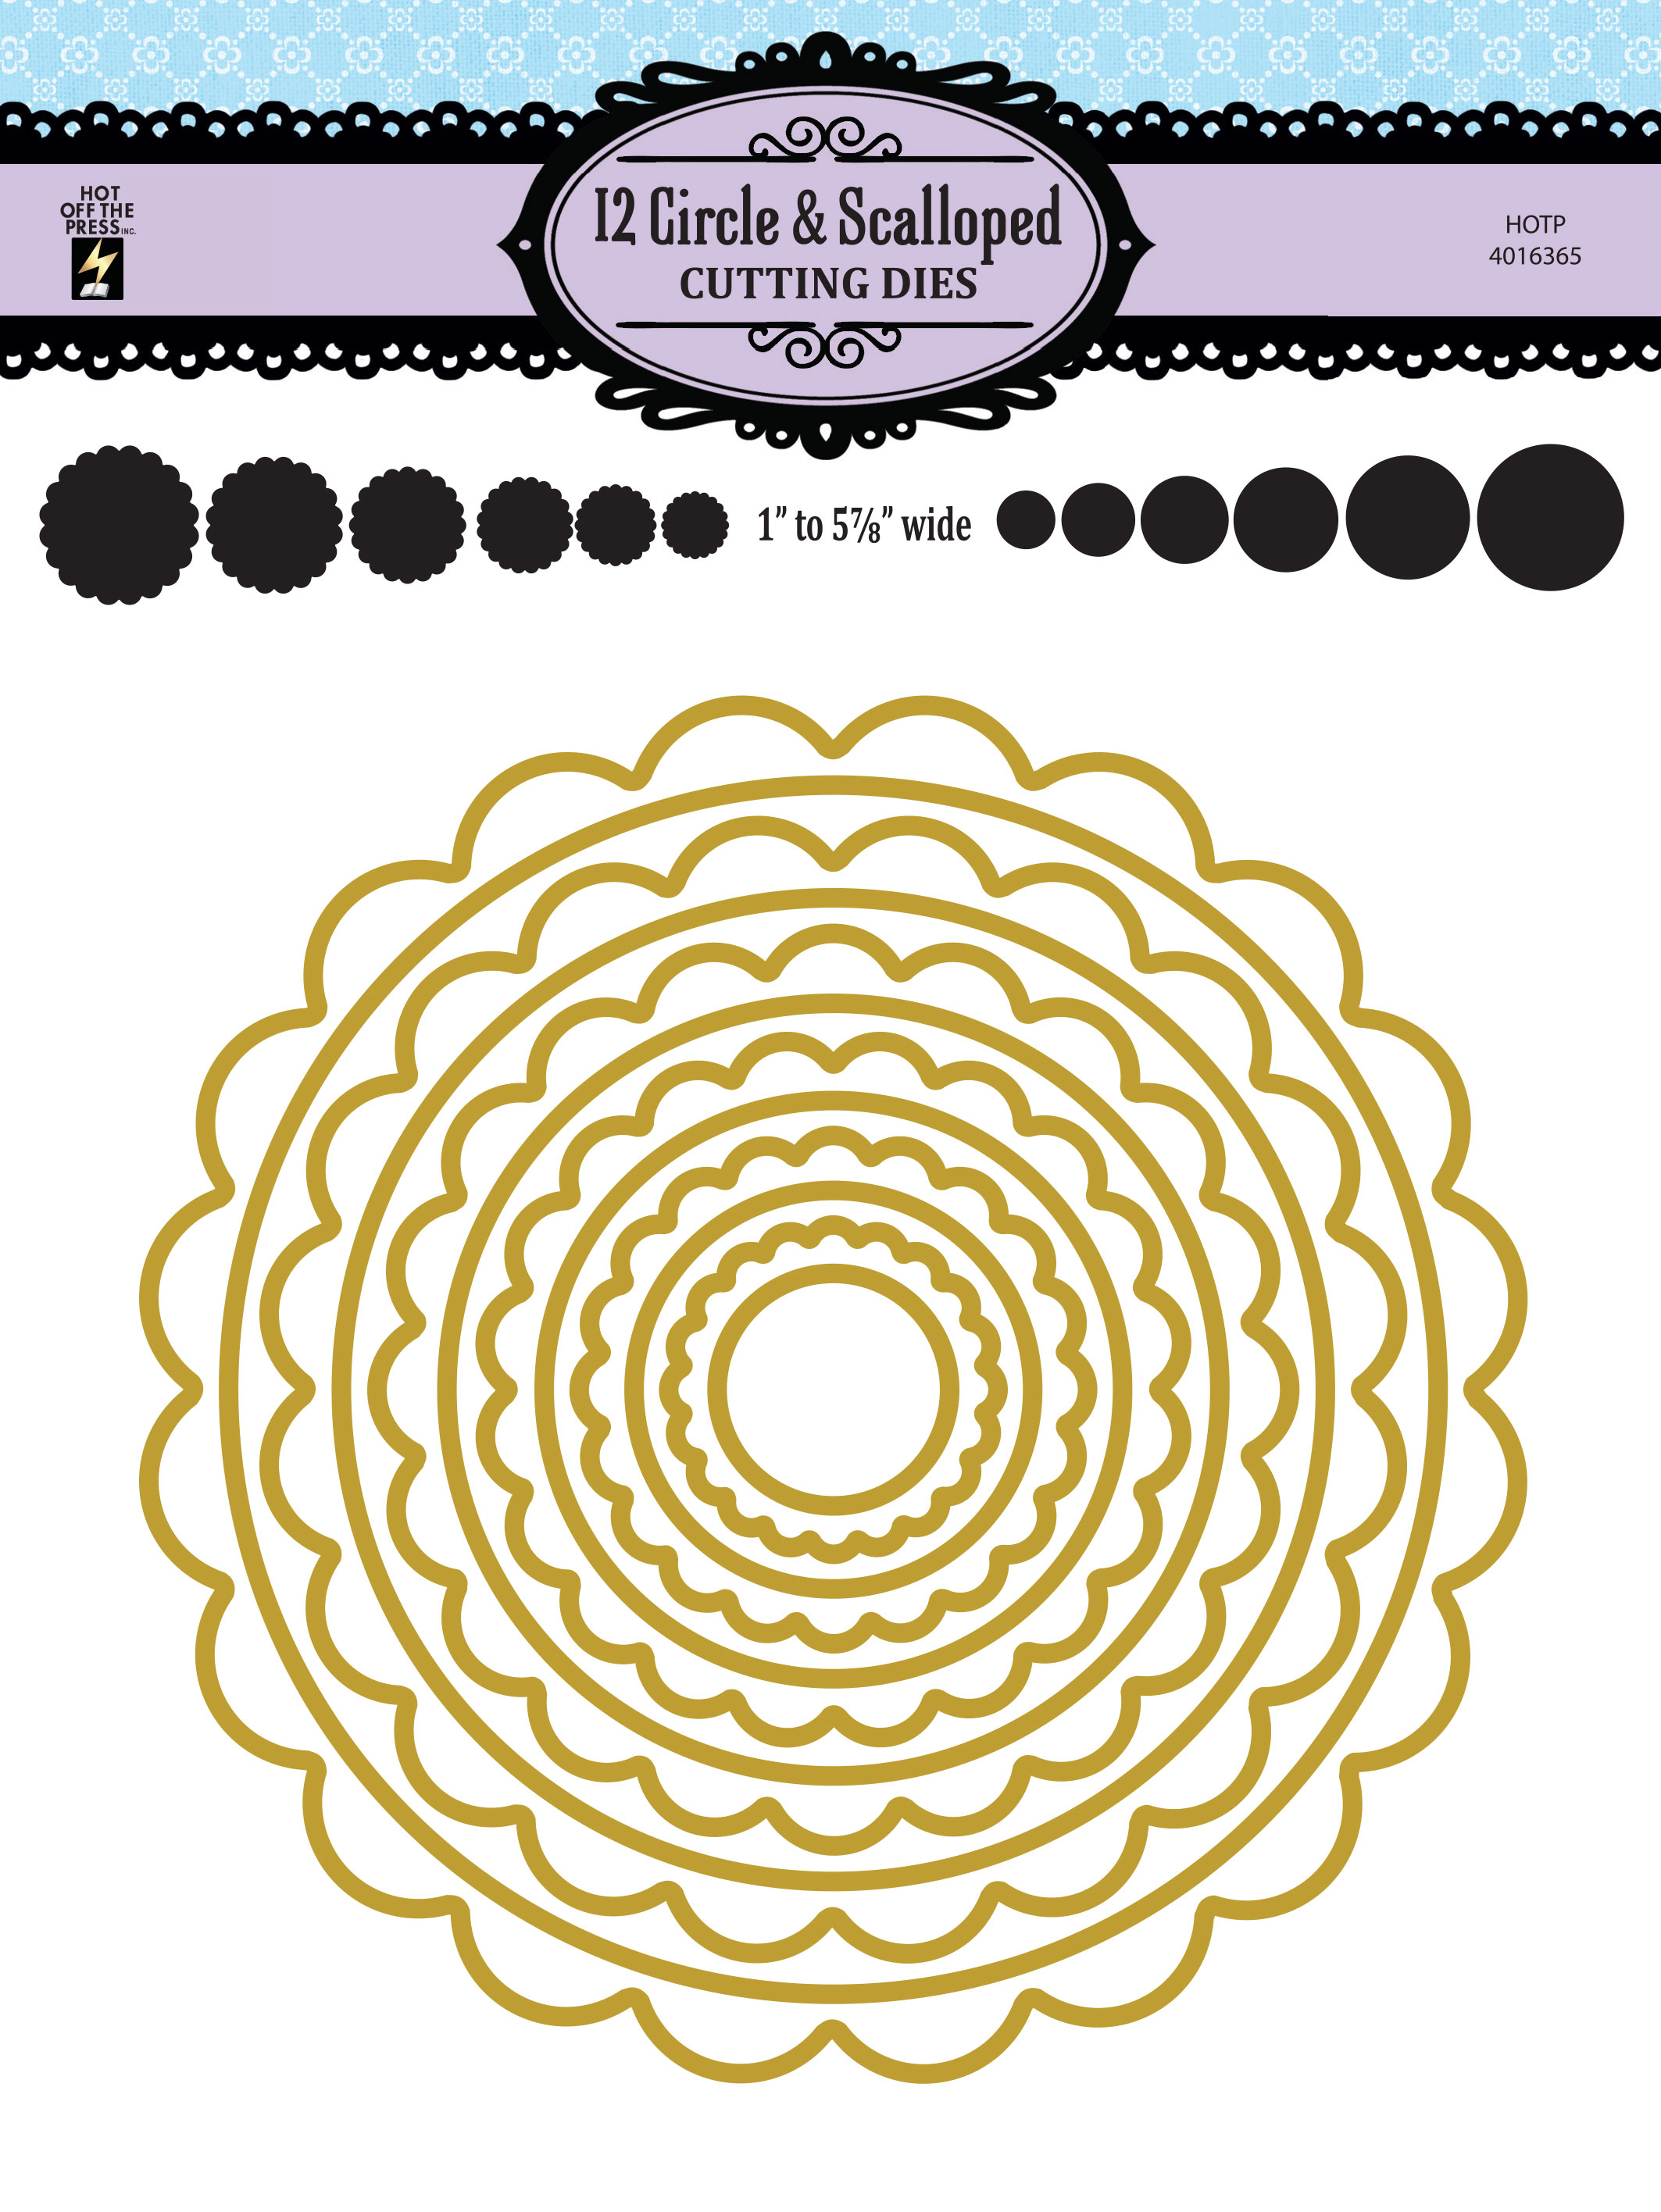
I picked out a circle die cut from the Blue Persuasion Die Cut pack, and then cut out a scallop mat layer to go behind it. For that, I used the patterned paper with the Circle & Scalloped Cutting Die Set from Hot Off The Press.

Next, I used my tape runner to attach the die cut to the mat layer, and then placed the piece on the interactive flap to get an idea of placement. Once I figured out where I wanted to place the die cut, I added it to the flap using my tape runner, making sure to put the adhesive out to the edges of the die cut so there was no risk of it catching on the mechanism.
Decorating the Front and Back of the Card
To decorate the front of the card, I punched out a floral die cut from the Blue Persuasion die cut pack, and added it to the flap on the card front using 1/4″ double-sided Scor-Tape. Then I used Blue Jewel Dazzle Stickers and added them to the flower centers for a little sparkle and shine.
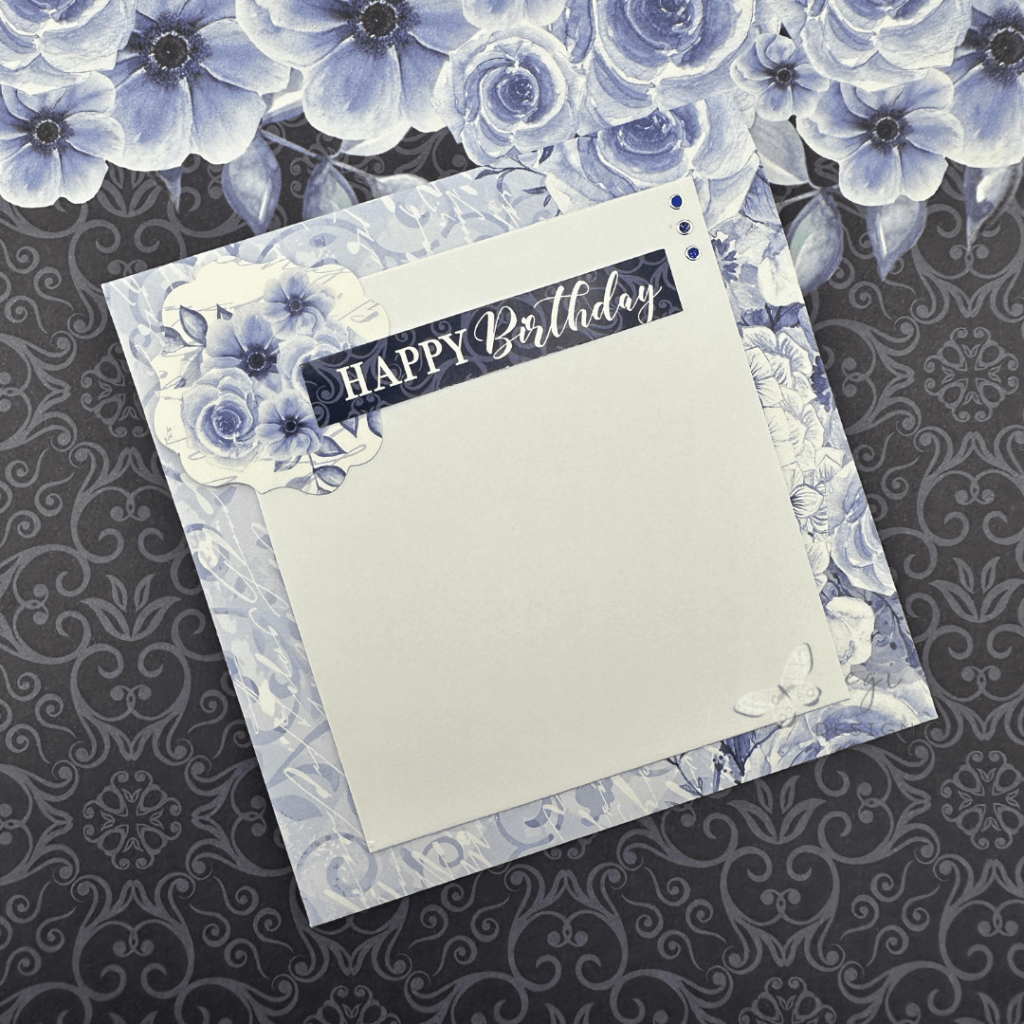
To have a place to write a message on the back of the card, I cut out the smaller die piece using white cardstock. It is the perfect size to add to the back of the card after cutting off the tabbed portion. I decorated the panel with another floral die cut, as well as a Happy Birthday die cut, and a row of the Blue Jewel Dazzle Stickers.
Envelope for Card
I also made a coordinating 5×5″ square envelope for this card using the 1-2-3 Punch Board from We R Memory Keepers and Butterfly Dazzle Stickers. You can check out the envelope blog post or video tutorial for more information.
Step-by-step video:
I hope you enjoyed this project! For more card-making ideas, check out my YouTube playlist and card-making blog posts. I also have a video playlist on how to make custom size envelopes for cards like these.
Product Information
Here are the products I used in today’s project. Please consider shopping through my affiliate links, as it greatly helps out my channel at no extra cost to you. Thanks so much for supporting me and my channel!
**Use code EGIDESIGNS for 15% off your order at Glassboard Studio**
|


One Comment