Making a 5×5″ Square Envelope on the 1-2-3 Punch Board
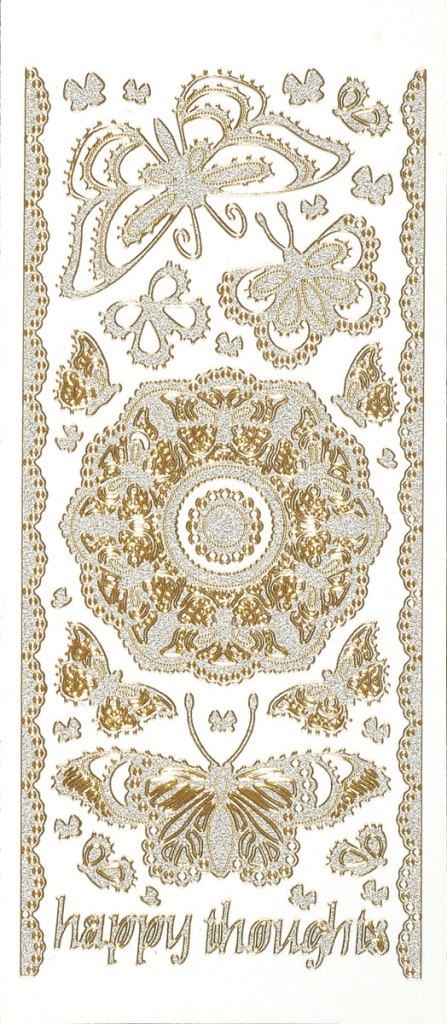
For this video project, I made a square envelope for a recent square card I made, using the 1-2-3 Punch Board from We R Memory Keepers. I also show how I decorated the envelope using the Lacy Gold Pearl Butterfly Dazzles and Black Butterfly Dazzles from Paper Wishes. All products used to make this project are listed below.
I made this envelope for a recent card project, and I have a video tutorial and blog post available with directions on how to make this beautiful Pull Up Interactive birthday card.

Making the Envelope
In the video, I explain and demonstrate step-by-step how to make a square envelope using the 1-2-3 Punch Board with measurements from an online punch board calculator. This calculator will give you the correct measurements for any envelope size you need, in both metric and imperial systems..

My card measures about 4 7/8″ square, so I entered in the calculator that my card measures 5 x 5″. This gave me a paper size calculation of 8 5/16″ square, with a score line of 4 3/16″.
How to use the 1-2-3 Punch Board
Our first score line on the punch board is 4 3/16″. You score, and punch, and then rotate the paper one turn to the left. The next score line is 4 3/16″, score and punch, then rotate a turn to the left. On a rectangle-shaped envelope, the opposite sides’ score lines are on the same score line measurements. On a square card, the score line is at the same mark for all the sides, so the third score line is also at 4 3/16″, Score, punch, and turn to the left once more. The fourth score line is at 4 3/16″ again; score, punch, and you’re all done with the scoring. I love to use a Cricut Scoring Tool to score my cardstock as it is gentle on the paper, but still offers a crisp score line.
The 1-2-3 Punch Board comes with a corner rounder at the top of the board. Round your corners if you like. Then fold all the score lines and use a bone folder to burnish the folds. I used 3/8″ double-sided adhesive tape to construct the bottom half of the envelope. I added 1/4″ tape to the top flap and left the release paper on. I will remove this when it’s time to seal the envelope for mailing.
Decorating the Envelope Using Dazzle Stickers from Paper Wishes
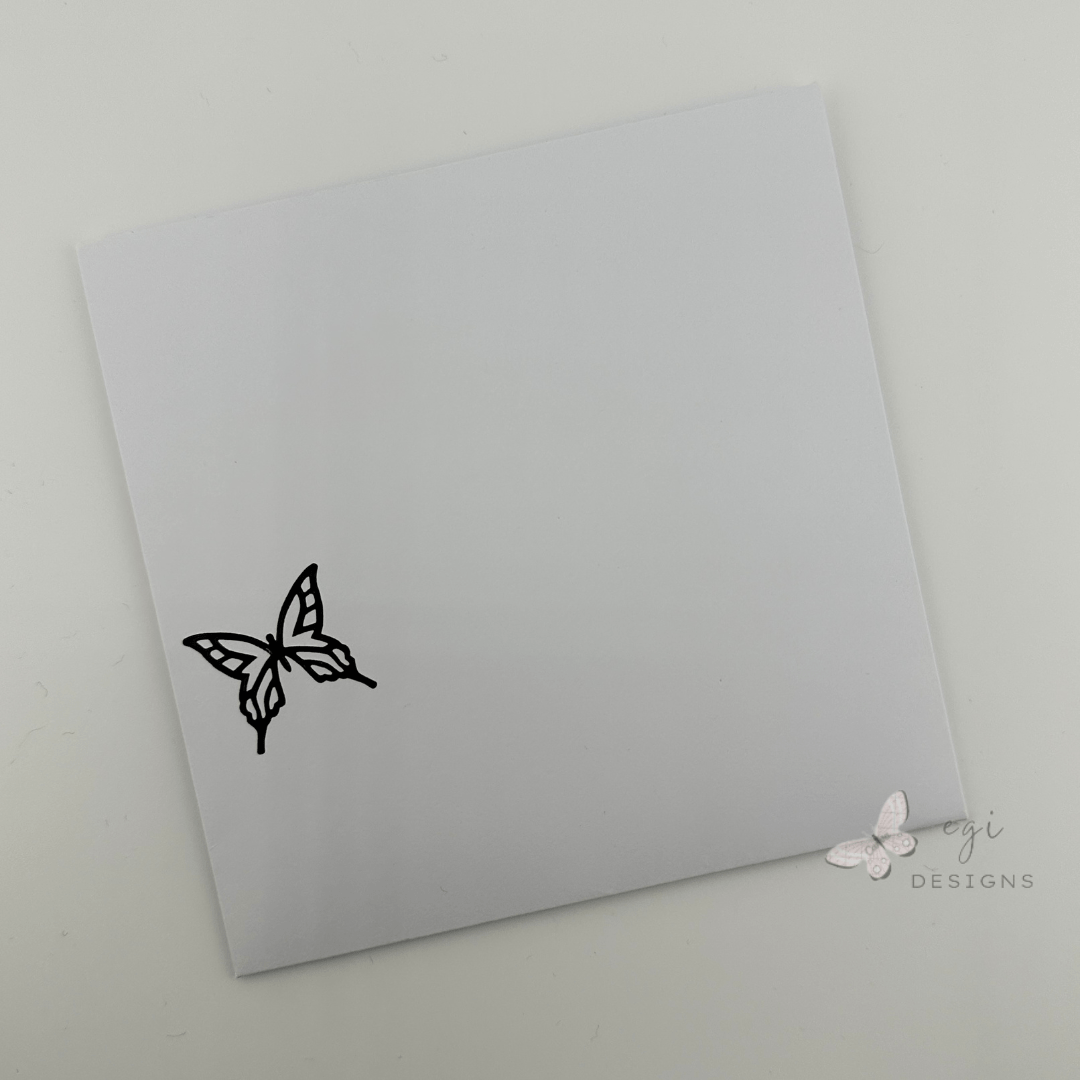
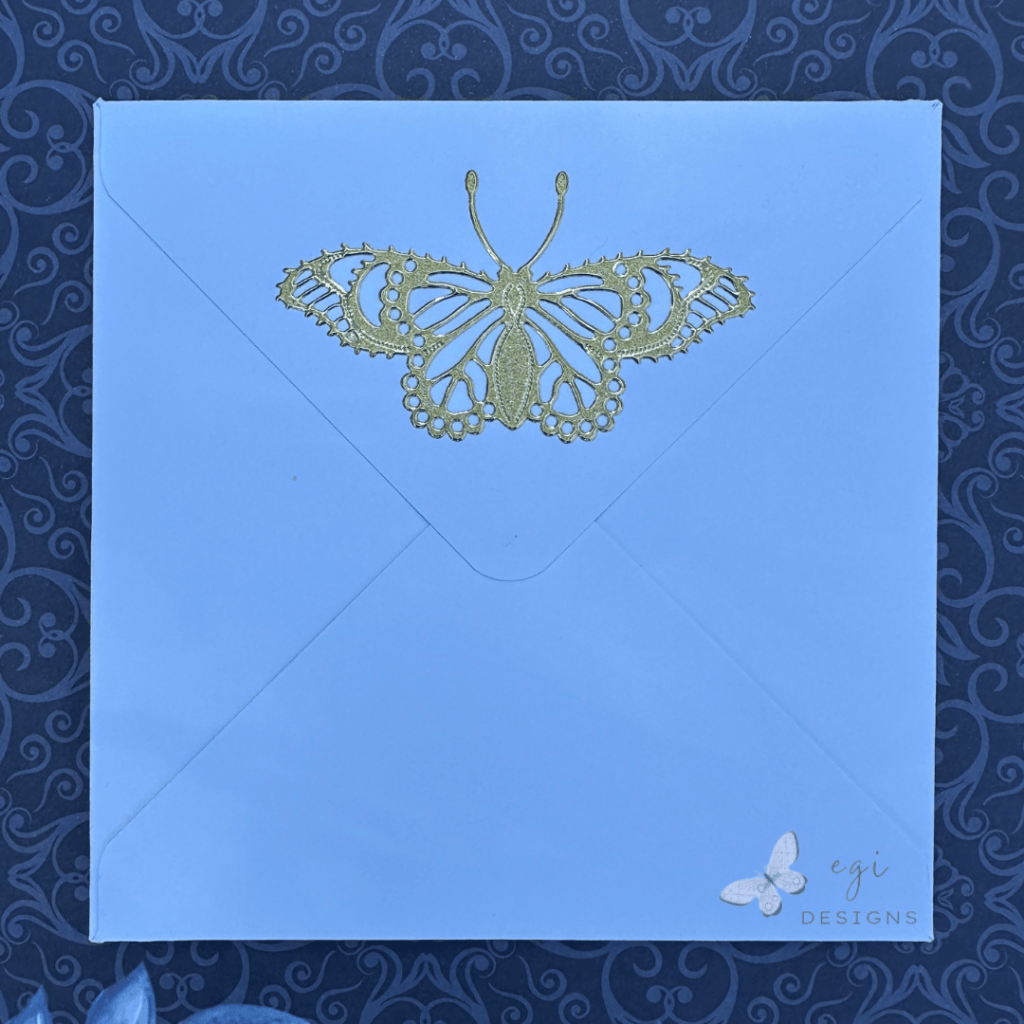
After I finished making the envelope, I added a Black Butterfly Dazzle Sticker to the front, and a Lacy Gold Pearl Butterfly Dazzle Sticker to the back of the envelope. Adding stickers to an envelope is a super-easy way to decorate them.
Hope you enjoyed this project!! For instructions on how to make other envelope card sizes, check out my Punch Board playlist on YouTube. For more card-making ideas, check out my YouTube playlist and card-making blog posts.
Here is the link to the instructional video:
Here are the products I showed in today’s project. Please consider shopping through my affiliate links, as it greatly helps out my channel at no extra cost to you. Thanks so much for supporting me and my channel!
**Use code EGIDESIGNS for 15% off your order at Glassboard Studio**
|






One Comment