Say Happy Birthday with Style: Flower Emporium Makes it Simple
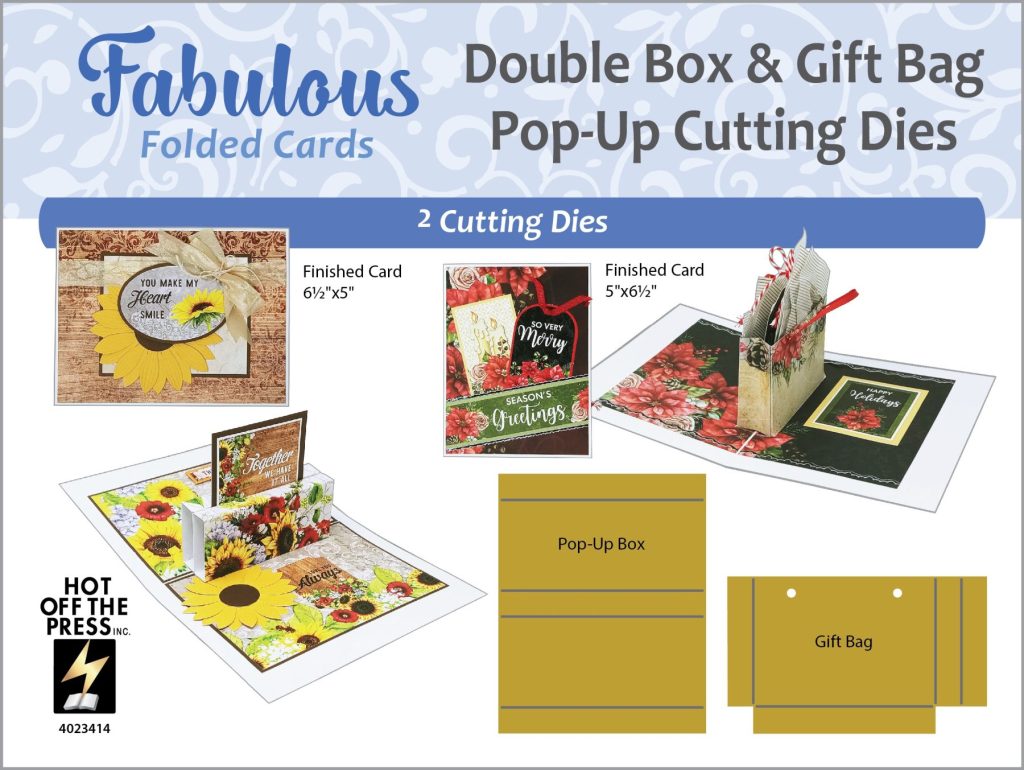
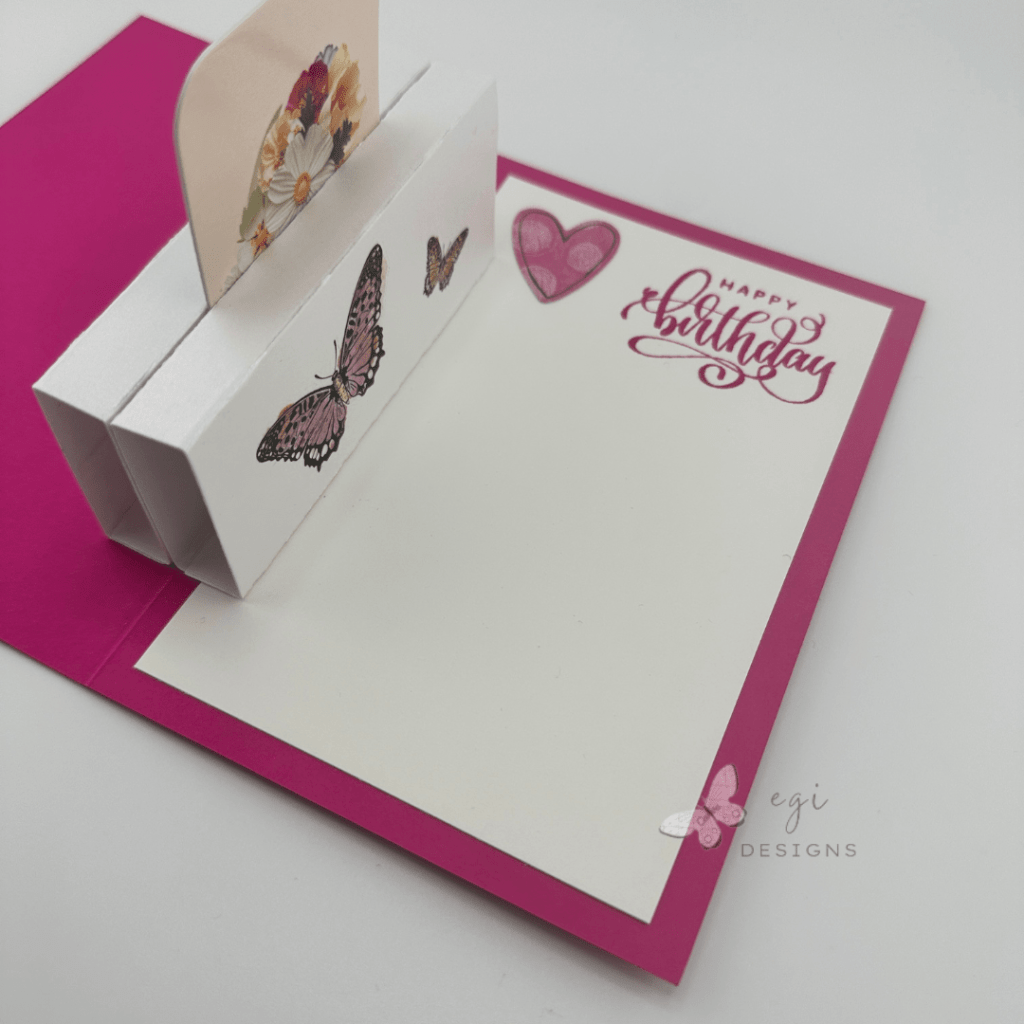
In this video project, I made two Birthday cards using the Sheetload of Cards September 2025 Sketch, and the Flower Emporium Collection from 49 and Market. Inside the second card, I used the Paper Wishes/Hot Off the Press Fabulous Folded Cards: Double Box & Gift Bag Cutting Dies to make a fun gift card holder pop-up surprise. All products used in making this project are listed below.

Measurements: Card 1
A2 Card Base: 4 1/4 x 5 1/2" when folded
8 1/2 x 5 1/2", Scored at 4 1/4"
Black Mat Layer: 4 1/8 x 5 3/8"

Inside Panel: 3 3/4 x 5"
Skinny Strip 1/2 x 5"

Measurements: Card 2
Card Base: 4 1/4 x 6 1/4" when folded
8 1/2 x 6 1/4", Scored at 4 1/4"
Pink Cut-apart: 3 3/4 x 5 3/4"
Pink Mat Layer: 4 x 6"

Inside Panel: 3 3/4 x 5 3/4"

**See the Call Me Crafty Al Sheetload of Cards September 2025 Card Sketch video for additional measurements**
Sheetload Card Instructions
To make the cards, I used the Call Me Crafty Al’s Sheetload of Cards Sketch for September 2025. Her video is linked in the box above, and it is where you can download the printable card sketch. This card sketch makes eight cards if you follow the directions exactly. There are also instructions on how to make one card if desired. In this project, I made two cards of differing sizes.
I have another card project where I made vintage-looking Christmas cards using the same September 2025 sketch, and the Paper Wishes Christmas Floral Plaids collection. I have a blog post and a video for this project if you would like to see more examples of this sketch.


Birthday Card #1
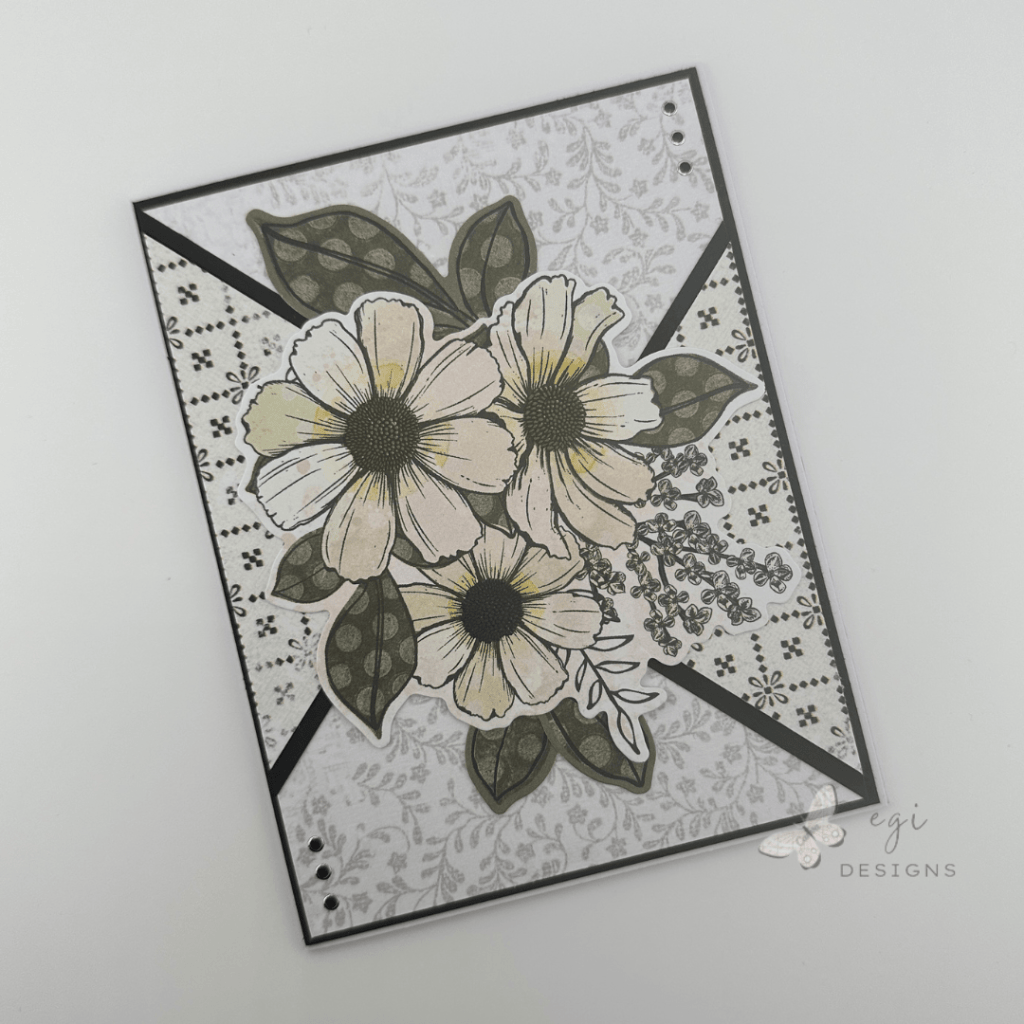
For this black and white card, I cut the panels according to the sketch using paper from the Flower Emporium Paper Patterns Pack and Staples Pack. I also cut a mat layer from Gina K Designs Black Onyx cardstock. I assembled the card following the sketch, and then added the panel to the mat later, then the card base. The card base was cut from the Spellbinders Fairy Tale cardstock, which is a gorgeous shade of light purple.
Tip: Use the ledge on a score board or paper trimmer to help when gluing on the triangles. This will ensure that the edges line up perfectly!
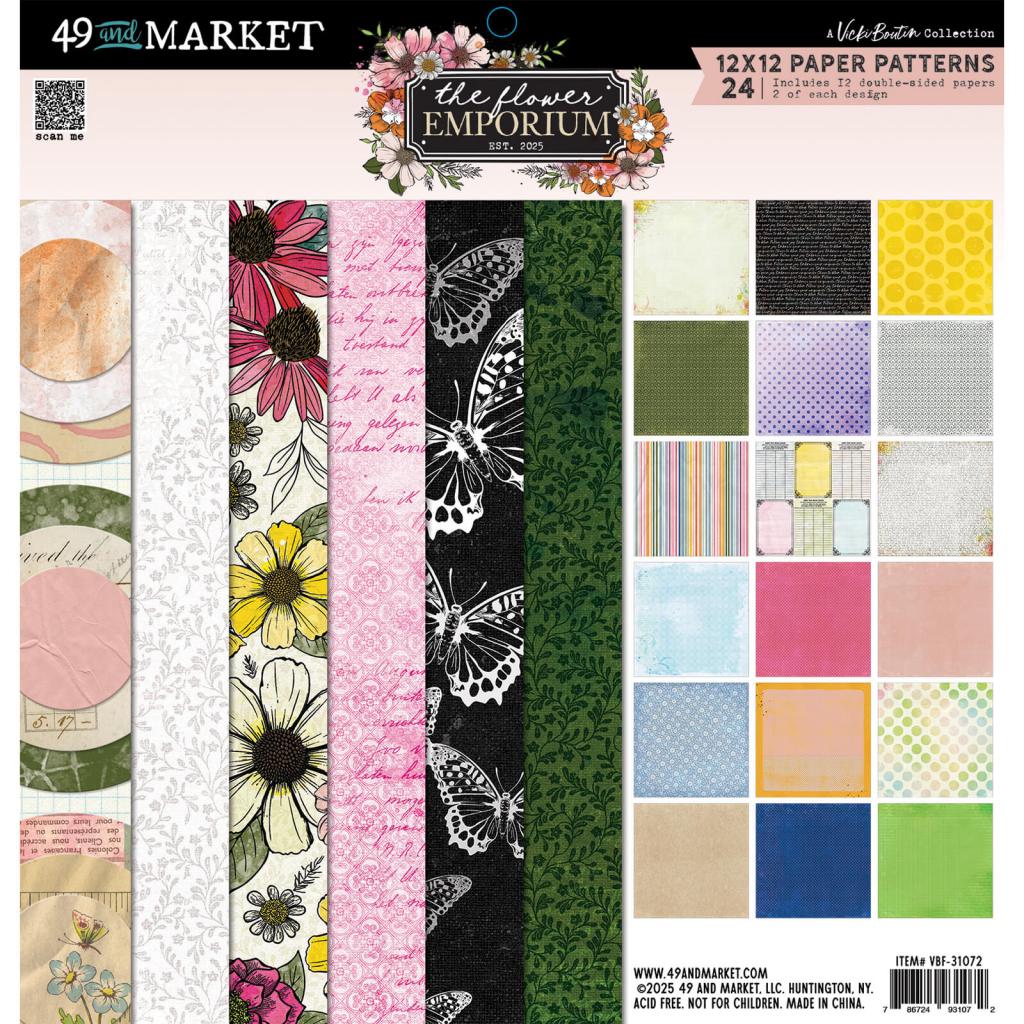
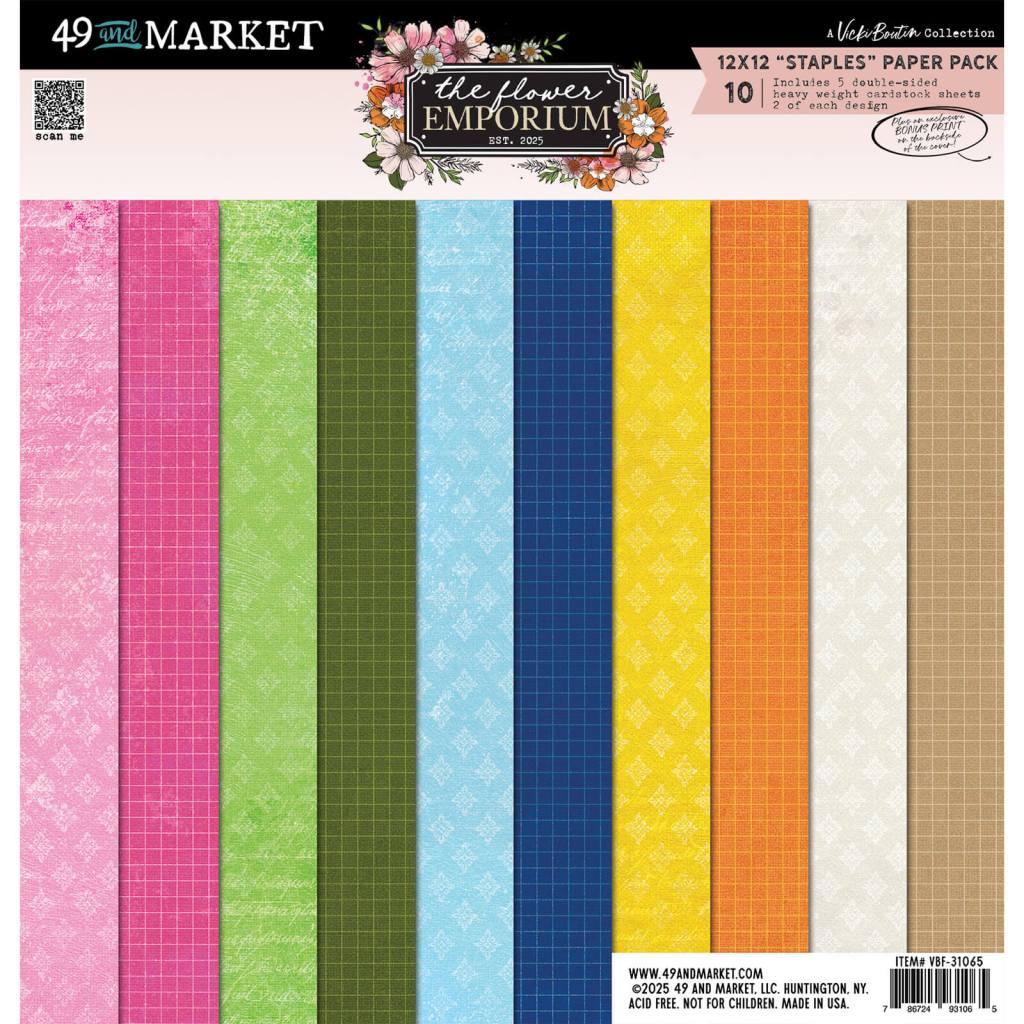
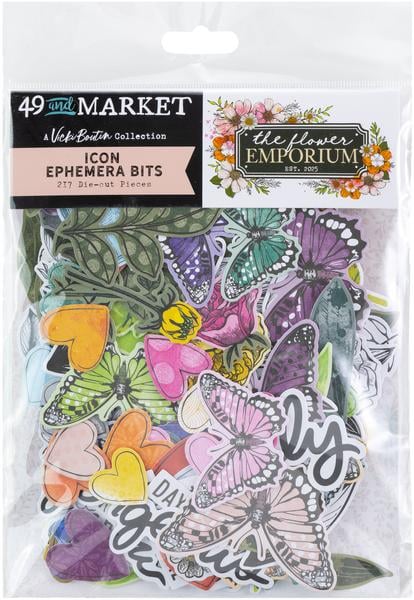
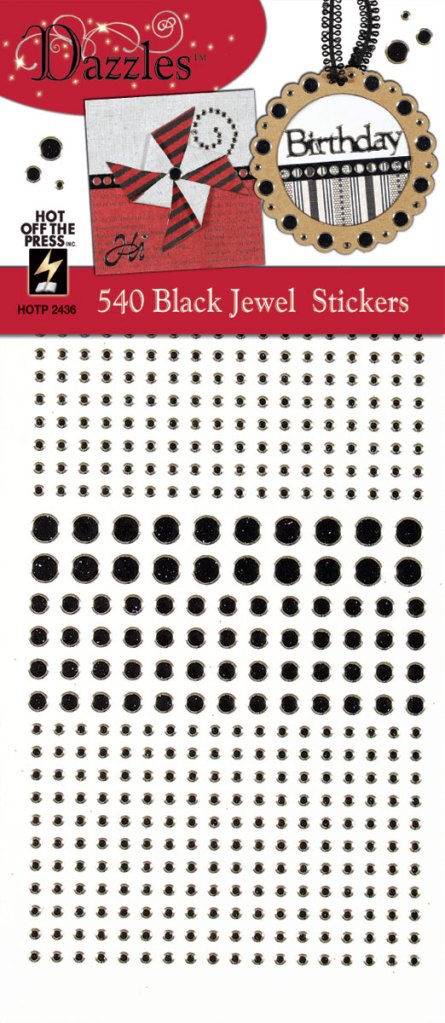
After the panel was on the card base, it was time to use the gorgeous ephemera and die-cuts in the Flower Emporium collection to decorate the card front. I ended up using a large floral die cut as the focal image, and cut up some of the foliage die cuts to add behind the floral piece. I finished off the card front by adding some Paper Wishes Black Jewel Dazzle stickers to the top right and bottom left.
Inside of Card #1
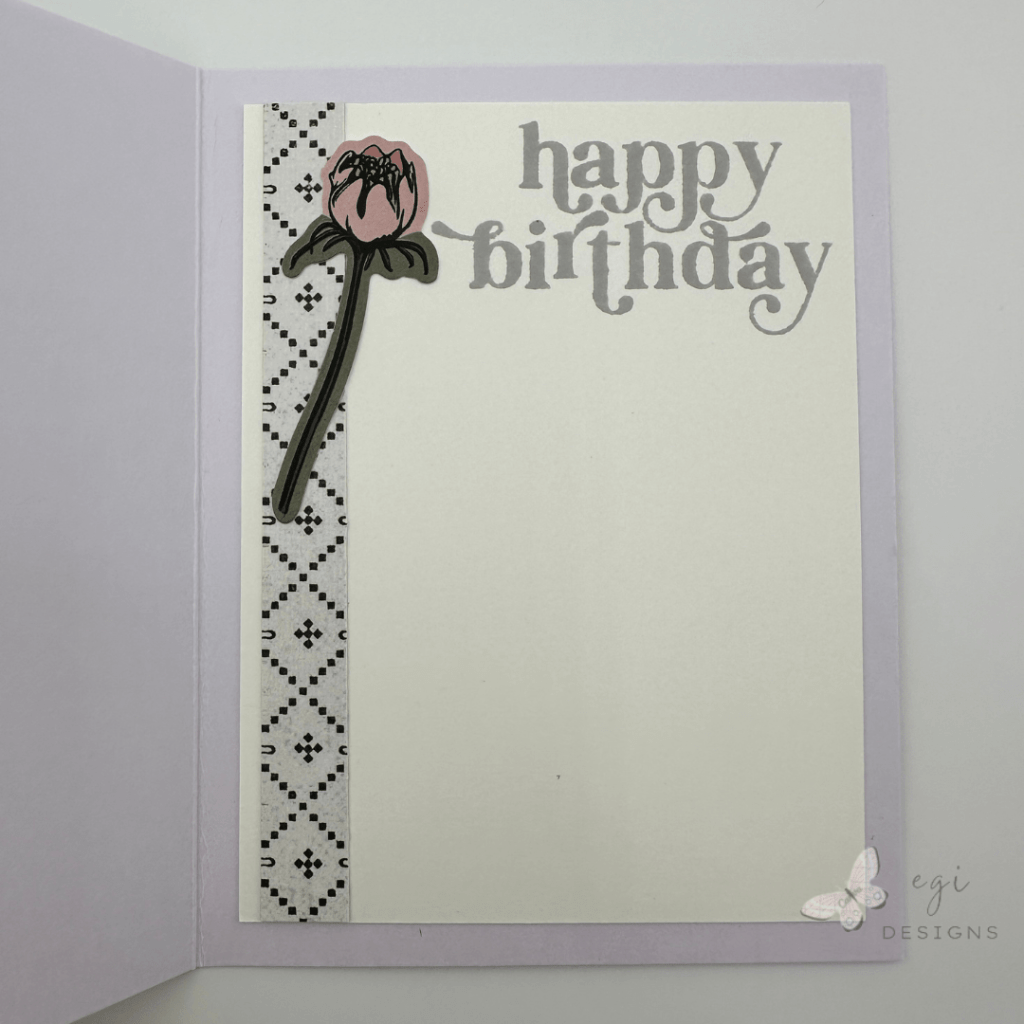
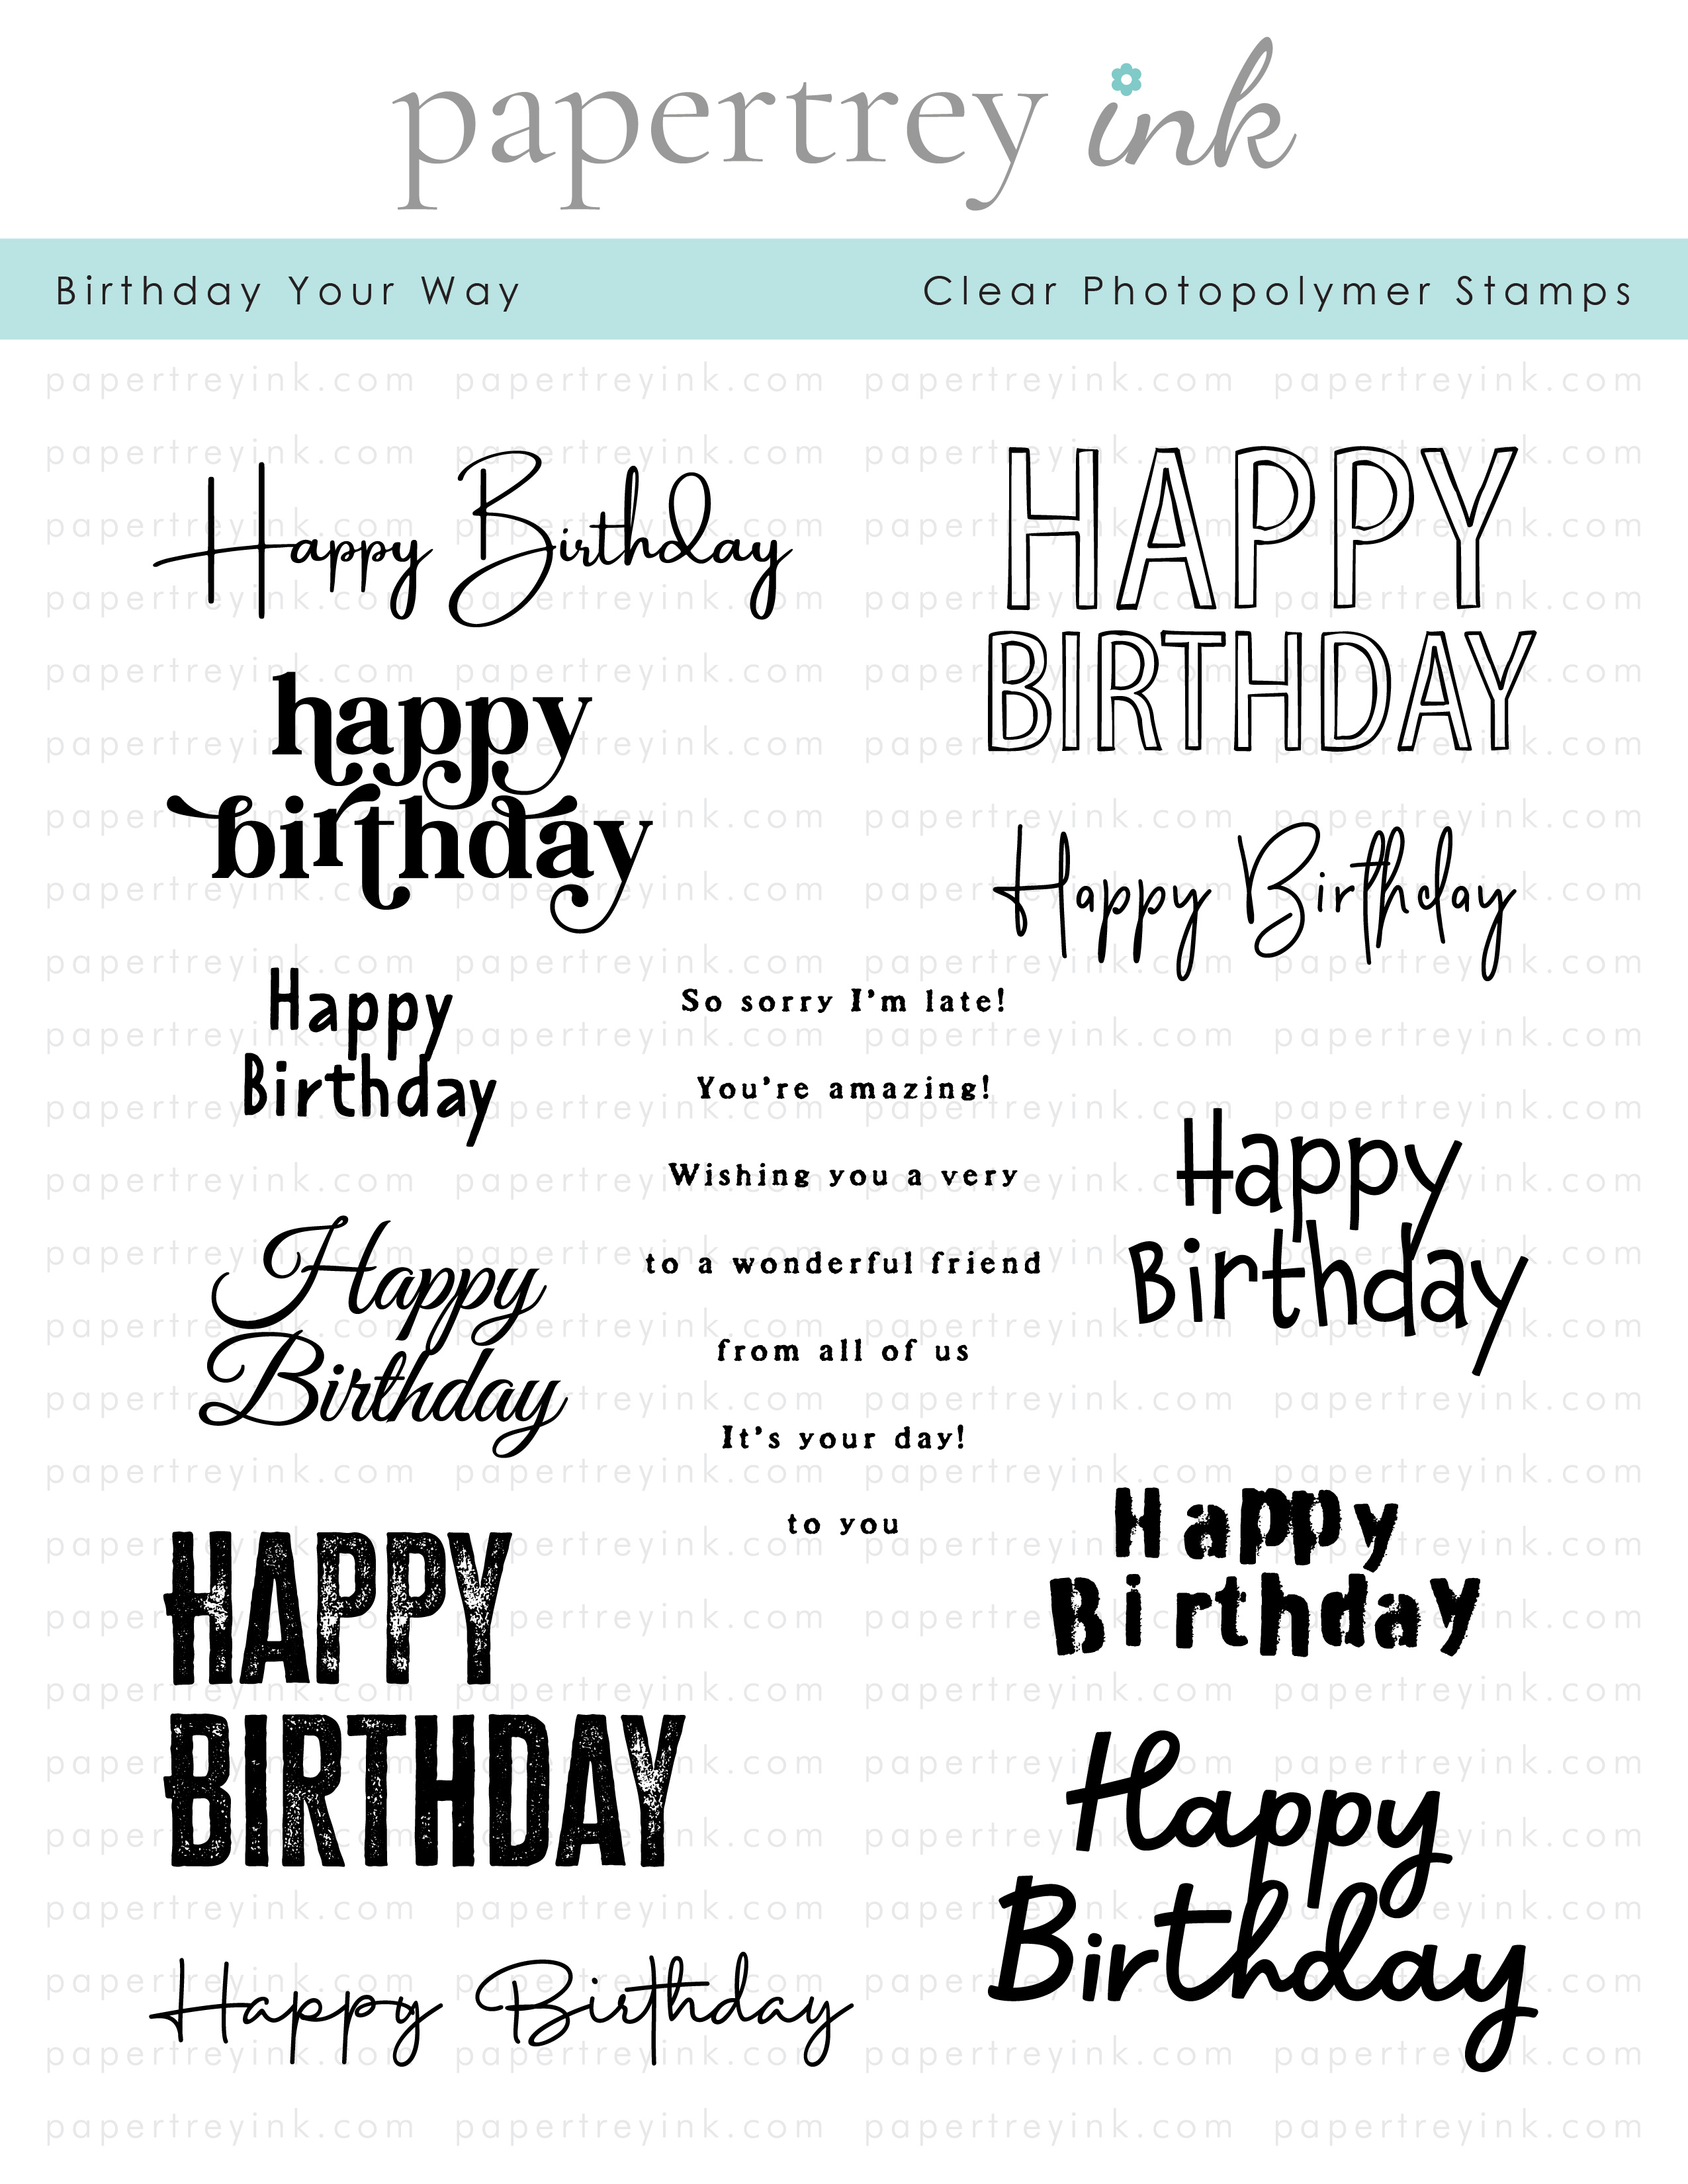
For the inside of the card, I used a skinny strip of the patterned paper along the left side of the inside panel. I used the Papertrey Ink Birthday Your Way stamp set for the sentiment, stamped with Tim Holtz Distress Ink in Lost Shadow. I added a flower from the ephemera pack to finish off the inside.
Birthday Card #2
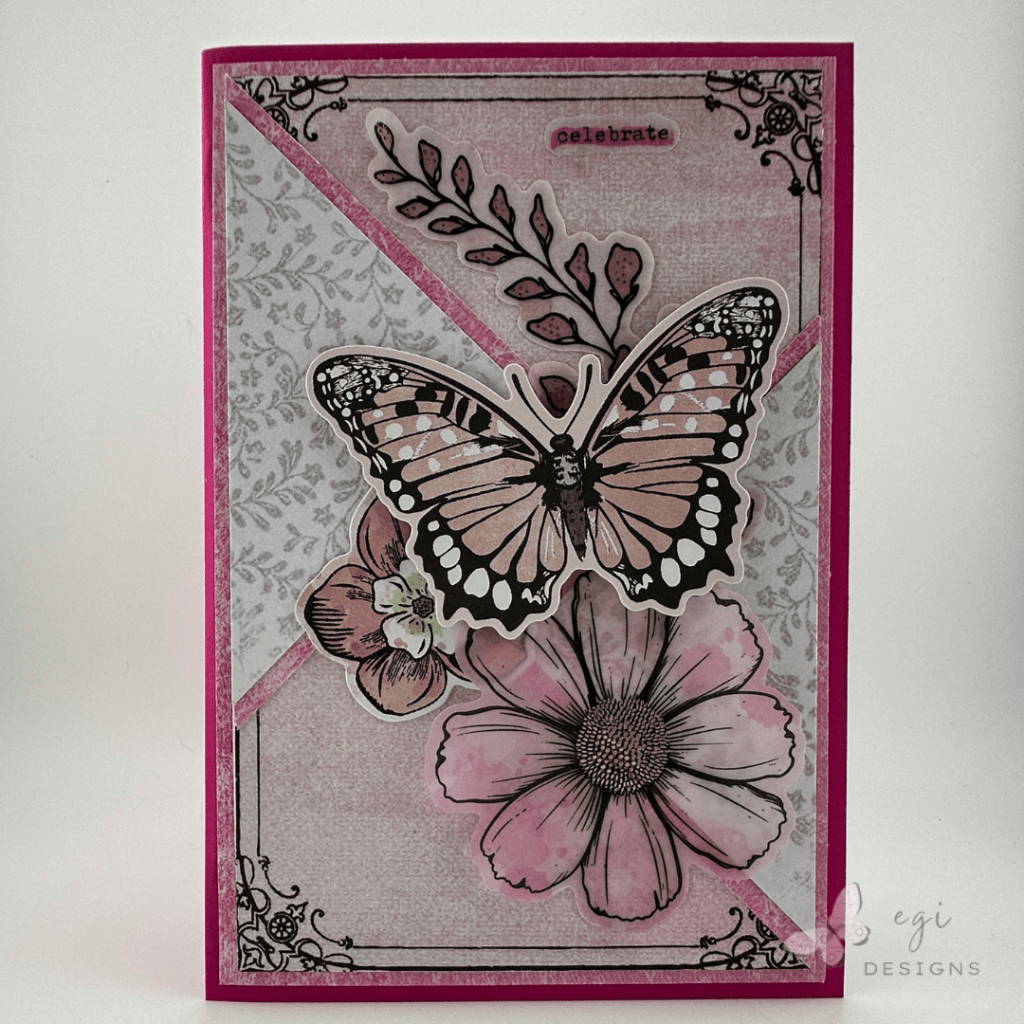
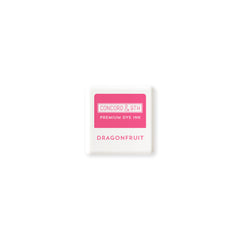
For this pink card, I wanted to use one of the cut-aparts from the 12×12″ Paper Patterns Pack as the background paper. This made the overall card size a little taller than an A2 card. I cut the square from the Patterns pack as well, and the pink mat for the background panel and the mat for the square from the 12×12″ Staples Pack. I assembled the card according to the card sketch, and then added the completed panel to a card base made from Concord & 9th Dragonfruit cardstock. Lastly, I used the ephemera and die cut packs to make a butterfly collage on the front of the card.

Inside of Card #2
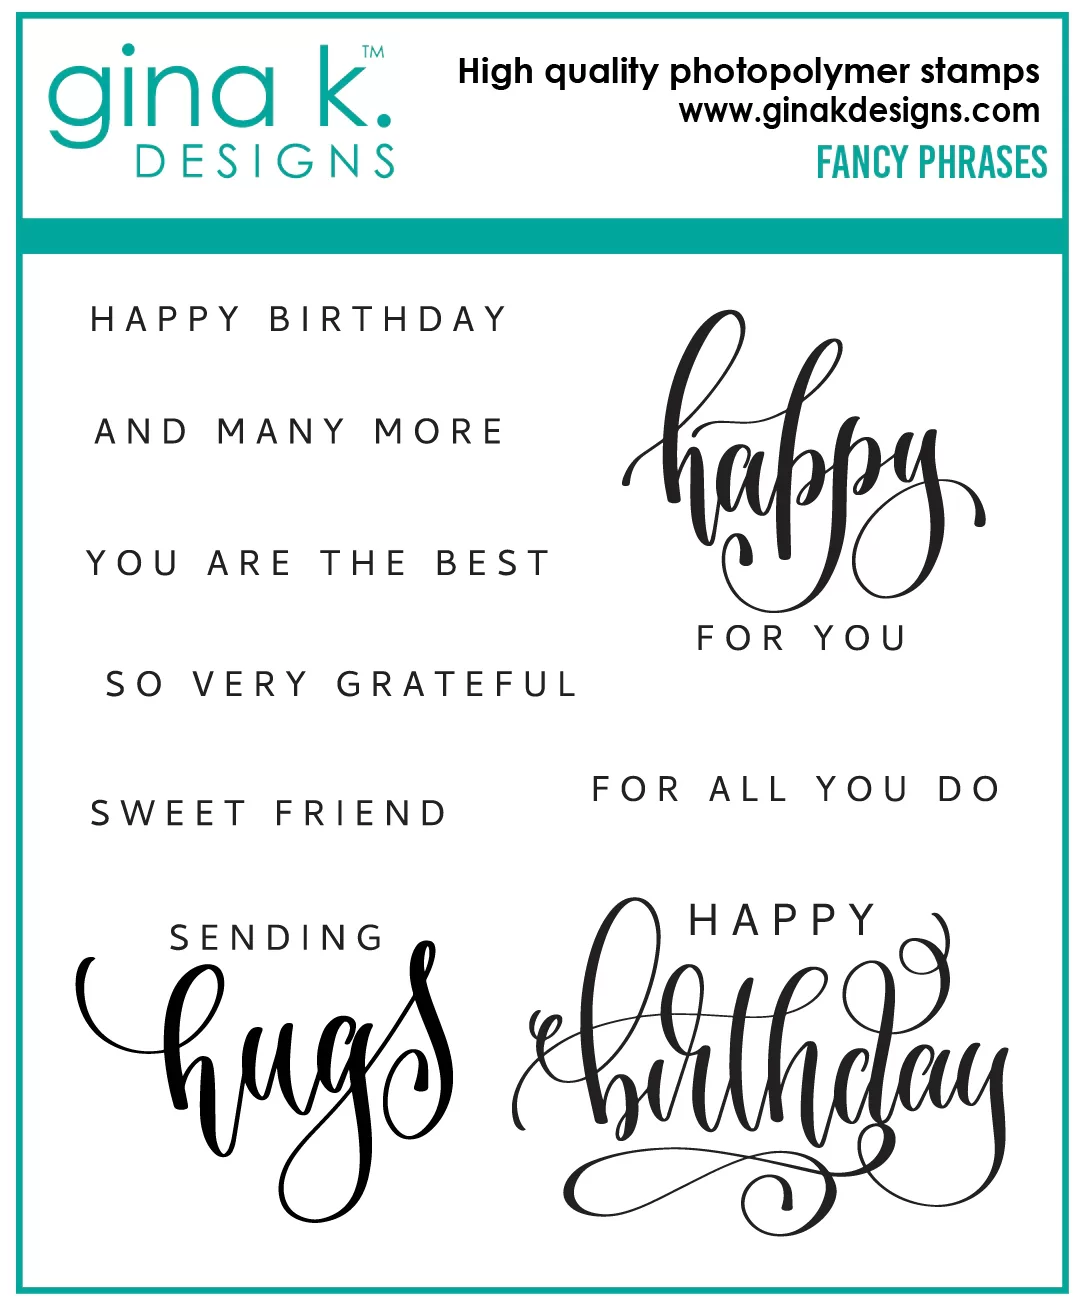
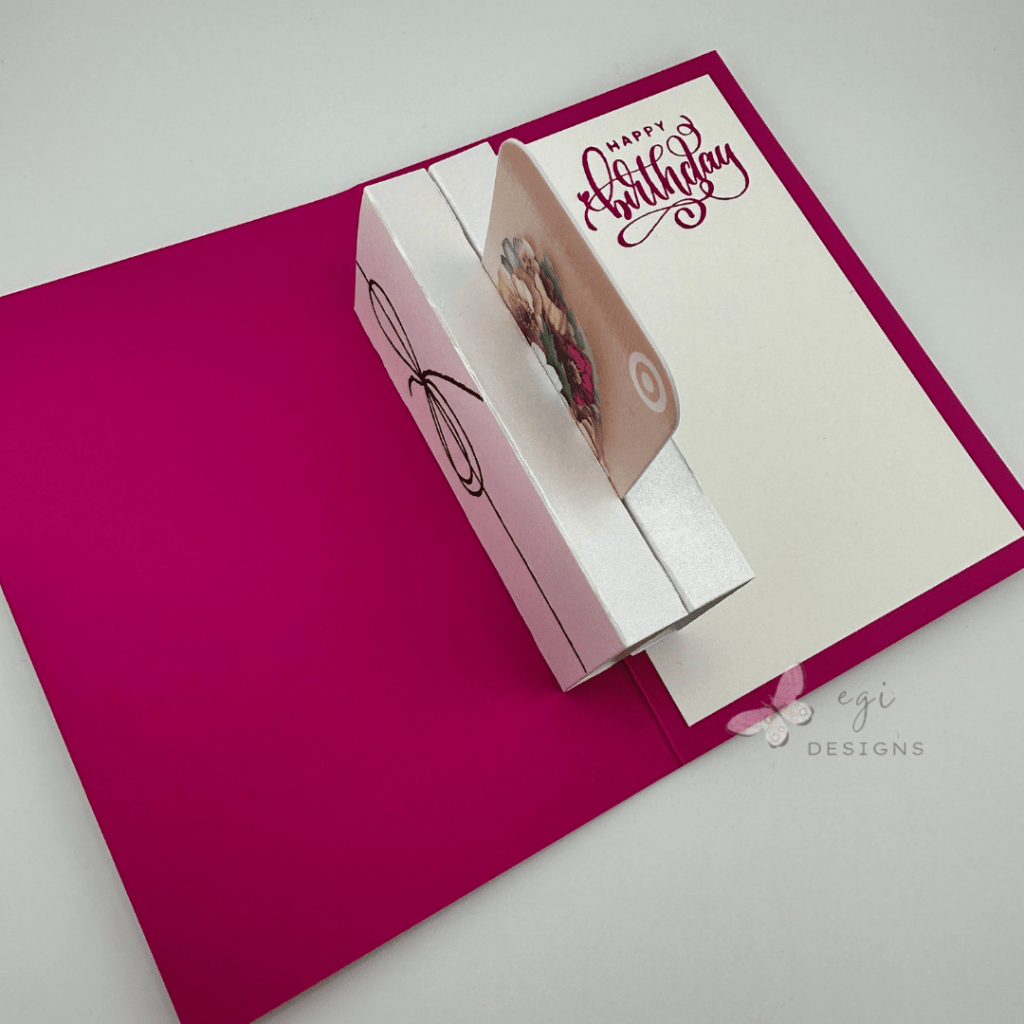
I needed to put the card panel inside the card before adhering the pop-up assembly, so I stamped a sentiment from Gina K Designs Fancy Phrases stamp set using Concord & 9th’s Dragonfruit ink. I used my tape runner to adhere the panel to the card base, and then it was time to make the pop-up mechanism!
Building the Gift Card Pop-up Mechanism
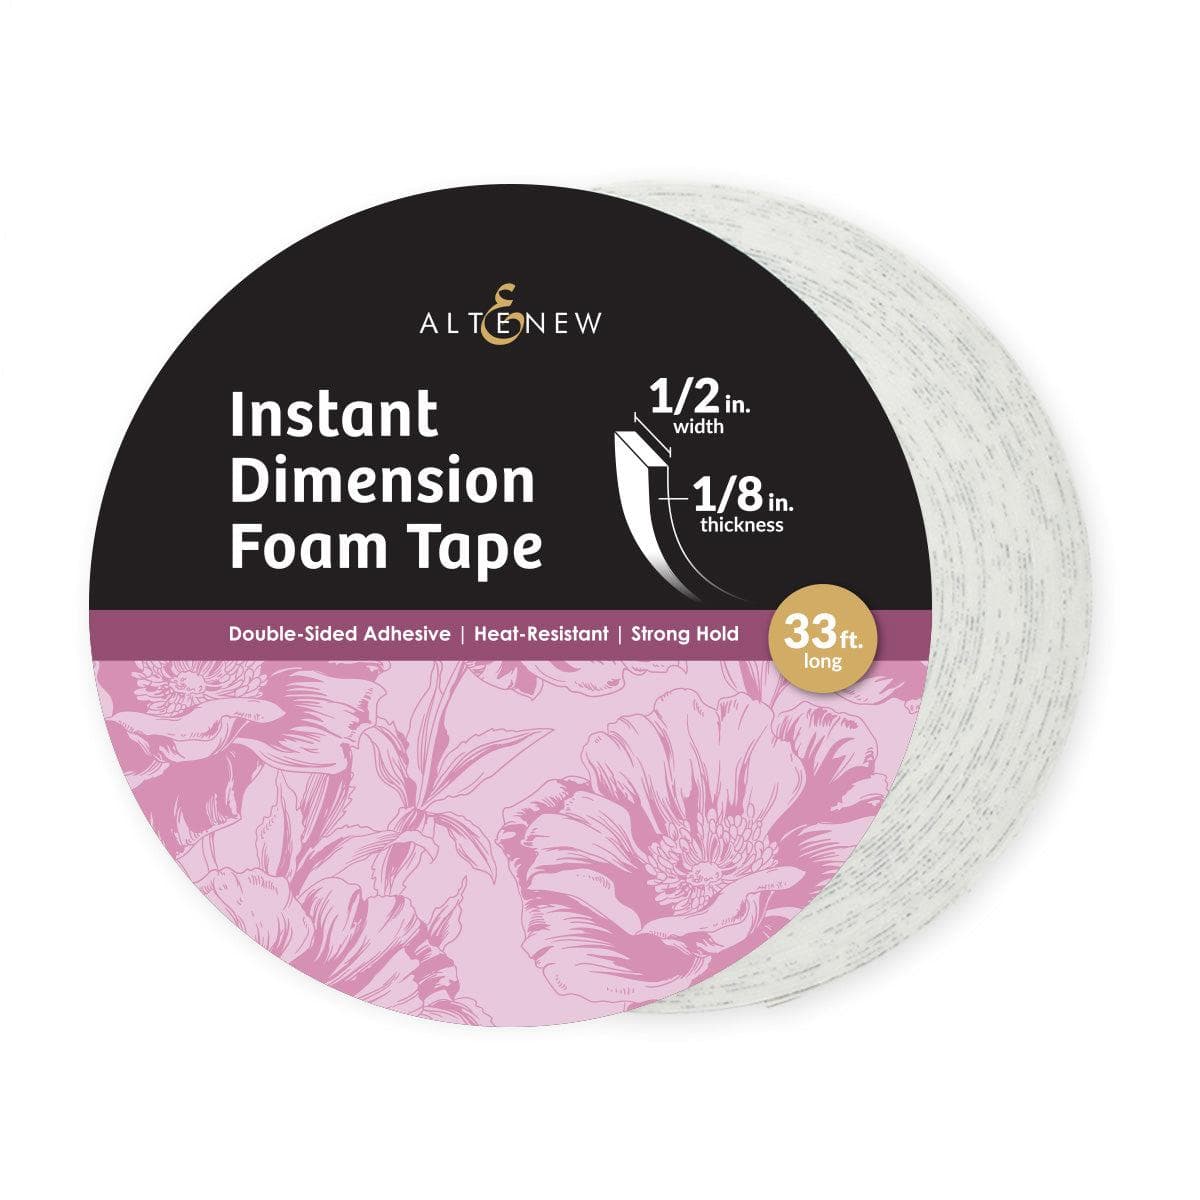
I wanted to use the Double Box dies, so I cut two of the pieces from Spellbinders Brushed White cardstock. I applied 3/8″ and 1/4″ double-sided tape to the areas marked on the packaging, and then used my bone folder to reinforce all the folds and score lines. Removing the tape backers, I built the two boxes for the pop-up.
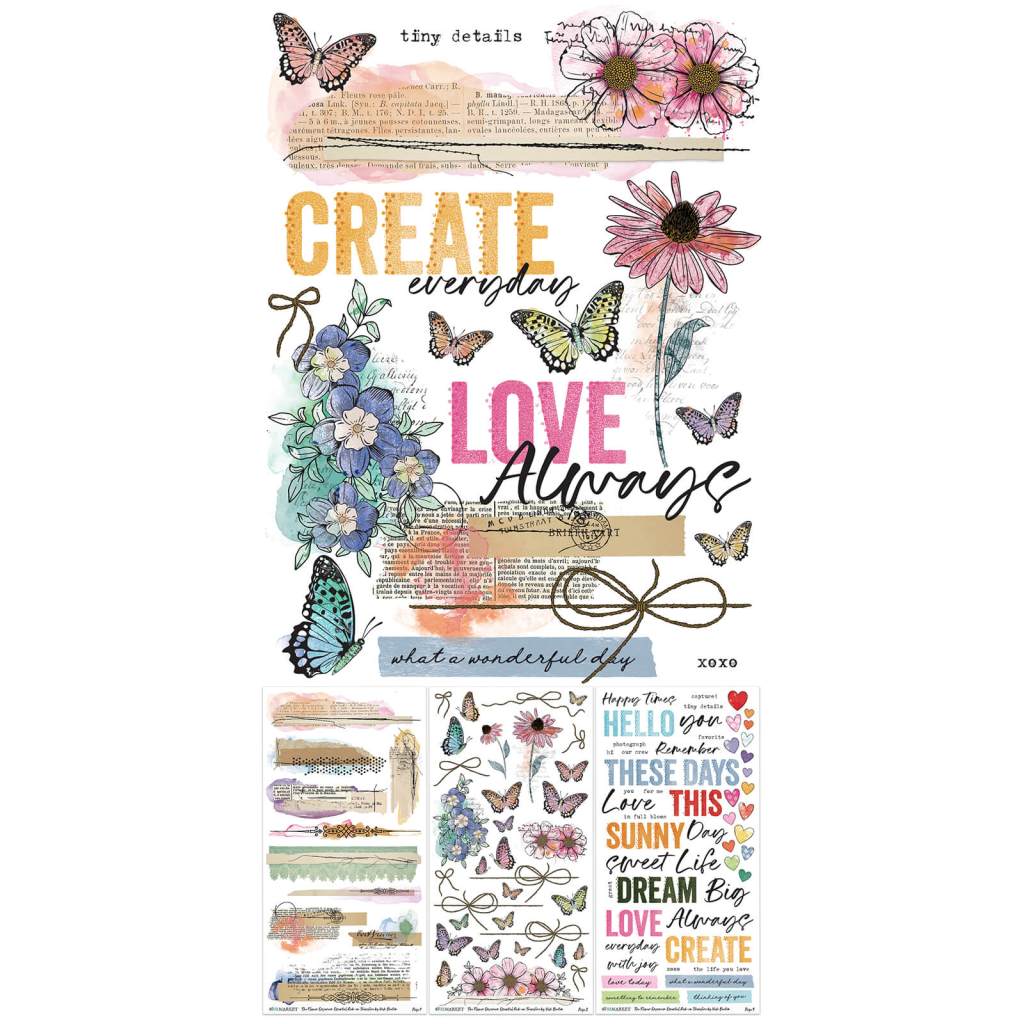
I used the Flower Emporium Rub-ons to decorate the boxes before adhering them together, and used my Scor-Buddy to help me line the boxes up correctly. I added the mechanism to the inside of the card, then added a heart die cut near the sentiment. I added my gift card to the pop-up and the card was complete!
Envelope to Match
I made a coordinating envelope for the pink card using the 1-2-3 Punch Board from We R Memory Keepers, Recollections 12×12 Ombre Brights Cardstock, and Paper Wishes Silver Butterfly Dazzle Stickers.
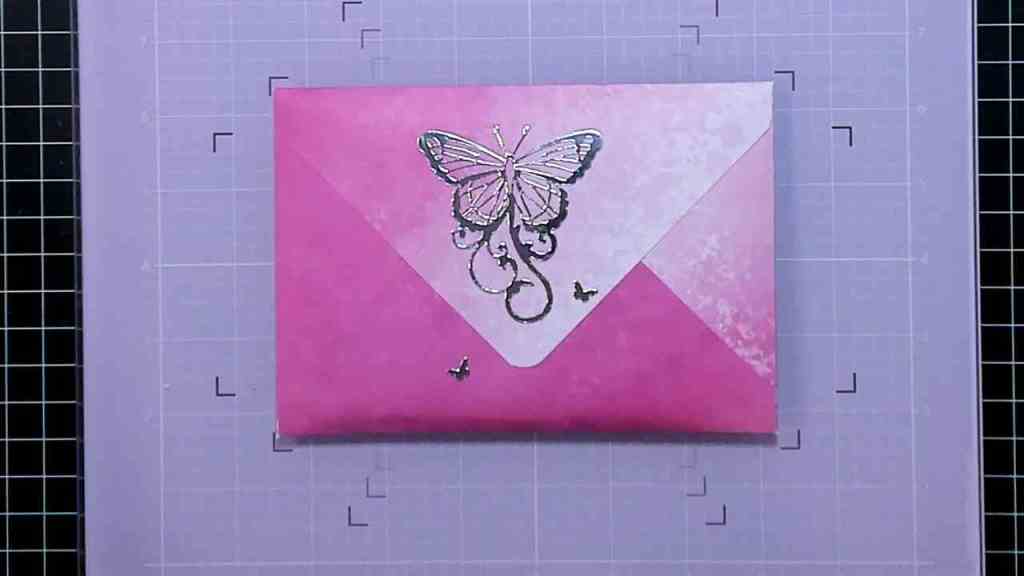
For more information on making envelopes for cards, check out my Punch Board playlist on YouTube. If you are looking for additional ways to decorate envelopes, I have two videos with lots of ideas for that: Five Ways and Five More Ways to Decorate Envelopes.
Step-by-step tutorial:
I hope you enjoyed this project! For more card-making ideas, check out my YouTube playlist and card-making blog posts. I also have a Birthday card playlist available for more card inspiration.
Product Information
Here are the products I used in today’s project. Please consider shopping through my affiliate links, as it greatly helps out my channel at no extra cost to you. Thanks so much for supporting me and my channel!
**Use code EGIDESIGNS for 15% off your order at Glassboard Studio**
|











Additional Products Used:
- Recollections: Ombre Brights 12×12″ Paper Pad
- 49 and Market: Flower Emporium 12×12″ Paper Patterns
- 49 and Market: Flower Emporium 12×12″ Staples Pack
- 49 and Market: Flower Emporium Die Cut Assortment



One Comment