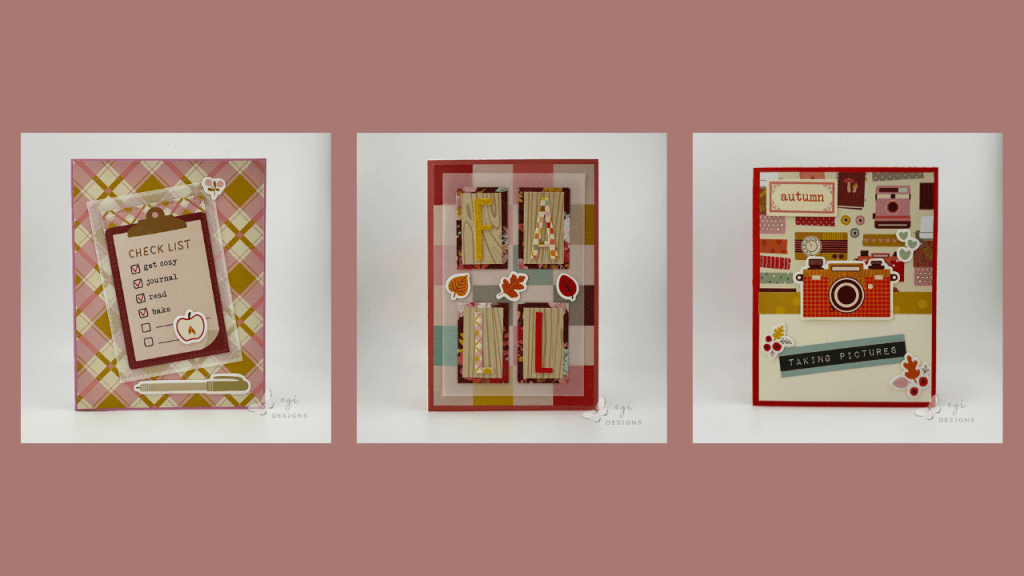
Three Fall Cards Using the Autumn Archives Collection from Spellbinders
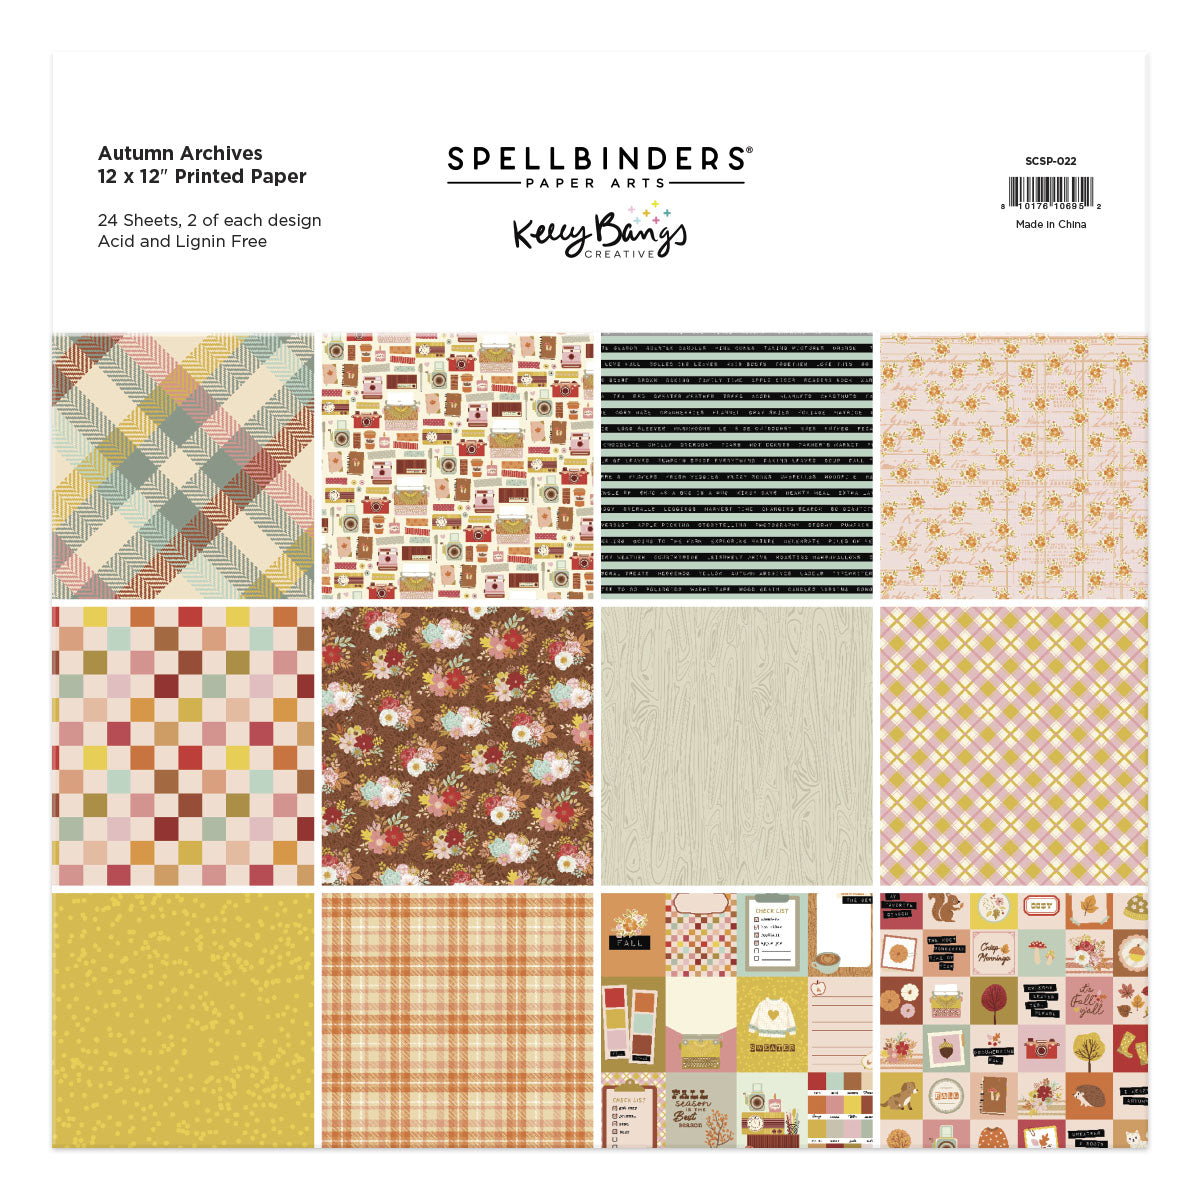
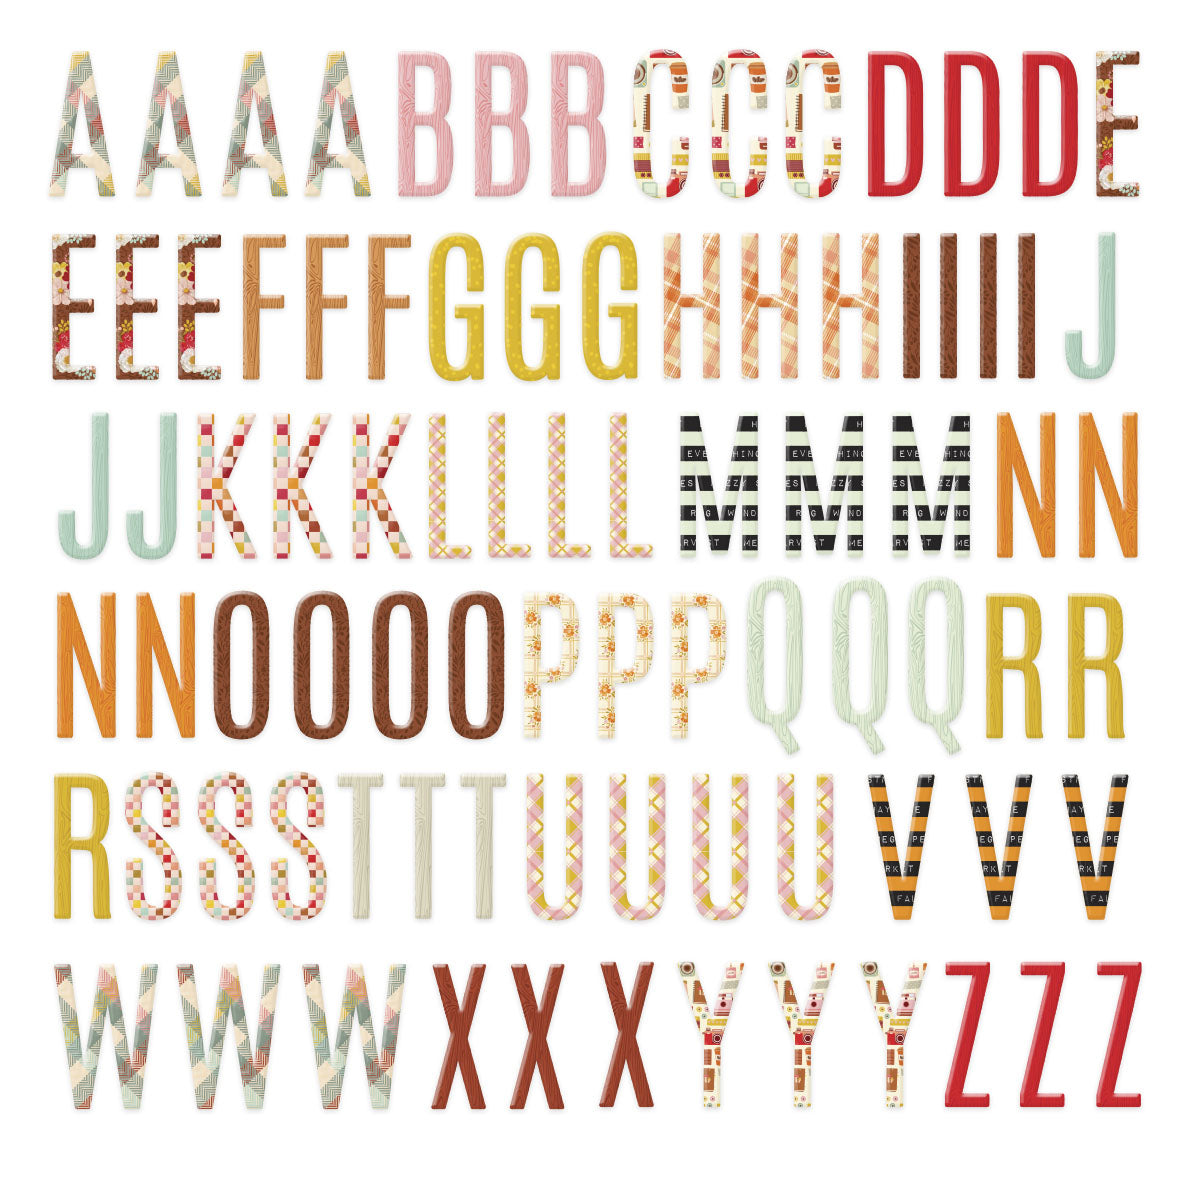
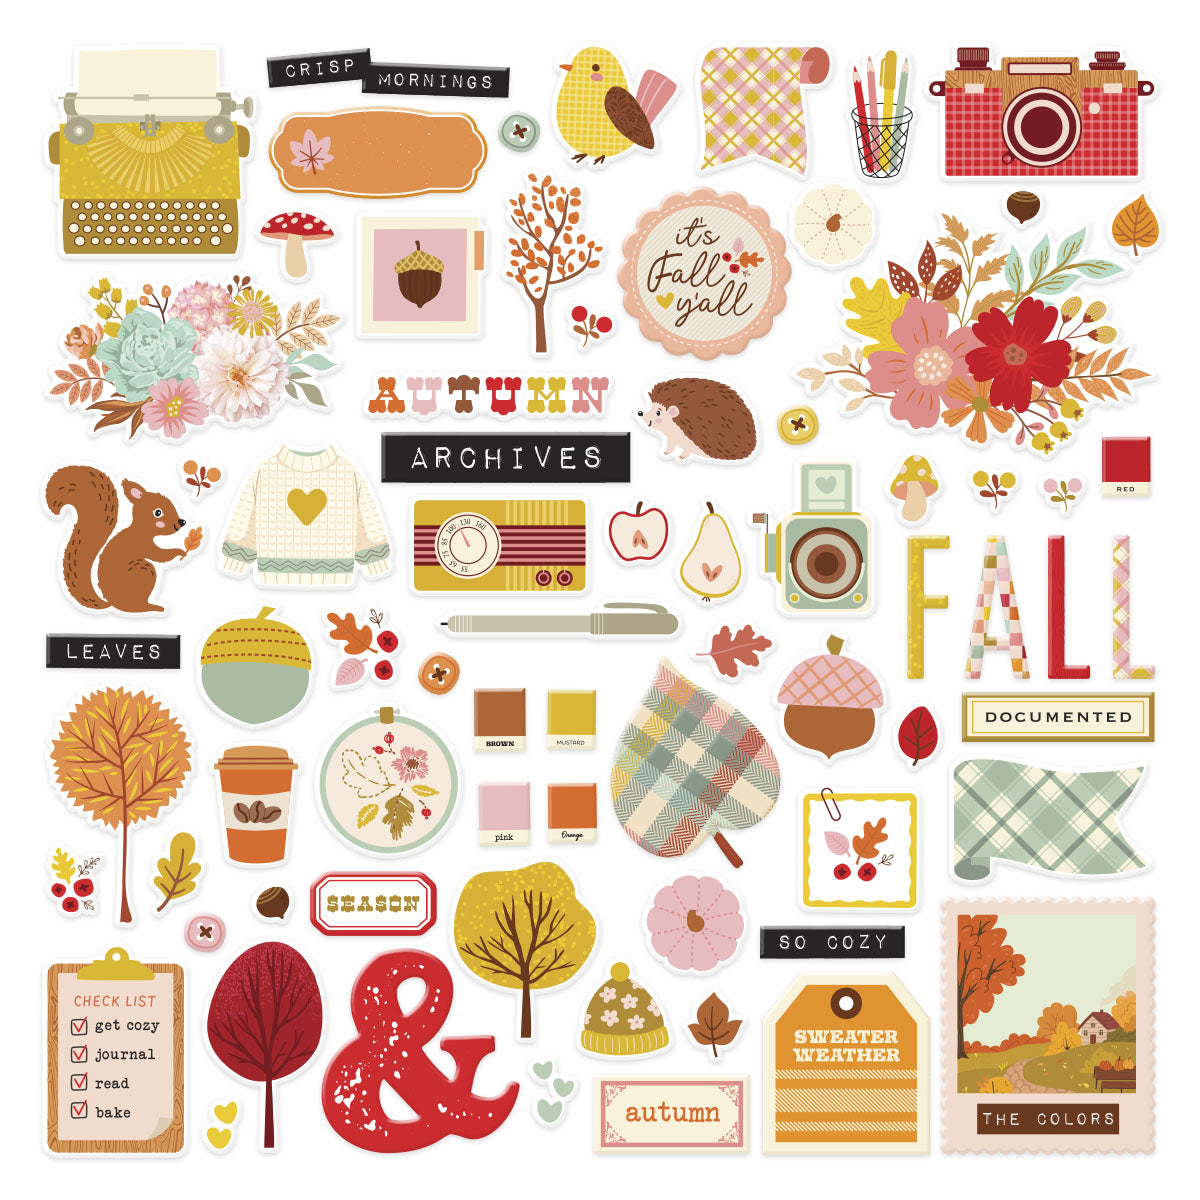
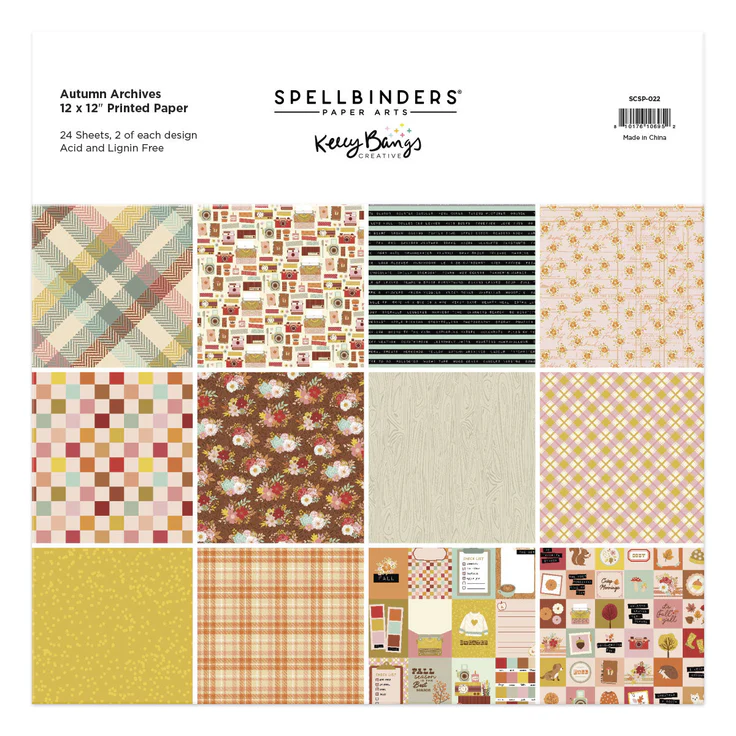
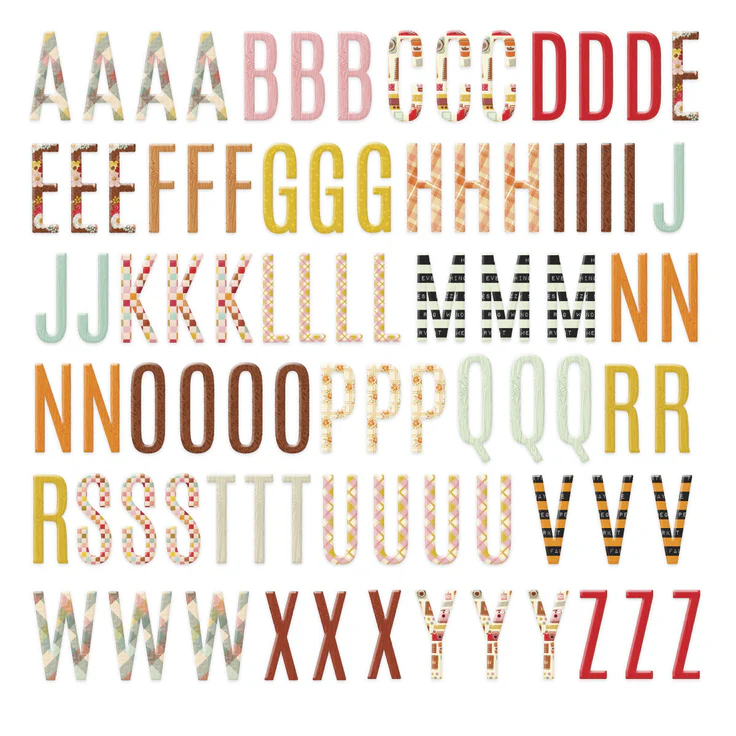
Spellbinders recently sent me the gorgeous Autumn Archives patterned paper and chipboard stickers to have a play with. The Autumn Archives by Kelly Bangs Collection contains die sets, press plates, paper, stickers, and ephemera. In this card project, I made three cards using the patterned paper, stickers, and Spellbinders cardstock. All products used in making this project are listed below.

Measurements
Card 1 Measurements (Plaid Card with Checklist):
A2 Card Base, 4 1/4 x 5 1/2" when folded, Orchid
Plaid Panel: 4 1/8 x 5 3/8"
List Cut-Apart: 2 1/4 x 3 1/2"
Vellum Panel: 2 3/4 x 4"
Inside Alabaster Panel: 3 3/4 x 5"
Cut-Apart: 2 x 2"
Plaid Strip: 1/2 x 5"

Card 2 Measurements (Checked with FALL Letters):
4 1/4 x 6 1/4" Card Base when folded, Sicily
Letter Mats in Woodgrain: (4) 1 x 1 3/4"
Letter Mats in Floral: (4) 1 1/4 x 2"
Checked Panel: 4 x 6"
Vellum Panel: 3 1/2 x 5 1/2"
Inside Alabaster Panel: 3 1/2 x 5 1/2"
1 x 6" Checked Strip
(2) 2 x 2" Square Cut-Aparts

Card 3 Measurements (Camera):
A2 Card Base, 4 1/4 x 5 1/2" when folded, Poppy
Camera Paper: 4 x 3"
Alabaster Panel: 4 x 2 1/4:
Dotted Strip: 4 x 1/2"
Inside Alabaster Panel: 3 3/4 x 5"
Card Instructions for Card #1 – Plaid Card
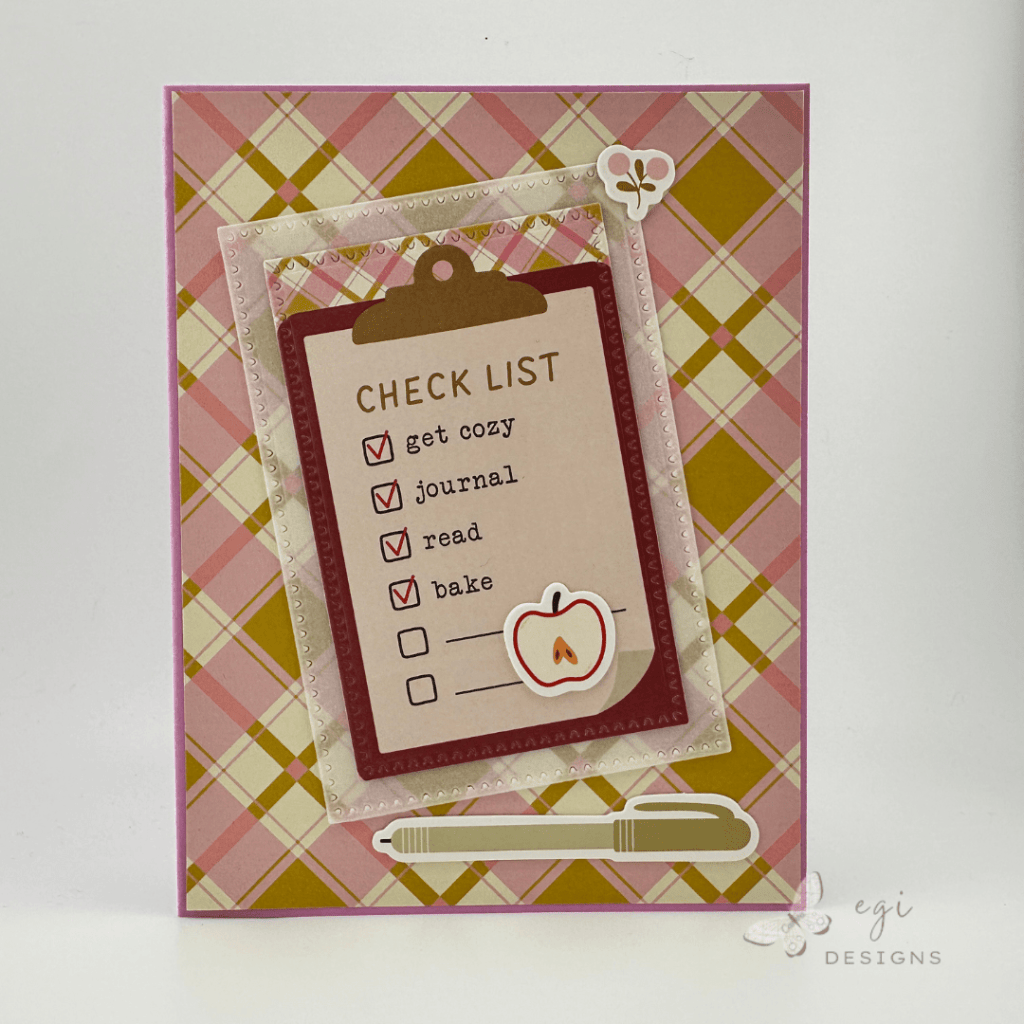
For this card, I cut a piece of plaid paper from the Autumn Archives Patterned Paper for the background. Using the Spellbinders Perfect Touch Rectangles and Tag Die Set, I die cut out the Check List, and a mat layer from Spellbinders Vellum.
I attached the plaid panel to an A2 card base made from Spellbinders Orchid cardstock. Then I layered the cut-apart on top of the vellum, and attached it on the diagonal to the plaid panel. I added the pen sticker to the bottom, an apple sticker to the cut-apart, and a small flower sticker to the top of the vellum.
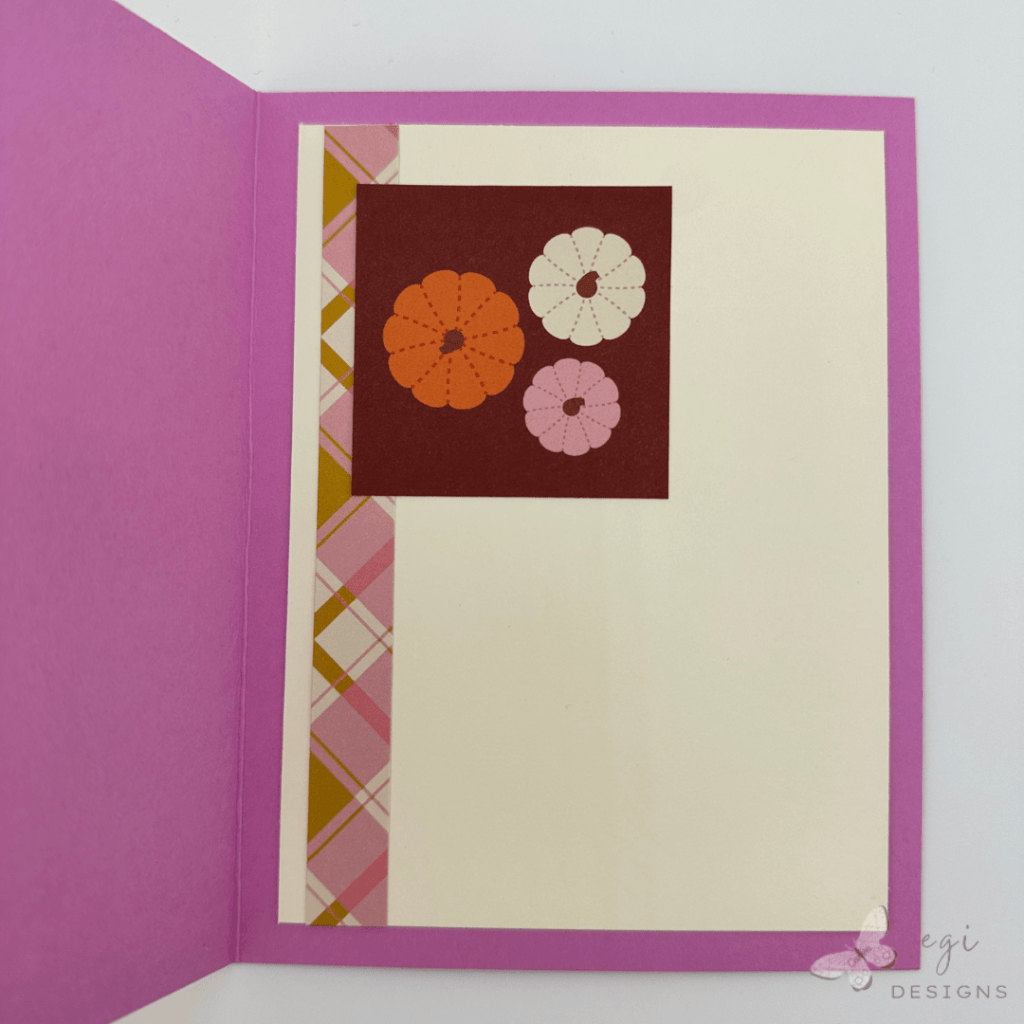
For the inside of the card, I cut a panel of Spellbinders Alabaster cardstock and added a strip of the plaid paper to the left side. Then I added one of the 2 x 2″ cut-aparts on top of the strip to add interest to the inside of the card.
Card Instructions for Card #2 – Checked Front with FALL Letters
For the second card, I wanted to use the FALL stickers and make little mat panels for each letter. I added the FALL letter stickers to the woodgrain patterned paper, and then added those to mat layers cut from the floral paper in the collection.
I cut a checked panel from the patterned paper for the background, and added that to the card base made from Spellbinders Sicily cardstock. Then I added a vellum layer on top of that, gluing it on the checked paper with Simon Says Stamp Craft Glue. I placed the glue strategically so it would not show on the card front.
Next I added the FALL panels in a grid on the card front, using the checks on the paper to help line up the letters. I chose three leaf stickers and added them to the card front.

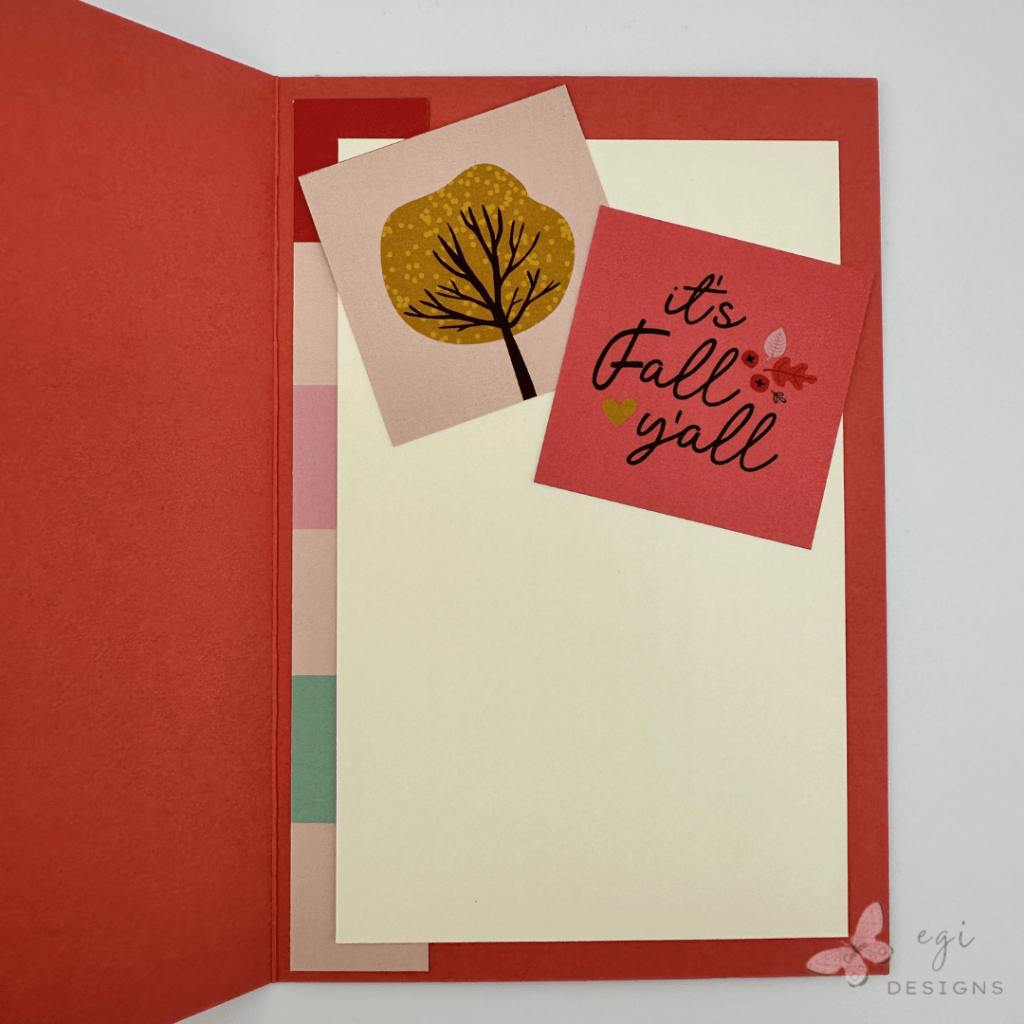
For the inside of the card, I cut a strip of the checked paper and added it to the left side of the card base. I then added an Spellbinders Alabaster panel on top of the strip, and placed two 2 x 2″ cut-aparts on top of the panel.
Card Instructions for Card #3 – Camera Card
On the third card, I made a split panel for the card front background, patterned paper on the top, and Spellbinders Alabaster cardstock on the bottom. I covered the seam between the papers using a strip of patterned paper from the collection.
I added the large camera sticker to the middle of the card, an Autumn sticker on the top left, and heart stickers to the right of the camera. After placing the word strip at a diagonal on the bottom part of the card front, I added a couple of leaf/floral stickers around the strip.

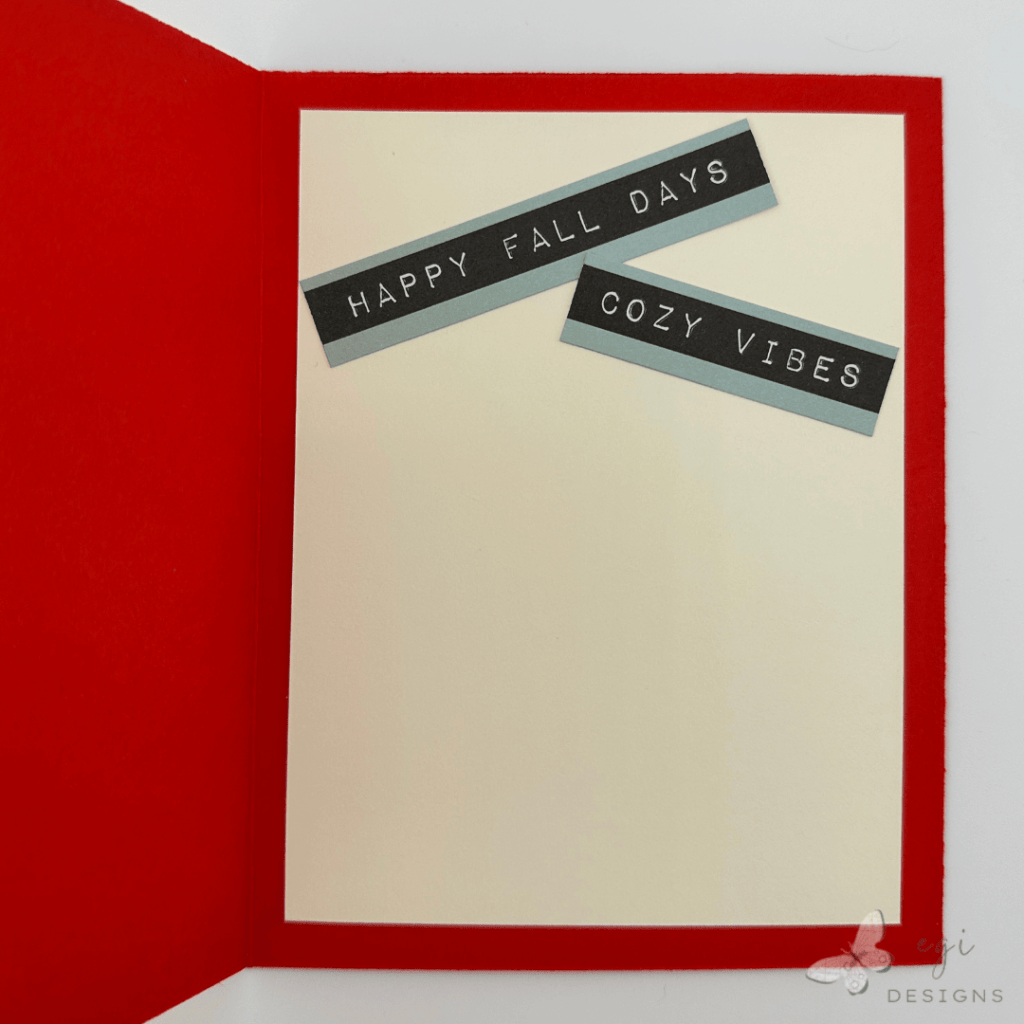
For the inside of the card, I cut out a couple of phrase strips from the patterned paper, and added them at a diagonal on top of a Spellbinders Alabaster panel.
I hope you enjoyed this project! For more card-making ideas, check out my YouTube playlist and card-making blog posts. I also have a playlist on how to make custom size envelopes for cards like Card #2.
Step-by-step video:
Product Information
Here are the products I used in today’s project. Please consider shopping through my affiliate links, as it greatly helps out my channel at no extra cost to you. Thanks so much for supporting me and my channel!
**Use code EGIDESIGNS for 15% off your order at Glassboard Studio**
|