Unique Book-binding Gatefold Card featuring the Wonder of Oz Collection
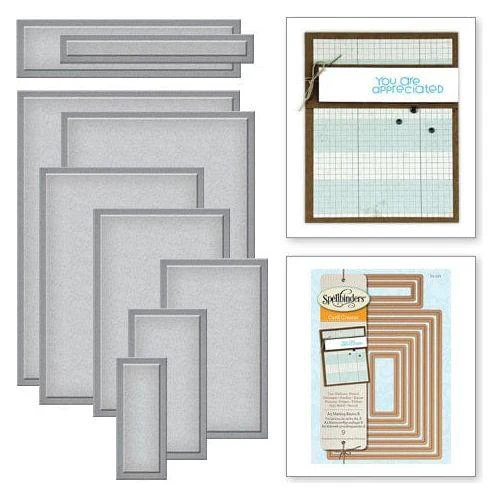
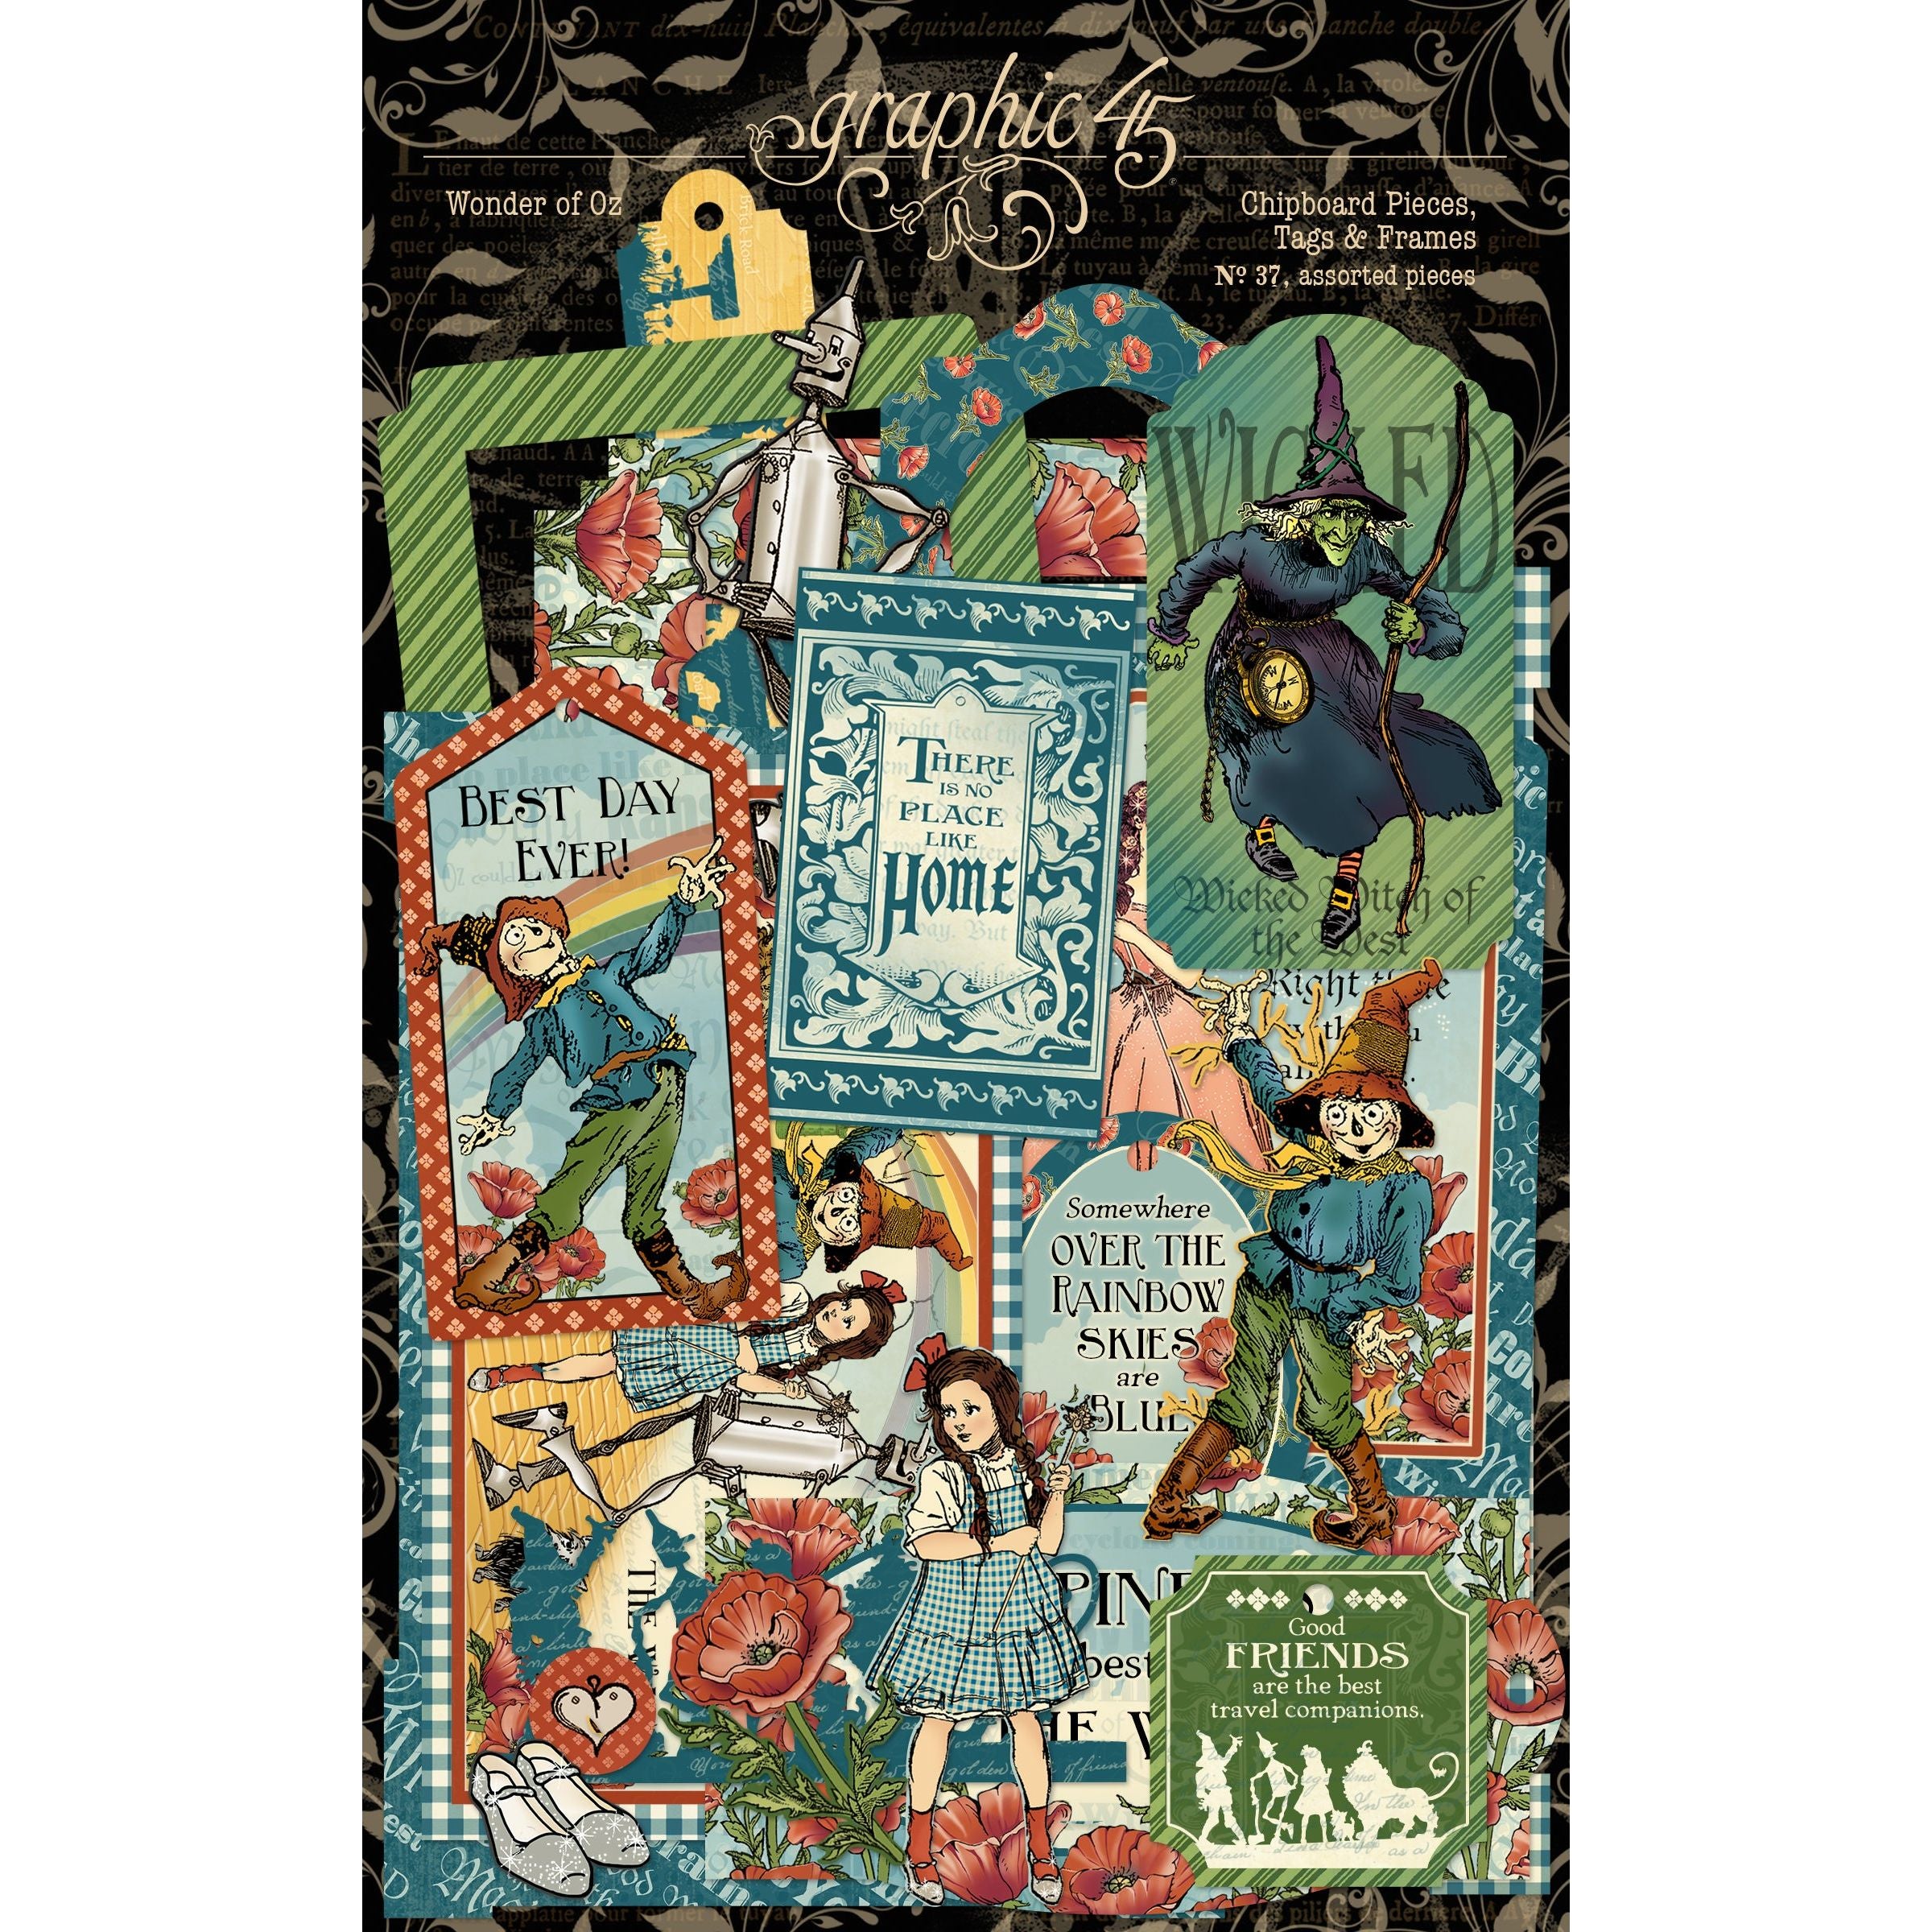
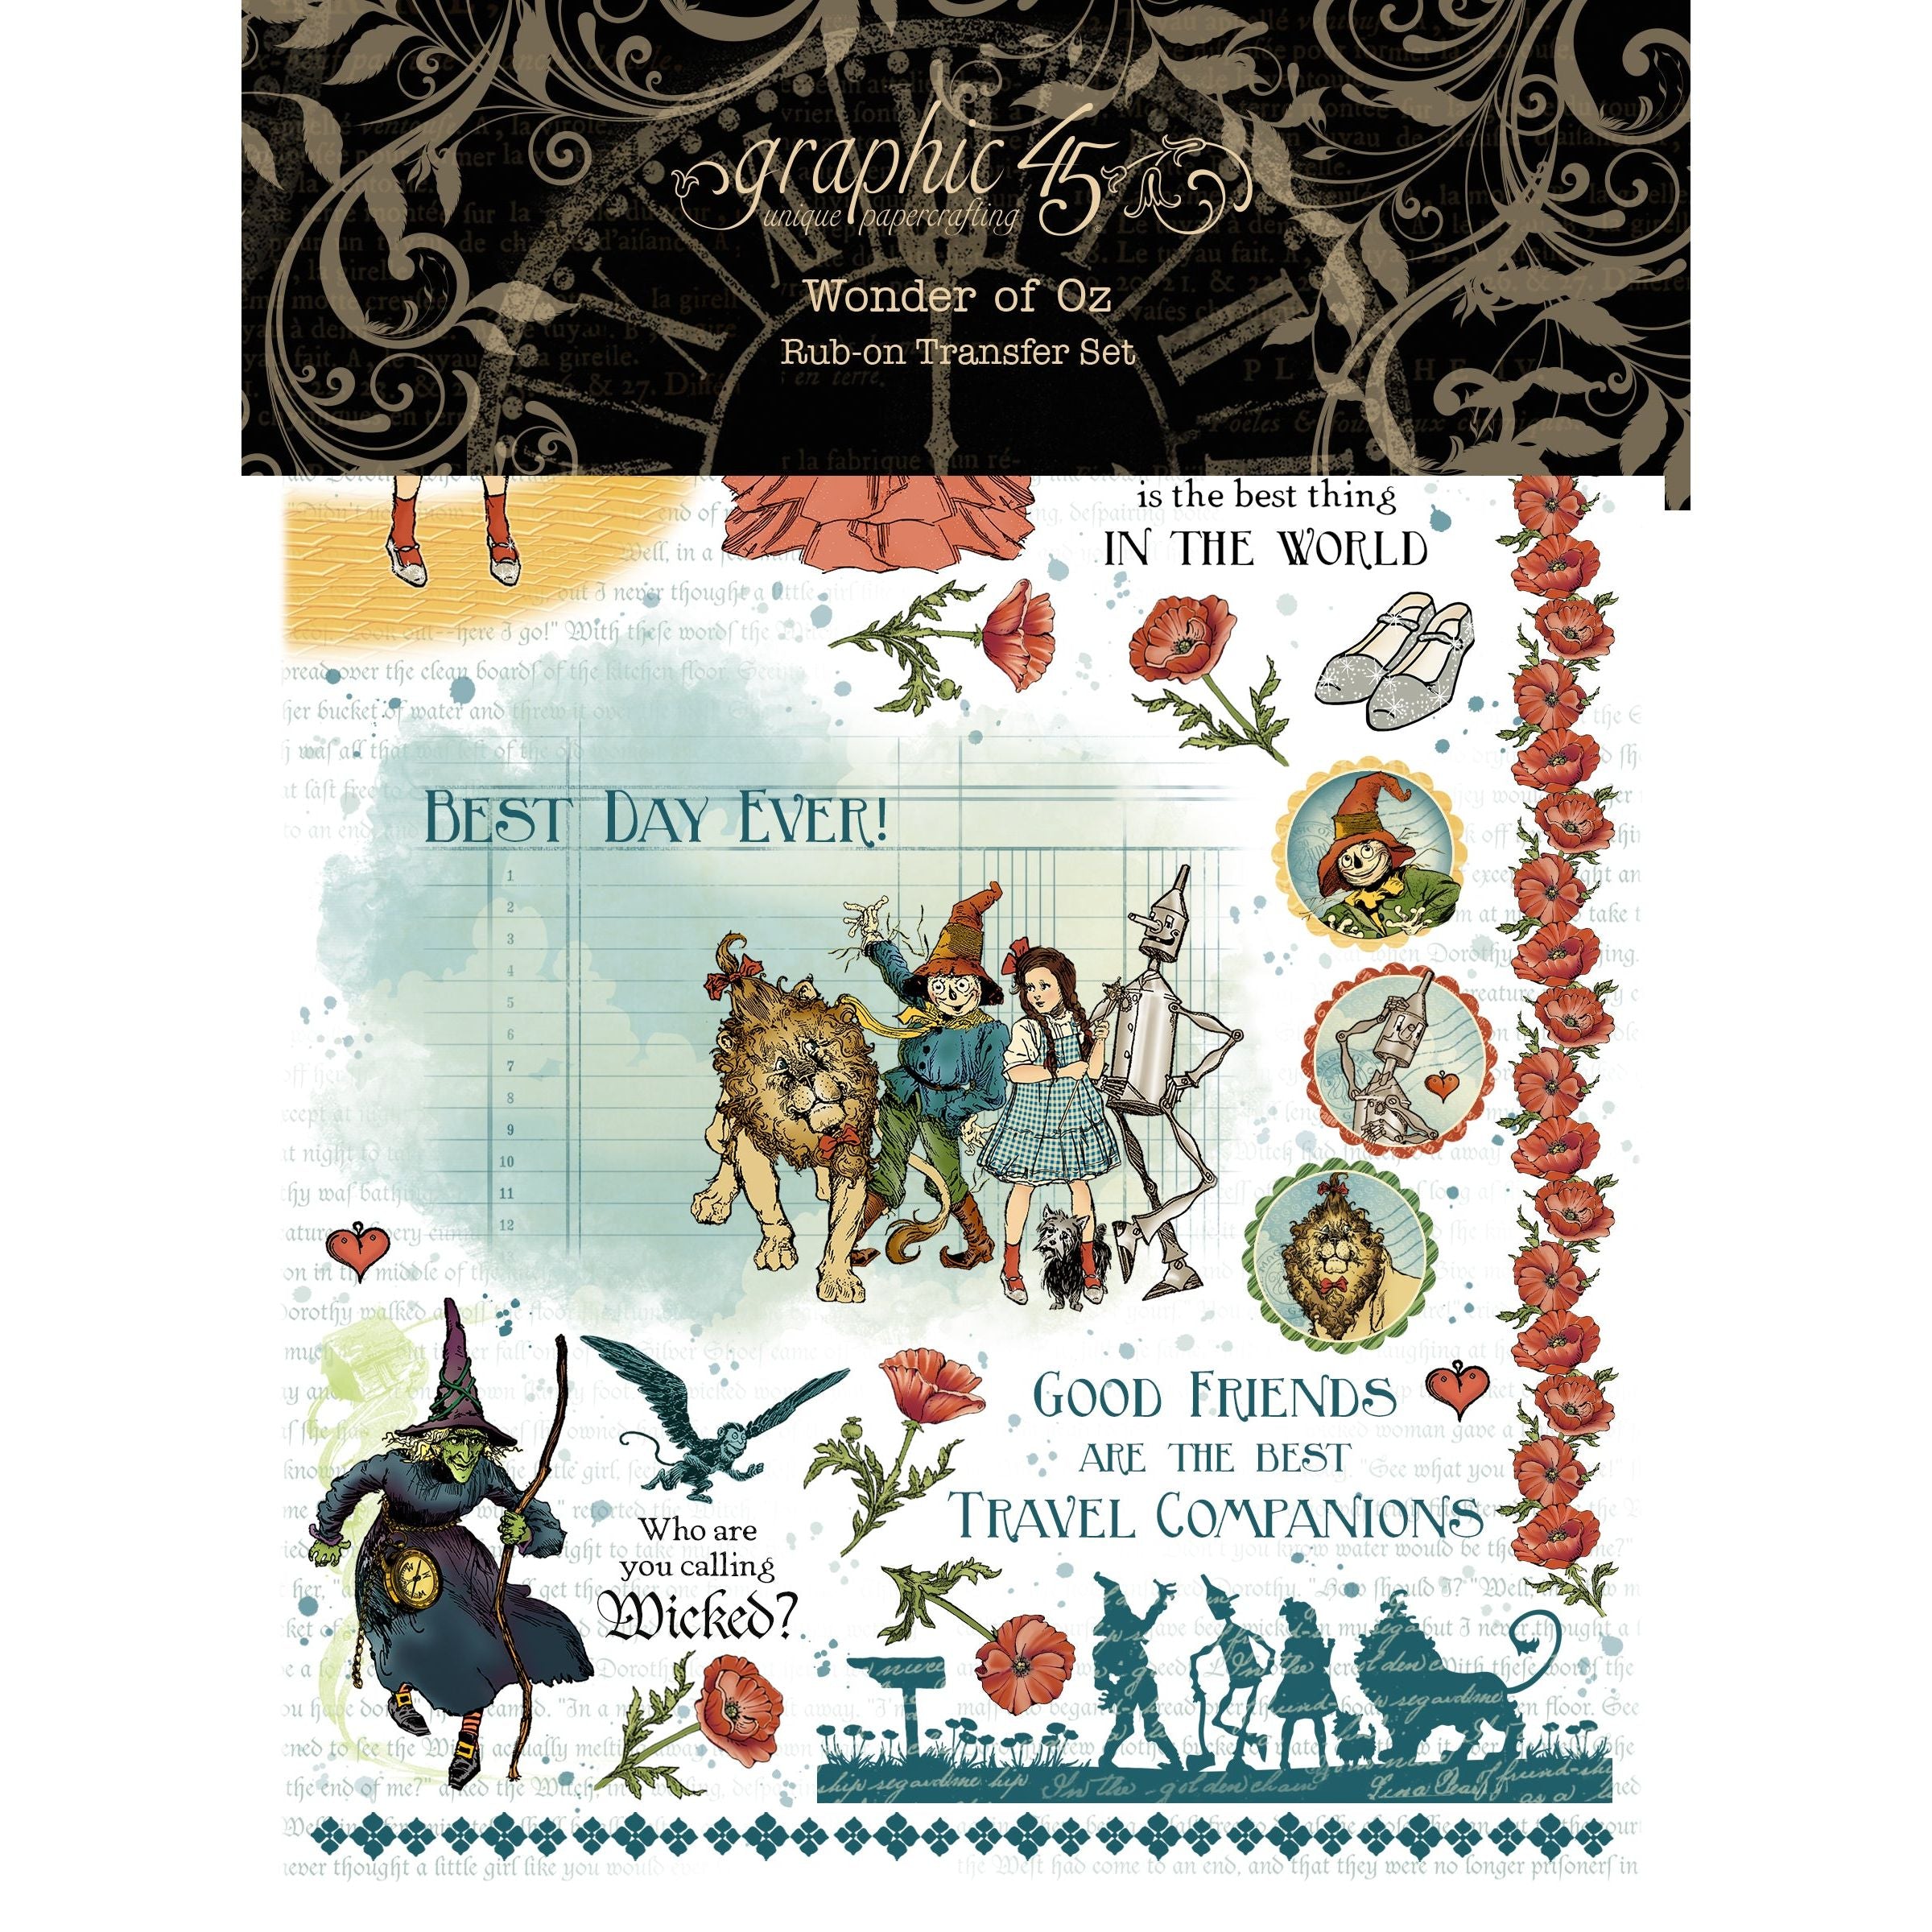
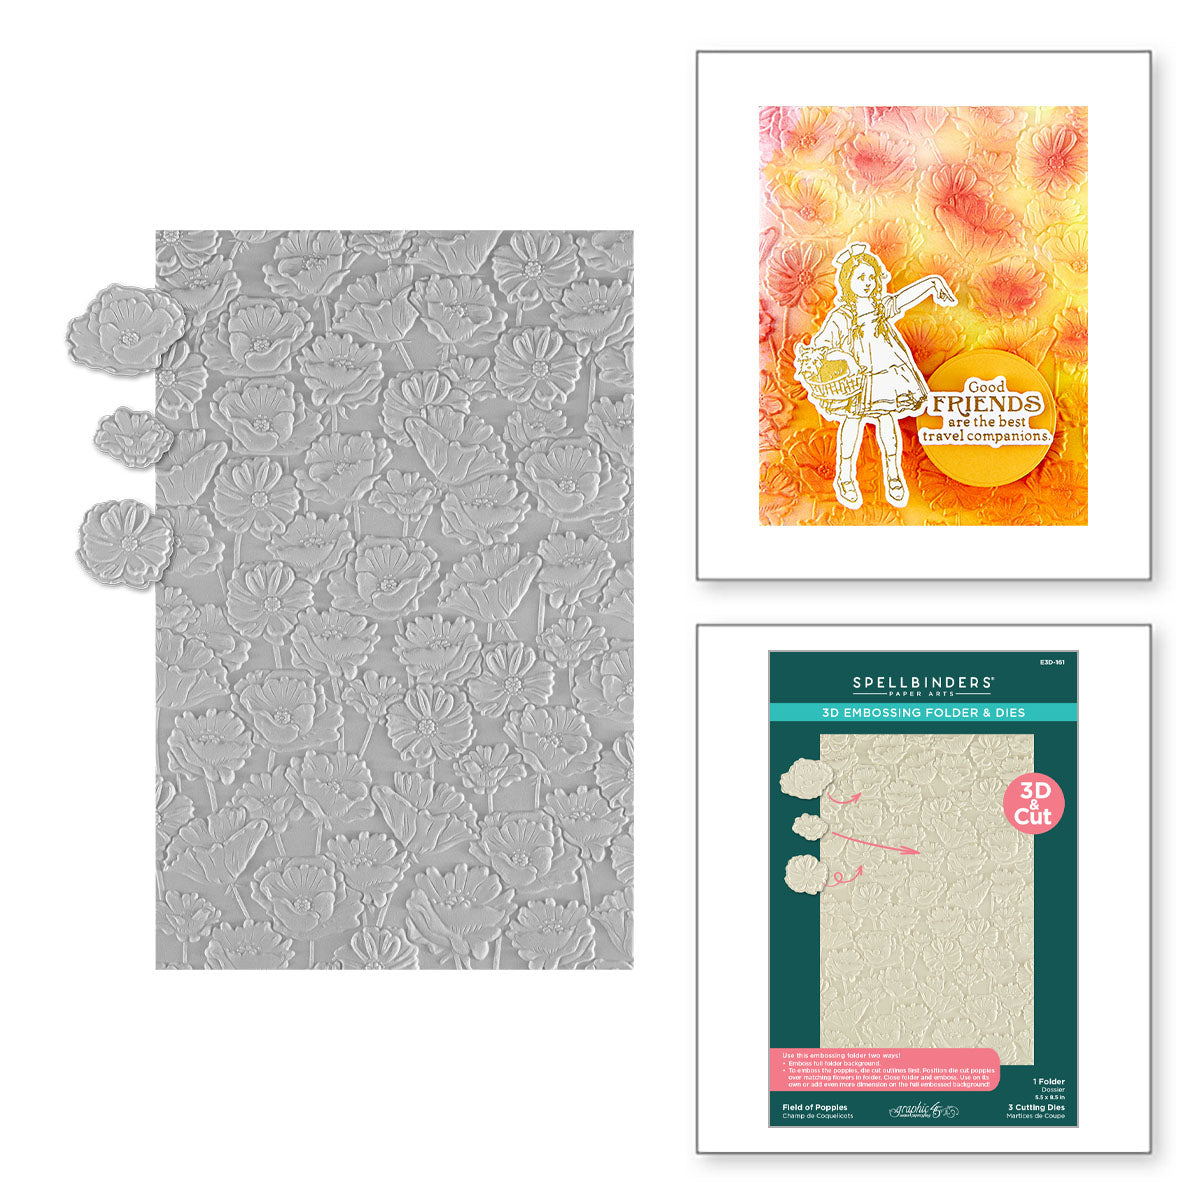
In this video project, I made a book-binding gatefold fun fold card using the new Spellbinders and Graphic 45 Wonder of Oz Collection. I used the Wonder of Oz 12 x 12″ Collection Pack, Ephemera Pack, Chipboard Pack, Rub-on Pack, and Field of Poppies Embossing Folder. Spellbinders had sent me the embossing folder to have a play with this month. I also used the Spellbinders A2 Matting Basics Set B to cut out the rectangle on the card front. For additional paper, I used Spellbinders Cardstock in Pomegranate and Alabaster. All products used in making this project are listed below.
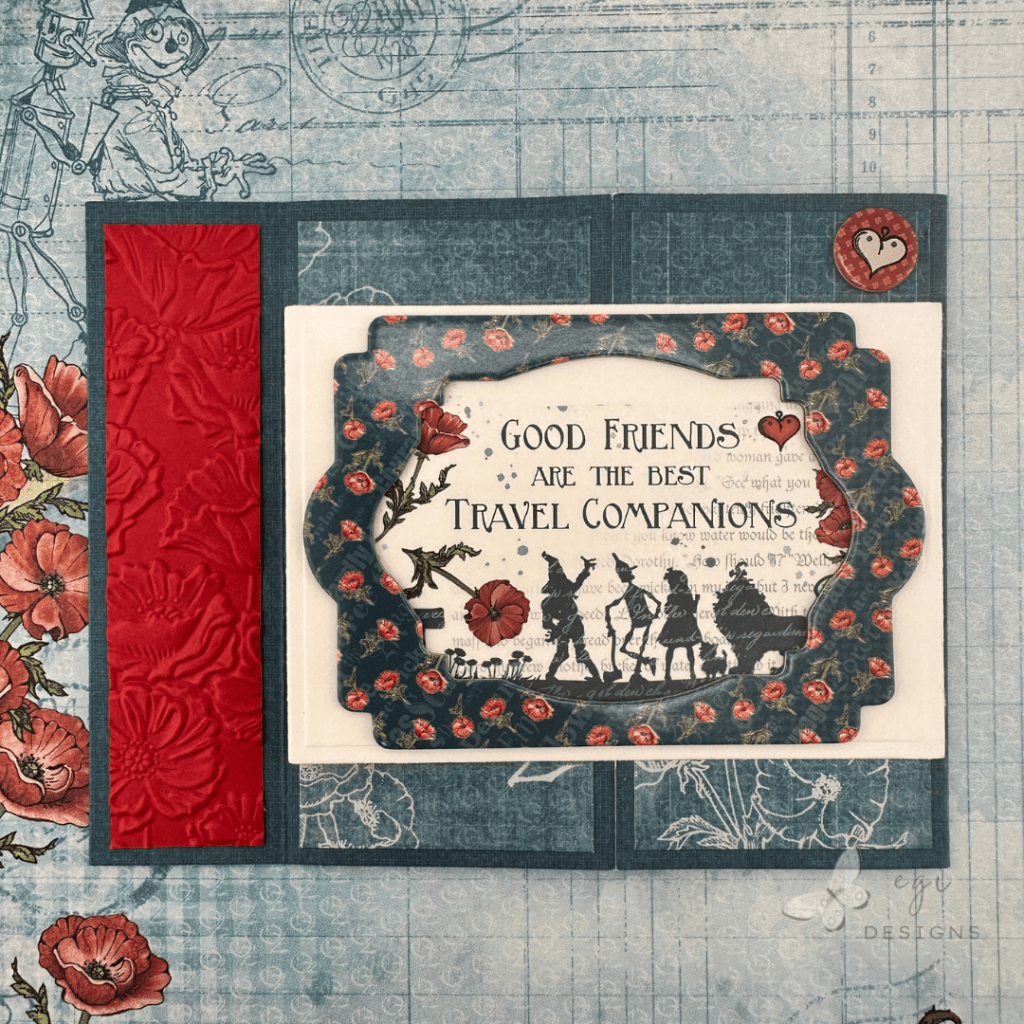
Book-binding Gatefold Card Layout
I found this fun fold card layout on the Creative Moments By G Channel. Be sure to check out her video and blog for more information and card ideas. Her card dimensions include mat layers for each area on the card, and I have included those measurements below. I did not use mats on this card since I was using patterned paper as the card base, and I have listed those measurements down below as well.
Measurements: (From Creative Moments By G)
Card Base: 4 1/4 x 11"
Scored at 2 1/8, 3 3/8, 8 7/8"

(4) Panels: 1 5/8 x 3 3/4"
(4) Mats: 1 7/8 x 4"

Strip: 1 x 4"

Inside Panel: 3 3/4 x 3 3/4"
Inside Mat: 4 x 4"

--

My Measurements for today's card:
Card Base: 4 1/4 x 11"
Scored at 2 1/8, 3 3/8, 8 7/8"

(4) Panels: 1 7/8 x 4"

Strip: 1 x 4"

Inside Panel: 4 x 4"
Inside Strip: 4 x 3/4"
Wonder of Oz Collection from Spellbinders and Graphic 45
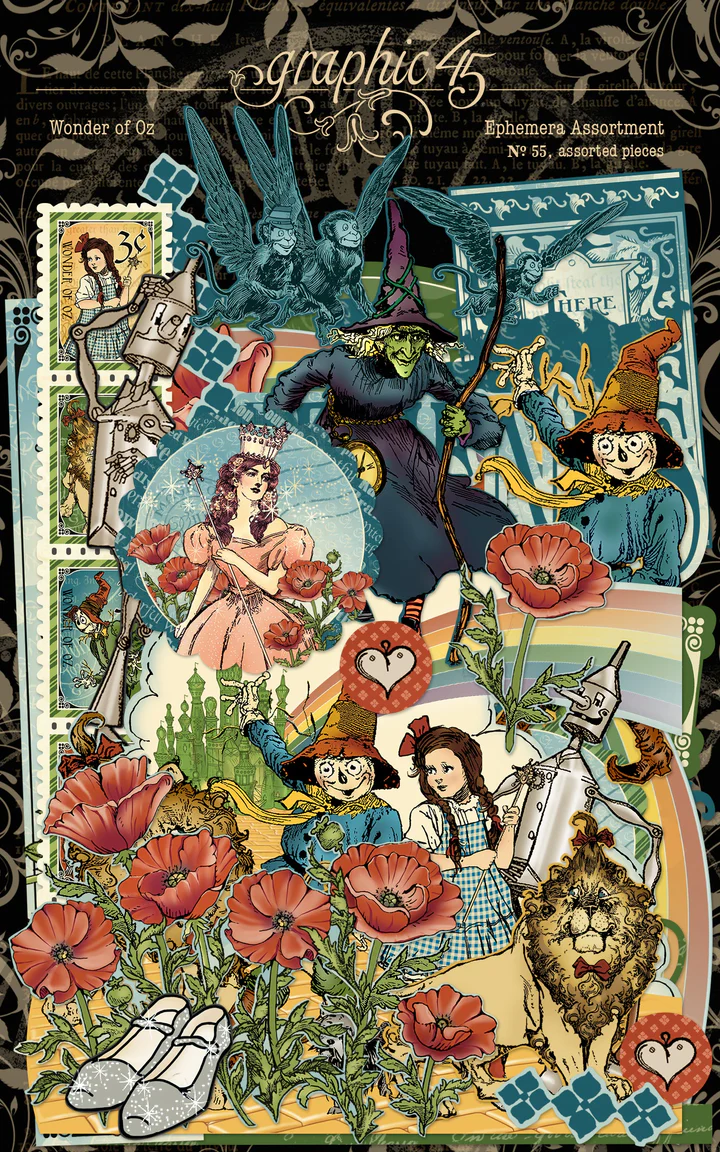
The Wonder of Oz Collection is absolutely gorgeous, and it uses the vintage Wizard of Oz illustrations from the books. I have a walkthrough video of the collection over on my corresponding blog post. There are quite a few products in the collection, including: different patterned paper packs and paper sizes, ephemera, stickers, rub-ons, BetterPress Plate sets, an embossing folder, and a die set.
Making the Card Base
For this card, I used a piece of the 12 x 12″ patterned paper as the card base. I scored it according to the measurements, and then folded the score lines and burnished them with my bone folder. This card layout is so fun as it is like a book-binding card on the left-hand side, and a gatefold card on the right side.
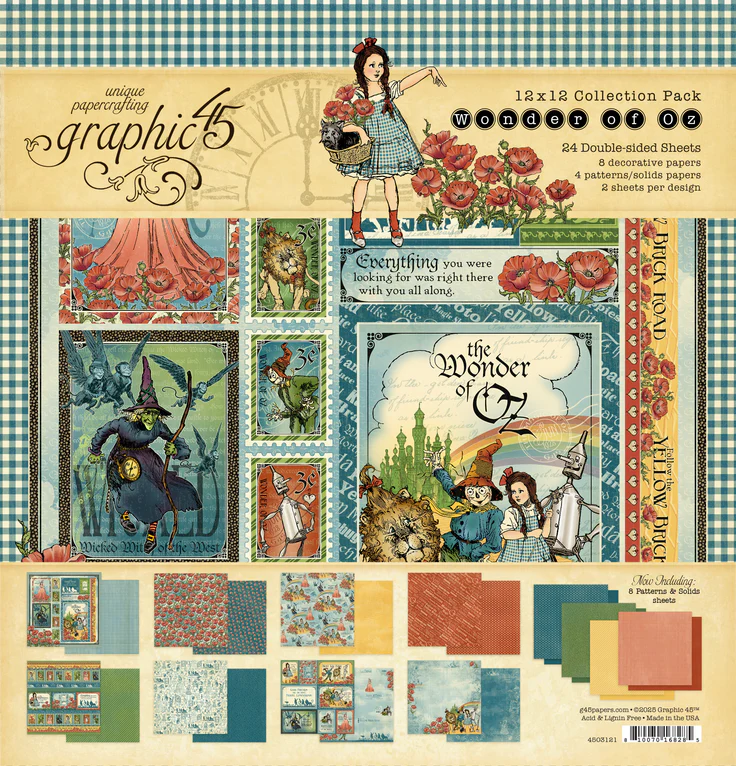
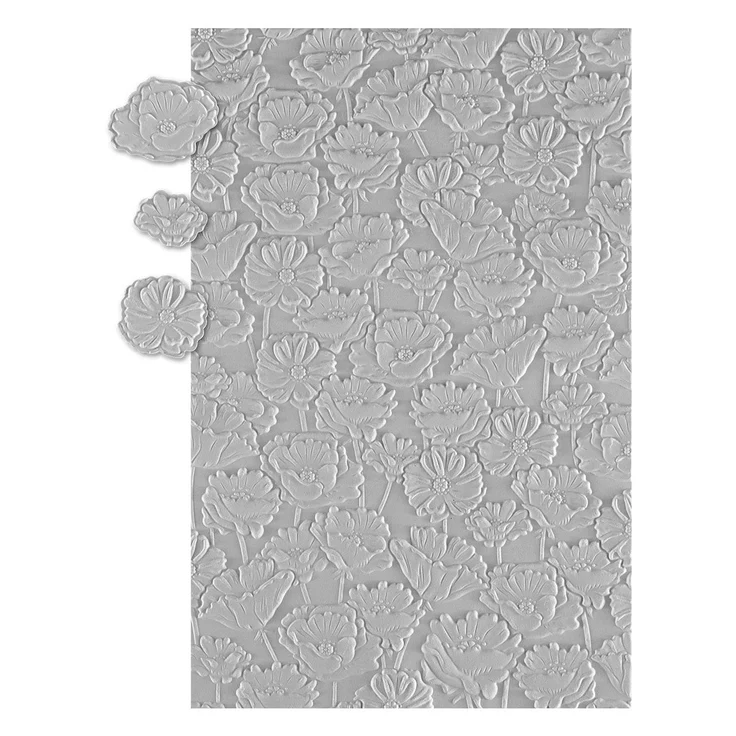
I cut the panels for the inside and outside from the patterned paper, and cut a strip of Spellbinders Pomegranate Cardstock for the book-binding side. Then I used the Spellbinders Field of Poppies Embossing Folder on the Pomegranate strip to add some texture to the card front. I added the four panels and the strip using liquid glue.
Building the Focal Image
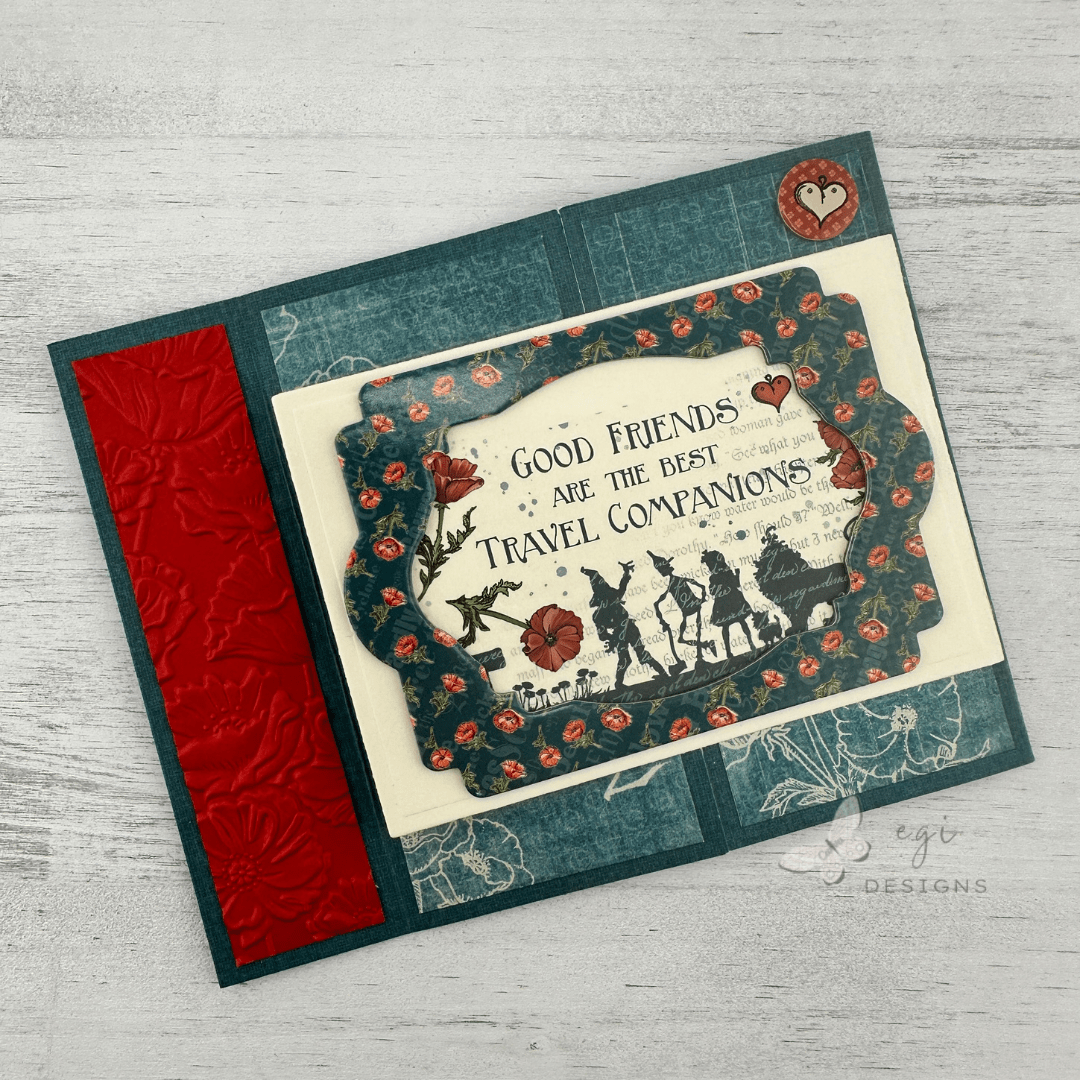
I cut a rectangle out of Spellbinders Alabaster Cardstock using the Spellbinders A2 Matting Basics B Die Set. This is a great die set as it adds an embossed edge to the die cut for a classic look. I used one of the chipboard frames from the Chipboard Pack as a guide to place a rub-on in the middle of the Alabaster rectangle. Using my bone folder, I burnished the rub-on onto my project, and then added the chipboard frame on top of that with glue.


Decorating the Inside of the Card
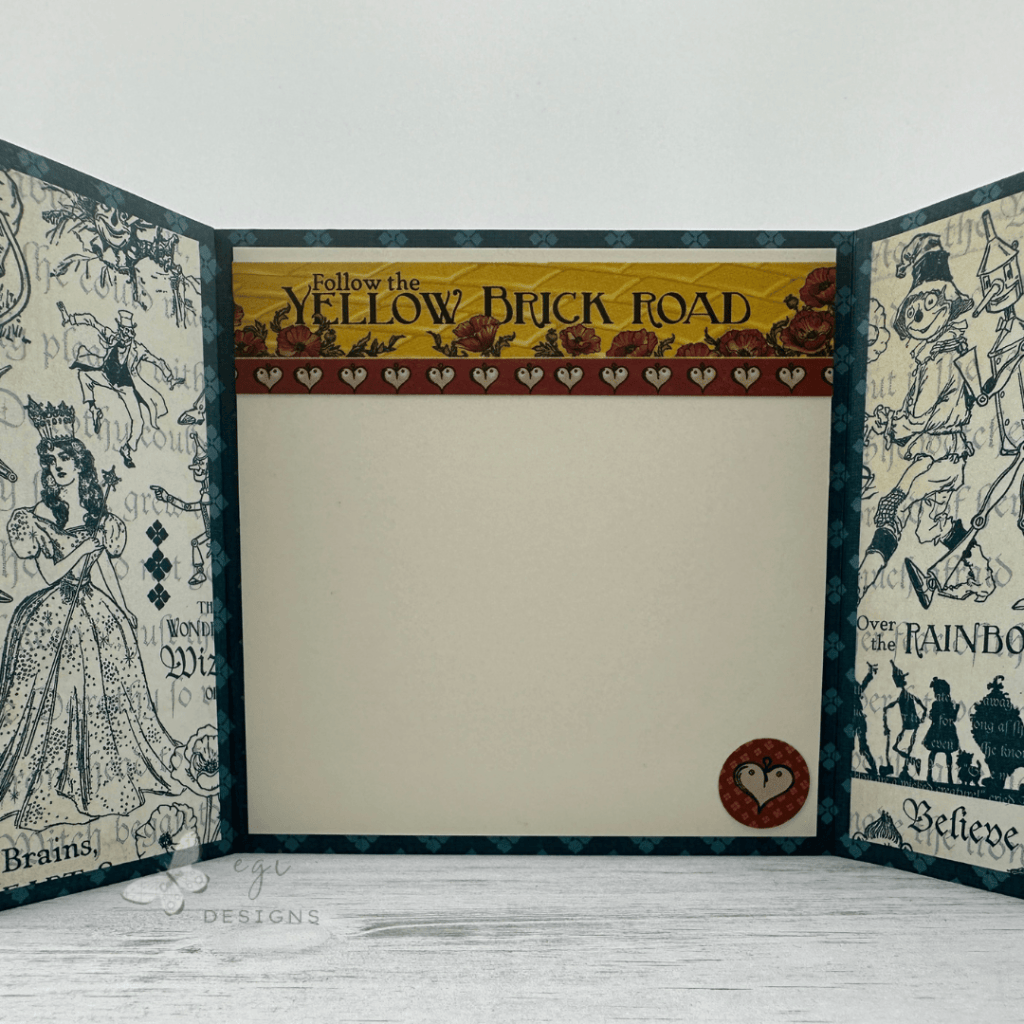
While the glue on the front panel was drying, I started working on the inside of the card. I cut a panel from Alabaster cardstock, and then tried different combinations of the ephemera pieces to decorate it. I decided to cut out one of the Yellow Brick Road border pieces from the patterned paper pack, added it to the top of the panel. Then I added a heart image to the bottom right of the panel. I adhered the panel inside the card using temporary adhesive, and will add it with a permanent tape runner once I write out the card.
For more ideas on decorating the inside of cards, I have a video with lots of fun ideas for that!
Finishing the Card Front
Once the inside of the card was completed, it was time to finish up the front. I added the decorated rectangle panel to the front of the card with glue, adhering it only to the right door. Once that was set, I added a chipboard heart to the top right of the card.
Step-by-step video tutorial:
I hope you enjoyed this project! For more card-making ideas, check out my YouTube playlist and card-making blog posts.
Product Information
Here are the products I used in today’s project. Please consider shopping through my affiliate links, as it greatly helps out my channel at no extra cost to you. Thanks so much for supporting me and my channel!
**Use code EGIDESIGNS for 15% off your order at Glassboard Studio**
|













2 Comments