Sheetload of Cards Sketch for Jan 2026: Wednesday Workshop Series
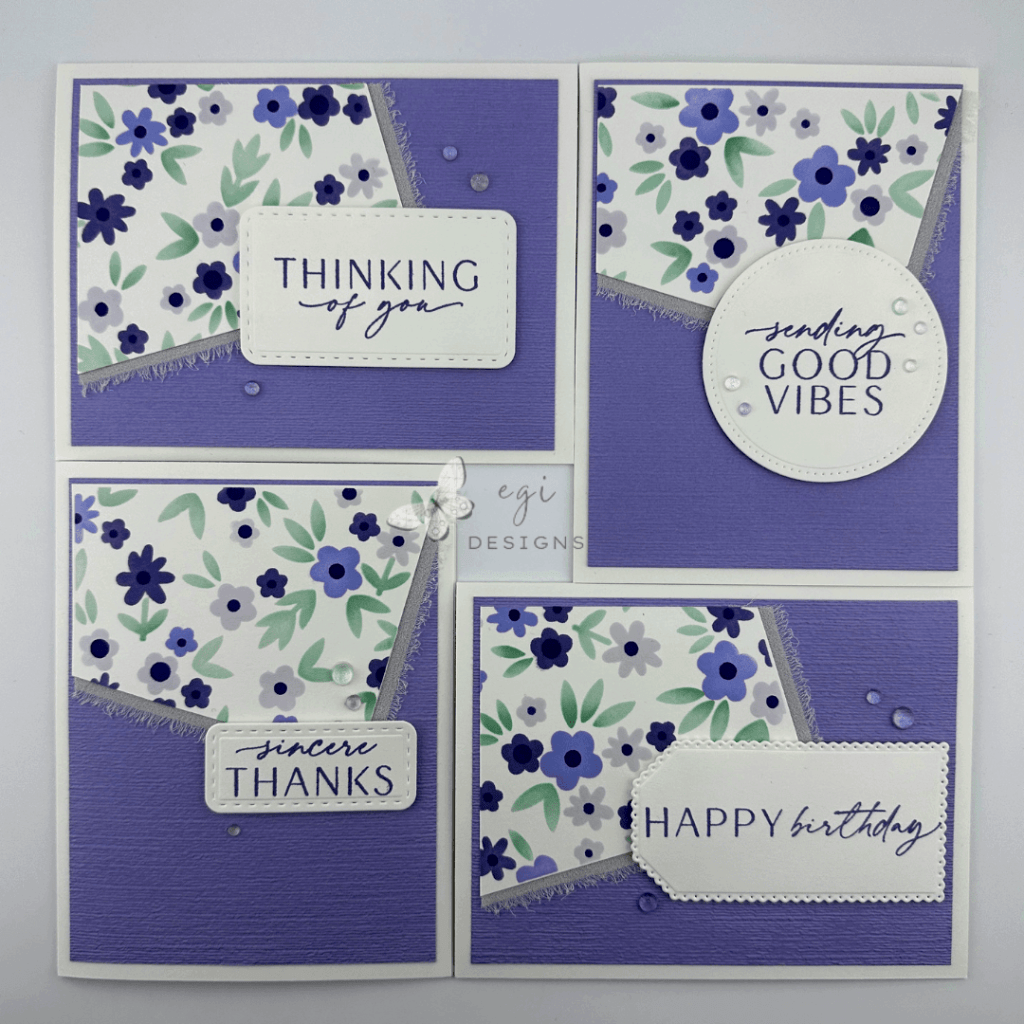
In this episode of my Wednesday Workshop Series, I used the January 2026 Sheetload of Cards Sketch to create four beautiful cards. On the cards, I used the Altenew Moonlit Twilight and Frosted Foliage ink quads, Concord & 9th‘s Bitsy Blooms Stencil Set, and the Written Words 1 & 2 stamp sets. All products used in this project are listed below.
Wednesday Workshop | Sketches and Fun Fold Cards Series
This project is part of my new ‘Wednesday Workshop | Sketches and Fun Fold Cards’ Series. This series used to be published on Saturdays, but I have moved it to Wednesday for some mid-week card inspiration! I have a playlist on YouTube with all the past episodes if you’d like to check them out.
In this series, I find a card sketch on the internet and make a card (or more) using it. If making more than one card, the first one will stick closely to the sketch, while the others will have slight changes or demonstrate different techniques. I have added fun fold cards and one sheet wonders into the mix as well, so we have lots of creative options.
Sheetload Card Instructions
To make the cards, I used the Call Me Crafty Al’s Sheetload of Cards Sketch for January 2026. Her video is linked in the box below, and it is where you can download the printable card sketch. This sketch makes eight cards if you follow the directions exactly. I decided to half the recipe and made four easy cards. This month’s sketch is in collaboration with Kendra’s Card Challenge, based on challenge #18, Sketch 15.
Measurements
Stenciled Image: 5 7/8 x 5 7/8"

Purple Background Panels: 3 7/8 x 5 1/8"

Ivory Inside Panels: 3 3/4 x 5"
Purple Inside Mats: 4 x 5 1/4"

Inside Stenciled Strips: 7/8 x 5" (2), 5/8 x 3 3/4" (2)

**See the Call Me Crafty Al Sheetload of Cards January 2026 Card Sketch video for the sketch layout and additional measurements**
Concord & 9th Bitsy Blooms Stencil Set
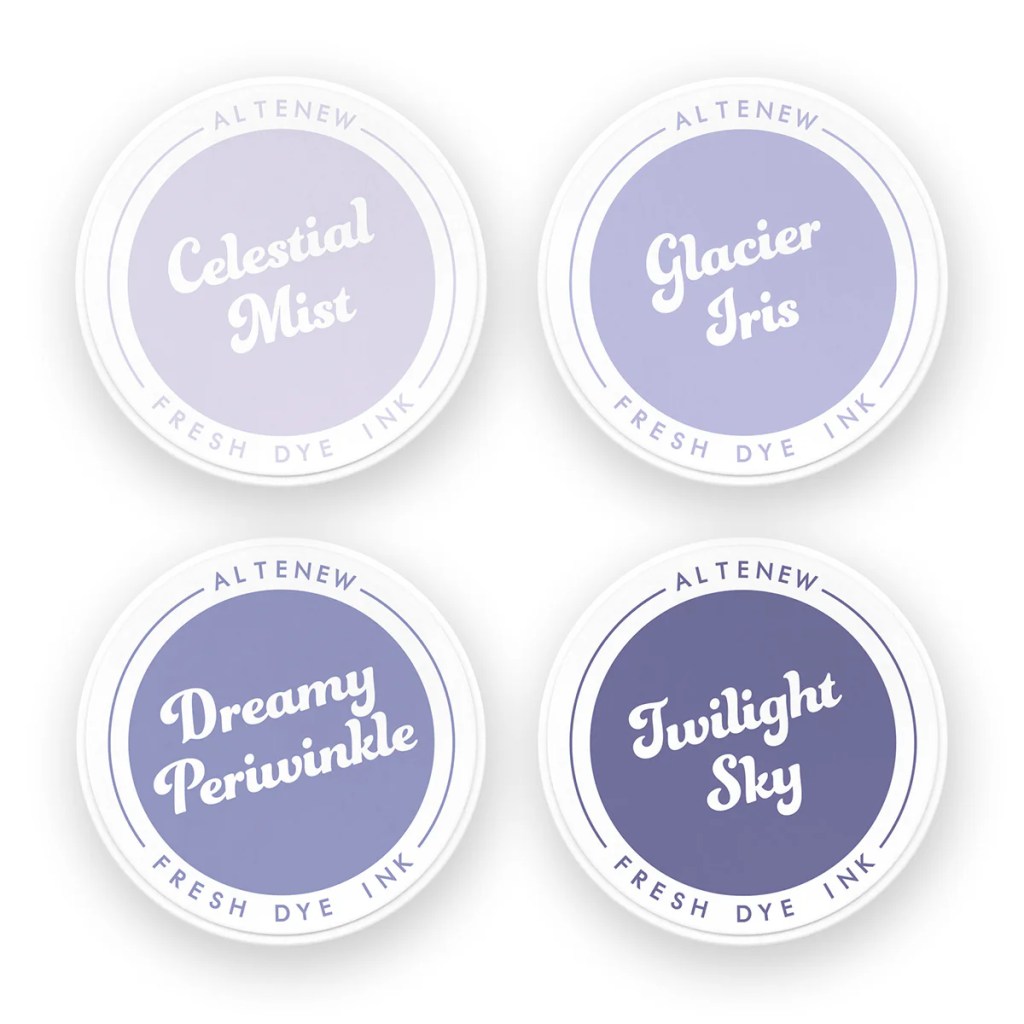
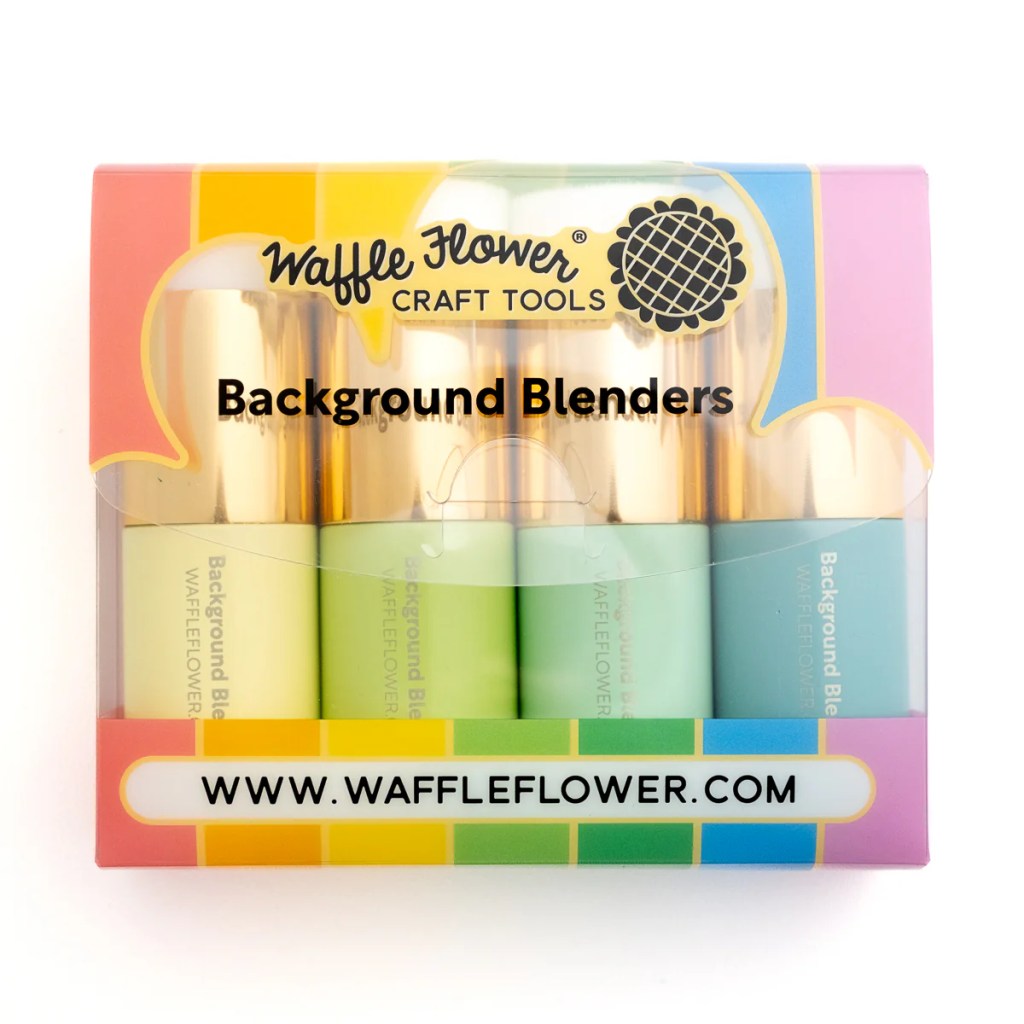
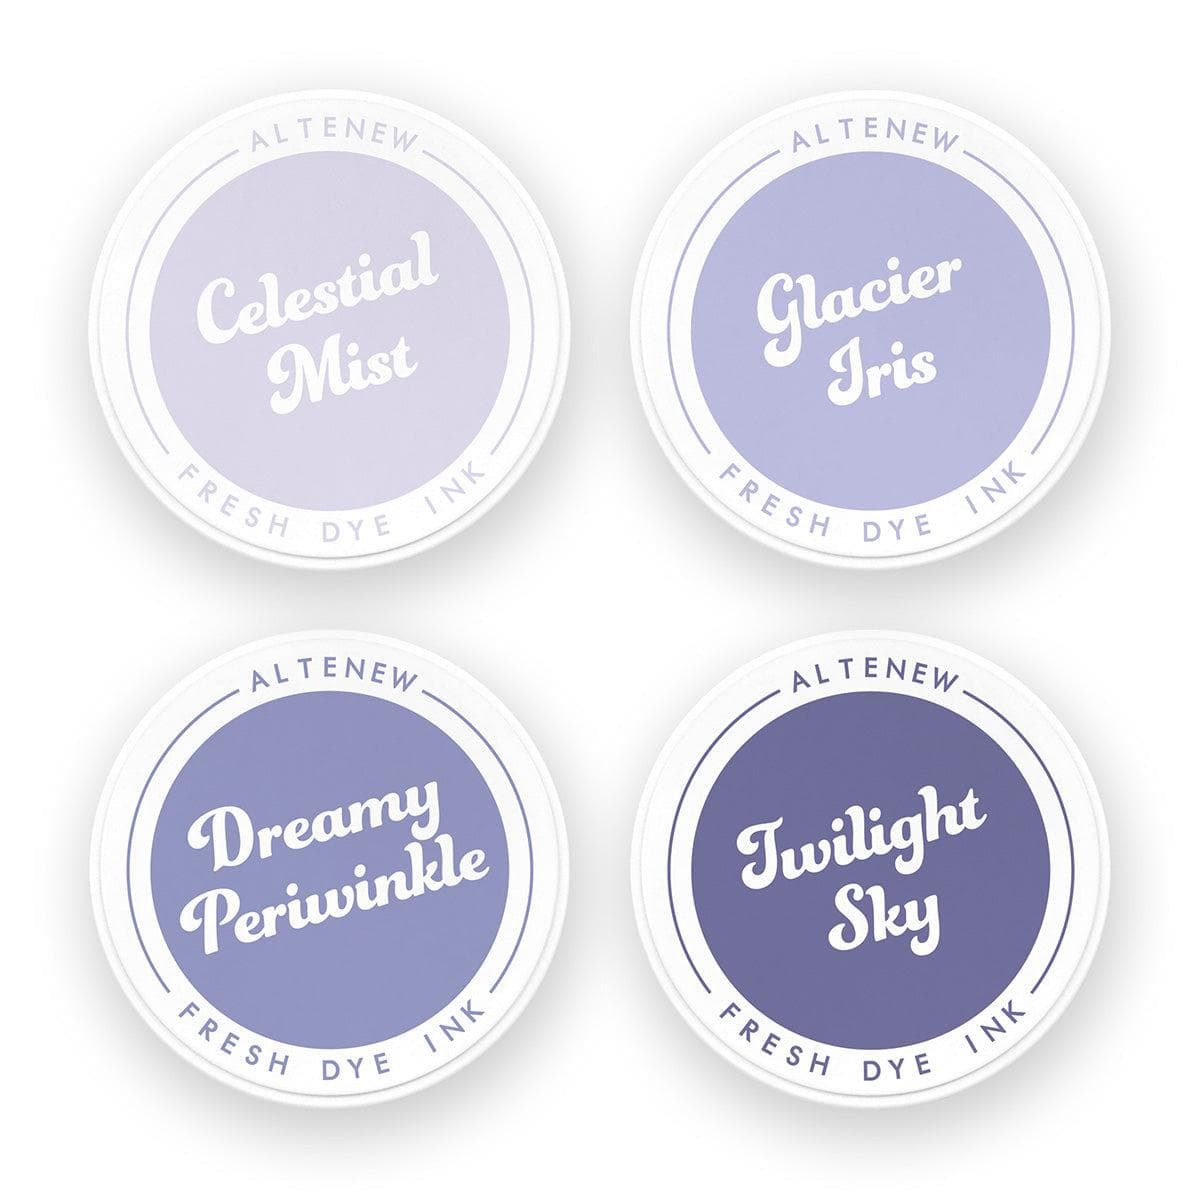
To create the stenciled patterned paper, I used the Concord & 9th Bitsy Blooms Stencil Set. This set includes five 6 x 9″ stencils: three layers for the flowers, one for the flower centers, and one for the leaves. I stenciled the images on a sheet of Gina K Designs Ivory cardstock. For the flower layers, I used the Moonlit Twilight quad of inks from Altenew. This set includes: Celestial Mist, Glacier Iris, Dreamy Periwinkle, and Twilight Sky. I used the Waffle Flower Background Blenders for the stenciling; you can hold these brushes in your palm, and it makes it easier to stencil over a large surface.

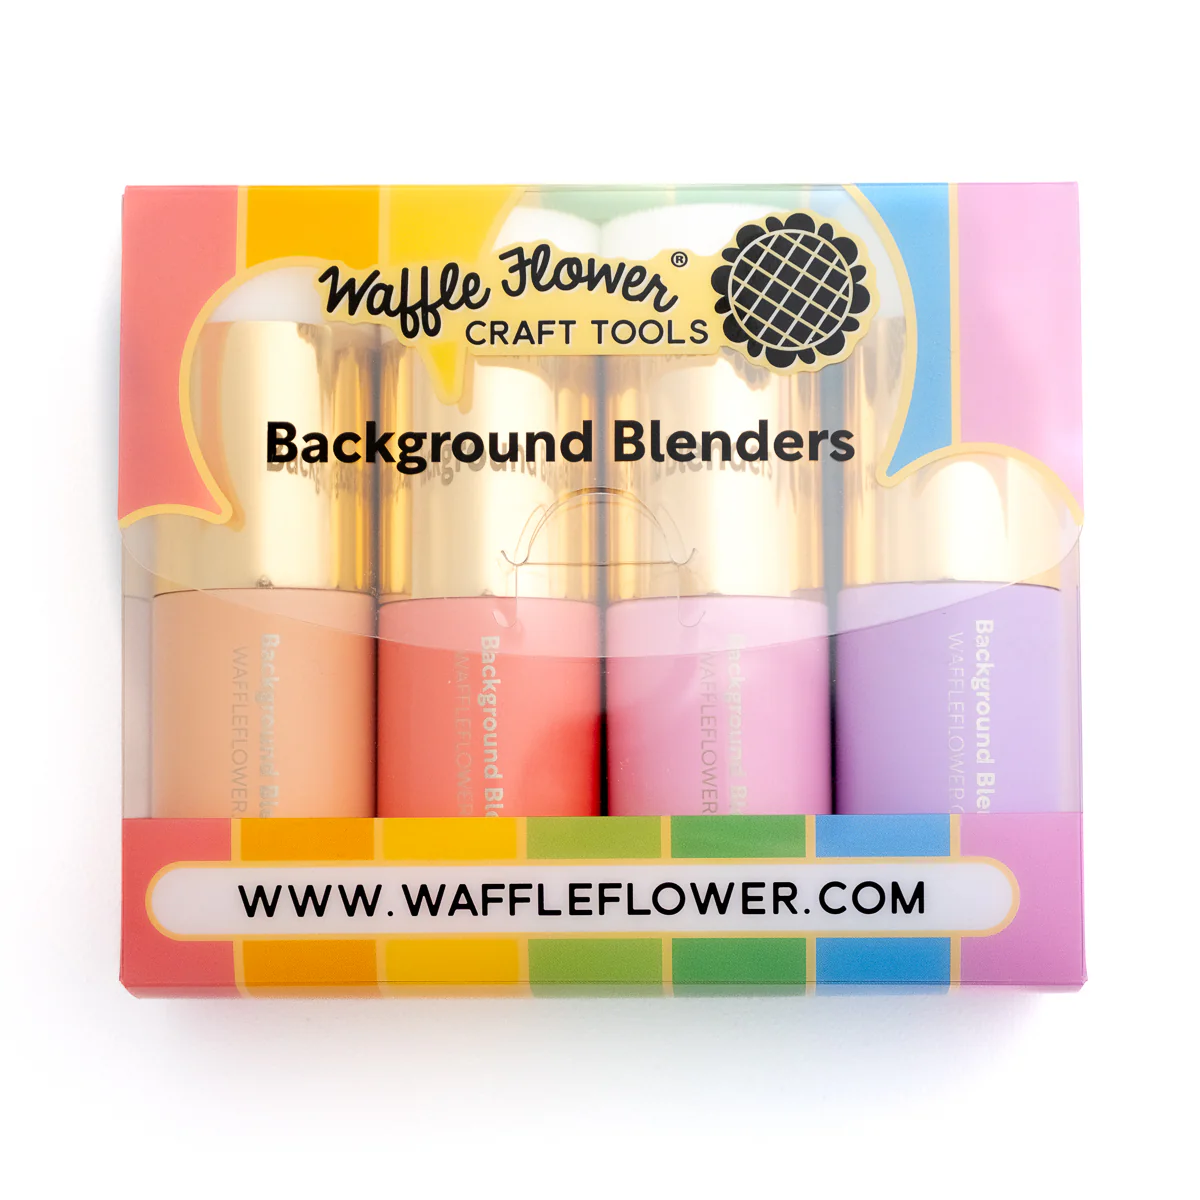
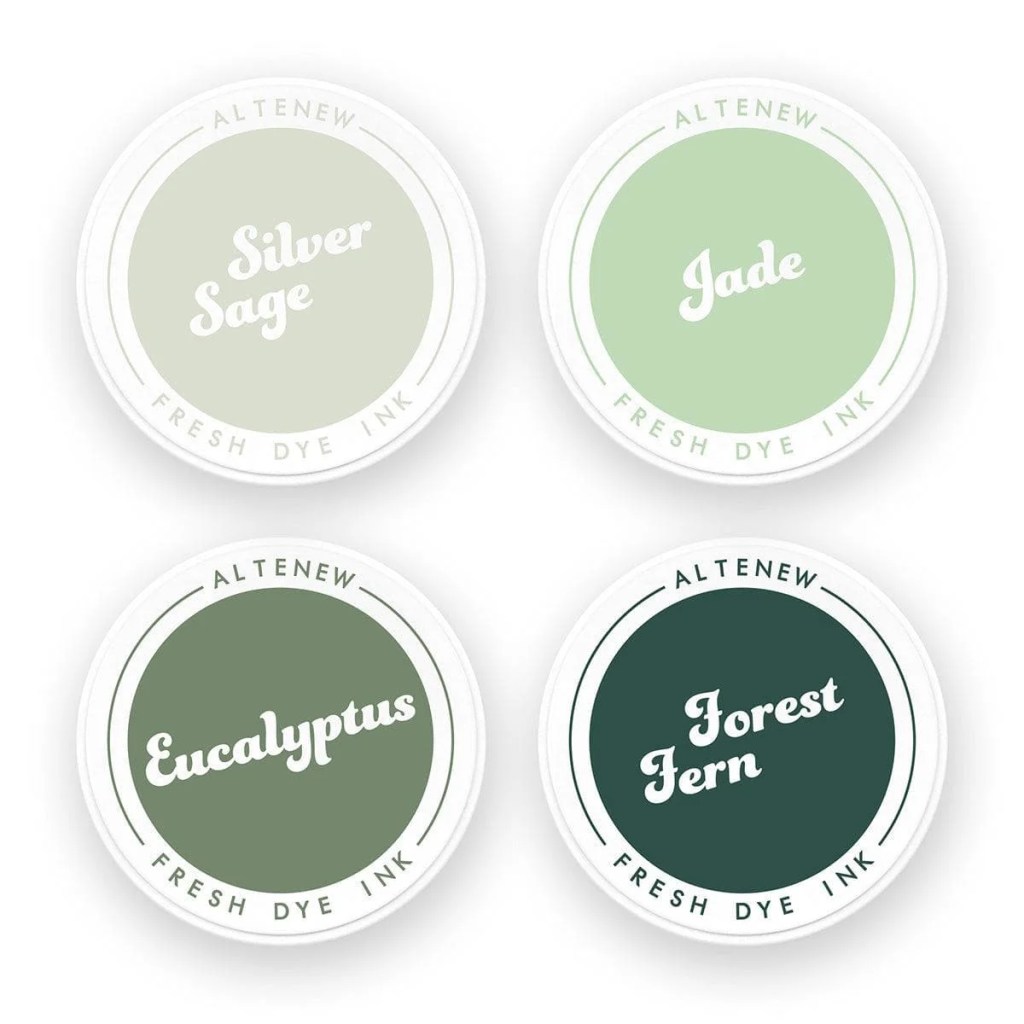
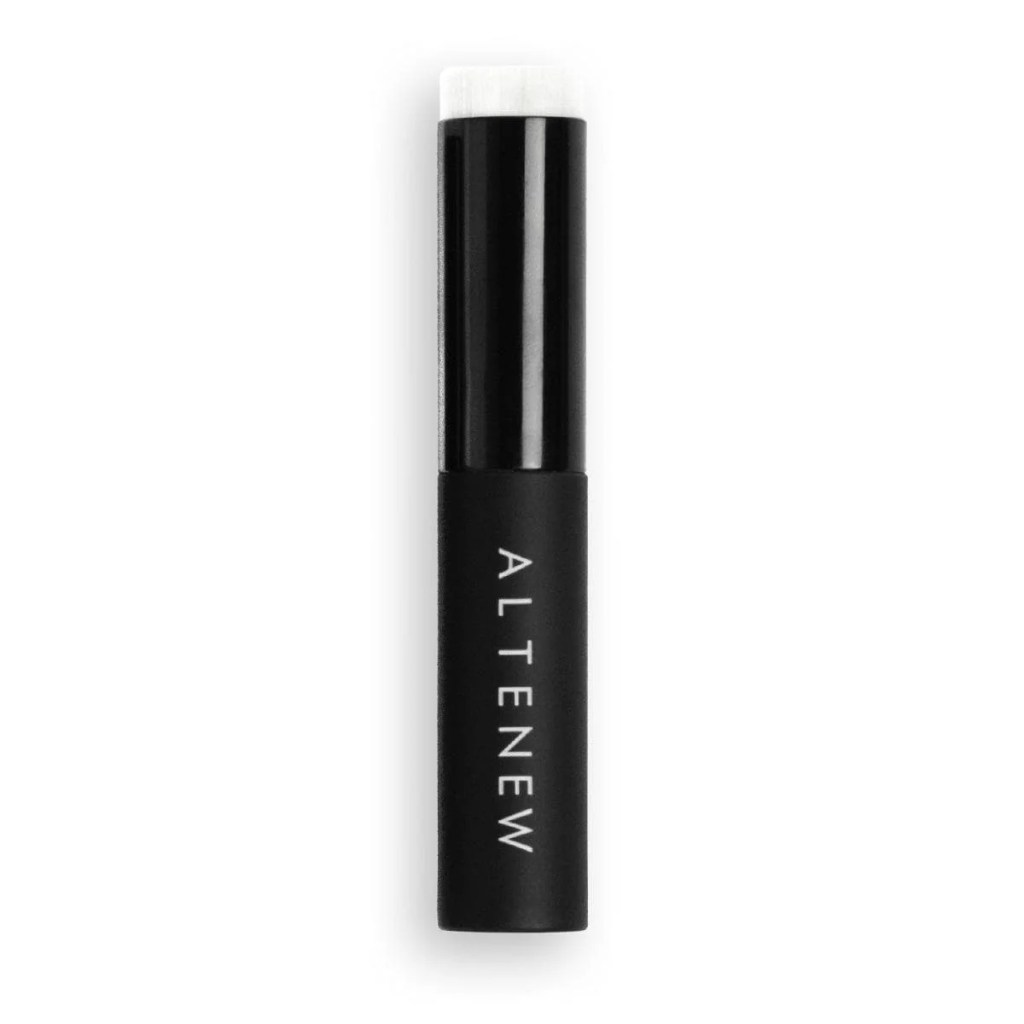
For the leaves, I used two colors from the Altenew Frosted Foliage ink quad, Silver Sage and Eucalyptus. I applied a light layer of Silver Sage over the whole stencil using a Waffle Flower Background Blender Green brush, and then used an Altenew Mini Blending Brush to add some shading to the leaves using Eucalyptus ink.
Cutting the Papers
Once the stenciling was complete, I trimmed the paper to 5 7/8 x 5 7/8″. The sketch calls for 6 x 6″ paper, but there was a lot of extra white space around the stenciled image, so I made the square a little smaller. I also took 1/8″ off of my background panels to match the smaller size of the patterned paper.
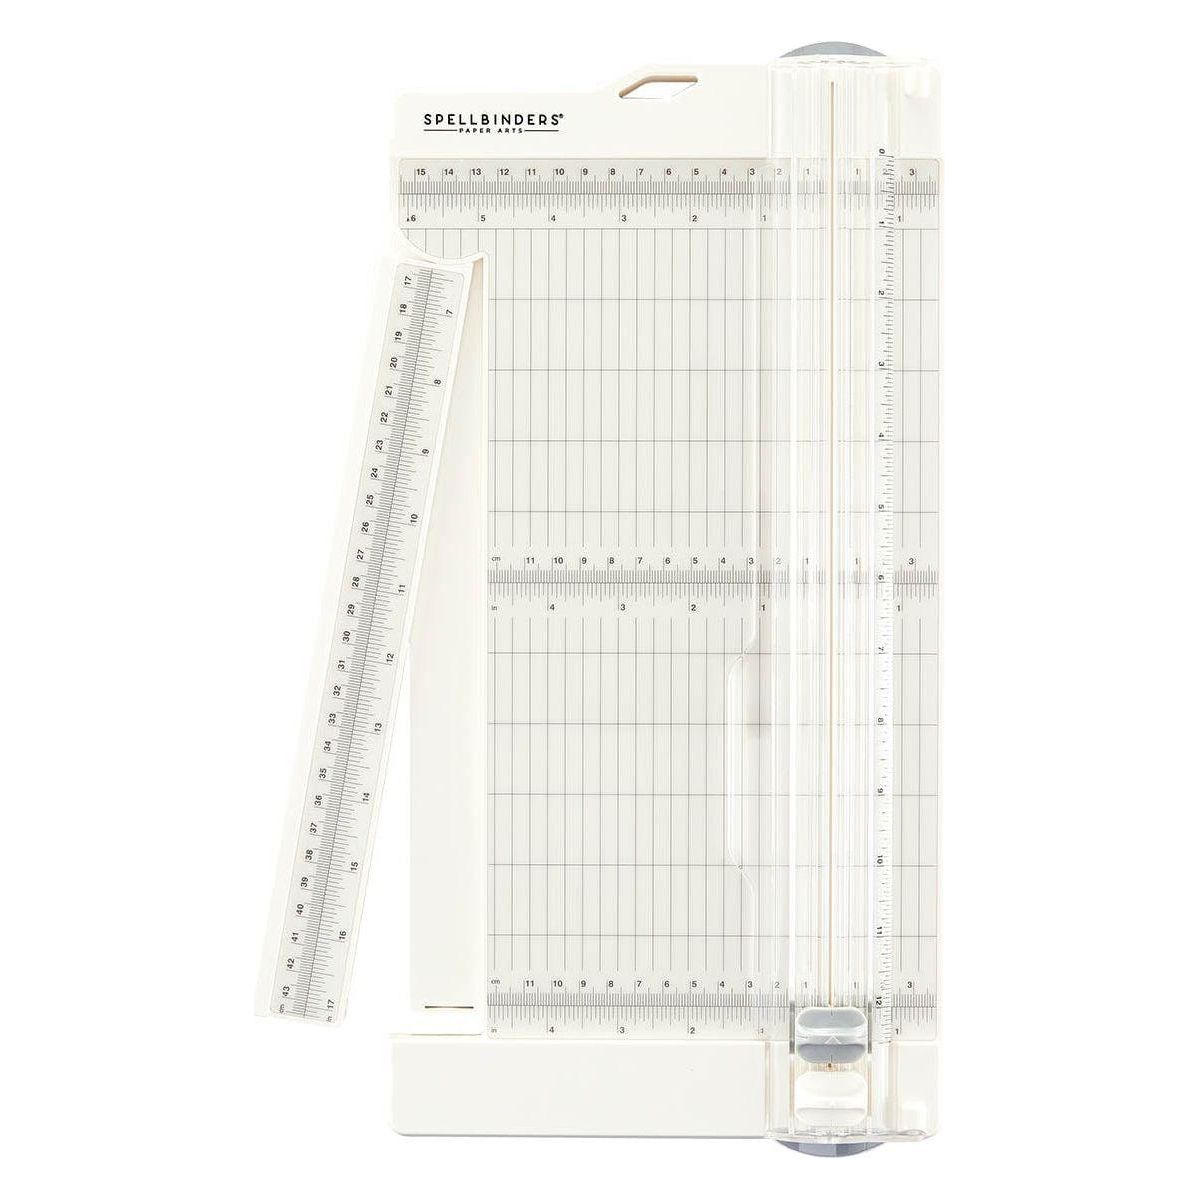
In looking at the sketch, the square piece should be cut into four pieces, offset 2″ from the corners. Please check out my video, or Call Me Crafty Al’s video, for visual instructions on how to properly cut the paper. My Tim Holtz Precision Trimmer extends two inches to the right of the cutting blade, so I lined up the top right corner at the 2″ line on the right side of the trimmer, and the bottom left corner on the 2″ line on the left side, cutting the paper in half.


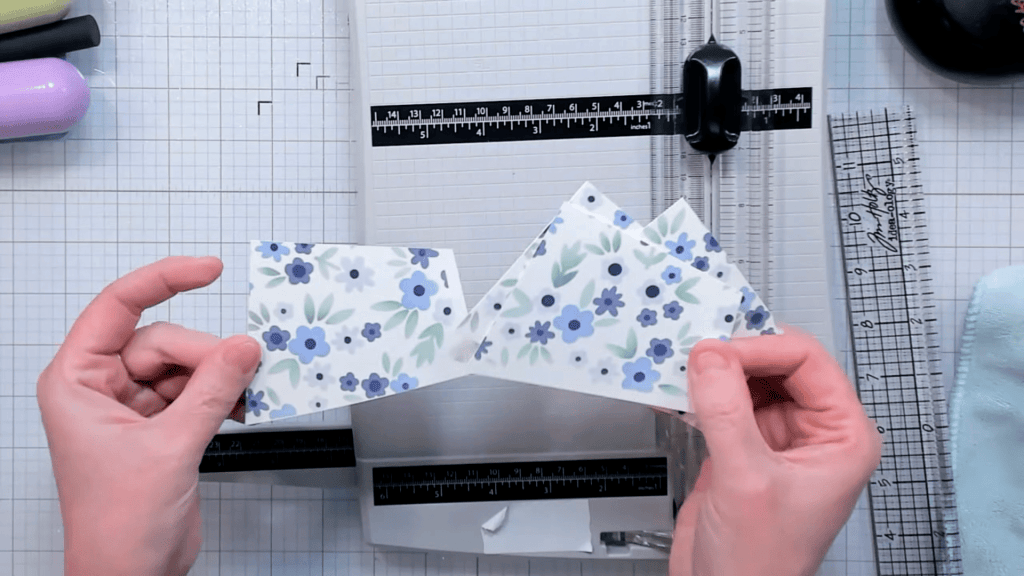
Next, you want to measure the long side of the cut pieces. Mine measured 6 1/4″, and I cut that measurement in half, and that was at 3 1/8″. I trimmed them in half and then had four identical pieces.
Once those pieces were set, I cut my background panels from Altenew Glacier Iris cardstock and embossed them with a Stampin’ Up! Subtle Embossing Folder. This added a muted linen look to the panels, introducing a subtle texture without overwhelming the card front. I also cut four A2 card bases from Gina K Designs Ivory cardstock.
Putting Together the Card Front
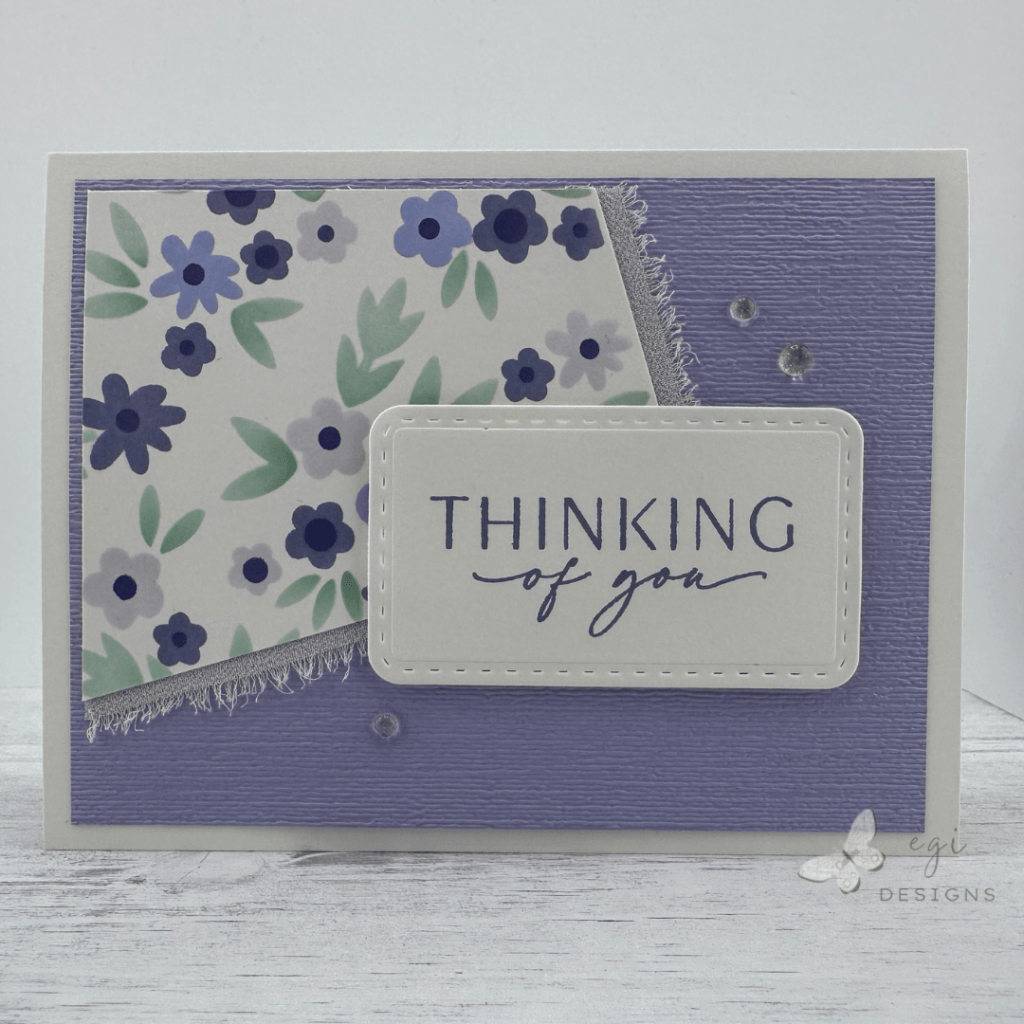
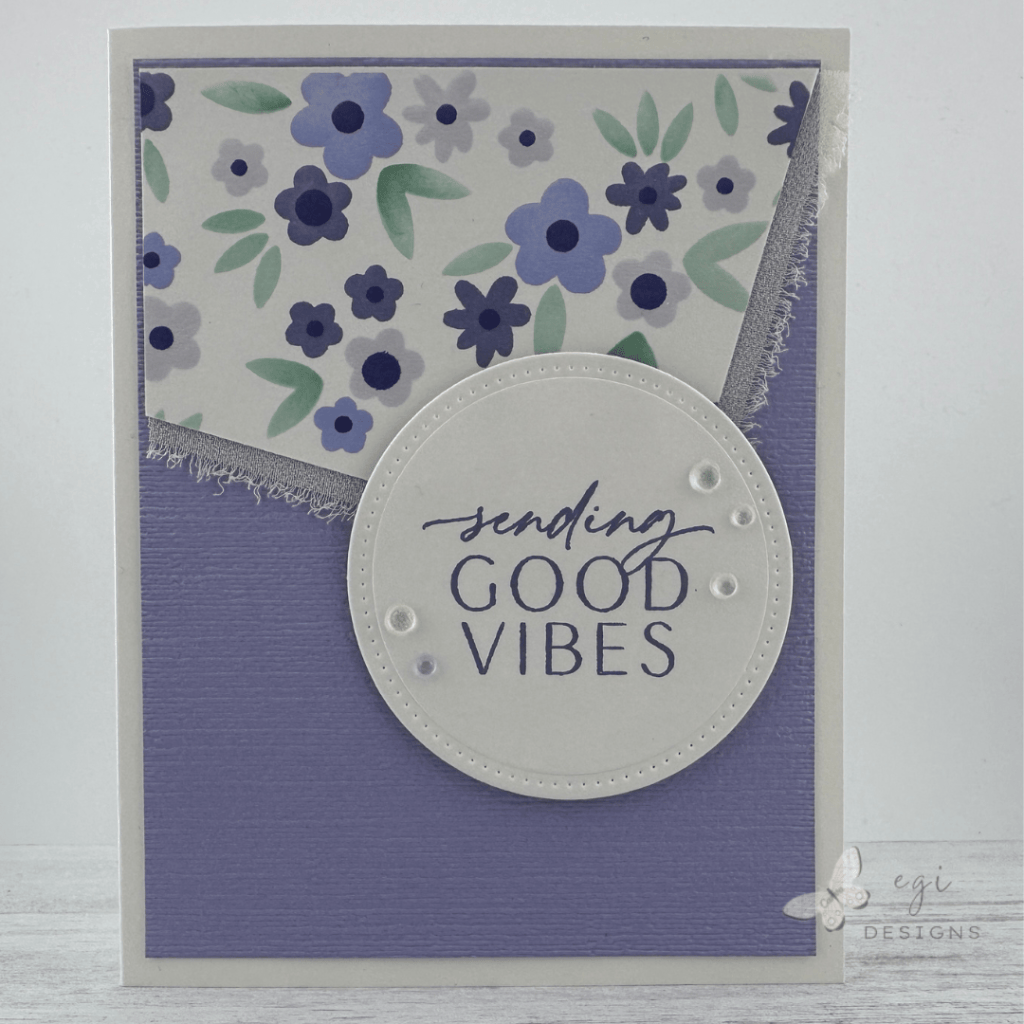
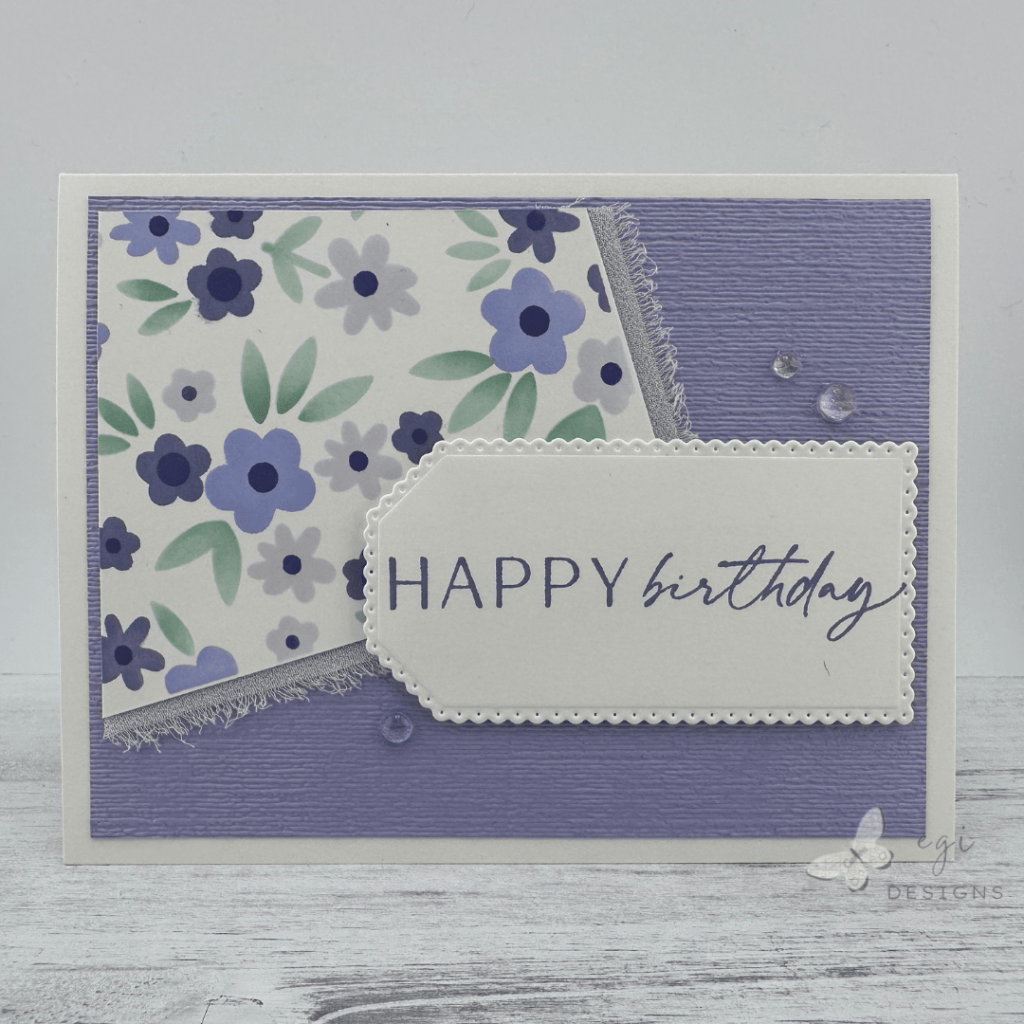
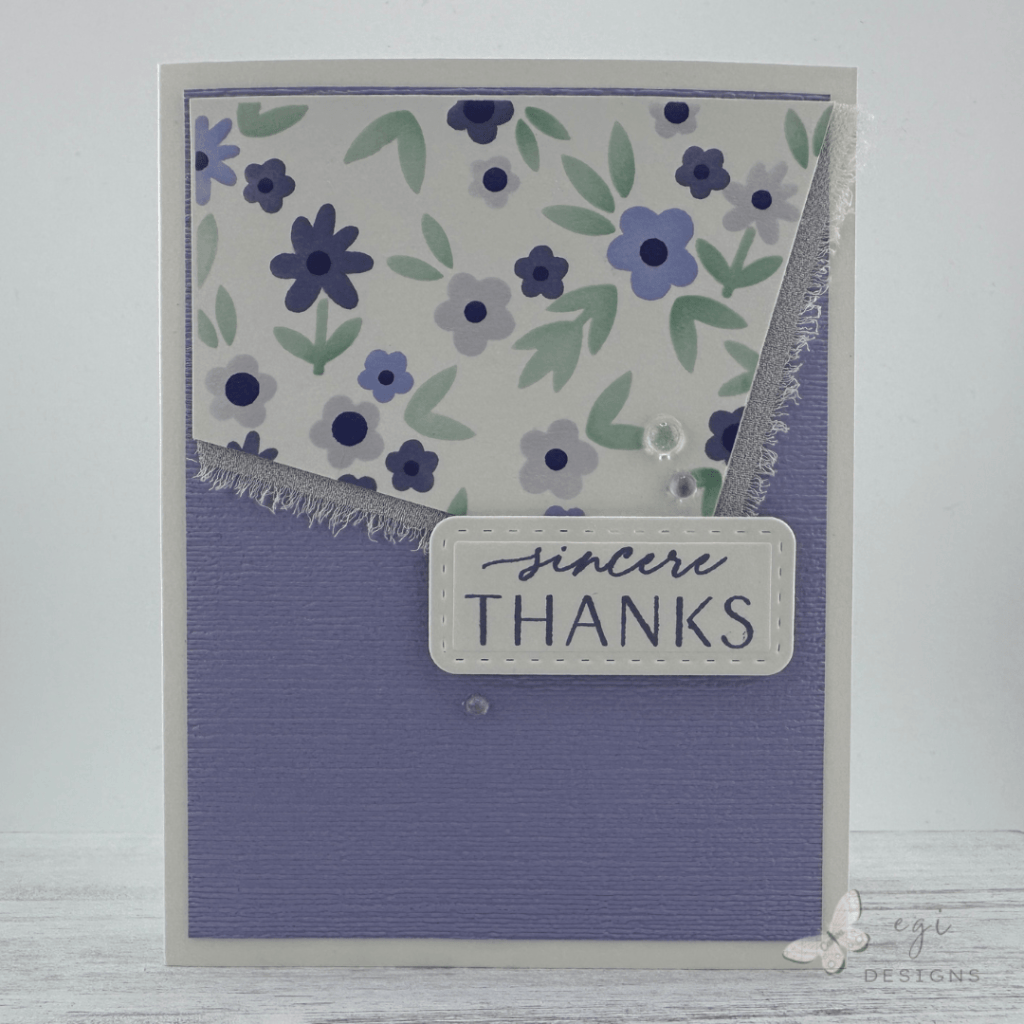
Using the card bases, background panels, and stenciled quadrilateral shapes, I figured out how I wanted to lay out each card. I decided to make two vertical cards and two horizontal cards with the pieces.
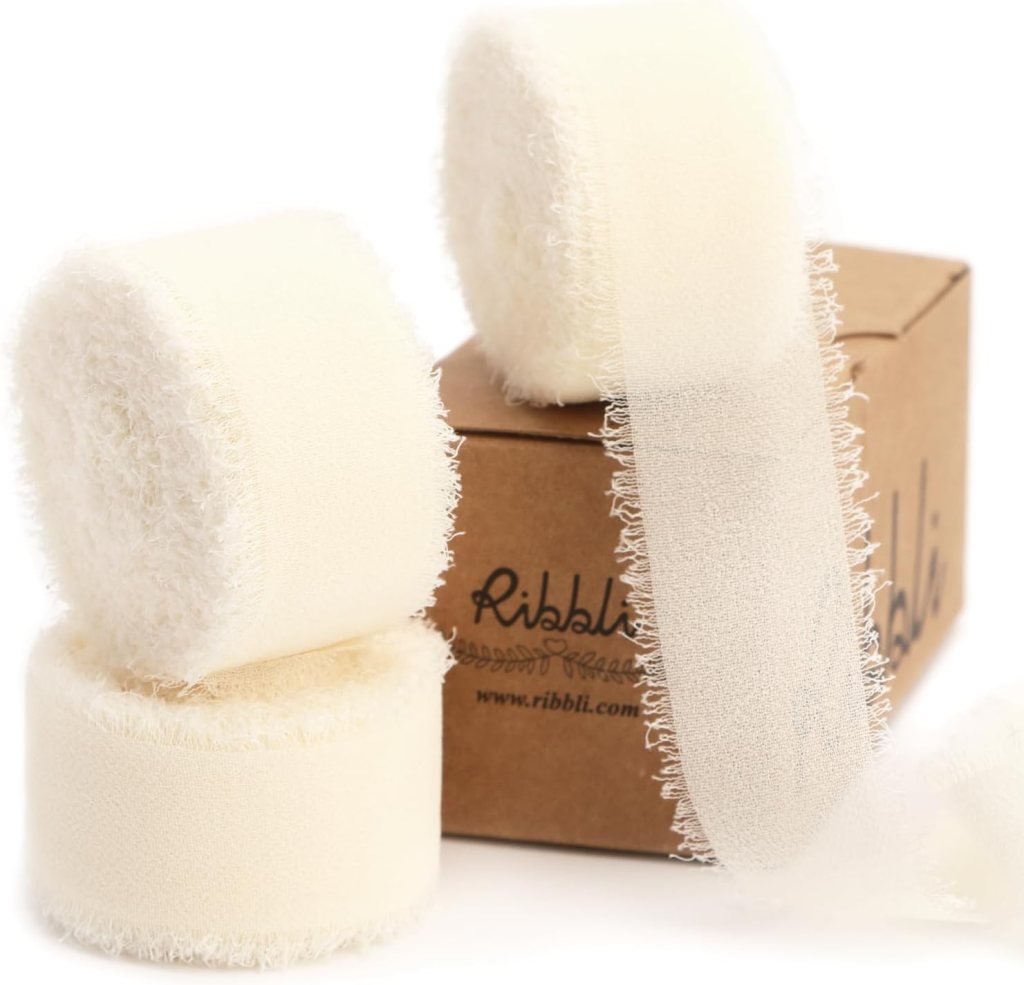
To add some interest to the card fronts, I added double-sided tape to the edges of the shapes and added strips of Ribbli Ivory Chiffon Ribbon to the edges, trimming off the excess with fabric scissors.
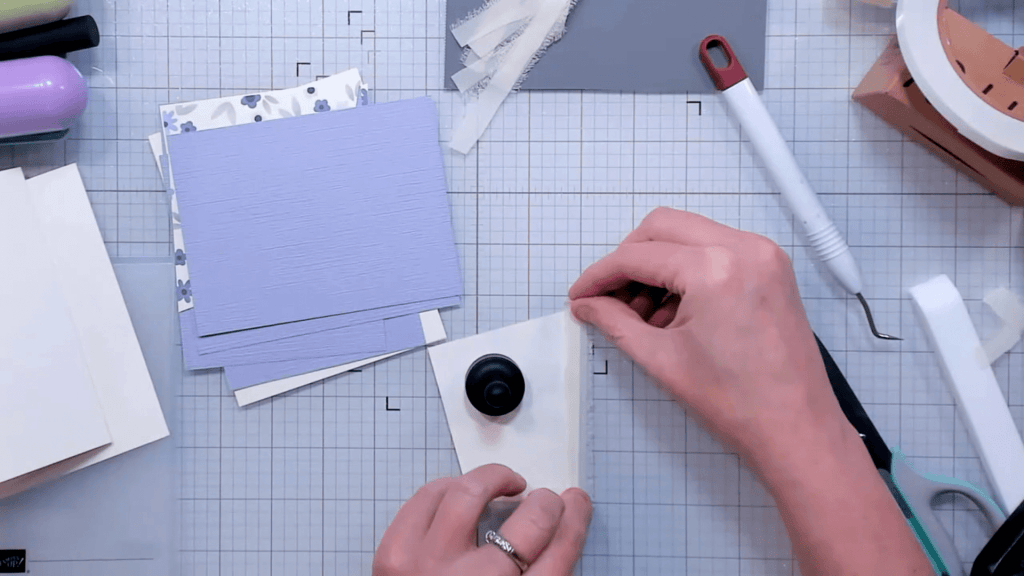
Once that was complete, I added the shapes to the background panels, leaving a small border around the edges, using liquid glue. Then I added the panels to the card bases using tape runner.
Creating the Sentiments
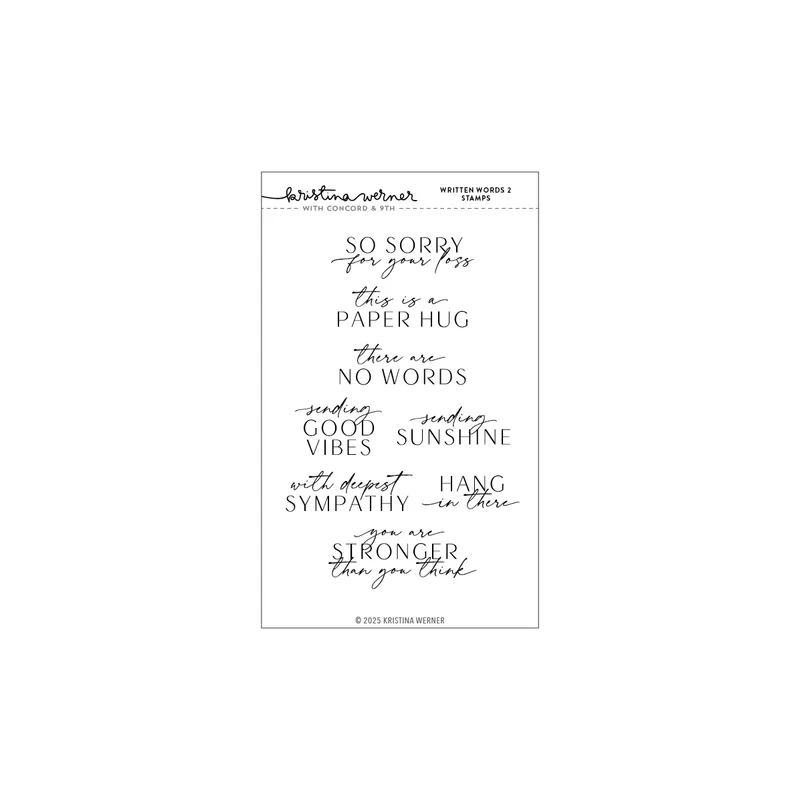
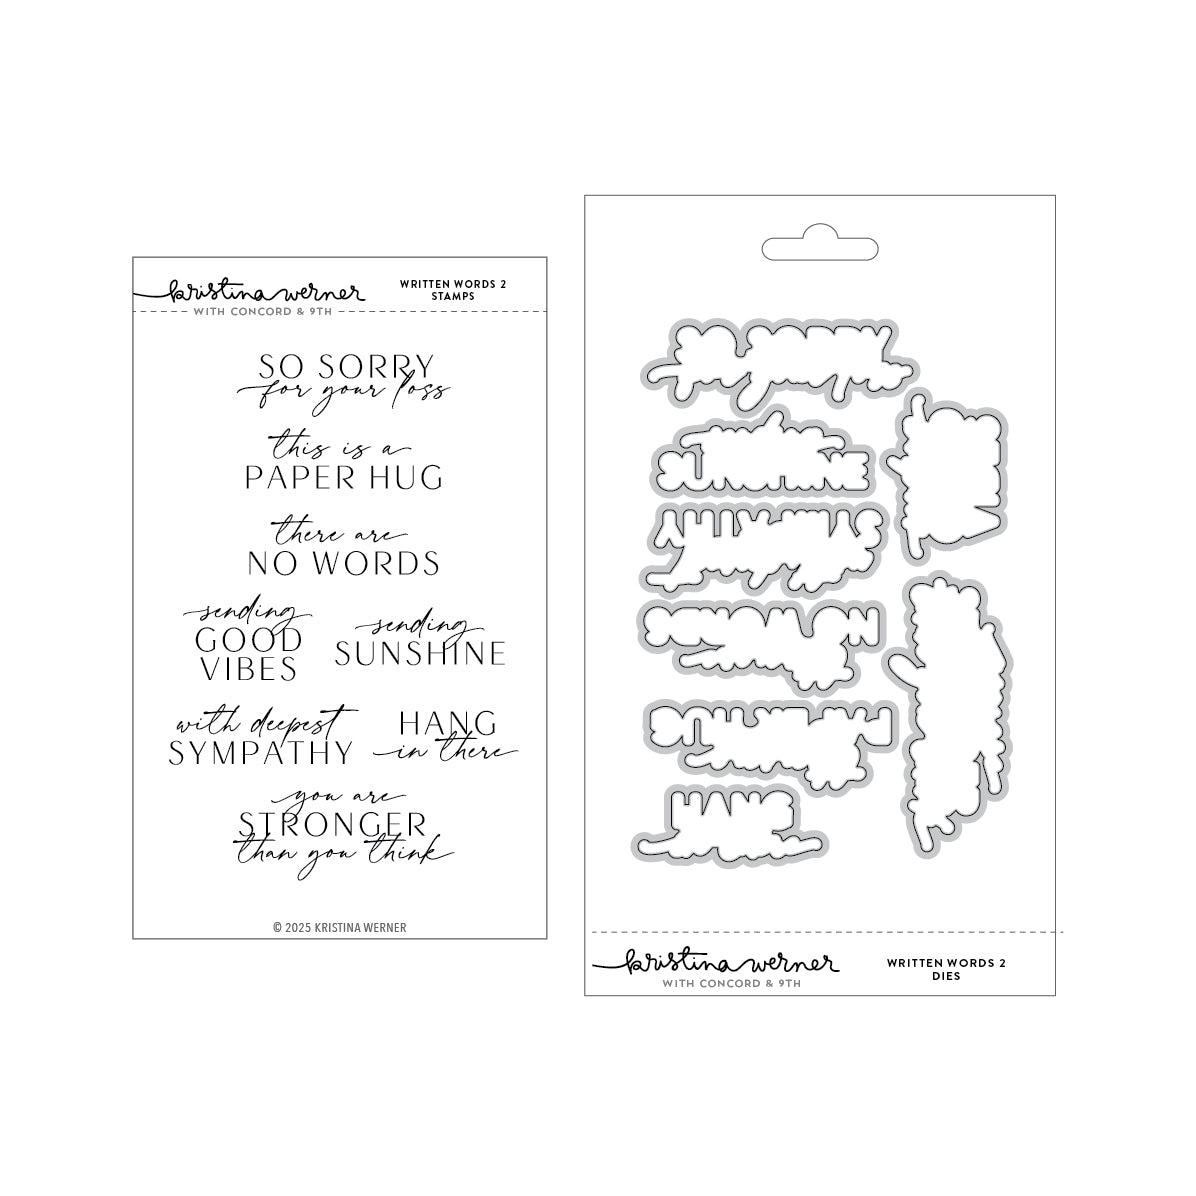
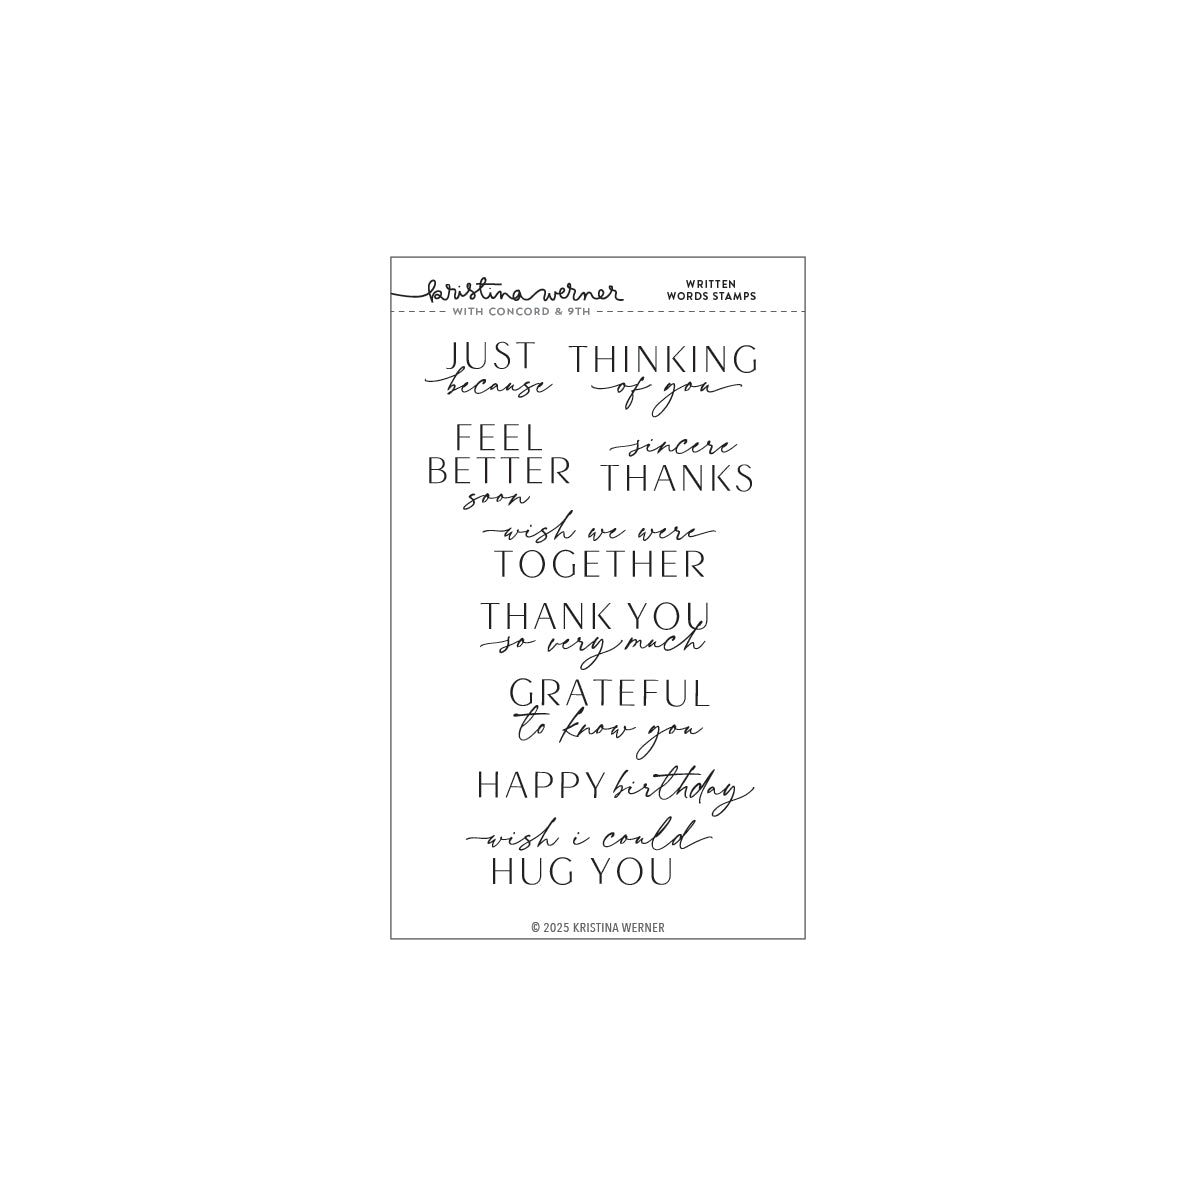
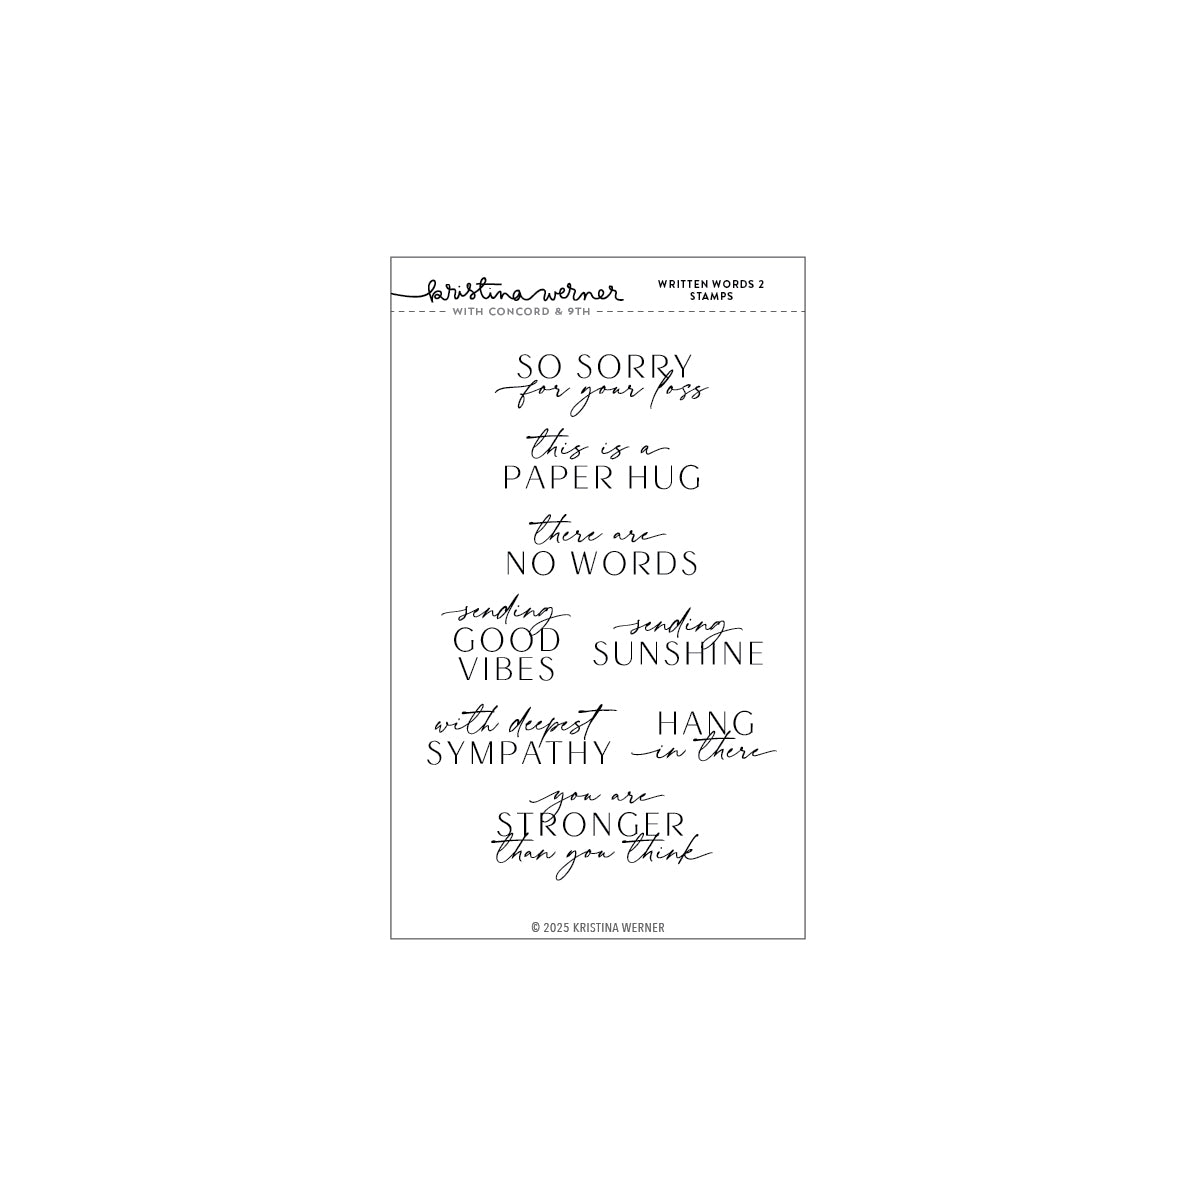
For the card sentiments, I wanted a variety of sayings so I could use the cards for multiple occasions. I used four different stamps from the Concord & 9th Written Words and Written Words 2 Stamp Sets, with Dreamy Periwinkle ink.
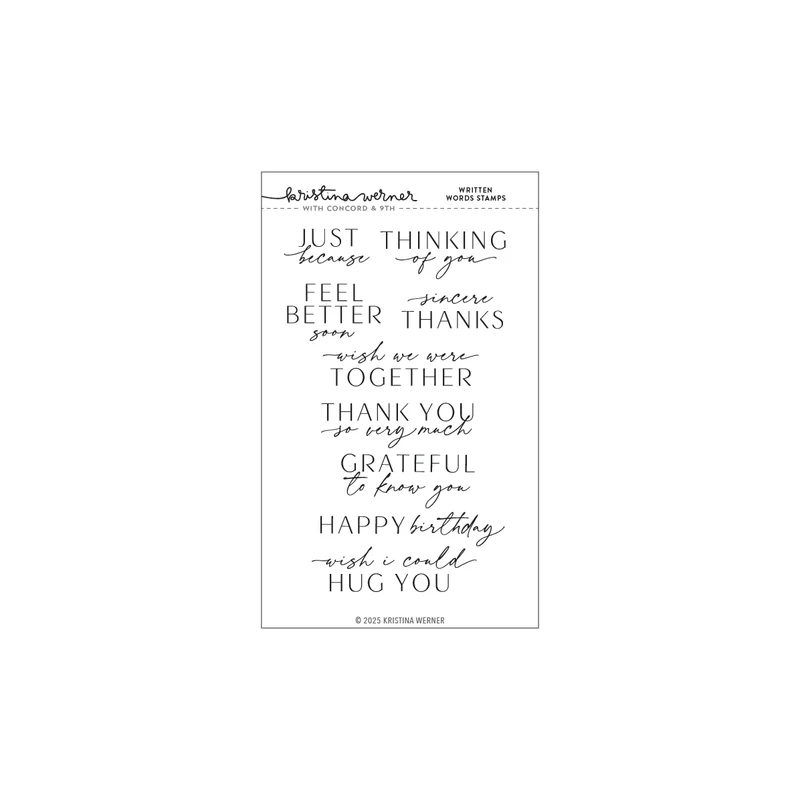
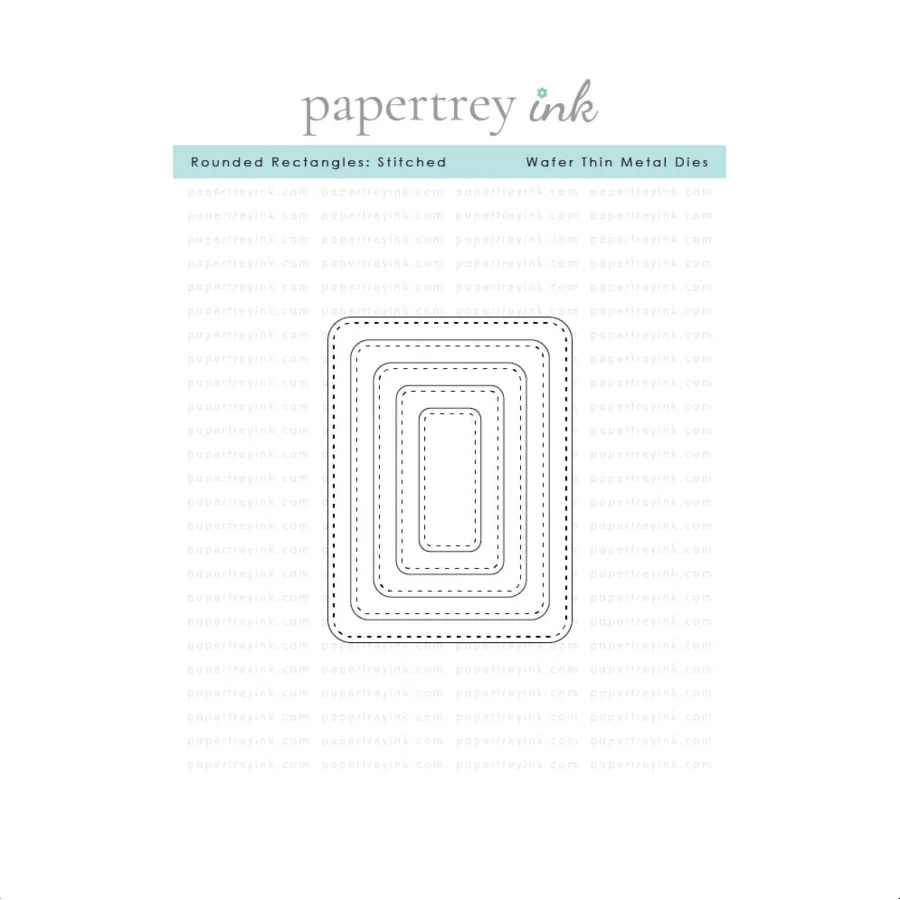
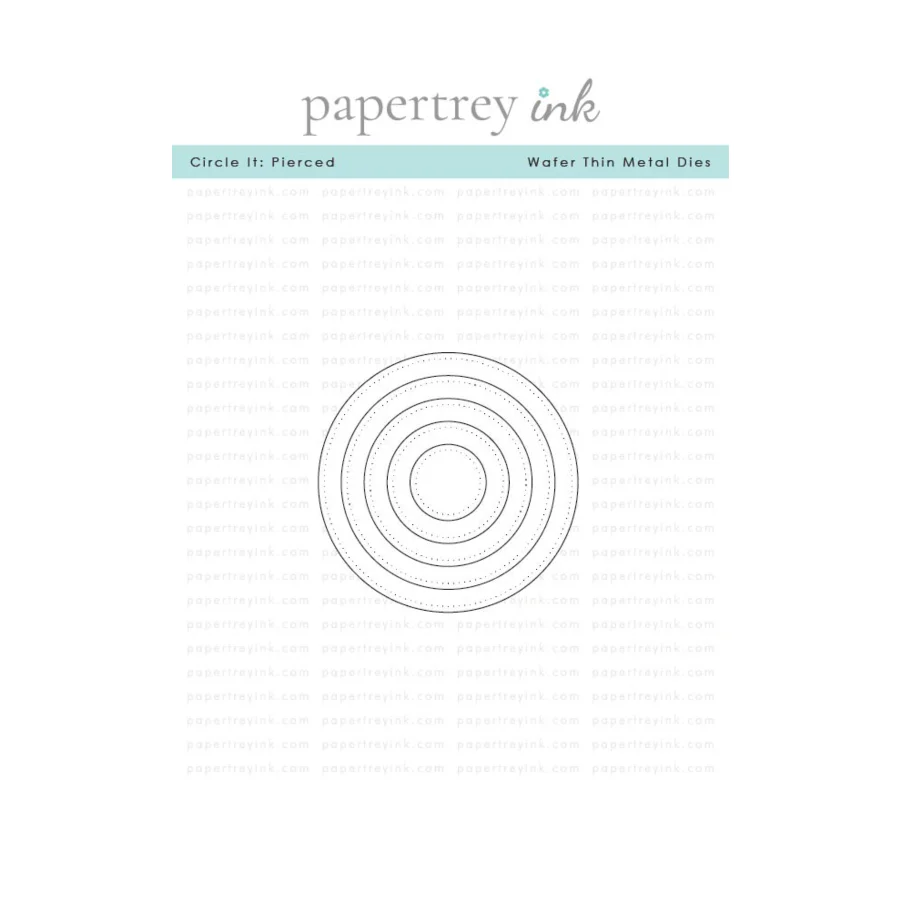
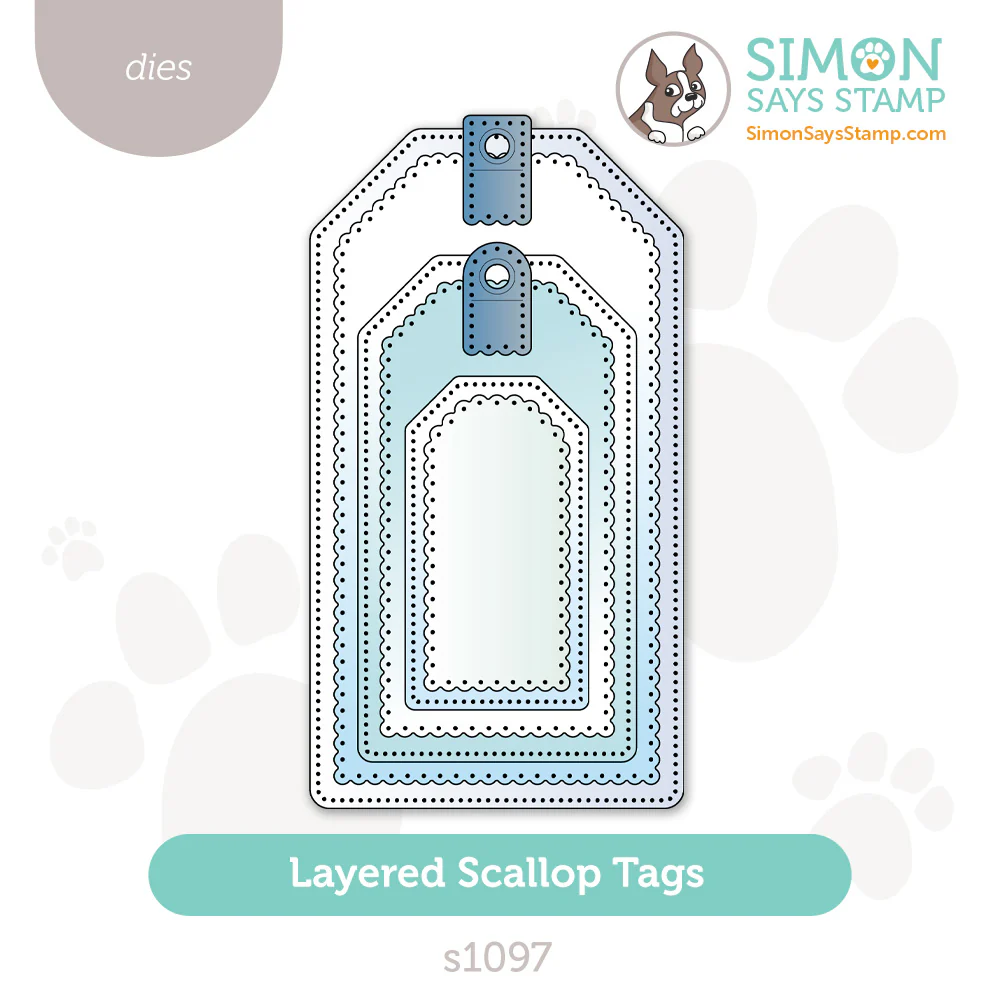
To cut out the sentiments, I used a few different die sets: Papertrey Ink‘s Rounded Stitched Rectangles and Pierced Circles, and Simon Says Stamp Layered Scallop Tags Die Set.
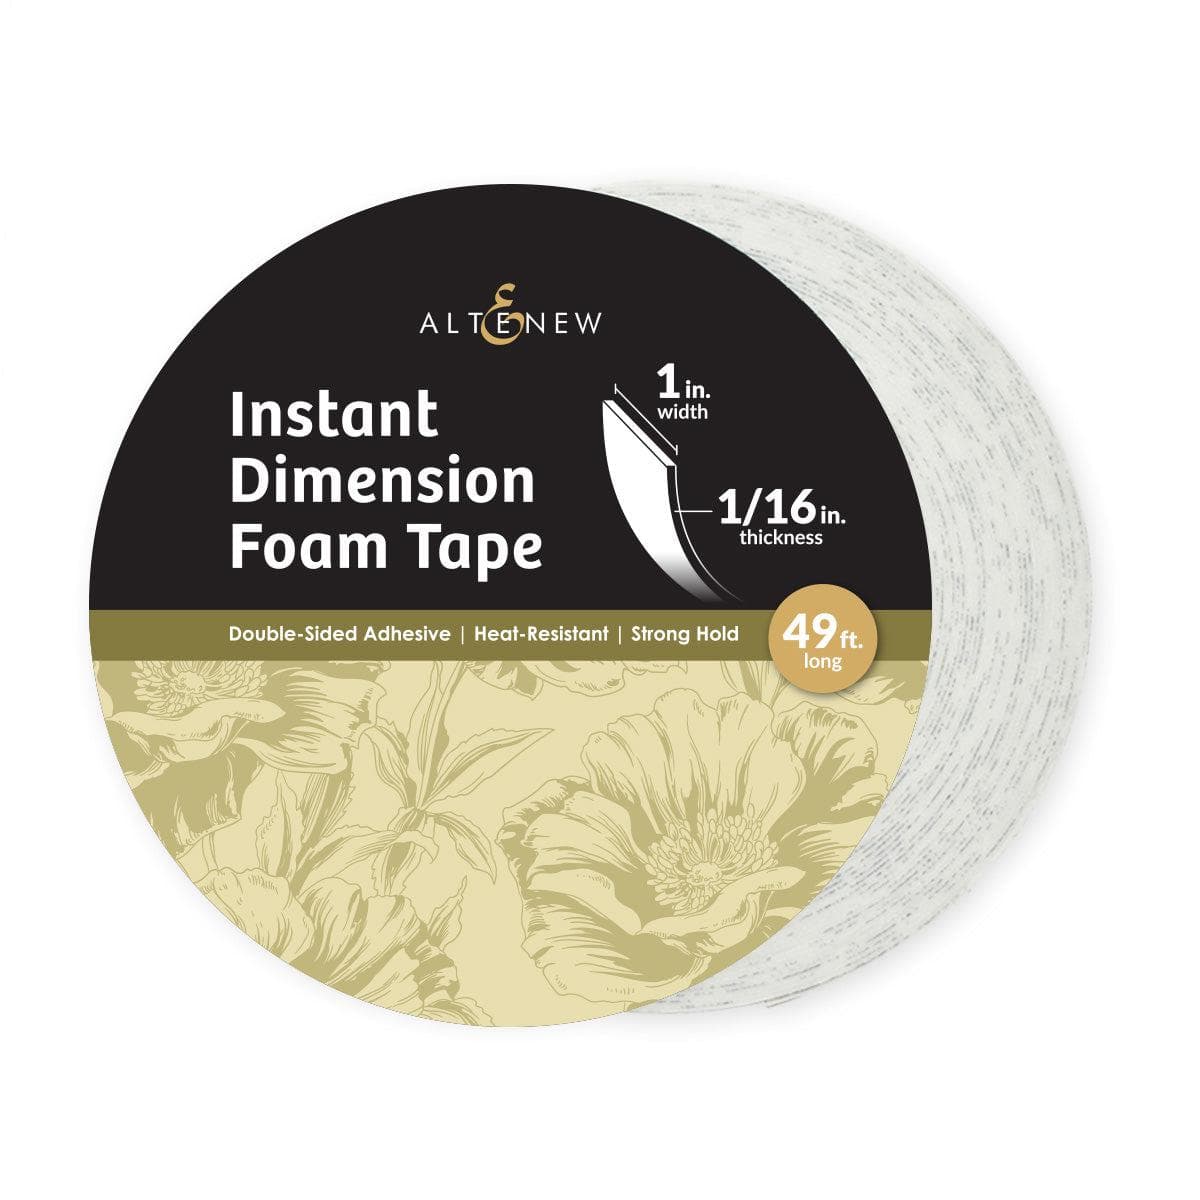
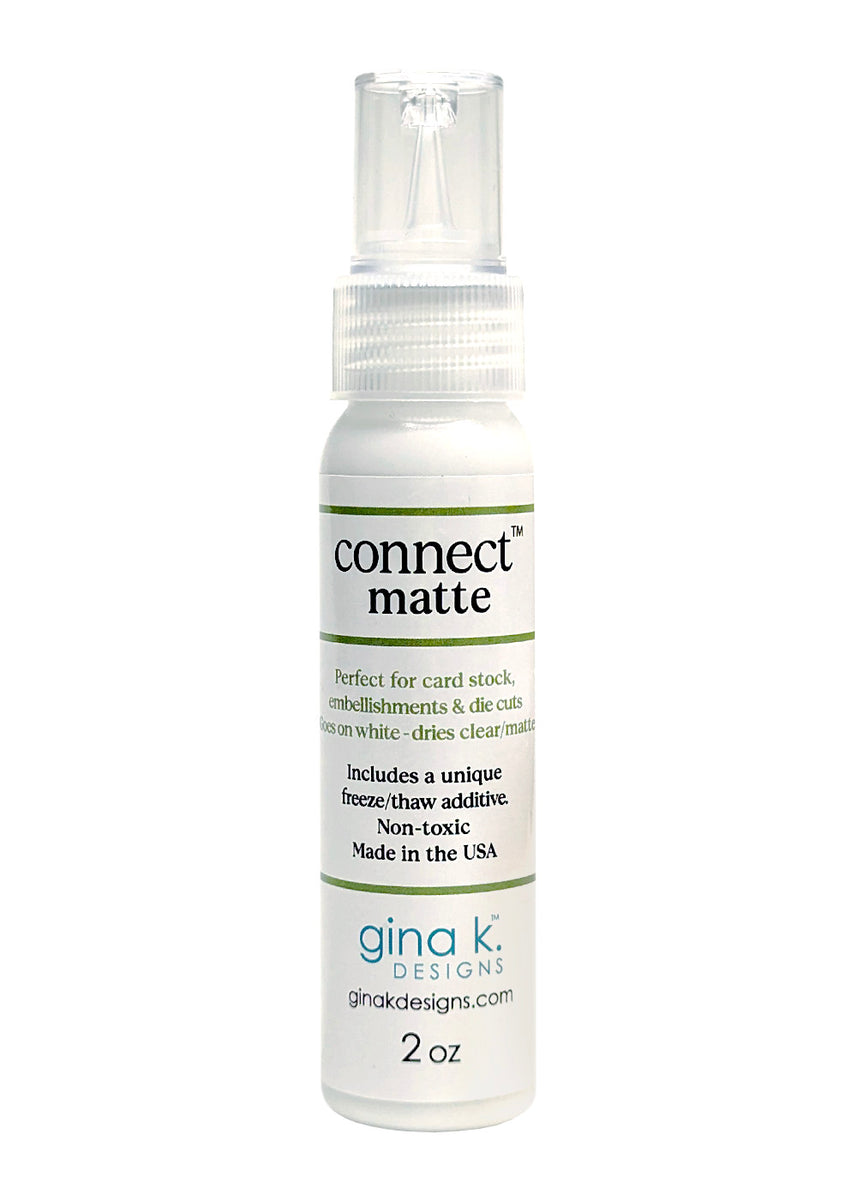
I added Altenew 1″ Foam Tape to the back of each sentiment, and then added them to the card fronts, being sure to cover the shape point. For a finishing touch, I added Pinkfresh Studio Iridescent Dew Drops with Gina K Designs Connect Matte glue. This glue is awesome as it dries clear AND matte so you can’t see any glue ooze around the embellishments!


Inside of Cards
For the inside of the cards, I cut mat layers from the Glacier Iris cardstock and panels from Gina K Designs Ivory cardstock. I cut strips from the leftover stenciled piece and added them to the left sides of the Ivory panels with tape runner, trimming off the excess.
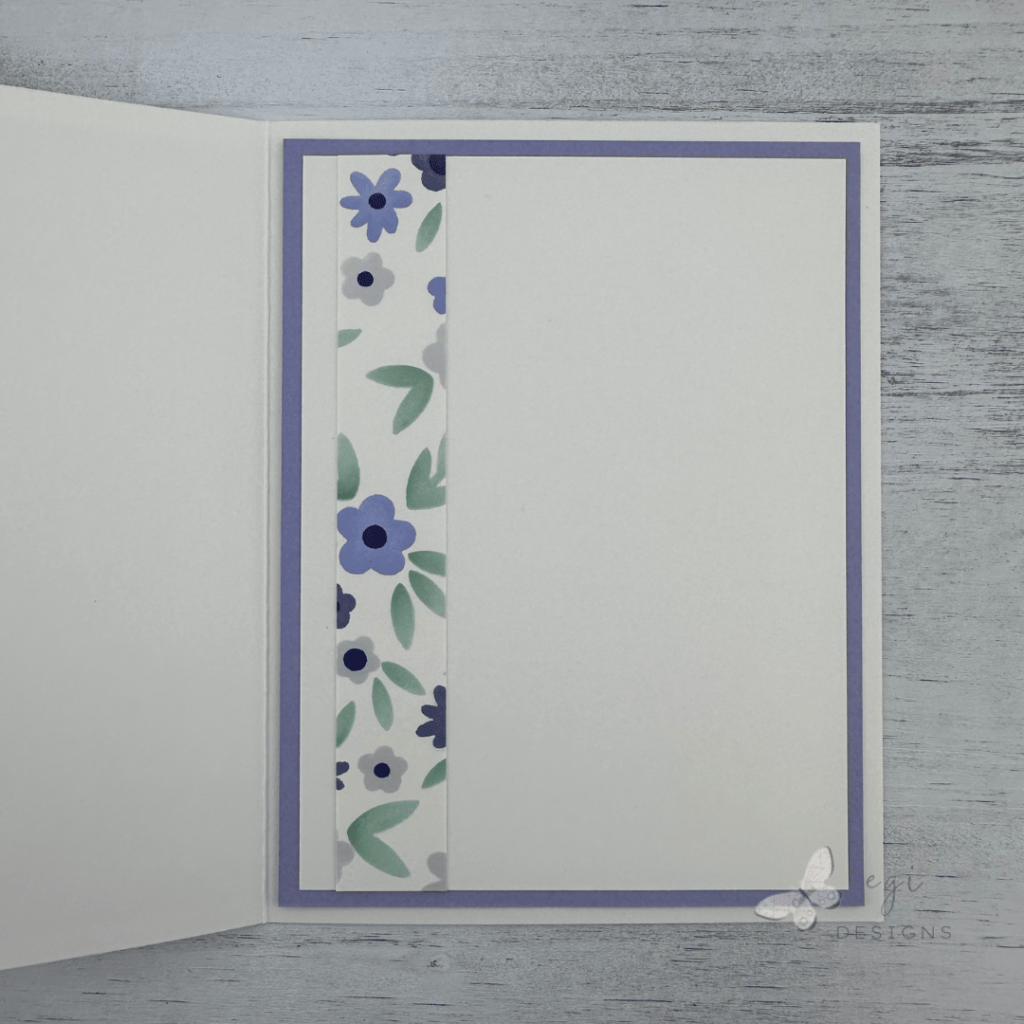
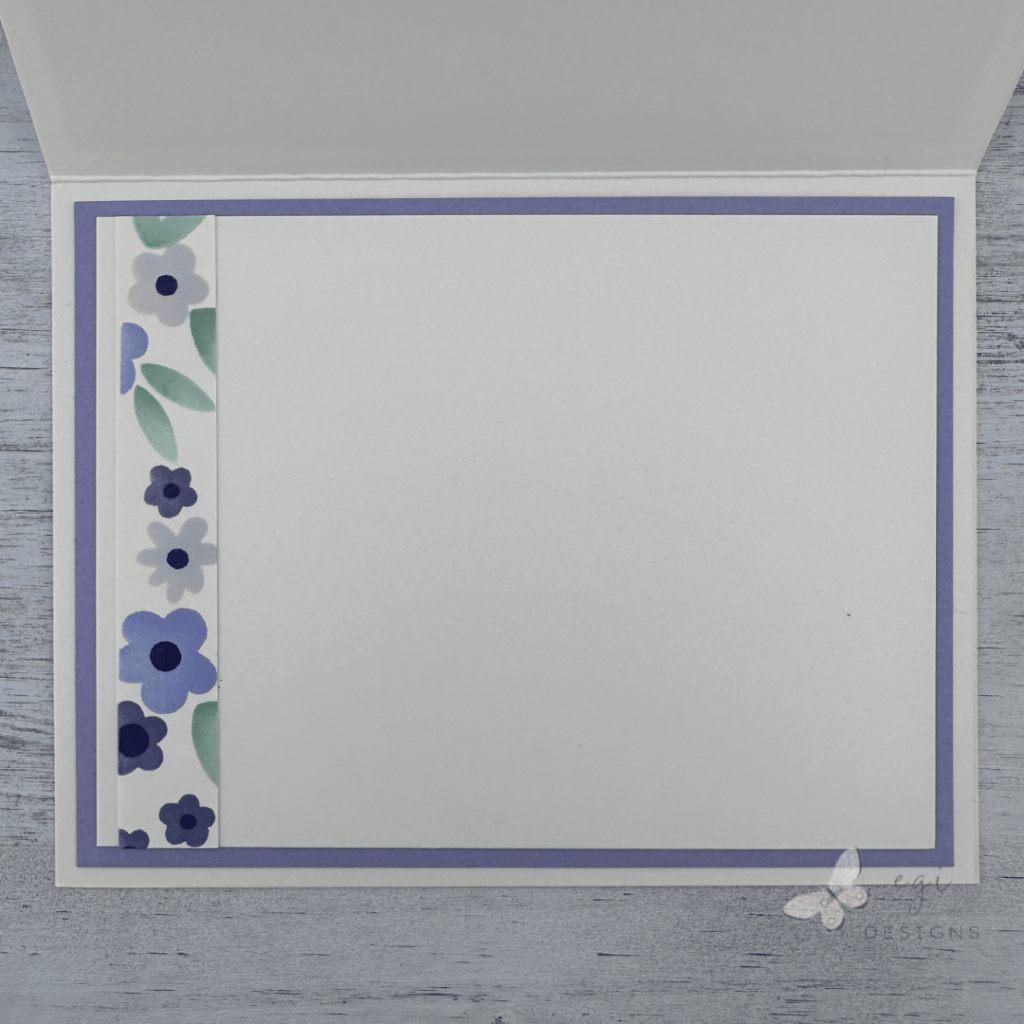
If you are looking for additional ways to decorate the inside of your cards, check out my video with more easy ideas.
Completed Cards
Here are the four completed cards! I love the way they turned out.
Step-by-step video:
I hope you enjoyed this project! For more card-making ideas, check out my YouTube playlist and card-making blog posts. I also have a Sheetload of Cards playlist on YouTube, as well as a Wednesday Workshop Series playlist for additional inspiration.
Product Information
Here are the products I used in today’s project. Please consider shopping through my affiliate links, as it greatly helps out my channel at no extra cost to you. Thanks so much for supporting me and my channel!
**Use code EGIDESIGNS for 15% off your order at Glassboard Studio**
|










Additional products used:
- Scrapbook.com: Pro Pick