
Easy Eclipse Technique Using Embossing Folders
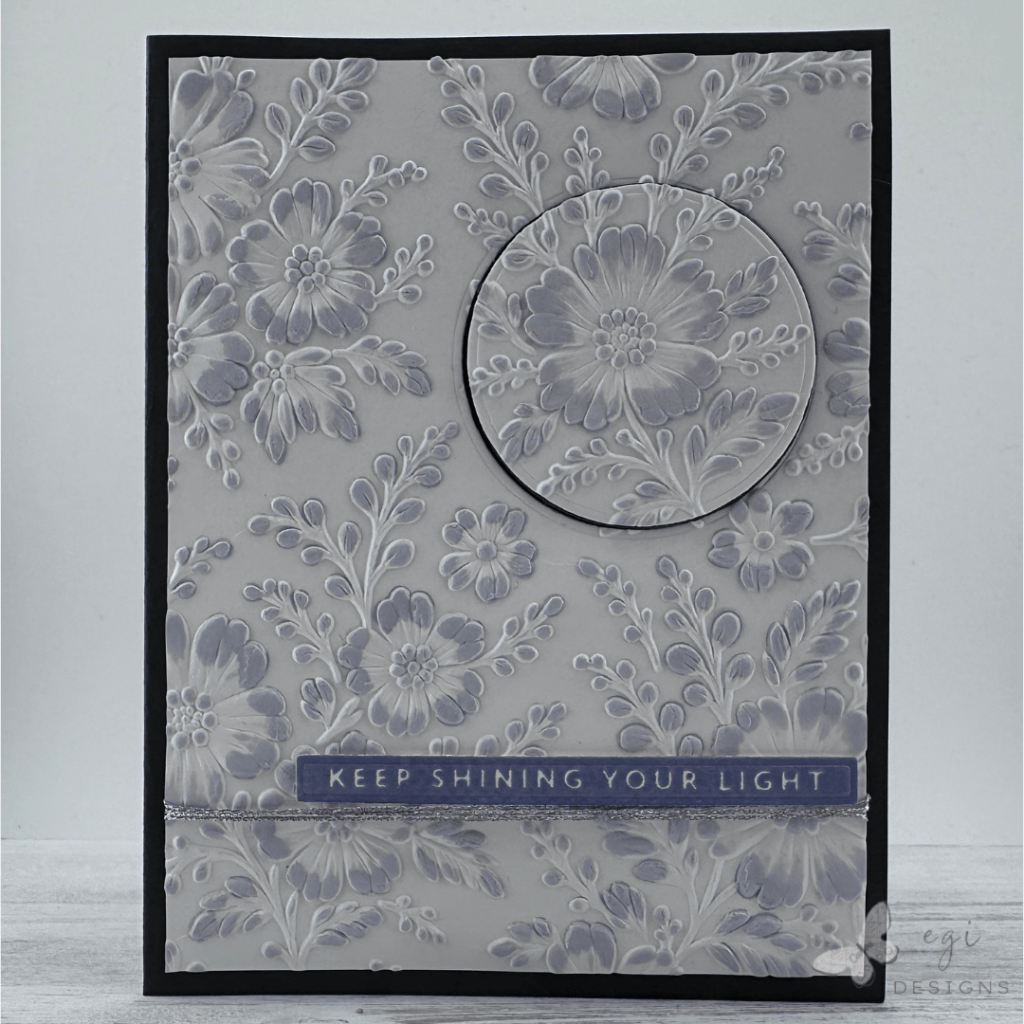
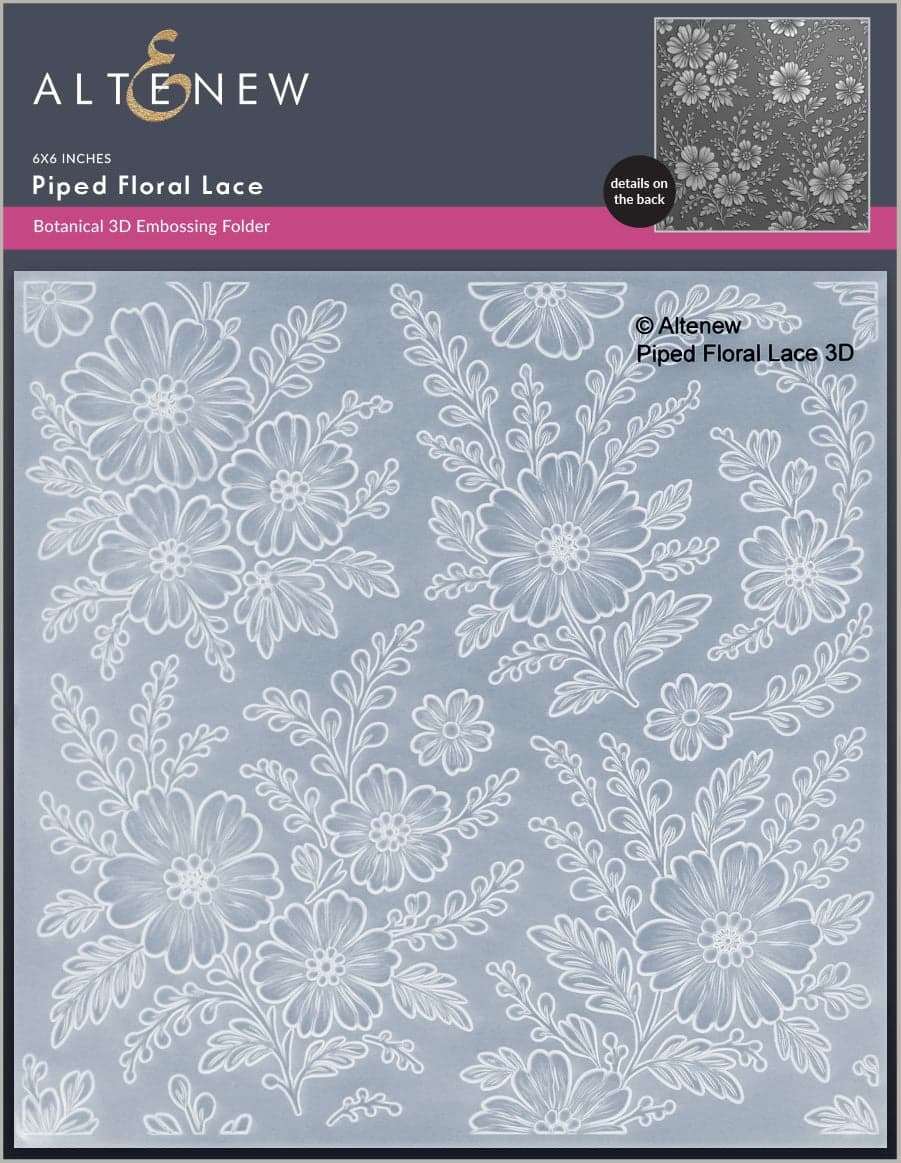
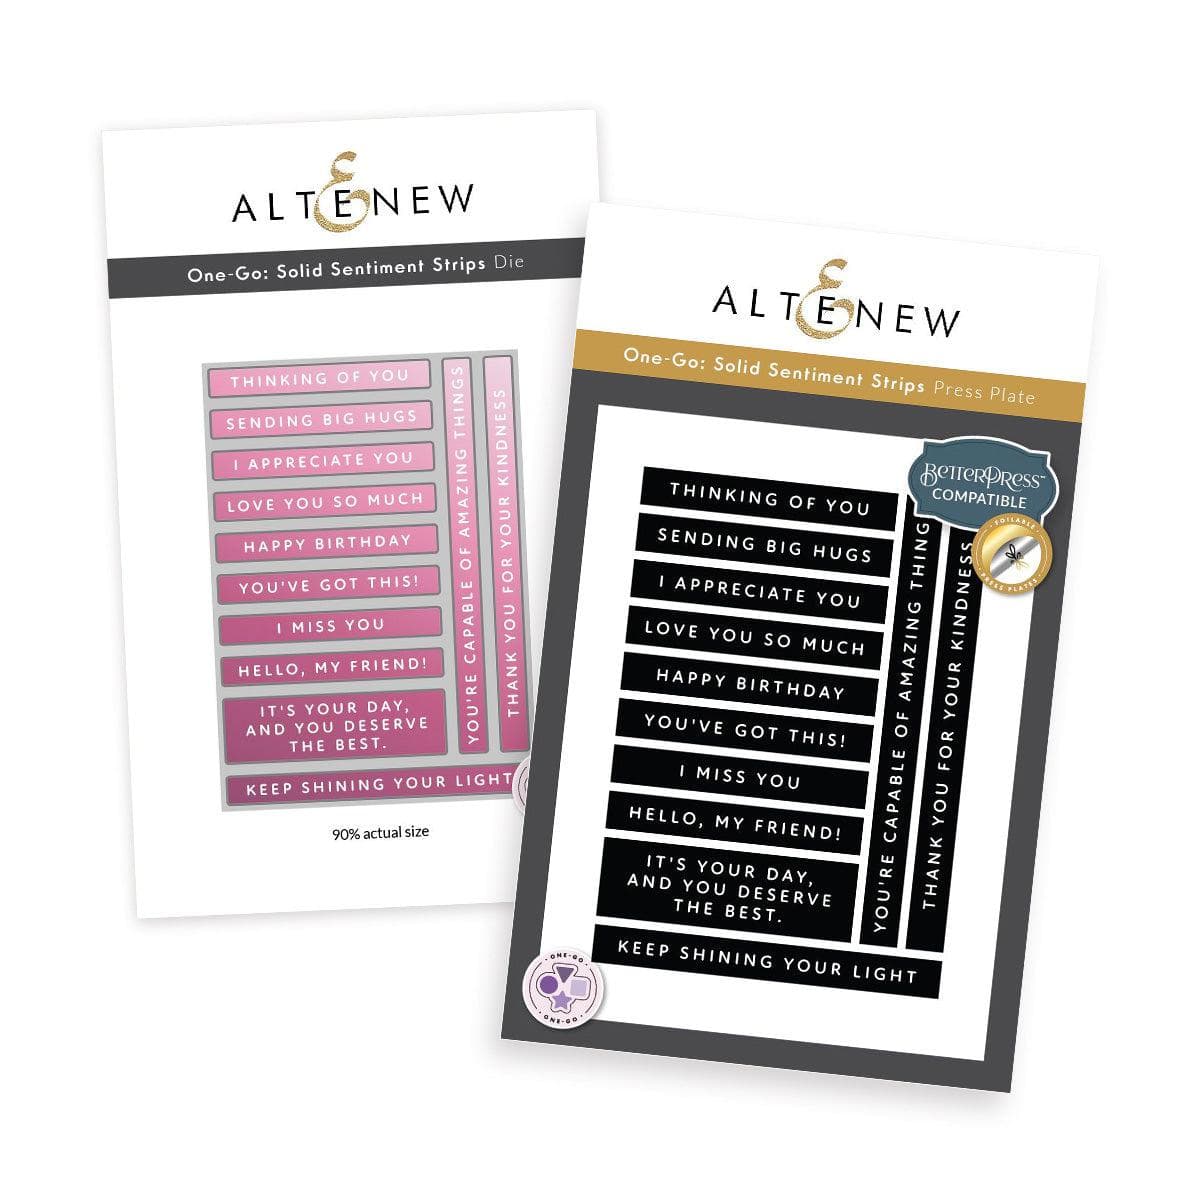
In this video tutorial, I show a very easy method of using embossing folders with the eclipse technique, without squishing the embossed image. I used a multitude of Altenew products on this card, including: Celestial Mist and Dreamy Periwinkle inks, Pure Graphite and Glacier Iris cardstock, the Piped Floral Lace embossing folder, and the One-Go Sentiment Strips BetterPress plate and die set. All products used in making this project are listed below.
Measurements
A2 Card Base: 4 1/4 x 5 1/2"
8 1/2 x 4 1/4", Score at 4 1/4"

Front Panel: 4 1/4 x 5 1/2", Trimmed to 4 x 5 1/4" after embossing
Circle: 2"

Inside Panel: 3 3/4 x 5"
Inside Mat: 4 x 5 1/4"
Creating the Aperture
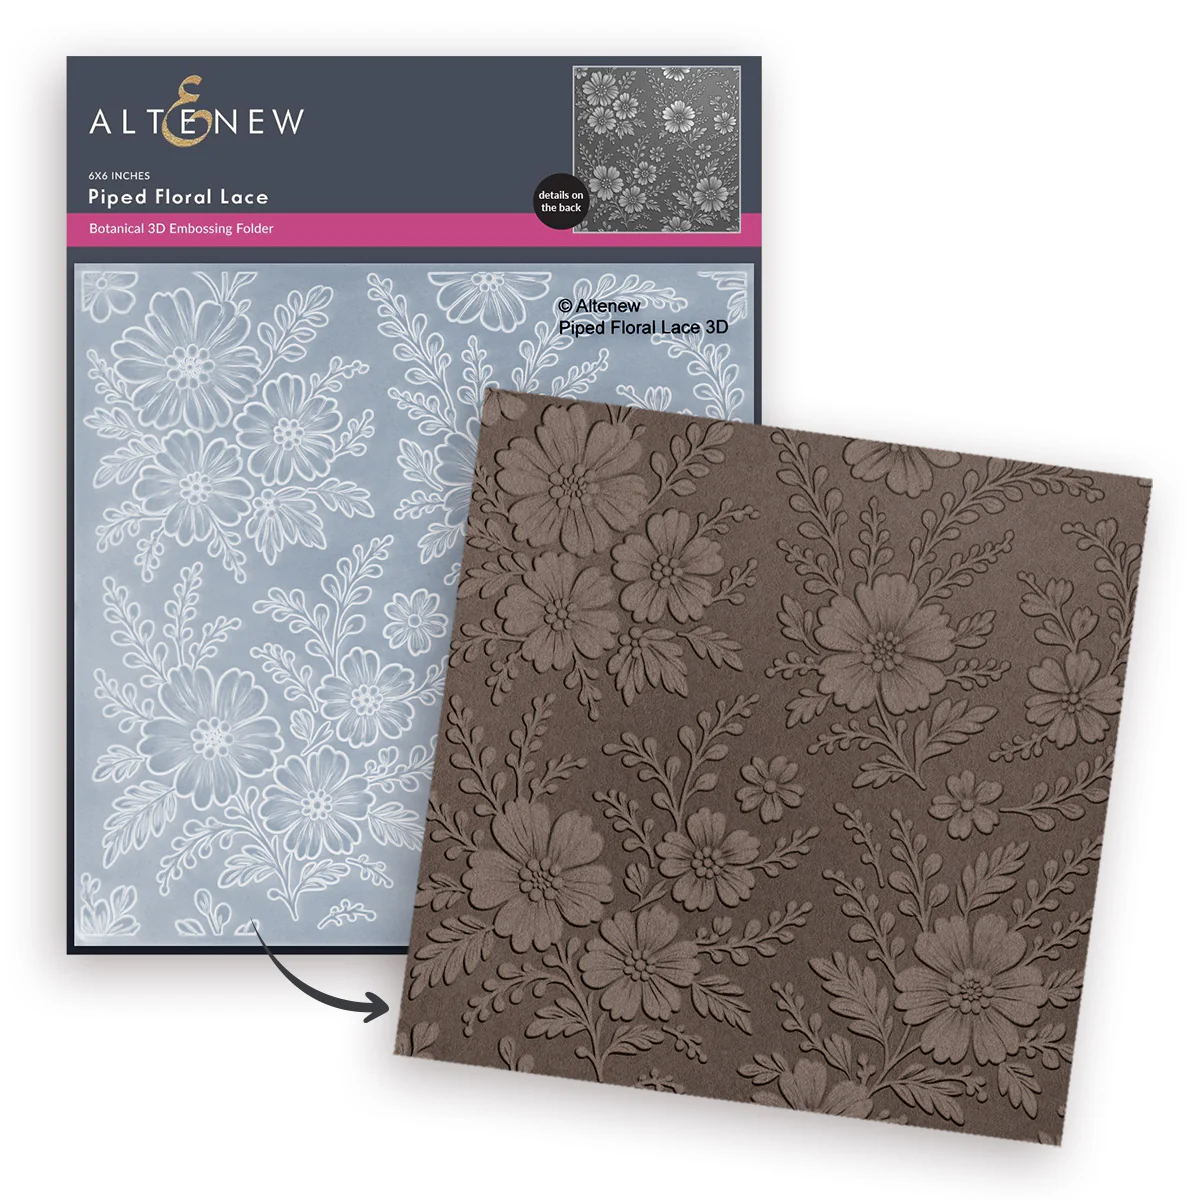
I cut a panel of Neenah Classic Crest Solar White 80lb. cardstock, and used the Altenew Piped Floral Lace embossing folder as a guide for where I wanted to cut the circle out of the panel. Once I had the placement I liked, I used the Papertrey Ink Circle It Die Collection to cut out the aperture.

Next, I replaced the circle in the opening and used Easy See tape on the back of the panel to hold the circle in place. You will want to use a very low-tack tape for this, so it doesn’t tear your panel during removal after the embossing.
Creating the Embossed Panel
Once I had taped the circle back into the panel, I embossed it using the Piped Floral Lace embossing folder. Next, I used Altenew Celestial Mist ink from the Moonlit Twilight collection and swiped it over the raised embossing until I achieved the desired look. You can go as dark or as light as you want with the ink swiping.

Building the Card Front
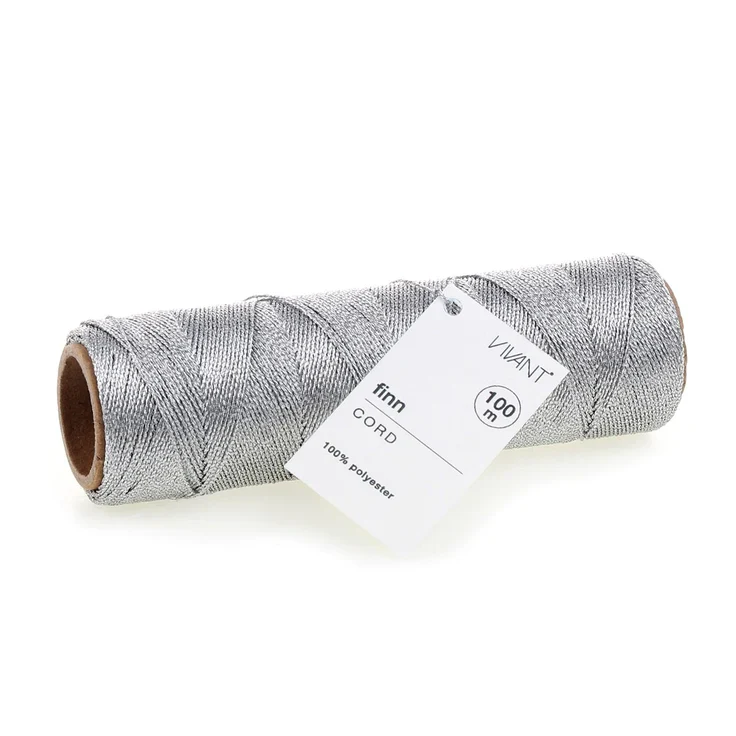
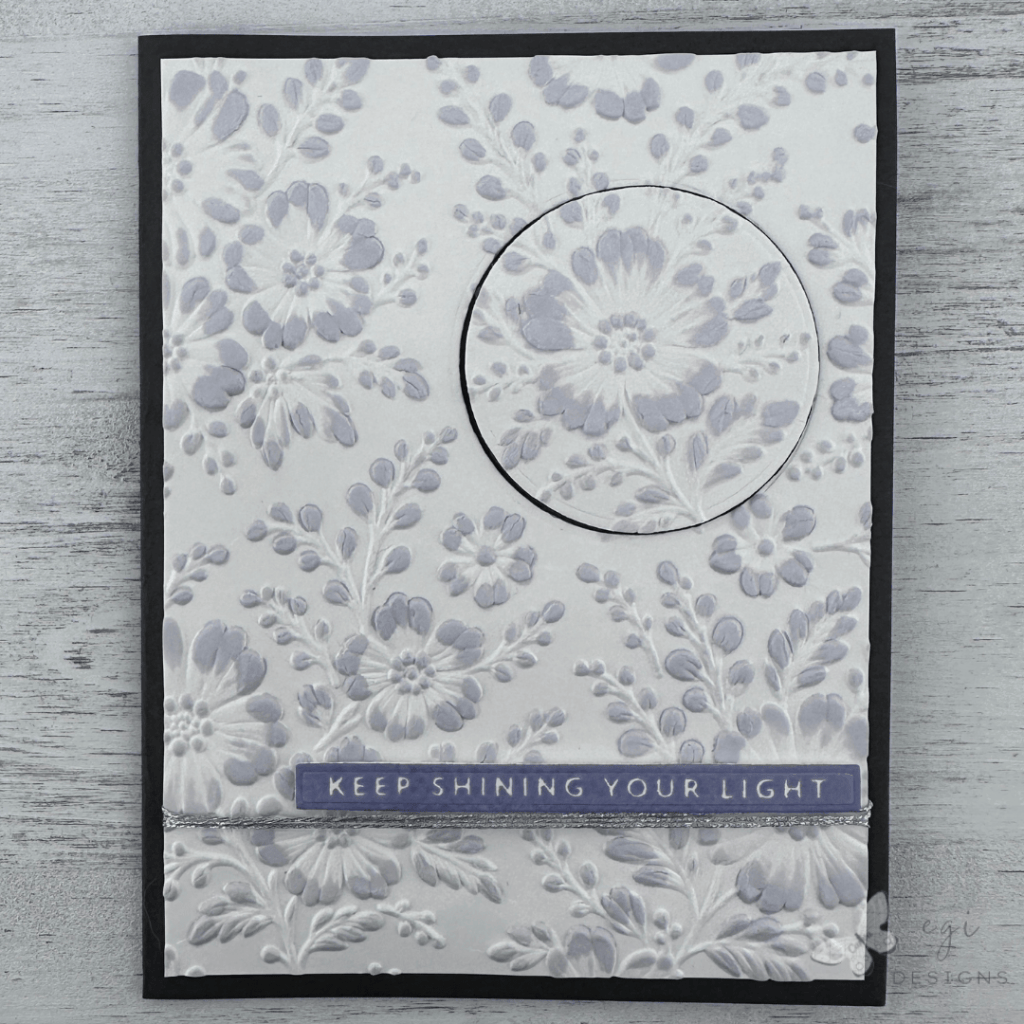
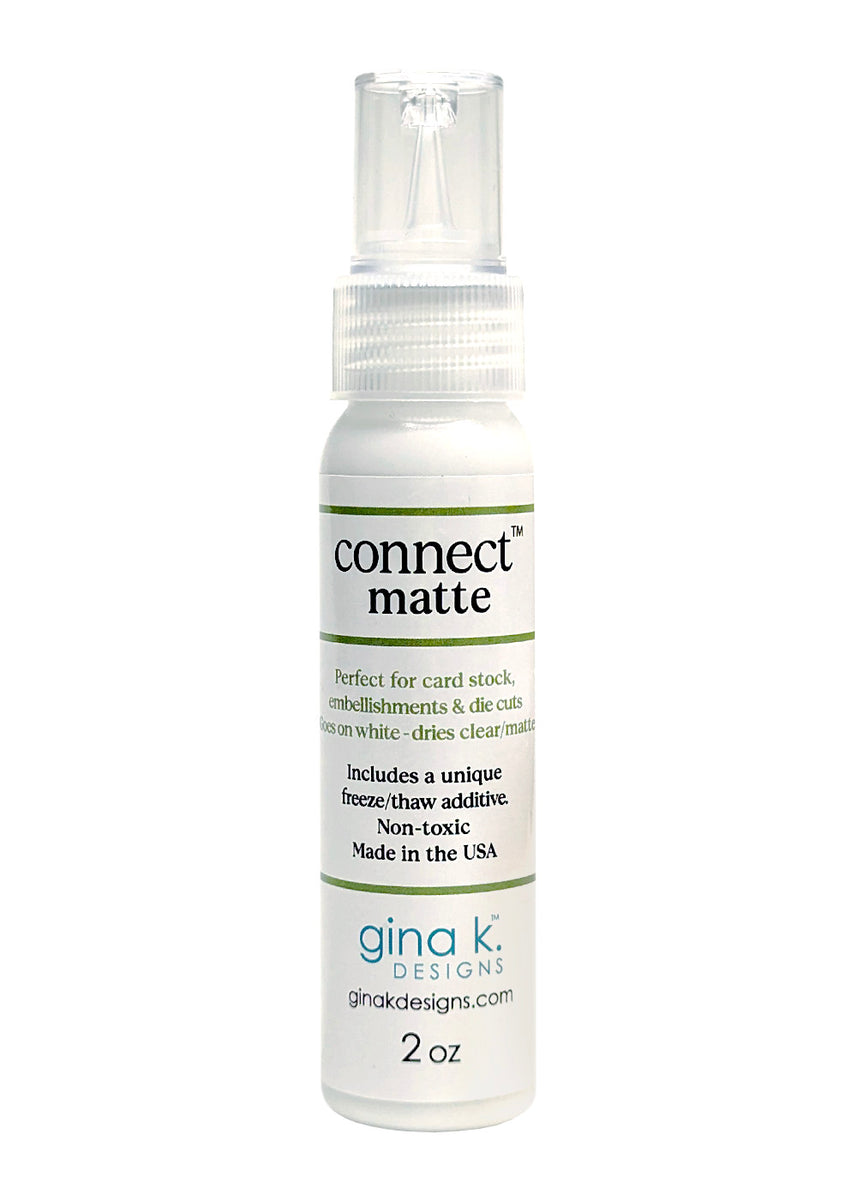
After the ink had dried a bit, I removed the tape from the back of the panel and took out the circle. I trimmed down the panel so there would be a nice border on the edges of the card front. Then I applied double-sided tape on the back of the panel, towards the bottom, and wrapped Vivant Silver cord around the bottom of the panel three times. Once complete, I used Gina K Designs Connect Matte glue to attach the embossed panel to the Pure Graphite card base.
I cut out three circles from the Pure Graphite cardstock and glued them together using the Matte glue. Then I added the embossed circle on top of the stack, and added the full stack to the card front, placing it in the open circle aperture. It is important to line up the embossed design carefully so it looks like a continuous image. Adding the colored cardstock under the embossed image gives a cool eclipse effect.
Finishing up the Card Front
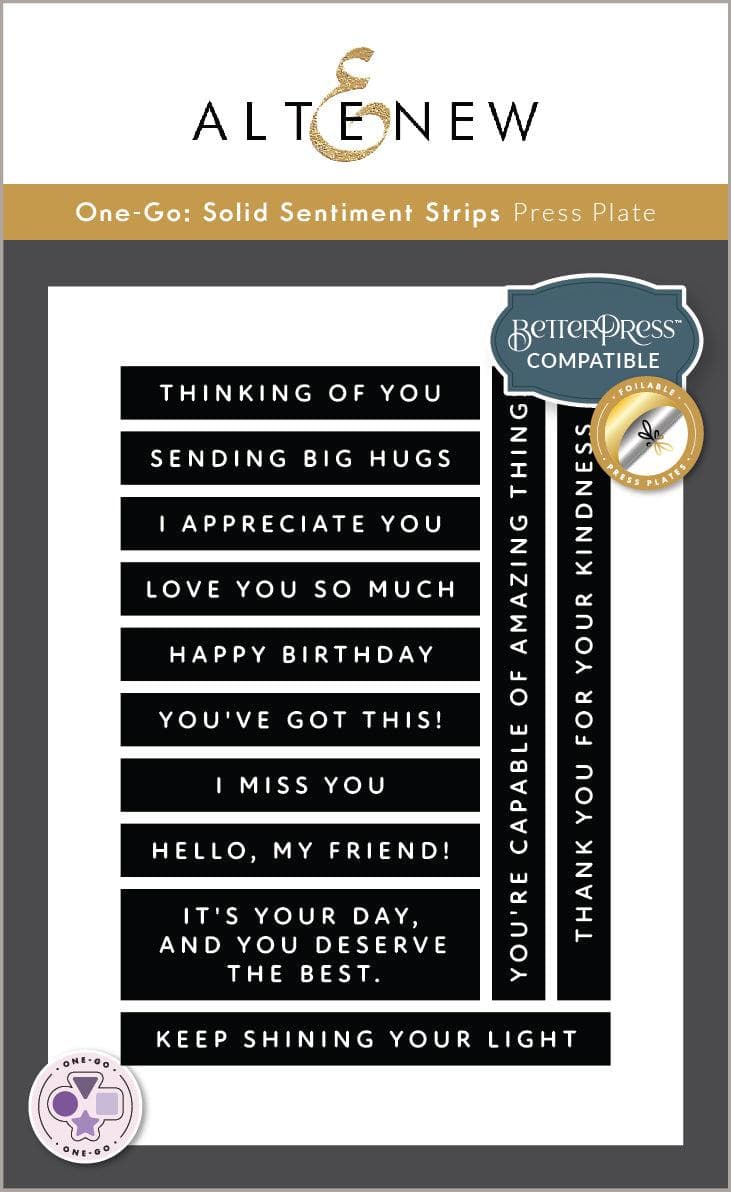
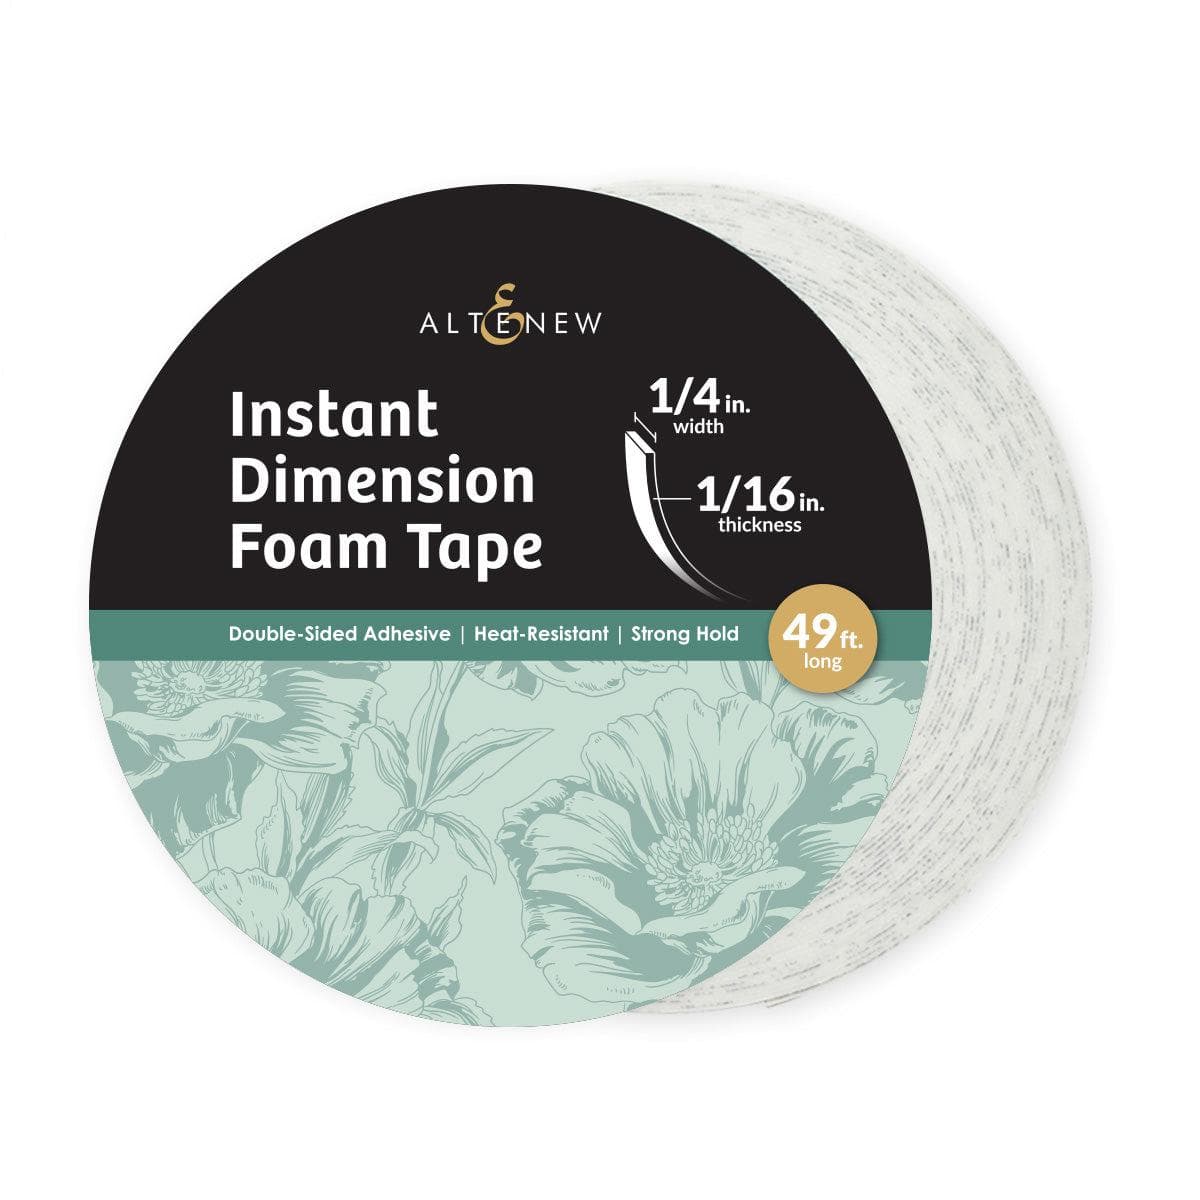
Once the background panel was set, I added a sentiment from the Altenew One-Go BetterPress plate and die set. This press plate and die set is awesome, as you can produce a multitude of sentiments in just one go! I used Dreamy Periwinkle ink to stamp the sentiments, then added some Altenew foam tape behind the sentiment and added it above the silver cording.


Inside of the Card
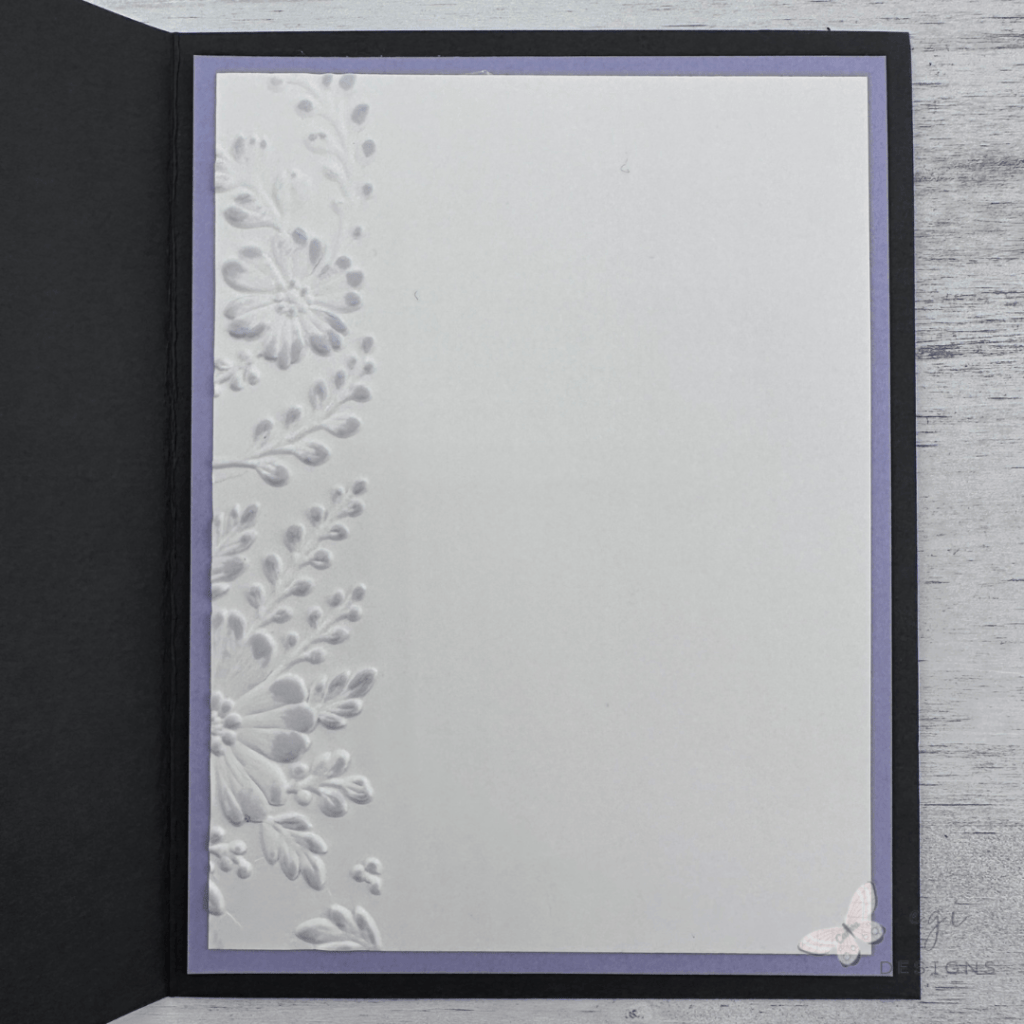
For the inside of the card, I cut a rectangle from Neenah Classic Crest 80lb. cardstock, and embossed the left edge with the Piped Floral Lace embossing folder to add some interest. I swiped the Celestial Mist ink over the top of the embossing, then added the panel to a mat layer cut from Glacier Iris cardstock using a tape runner. Finally, I added the panels inside the card using temporary adhesive, and I will re-adhere them with permanent adhesive once I write the card out. This saves me from having to tear apart my card if I make a mistake writing the message.
For more ideas on decorating the inside of cards, I have a video with lots of fun ideas for that!
Step-by-step card tutorial:
I hope you enjoyed this project! For more card-making ideas, check out my YouTube playlist and card-making blog posts.
Product Information
Here are the products I used in today’s project. Please consider shopping through my affiliate links, as it greatly helps out my channel at no extra cost to you. Thanks so much for supporting me and my channel!
**Use code EGIDESIGNS for 15% off your order at Glassboard Studio**
|













One Comment