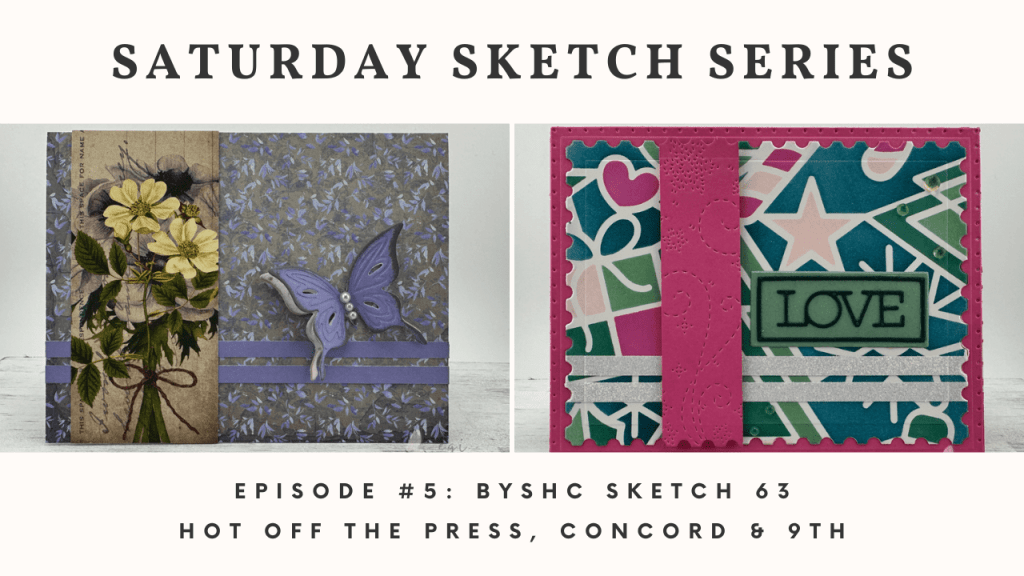
Saturday Sketch Series-Ep. 5: BYSHC Sketch #63, Two Cards
This is the 5th episode of my new card-making series, Saturday Sketch Series! In this episode, I made two cards using BYSHC Sketch #63. The first card is true to the sketch and is made with the Botanical Library Collection from Paper Wishes/Hot Off the Press.
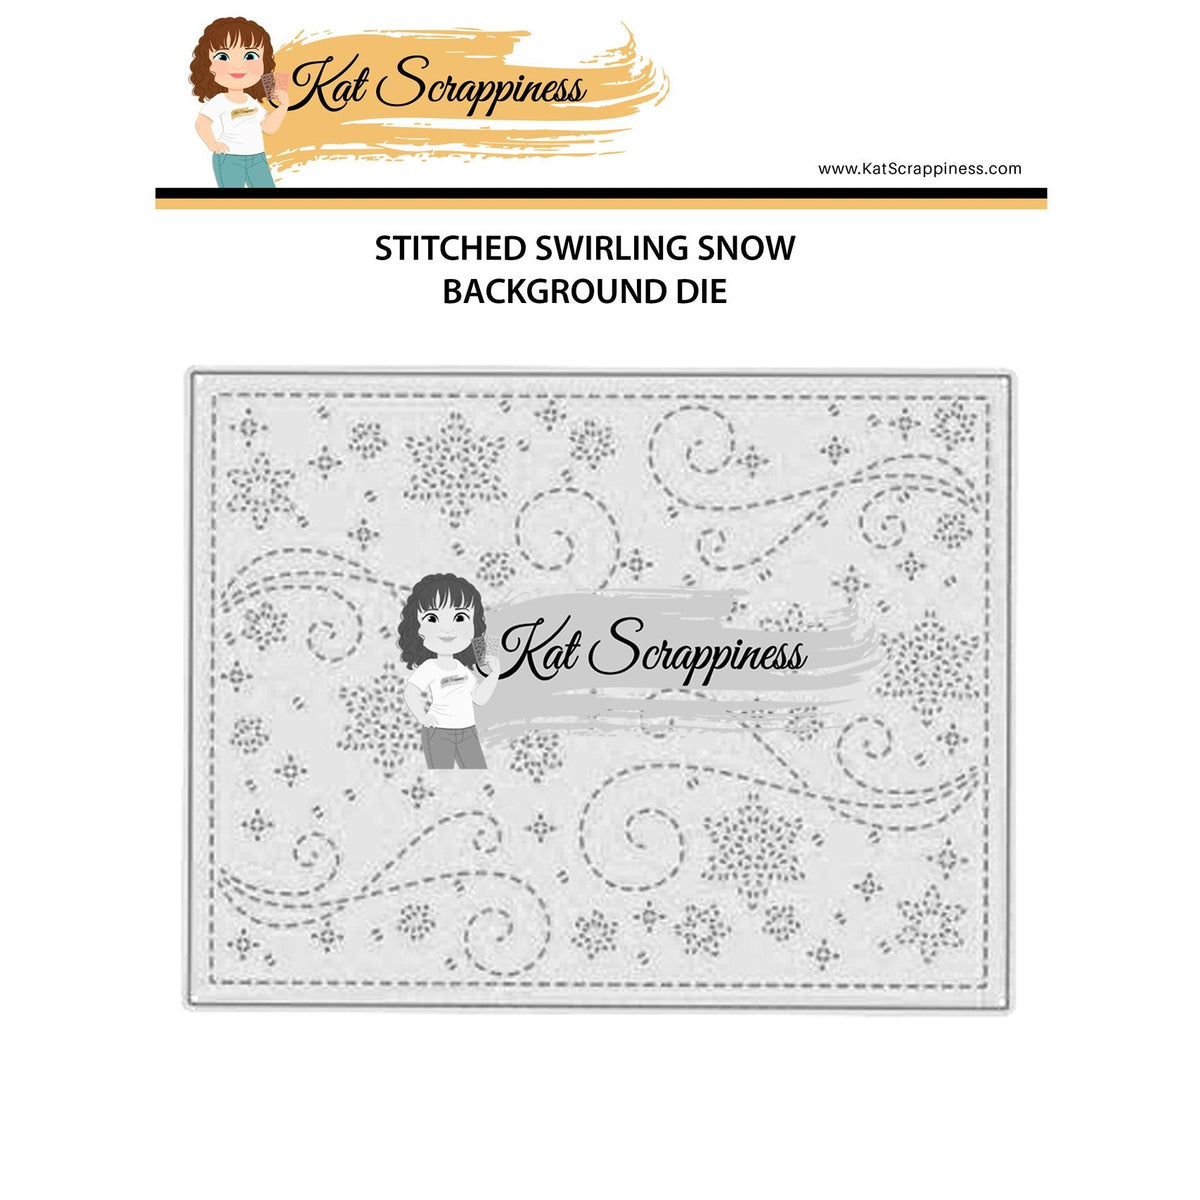
The second card is stepped up a bit and uses mostly Concord & 9th products. I also used the Spellbinders Postage Edge Rectangles to cut the panels, and the Kat Scrappiness Stitched Swirling Snow Background Die. All products used in today’s card tutorial projects are listed below.
In this series, I find a card sketch on the internet and make a card (or more) using the card sketch. If making more than one card, the first one will stick closely to the sketch, while the others will have slight changes or demonstrate different techniques. In today’s card, I tweaked the sketch a bit by using a die to add postage edge details, adding the postage details to the strips, stenciling a background panel, and using a piercing die to add texture to the bigger strip.
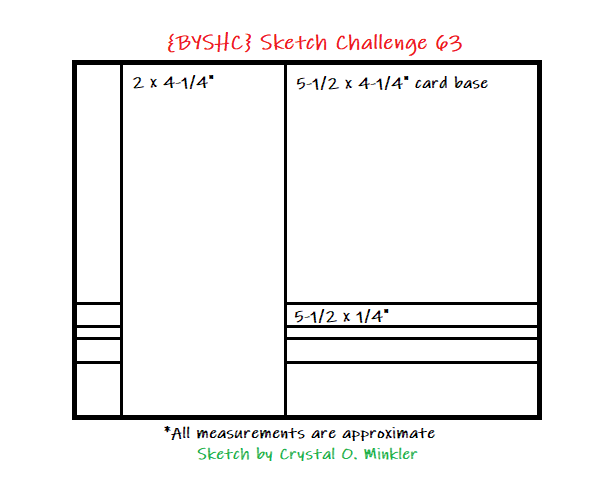
Measurements that differ from the sketch:
Card 1-
Inside Panel: 5 x 3 3/4"
Strip: 1/2 x 3 3/4"
Cut apart: 1 7/8 x 2 3/4"

Card 2-
Postage Rectangle: 5 x 3 3/4"
Strip: 1 x 3 3/4"

Inside Panel: 5 x 3 3/4"
Inside Mat: 5 1/4 x 4"
Strip: 5 x 3/4"

**See BYSHC Sketch #63 for the card layout and sketch measurements**
Saturday Sketch Series: Card Sketch Information
For these cards, I used card sketch #63 from BYSHC. The acronym stands for Build Your Stash Holiday Cardmakers. Be sure to check out their blog for more card sketches and inspiration. They also have a Facebook Group where cardmakers can share their projects.
Paper Products Used
Card #1
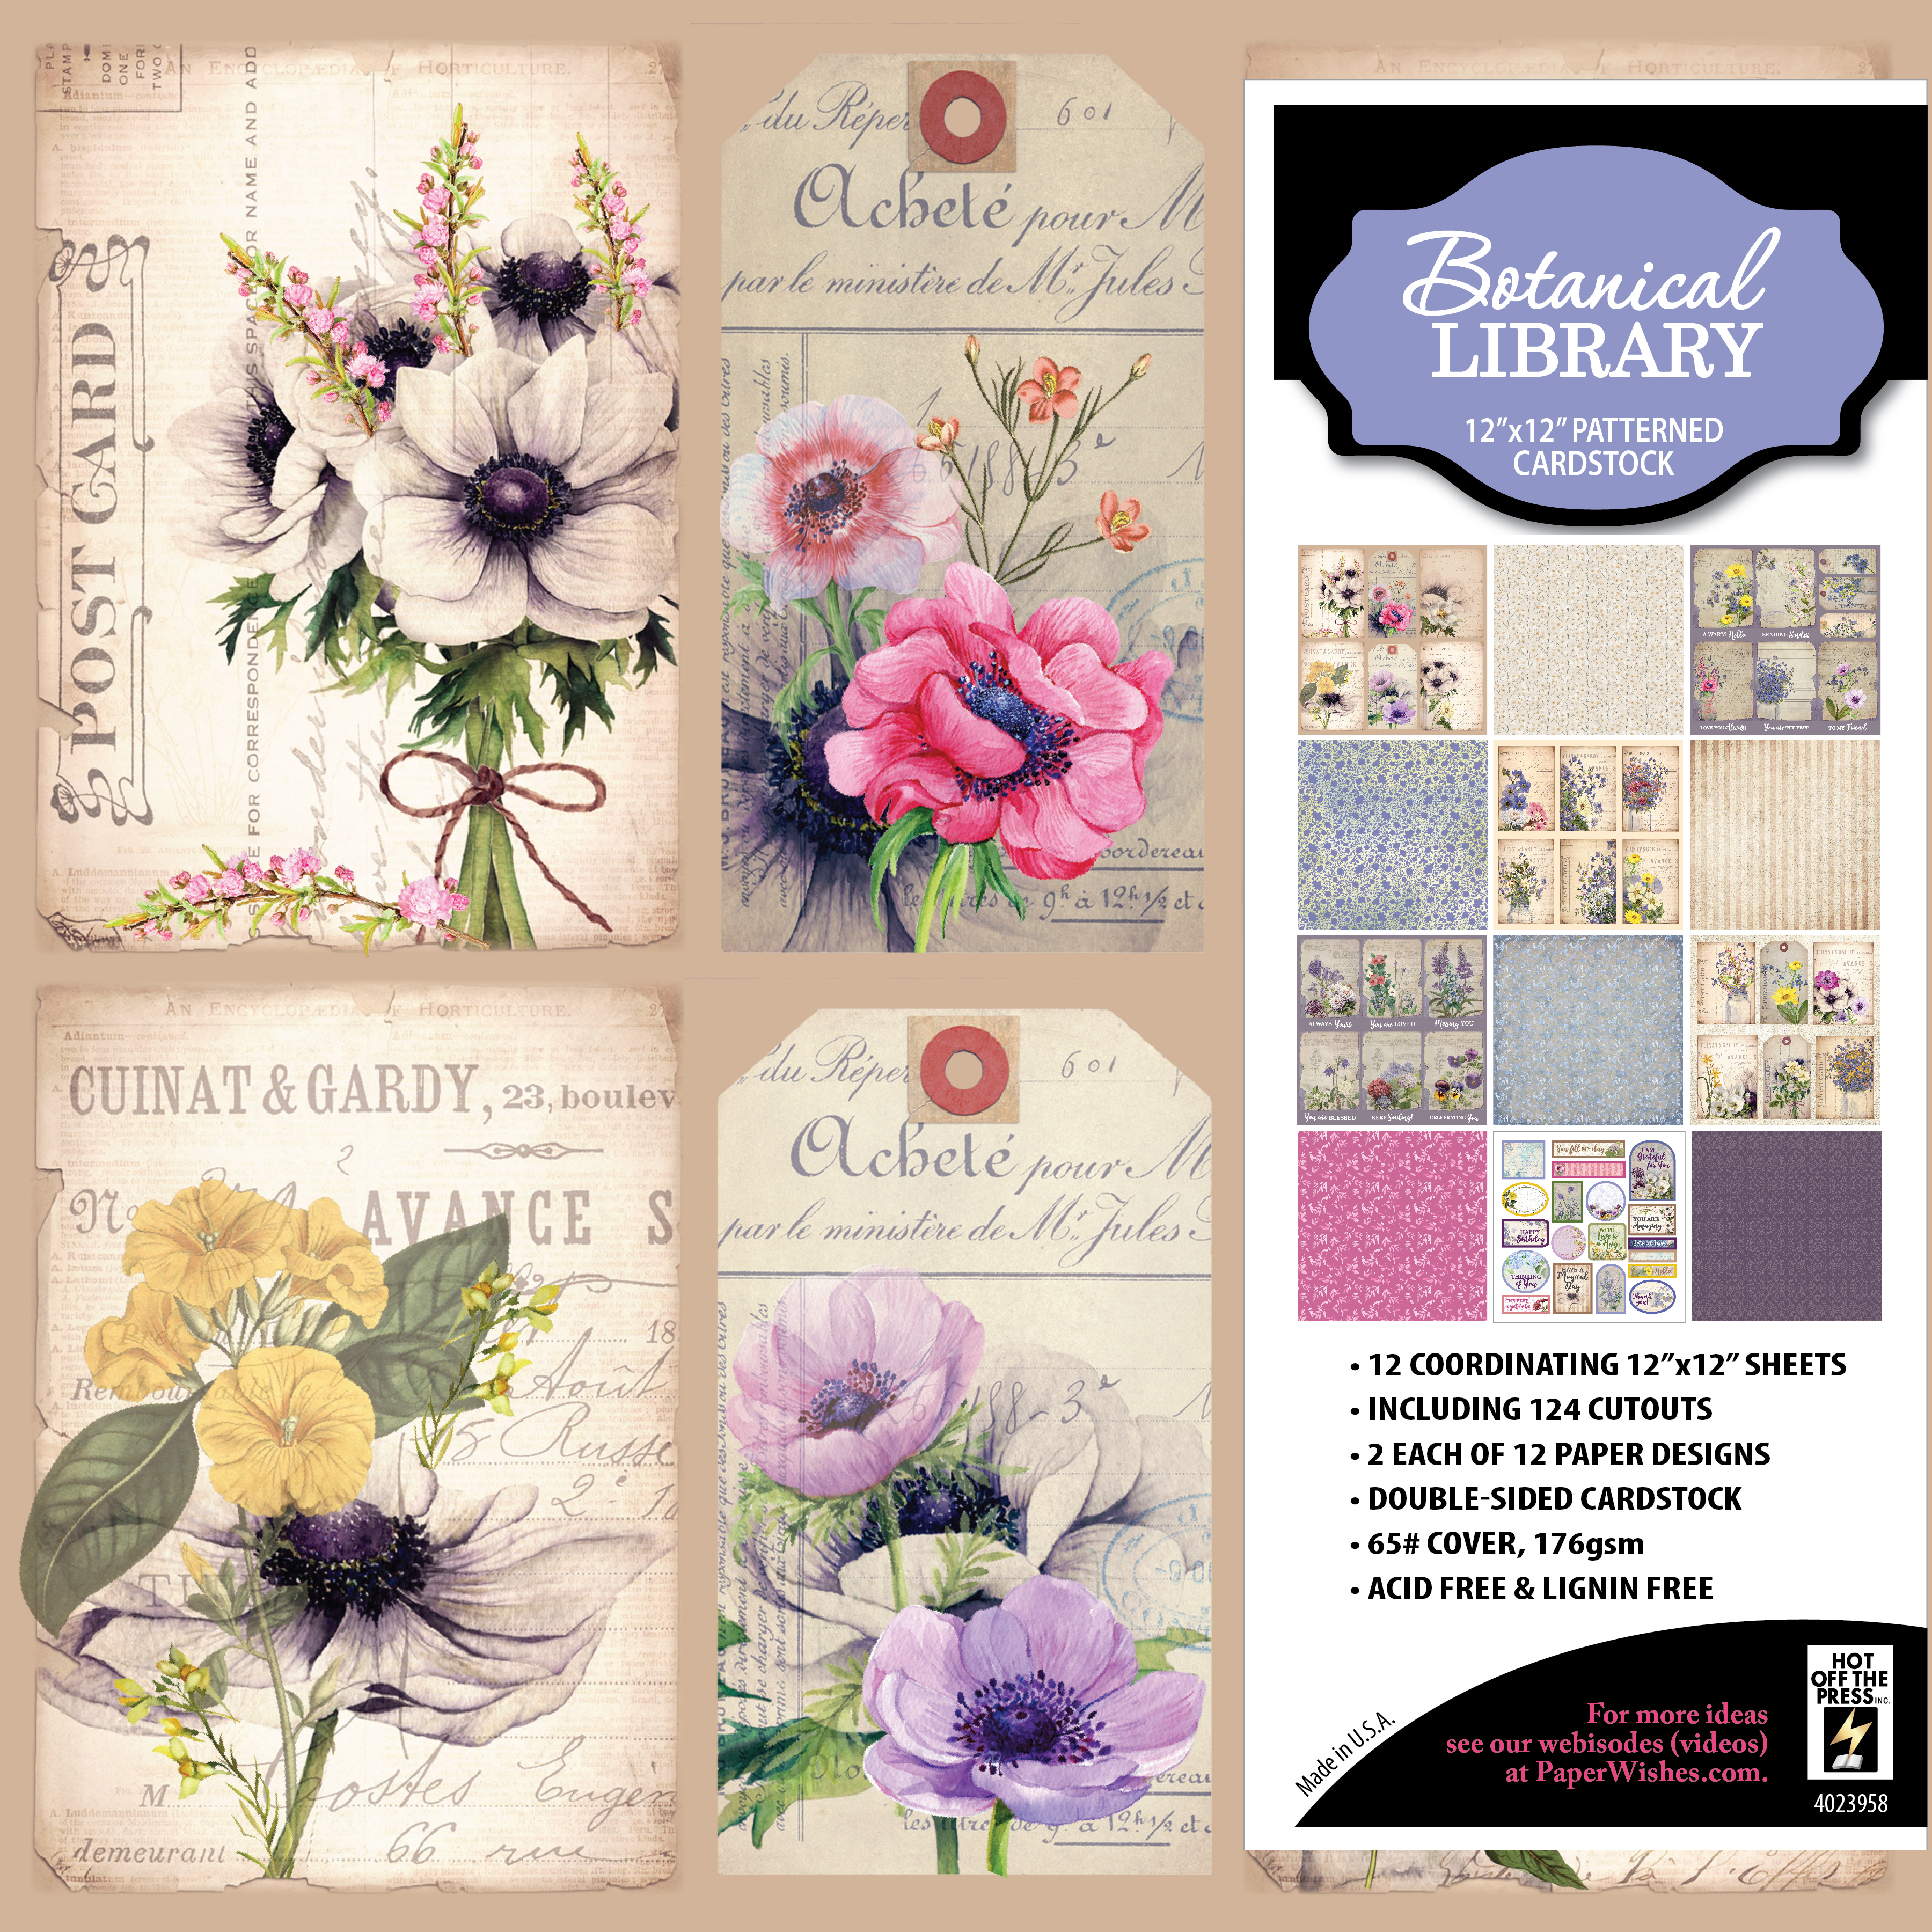
For this card, I used the 12 x 12″ Patterned Paper, 6 x 6″ Patterned Paper, and the 12 x 12″ Solids Pack from the Paper Wishes/Hot Off the Press Botanical Library Collection. The card base and inside panel were made using Simon Says Stamp Ivory cardstock.
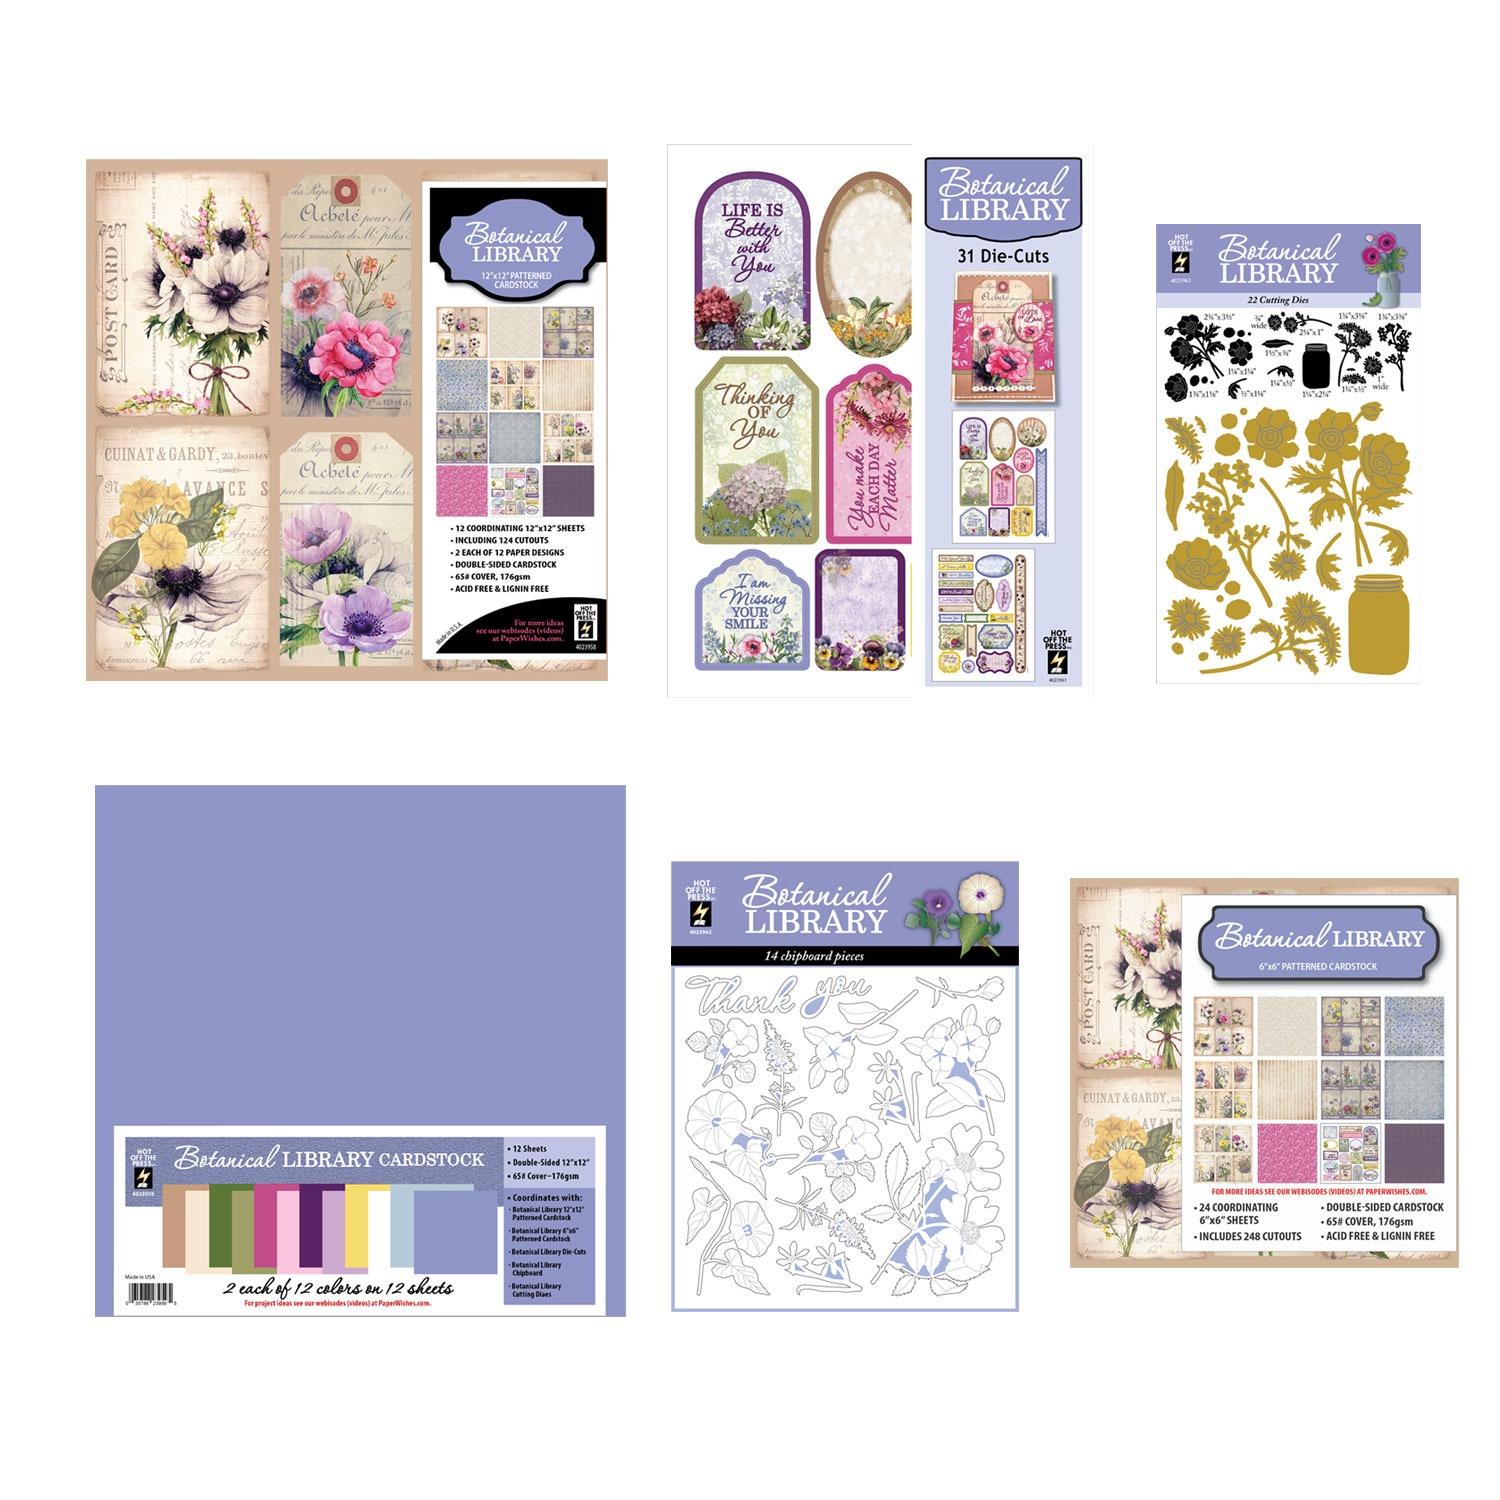

12 x 12″ Patterned Paper

6 x 6″ Patterned Paper
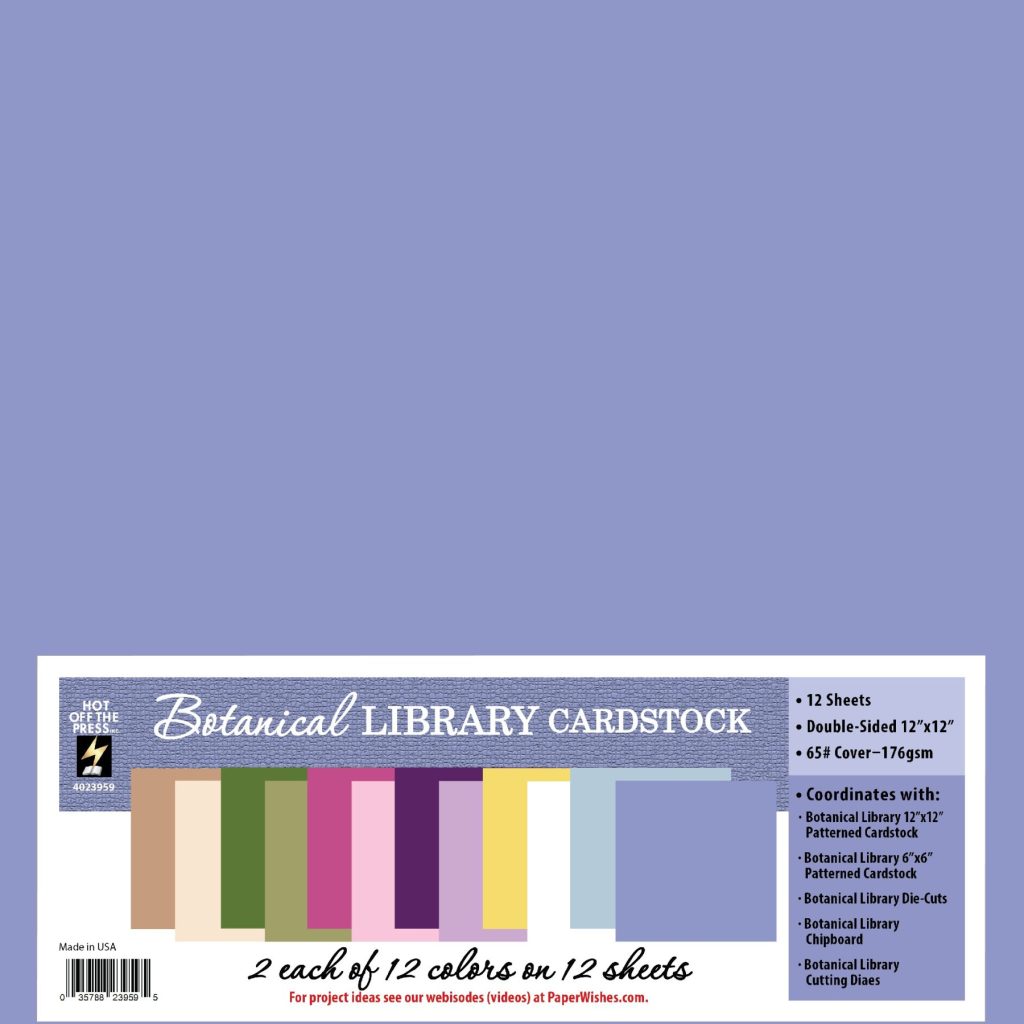
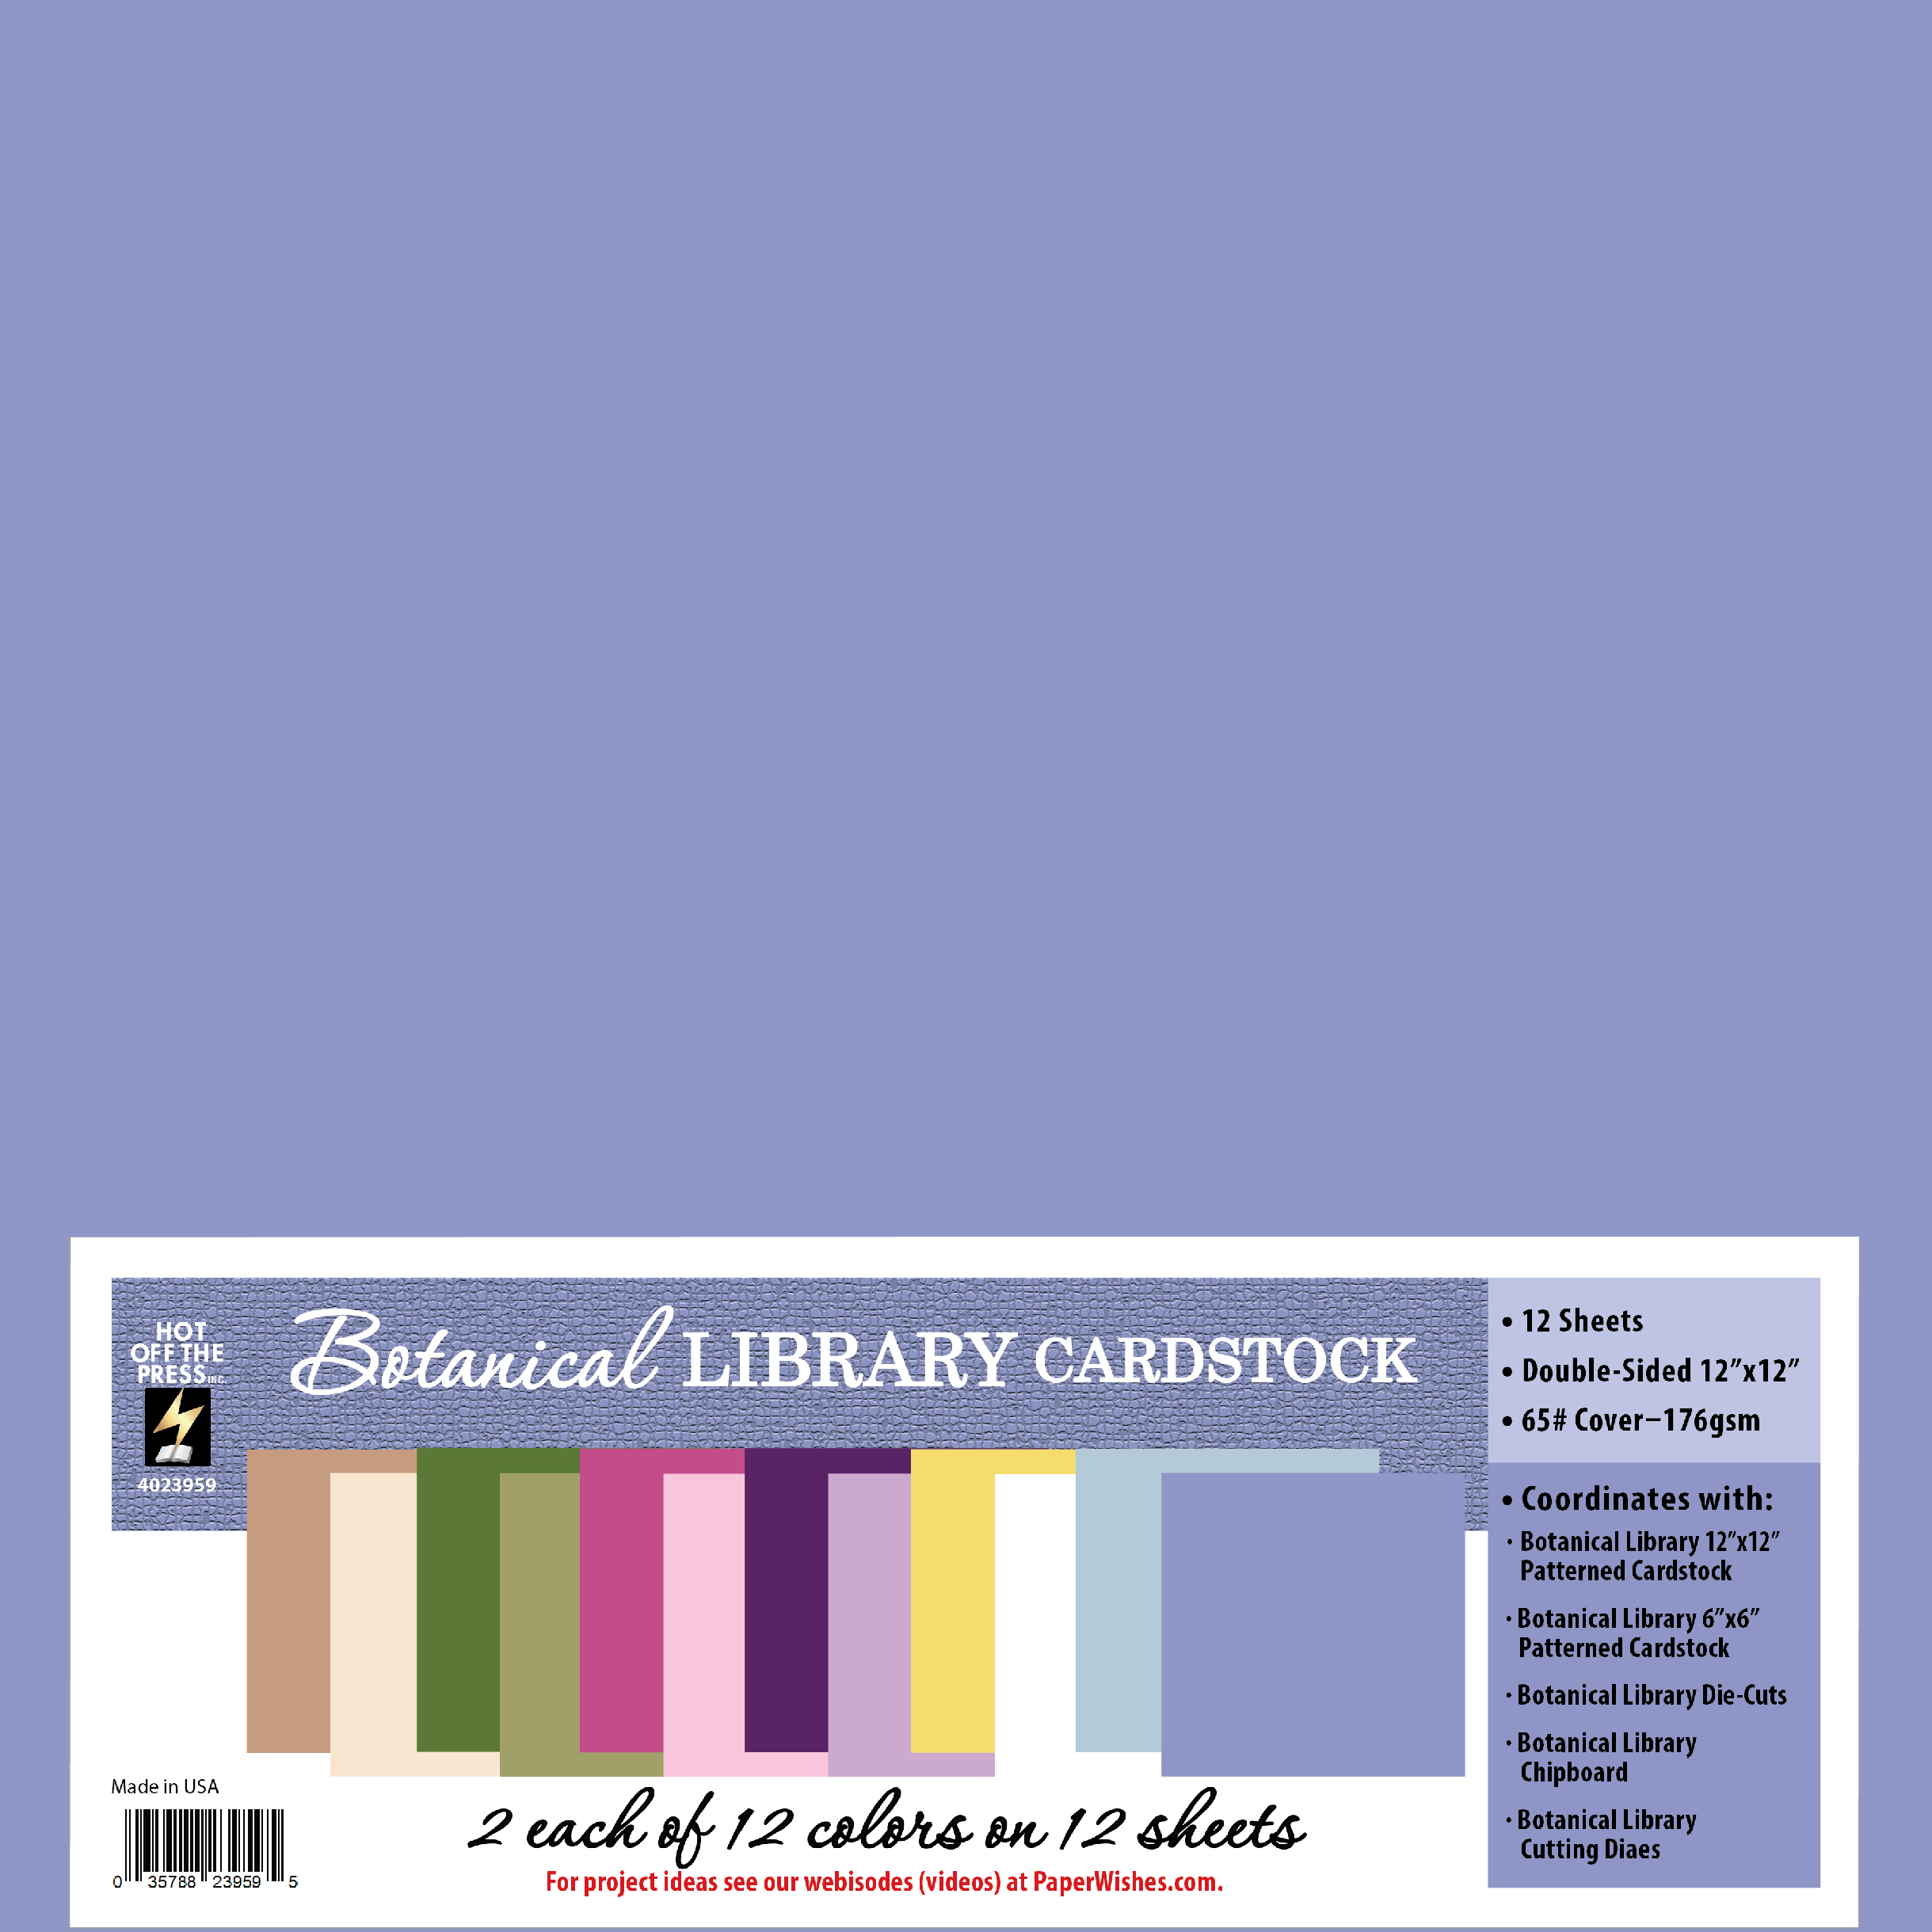
12 x 12″ Solids Pack
Card #2
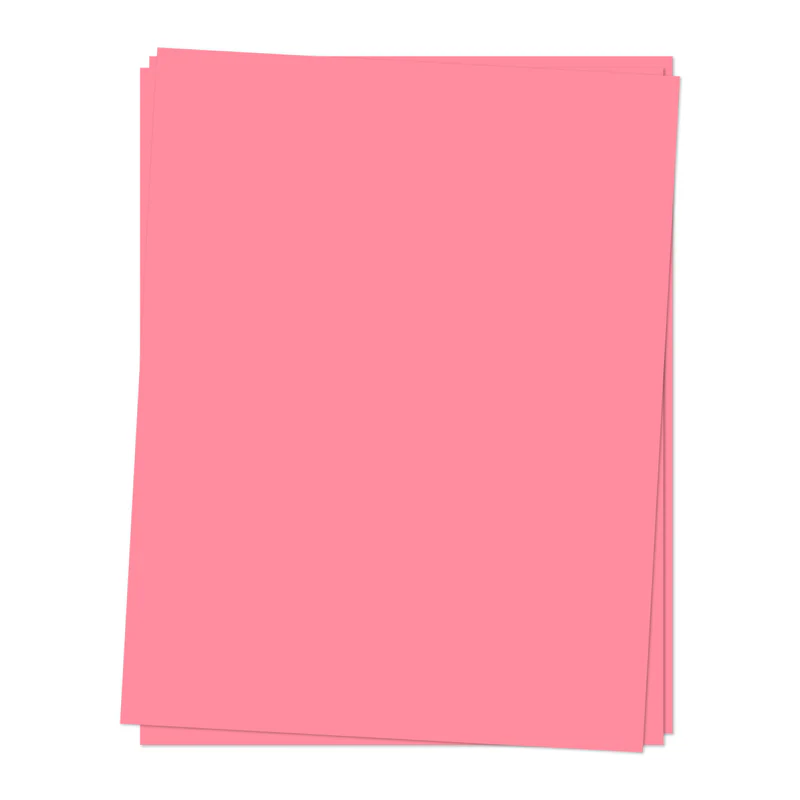
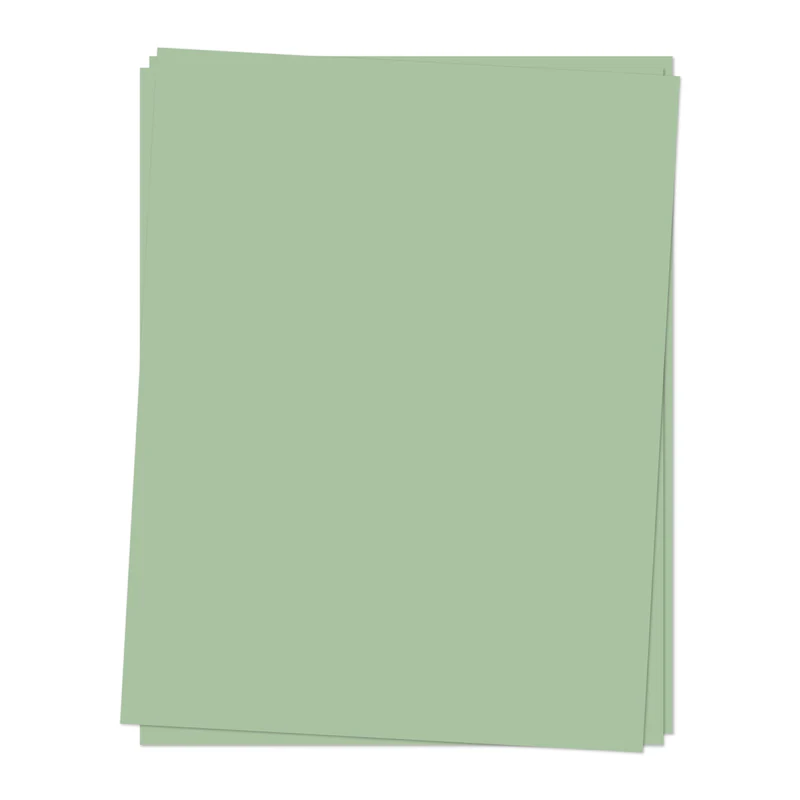
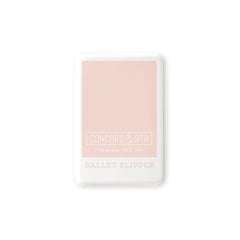
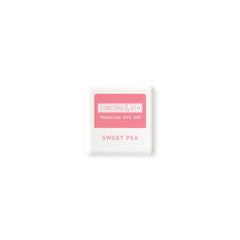
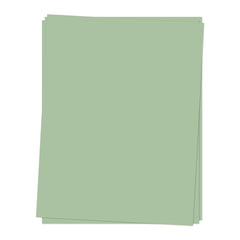
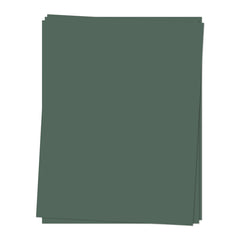
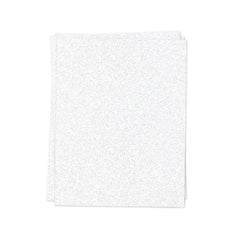
For this card, I used all Concord & 9th cardstocks to coordinate with the inks that I used for the stenciling. The card base, stenciled panel, and inside panel were cut from White cardstock. The background mat and strip were cut from Sweet Pea cardstock, and the inside mat layer was cut from Ballet Slipper cardstock. The sentiment was die cut from Eucalyptus and Rainforest cardstocks, and the skinny strips are from White Glitter cardstock.


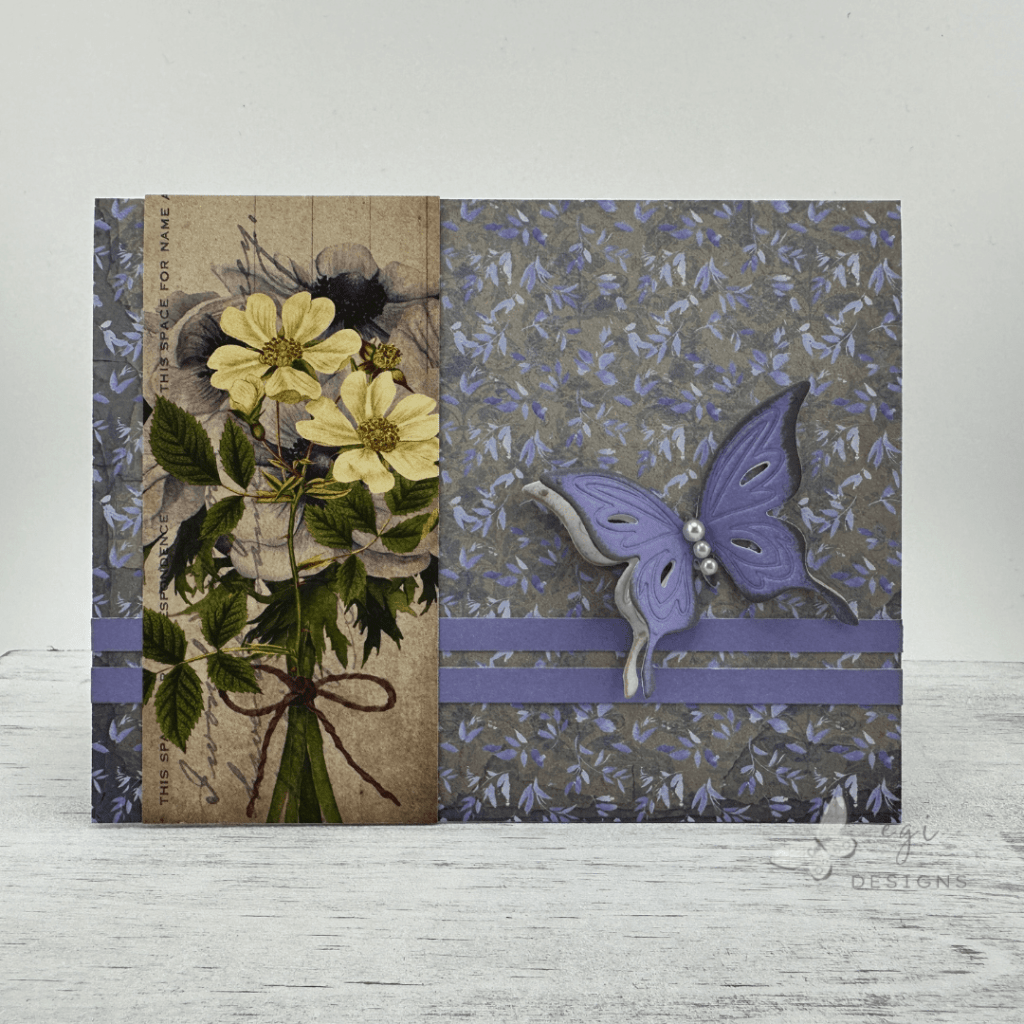
Assembling Card #1-Butterfly Card
I followed the card sketch measurements and cut the background panel from the 6 x 6″ patterned paper pack. I trimmed down one of the tag cut-aparts from the 12 x 12″ patterned paper pack for the 2″ strip on the sketch. For the lavender skinny strips, I used the 12 x 12″ solids pack.
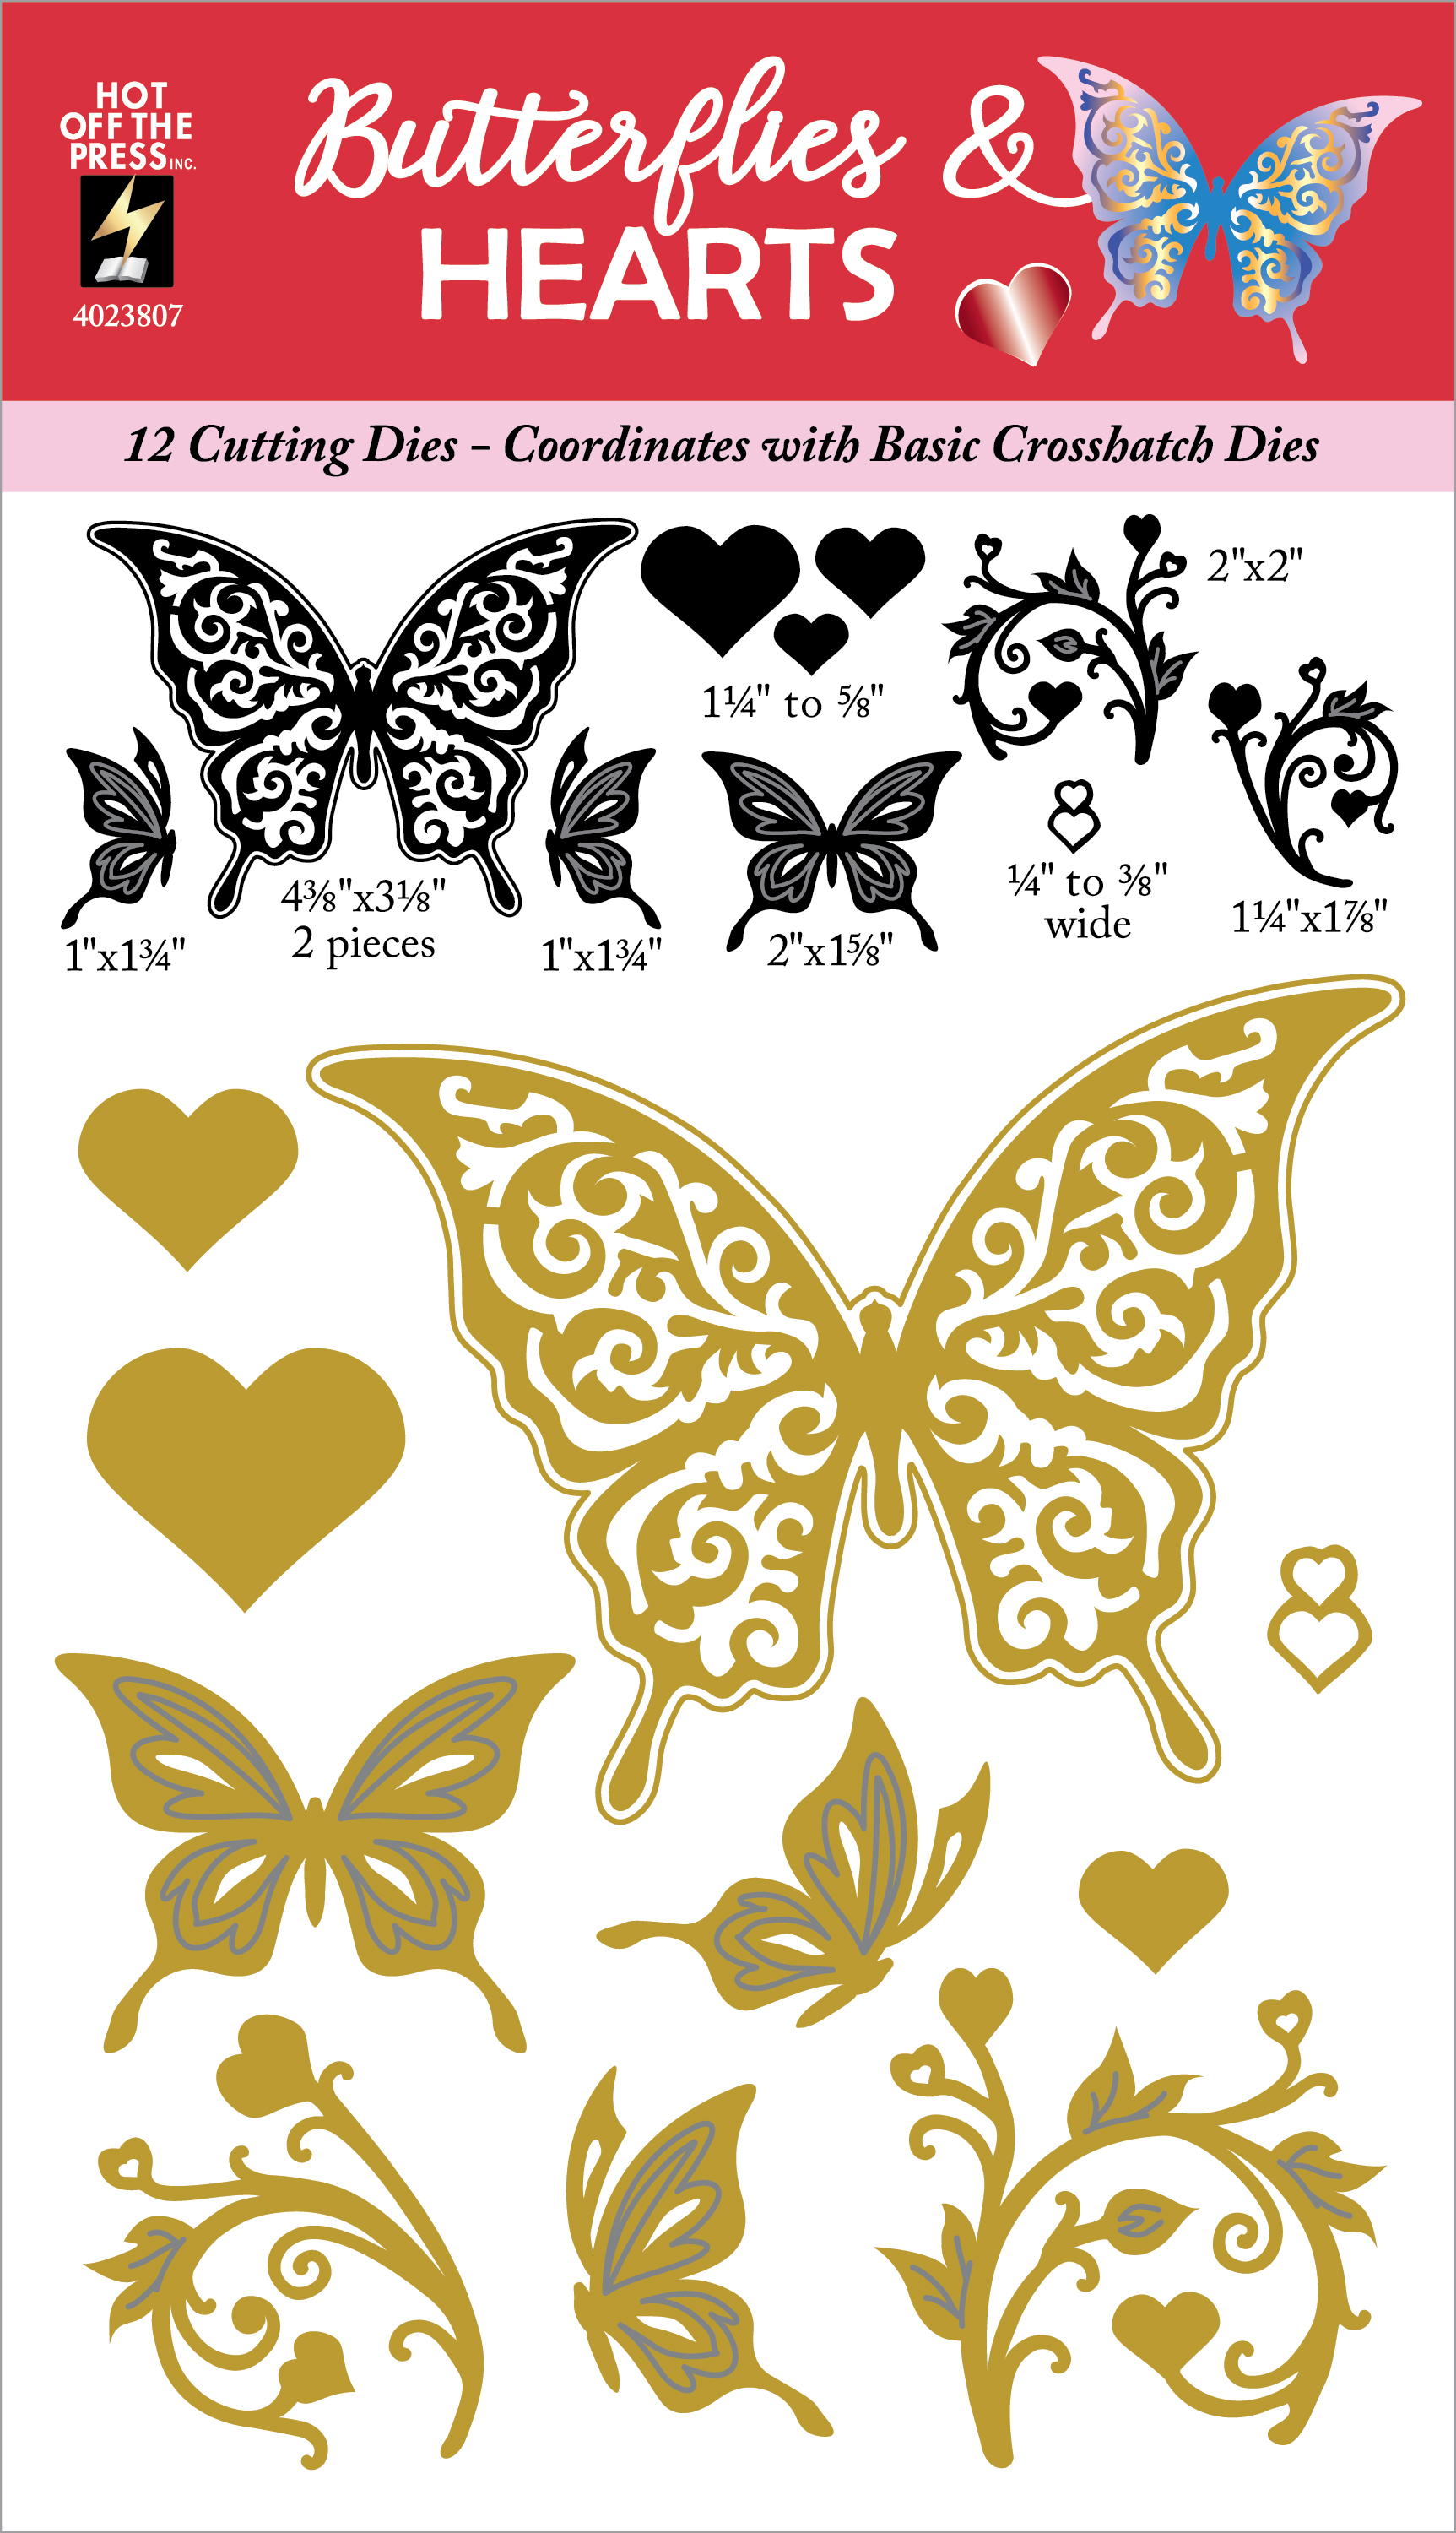
I used the Paper Wishes/Hot Off the Press Butterflies & Hearts Die Set to cut out a small butterfly in lavender and ivory. To add some shading to the card pieces, I used Altenew inks in Wisteria, Morning Frost, and Evening Gray along the edges. I assembled the card front according to the sketch, layered the purple butterfly on top of the Ivory butterfly, and added that to the card front. I placed three pearls from the Altenew Ivory Pearl Dots pack to the center of the butterfly.
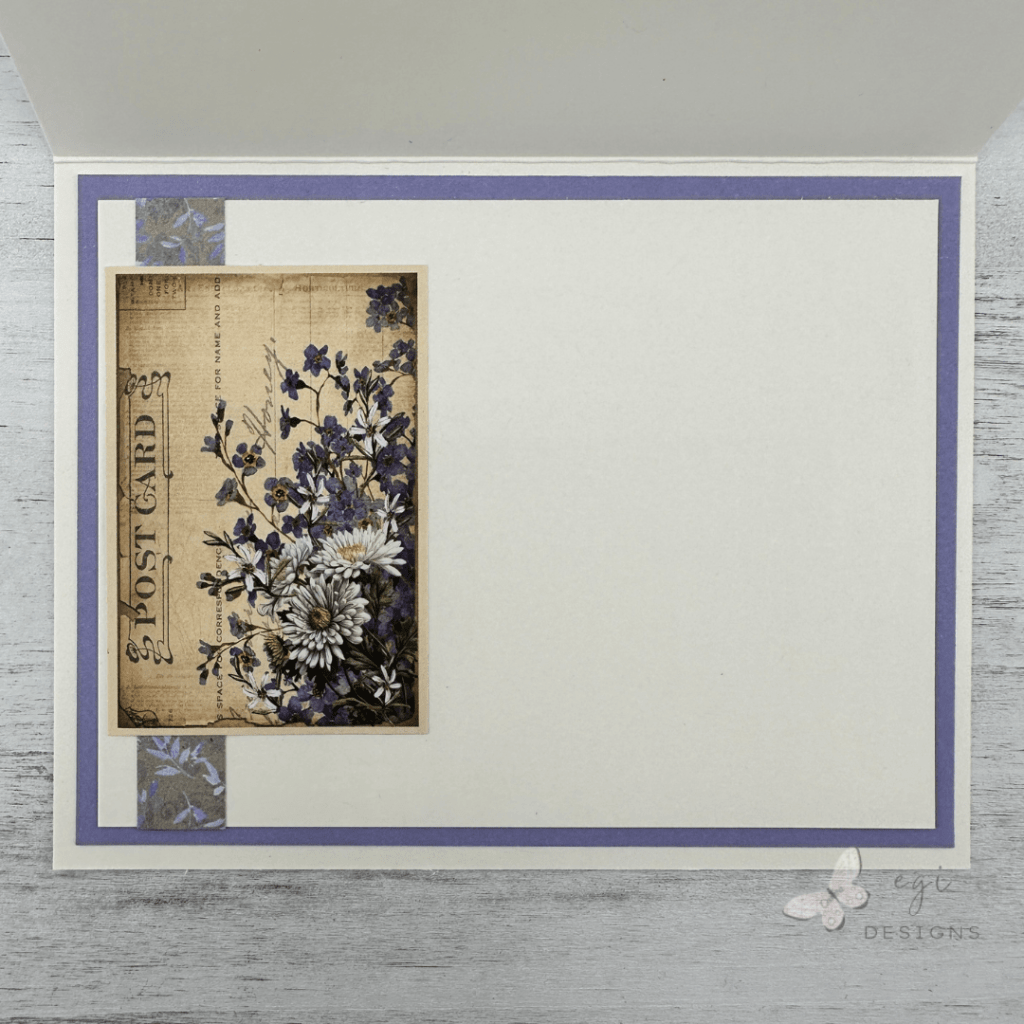
For the inside of the card, I cut a skinny strip from the Botanical Library paper and added that to the left side of the panel. Then I used a small cut-apart from the 6 x 6″ patterned paper pack, and layered it over the strip.
Assembling Card #2-Holiday Card
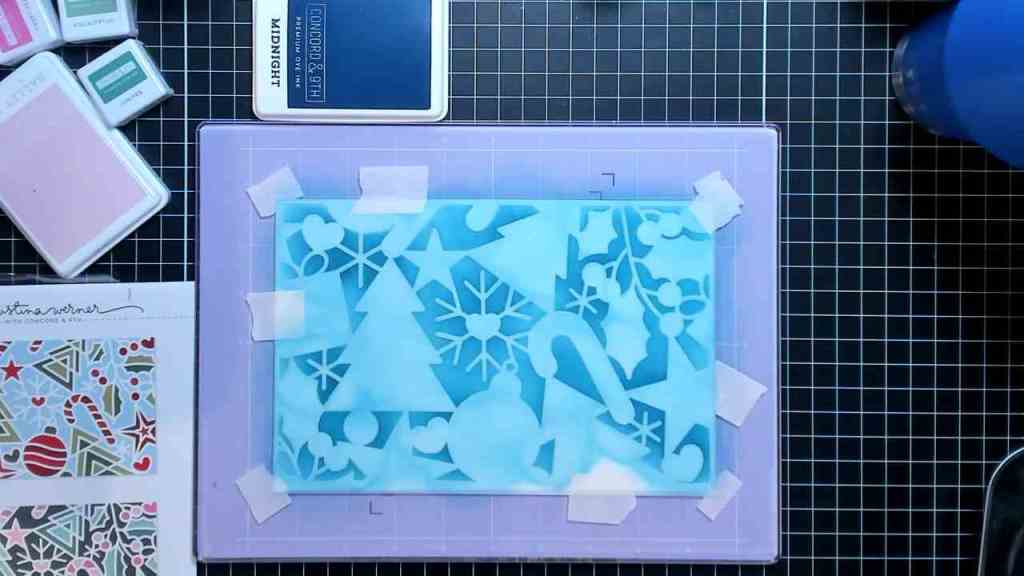
Creating the Background Panel
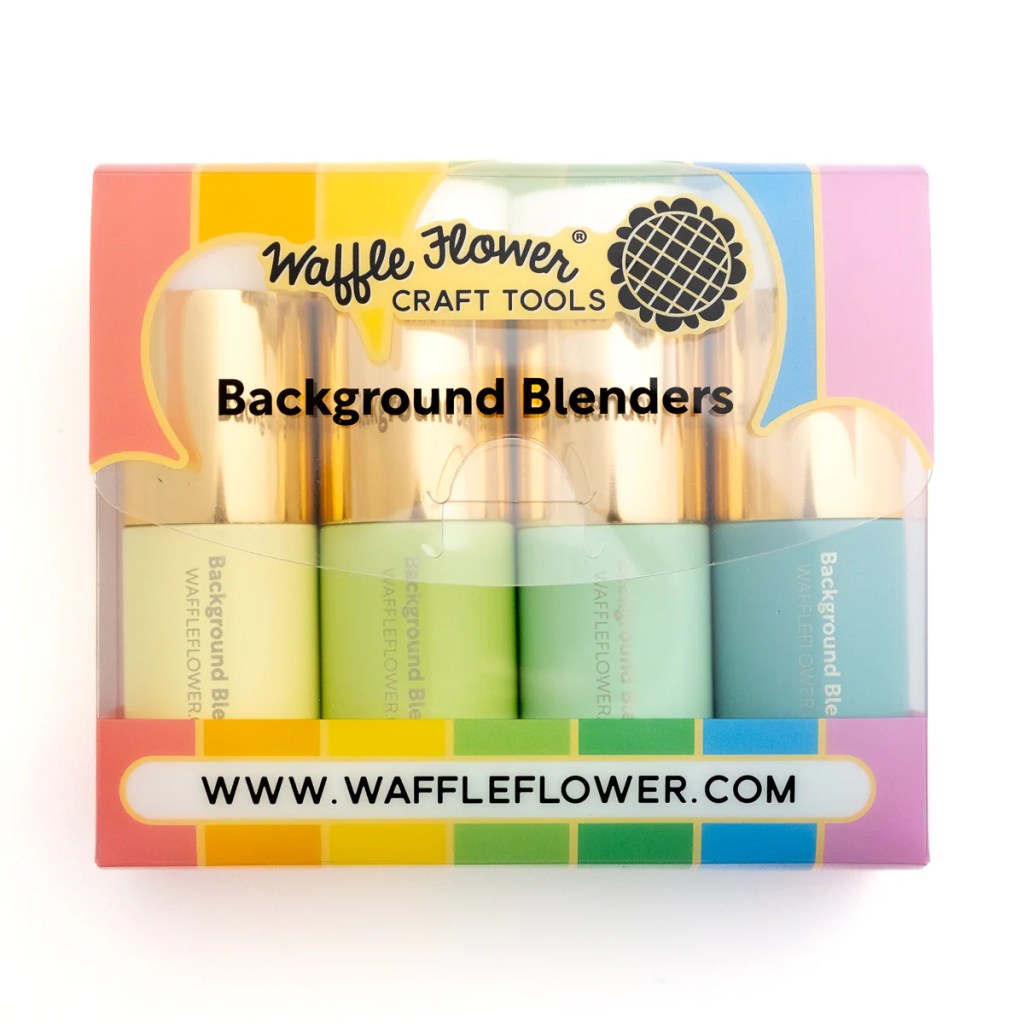
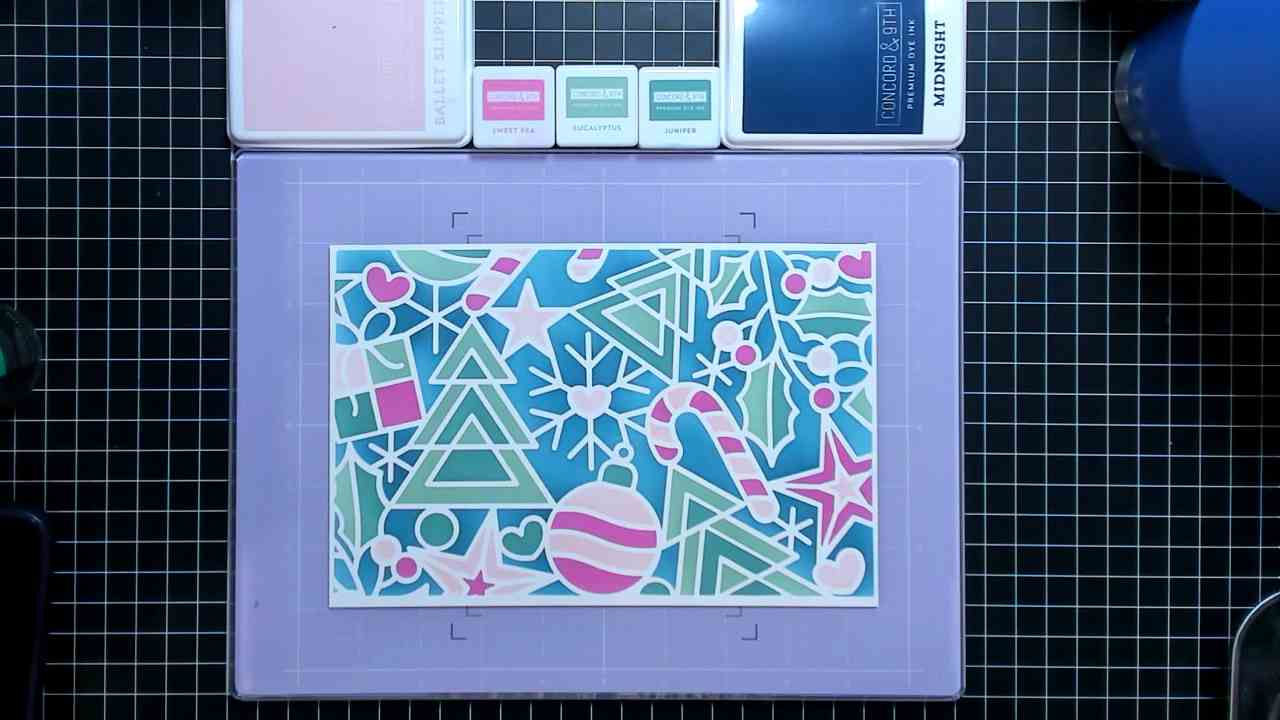
I used the Concord & 9th Holiday Icons Stencil Pack to create my background panel. This is a 6 x 9″ layering stencil set, and you can make two A2 background panels from one image. For the stenciling, I used Concord & 9th inks in Midnight for the background, Ballet Slipper and Sweet Pea for the candy canes and stars, and Eucalyptus and Juniper for the foliage and trees. I used the new Waffle Flower Background Blender brushes to do the stenciling, and it turned out amazing!! The color was so smooth with no harsh edges.


Postage Panel
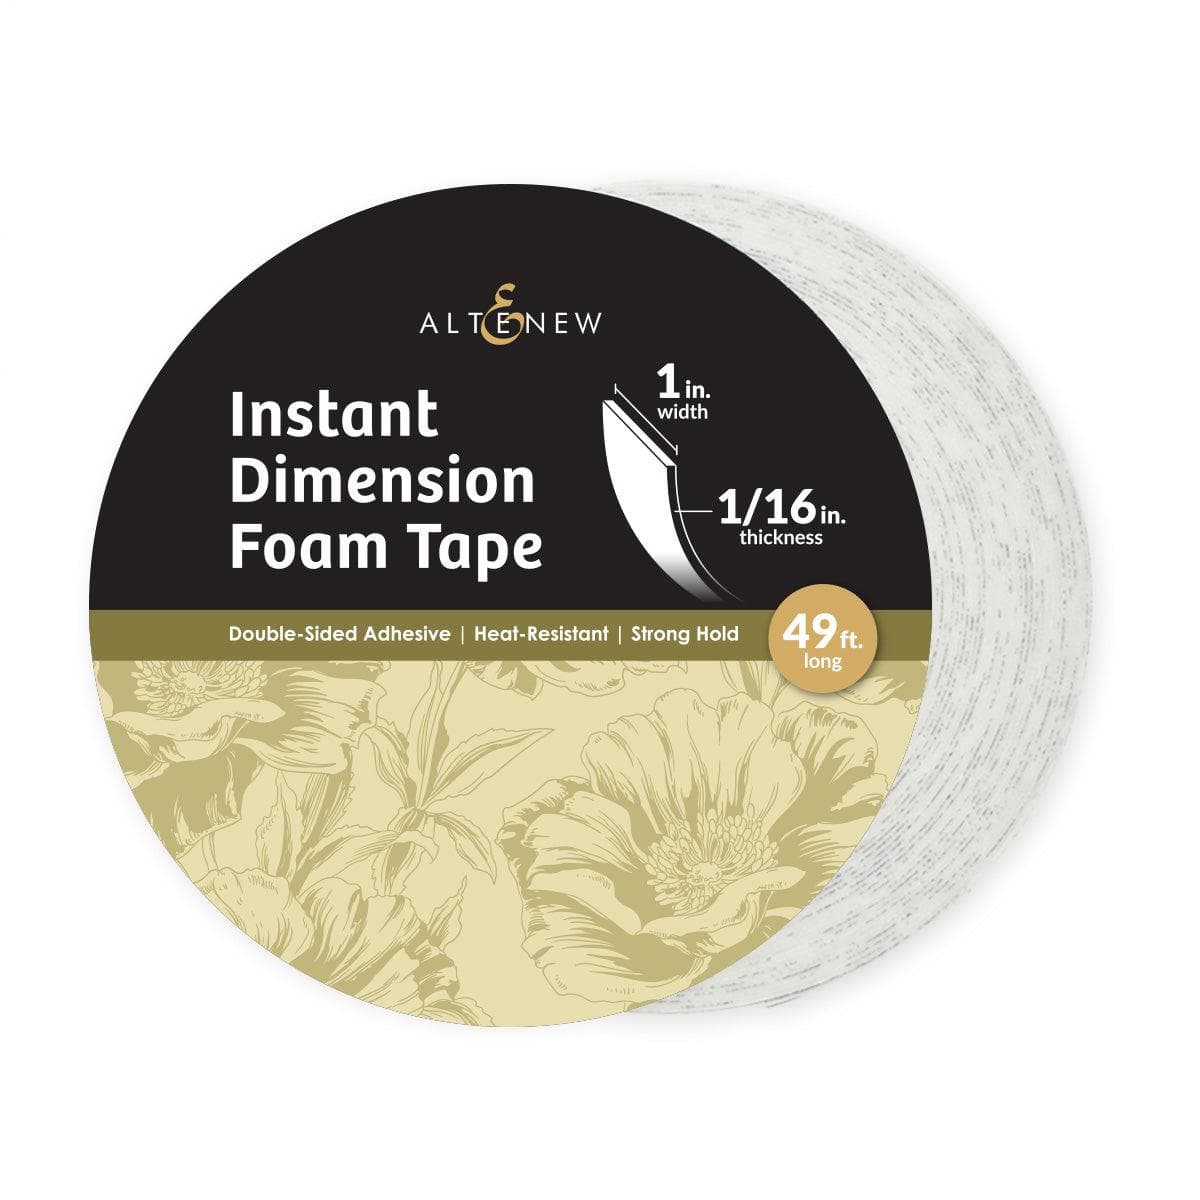
I added a piece of double-sided adhesive sheet from Altenew to a section of the glitter paper, and cut the skinny strips from that. I trimmed out part of the stenciled image, and then added the glitter strips to the card front. Next, I used the Spellbinders Postage Edge Rectangles die set to cut out the stenciled panel. This left the postage edge detail in the glitter strips as well as the stenciled panel.

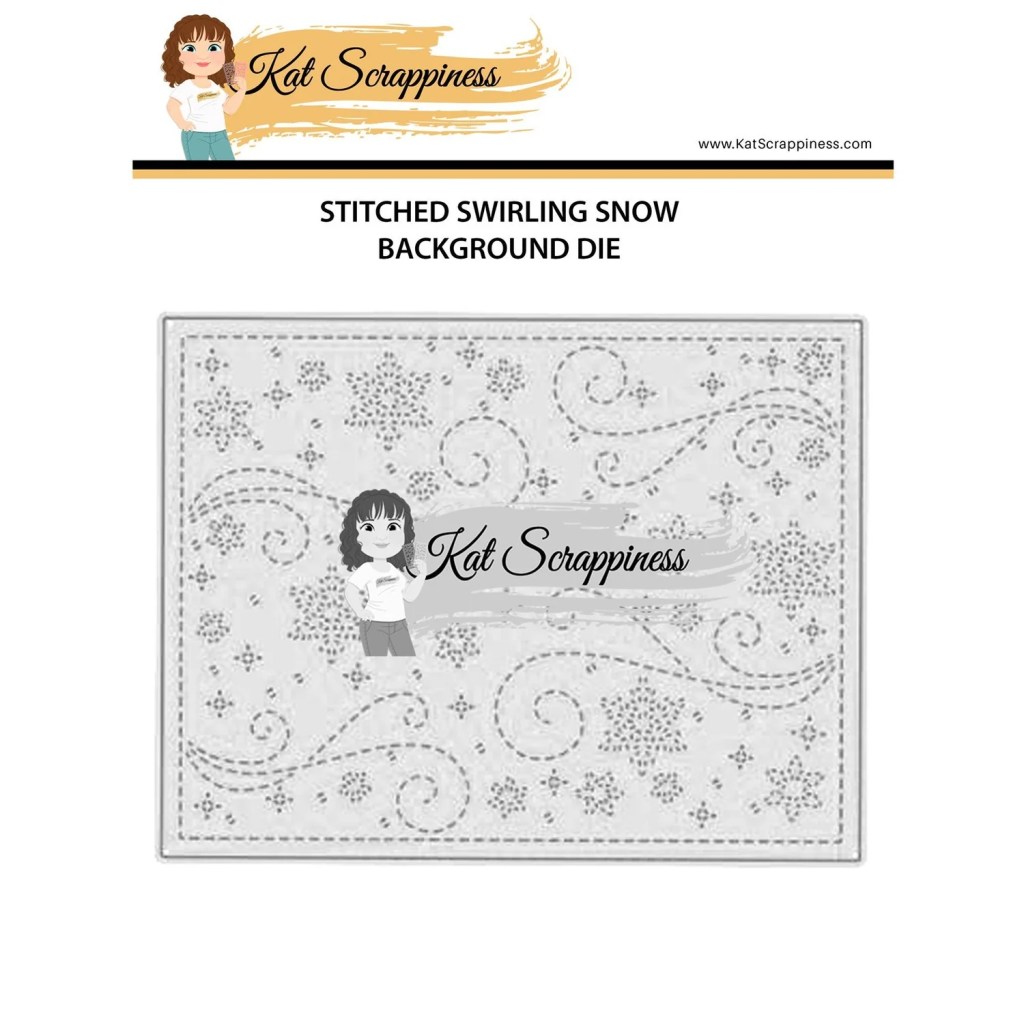
I cut the back mat panel using the plain rectangle die from the same set in Sweet Pea cardstock, and also cut the strip from the Sweet Pea cardstock. I used the postage die to cut postage edges into the top and bottom of the strip, and then used the Kat Scrappiness Stitched Swirling Snow Background Die to add detail and texture to the Sweet Pea strip.
Putting the Card Front Together
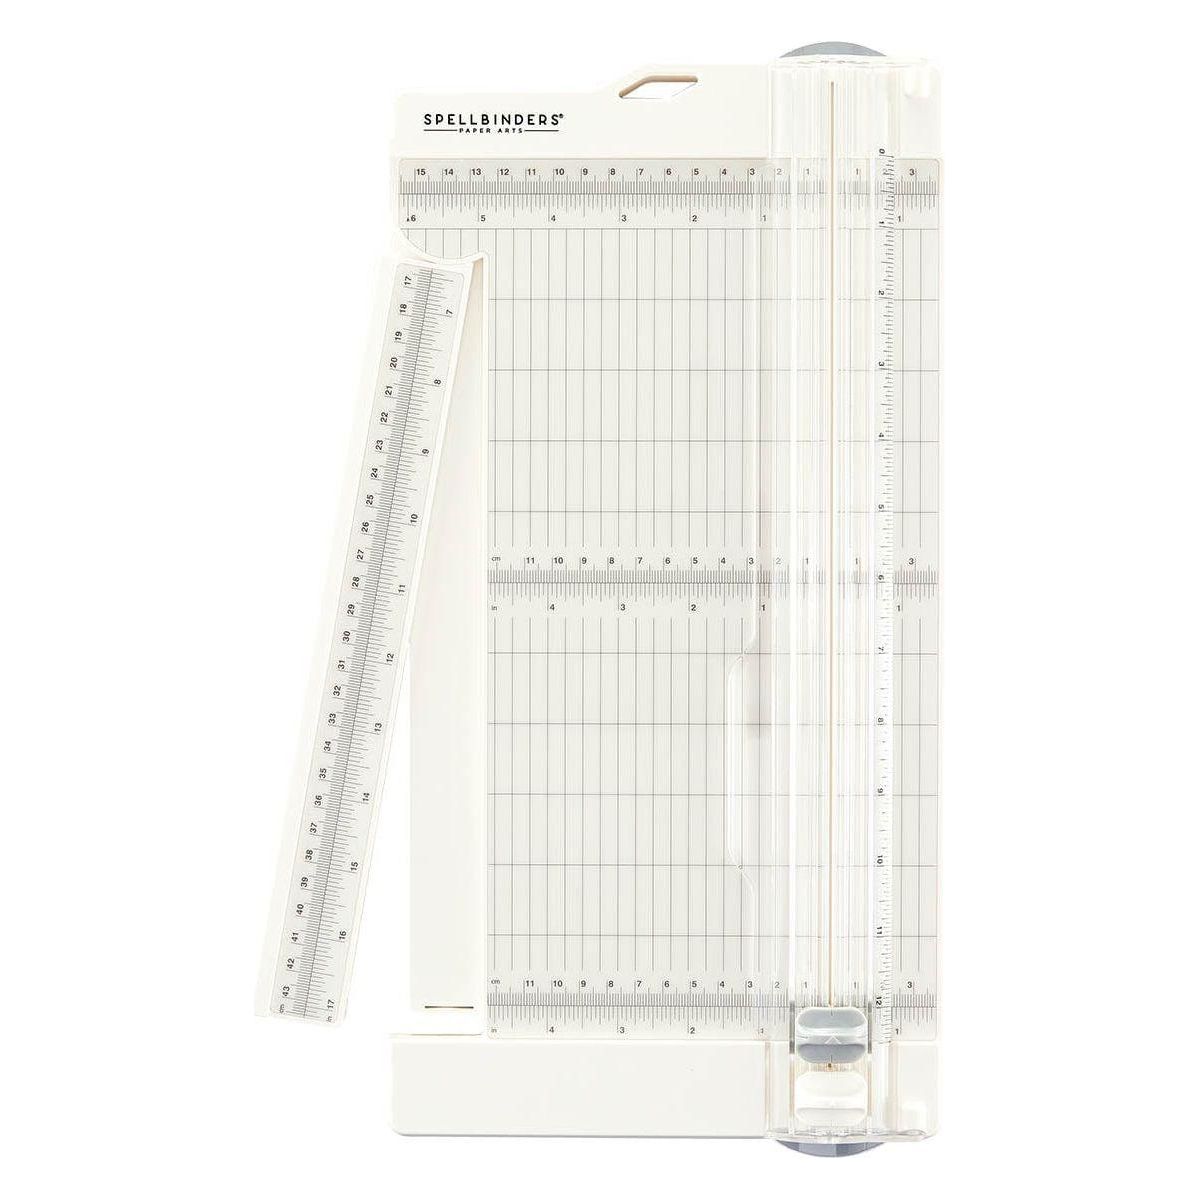
I used my Scor-Buddy scoreboard to help me line up the Sweet Pea rectangle onto my card base, as it covered the whole front of the card. Next, I added the postage panel on top of the background layer, and added the Sweet Pea strip to the card front using Altenew Foam Tape, being careful to line up the postage edges.
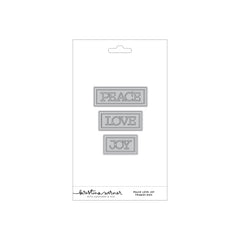
The sentiment was cut using the Concord & 9th Peace Love Joy Die Set. Before die-cutting, I added double-sided adhesive to the back of the Rainforest piece so it would be easier to add the frame and letters to the shadow piece.
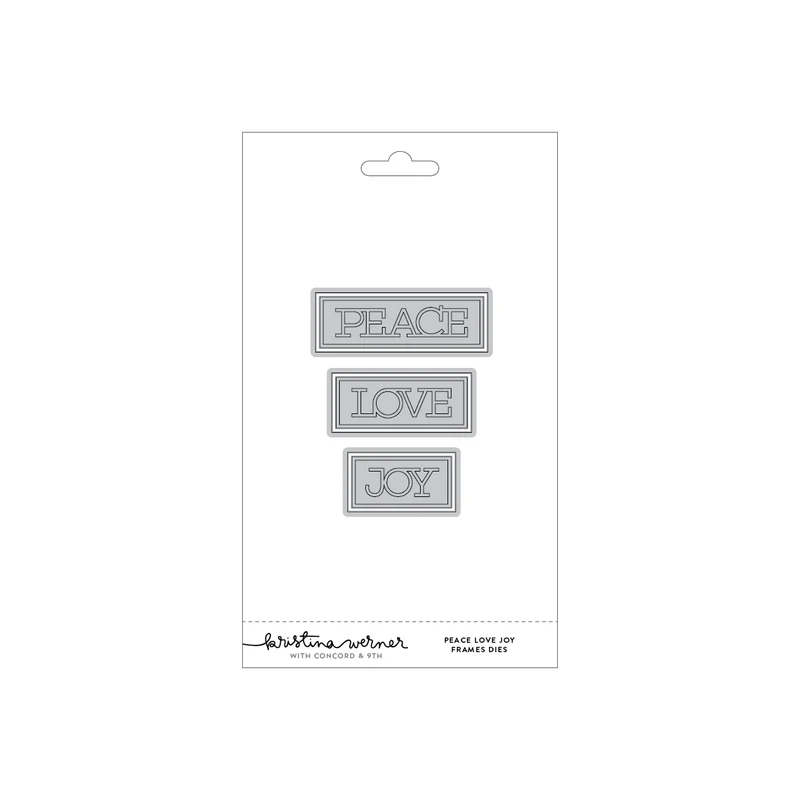
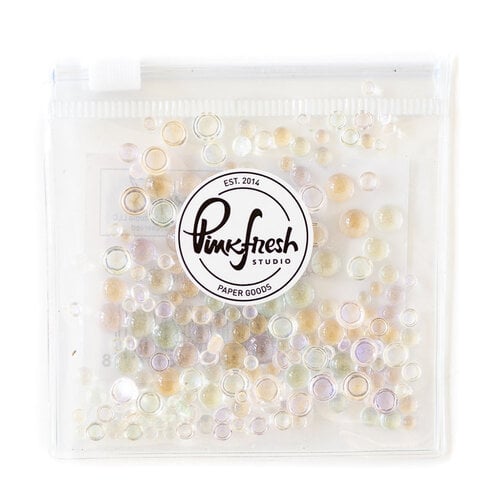
I glued the Love sentiment to the card front, and then added some Pinkfresh Iridescent Dew Drops to add a little sparkle and shine.

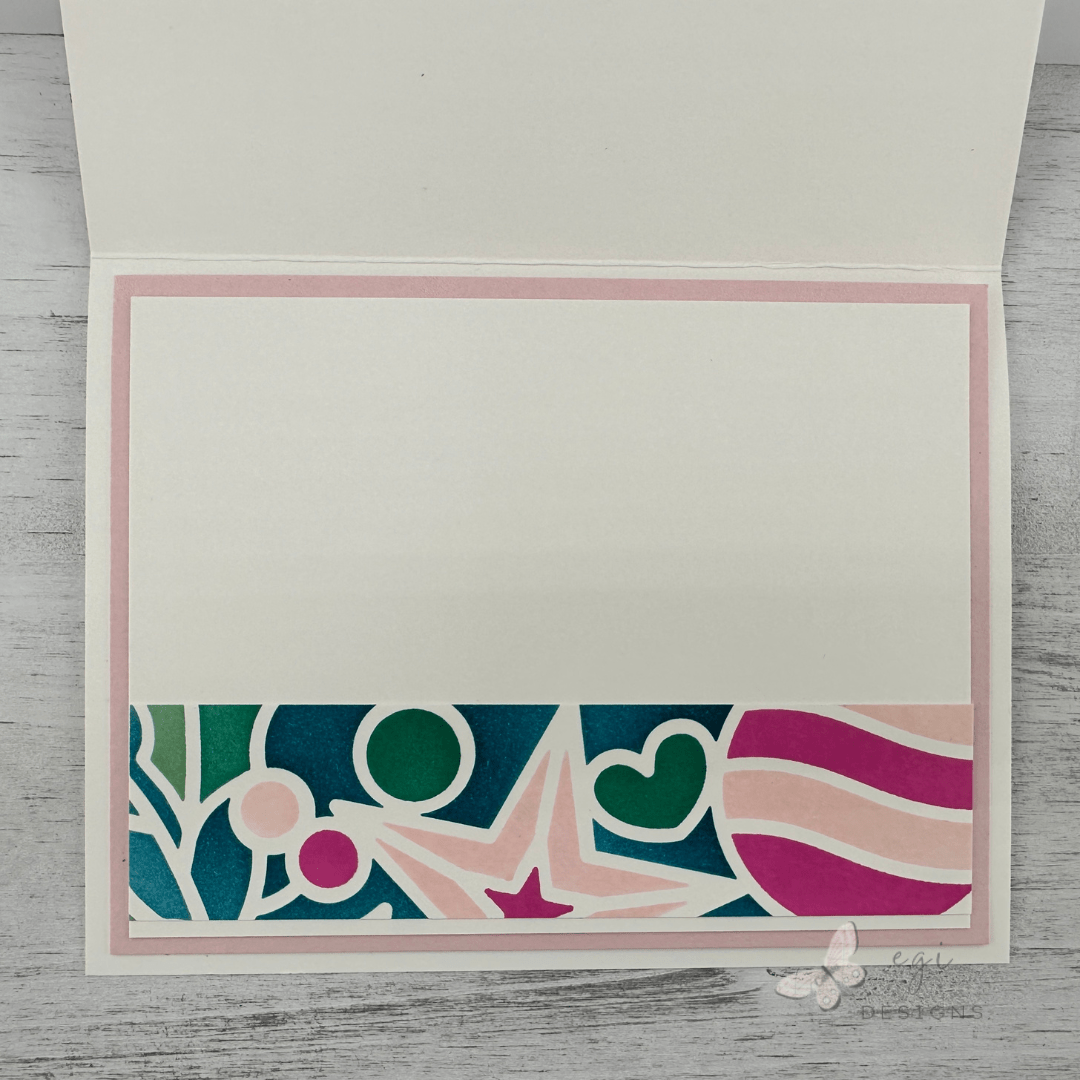
For the inside of the card, I cut a piece from the stenciled background and added it towards the bottom of the panel. I added that panel to a Ballet Slipper mat and then used temporary adhesive to add it to the inside of the card base.
For more ideas on decorating the inside of cards, I have a video with lots of fun ideas for that!
Step-by-step tutorial:
I hope you enjoyed this project! For more card-making ideas, check out my YouTube playlist and card-making blog posts. I also have a Saturday Sketch Series playlist if you want to check it out.
Product Information
Here are the products I used in today’s project. Please consider shopping through my affiliate links, as it greatly helps out my channel at no extra cost to you. Thanks so much for supporting me and my channel!
**Use code EGIDESIGNS for 15% off your order at Glassboard Studio**
|


Additional Products Used:
- Spellbinders: Postage Edge Rectangles Die Set