Plumeria Spray: Spellbinders Stencil of the Month Club, June 2026
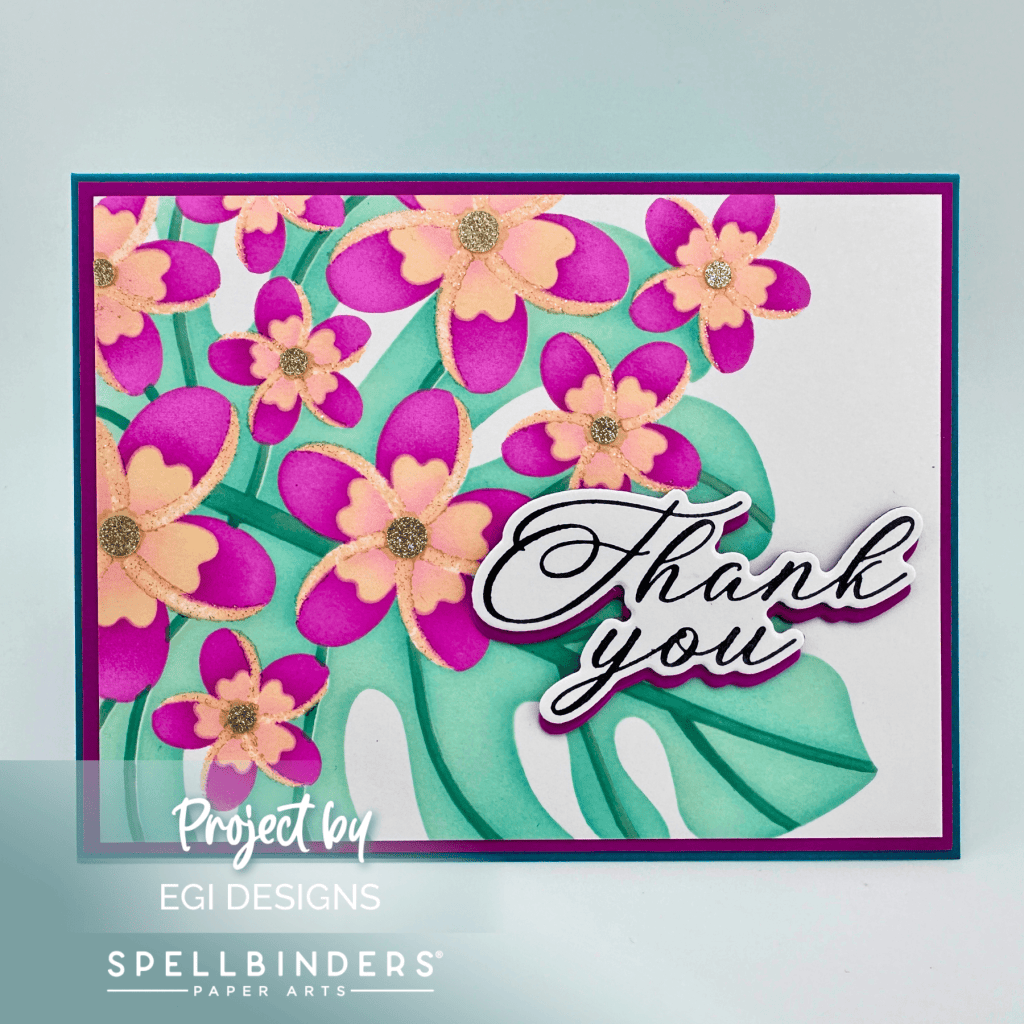
In today’s video project, I walk through the June 2026 Spellbinders Stencil of the Month called Plumeria Spray. This is part of the “Aloha Greetings” collection, which contains fun Tropical and Summer-themed products.
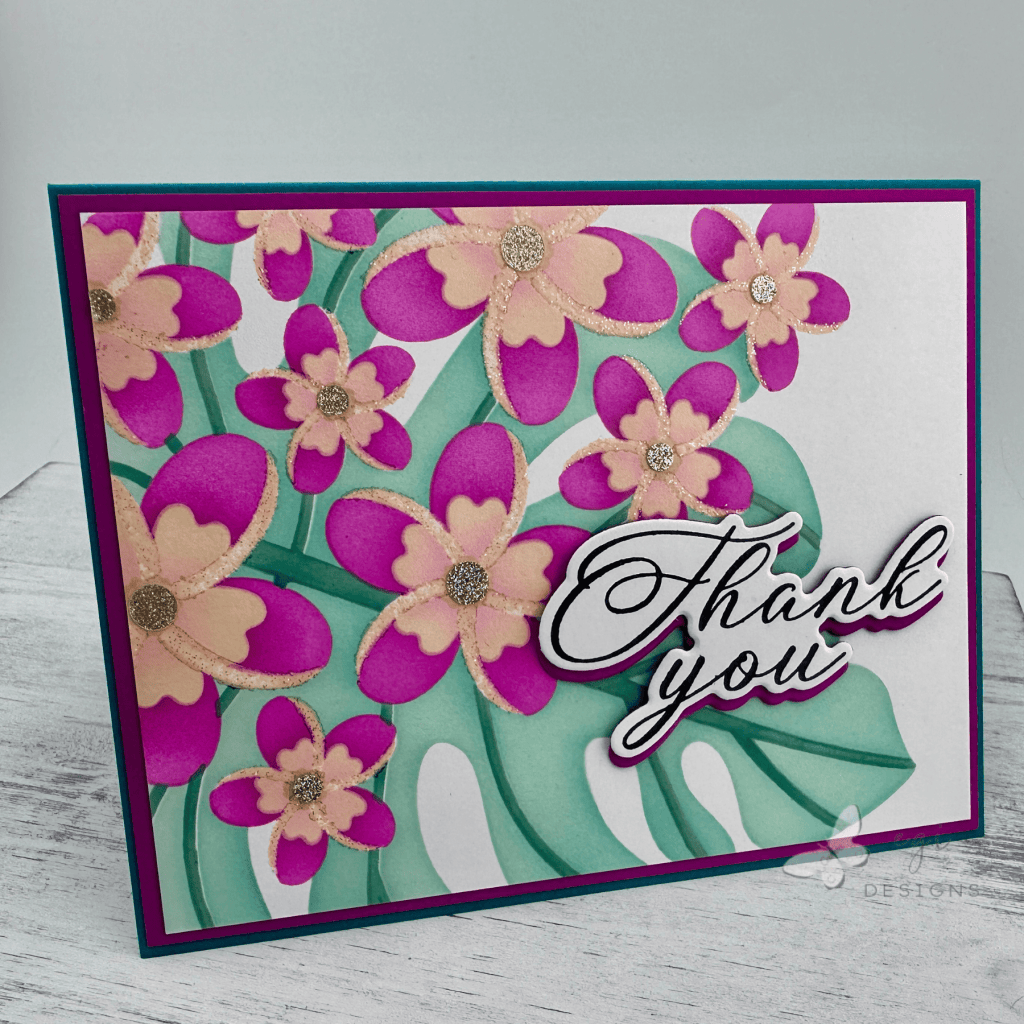
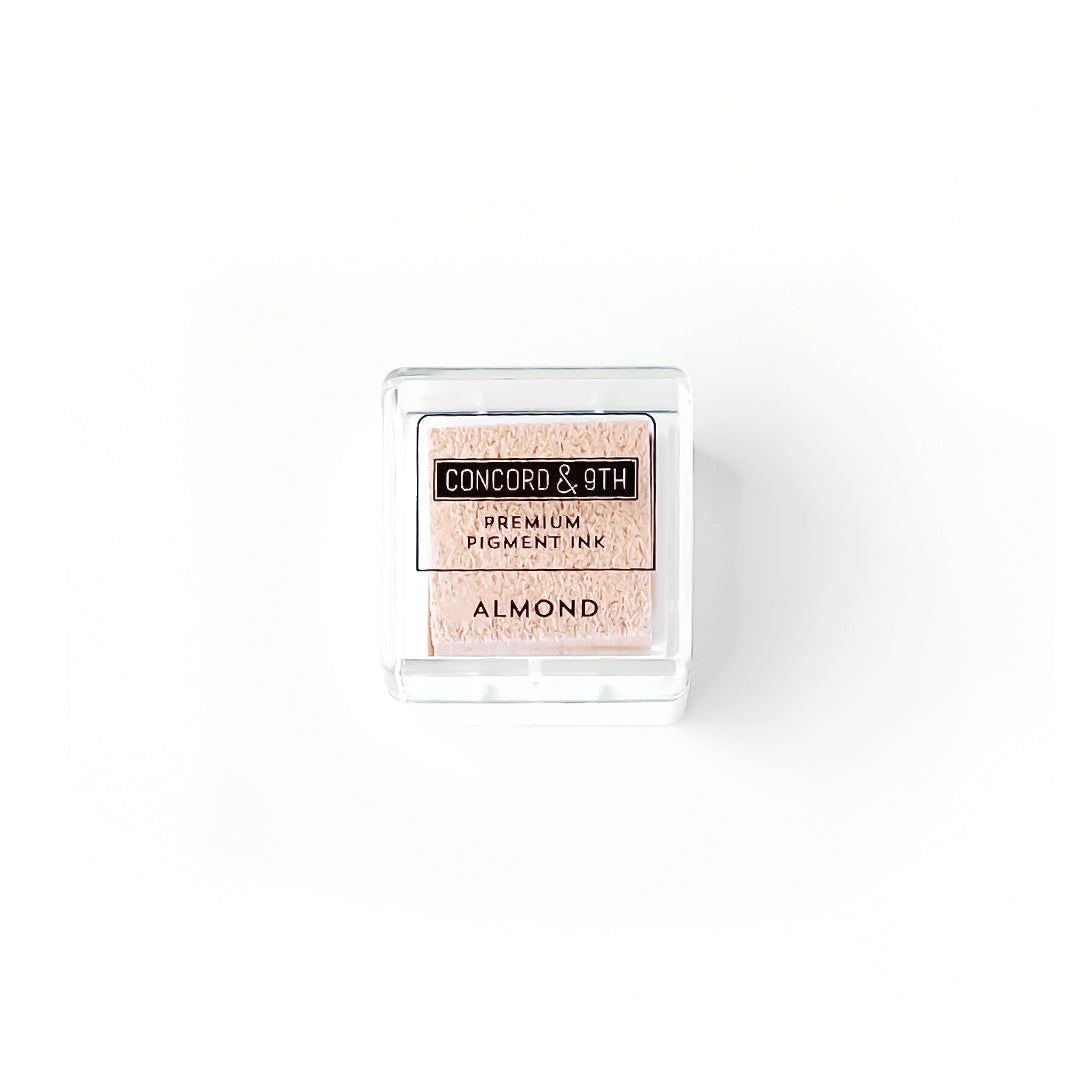
I used Altenew Inks for the stenciling, Concord & 9th Almond Ink with WOW! Sparkle Embossing Powder on the edges of the flowers, and an Alex Syberia Classic BetterPress sentiment to finish up the card front.
All products used in today’s card tutorial project are listed below. Spellbinders sent me this stencil to have a play with, and I am grateful for the opportunity!
Club Subscription Information
Spellbinders offers a wide range of clubs: large die, small die, stitch die, BetterPress/Foiling, 3D embossing folder, 2D embossing folder, stencil, and stamp/die! There is also a club crate offered, where you will receive all of the club products for the month, plus bonus limited edition products!
Date Details
From the 1st to the 5th of the month, current club subscribers are able to go in and add/change/cancel their club selection for that month.
On the 6th of the month, the clubs open to current non-subscribers, and you can sign up for whatever club you want and receive that month’s current club offerings. On the 27th, club registrations close, and the products are sent to club members. The club products are offered at a discount.
On the 10th of the next month, the previous month’s club offerings are added to the Spellbinders online store. If they are sold out, they will be added when they come back in stock.
Check out the club landing page for more details and pricing information.
Measurements
Measurements:
A2 Card Base: 4 1/4 x 5 1/2"
8 1/2 x 5 1/2", Score at 4 1/4"

Stenciled Panel: 4 x 5 1/4"
Mat Layer: 4 1/8 x 5 3/8"

Inside Panel: 5 x 3 3/4"
Creating the Stenciled Background
For this card, I added an A2 panel of Gina K Designs Heavyweight cardstock to a sticky mat, and stenciled using the following Altenew inks:
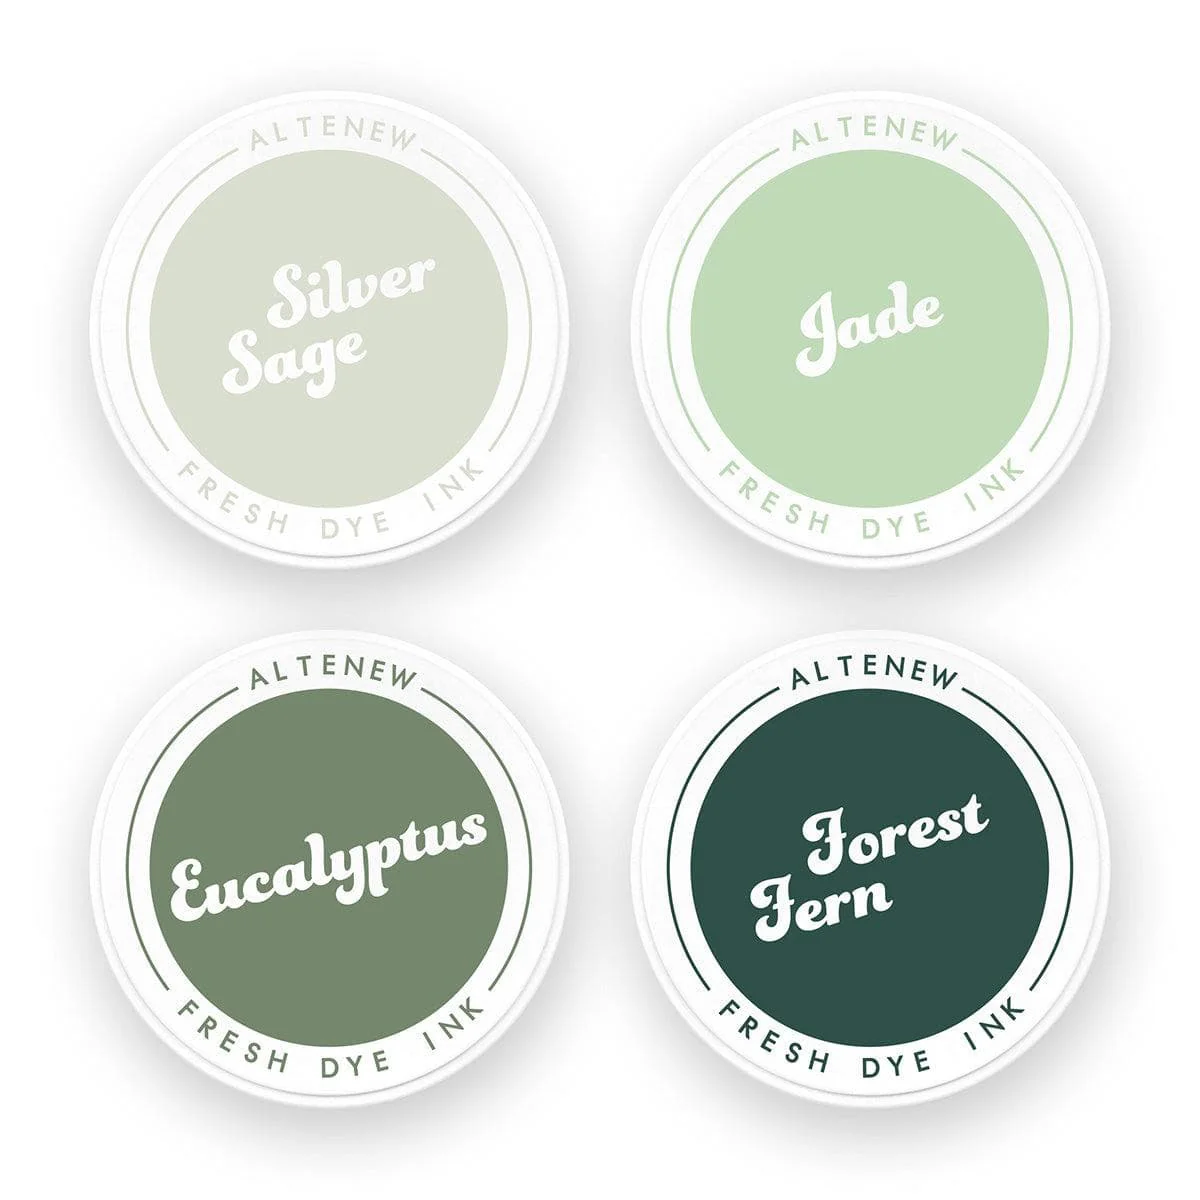
- Stencil 1: Leaf – Jade, with Forest Fern Shading
- Stencil 2: Flowers – Fuchsia, with Magenta Shading
- Stencil 3: Flower Insides – Vanilla Cream, with Baby Pink Shading
- Stencil 4: Leaf Veins – Eucalyptus, with Forest Fern Shading
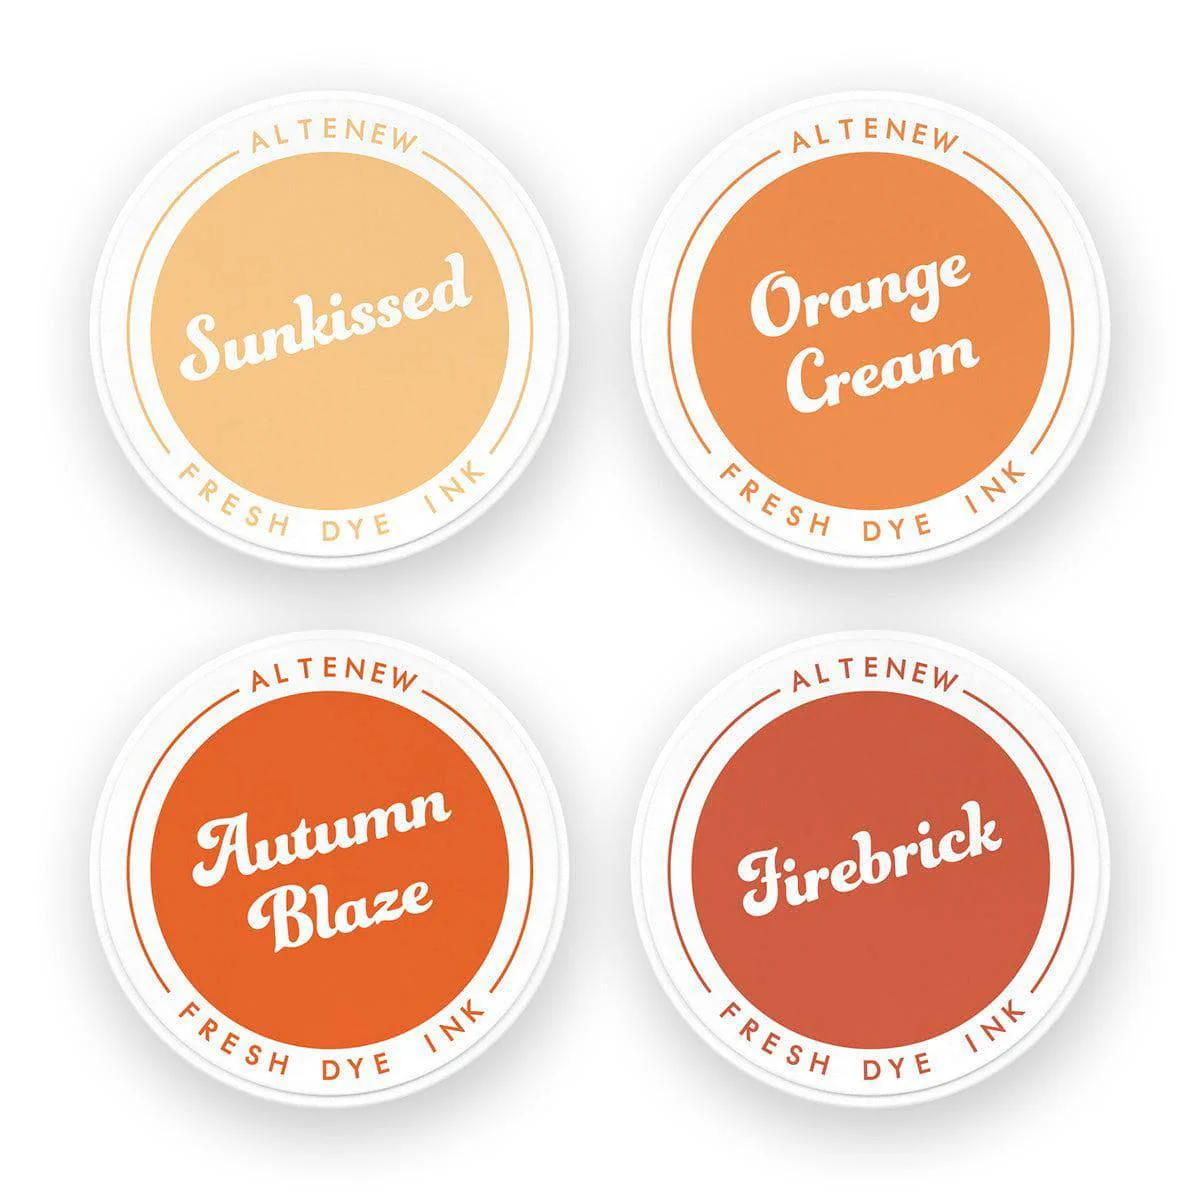
- Flower Centers – Sunkissed


Stencil 5: Flower Swirl Edges – Concord & 9th Almond Ink, WOW! Sparkle Embossing Powder


For the fifth layer, I used Concord & 9th Almond Ink with a Simon Says Stamp Sponge Applicator to apply the ink through the stencil. Once complete, I added WOW! Clear Sparkle Embossing Powder over the ink and heat set it. This added gorgeous sparkle to the edges of the flowers.
Mat Layer, Card Base
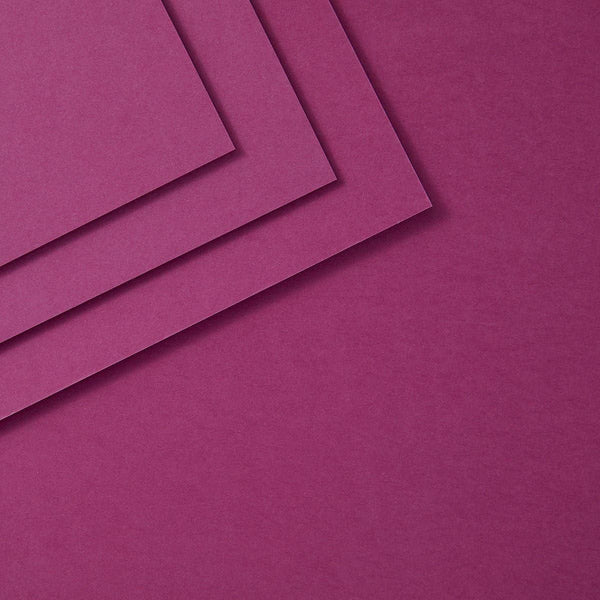
I trimmed down the stenciled panel and then cut a mat layer from Mulberry cardstock to go behind it. The A2 card base was cut from Blue Spruce cardstock.

BetterPress Sentiment
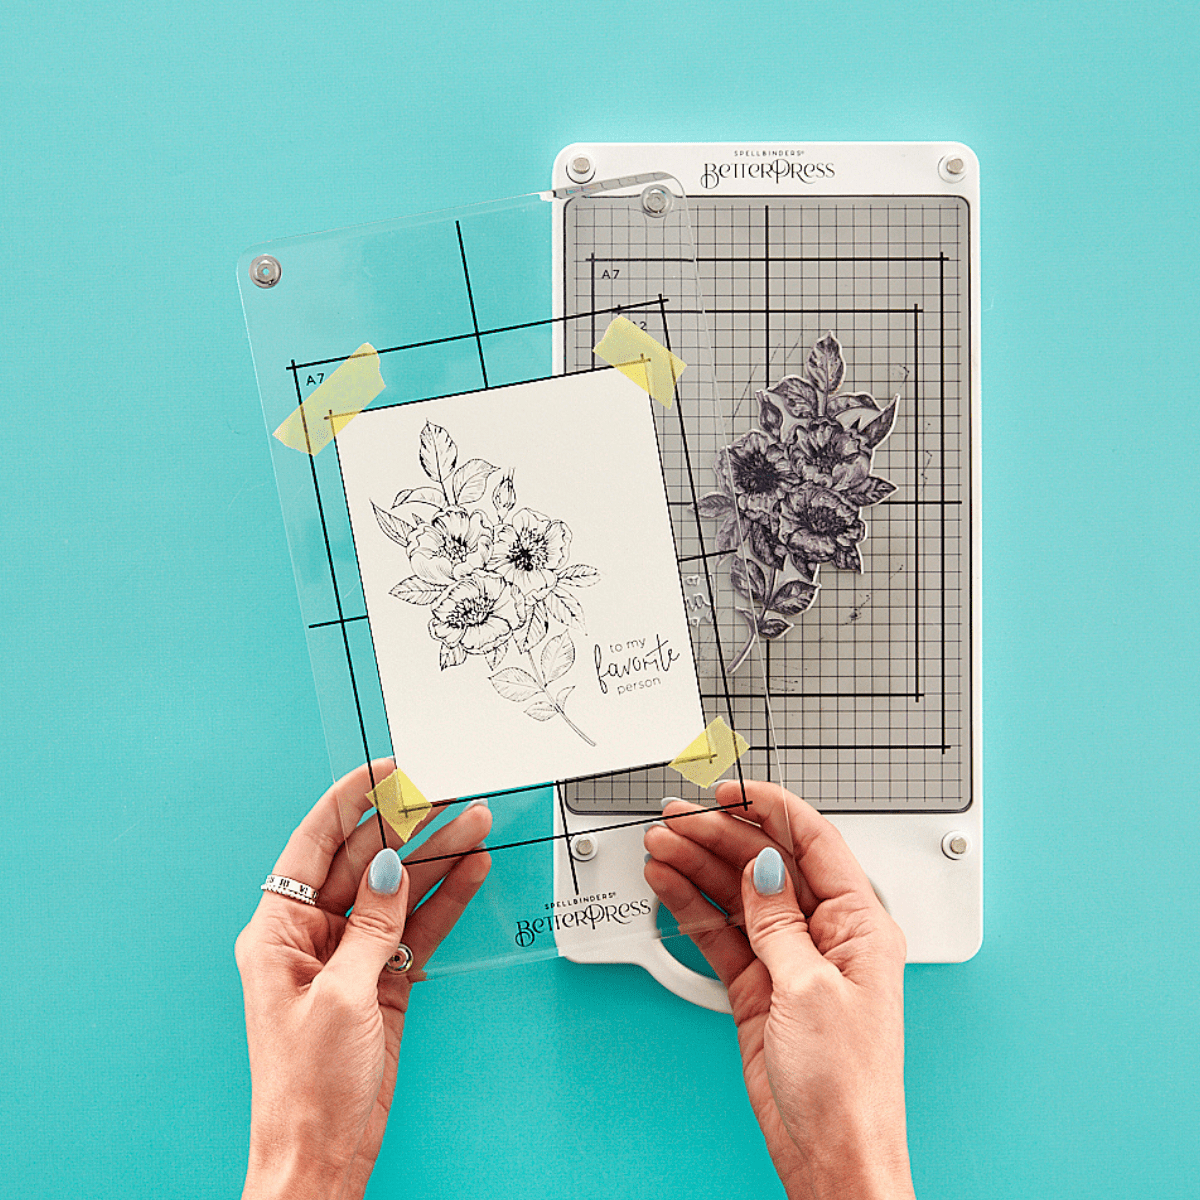
For the sentiment, I used the Alex Syberia Classic Sentiments BetterPress plate with VersaFine Clair Nocturne ink. Once that was pressed, I added WOW! Clear Embossing Powder over the ink and heat set it. This added a lovely shine to the sentiments.
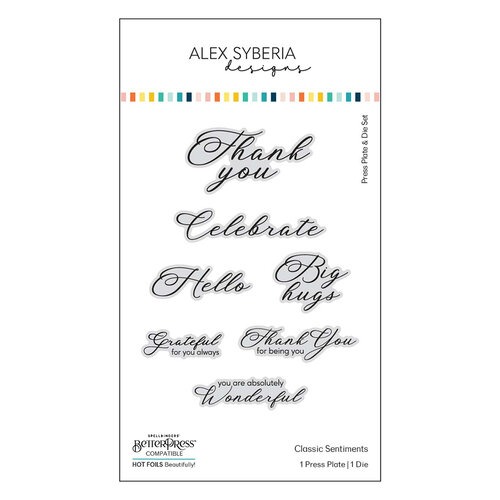
I used the coordinating die to cut out all the sentiments, and then cut out three additional Thank You layers from the Mulberry cardstock. I glued two of the Mulberry die cuts together, and also glued one Mulberry die cut behind the sentiment. Next, I added the stack of Mulberry die cuts behind the sentiment stack, but offset the layers so it looked like a drop shadow behind the sentiment.
Assembling the Card Front
I added the stenciled panel to the mat layer, then added that to the card base using tape runner. I added the sentiment with glue, and then added Trinity Stamps Gold Sparkle Spots to the flower centers.
Inside of Card
For the inside of the card, I used the flower stencils with Baby Pink ink to carry over the theme to the inside. I also added one of the Alex Syberia sentiments towards the top right of the panel.
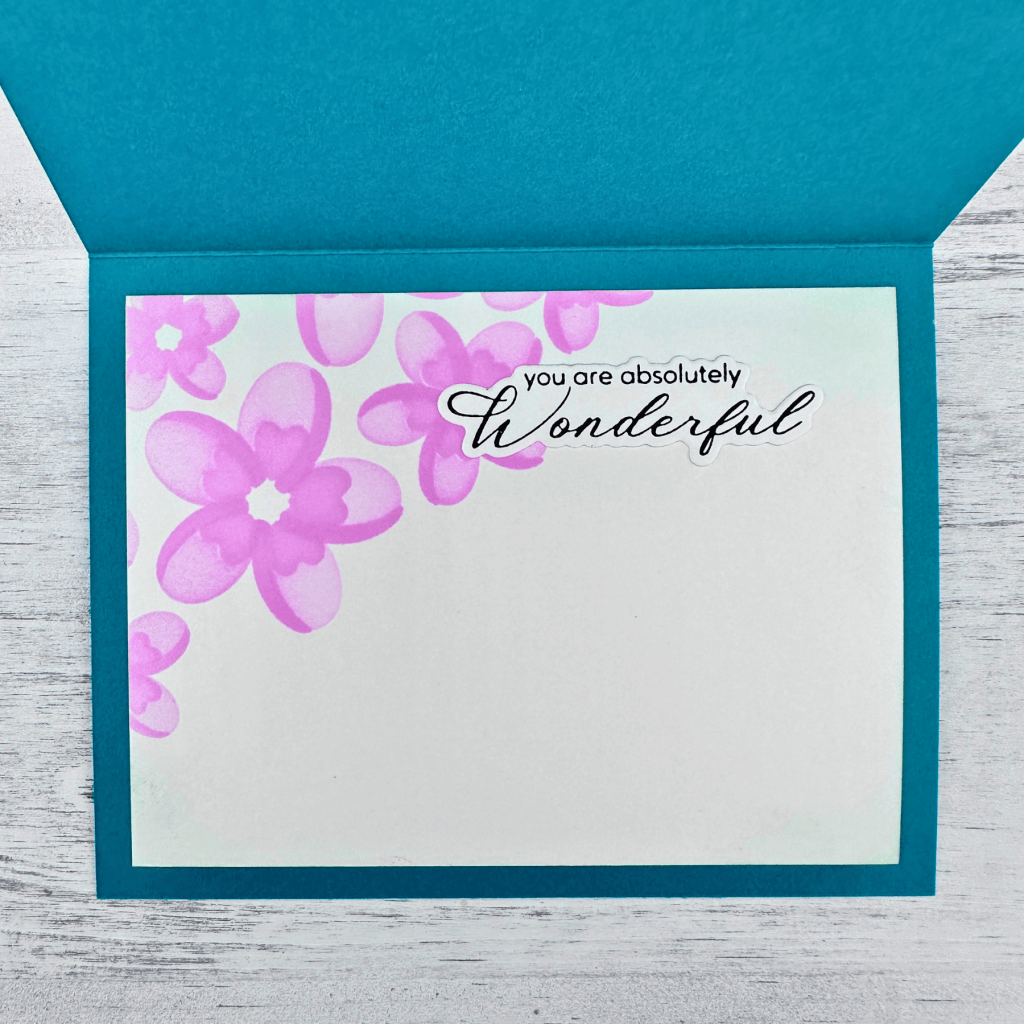
I then adhered the panel to the inside of the card using temporary adhesive. I find this is easier for me, so I can remove and replace the panel if I mess up when writing my message without having to tear my card apart.
If you are looking for additional ways to decorate the inside of your cards, check out my Part 1 and Part 2 videos with more easy ideas.
Card Tutorial
Check out the card tutorial video here:
For more Spellbinders new product unboxings and card tutorials, check out my YouTube playlist. I also have a Card-Making Tutorial playlist if you are looking for some more crafty inspiration!
Product Links
Here are the products I used to make this card project. Please consider shopping through my affiliate links, as it greatly helps out my channel at no extra cost to you. Thanks so much for supporting me and my channel!
**Use code EGIDESIGNS for 15% your order at Glassboard Studio**
|












Additional Products Used:
- Taylored Expressions: Anti-static Powder Tool