Create a Stunning Card with Altenew’s Magnificent Magnolias Kit
In this video project, I made an A2 card using the Altenew Magnificent Magnolias Craft Your Life Project Kit.

Measurements
A2 Card Base: 8 1/2 x 5 1/2", Scored at 4 1/4"
Lavender Fields Panel: 4 x 5 1/4"
Andromeda Card Mat: 4 1/8 x 5 3/8"
Card Instructions
For this card, I first cut out all the flower pieces and flower centers out of Accent Opaque 120lb. Cardstock. The Key Hole System by Altenew makes it easy to both match the sets of flowers and centers, and also to build the flowers. Each set has it’s own key hole shape, and numbers or dots near the holes for the layer numbers, all to help you assemble the flowers correctly. It’s pretty much fool-proof!

I placed each set of flowers and corresponding centers in my Altenew StampWheel, and used an Altenew Mini Blending Brush to add color and shading to the flower petal pieces. The colors I used came from the Altenew Shades of Purple Ink Quad: Soft Lilac, Lavender Fields, and Deep Iris. For the flower centers, I used colors from the Pocketful of Sunshine Ink Quad: Maple Yellow and Honey Drizzle.
After the coloring and shading was finished, I assembled each flower using the printed guide and the easy-to-follow Key Hole System. Then I used my StampWheel to stamp and stencil the branches, on a panel of Lavender Fields Cardstock. For the stamped outline, I used Espresso from the Coffee Break Ink Quad. Then I used the stencil with Mocha Ink to color in the branches. For the leaves, I used Misty Sage (Jade Dreams Ink Quad) as the base layer, and then highlighted with Reindeer Moss (Whispering Woodland Ink Quad).
Finishing up the Card
I cut the stenciled panel down to 4 x 5 1/4″, and then cut a mat layer to put behind the panel in Andromeda Cardstock measuring 4 1/8 x 5 3/8″. I attached the panel to the mat, and then added those layers to the card base. I added the four flowers to the front of the card, and then used my sparkle pen from Scrapbook.com to add some shimmer to the flower centers.

Hope you enjoyed this card project!
Step-by-step video:
For more card-making ideas, check out my YouTube playlist and card-making blog posts.
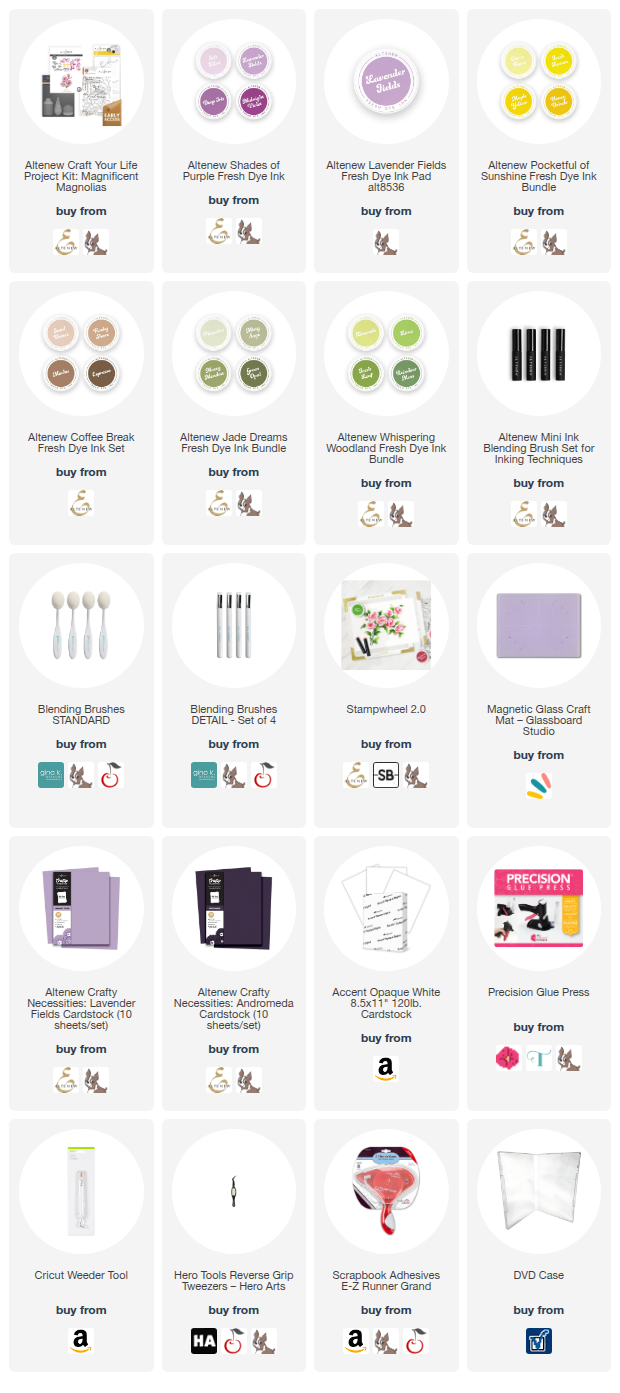
Here are the products I used in today’s project. Please consider shopping through my affiliate links, as it greatly helps out my channel at no extra cost to you. Thanks so much for supporting me and my channel!
**Use code EGIDESIGNS for 15% off your order at Glassboard Studio**
Additional products used:
- Scrapbook.com Stamp Shammy
- Scrapbook.com Sparkle Pen