Saturday Sketch Series-Ep. 4: Cardz TV Sketch #63 and PET Tape
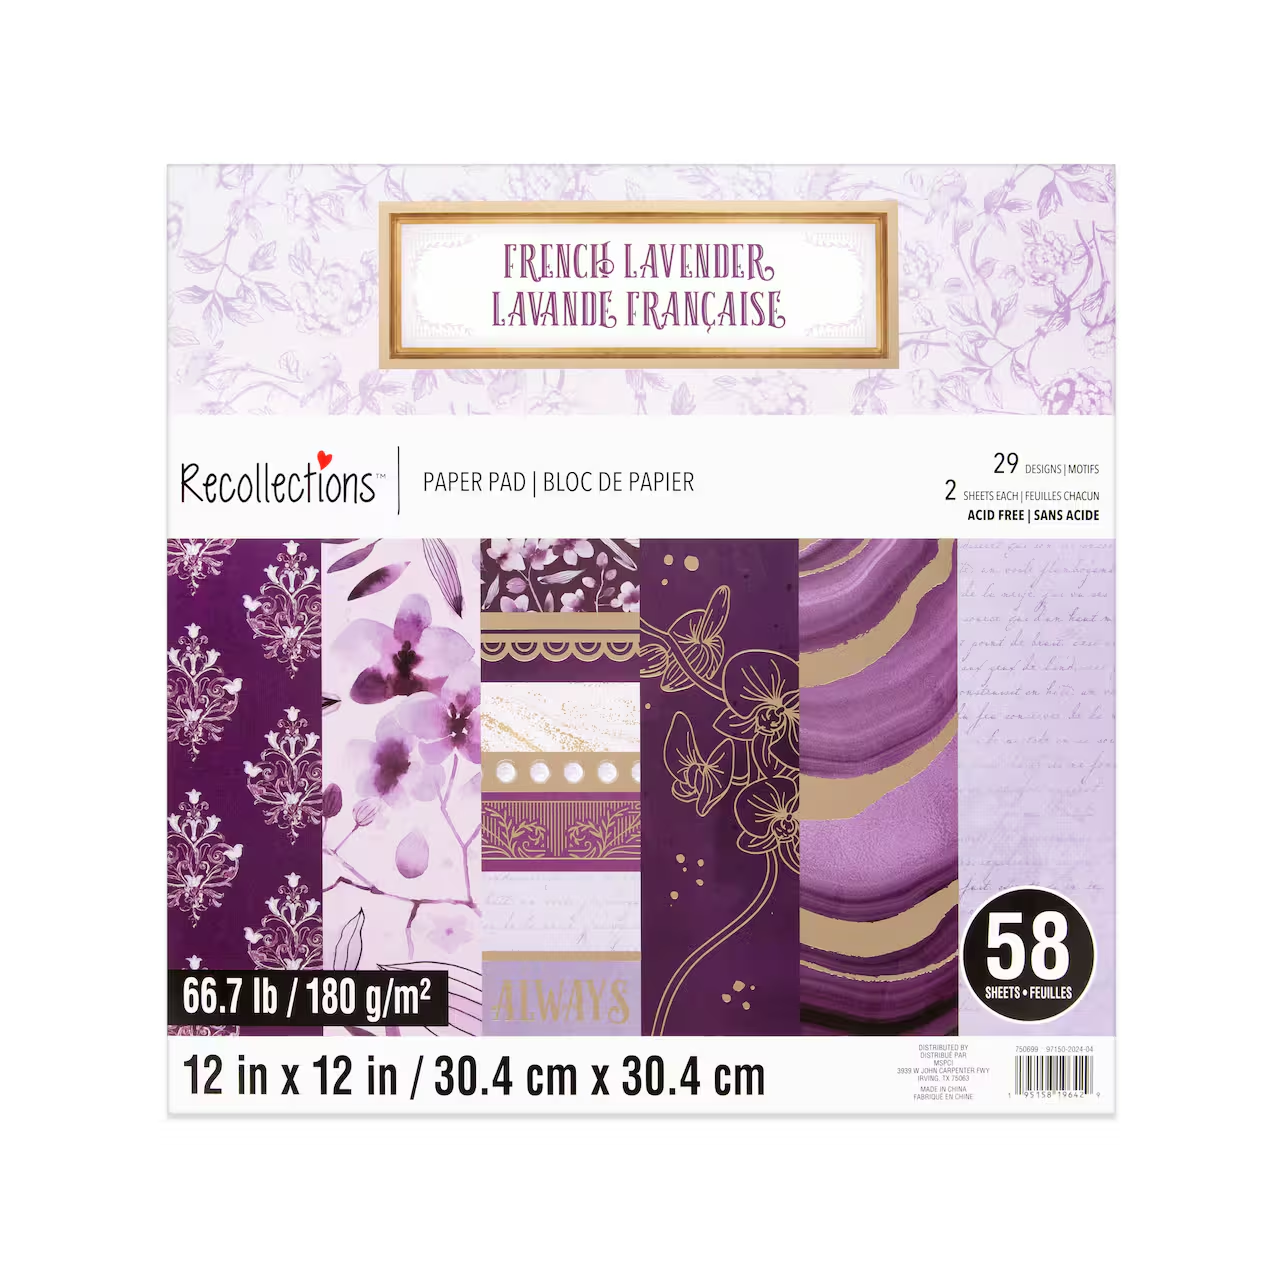
This is the 4th episode of my new card-making series, Saturday Sketch Series! In this episode, I made two cards using Cardz TV Sketch #63. The first card is true to the sketch and is made with Recollections French Lavender Paper Pad, Birch Press Design Hello Scripted Die, and Altenew Andromeda Cardstock.
The second card is stepped up a bit, and uses the Waffle Flower Rhombus Texture Die, Washi Tape Shop Poinsettia PET Tape, and Simon Says Stamp Label Slides Stamps and Dies. All products used in making this project are listed below.
In this Saturday Sketch Series video, I mentioned that I would link to a past YouTube video where I had made washi/PET Tape stickers using clear sticker paper and washi/PET Tape. These stickers can be used on card projects and as envelope seals.

In this series, I will find a card sketch on the internet and make a card (or more) using the card sketch. If making more than one card, the first one will stick closely to the sketch, while the others will have slight changes or demonstrate different techniques. In today’s card, I tweaked the sketch a bit by adding mats to the squares, using dies to cut out the squares to add stitched detailing, using PET Tape as the patterned paper, and using a dotted die to add texture to the background panel.
Measurements that differ from the sketch:
Card 1-
Inside Panel: 3 3/4 x 5"
Skinny Strip: 1/2 x 5"

Card 2-
Mat Layer for Squares (3):  2 1/8 x 2 1/8"
Skinny Strip for Label Slide: 3/8 x 5"
Inside Panel: 3 3/4 x 5"

**See Cardz TV Sketch #63 for the card layout and sketch measurements**
Saturday Sketch Series: Card Sketch Information
For these cards, I used card sketch #63 from Cardz TV with Mary. She has a website and also a YouTube channel. Be sure to check out her blog for more card sketches.

Paper Products Used
Card #1
I used the Recollections French Lavender Paper Pad for the squares and the background panel, and Altenew Andromeda cardstock for the card base and sentiment die cut.

Card #2
I used Simon Says Stamp Midnight Green cardstock for the card base and square mats, and Spellbinders Crimson cardstock for the background panel. For the smaller squares, I used The Washi Tape Shop‘s Poinsettia PET Tape on top of Gina K Designs Ivory Cardstock. This tape is retired, but they have a huge selection of other floral and Holiday tapes available. I listed a couple of options in the links below; check out their website to see all the other gorgeous styles. Use my code EGIDESIGNS for a 10% discount on your order.


Assembling Card #1-Hello Card
I followed the card sketch measurements and cut out all the pieces from the French Lavender Paper Pad, then attached them to the Altenew Andromeda card base. I cut out three Hello die cuts from the Birch Press Design Hello Scripted die set from Andromeda cardstock, gluing all the layers together. Then I glued the stacked layers towards the bottom of the card. I added some Trinity Stamps Fresh Fig Confetti to finish up the card front. I used my new Glassboard Studio MagInk magnetic tray to hold my embellishments while applying them to my project.


For the inside of the card, I cut a skinny strip from the French Lavender paper and added that to the left side of a Gina K Designs Ivory card panel. Then I used the Gina K Designs Hand-picked Flowers Stamp Set to decorate the inside of the card, stamping in Altenew Wisteria and Andromeda Inks.
Assembling Card #2-Holiday Card
I made the card base from Simon Says Stamp Midnight Green cardstock, and then cut out the background panel from Spellbinders Crimson cardstock. Next, I used the Waffle Flower Rhombus Texture Die on the panel to add some subtle texture to the card front.


I cut out pieces from The Washi Tape Shop Poinsettia PET Tape and added them to Ivory cardstock. Next, I used the Gina K Designs Double-Stitched Square Die set to cut out the poinsettia images. For the square mats, I used the Midnight Green cardstock and the Gina K Designs Single-Stitched Square Die Set.


I glued the PET poinsettia squares and the mat layers together, and then added them to the card front according to the sketch. I added some black foam tape behind the right side of the right square so it would lay evenly over the other squares.
The sentiment was stamped using the Simon Says Stamp Label Slides Stamp and Die Set, with Gina K Designs Dark Spruce Ink. I cut a slim strip of cardstock to use as a ribbon for the Label Slide Die, wove it through the label slots, and added it to the card front with Scrapbook.com 1mm black foam tape. I added ModaScrap Transparent Black Semi Pearls to the card front to complete the sketch design.


For the inside of the card, I loosely fussy-cut around the edges of one of the poinsettia images and added it to the top left of an Ivory panel, trimming off the overhanging edges, and then adhering the panel inside the card base.
For more ideas on decorating the inside of cards, I have a video with lots of fun ideas for that!
Step-by-step tutorial:
I hope you enjoyed this project! For more card-making ideas, check out my YouTube playlist and card-making blog posts. I also have a Saturday Sketch Series playlist if you want to check it out.
Product Information
Here are the products I used in today’s project. Please consider shopping through my affiliate links, as it greatly helps out my channel at no extra cost to you. Thanks so much for supporting me and my channel!
**Use code EGIDESIGNS for 15% off your order at Glassboard Studio**
**Use code EGIDESIGNS for 10% off your order at The Washi Tape Shop**
|


Additional Products Used:
- The Washi Tape Shop: Poinsettia PET Tape
- ModaScrap Transparent Black Semi Pearls
- Scrapbook.com: 1/4″ Black Foam Tape 1mm


