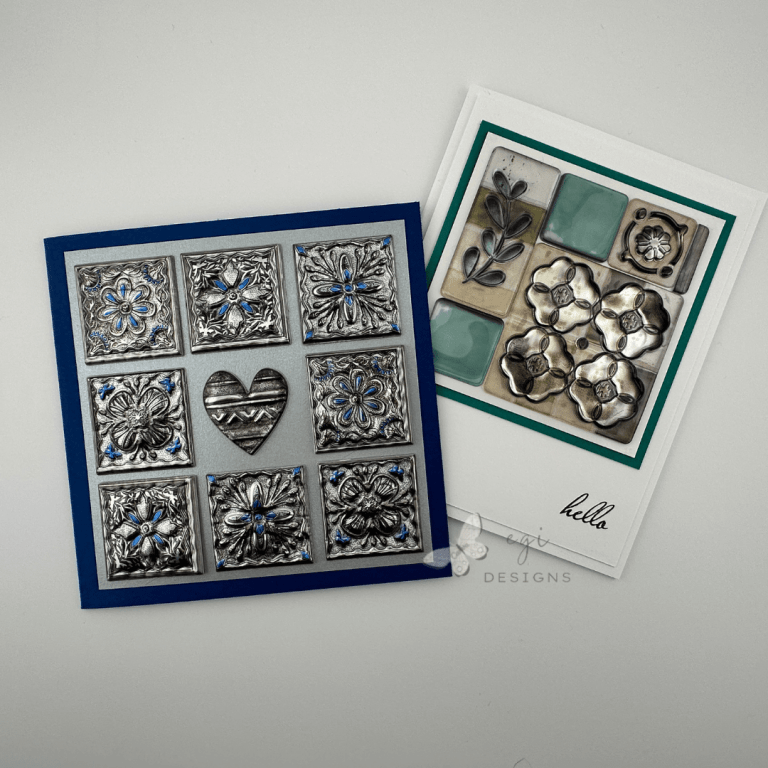
Easy Floral Birthday Card: Cardz TV Sketch #78 | Wednesday Workshop Series
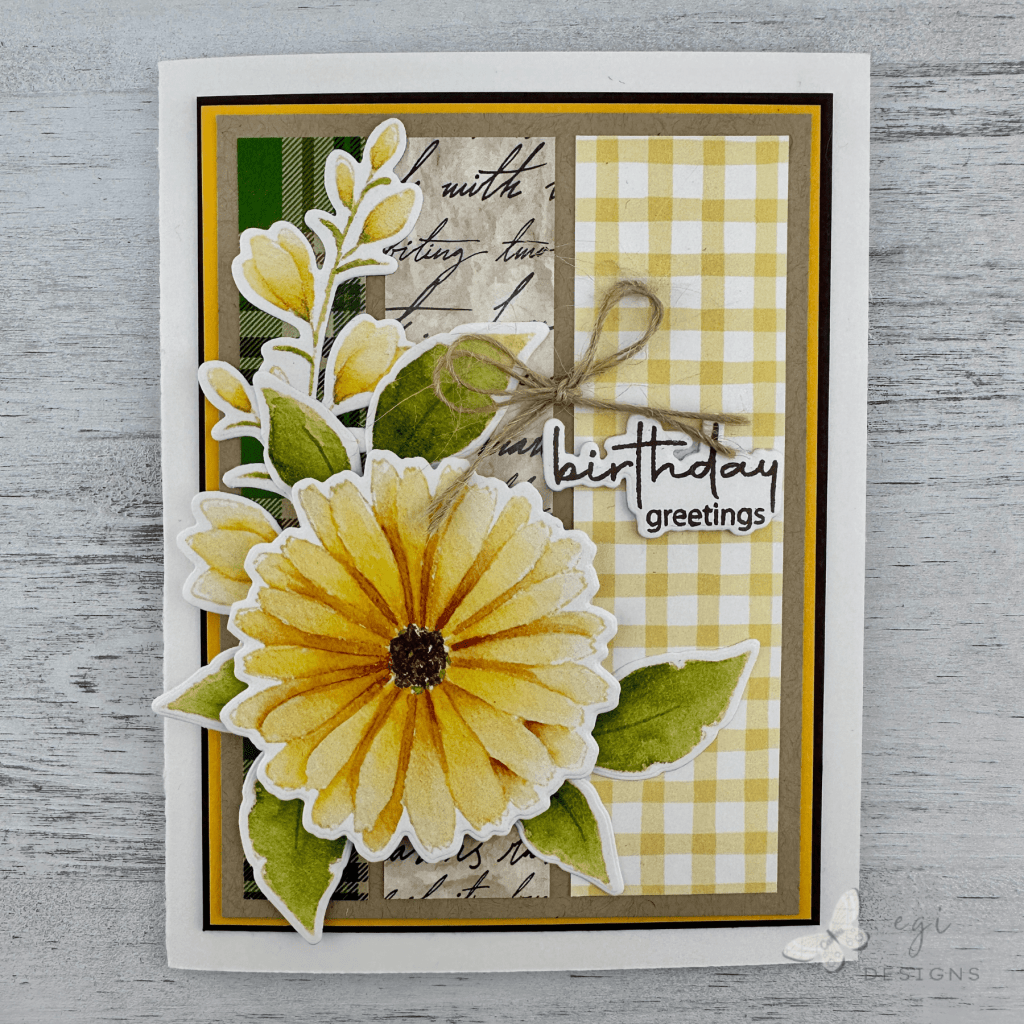
In this episode of my Wednesday Workshop Series, I created an easy floral Birthday card using Cardz TV Sketch #78 with the new Gina K Designs Delicate Flowers Ephemera and Delicate Patterns Cardstock. All products used in today’s card tutorial project are listed below.
Wednesday Workshop | Sketches and Fun Fold Cards Series
This project is part of my Wednesday Workshop | Sketches and Fun Fold Cards Series. This series used to be published on Saturdays, but I have moved it to Wednesday for some mid-week card inspiration! I have a playlist on YouTube with all the past episodes if you’d like to check them out.
In this series, I find a card sketch on the internet and make a card (or more) using it. If making more than one card, the first one will stick closely to the sketch, while the others will have slight changes or demonstrate different techniques. I have added fun fold cards and one sheet wonders into the mix as well, so we have lots of creative options!
Measurements
Measurements:
A2 Card Base: 4 1/4 x 5 1/2"
8 1/2 x 5 1/2", Score at 4 1/4"

Kraft Mat: 3 1/2 x 4 3/4"
Marigold Mat: 3 5/8 x 4 7/8"
Dark Chocolate Mat: 3 3/4 x 5"

Inside Layer: 3 3/4 x 5"
Inside Mat: 4 x 5 1/4"
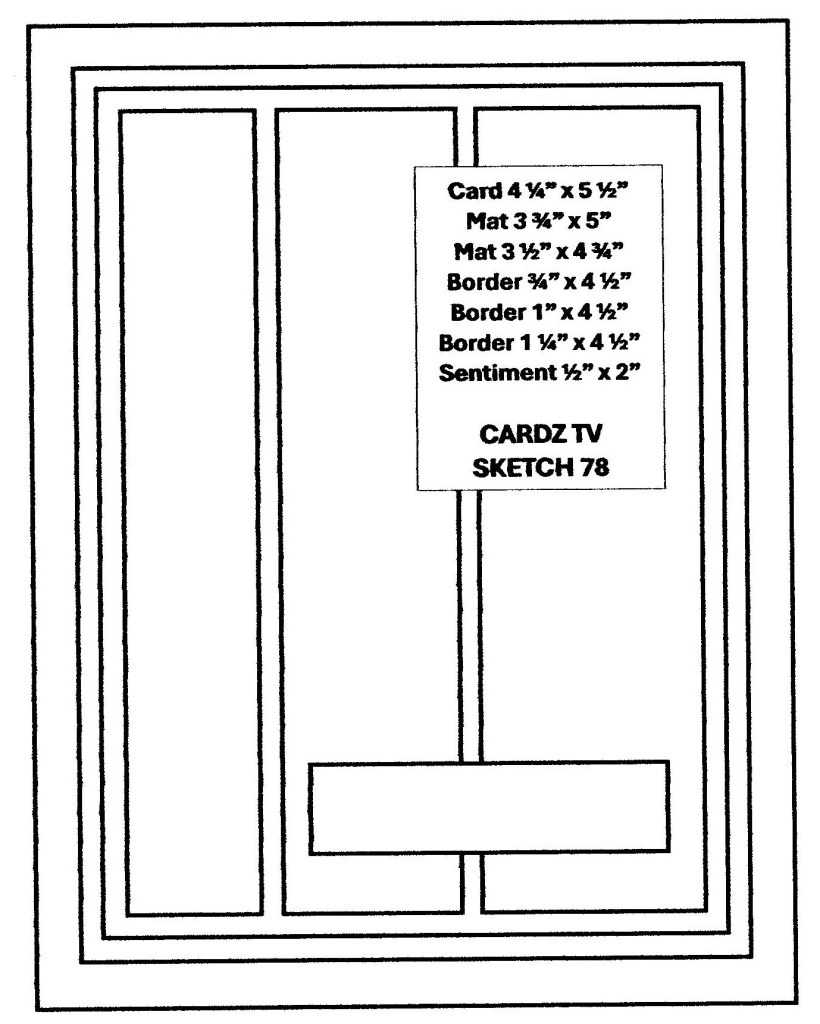
Wednesday Workshop Series: Card Sketch Information
In today’s episode, I used card sketch #78 from Cardz TV with Mary. She has a website and also a YouTube channel. Be sure to check out her blog for more card sketches.
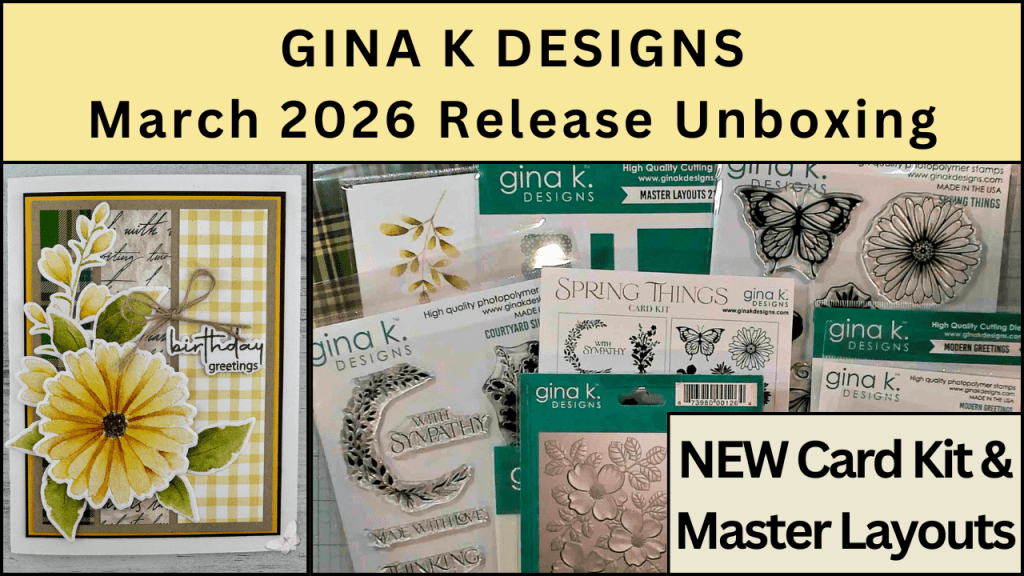
NEW Gina K Designs Products
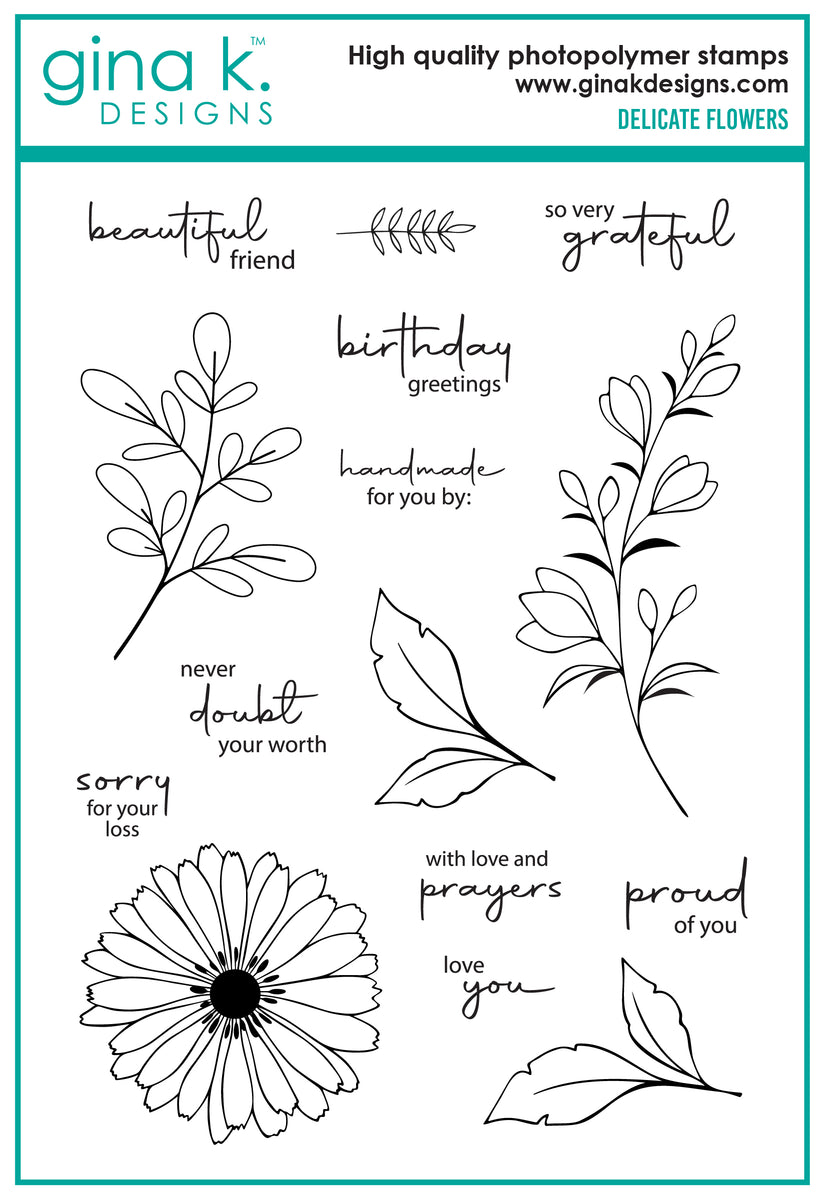
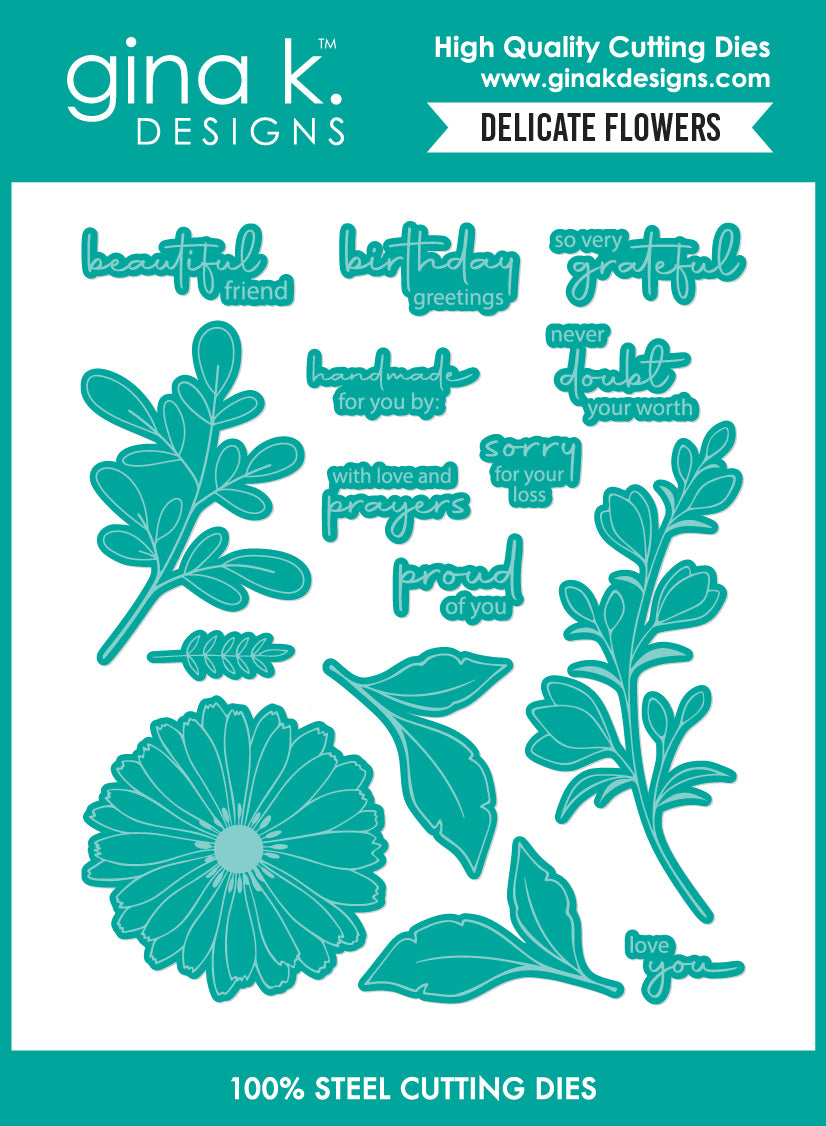
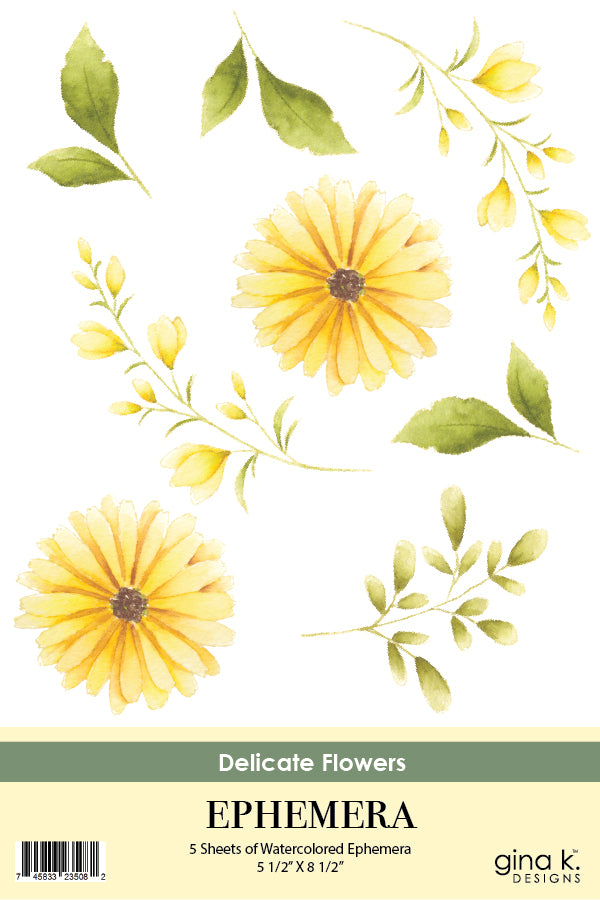
To create this card, I used the new Gina K Designs Delicate Flowers Ephemera with the Delicate Patterns Cardstock. The ephemera can be cut out with the dies from the previously released Delicate Flowers Stamp and Die Set. This makes for a very quick and easy card!


Preparing the Card Pieces
I cut the A2 card base from Gina K Designs Heavyweight White Cardstock, and the mat layers from Kraft, Marigold, and Dark Chocolate cardstock. Following the sketch dimensions, I cut the three strips from different patterns of the Delicate Patterns Cardstock. I also cut the inside panel from White Cardstock, with a mat layer of Dark Chocolate Cardstock.

Assembling the Card Front
Following the sketch, I glued the three patterned paper strips to the Kraft layer, then that panel to the Marigold mat, and finally to the Dark Chocolate mat. Finally, I added those layers to the card base using tape runner.
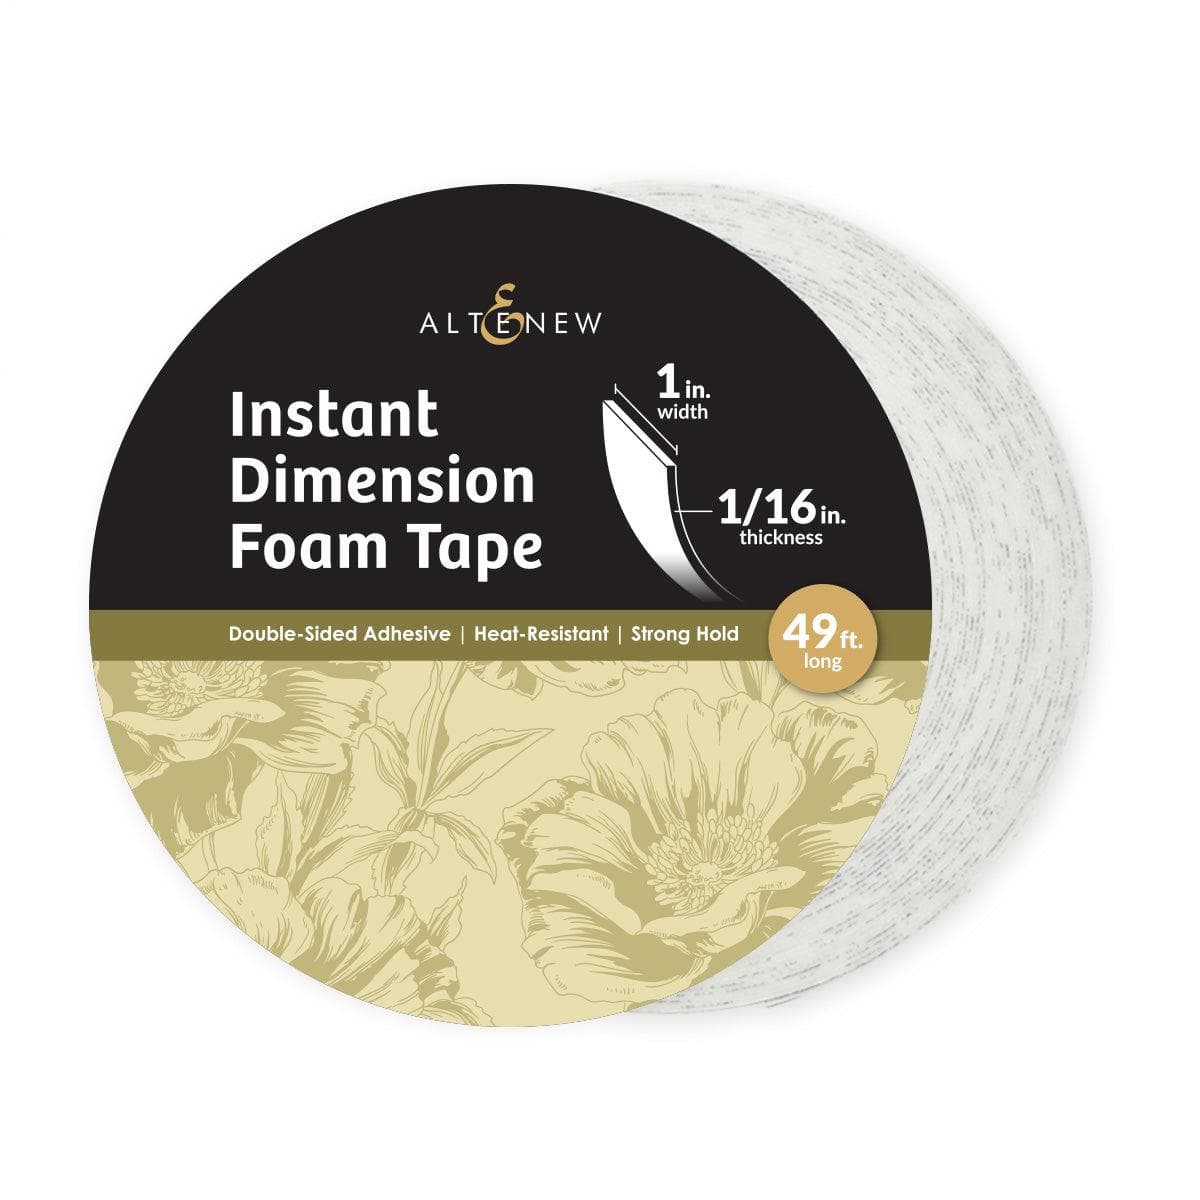
Next, I created a collage from the ephemera pieces. I first added the long sprig with glue, then added the large flower on top of that using Altenew Foam Tape. Then I tucked the leaf pieces underneath the flower, and adhered them with glue.
For the sentiment, I stamped a Birthday Greetings message onto White Cardstock using Dark Chocolate ink. I used the coordinating die to cut it out, and then also cut out two more die cuts from the White Cardstock. I used glue to adhere all of the sentiment layers together, and then added it to the card front.

For a finishing touch, I added a small bow made from May Arts Jute Twine above the sentiment using a Glue Dot.
Inside of the Card
For the inside of the card, I added a mat layer behind the panel, and then glued one of the ephemera pieces to the top left of the panel.

If you are looking for additional ways to decorate the inside of your cards, check out my Part 1 and Part 2 videos with more easy ideas.
Step-by-step tutorial:
I hope you enjoyed this project! For more card-making ideas, check out my YouTube playlist and card-making blog posts. I also have a Wednesday Workshop Series playlist for additional inspiration.
Product Information
Here are the products I used in today’s project. Please consider shopping through my affiliate links, as it greatly helps out my channel at no extra cost to you. Thanks so much for supporting me and my channel!
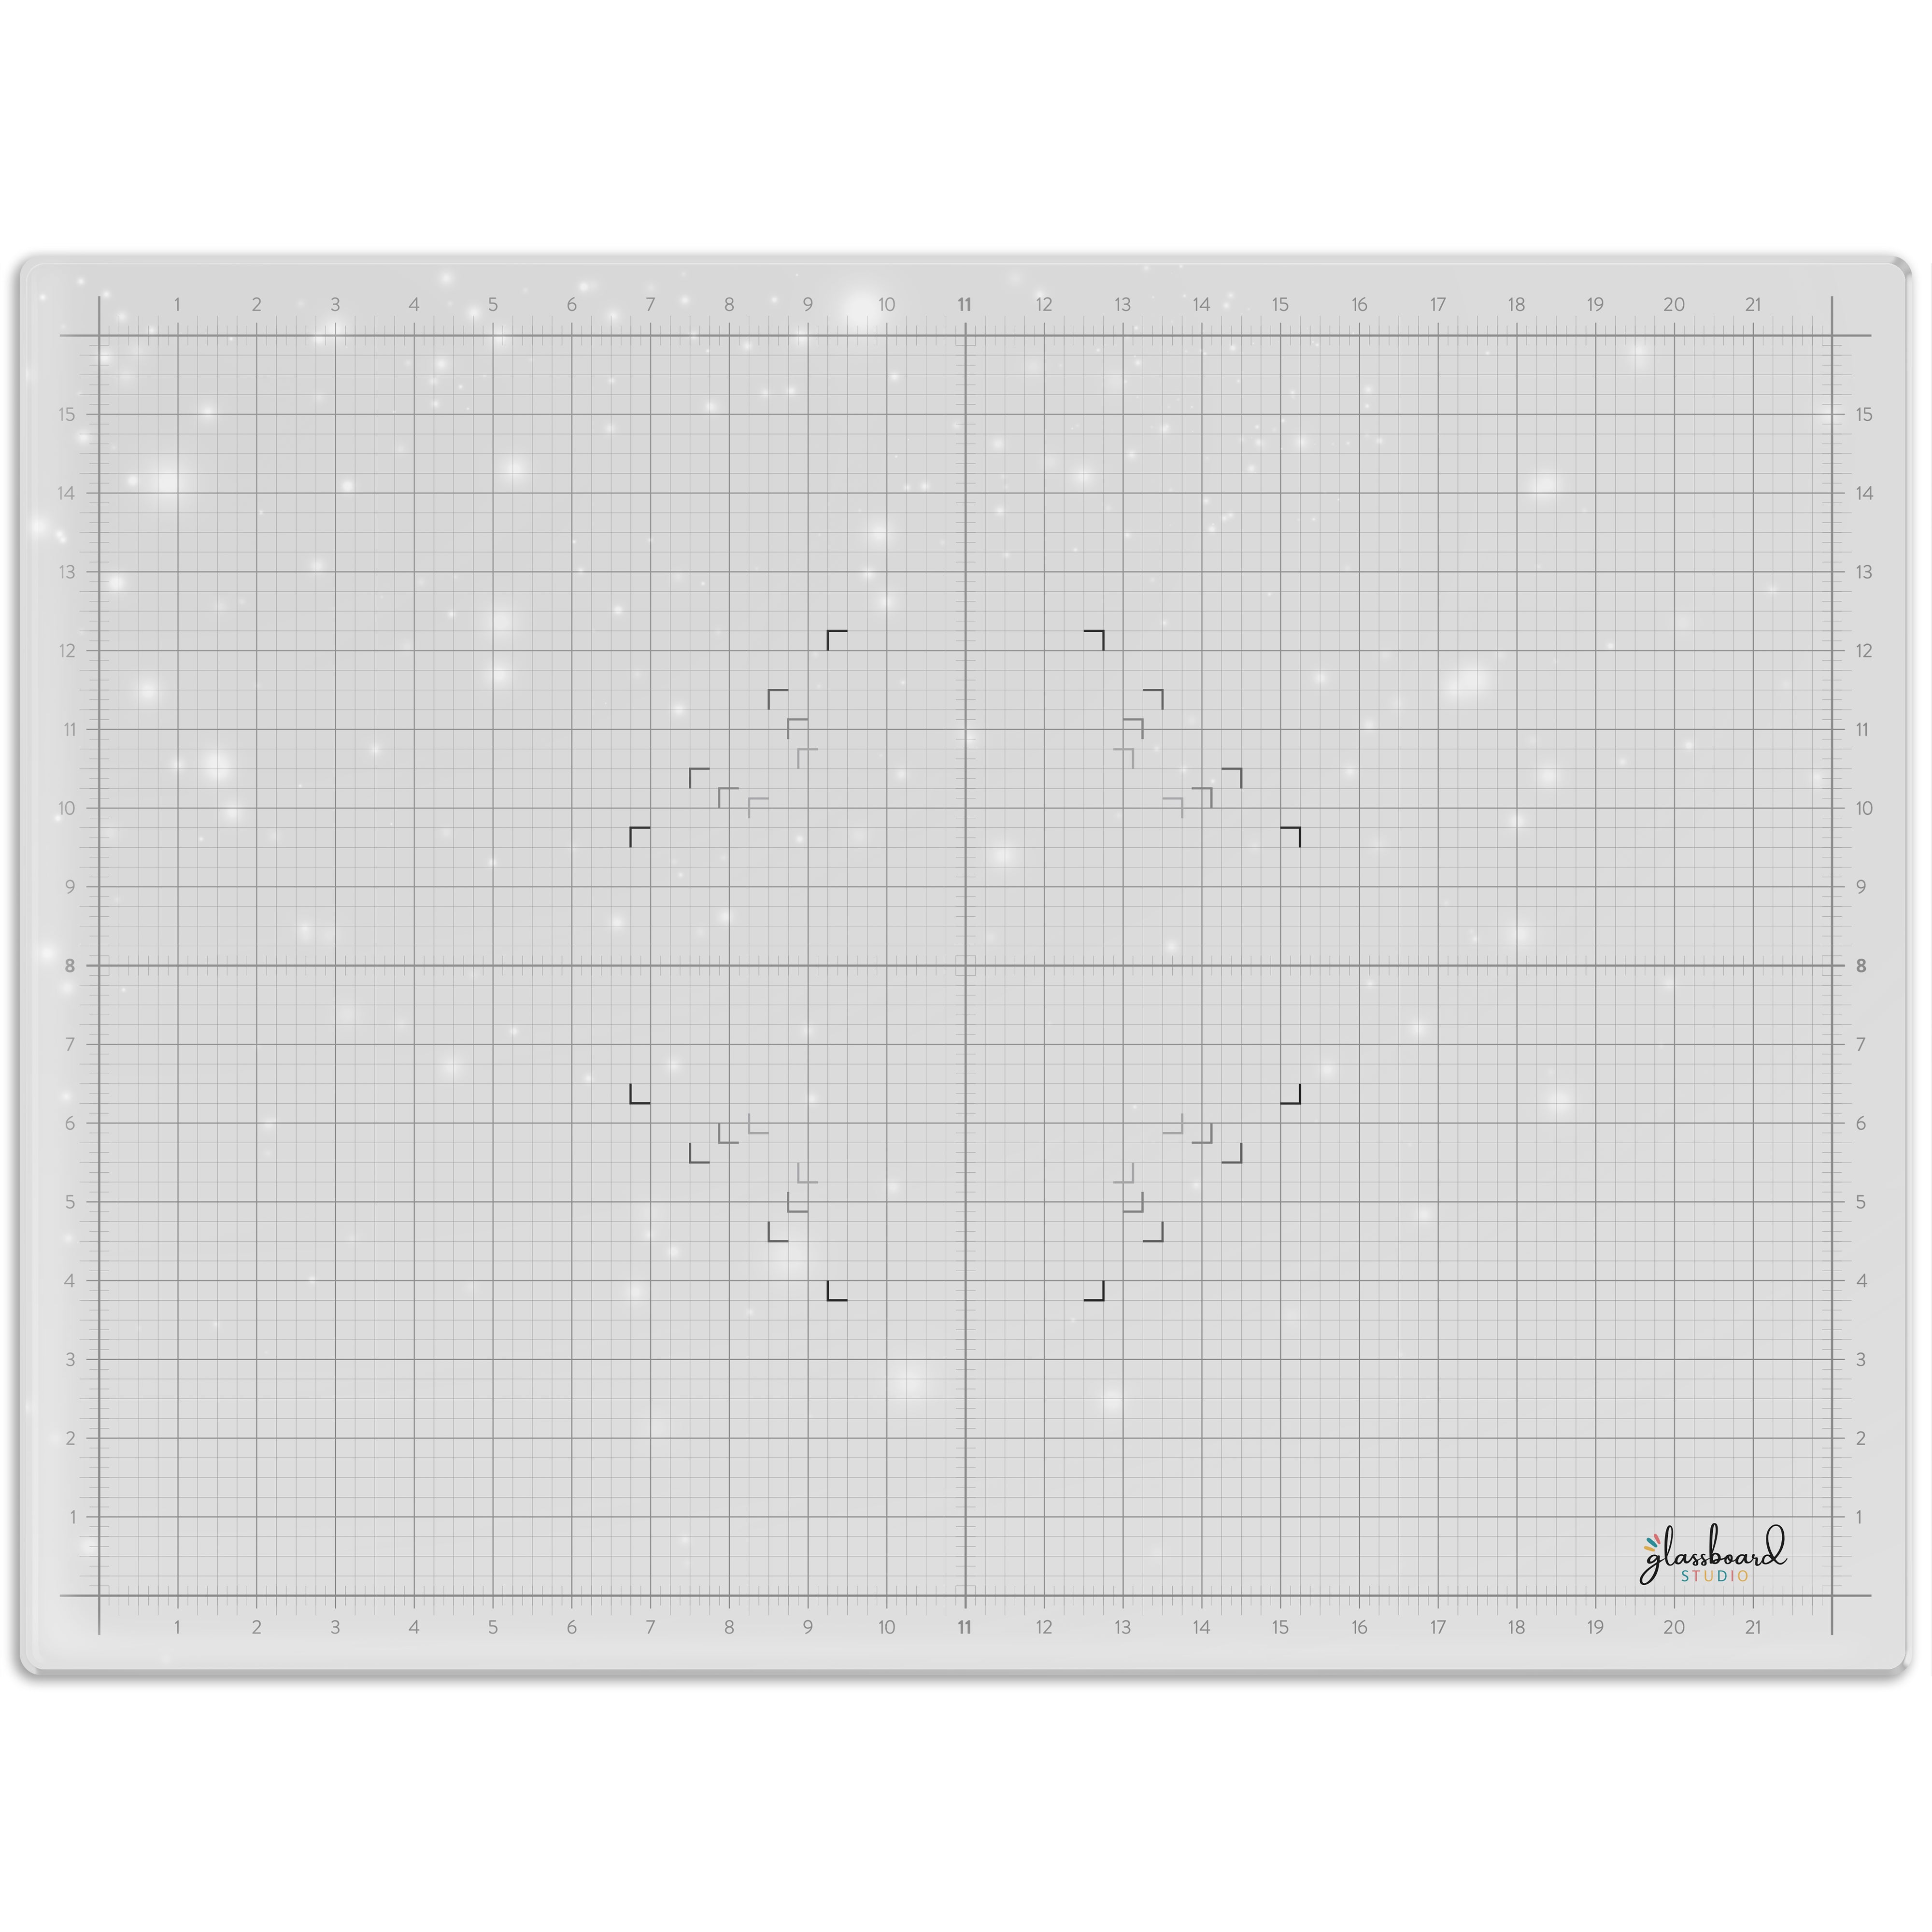
**Use code EGIDESIGNS for 15% off your order at Glassboard Studio**
|


2 Comments