Easy Card Layout using Simon Says Stamp Products
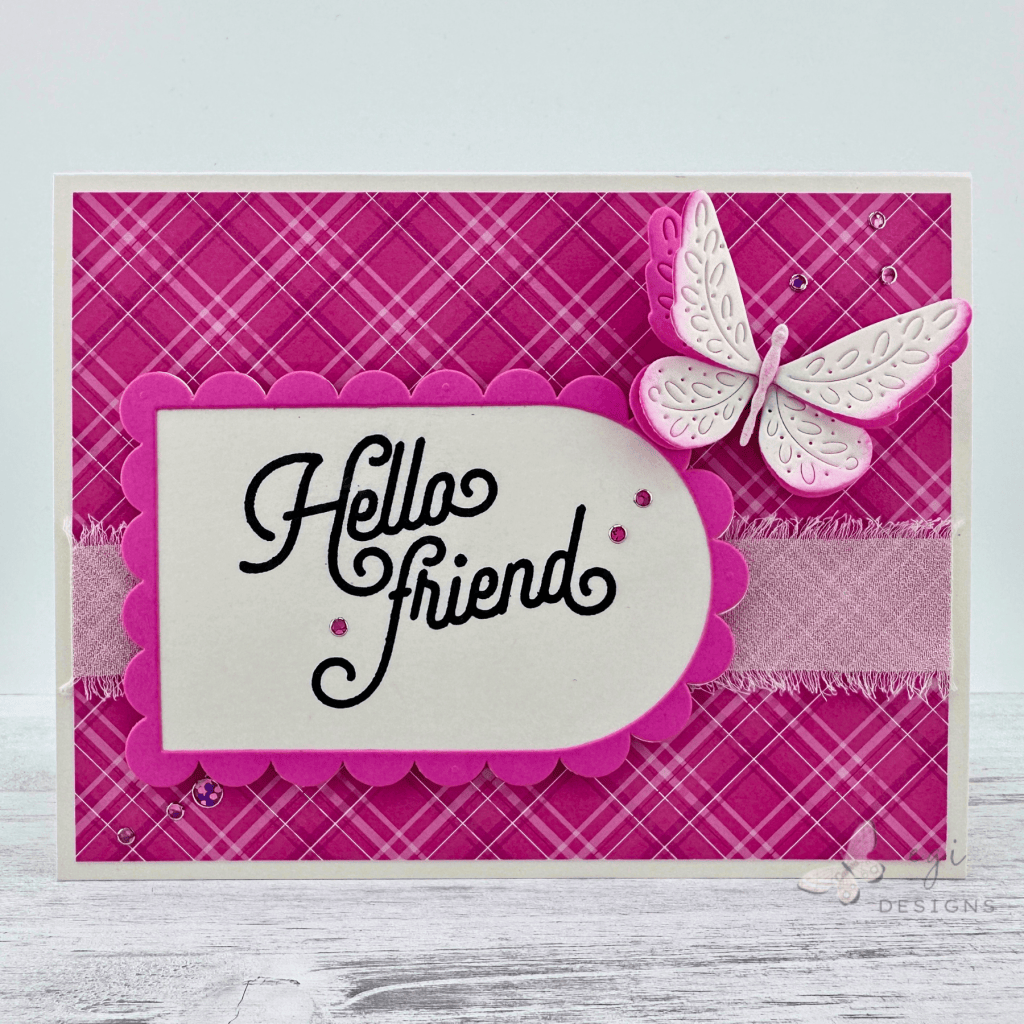
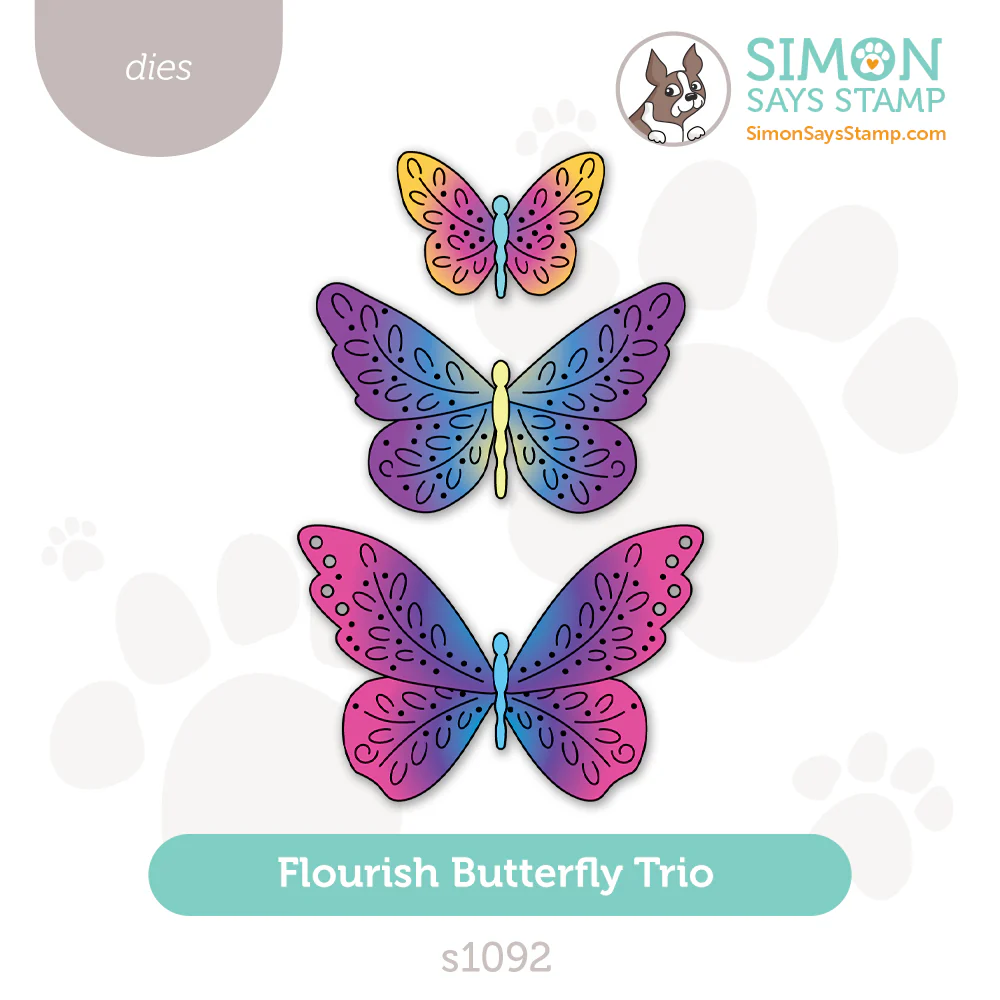
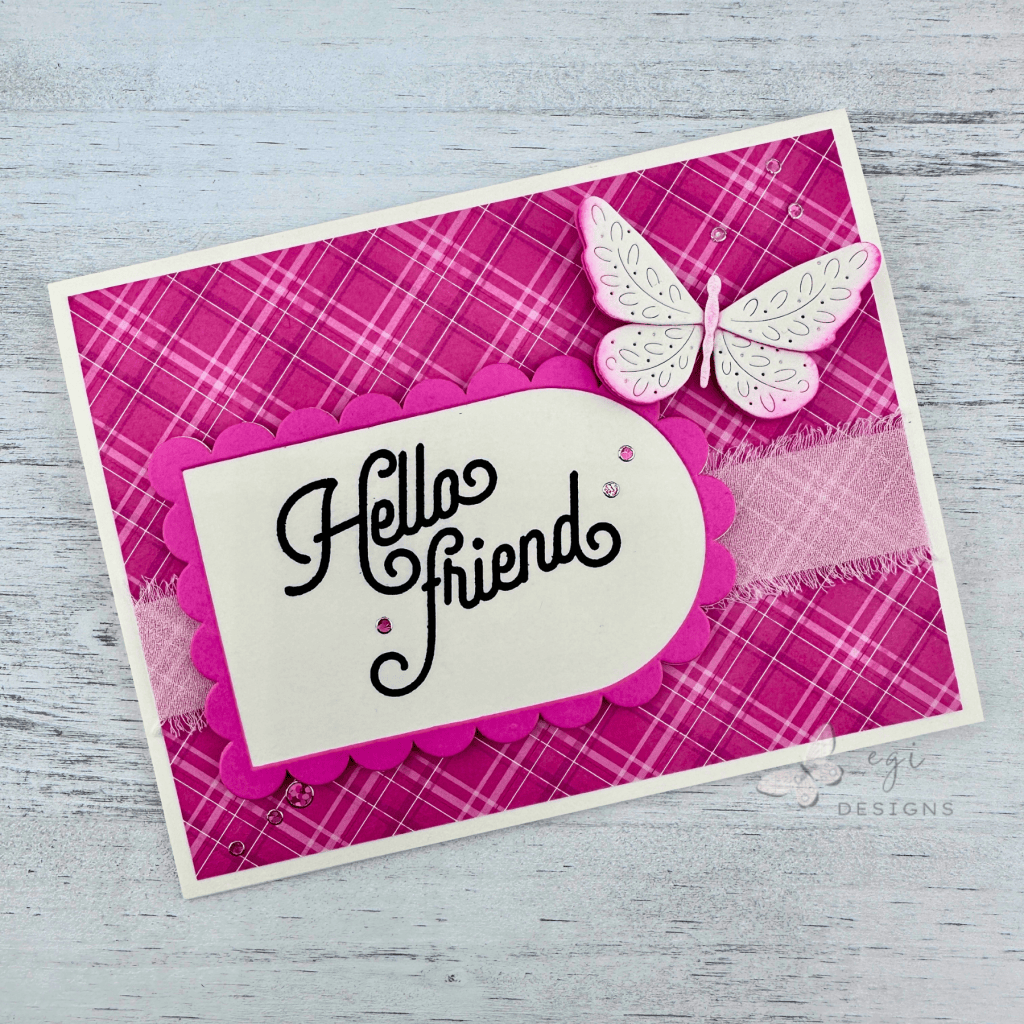
Need an easy card layout? Check out today’s project, where I use some new Simon Says Stamp products to create a beautiful butterfly card: Flourish Butterfly Trio, Scalloped Arches Die Set, Scalloped Arches Frames Die Set, Crimped A2 Rectangles Die Set, and the Good Greetings 1 Stamp Set.
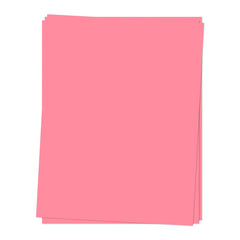
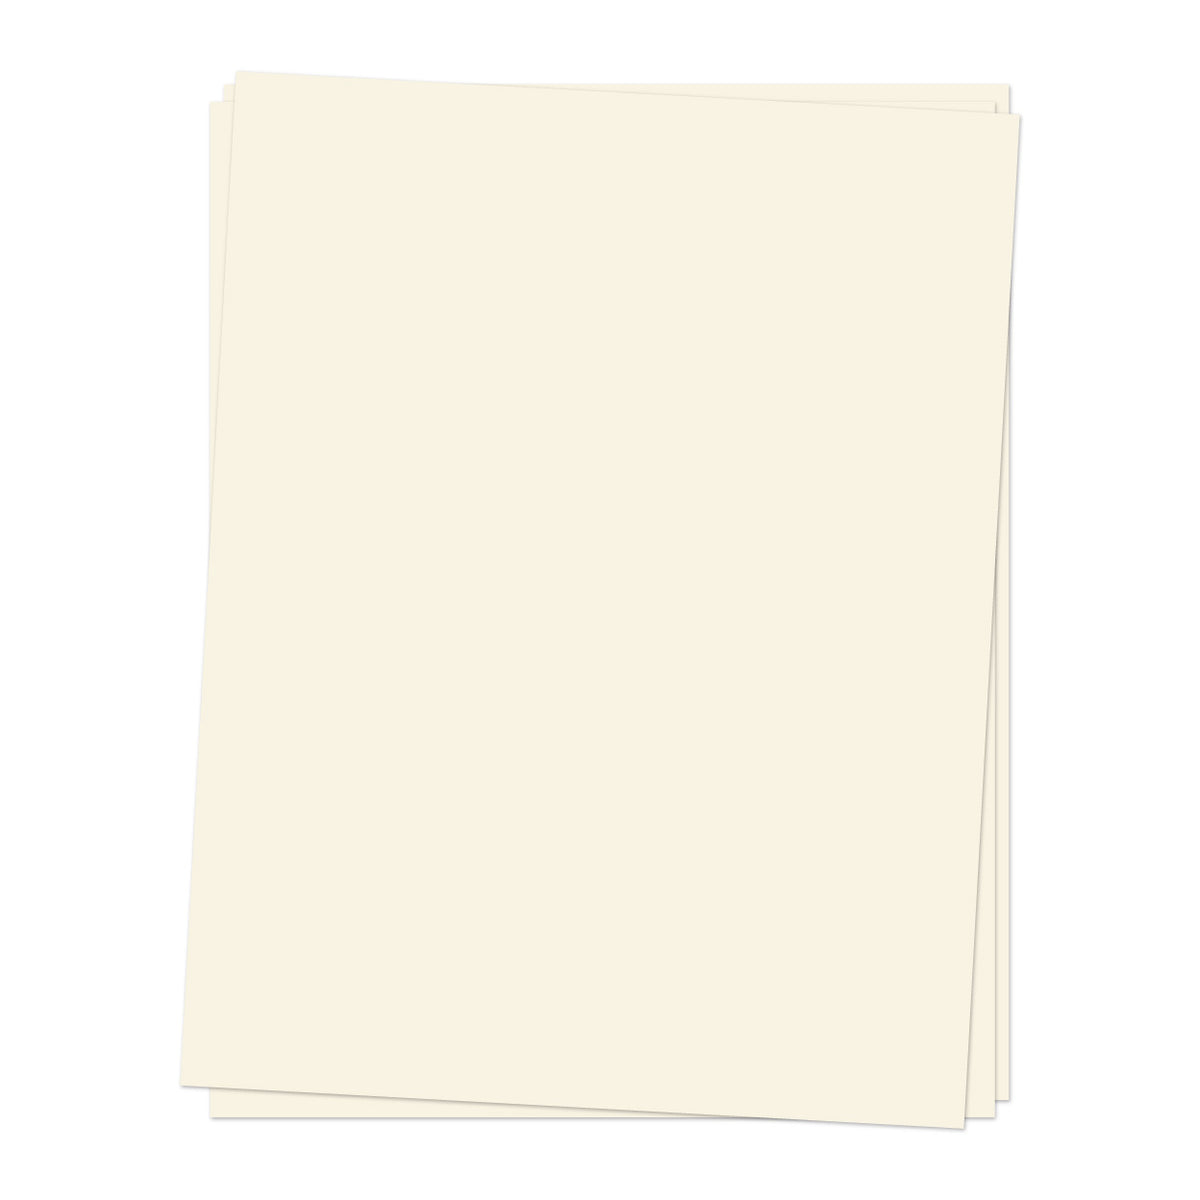
The card base and sentiment panel are from Concord & 9th Ivory Cardstock, and the pink pieces are from Sweet Pea Cardstock. The background paper is from the Memory Box Fuchsia Plaid Paper Pad, and the card is embellished with some distressed chiffon ribbon, and Pink Jewel Dazzle Stickers from Paper Wishes. All products used in today’s card tutorial project are listed below.
Measurements
Measurements:
A2 Card Base: 4 1/4 x 5 1/2"
8 1/2 x 5 1/2", Score at 4 1/4"

Background Panel: 5 1/4 x 4"
Scalloped Pieces: 3 3/4 x 2 1/2"

Inside Panel: 4 3/4 x 3 5/8"
Related Videos/Playlists:
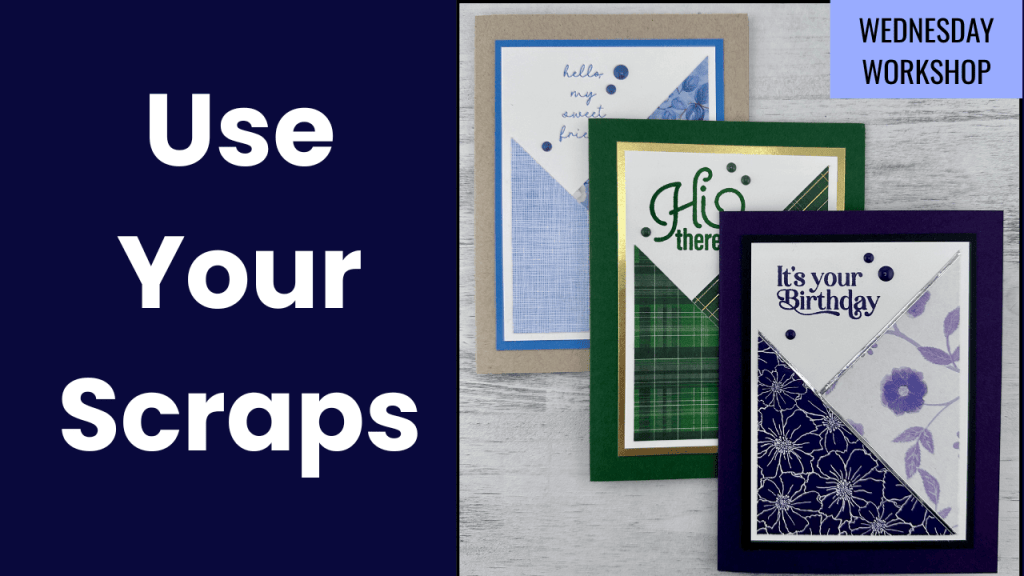
I have another project where I used the green plaid paper from the Memory Box Fuchsia Plaid Paper Pad to make a masculine birthday card. This project has a blog post and video available.
The Good Greetings 1 Stamp Set is from the recent Jennifer McGuire Techniques Class with Simon Says Stamp. I have an unboxing blog post and video available for this kit.

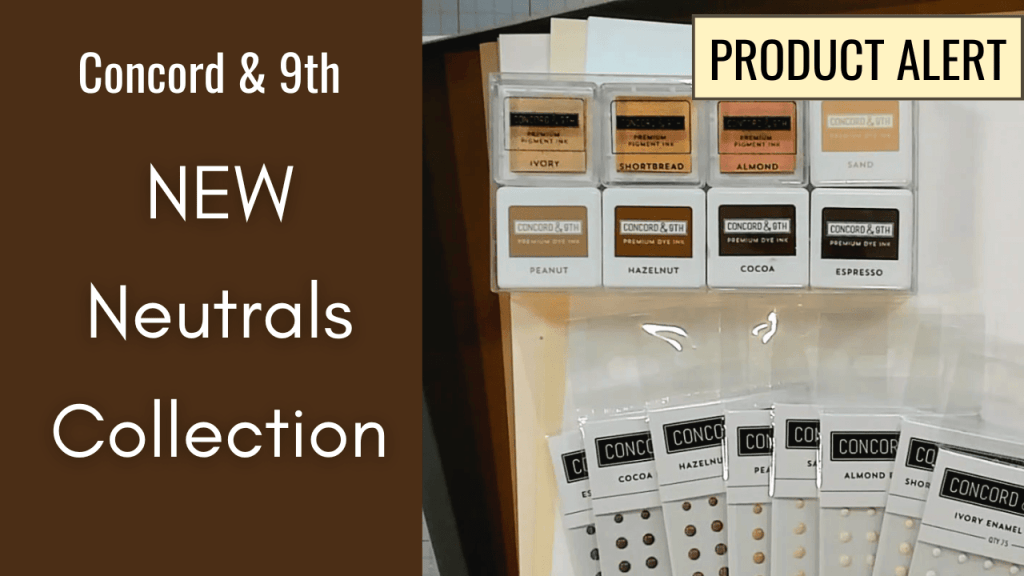
I have a recent unboxing tour for the new Concord & 9th Neutrals Collection, including the Ivory Cardstock I used in today’s project. This walkthrough has a blog post and video available.
Creating the Card Components
For this card, I cut a background pink plaid piece from Memory Box’s Fuchsia Plaid Paper Pad. I used Concord & 9th’s Sweet Pea Cardstock to cut out the Simon Says Stamp Scalloped Frame Die piece, and used the Ivory Cardstock to cut out the Scalloped Frame backer piece. I also used the medium butterfly die in the Simon Says Stamp Flourish Butterfly Trio, and cut it out using both Sweet Pea and Ivory Cardstock.

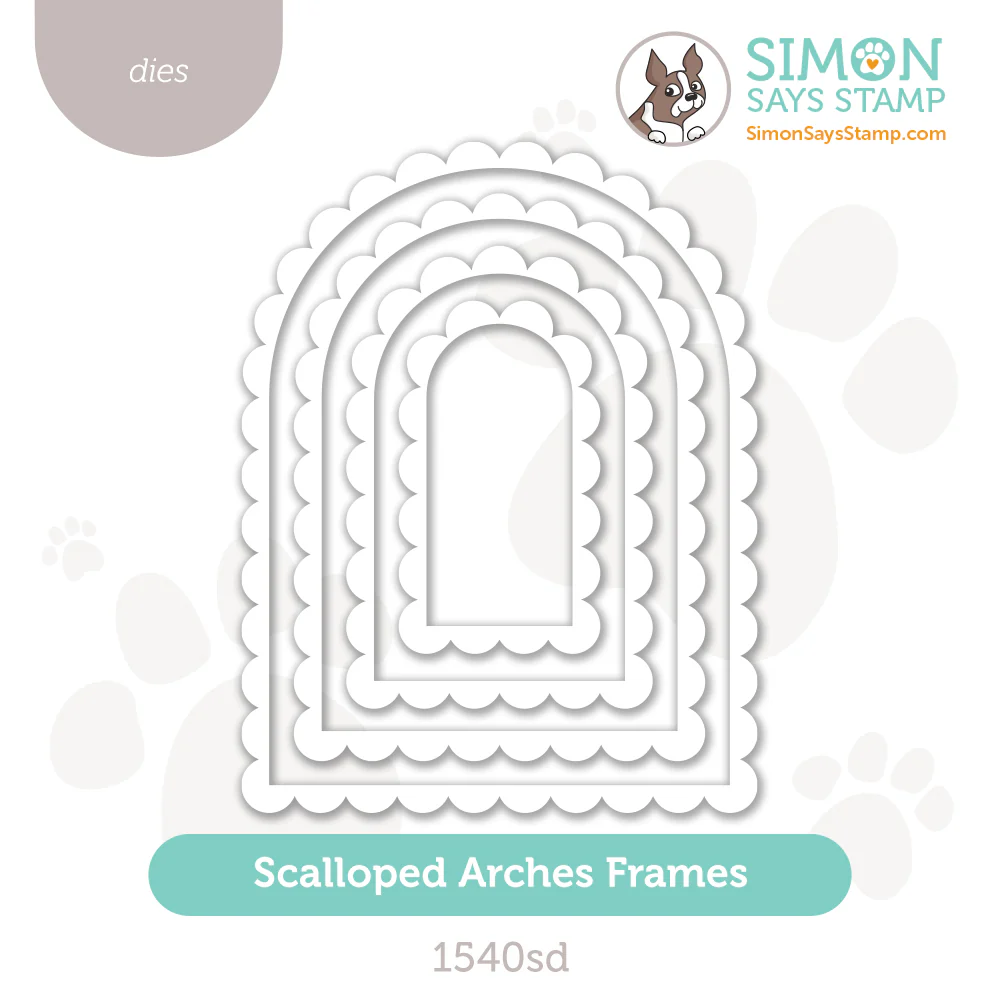
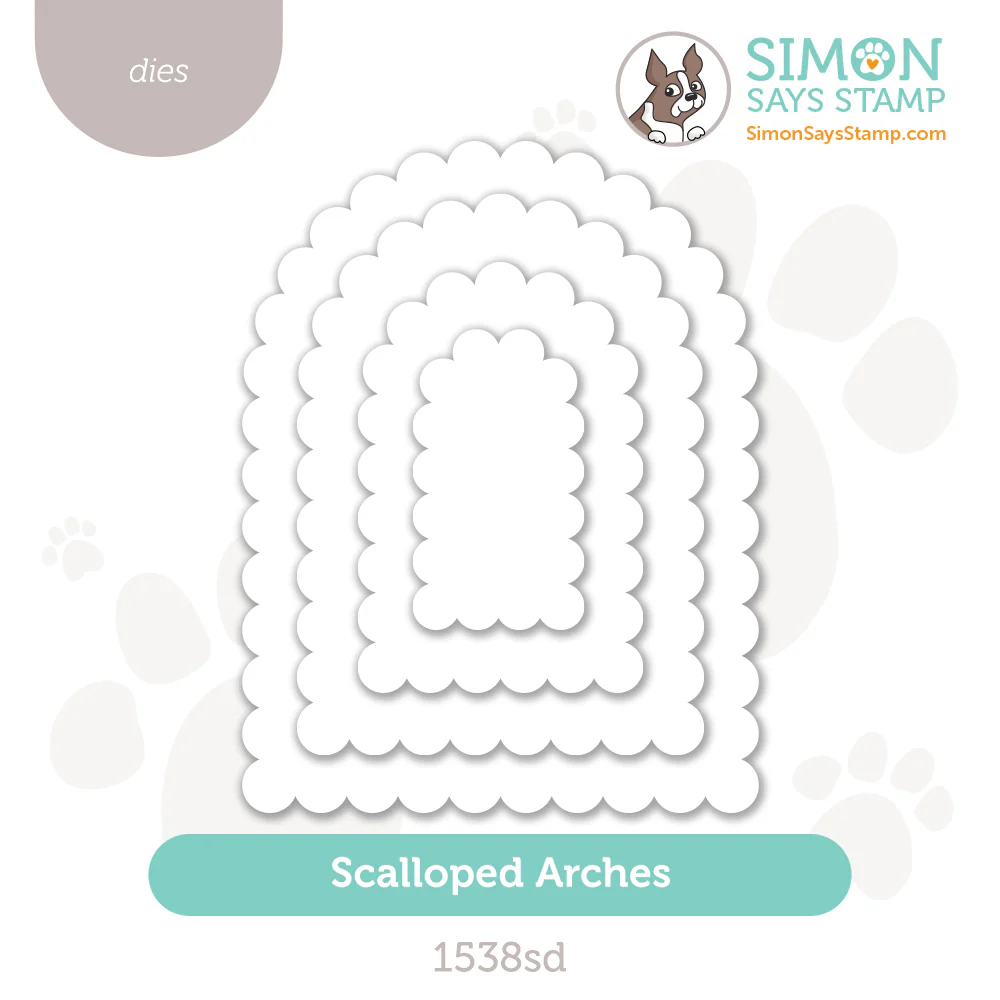
You could use a different shape for the sentiment panel, depending on what supplies you have in your stash. If you do not have frame dies, you can make a frame by die-cutting two nesting dies together.
I glued the Sweet Pea frame on top of the Ivory scalloped die cut to create the sentiment panel. I love that the two sets match perfectly!
Creating the Butterfly
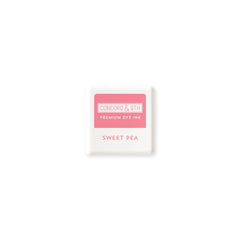
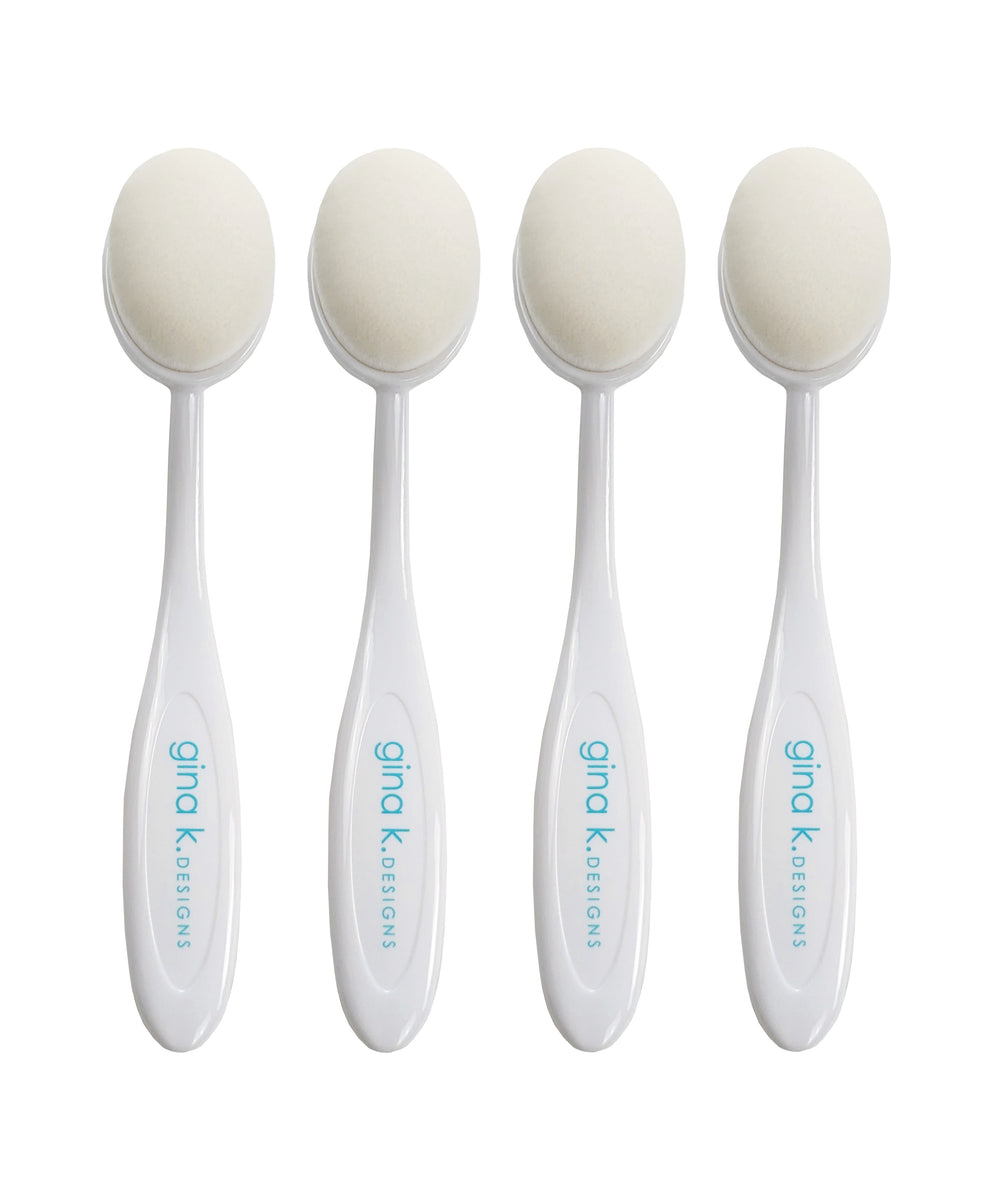
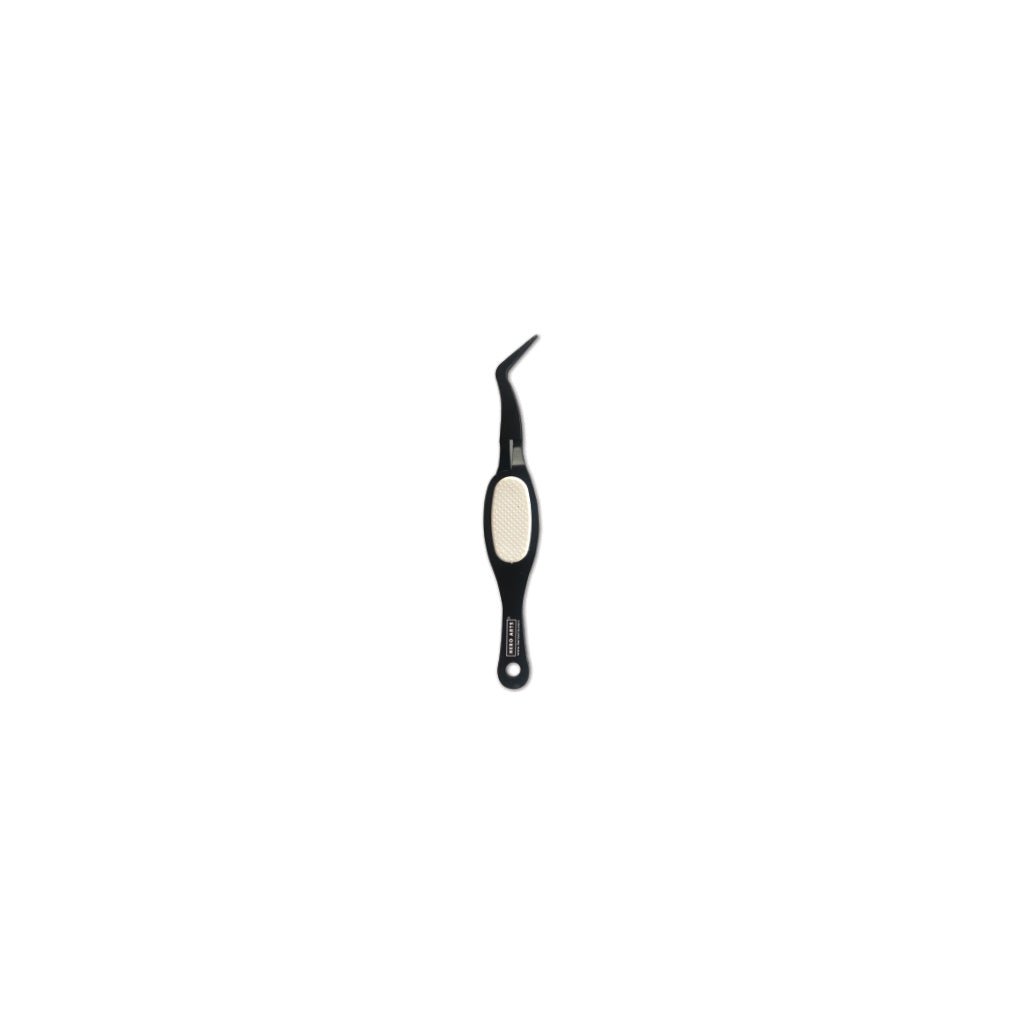
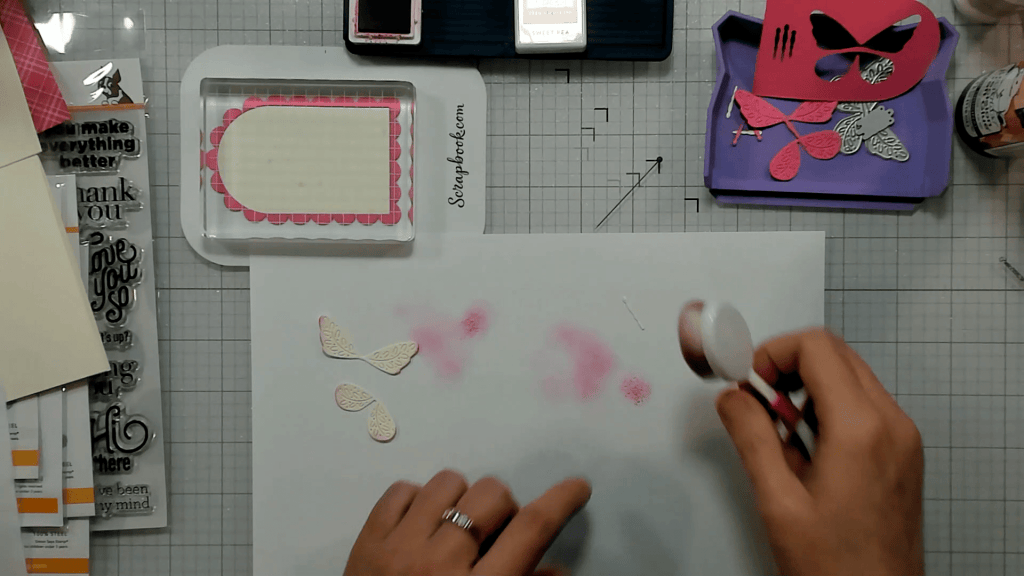
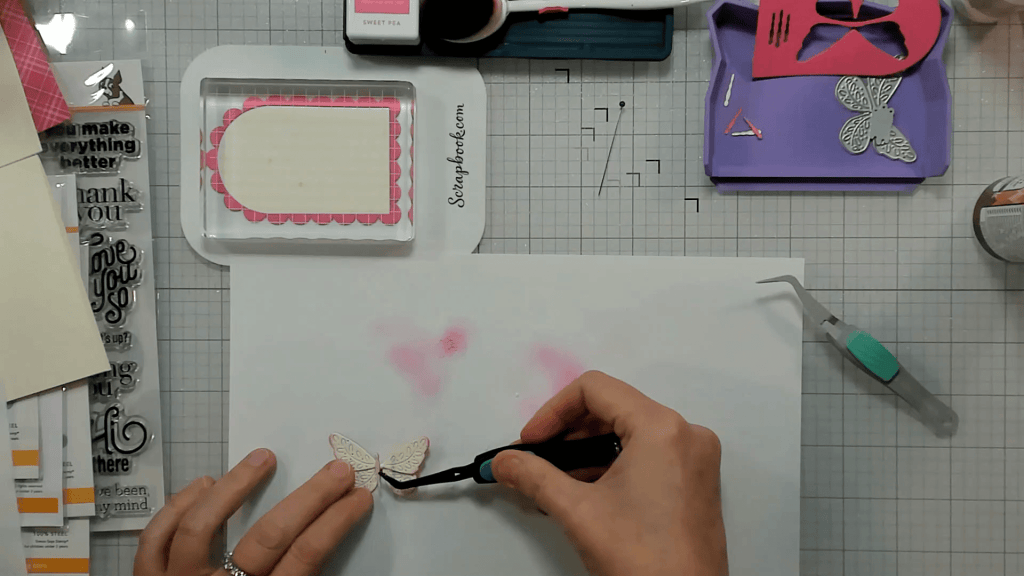
For the butterfly, I added some Sweet Pea ink to the outside edges of the Ivory wings, using a Gina K Designs Blending Brush. Next, I glued the Ivory layer to the Sweet Pea layer for the bottom wings, top wings, and butterfly body. Once those had adhered, I added the top wings to the bottom wings, and then the butterfly body on top. I used my reverse tweezers to help hold the butterfly together as the glue dried.
Sentiments
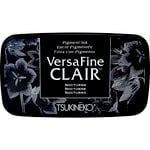
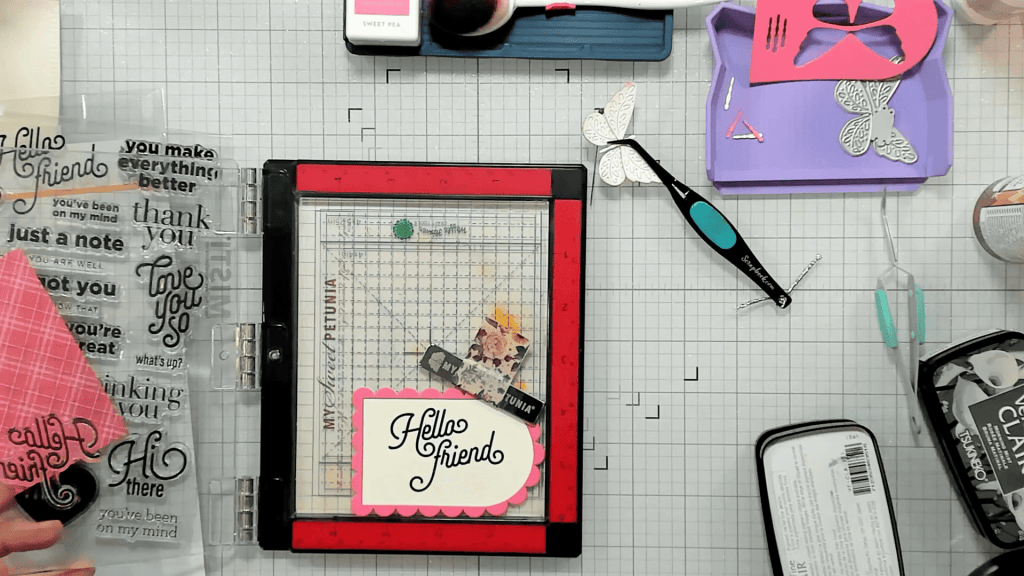
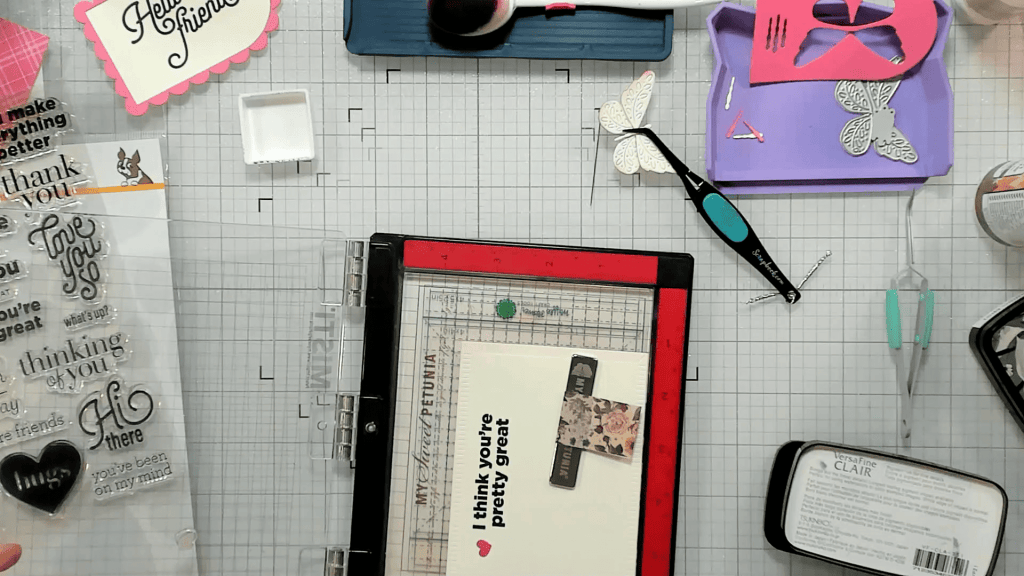
I used the Simon Says Stamp Good Greetings 1 Stamp Set, with VersaFine Clair Nocturne Ink, to add the Hello Friend Sentiment to the arch die cut. I cut out an Ivory panel using the Simon Says Stamp Crimped A2 Rectangles Die Set, and added a little Sweet Pea ink around the panel edges. I also used the stamp set to add the sentiment to the inside card panel, and stamped a small heart in Sweet Pea ink next to it.
Putting Together the Card Front
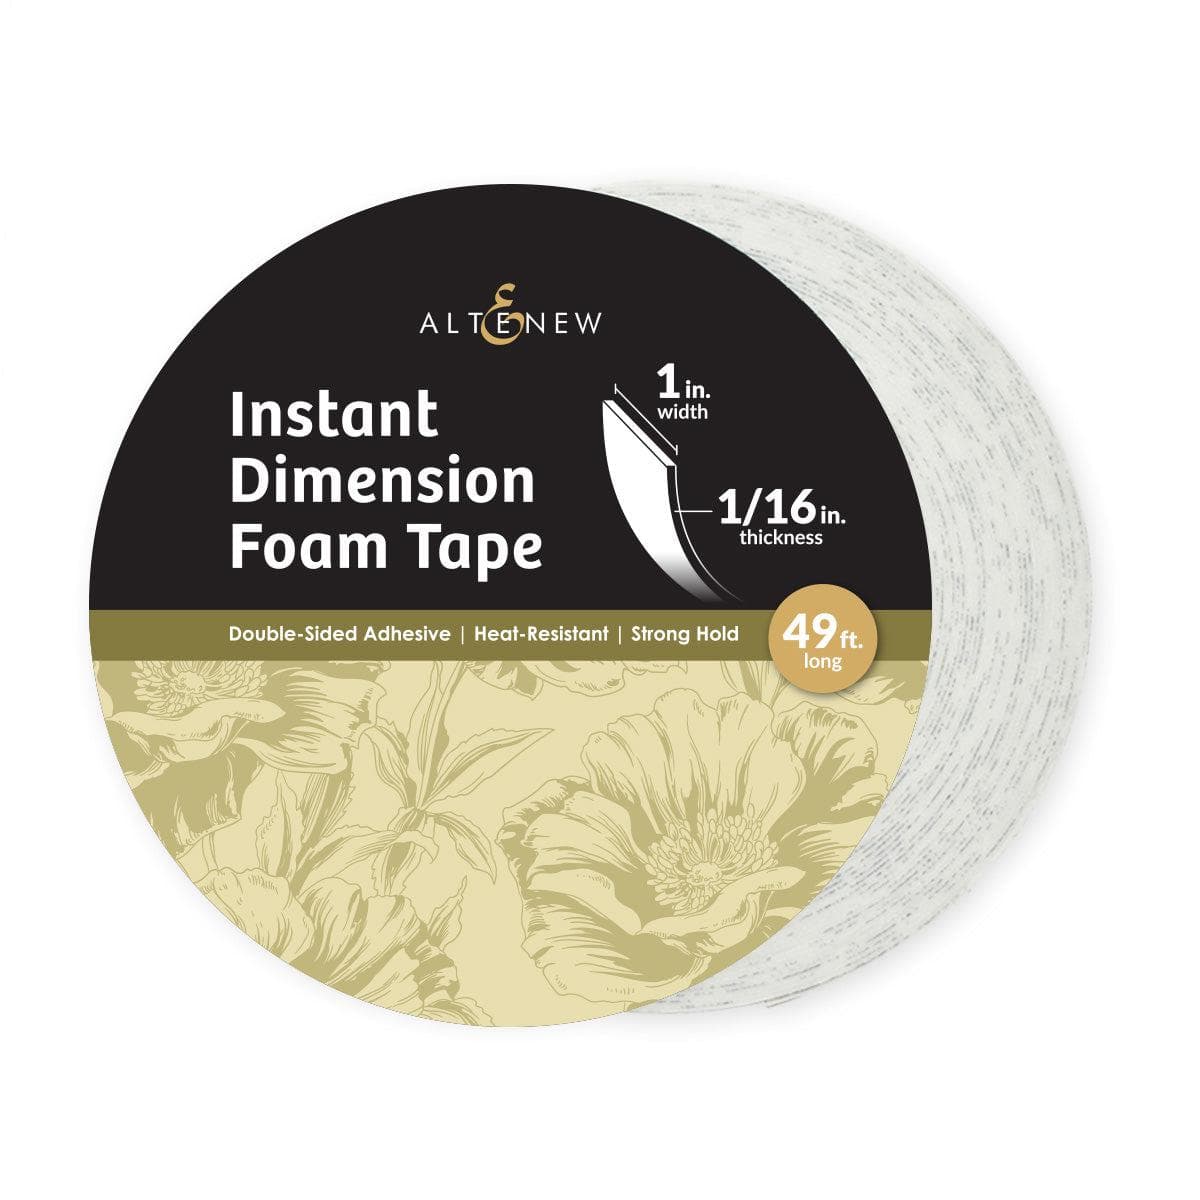
To add additional texture to the card front, I added a strip of Ivory Distressed Chiffon Ribbon across the background panel using double-sided adhesive tape. Next, I attached the panel to the card base using tape runner, then added the arches die cut over the chiffon ribbon using Altenew Foam Tape and liquid glue for some wiggle time. I used a small piece of the foam tape behind the butterfly body, and attached that as well. For finishing touches, I added a trail of Pink Jewel Dazzle Stickers across the front on a diagonal.
Inside of Card
For the inside of the card, I attached the stamped and inked panel inside the card base using temporary adhesive. I find this is easier for me, so I can remove and replace the panel if I mess up when writing my message without having to tear my card apart.

If you are looking for additional ways to decorate the inside of your cards, check out my Part 1 and Part 2 videos with more easy ideas.
Card Tutorial
Check out the card tutorial video here:
Check out my Card-Making Tutorial playlist if you are looking for some more crafty inspiration!
Product Links
Here are the products I used to make this card project. Please consider shopping through my affiliate links, as it greatly helps out my channel at no extra cost to you. Thanks so much for supporting me and my channel!
**Use code EGIDESIGNS for 15% your order at Glassboard Studio**
|