Blackout Technique Fun using an Embossing Folder and Shimmer Powders
This month, I had the opportunity to work with Spellbinders, and I created a Birthday card project using the Distress Mix Embossing Folder. This is a part of the new gorgeous collection called Beautifully Imperfect. I used the blackout technique with VersaFine Clair inks, and heat-embossed multiple layers of Dylusions Dyamond Rocks Embossing Powder to achieve an enameled look. All products used in creating this project are listed below.

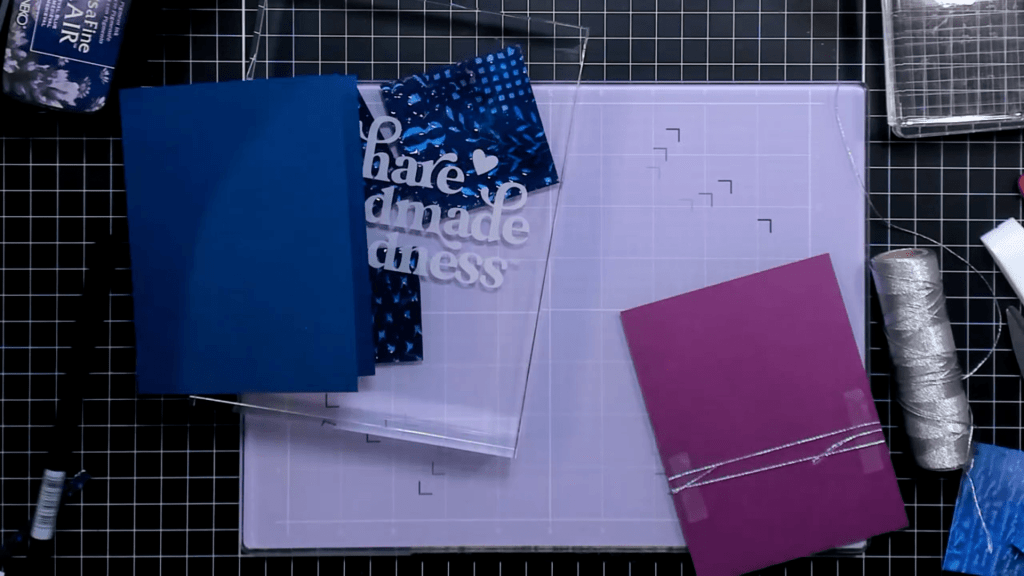
Measurements
A2 Card Base, 4 1/4 x 5 1/2" when folded
8 1/2 x 5 1/2", Scored at 4 1/4"
Square Tile Measurements: 2 1/8", 2 1/2", 2 3/4"
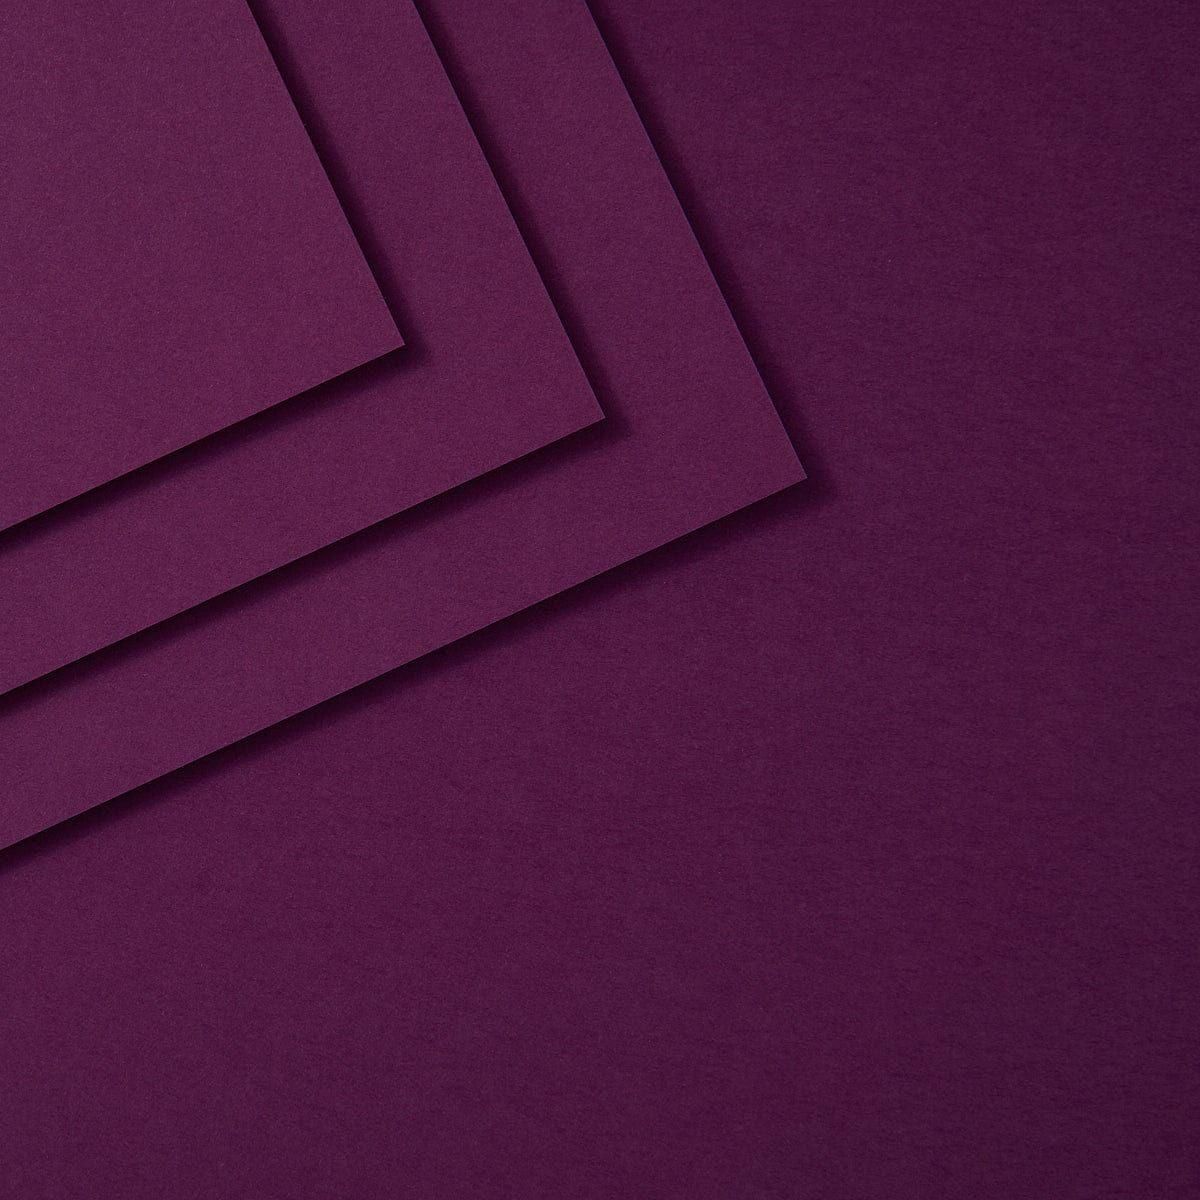
Front Panel (Violet): 4 1/8 x 5 3/8"
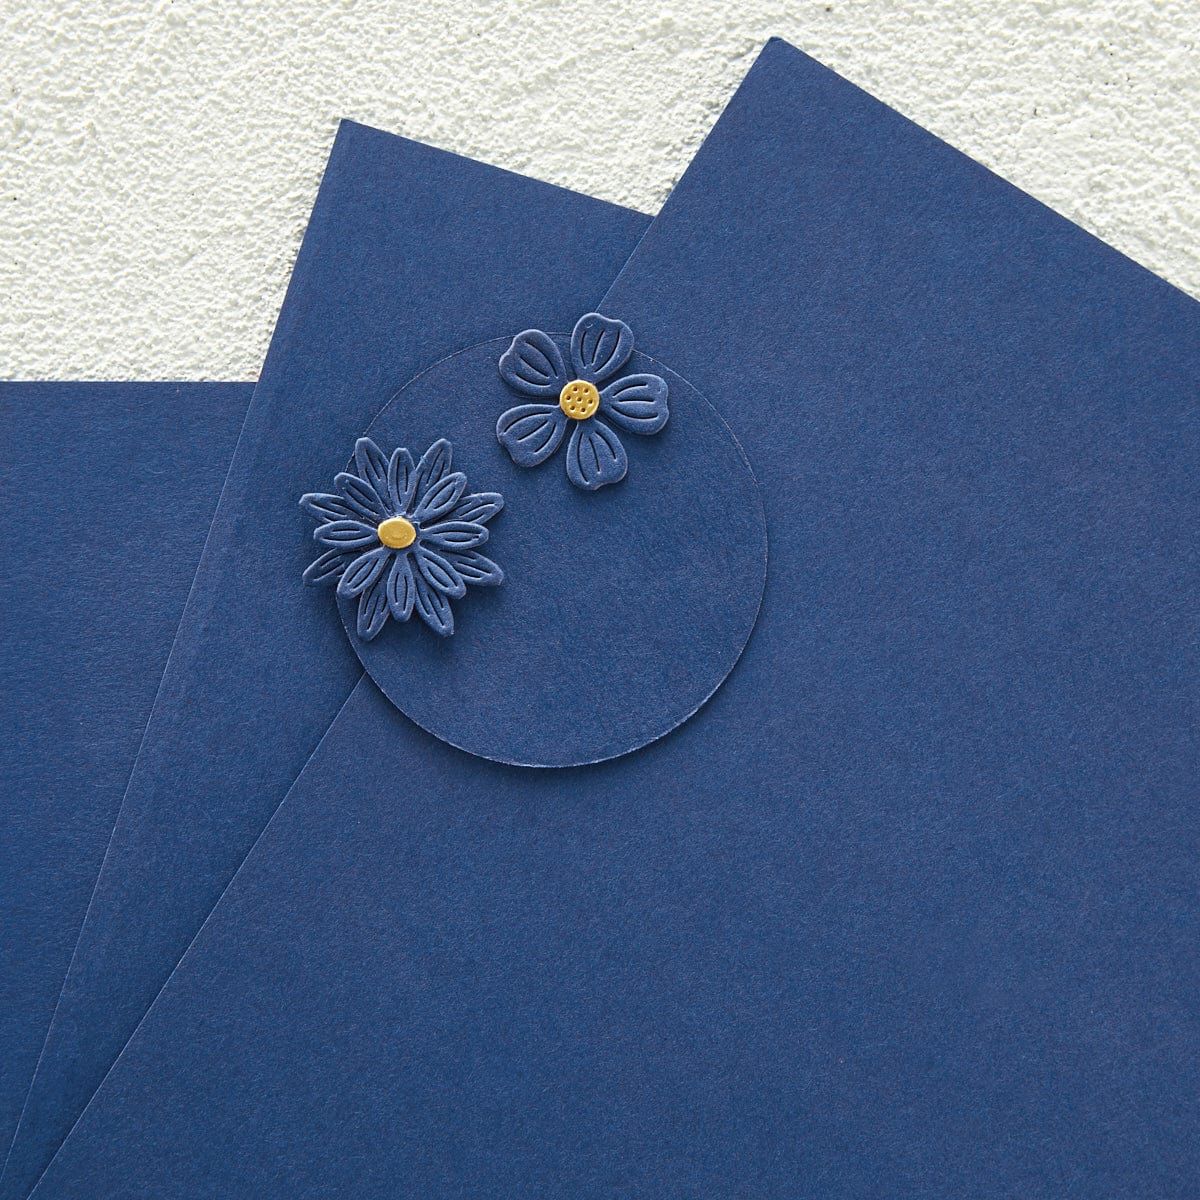
Inside Panel (Fairy Tale): 3 3/4 x 5"
Creating the Shimmer Powder Panel
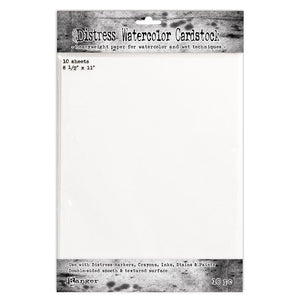
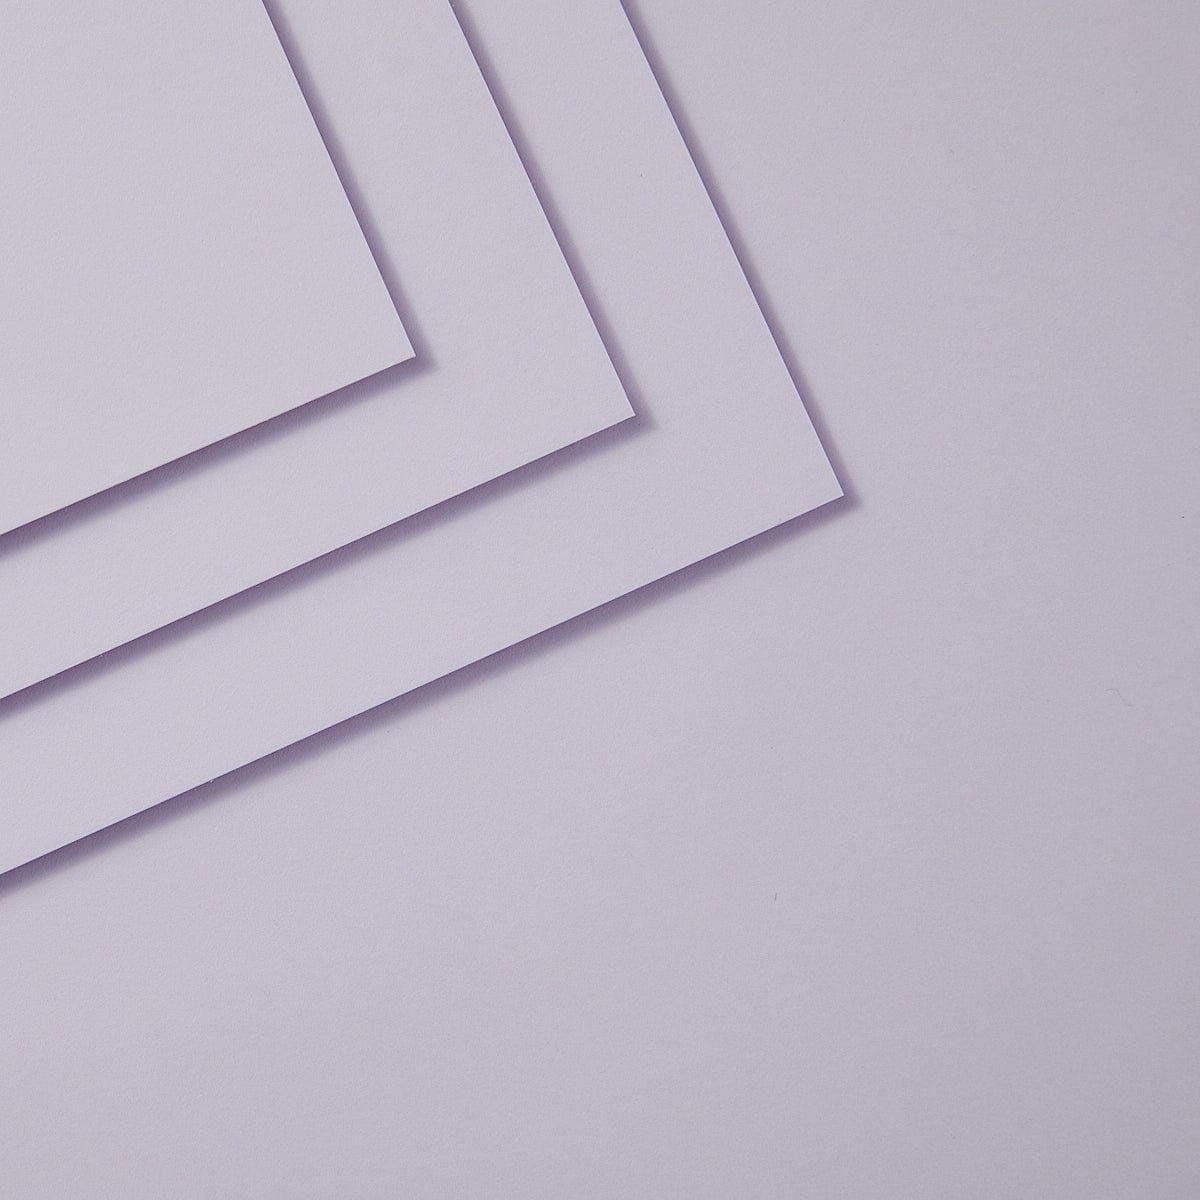
To create the background panel, I cut a piece of Distress Watercolor cardstock, sprayed it with a mist of water, and embossed it with the Distress Mix Embossing Folder.


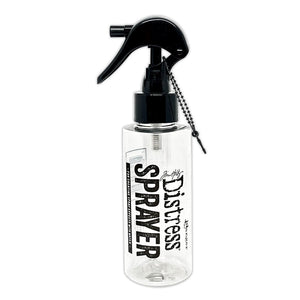
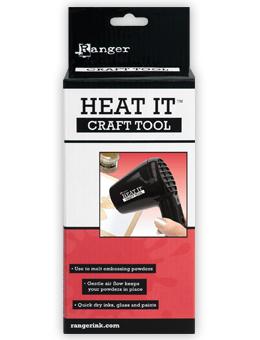
Next, I applied a variety of Shimmer Powders to the debossed side of the paper (where the image is pushed into the paper). I wanted the various ink colors to be able to pool inside the debossed images. Using a Distress Spray Bottle, I misted the paper to get the powders to bloom and move around the page. Once I was satisfied with the color coverage, I picked up the leftover ink on my glass mat with another piece of watercolor cardstock, and created a second panel for another project. I dried both of the panels using my Ranger Heat-it tool.
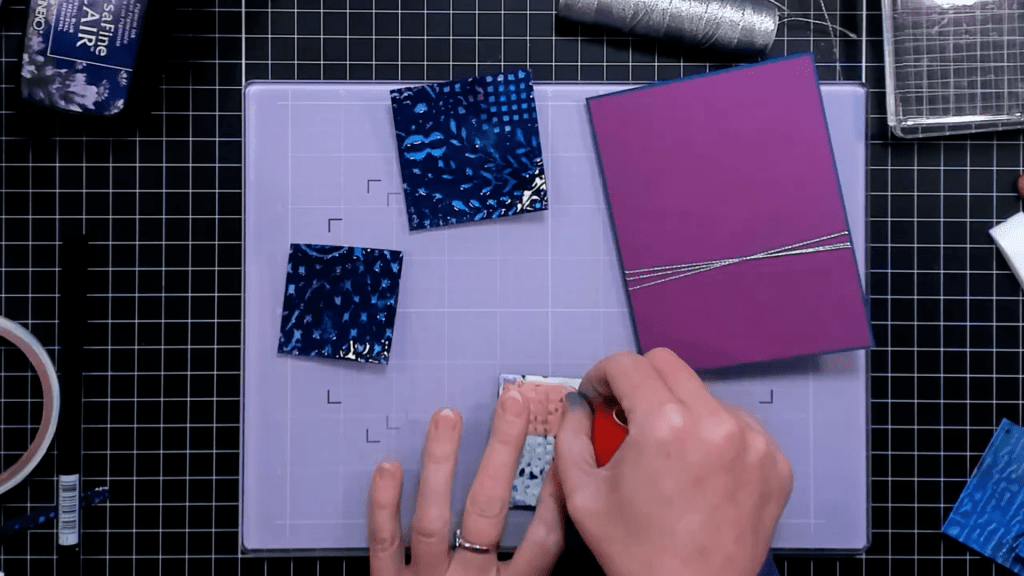
Making the Tile Pieces: Blackout Technique and Heat Embossing
I wanted to make a collage on the front of the card with the embossed panel, so I cut out three squares of varying sizes from the panel. For each square, I swiped VersaFine Clair Medieval Blue or Fantasia Ink Pads over the flat parts of the embossed squares; this is known as the blackout technique.

For the heat embossing, I used Dylusions Dyamond Rocks embossing powder. This is a thick embossing powder with large crystals, and when it melts, it gives an enameled or tile-like look. This technique works best when done in multiple layers. For this, you would apply the ink and quickly pour the embossing powder over the wet ink. Next, you melt the powder with your heat gun, and once it is melted but still hot, either dip the panel into a pile of the powder, or pour the powder over the image. Then heat set again, and once melted and still hot, add more powder. Continue to add layers until you achieve the look you want.


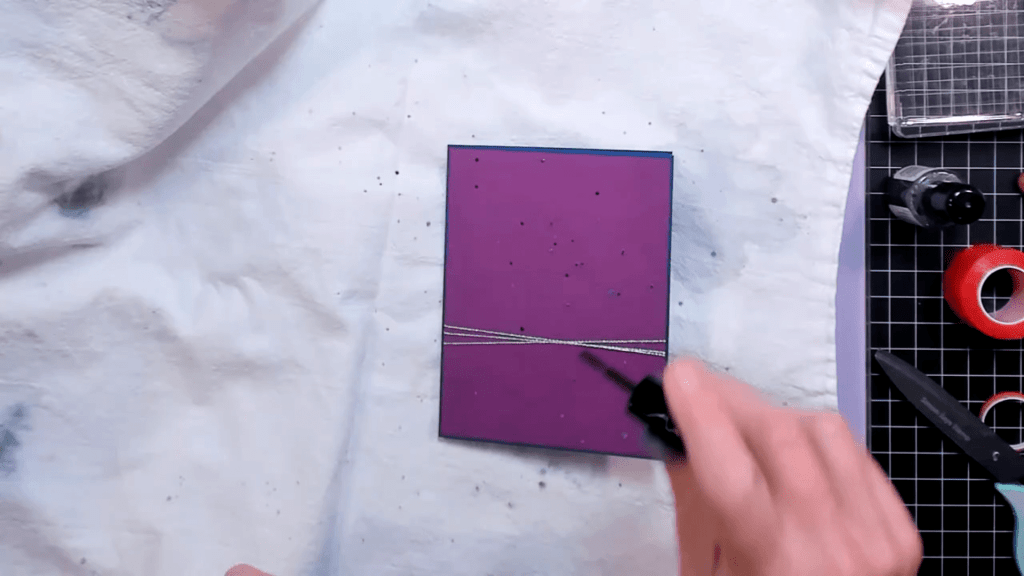
Putting the Card Front Together
I cut a card panel from Spellbinders Violet Cardstock, and then wrapped Vivant Silver Thread around the lower half of the panel three times, securing it with double-sided tape. I added the panel to an A2 card base made from Spellbinders Cosmic Sky Cardstock. Next, I splattered on Spellbinders Onyx Silk and Silver Silk to give the card front some shimmer and shine.
I added red line tape to the backs of the two smaller squares and attached them to the card front. I used the red line tape as it’s very sticky and the squares were warped from the water and heat embossing. Next, I added 1mm and 2mm black foam tape from Scrapbook.com to the back of the large square, being sure to place the various foam thicknesses in the correct areas on the back of the square so it would lie flat over the other squares and on the card base.

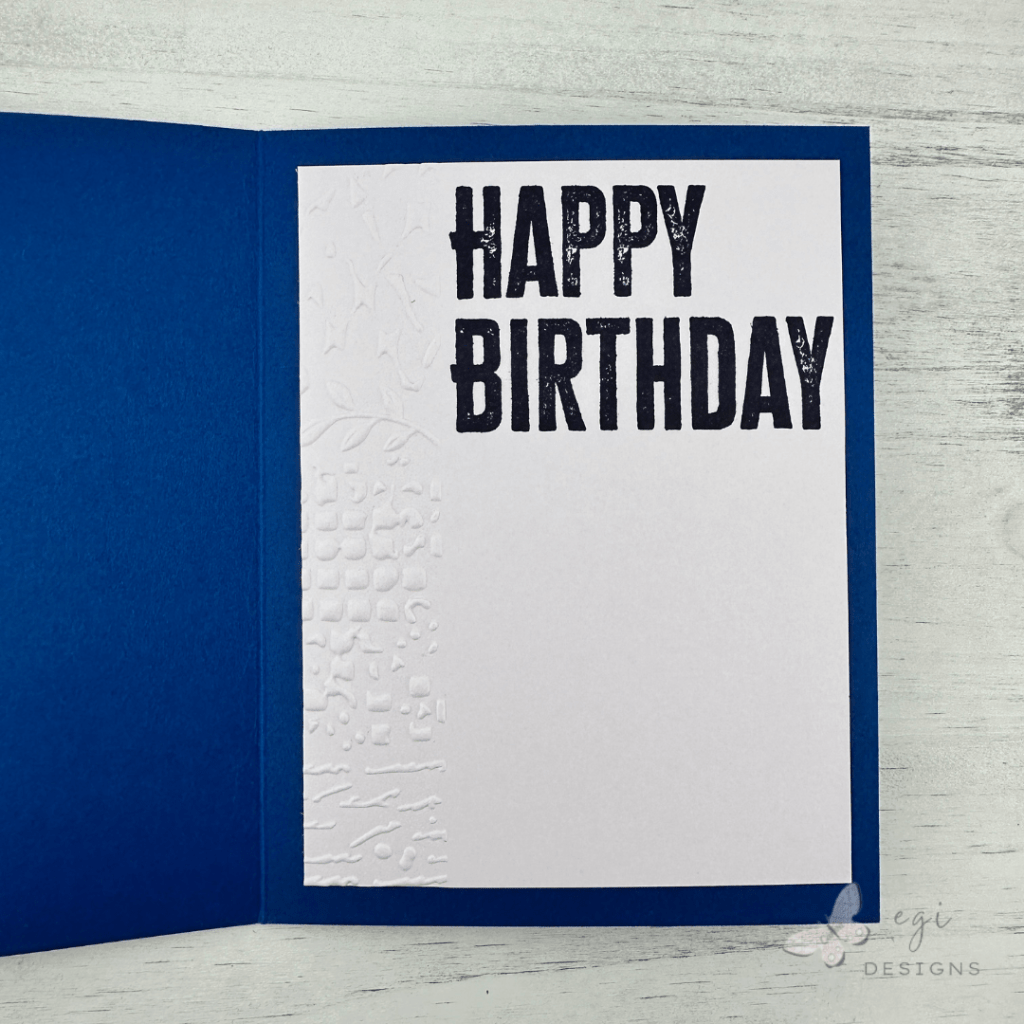
Decorating the Inside of the Card
For the inside of the card, I cut a panel of Spellbinders Fairy Tale cardstock, and stamped on it using Papertrey Ink‘s Birthday Your Way Stamp Set with Versafine Clair Medieval Blue Ink. I wanted to add some additional decorative detail to the inside, so I used the Distress Mix Embossing Folder on the left side of the panel.
For more ideas on decorating the inside of cards, I have a video with lots of fun ideas for that!
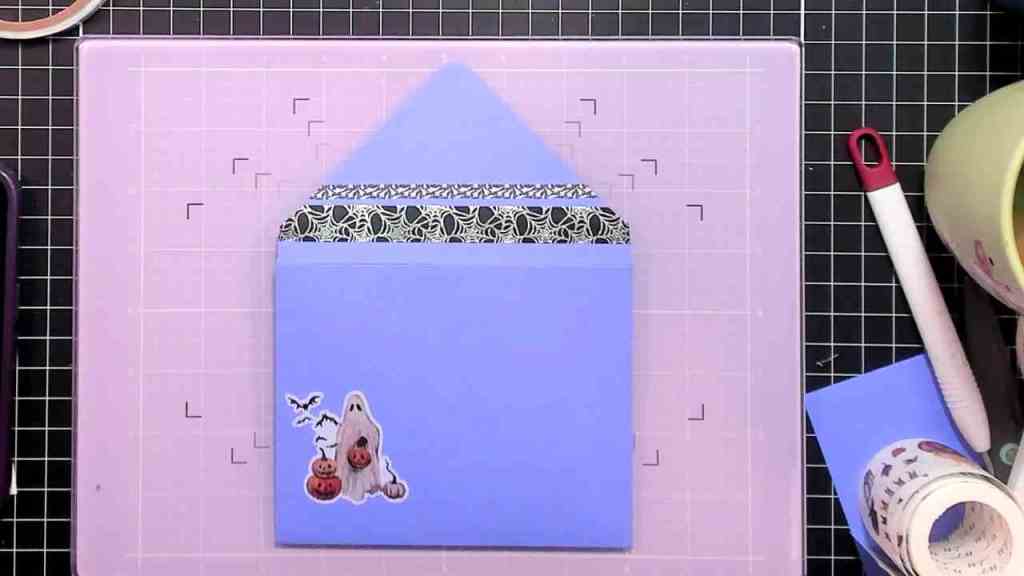
Envelope to Match
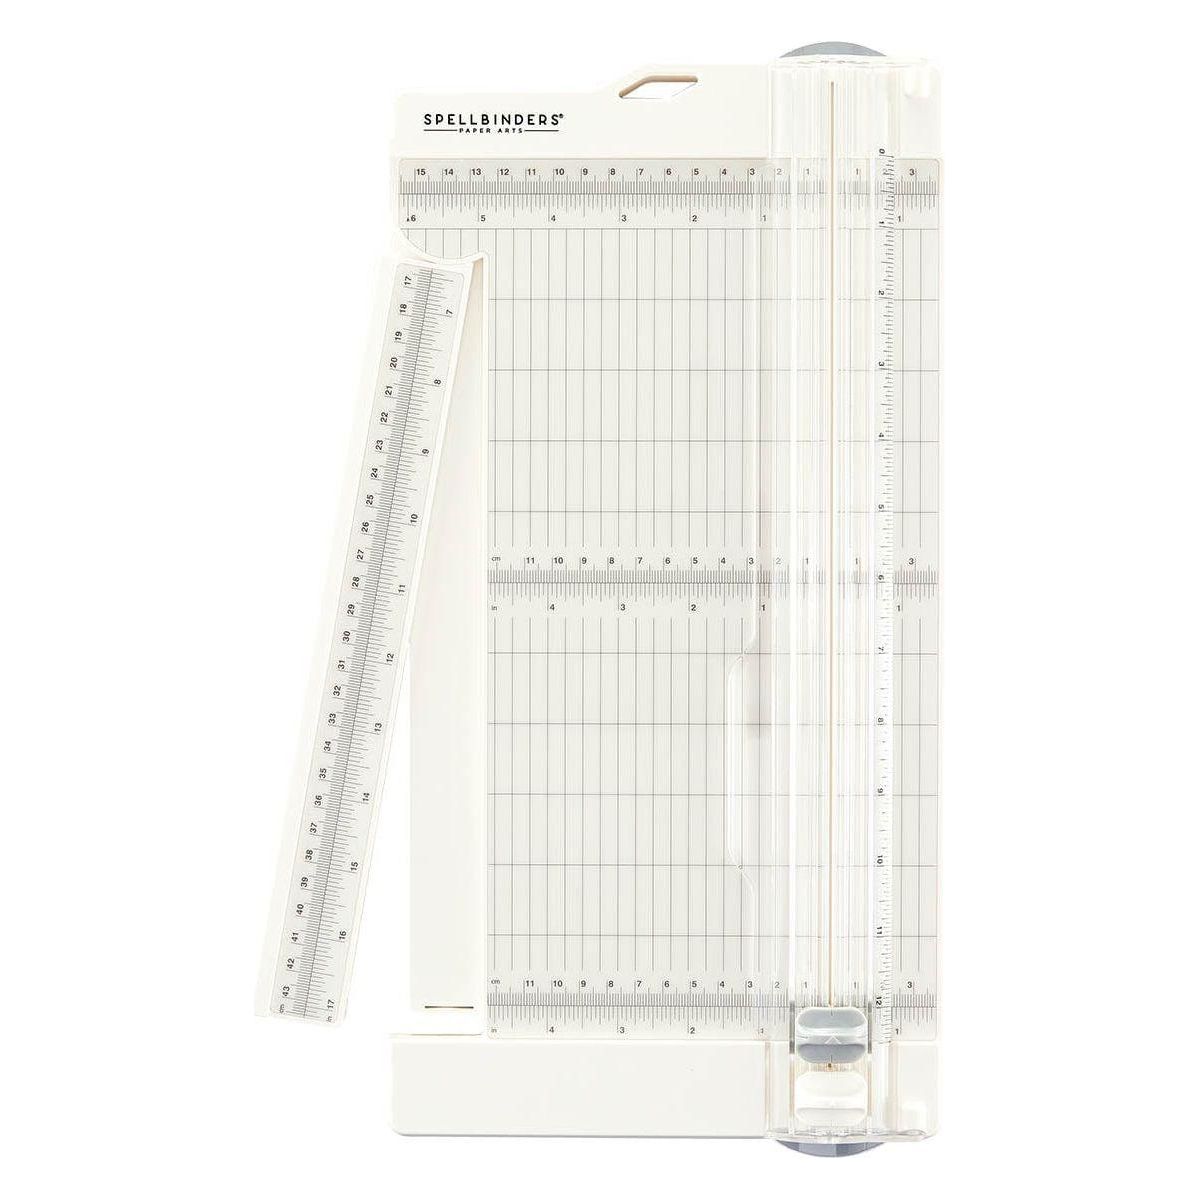
This birthday card is for my sister, and she loves Halloween, so I wanted to decorate the envelope with a spooky vibe. For the envelope, I made an A2 envelope on my 1-2-3 Punch Board from We R Memory Keepers, using Gina K Designs Wild Wisteria cardstock. I added washi tape on the back of the flap, and a Haunted House sticker from the Washi Tape Shop on the front of the envelope to decorate it.
For more information on making envelopes for cards of any size, check out my Punch Board playlist on YouTube.
If you are looking for additional ways to decorate envelopes, I have two videos with lots of ideas for that: Five Ways and Five More Ways to Decorate Envelopes.
Step-by-step tutorial:
I hope you enjoyed this project! For more card-making ideas, check out my YouTube playlist and card-making blog posts. I also have a Birthday card playlist available for more card inspiration.
Product Information
Here are the products I used in today’s project. Please consider shopping through my affiliate links, as it greatly helps out my channel at no extra cost to you. Thanks so much for supporting me and my channel!
**Use code EGIDESIGNS for 15% off your order at Glassboard Studio**
|


Additional Products Used:
- Cosmic Shimmer: Pixie Powder Peacock Green
- 1 inch Red Line Tape
- Scrapbook.com: 1mm, 2mm 1/4″ Black Foam Tape


One Comment