Saturday Sketch Series-Episode 2: BYSHC Sketch #62
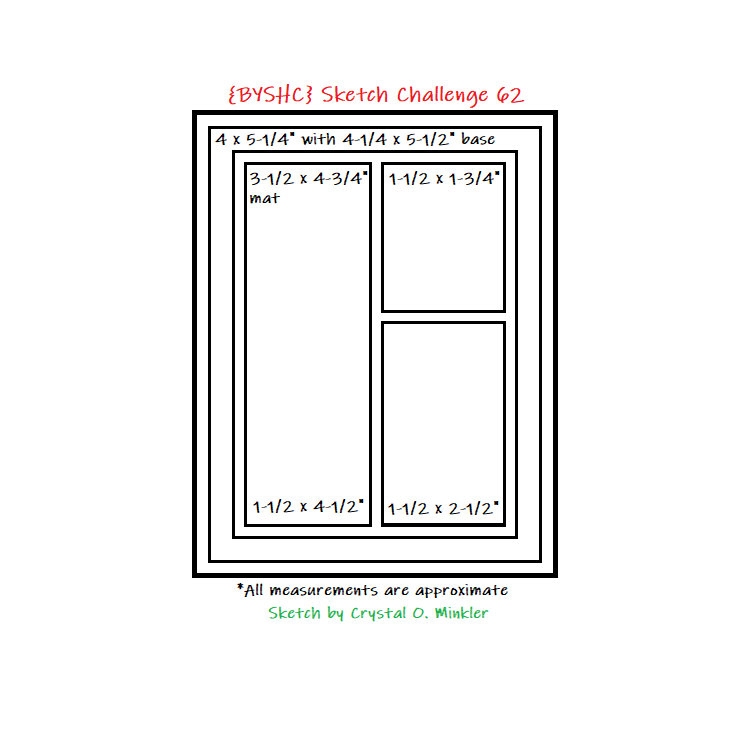
This is the 2nd episode of my new card-making series, Saturday Sketch Series! In this episode, I made three Christmas cards using BYSHC Sketch #62 along with Paper Rose products. This card sketch reminded me of the Stack Cut Shuffle Technique, so I combined the sketch and the technique to create three cards quickly. The first card is true to the sketch, and the other two cards demonstrate additional techniques. All products used in making this project are listed below.

In this series, I will find a card sketch on the internet and make a card (or more) using the card sketch. If making more than one card, the first one will stick closely to the sketch, while the others will have slight changes or demonstrate different techniques. In today’s cards, I used various types of specialty papers and an embossing folder.
Measurements
Card #1 & #2 Card Base: Side-Folding A2
4 1/4 x 5 1/2" when folded
8 1/2 x 5 1/2", Scored at 4 1/4"

Card #3 Card Base: Top-Folding A2
4 1/4 x 5 1/2" when folded
4 1/4 x 11", Scored at 5 1/2"

Panel: 3 1/2 x 4 3/4"
Mat Layer: 4 x 5 1/4"

Left Column: 1 1/2 x 4 1/2"
Right Column: 1 1/2 x 1 3/4", 1 1/2 x 2 1/2"

All Cards-Inside Panel: 3 3/4 x 5"
Skinny Strip: 1/2 x 5"
Saturday Sketch Series: Card Sketch Information
For these cards, I used card sketch #62 from BYSHC, and all the same papers and embellishments for each card. The acronym stands for Build Your Stash Holiday Cardmakers. Be sure to check out their blog for more card sketches and inspiration. They also have a Facebook Group where cardmakers can share their projects.
Stack Cut Shuffle Technique
Measurements
-Stack three pieces of patterned paper together and cut to:
3 x 4 1/2" (Adding together the two columns on the sketch)
-Cut in half vertically at 1 1/2"
-Left side of sketch is all set, place stack of long pieces aside
-For the right column, cut off 1/4" from the bottom of the stack
-Cut the remaining piece (1 1/2 x 4 1/4") at 1 3/4"
-Top stack should measure: 1 1/2 x 1 3/4"
-Bottom stack should measure: 1 1/2 x 2 1/2"
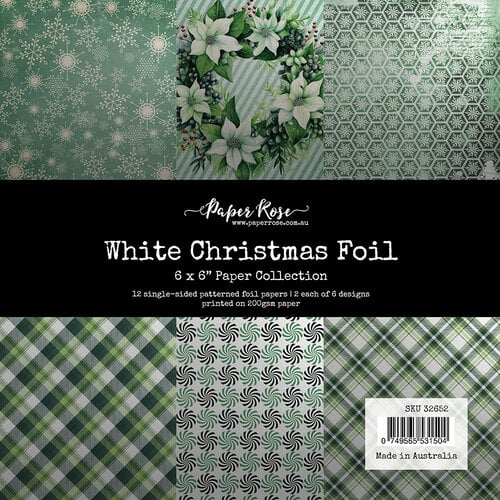
I used three patterned papers from the Paper Rose White Christmas Foil pack, stacked them together, and cut them according to the instructions above. To make packets for each card front, I made sure the papers in each stack were in the same order. For the left long stack, I left that as is. For the right top stack, I took the top layer of patterned paper and moved it to the back of the stack. For the right bottom stack, I took the top two layers of patterned papers and moved them to the back of the stack. This left one piece of each patterned paper design in each stack layer. Please see the video for more information on how to cut the papers for the Stack Cut Shuffle Technique.
Paper Rose Snowflake Embellishment
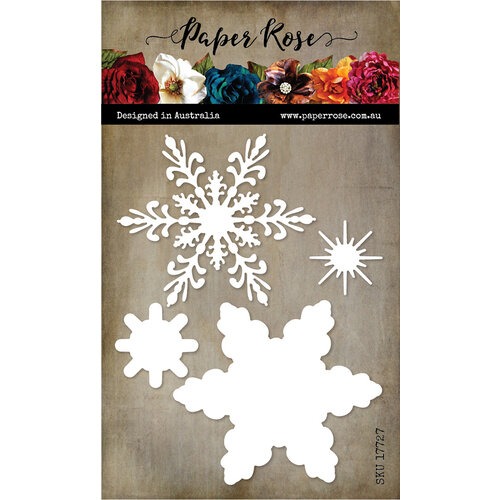
I made one snowflake focal image for each card using the Paper Rose Large Christmas Snowflake Die Set. The shadow layer was cut from Simon Says Stamp Vellum, and the snowflake was cut from the Lisa Horton Crafts Glitter Euphoria Jewel Tone Vol. 1 Pack. I used glue to secure the layers together, but double-sided adhesive sheets would be a great option as well.

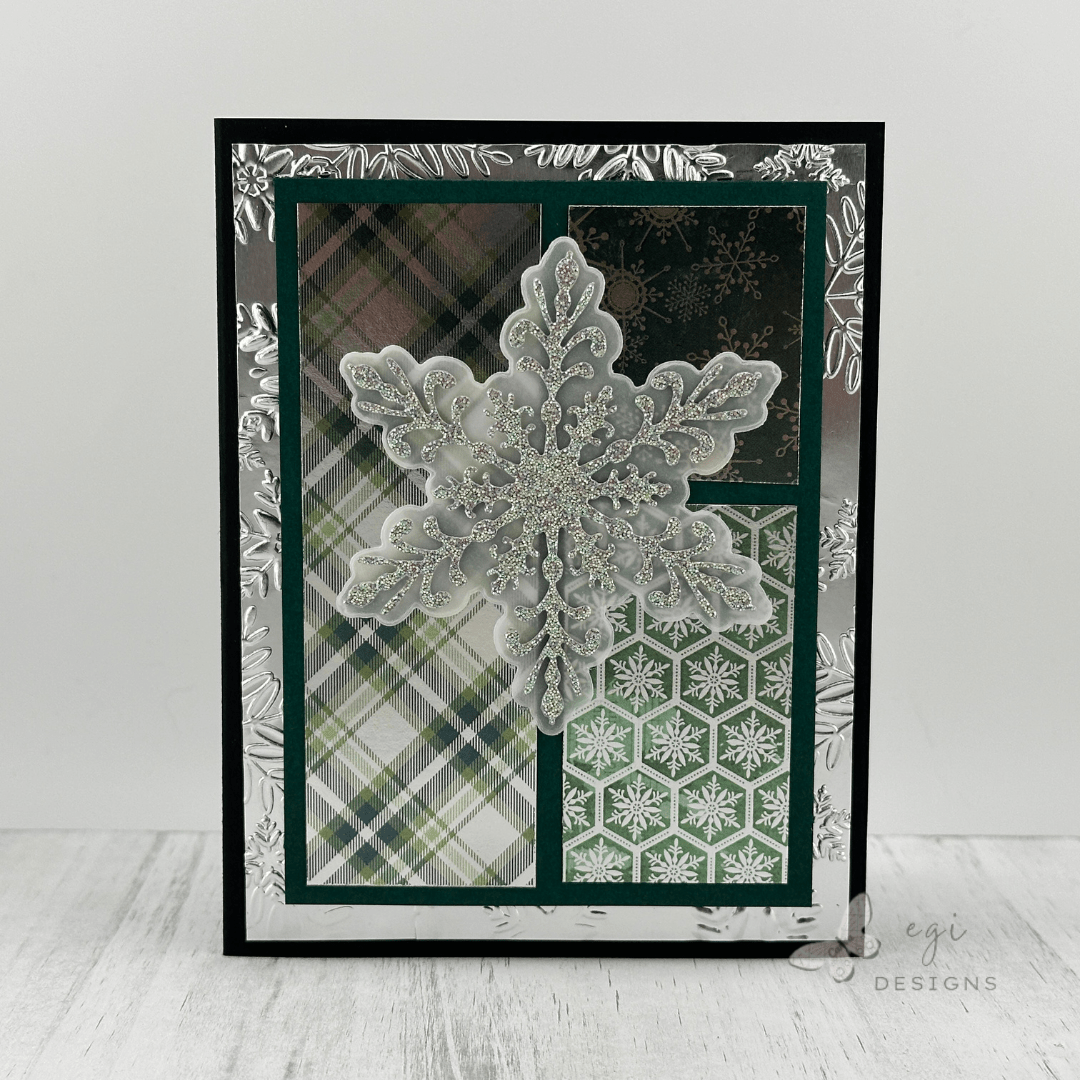
Card #1: True to Sketch
For this card, I used my tape runner to adhere the three patterned paper pieces to the mat layer, which was cut from Altenew Emerald cardstock. I added that to the Simon Says Stamp Matte Silver Layer, and then added those layers to the card base made from Altenew Jet Black cardstock. I used a Scrapbook Adhesives Thin Black Mini Foam Square to add the Snowflake Embellishment to the card front.

Card #2: Embossed Matte Silver Layer
For this card, I used my tape runner to adhere the three patterned paper pieces to the mat layer, which was cut from Altenew Emerald cardstock. To add more interest to the card design, I embossed the matte silver layer with the Simon Says Stamp Splendid Snowflakes Embossing Folder. This added a lot of texture to the background.
I added the embossed layer to the Altenew Jet Black card base using my tape runner. Then I added Thermoweb Black Foam Tape to the back of the patterned paper layer and attached it on top of the embossed piece. I used a Scrapbook Adhesives Thin Black Mini Foam Square to add the Snowflake Embellishment to the card front.
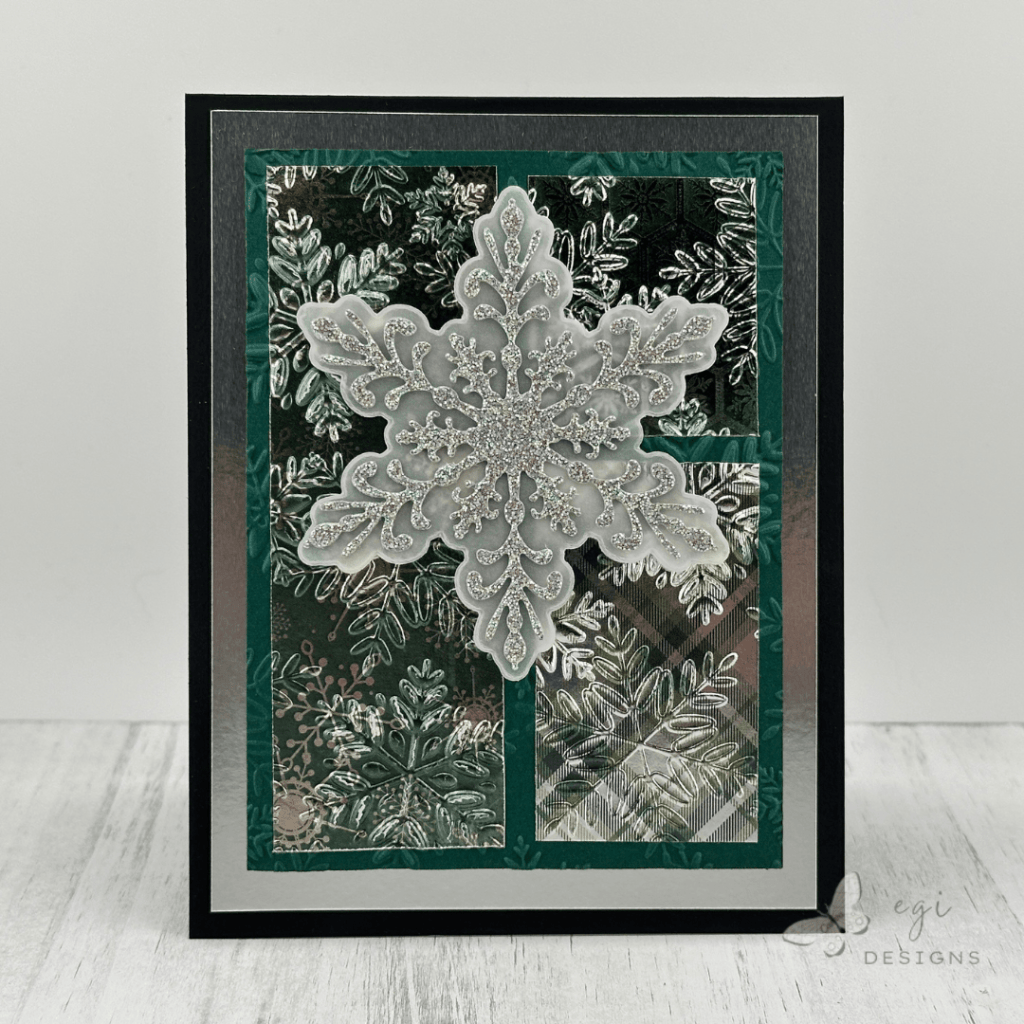
Card #3: Embossed Pattern Paper Layer
For this card, I used my tape runner to adhere the three patterned paper pieces to the mat layer, which was cut from Altenew Emerald cardstock. Once that layer was assembled, I embossed the patterned paper layer with the Simon Says Stamp Splendid Snowflakes Embossing Folder. The result is an absolutely gorgeous card panel!
I added the matte silver layer to the Altenew Jet Black card base using my tape runner. Then I added Thermoweb Black Foam Tape to the back of the embossed patterned paper layer and attached it on top of the matte silver layer. I used a Scrapbook Adhesives Thin Black Mini Foam Square to add the Snowflake Embellishment to the card front.
For this card, I made the card base as an A2 Top-folding base. This is another easy way to change up the card design and tweak it a bit.
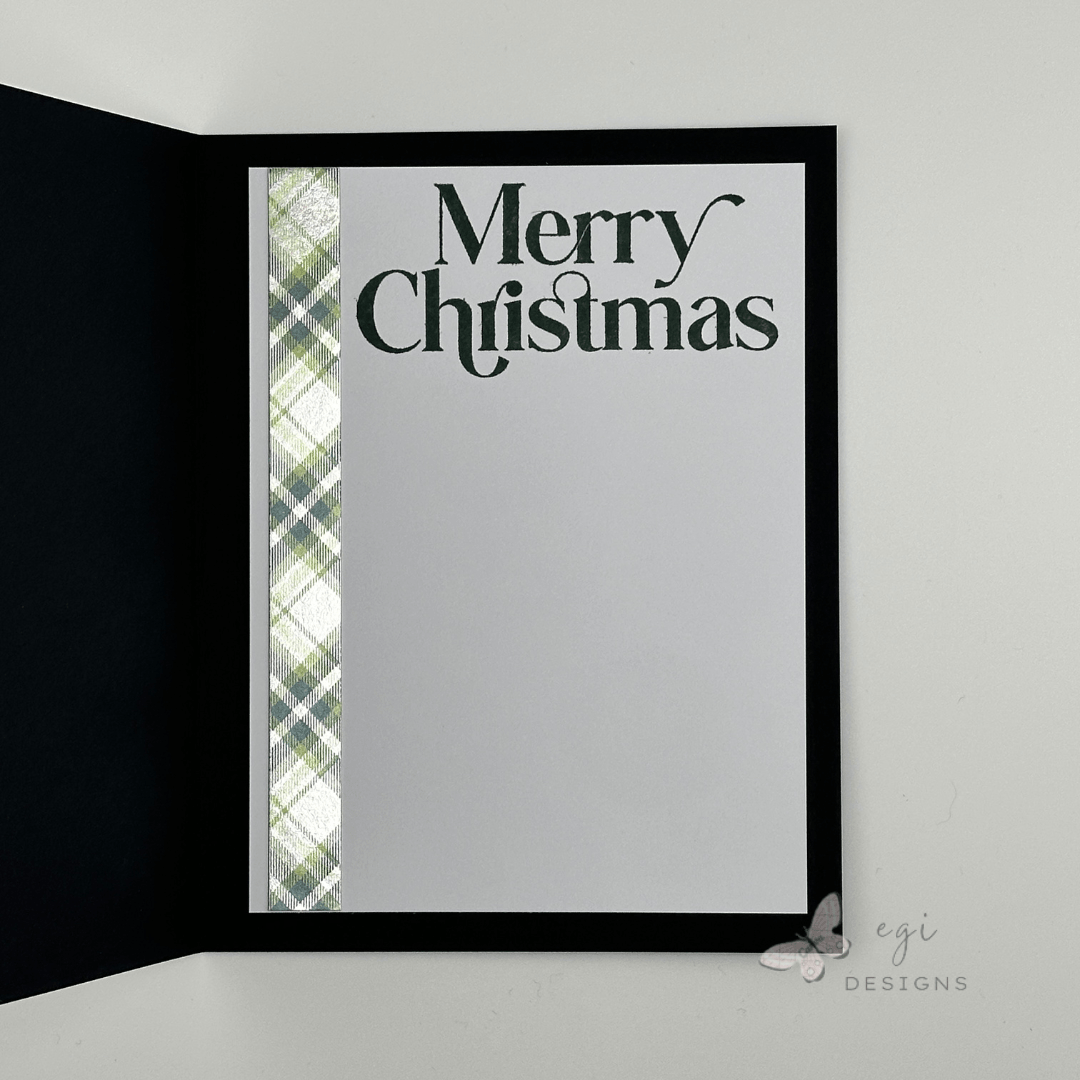
Inside Card Panels
For the inside card panels, I cut a white panel from BearBoss white cardstock. Then I added a skinny strip of the Paper Rose White Christmas Foil paper on the left edge, using a piece from each of the papers used on the card fronts. I stamped the sentiment using the Simon Says Stamp Making Spirits Bright Stamp Set with Gina K Designs Dark Spruce Ink.
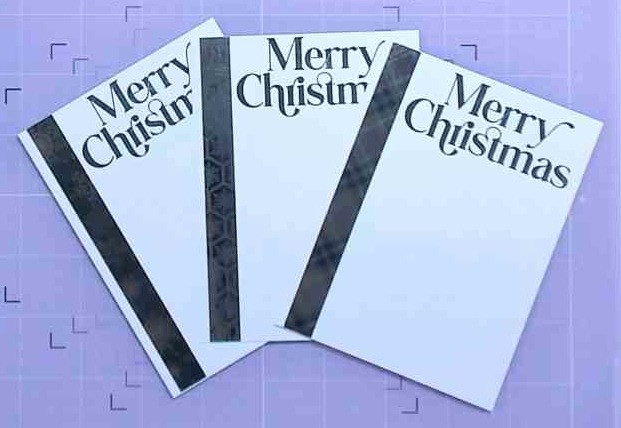
For more ideas on decorating the inside of cards, I have a video with lots of fun ideas for that!
Project Recap
For this Saturday Sketch Series episode, I wanted to show that small tweaks in the card design can have a big impact on what the final card looks like. Using something as simple as an embossing folder on the background mat layer or the focal layer really steps things up and adds a lot of interest. Additionally, changing to a top-folding or side-folding card base can add another design detail.

Step-by-step tutorial:
I hope you enjoyed this project! For more card-making ideas, check out my YouTube playlist and card-making blog posts. I also have a Stack Cut Shuffle Technique playlist if you want to check it out.
Product Information
Here are the products I used in today’s project. Please consider shopping through my affiliate links, as it greatly helps out my channel at no extra cost to you. Thanks so much for supporting me and my channel!
**Use code EGIDESIGNS for 15% off your order at Glassboard Studio**
|








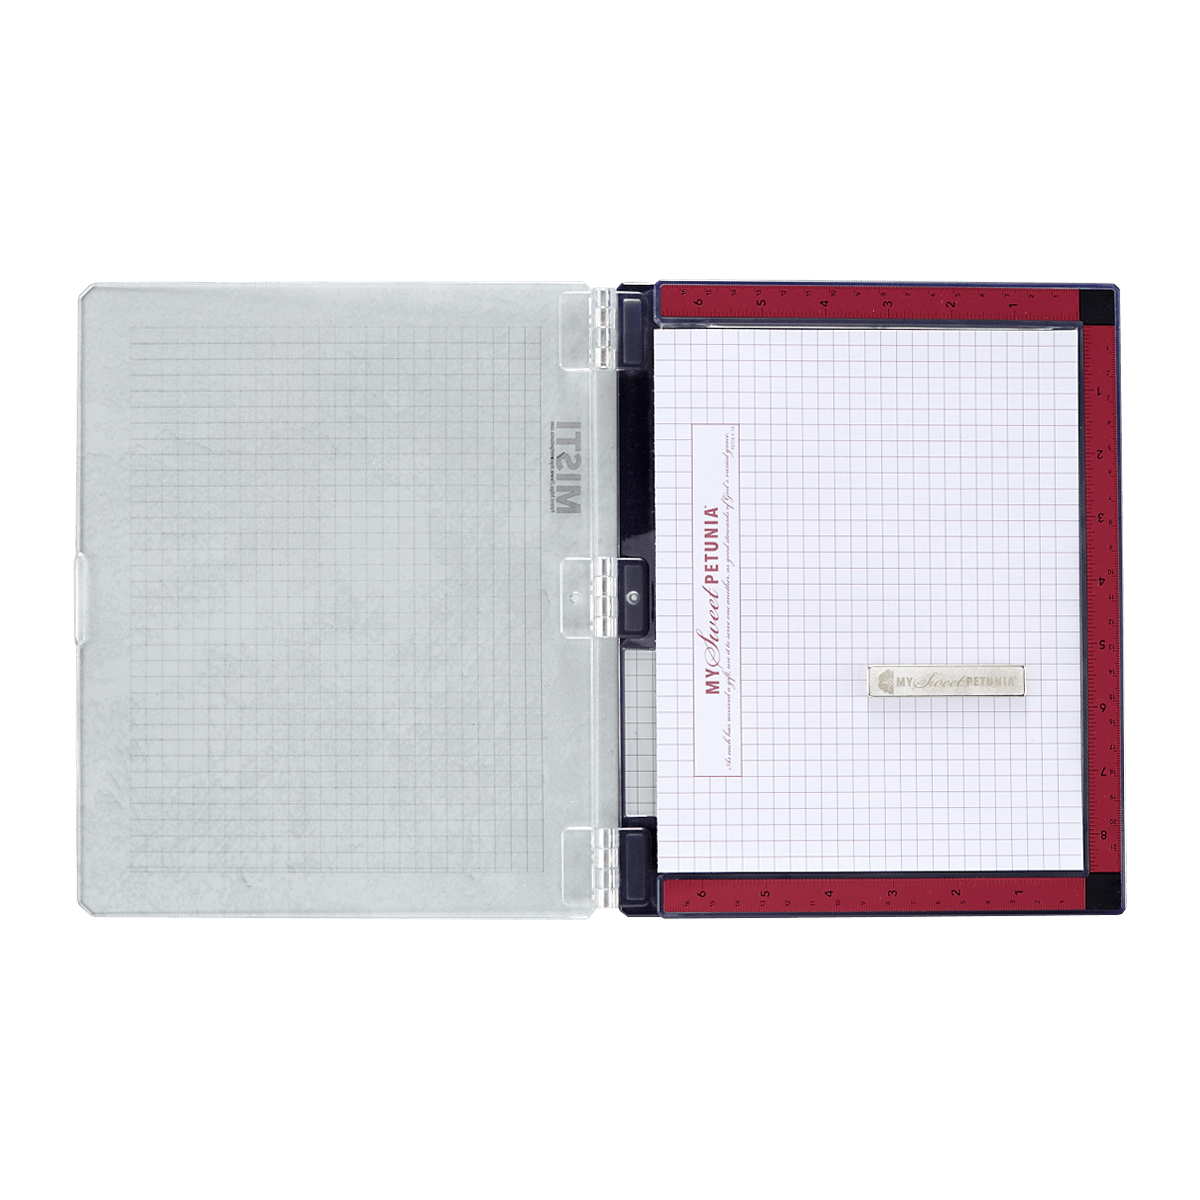


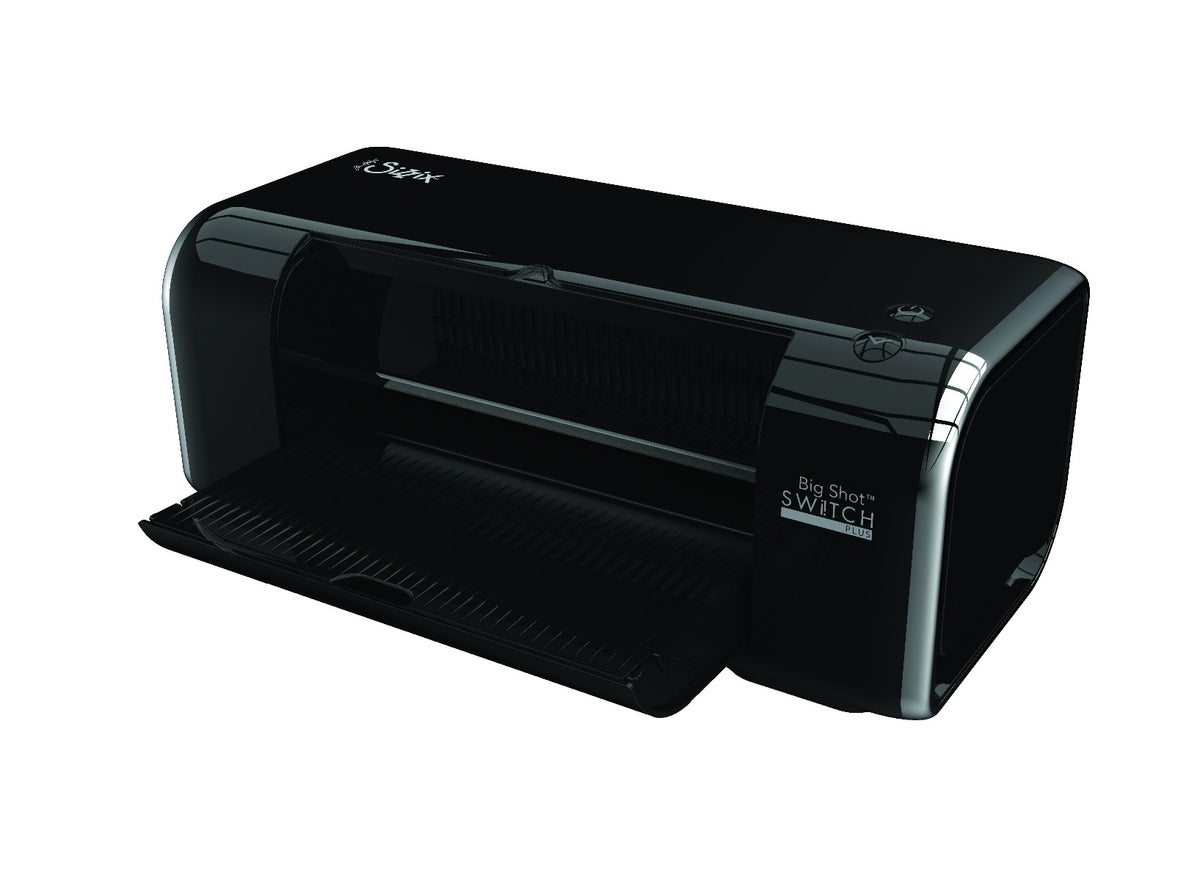
Additional Products Used:
- Lisa Horton Crafts: Glitter Euphoria Jewel Tones Vol. 1 Glitter Paper
- Paper Rose: Large Christmas Snowflake Die Set (17727)
- Altenew: Emerald Cardstock



Stunning! Your are cards are beautiful!
I greatly appreciate your comment! Thank you so much!
Beautiful Holiday cards I love the papers and colors they are just beautiful. I love that you used sketch 62 also. Thank you for joining us for the {BYSHC} Falling For The Holidays linky Party. ~Von Marie~
Thanks so much Von Marie, appreciated!
Wow! Stunning cards! Thanks so much for sharing with the {BYSHC} Falling for the Holidays 2025 Linky Party!
Thank you so much Crystal!