Easy Center Step Card | Baby’s 1st Birthday Celebration!
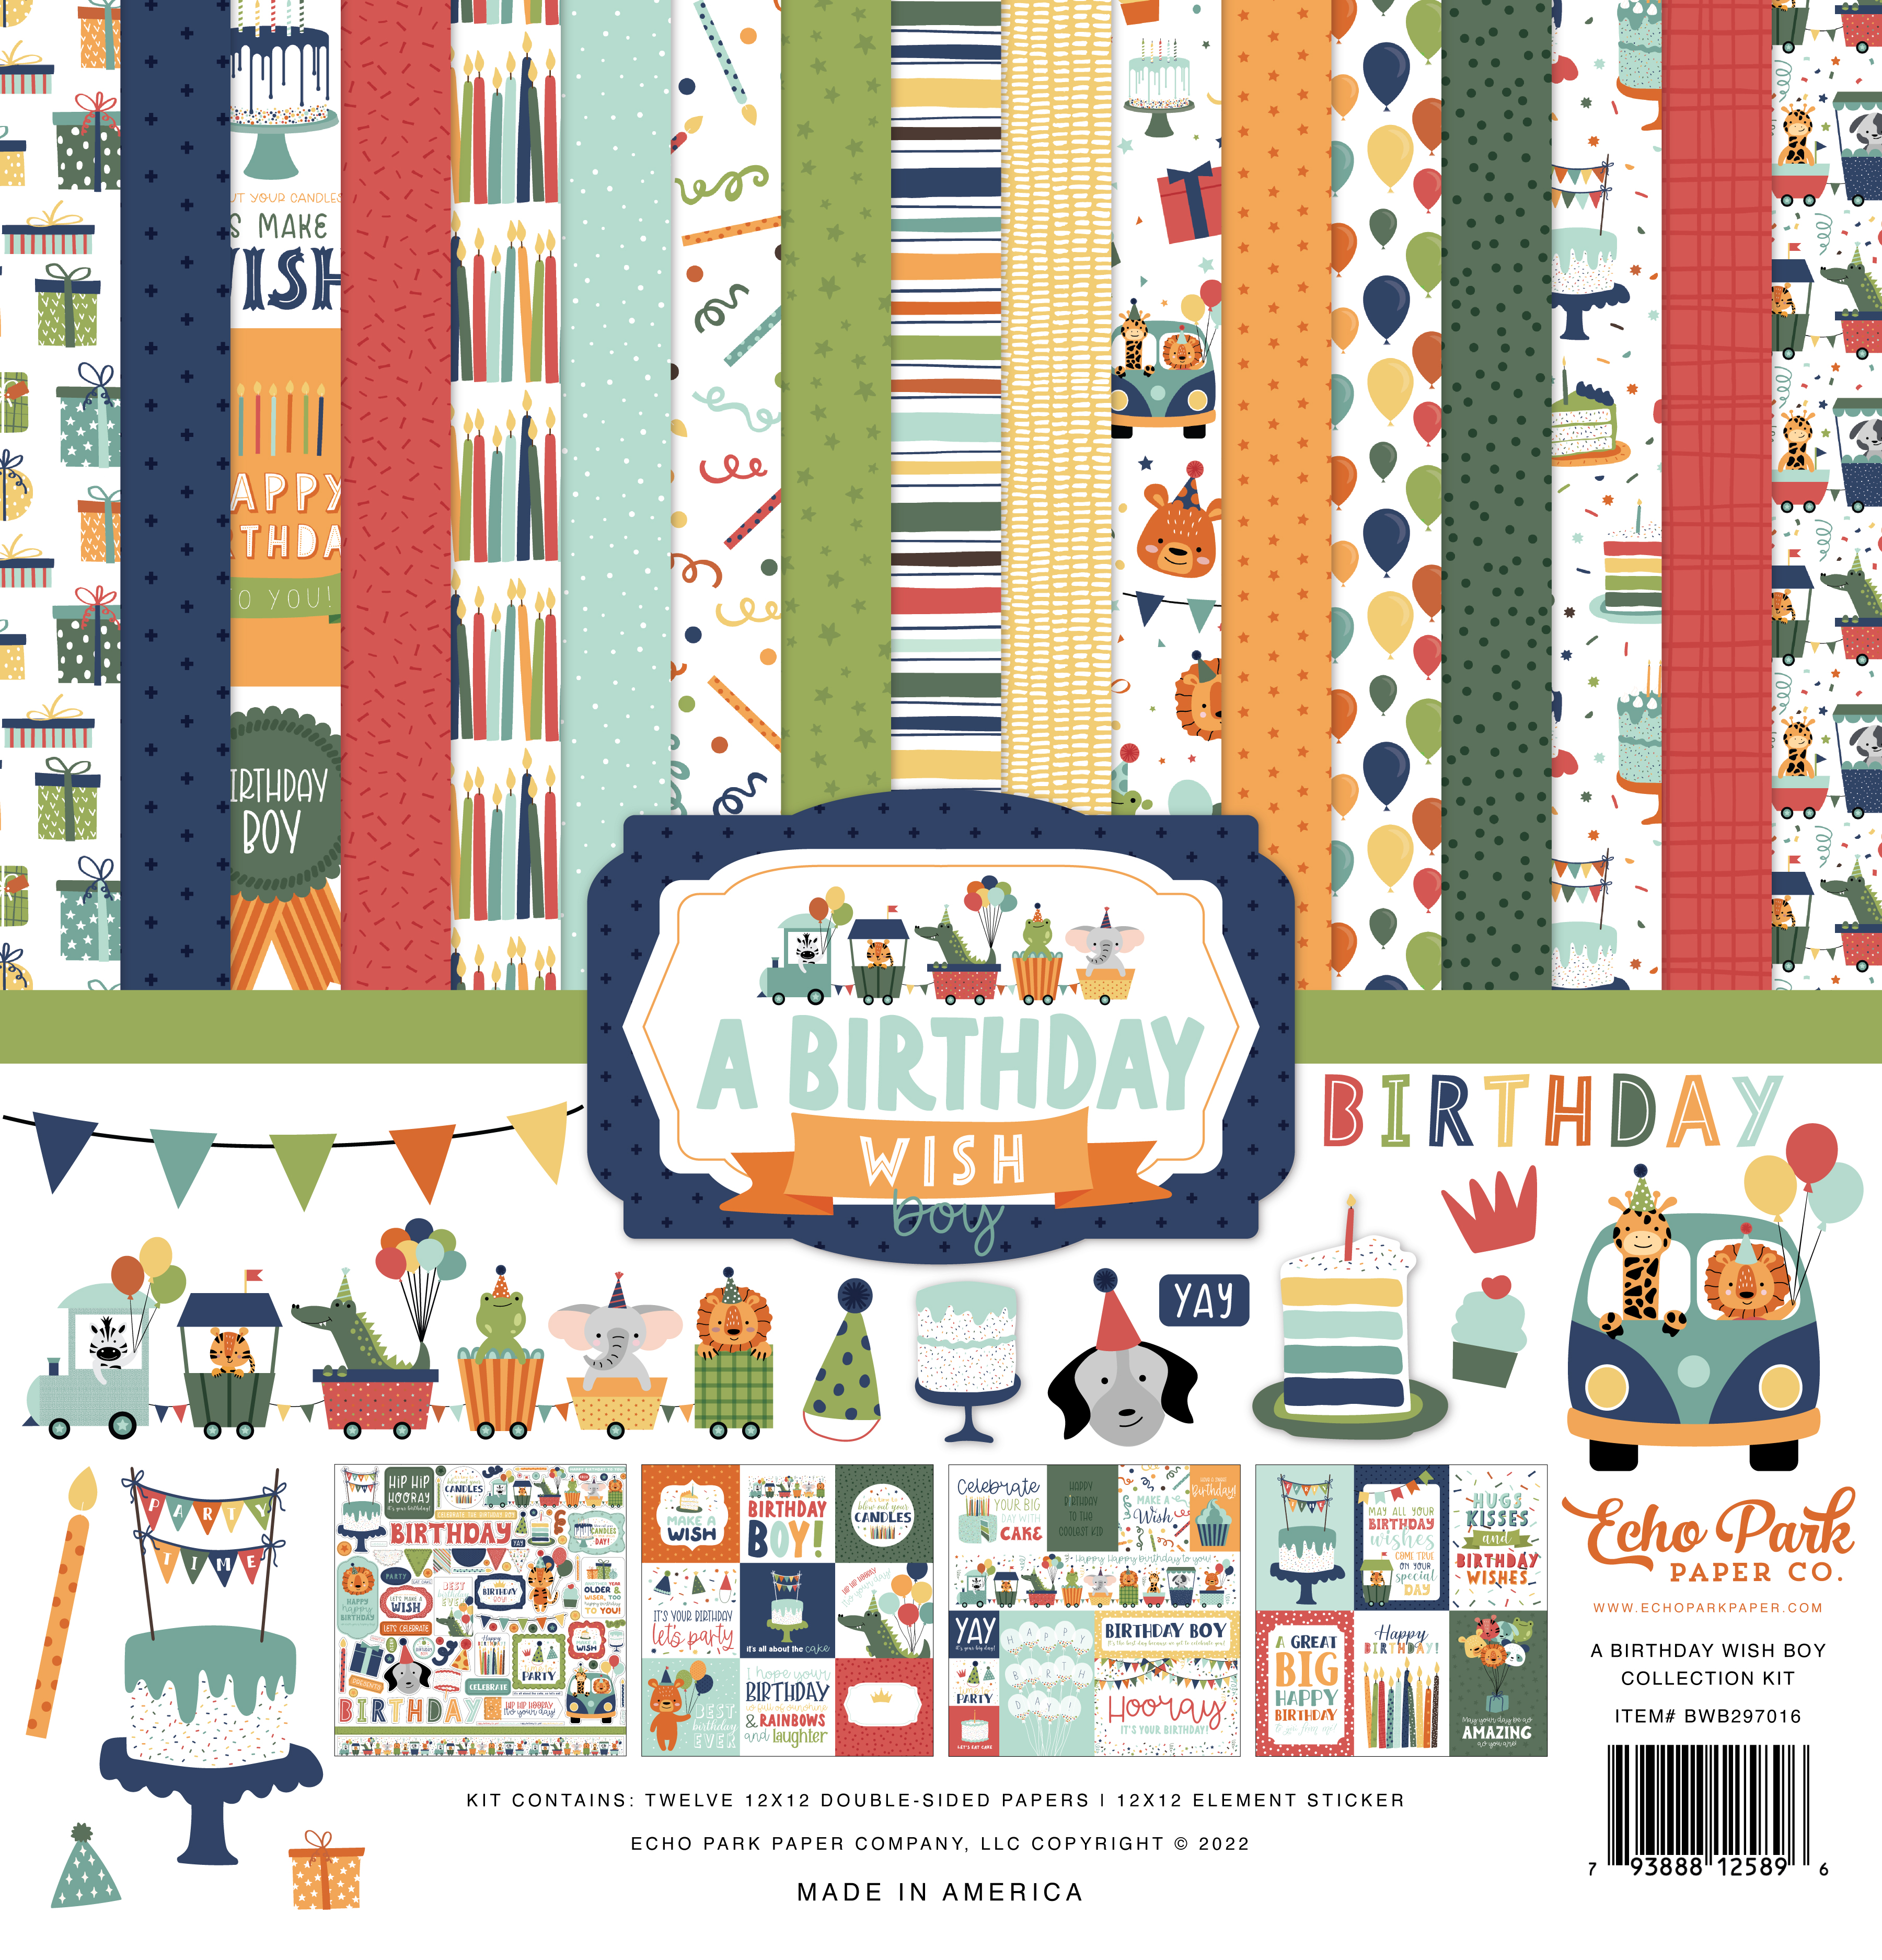
In this video project, I made a Baby’s 1st Birthday card for my nephew using the Hot Off The Press Fabulous Folded Cards: Center Step Card Cutting Die, Echo Park‘s A Birthday Wish Collection Kit, and the Memory Box Matinee Rectangle Layers Die Set. All products used in making this project are listed below.
Measurements
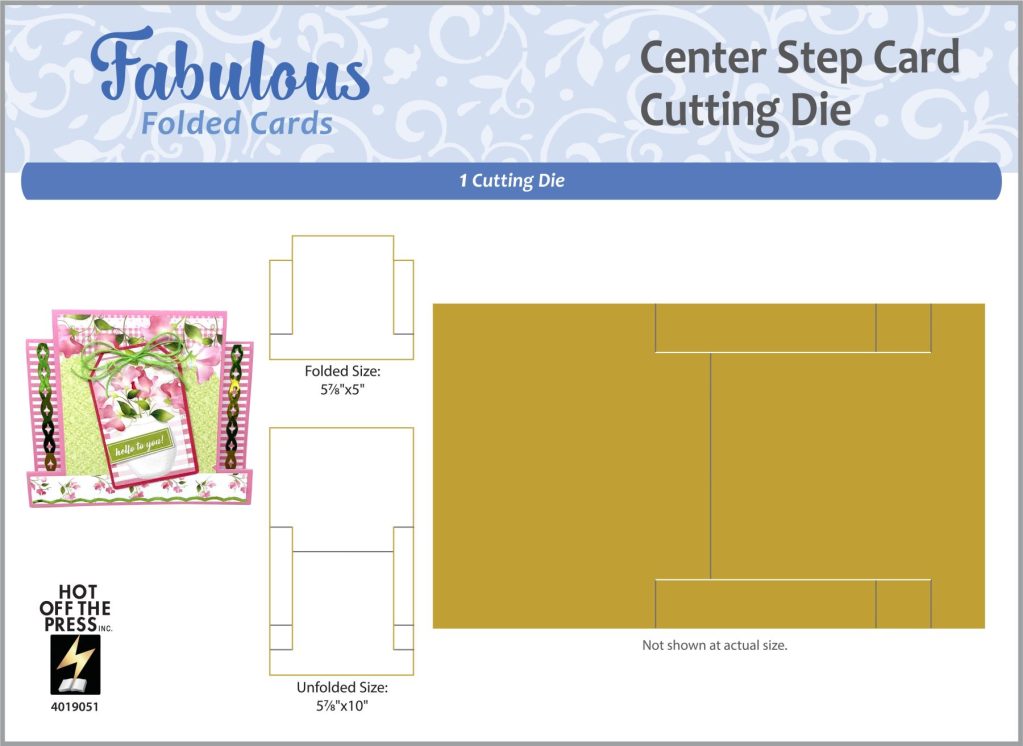
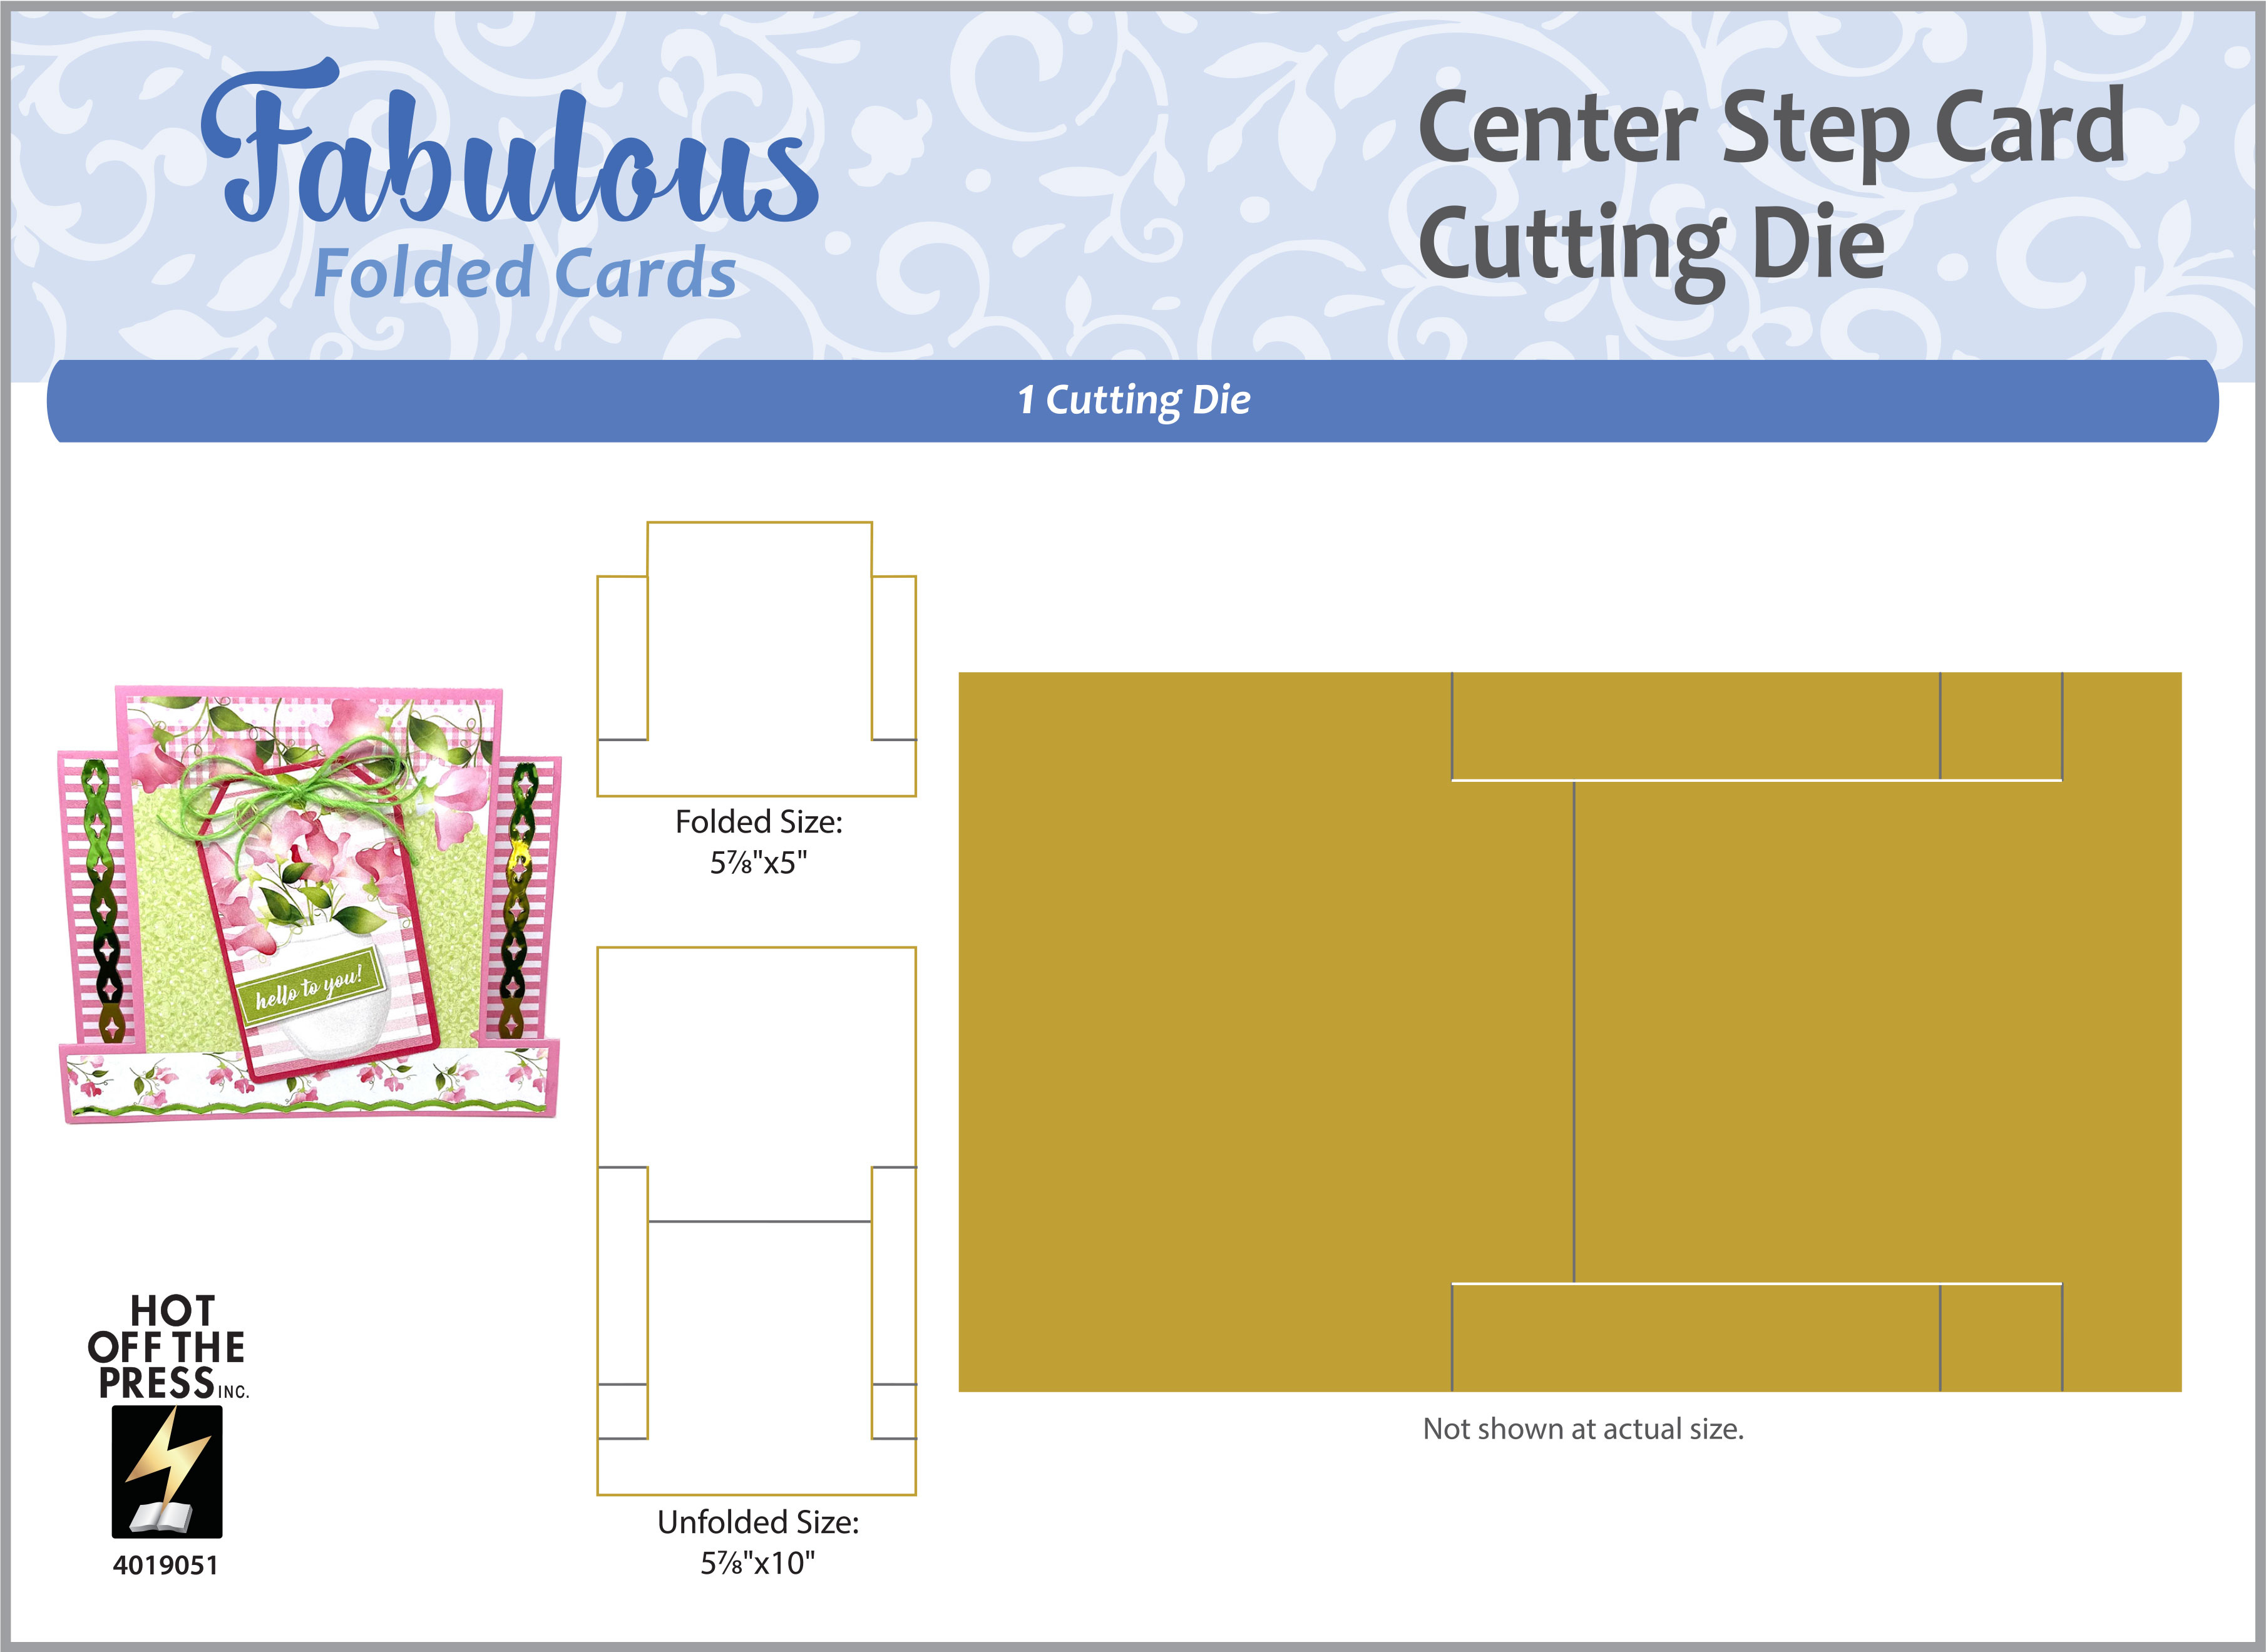
Center Step Card Die:
Folded 5 7/8 x 5"
Unfolded 5 7/8 x 10"
Square on Front: 3 7/8 x 3 7/8"
Cut Apart: 3 x 4" (Echo Park A Birthday Wish Collection Kit)
Side Strip Pieces (2): 5/8 x 3 7/8"
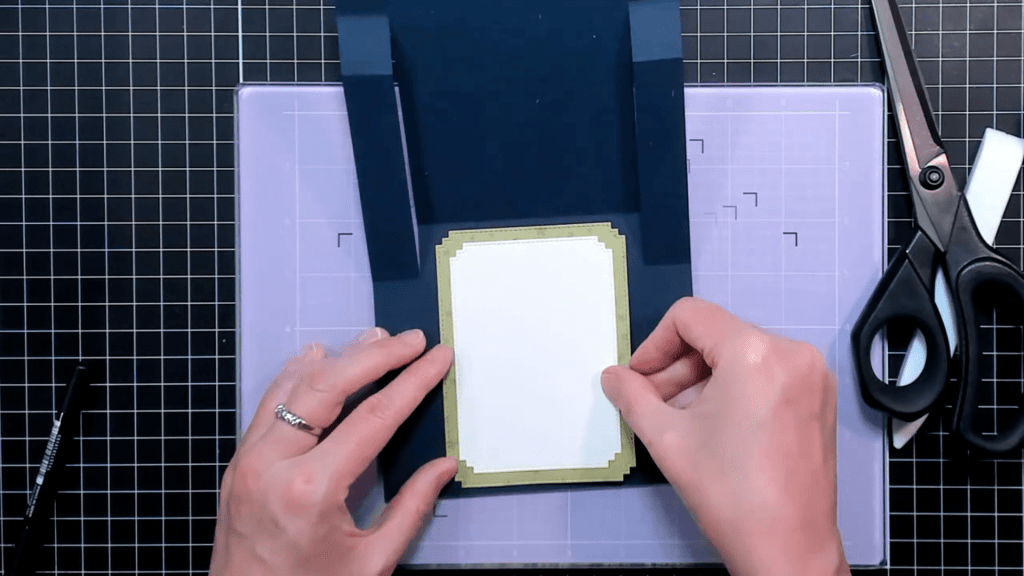
Inside Rectangles: 3 x 4 1/4", 3 1/2 x 4 3/4" (Memory Box Matinee Rectangles Die Set)
Making the Center Step Card Base
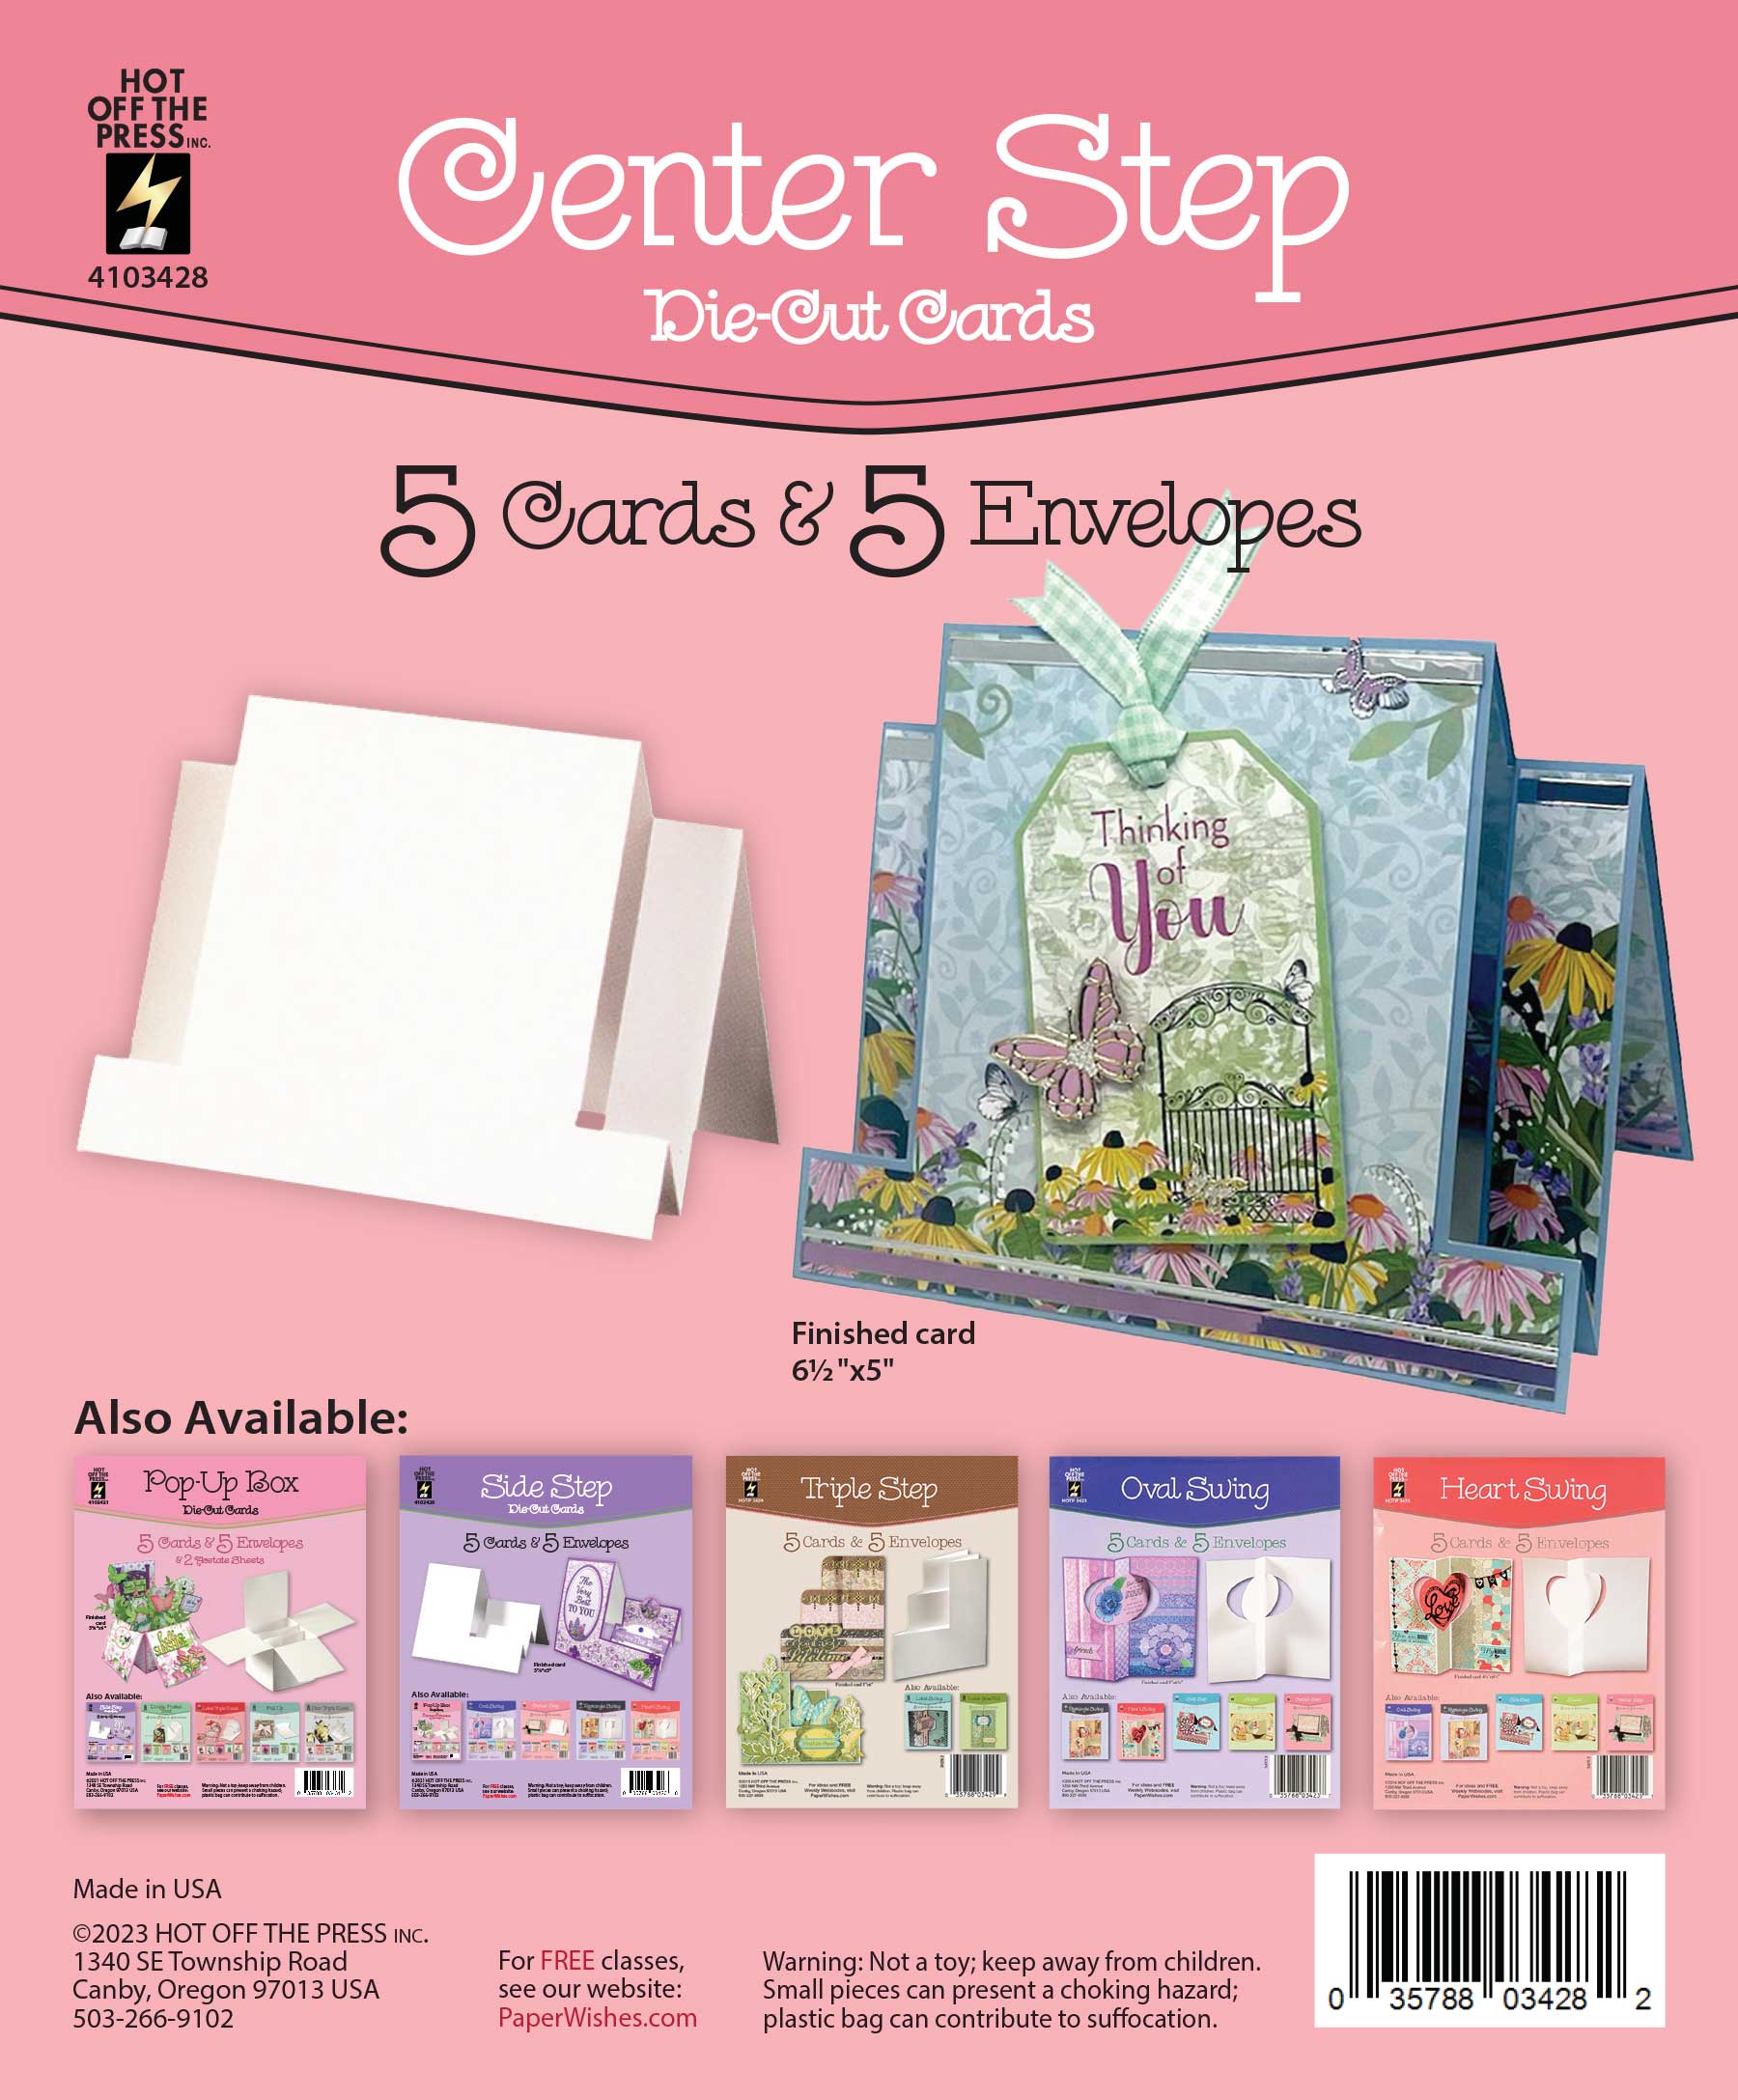
I have always wanted to make a center step card, but was intimidated by all the cutting and scoring involved in making one. Paper Wishes to the rescue!! They offer two easy ways to create center step cards: 5 white pre-made Center Step card bases (with envelopes included!), and a Fabulous Folded Cards: Center Step Card Cutting Die.

Because I wanted a colored card base to match the papers in the Echo Park: A Birthday Wish Collection Kit, I used the Center Step Die instead of the pre-made card bases. To make the card base, I used Gina K Designs In the Navy cardstock.
This die is 10 inches long total, so if you have small cutting plates, you will need to run the die through on one end, flip, and then the other end through. Having extended die cut plates would work great, or if you have a larger die cut machine you won’t have any issues in cutting the die out.
On the back of the die packaging, it shows you where to use mountain and valley folds to properly fold the card base. I gently folded the score lines, and once everything was lined up, I used my bone folder to crease the score lines.


Decorating the Card Front
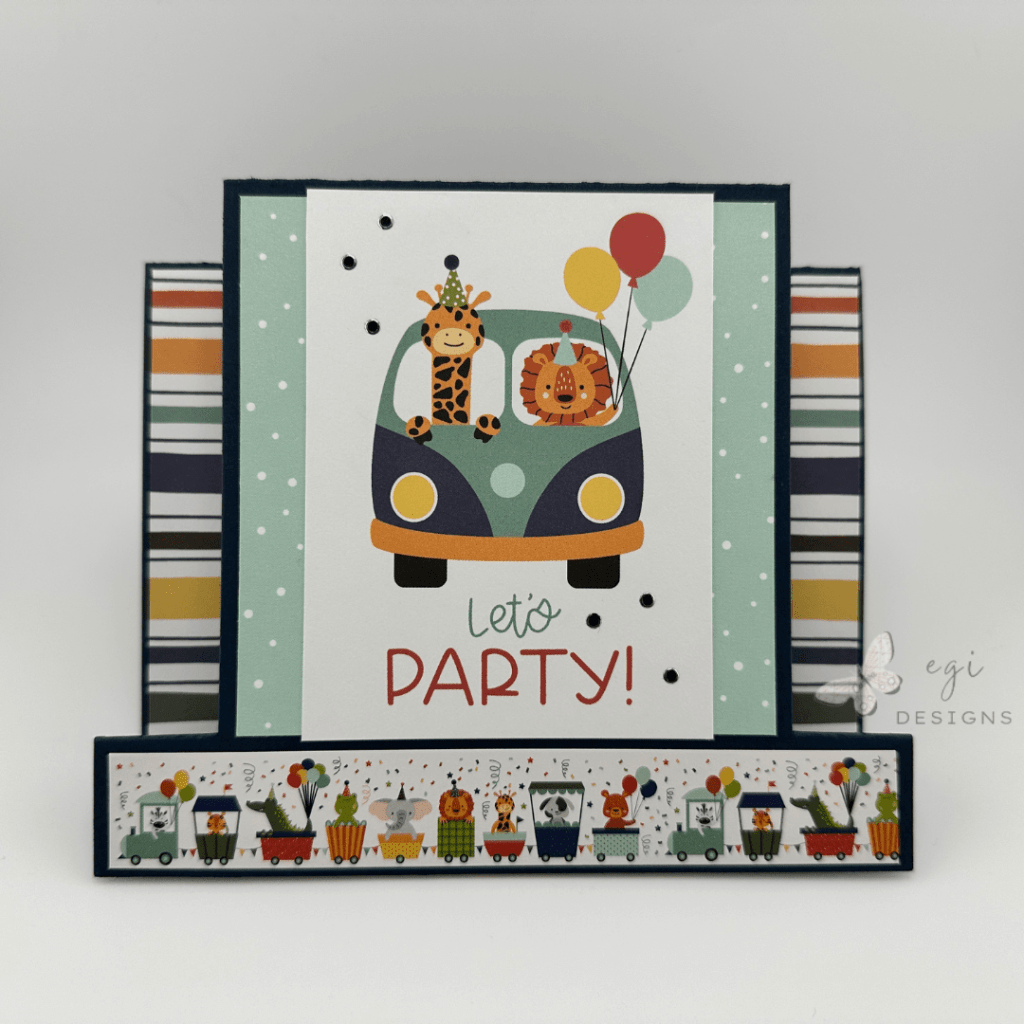
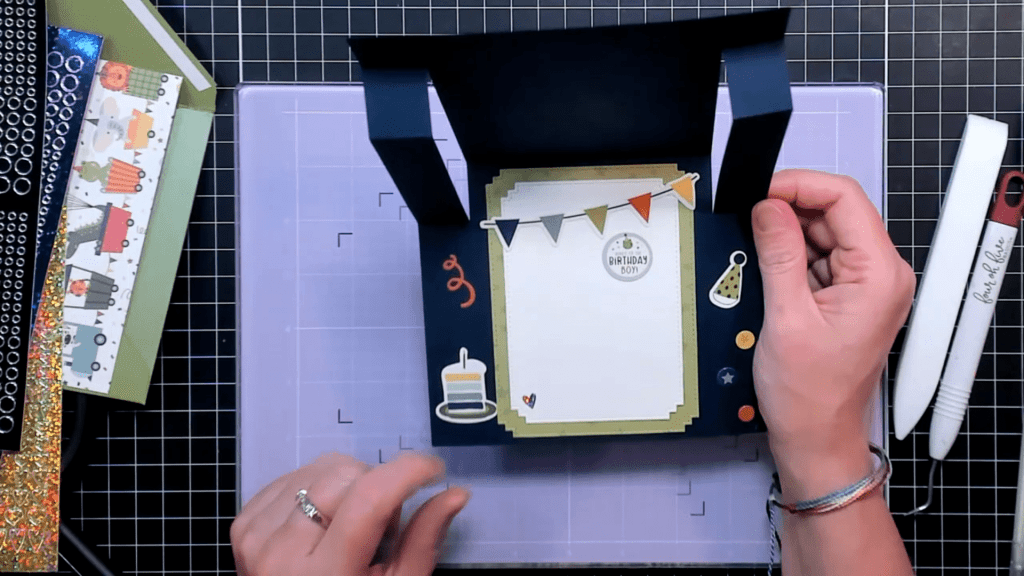
I cut out a square panel from the patterned paper, and then added a cut-apart from the collection on top of the square. I added that to the front middle section, and then cut two matching strips and added those to the two side sections. For the bottom of the card, I really wanted to use the adorable animal train sticker in the collection, so I measured how long I needed the sticker to be and cut it accordingly. I then stuck the sticker along the bottom of the card.
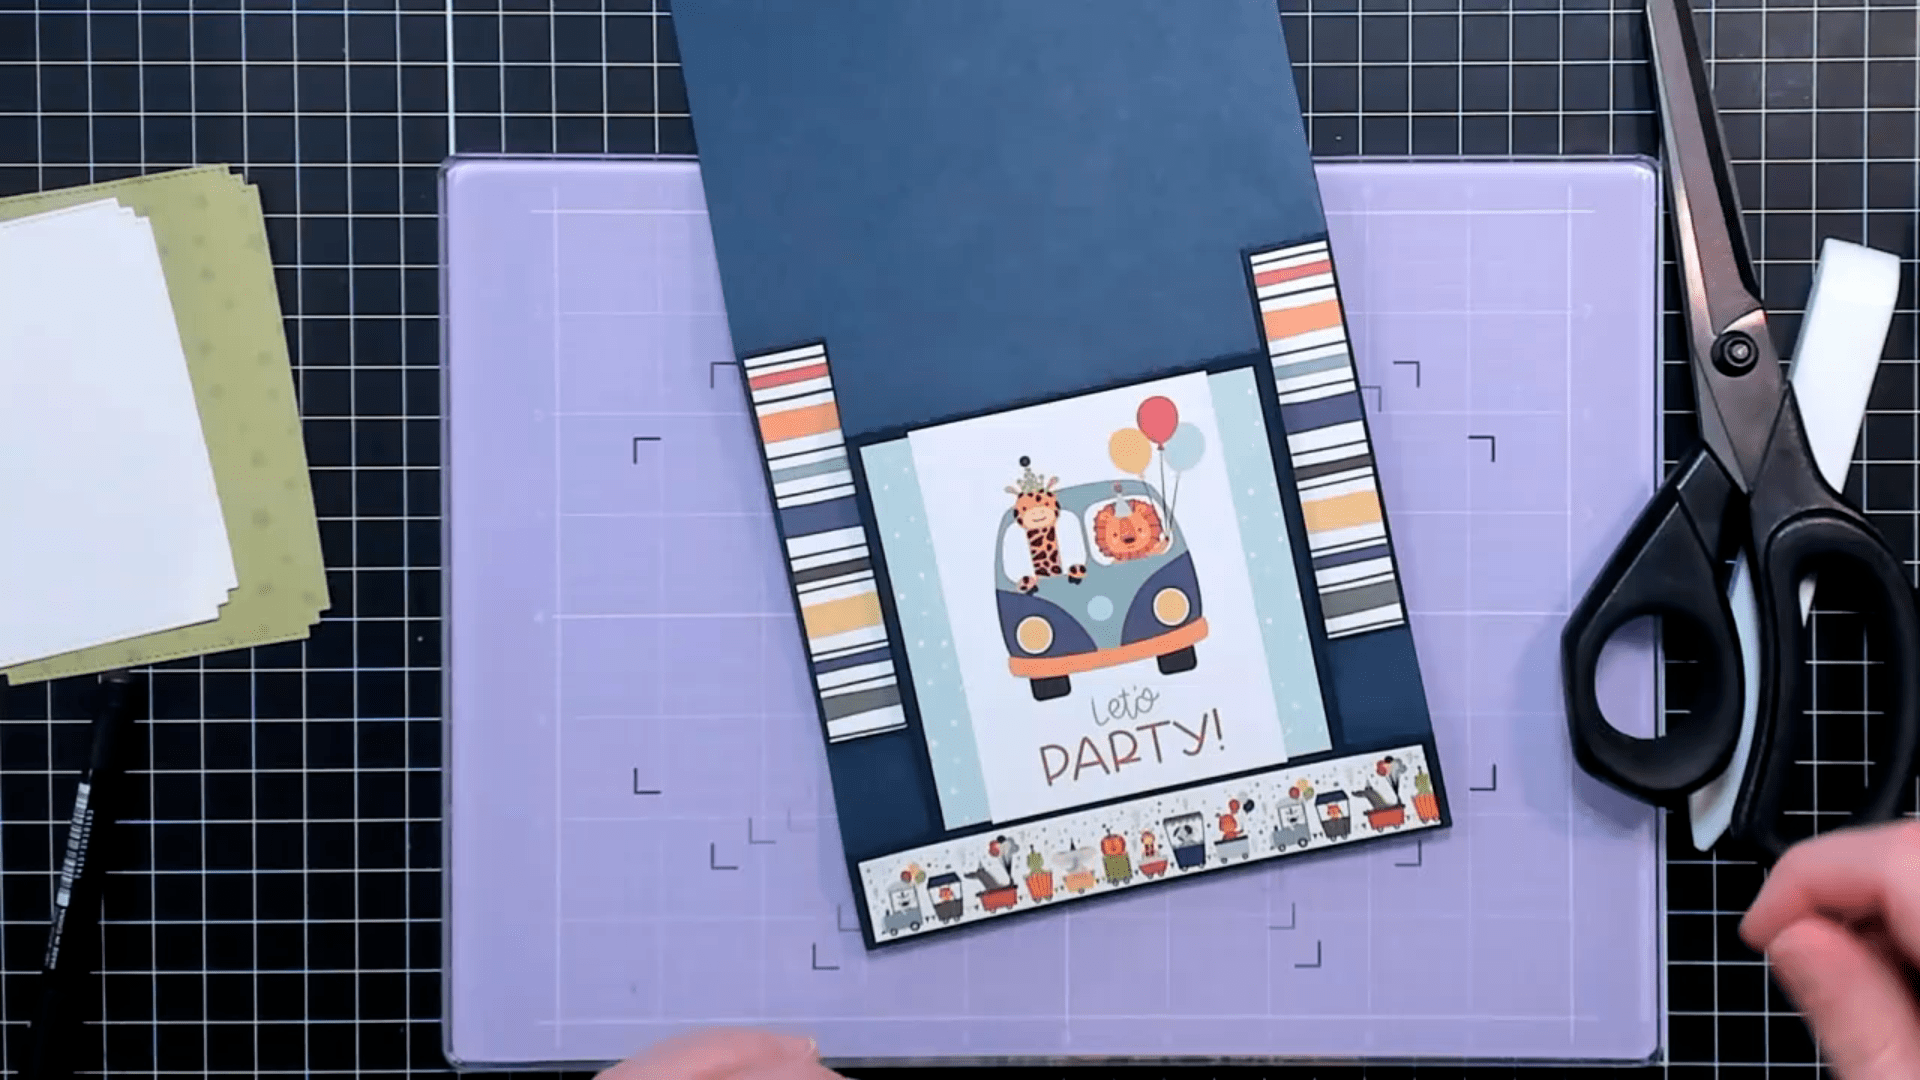

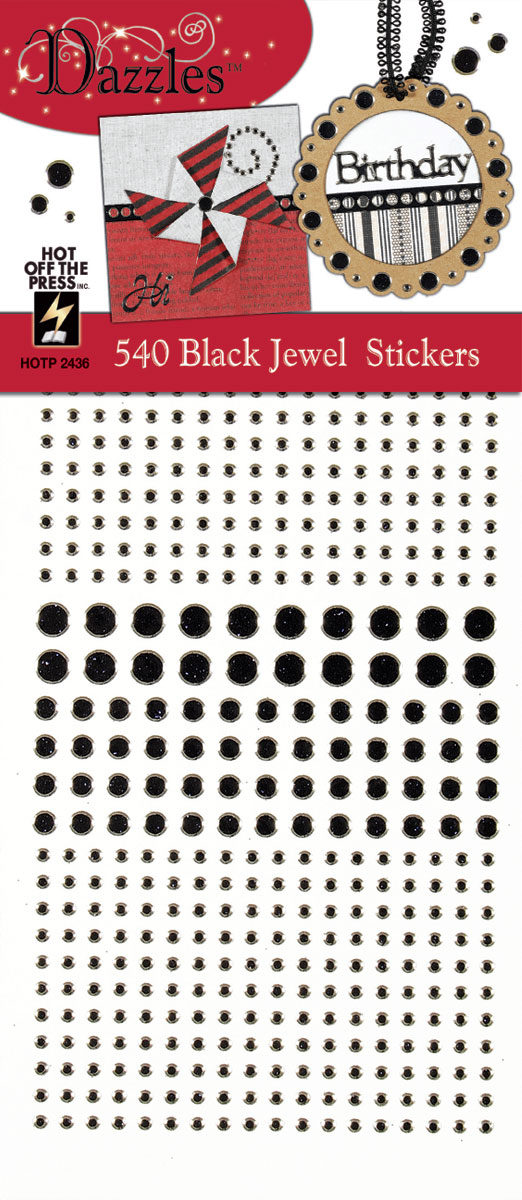
I added some Black Dazzle Stickers from Paper Wishes to the card focal image to add a little bit of sparkle and shine to the card front.
Center Step Card Design Helper:
On the Paper Wishes website, they offer a free template download on the Center Step die page, which will help to trim out patterned paper or cardstock to cover the whole card front. You could print the template right on to a piece of patterned paper and cut it out, or cut out the template and use it to trace onto another piece of paper.
Decorating the Inside of the Card
For the inside of the card, I used the Memory Box Matinee Rectangle Layers Die Set to cut a mat panel from the patterned paper, and a smaller one from Neenah Solar White 80lb. cardstock. I added the layers together and then used my tape runner to adhere the panels to the card base.
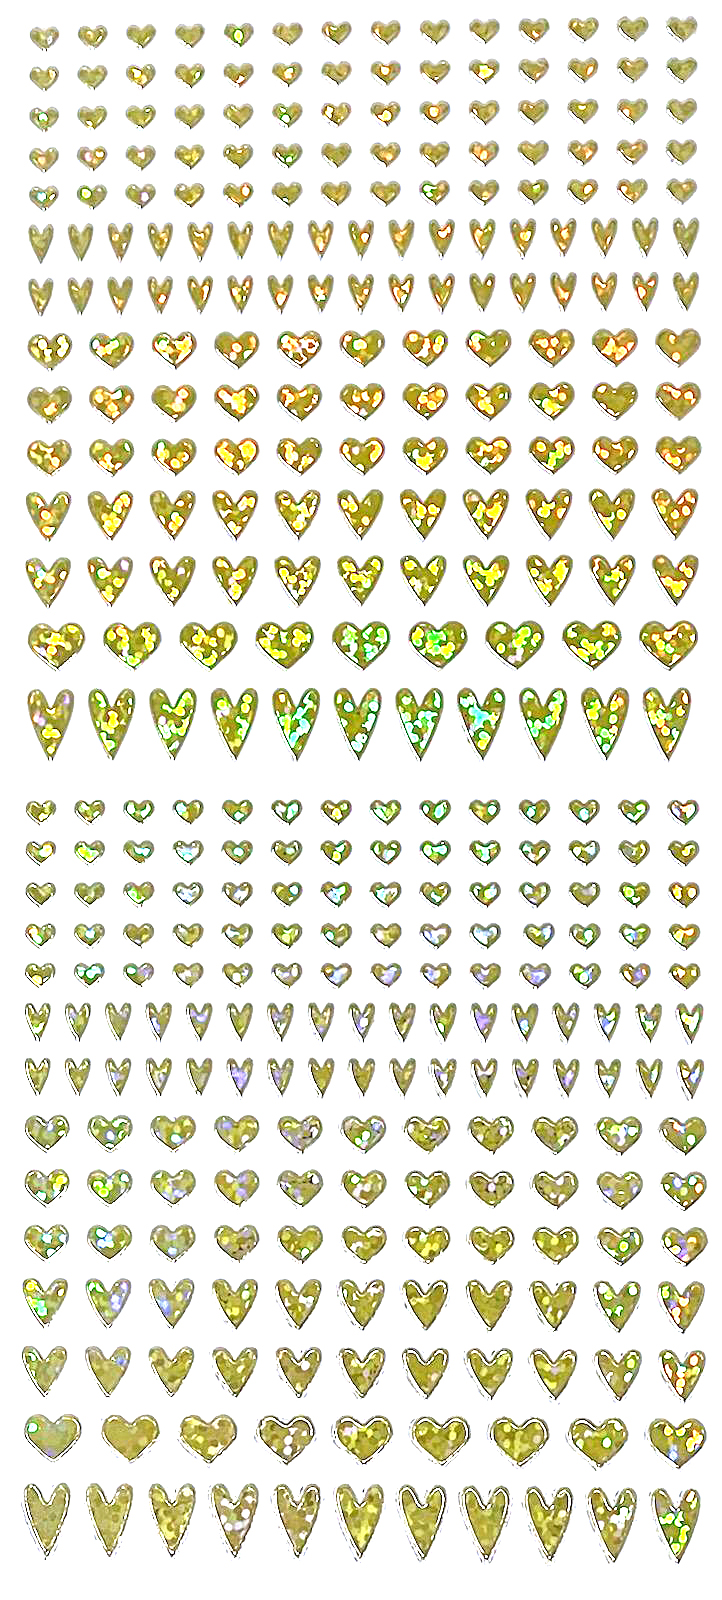
Next, I used a bunch of the stickers from the birthday collection and added them to the panel and along the edges of the inside card base. I also added a Gold Heart Dazzle Sticker from Paper Wishes on the bottom left.
Envelope for Center Step Card
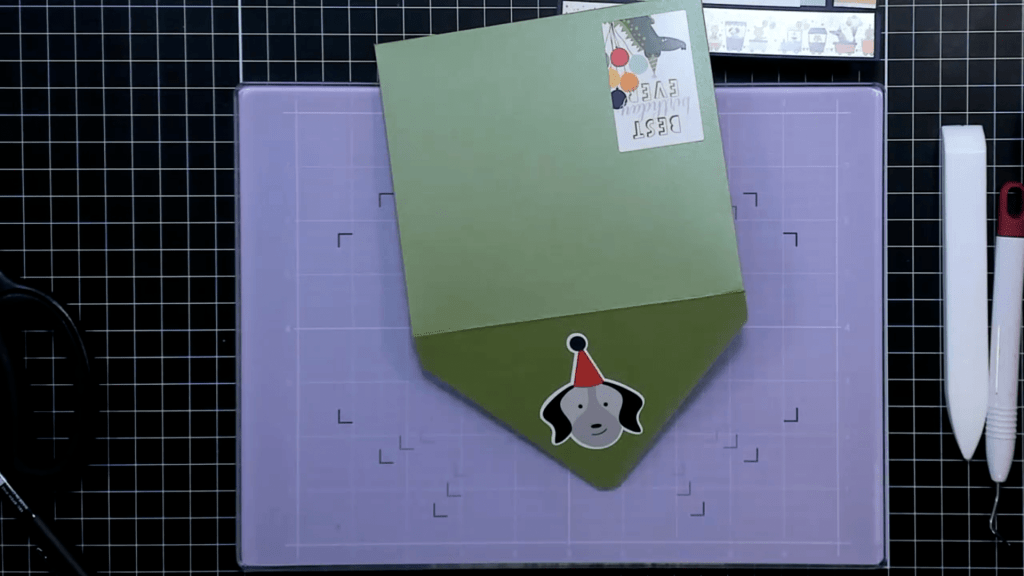
I made a coordinating 5 7/8 x 5″ envelope for this card using the 1-2-3 Punch Board from We R Memory Keepers, Paper Accents Rainbow Pearl Cardstock, and Echo Park’s A Birthday Wish collection stickers.

For more information on making custom envelopes for cards, check out my Punch Board playlist on YouTube. If you are looking for additional ways to decorate envelopes, I have two videos with lots of ideas for that: Five Ways and Five More Ways to Decorate Envelopes.
Step-by-step tutorial:
I hope you enjoyed this project! For more card-making ideas, check out my YouTube playlist and card-making blog posts.
Product Information
Here are the products I used in today’s project. Please consider shopping through my affiliate links, as it greatly helps out my channel at no extra cost to you. Thanks so much for supporting me and my channel!
**Use code EGIDESIGNS for 15% off your order at Glassboard Studio**
|


Additional Products Used:
- Memory Box: Matinee Rectangle Layers Die Set
- Paper Accents: Rainbow Pearl Cardstock pad