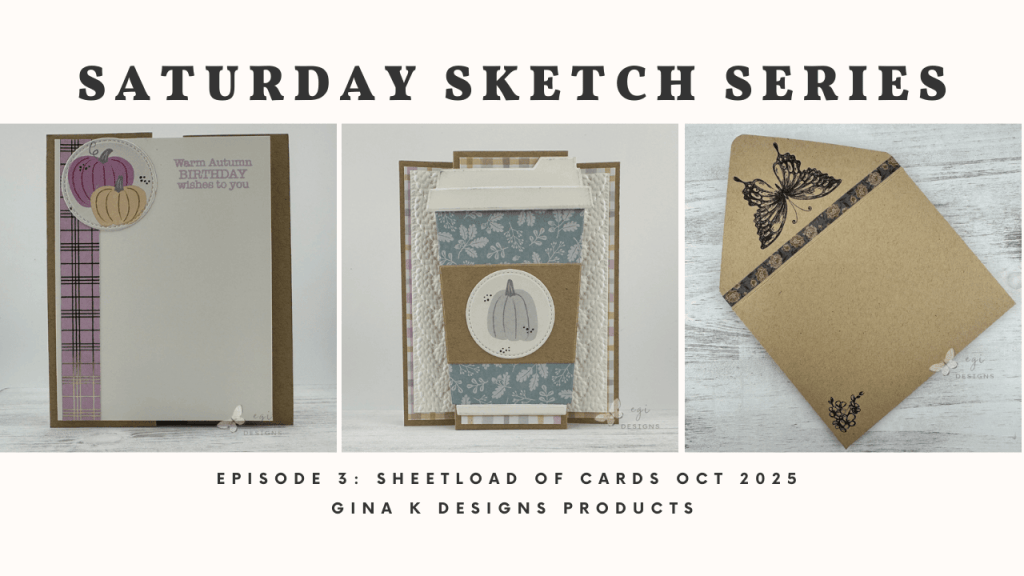
Saturday Sketch Series-Ep. 3: Sheetload of Cards Oct 2025
This is the 3rd episode of my new card-making series, Saturday Sketch Series! In this episode, I made a cozy Autumn Birthday card using the October 2025 Sheetload of Cards Sketch with Gina K Products. All products used in making this project are listed below.
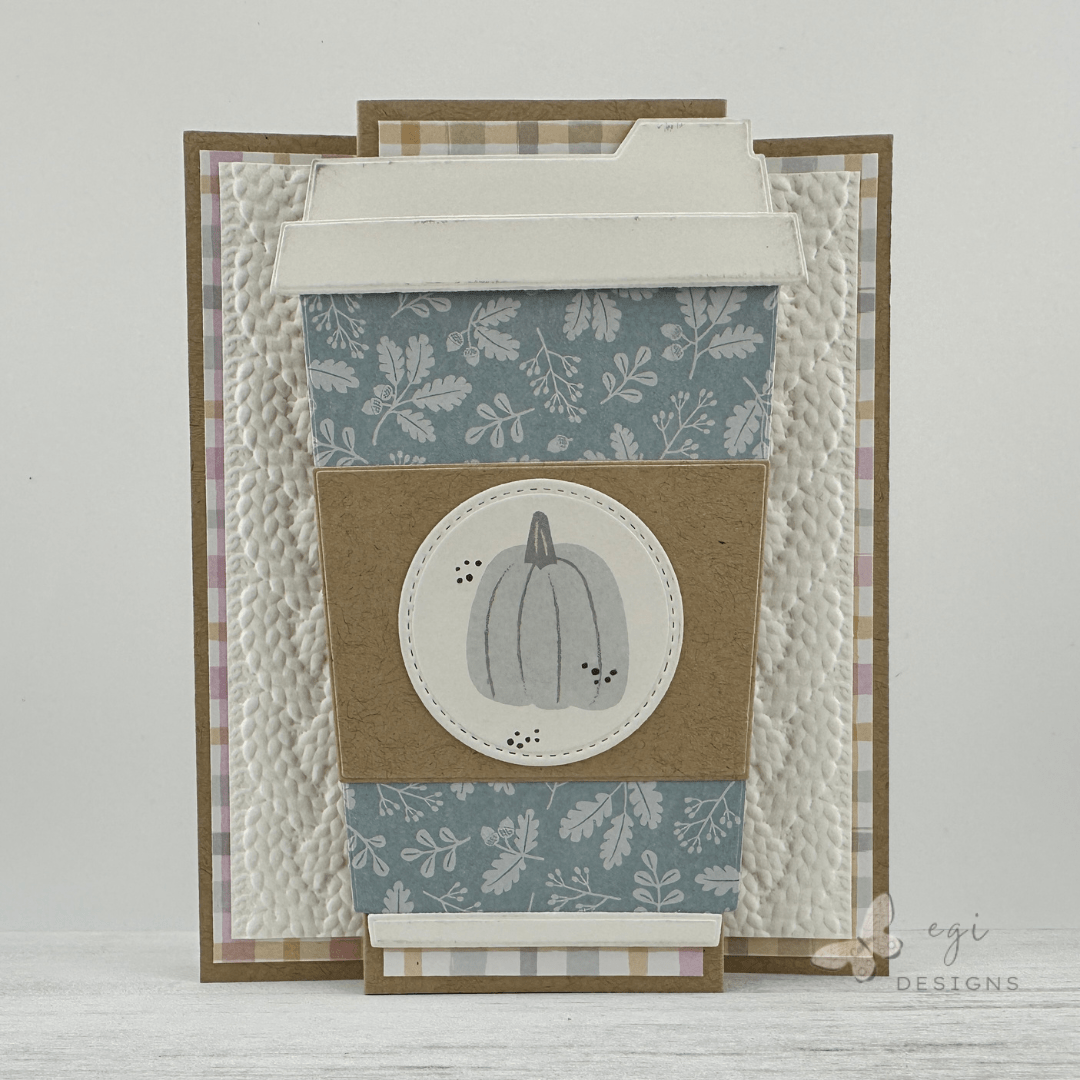
In this series, I will find a card sketch on the internet and make a card (or more) using the card sketch. If making more than one card, the first one will stick closely to the sketch, while the others will have slight changes or demonstrate different techniques. In today’s card, I tweaked the sketch a bit by adding embossed panels on the flaps and back of the card. I also replaced the circle focal image with a coffee cup die cut.
Measurements that differ from the sketch:
Embossed Panel on flaps (2): 1 1/2 x 5"
Embossed Panel on back: 1 3/4 x 5"
Mat Layer on back: 2 x 5 1/4"
Skinny Strip on back: 1/2 x 5"

**See the Call Me Crafty Al Sheetload of Cards October 2025 Card Sketch video for additional measurements**
Saturday Sketch Series: Card Sketch Information
To make the cards, I used the Call Me Crafty Al’s Sheetload of Cards Sketch for October 2025. Her video is linked in the box above, where you can download the printable card sketch. This card sketch makes eight cards if you follow the directions exactly. There are also instructions on how to make one card if desired. The card base is a fun fold and can stand up on its own for display.
Paper Products Used
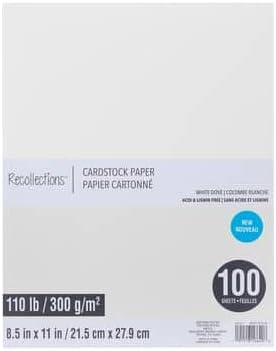
I used the Craftsmith Berry Tapestry Fall Paper Pad for the plaid-patterned mat layers, pumpkin images, and skinny strip on the back of the card. The card base and cup sleeve were made from Gina K Designs Kraft cardstock. The cup lid, bottom, back panel, and embossed panels were cut from Recollections White Dove cardstock.


I cut the patterned paper panels according to the sketch directions and added them to the card base. Then I added the embossed panels on top of the plaid panels.
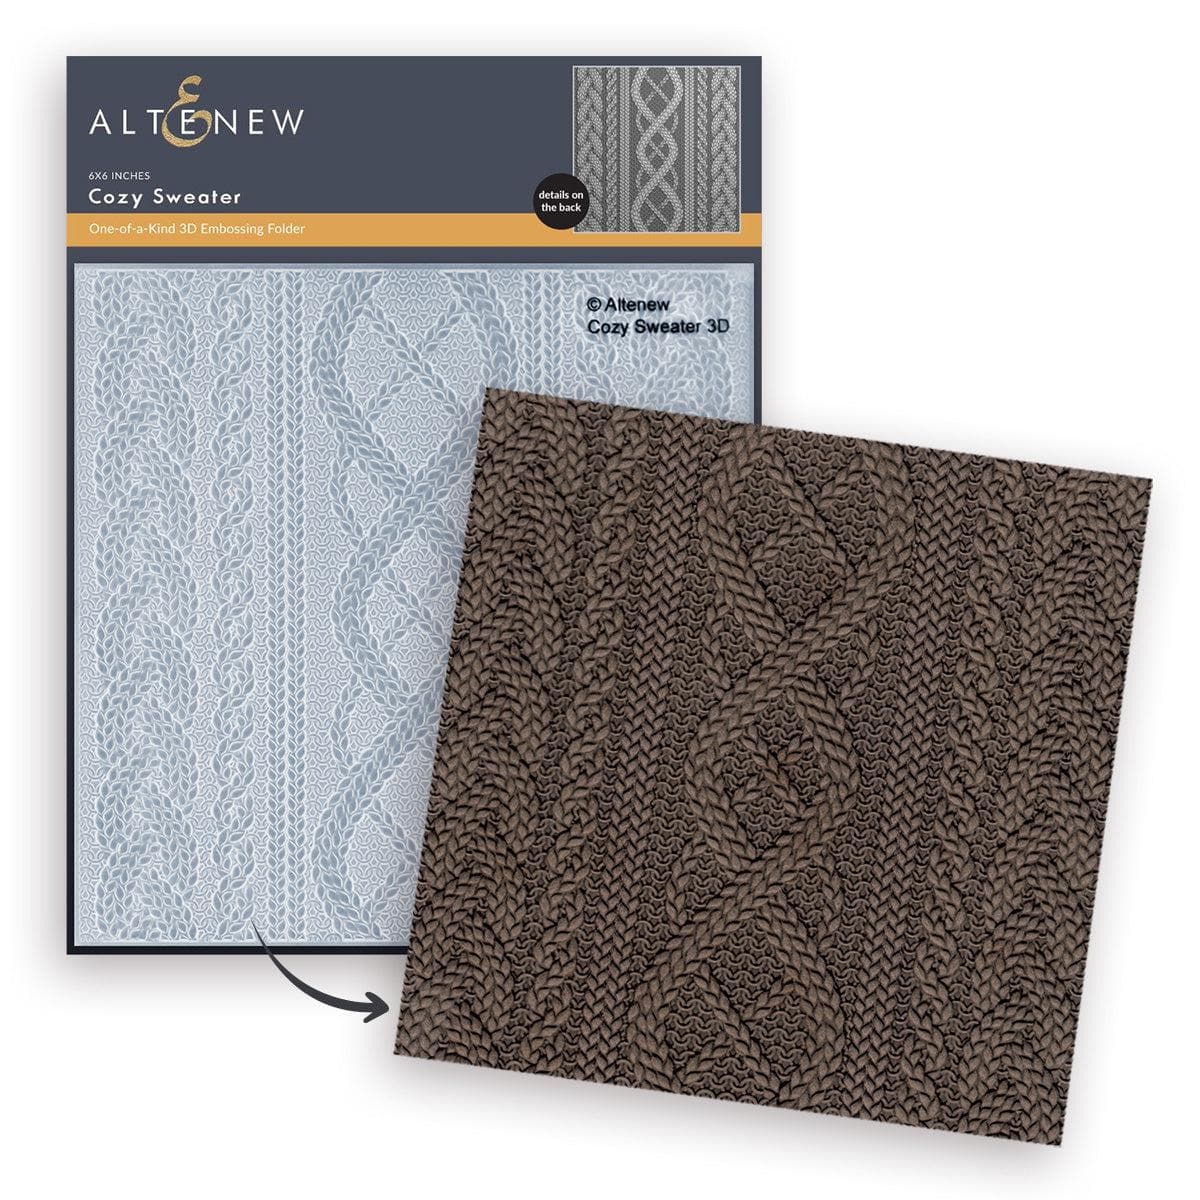
Cozy Sweater Embossed Panels
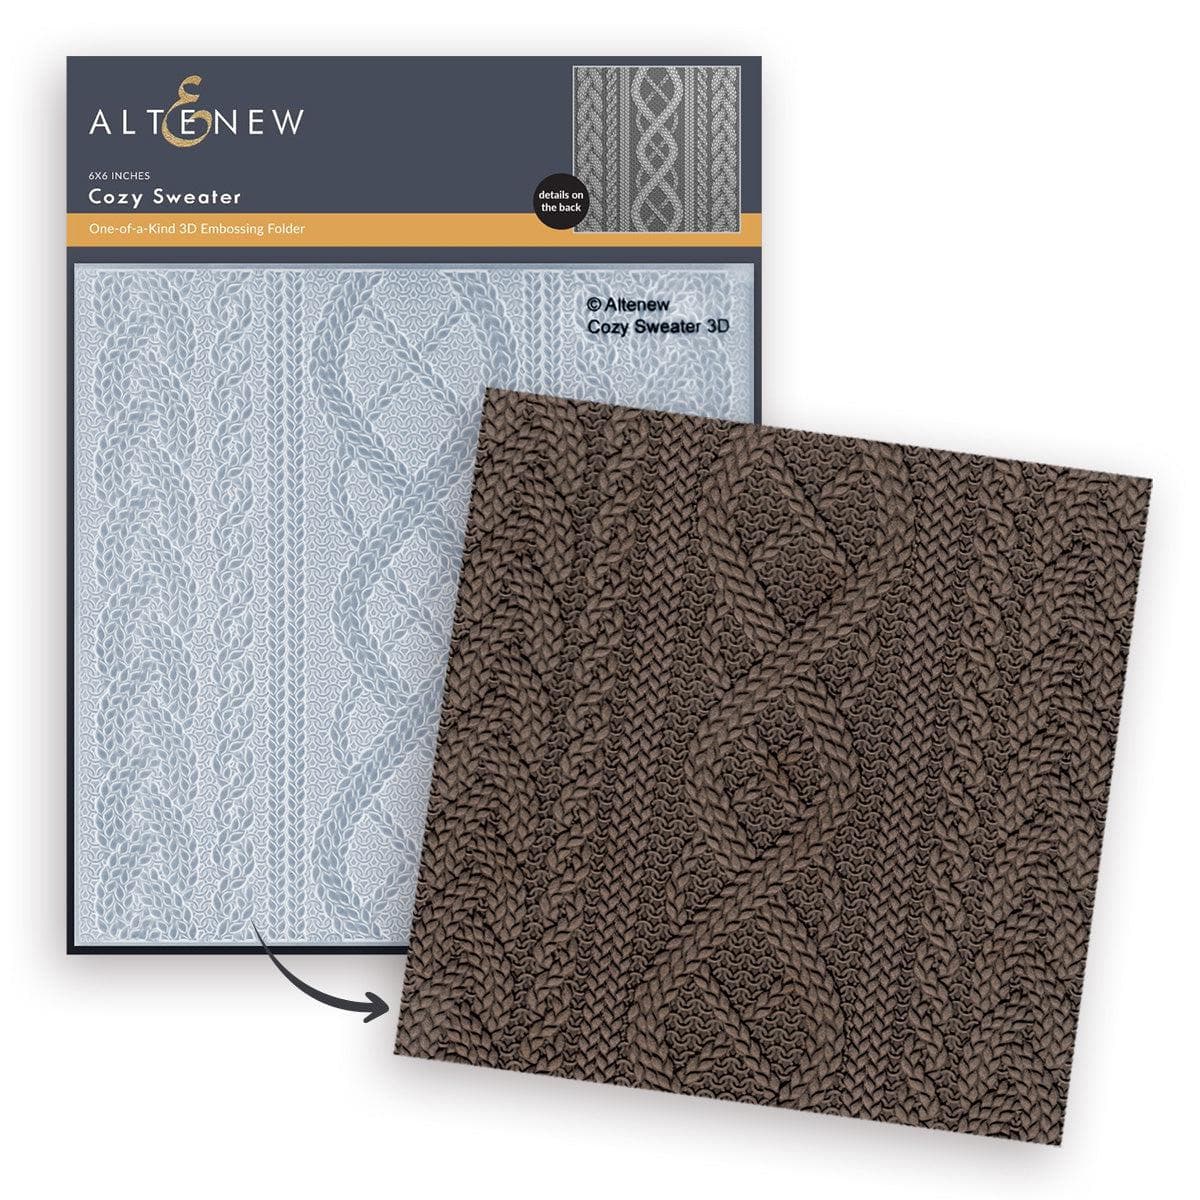
For the embossed panels, I used the Altenew Cozy Sweater Embossing Folder on a 6 x 6″ panel of White Dove Cardstock. I wanted the card flaps to have mirrored embossing panels, so I cut the pieces from the left side, and then the right side of the embossed panel. Then I cut a section from the middle of the embossed image to add to the back side of the card base.
Assembling the Coffee Cup
To add some strength to the coffee cup die cut, I used Altenew Adhesive Sheets to adhere the blue patterned paper to a piece of Kraft cardstock. Then I used the Gina K Designs Give A Gift die set to cut out the cup shape from the layered paper.

I used the circle die from the set to cut two pumpkin images from the patterned paper; one for the coffee cup wrap and one to decorate the back panel.
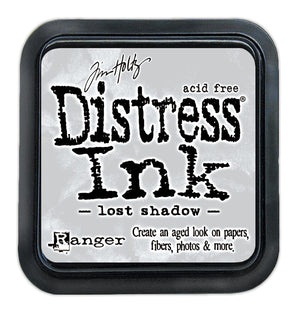
To add a bit of dimension to the coffee lid layers and bottom of the cup, I used Distress Ink in Lost Shadow along all the edges of the White Dove die cuts for a little shading.
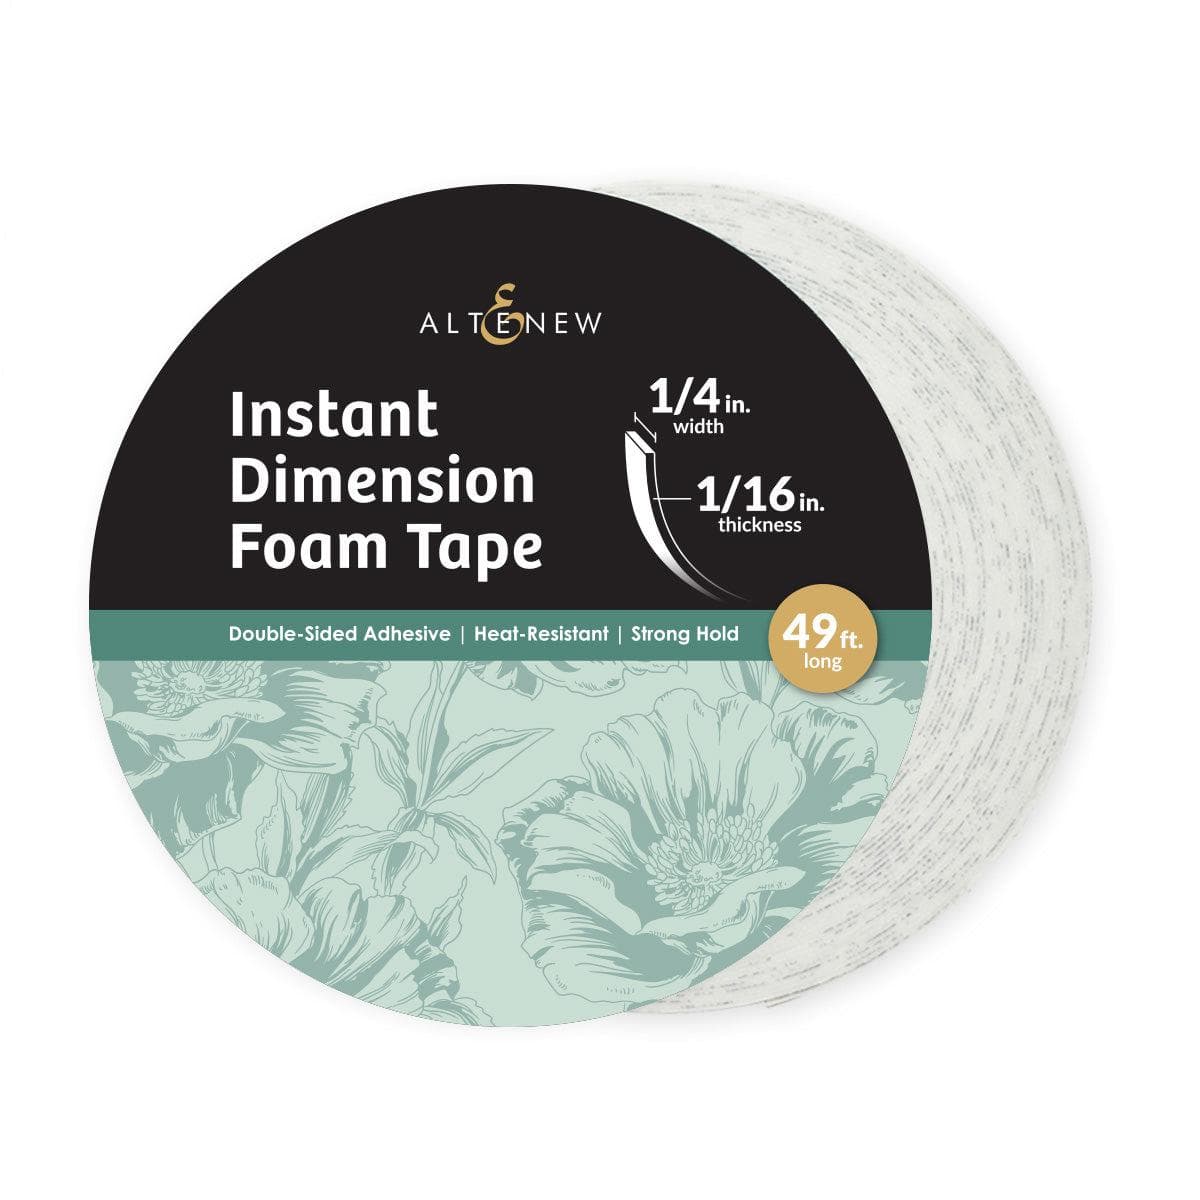
I added the cup wrap to the front of the coffee cup, then added the blue pumpkin circle to the center of the wrap. Using glue, I adhered the coffee cup to the front of the card, being sure to only add adhesive to the center of the cup. Then I layered up the coffee lid pieces, and added it to the top of the coffee cup using Altenew 1/4″ x 1/16″ foam tape and glue.
Decorating the “Inside” of the Card
I cut a panel from White Dove cardstock, and added a skinny strip of the patterned paper towards the left side. Then I added the second pumpkin circle next to that for added decoration. I stamped the Autumn Birthday sentiment towards the right side using Gina K Designs Lovely Lavender ink.
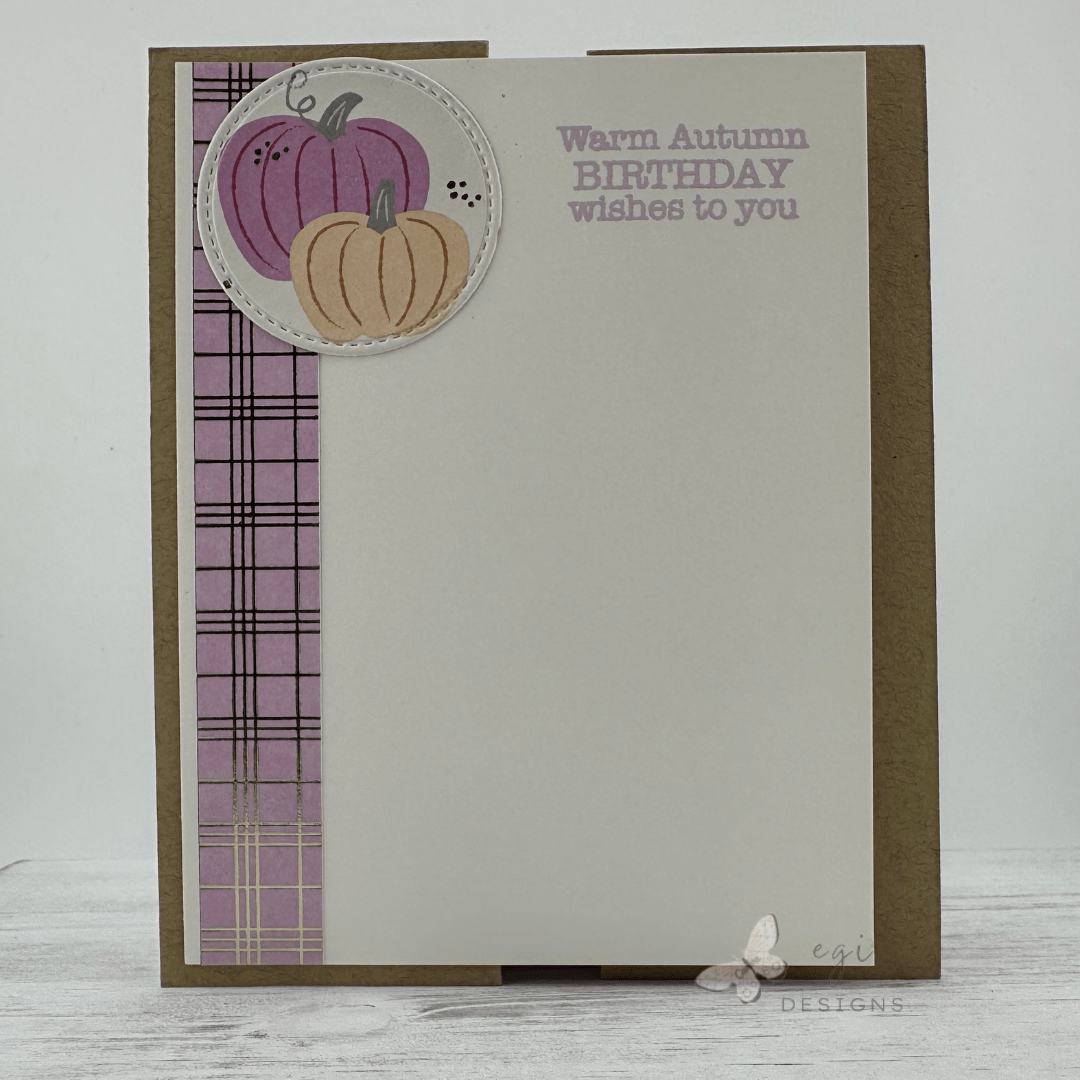
For more ideas on decorating the inside of cards, I have a video with lots of fun ideas for that!
Decorating the Envelope
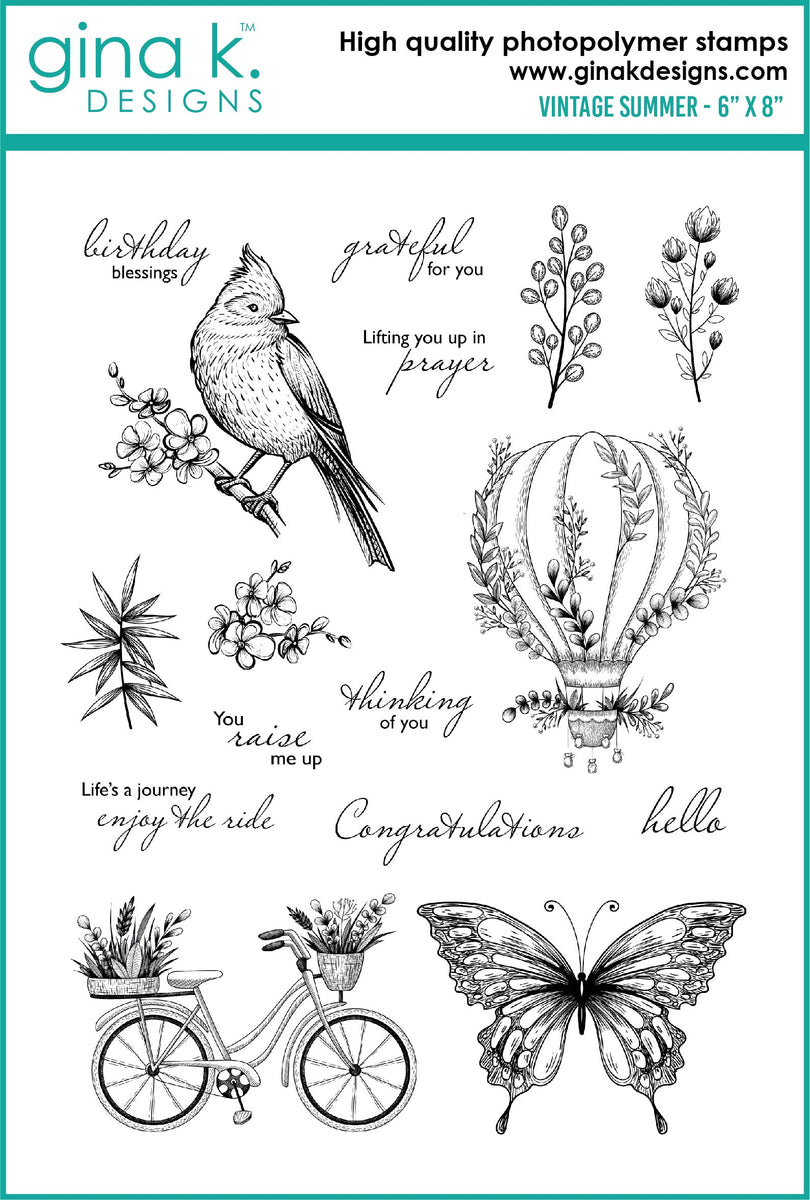
I made the A2 envelope on my 1-2-3 Punch Board from We R Memory Keepers from Gina K Designs Kraft Cardstock. I added a stamp on the front and back from the Gina K Designs Vintage Summer Stamp Set, and added a piece of Archer & Olive Antique Floral Washi Tape to the top of the flap.

For more information on making envelopes for cards of any size, check out my Punch Board playlist on YouTube.
If you are looking for additional ways to decorate envelopes, I have two videos with lots of ideas for that: Five Ways and Five More Ways to Decorate Envelopes.

Step-by-step tutorial:
I hope you enjoyed this project! For more card-making ideas, check out my YouTube playlist and card-making blog posts. I also have a Sheetload of Cards playlist if you want to check it out.
Product Information
Here are the products I used in today’s project. Please consider shopping through my affiliate links, as it greatly helps out my channel at no extra cost to you. Thanks so much for supporting me and my channel!
**Use code EGIDESIGNS for 15% off your order at Glassboard Studio**
|









Additional Products Used:
- Craftsmith: Berry Tapestry Fall Paper Pad


