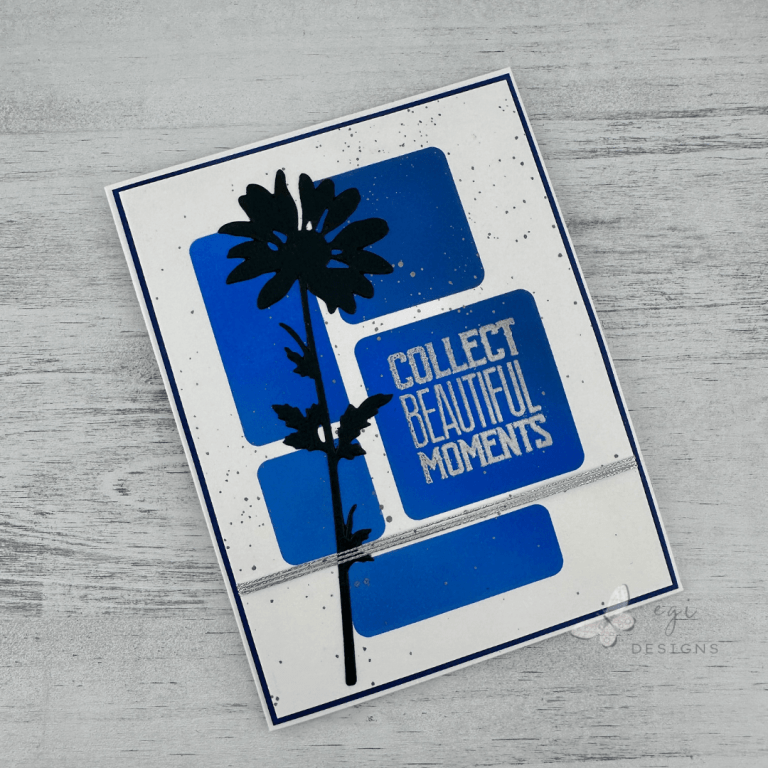
Foiled Sympathy Card Using the Peaceful Petals Collection from Gina K Designs
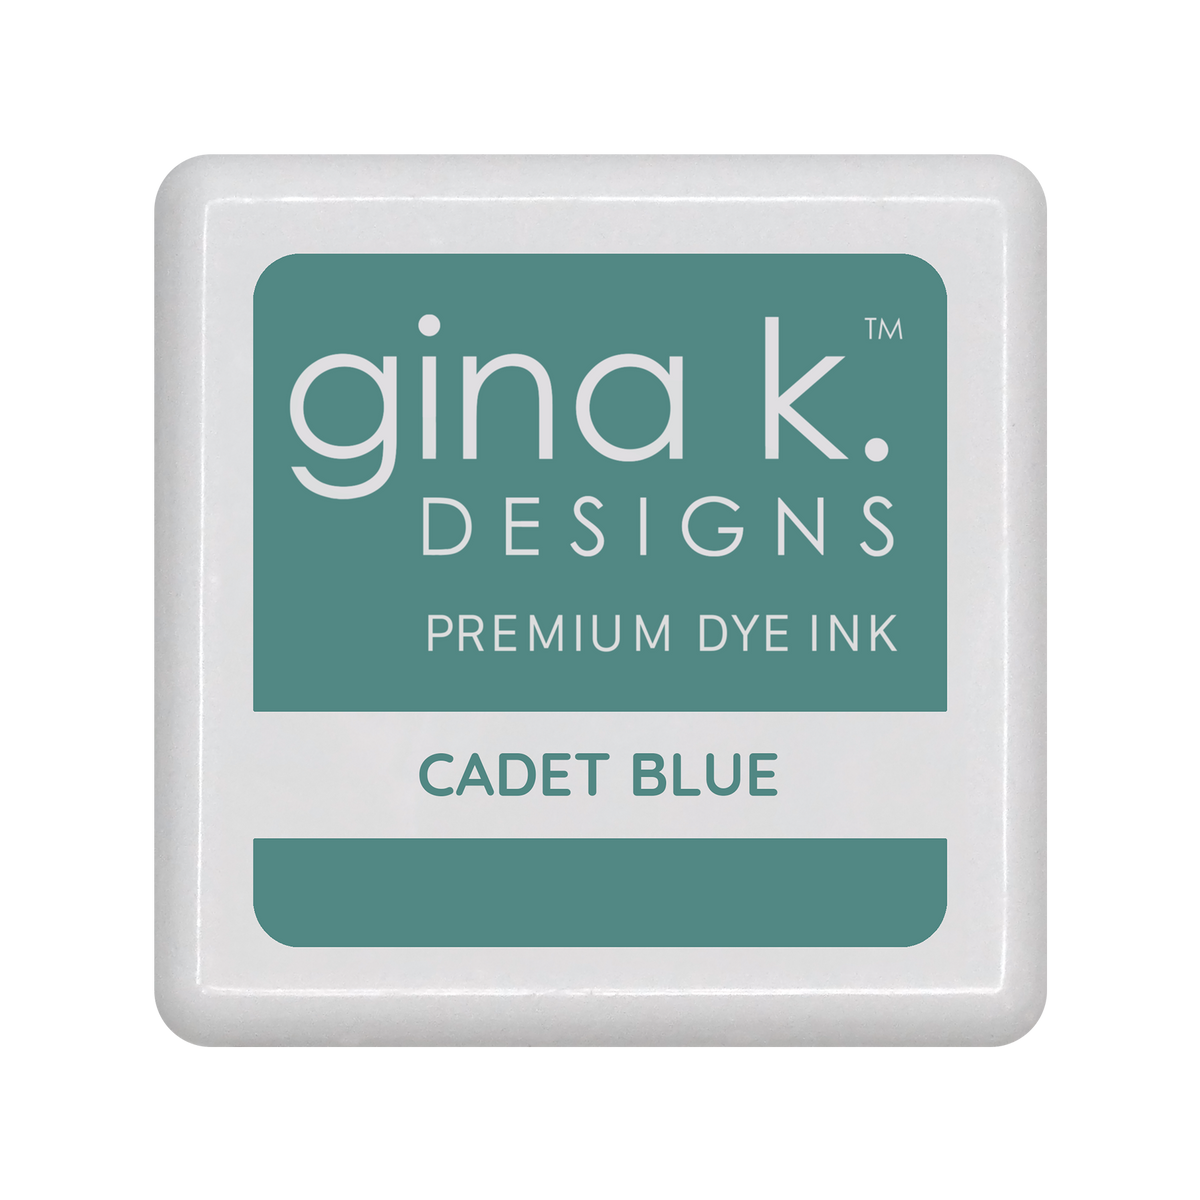
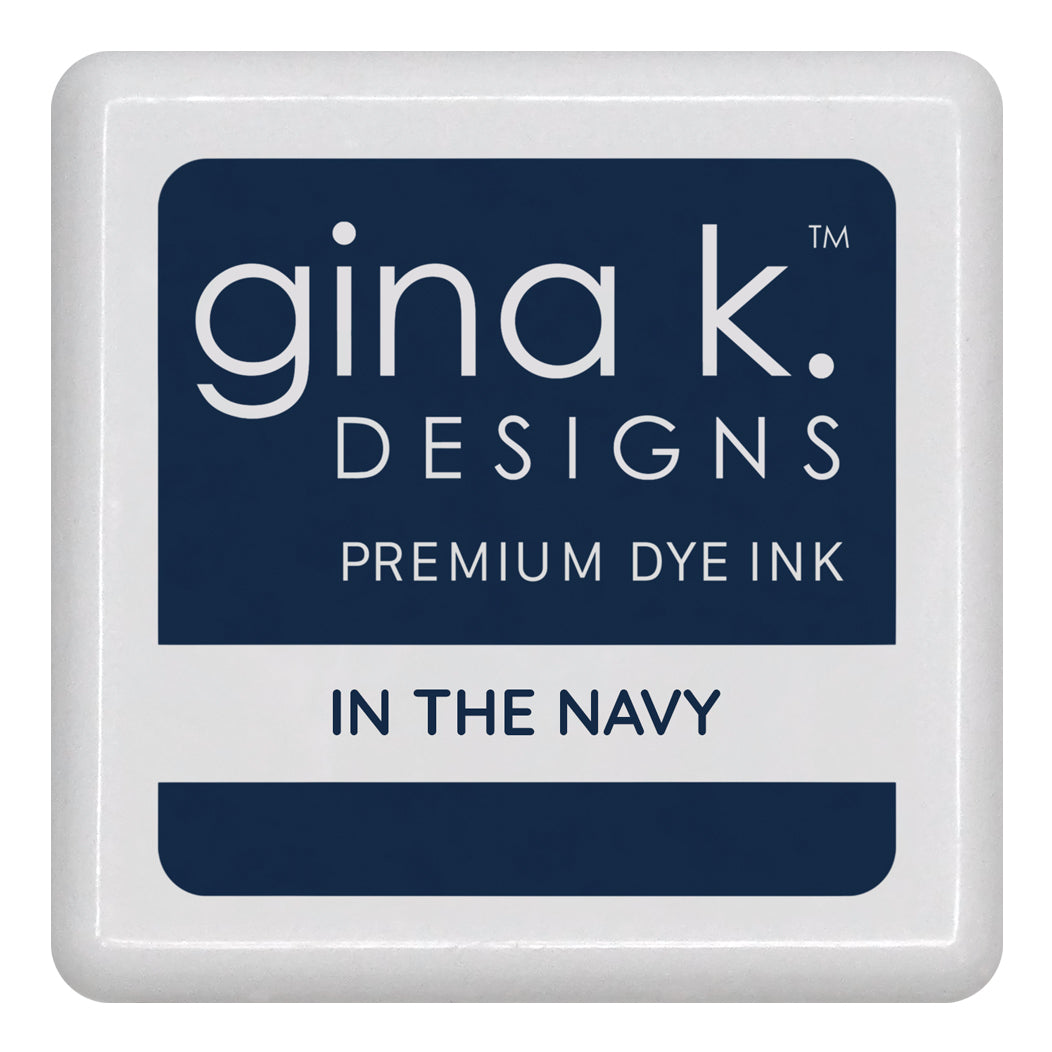
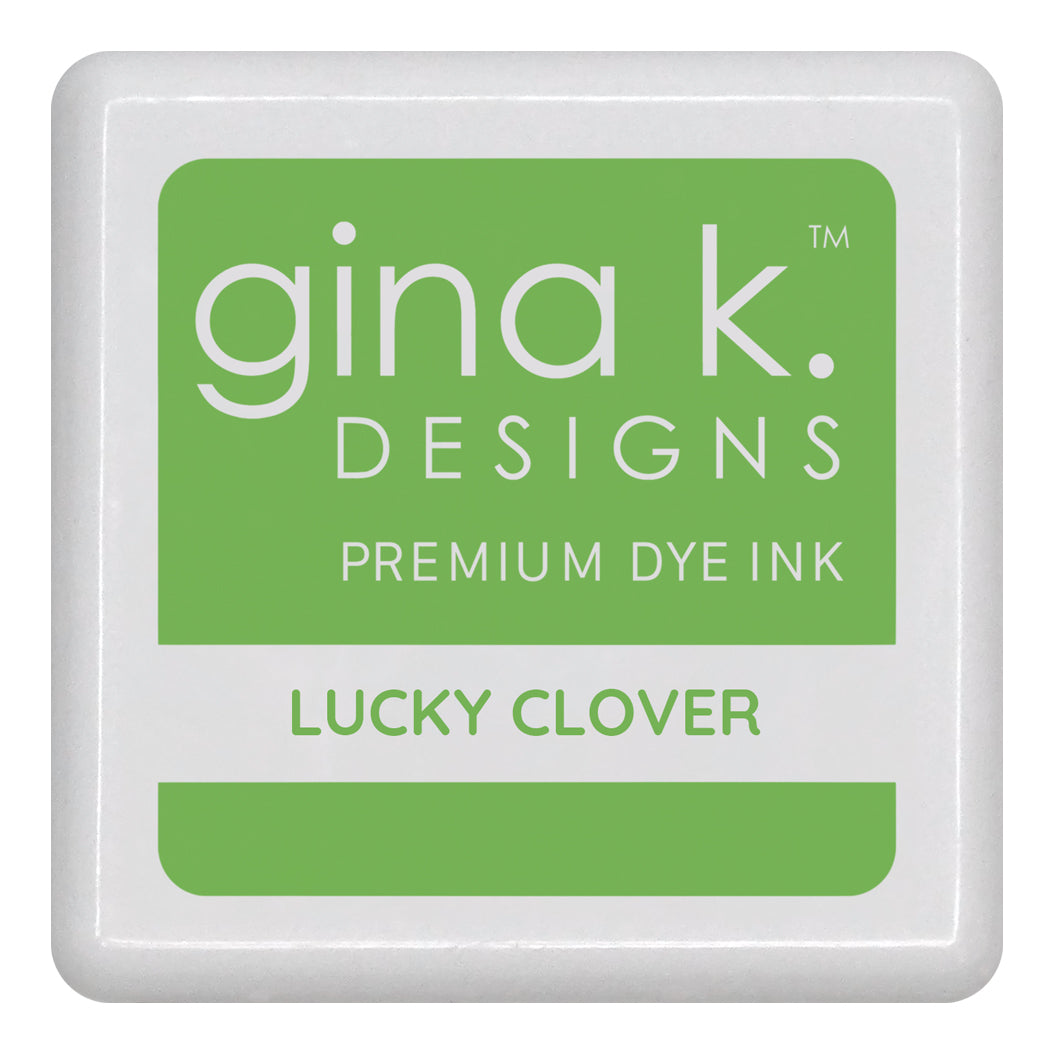
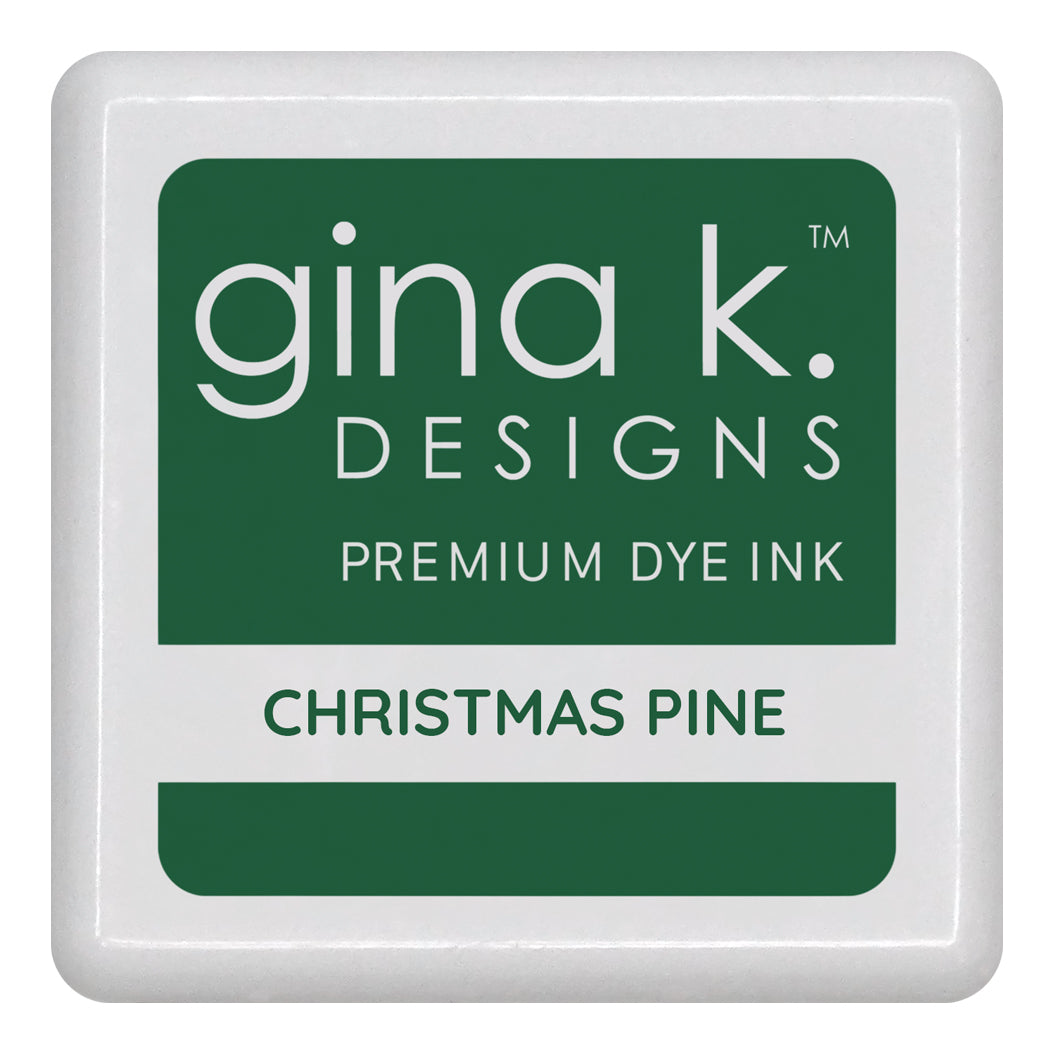
In today’s project, I made a stunning and easy Sympathy mini slimline card using the new Peaceful Petals Collection from Gina K Designs. I foiled the Peaceful Petals Poly-glaze sheets with Black Onyx Foil, and used Cadet Blue, In the Navy, Lucky Clover, and Christmas Pine inks for the stenciling. All products used in today’s card tutorial project are listed below.

Measurements
Measurements:
Mini Slimline Card Base: 3 1/4 x 6 1/4"
6 1/2 x 6 1/4", Score at 3 1/4"

White Panel: 2 3/4 x 5 3/4"
Black Mat: 2 7/8 x 5 7/8"

Inside Panel: 2 3/4 x 5 3/4"

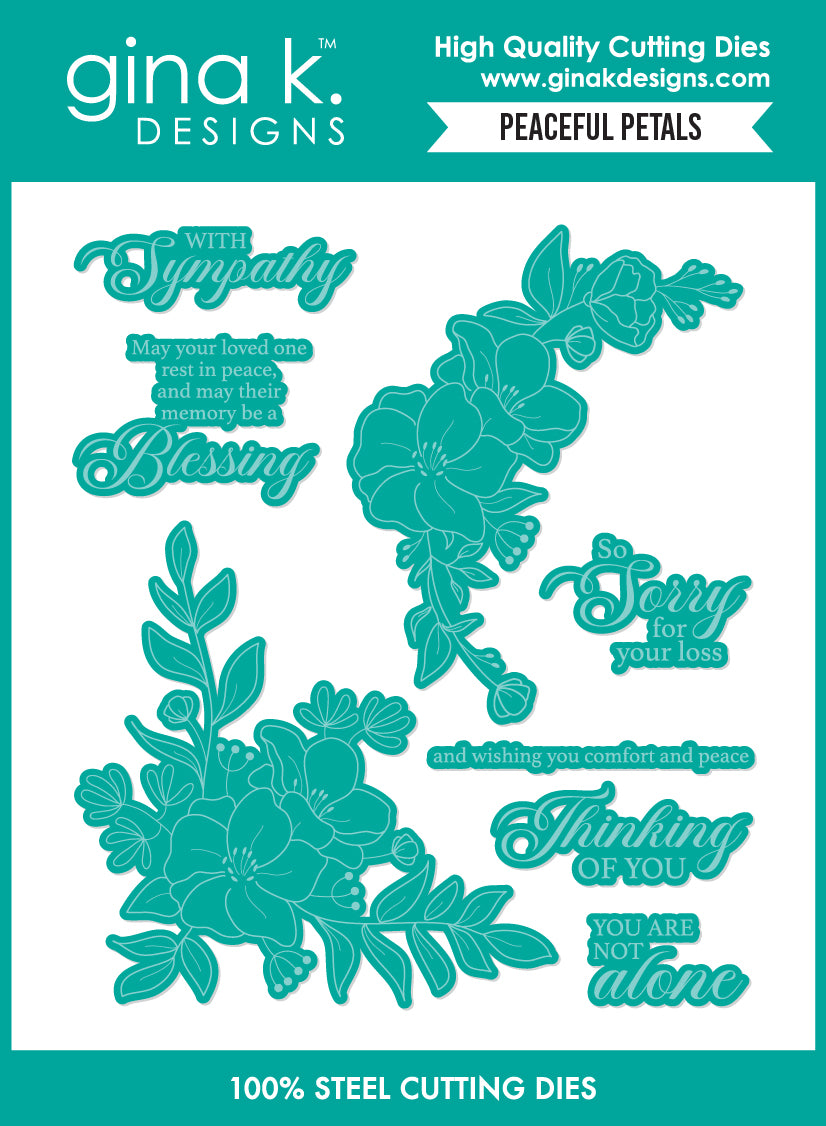
NEW Gina K Designs Products
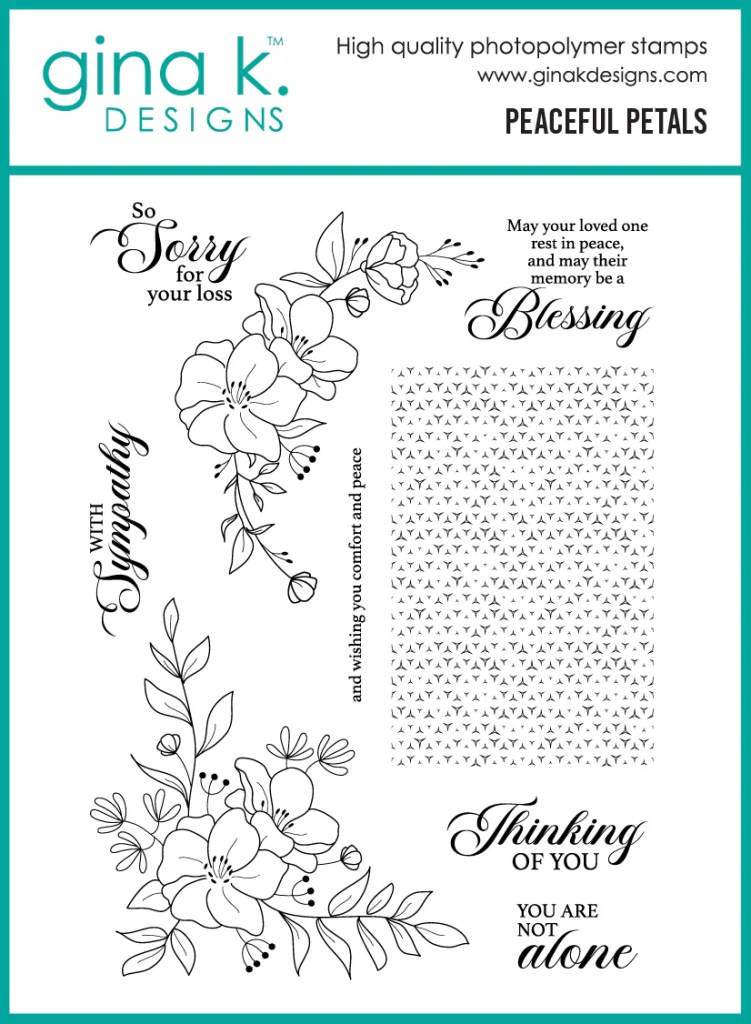
To create this card, I used the new Peaceful Petals Collection, which contains a stamp set, die set, stencil set, and poly-glaze sheets. This collection was originally included in a Crop and Create Delivered class taught by Gina, and now it is available for purchase.


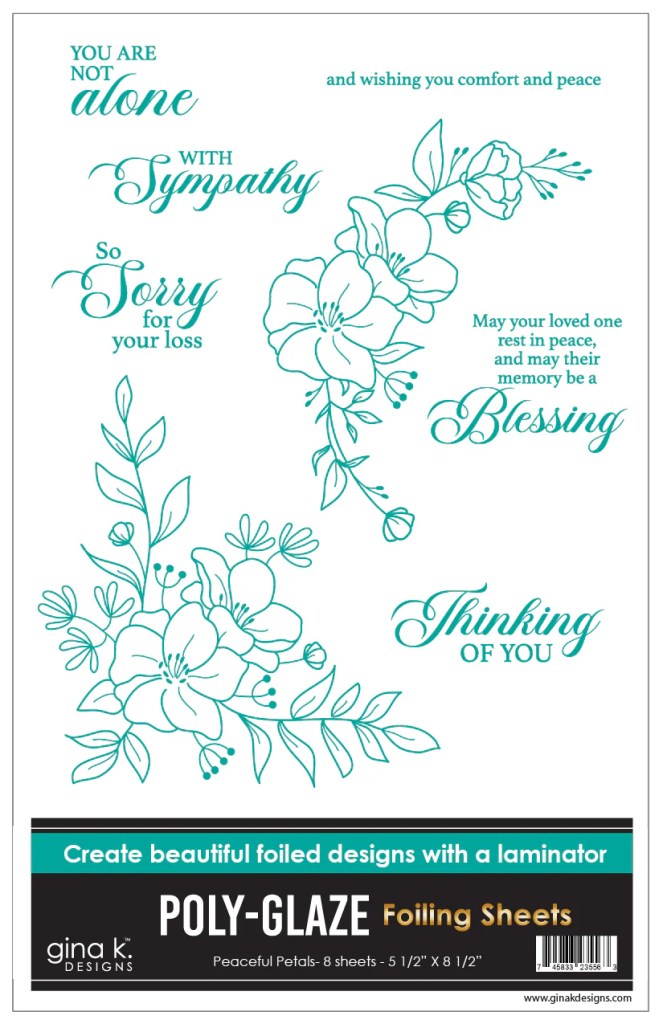
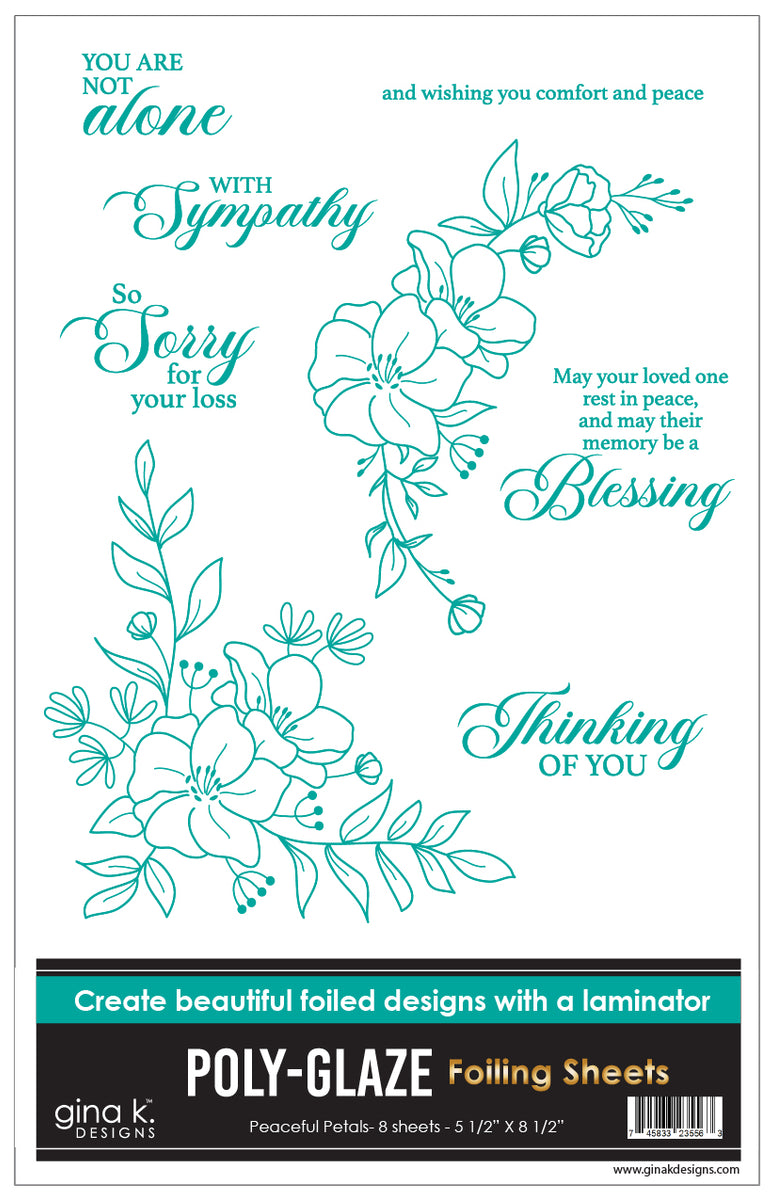
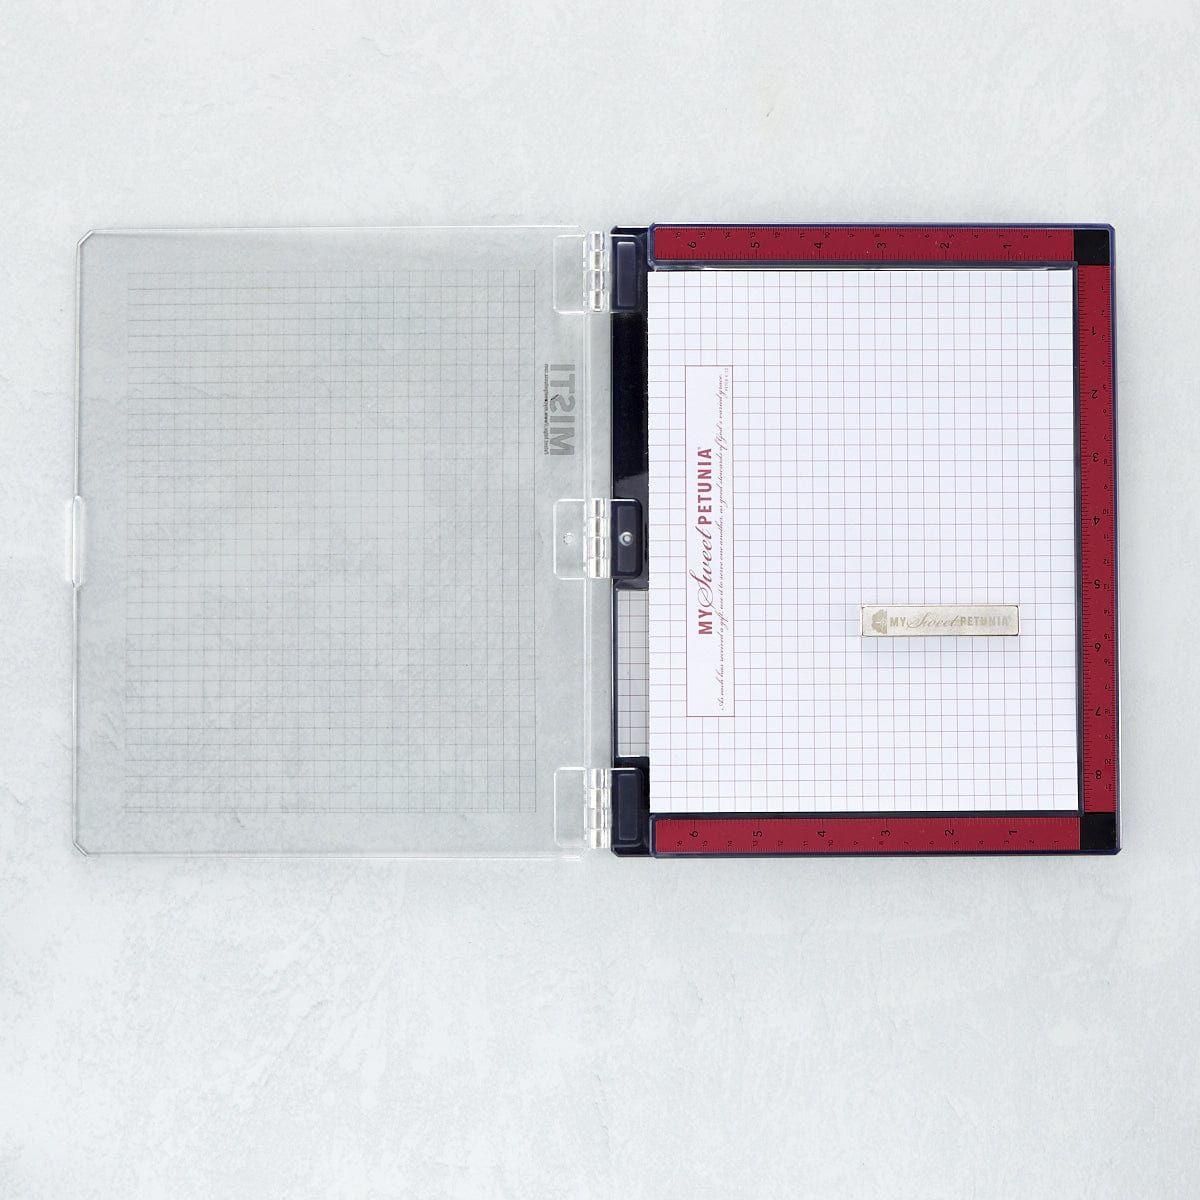
Using the Poly-Glaze Sheets
I first cut out the smaller floral spray image and two sentiments from the poly-glaze pack. Next, I used my We R Memory Keepers Magnetic Mat and a Cricut Rotary Trimmer to cut the Gina K Designs Black Onyx Fancy Foil to fit the appropriate size for the images. While I was doing this, I warmed up my Mini Minc Machine to level 3, and used a Swiffer cloth to dust the foil and images.


Once the Minc Machine was at temperature, I ran the floral image and the two sentiments through the machine. Using the poly-glaze sheets for foiling means perfect foiling every time, and the images turned out amazing! The Black Onyx foil is lovely because you get that black outline that looks like stamping, but when it catches the light, the black lines are so shiny and pretty.
Related Video:
I have a step-by-step tutorial video on how to foil using Poly-Glaze Sheets if you aren’t familiar with the process.

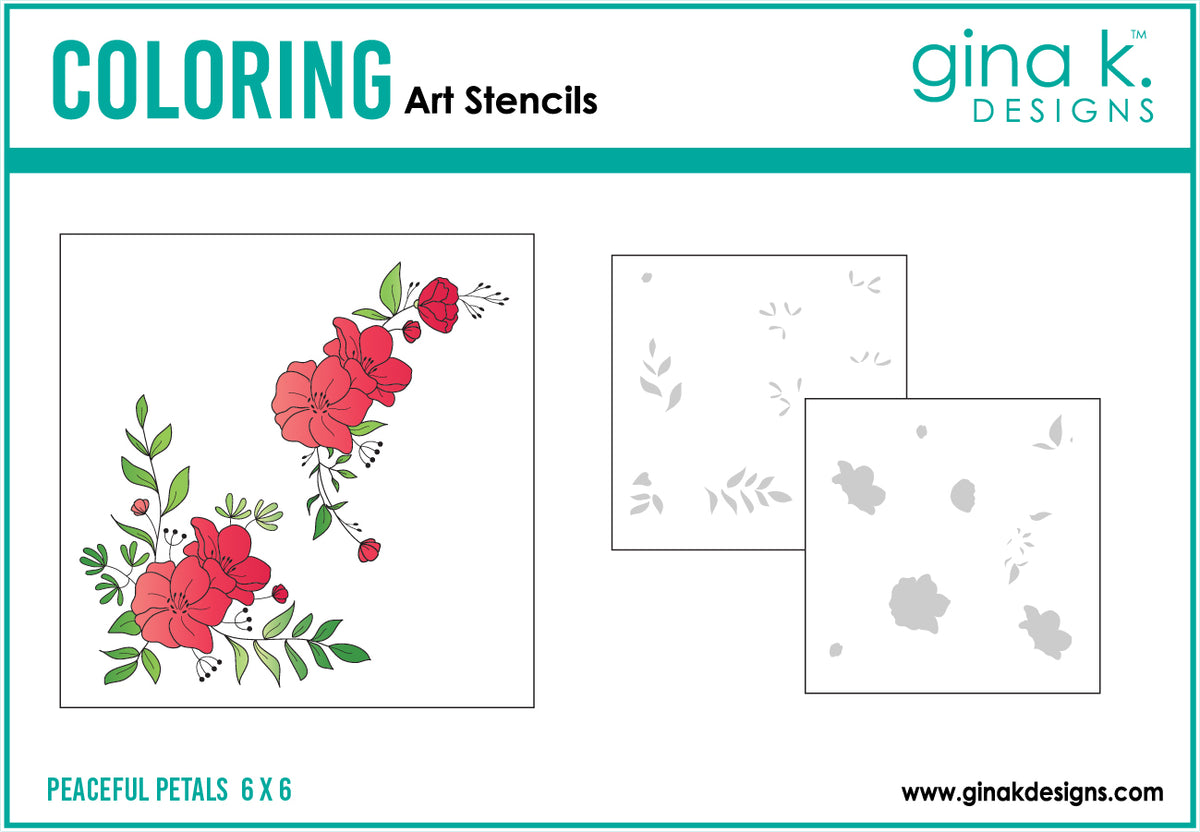
Stenciling Floral Spray Image
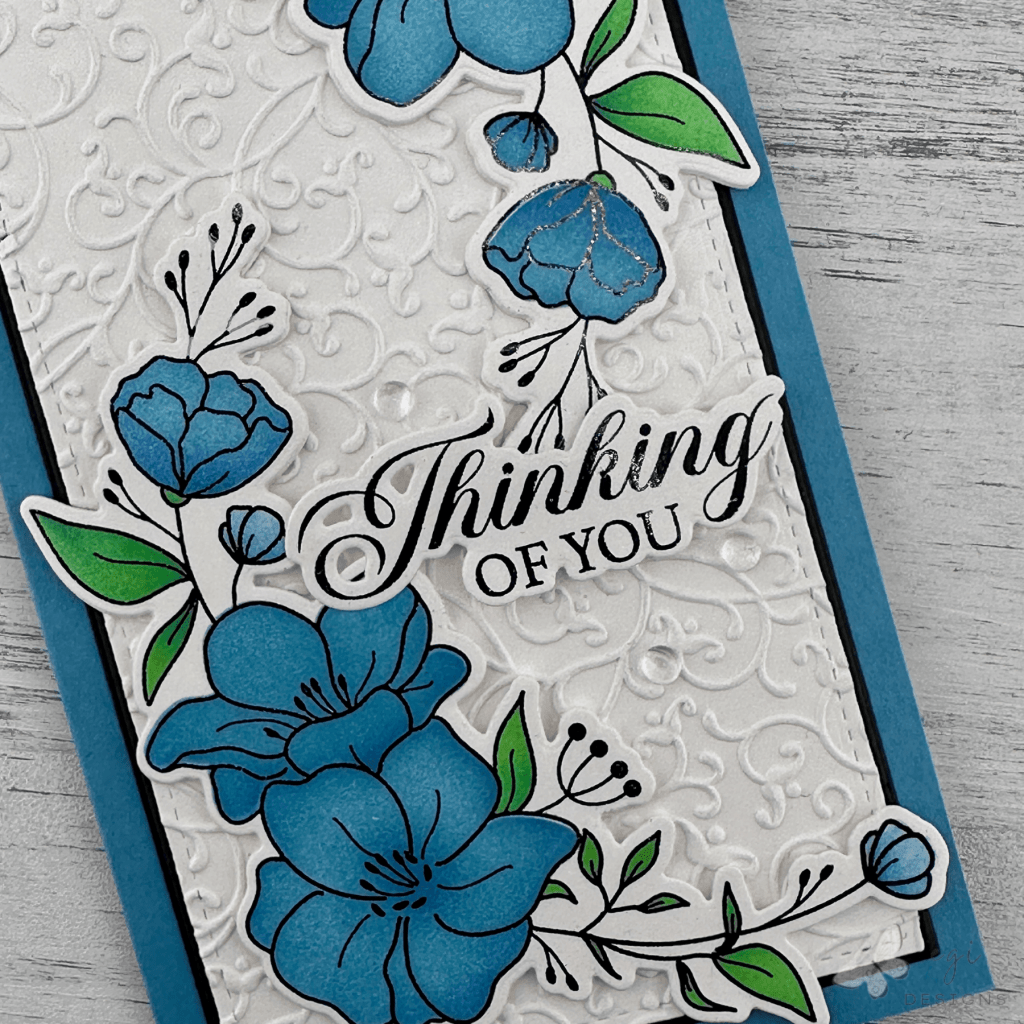
I placed the floral spray on a Gina K Designs Sticky Mat, and then began stenciling the image. All of the openings to color in this image are on the same stencil, and you have to move the stencil around to fill in all the images. I first stenciled the flowers using Gina K Designs Cadet Blue ink, then did some shading using In the Navy ink. For the foliage, I first used Lucky Clover, and then added some Christmas Pine ink for shading. When that was complete, I was doing a test card layout and realized I would like to have two floral sprays on the card front, so I foiled and stenciled another floral spray.
Die-Cutting Hack: For the floral sprays and the sentiments, I show an easy hack to get perfect borders around the images, using a template. Check out the video to see how this hack works.
Assembling the Card Front
I cut out two additional floral spray die cuts for each of the stenciled images, and glued them behind the stenciled pieces, making the images three layers thick total. This gave the floral pieces a lot of stability and adds dimension to the card front background.
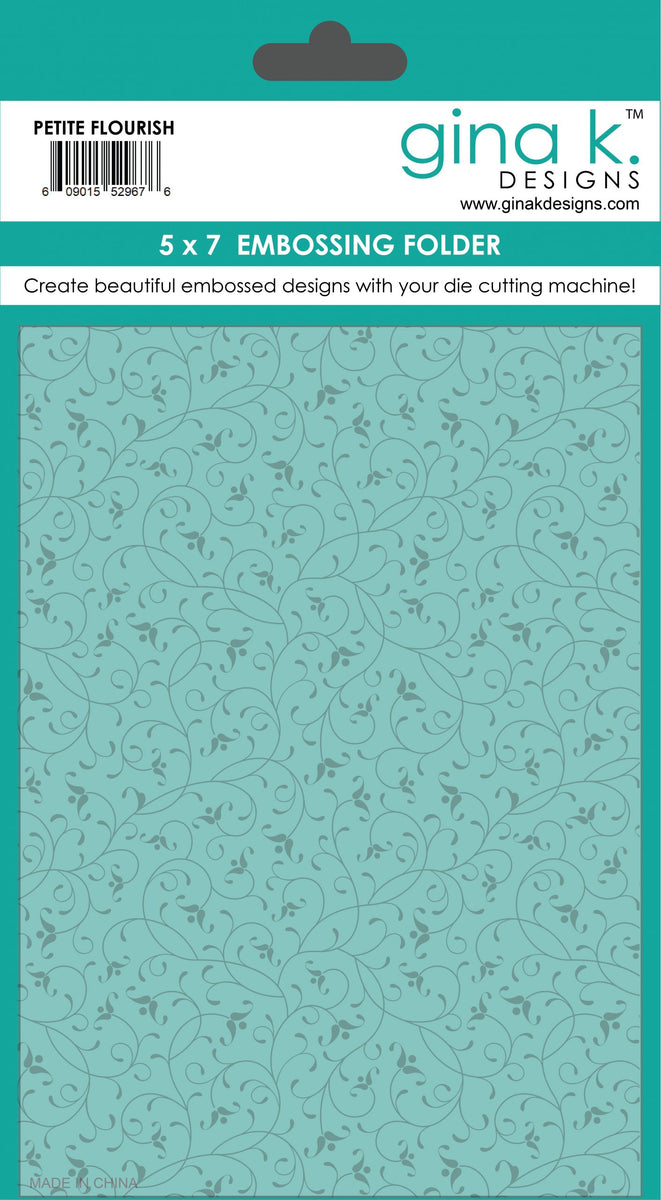
I cut out layers for the front card panels from Gina K Designs Heavyweight White, and Black Onyx cardstocks, using Master Layouts 7. This set is designed for Mini Slimline Cards. After I cut out the White panel, I embossed it using the Petite Flourish Embossing Folder.


I created a mini slimline card base from Gina K Designs Cadet Blue cardstock, added the white embossed panel to the black mat using glue, and then added those to the card base with tape runner. Once the card front was assembled, I added the floral sprays in the bottom left and top right of the card front using liquid glue. I placed an acrylic block on top of the images to help them adhere to the embossed panel.
Once those were adhered, I then added Altenew Foam Tape to the back of the Thinking of You sentiment. I strategically added the foam tape to the areas in the middle, and glue on the ends where they overlapped with the floral images. To finish off the card front, I added Gina K Designs Dew Drop Embellishments using Connect Matte glue.
Inside of the Card
For the inside of the card, I stamped the same floral image as the foiled floral image from the Peaceful Petals Stamp Set in Cadet Blue ink on a white panel. Then I stamped the beautiful sympathy message in Black Onyx ink.

I then adhered the panel to the inside of the card using temporary adhesive. I find this is easier for me, so I can remove and replace the panel if I mess up when writing my message without having to tear my card apart.
If you are looking for additional ways to decorate the inside of your cards, check out my Part 1 and Part 2 videos with more easy ideas.
Step-by-step card tutorial:
I hope you enjoyed this project! For more card-making ideas, check out my YouTube playlist and card-making blog posts. I also have a Gina K Designs unboxing playlist for additional information on her releases.
Product Information
Here are the products I used in today’s project. Please consider shopping through my affiliate links, as it greatly helps out my channel at no extra cost to you. Thanks so much for supporting me and my channel!
**Use code EGIDESIGNS for 15% off your order at Glassboard Studio**
|


One Comment