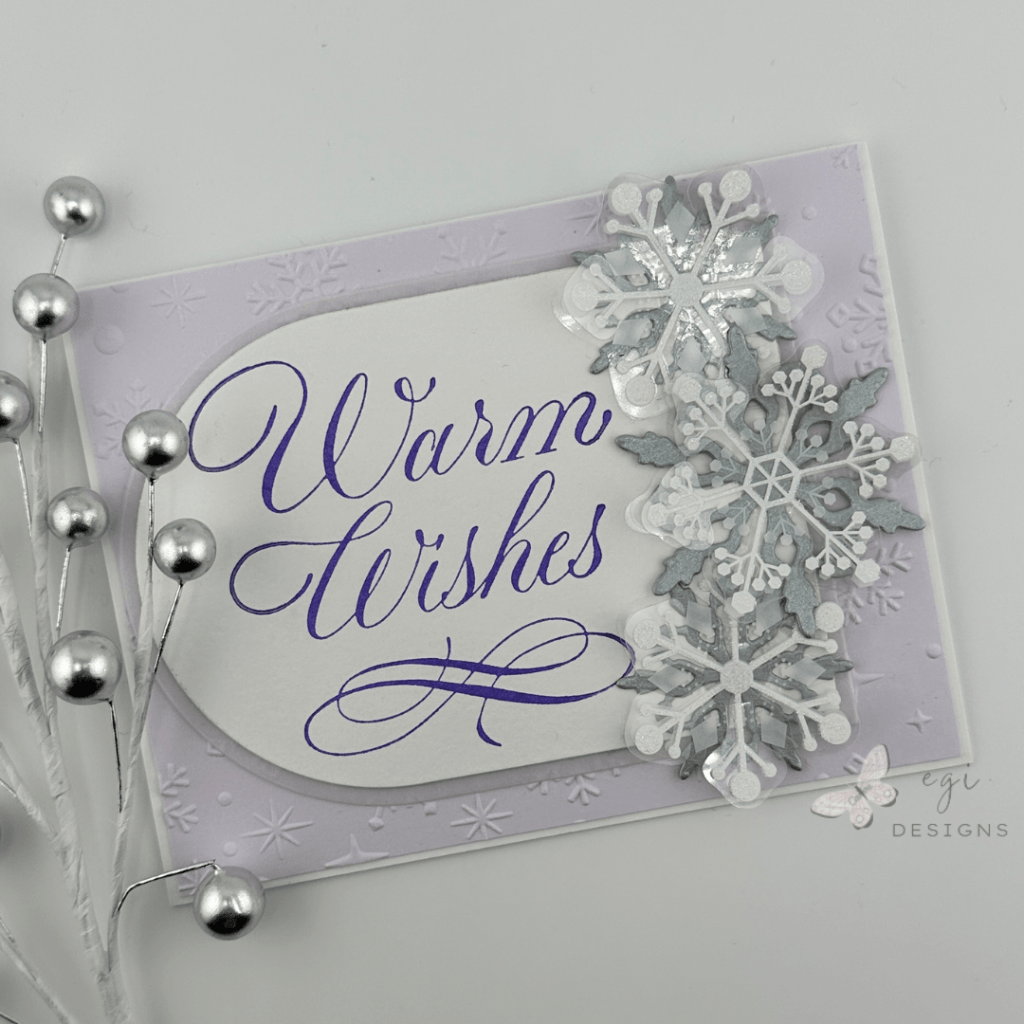
Easy Way to Add Sparkle to Your Cards Using Snowflake Stickers
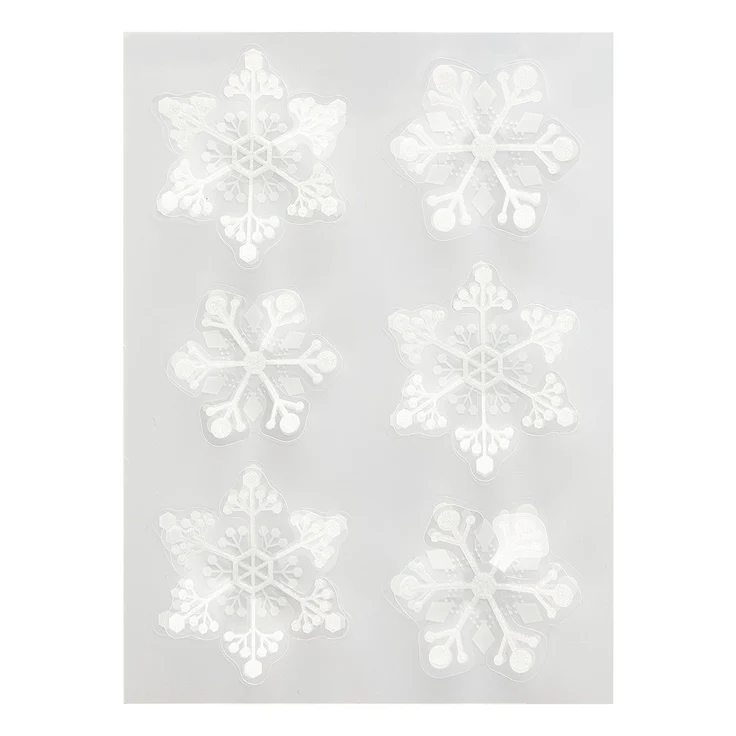
Spellbinders recently sent me their new Dimensional Snowflake Stickers from the Merry Moments Collection to create with. I created two cards for Christmas In July with the snowflakes, and here is the second one! Links to all the products I used are listed below.
Measurements:
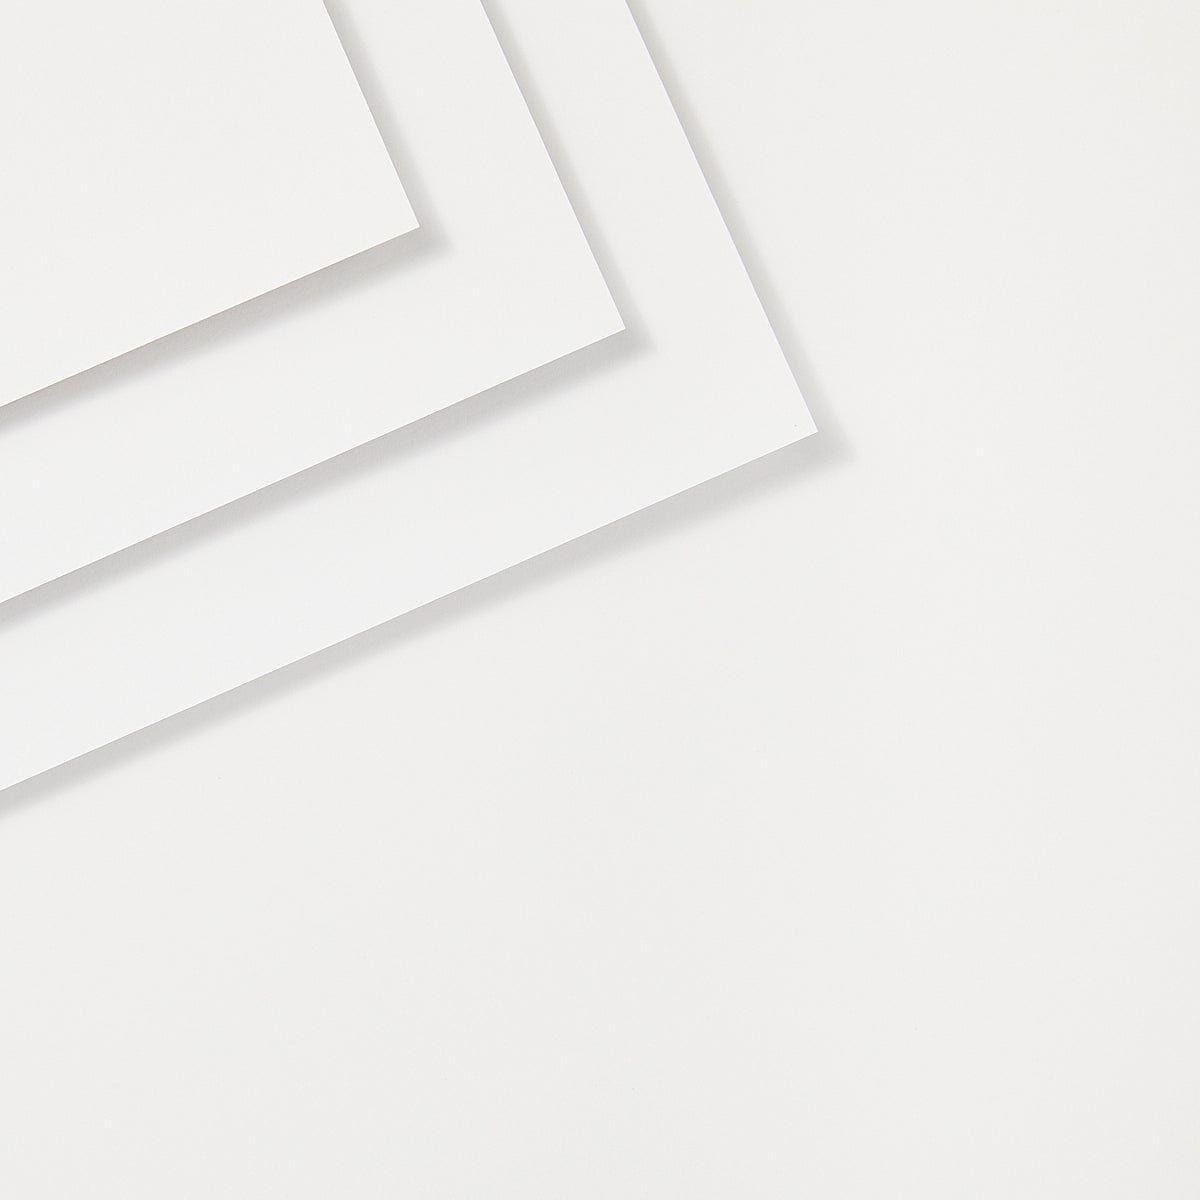
A2 Card Base: 5 1/2 x 4 1/4" when folded
8 1/2 x 5 1/2", Score at 4 1/4"
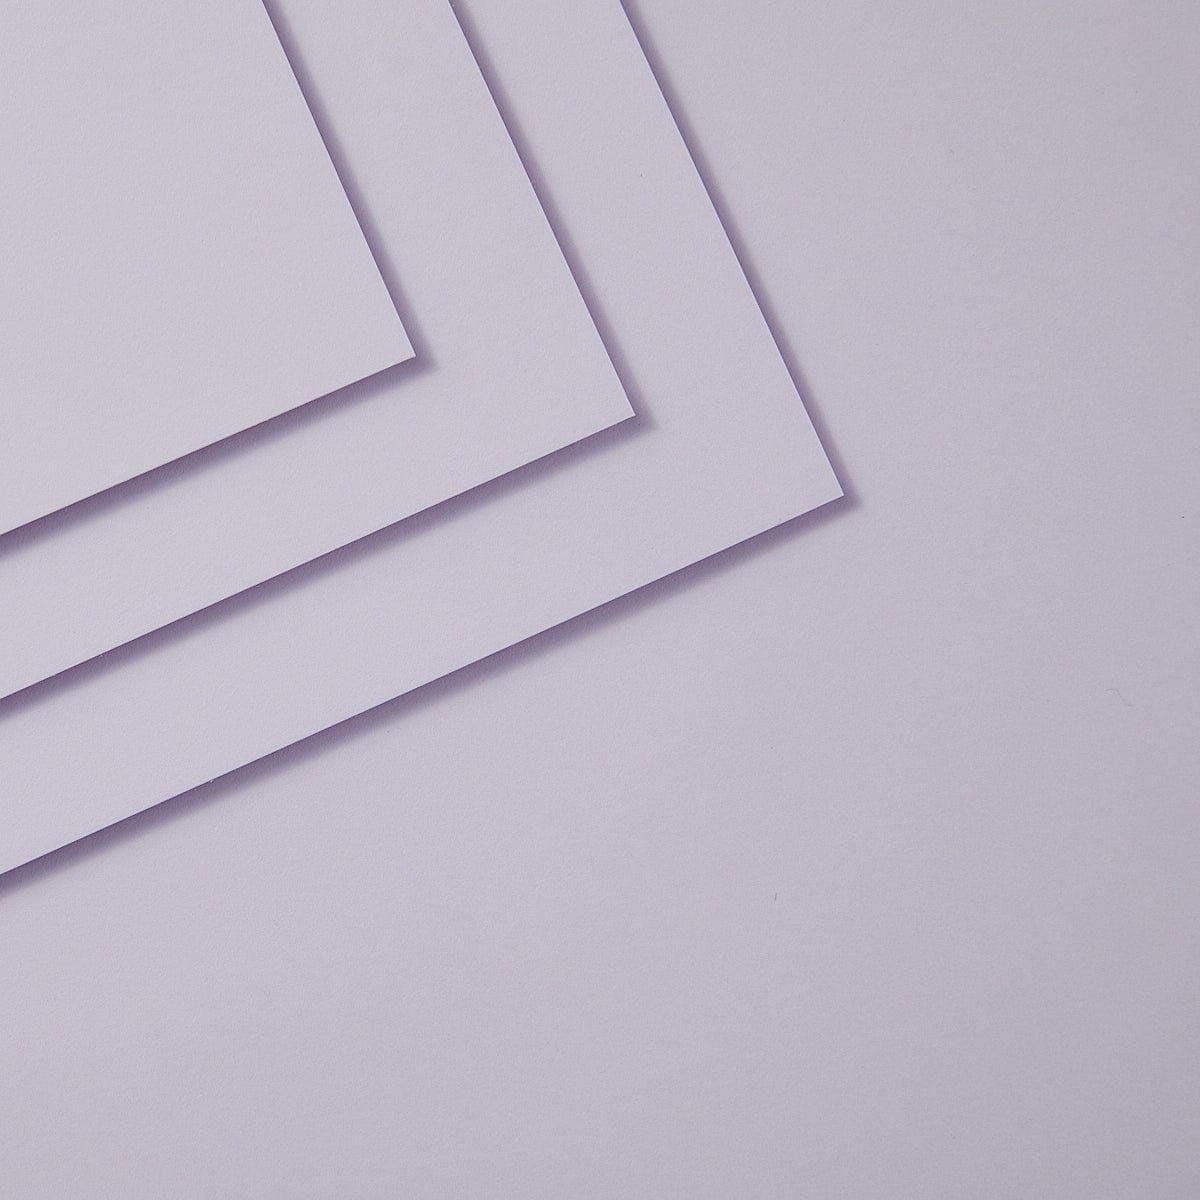
Fairy Tale Card Panel: 5 3/8 x 4 1/8"
White Sentiment Panel: 4 1/2 x 3 1/4"
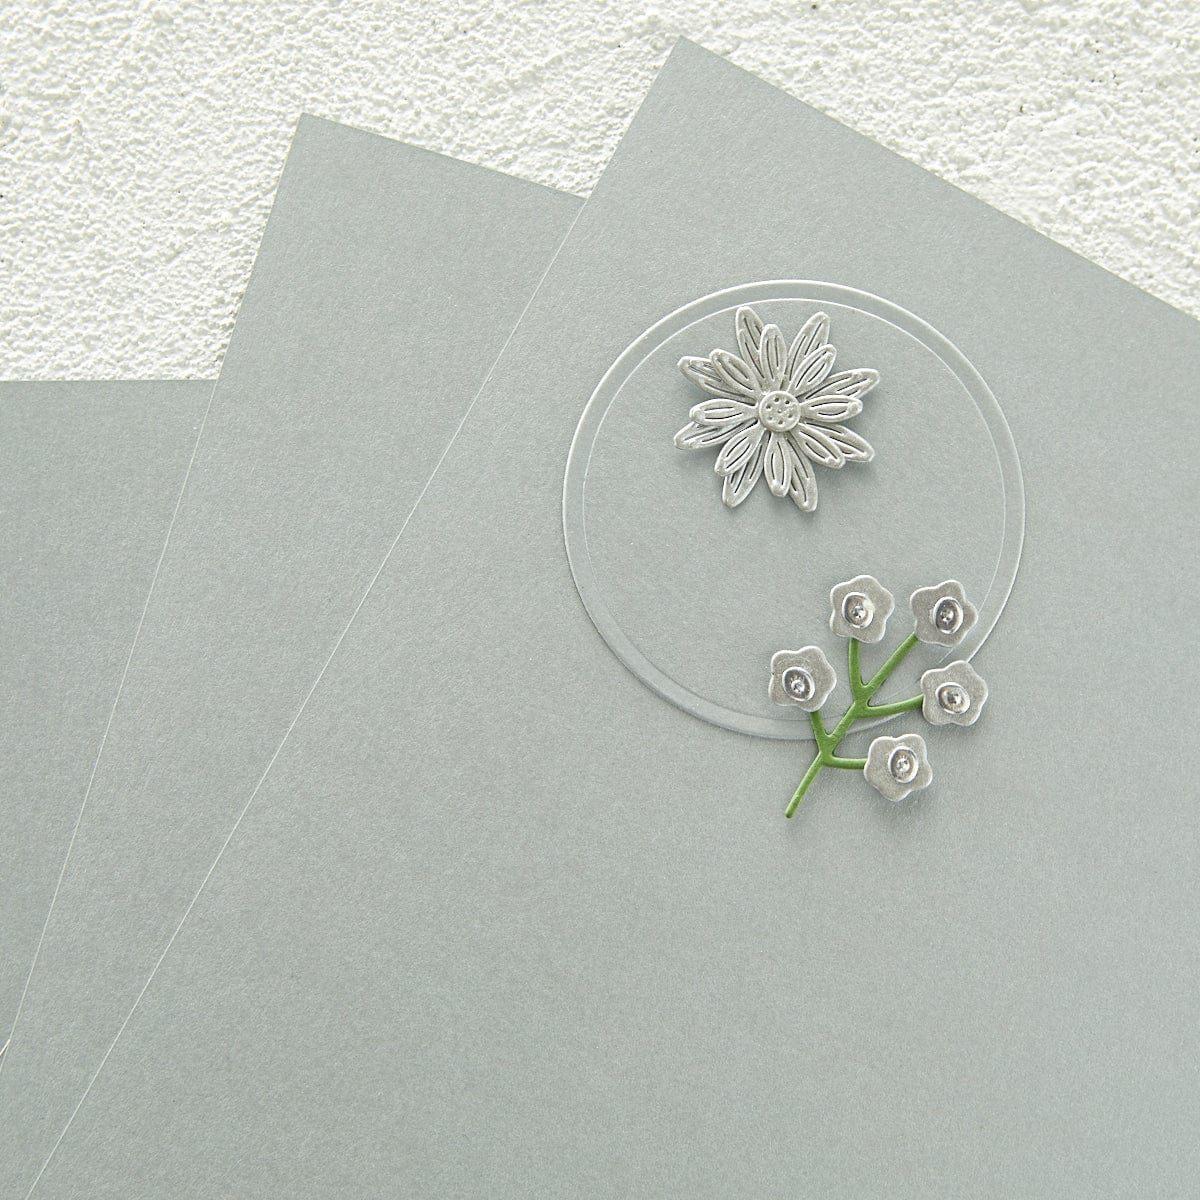
Vellum Mat Layer: 4 3/4 x 3 1/2"
Card Layer Details
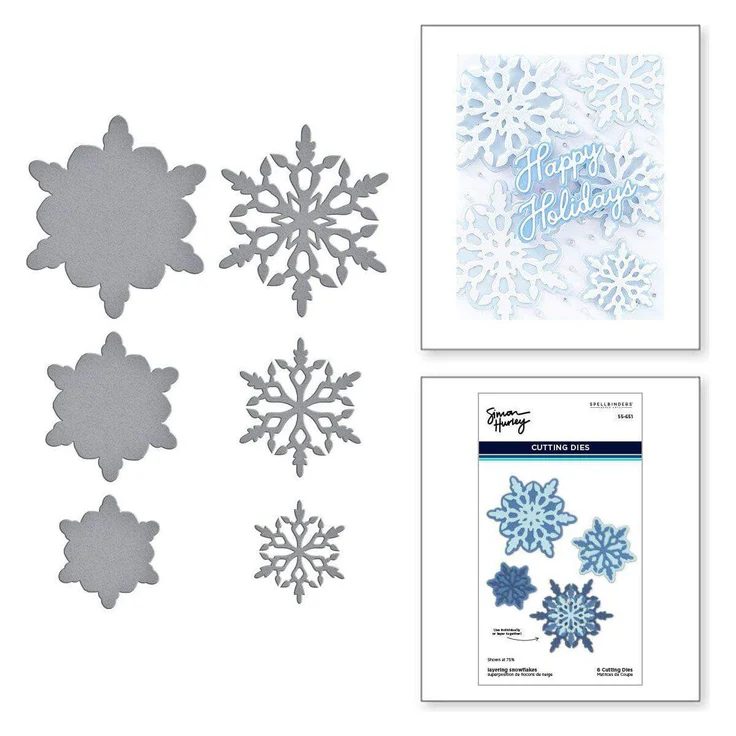
I first cut out the card base and sentiment panel from Spellbinders Classic White cardstock. For the sentiment panel and vellum mat layer, I used the Spellbinders Essential Arches Die Set. Using the Spellbinders Sparkling Snow Embossing Folder, I embossed the back panel I had cut from Fairy Tale cardstock to add interest to the card front. I cut some snowflakes from the Spellbinders Layering Snowflakes Die Set in the Brushed Silver cardstock.


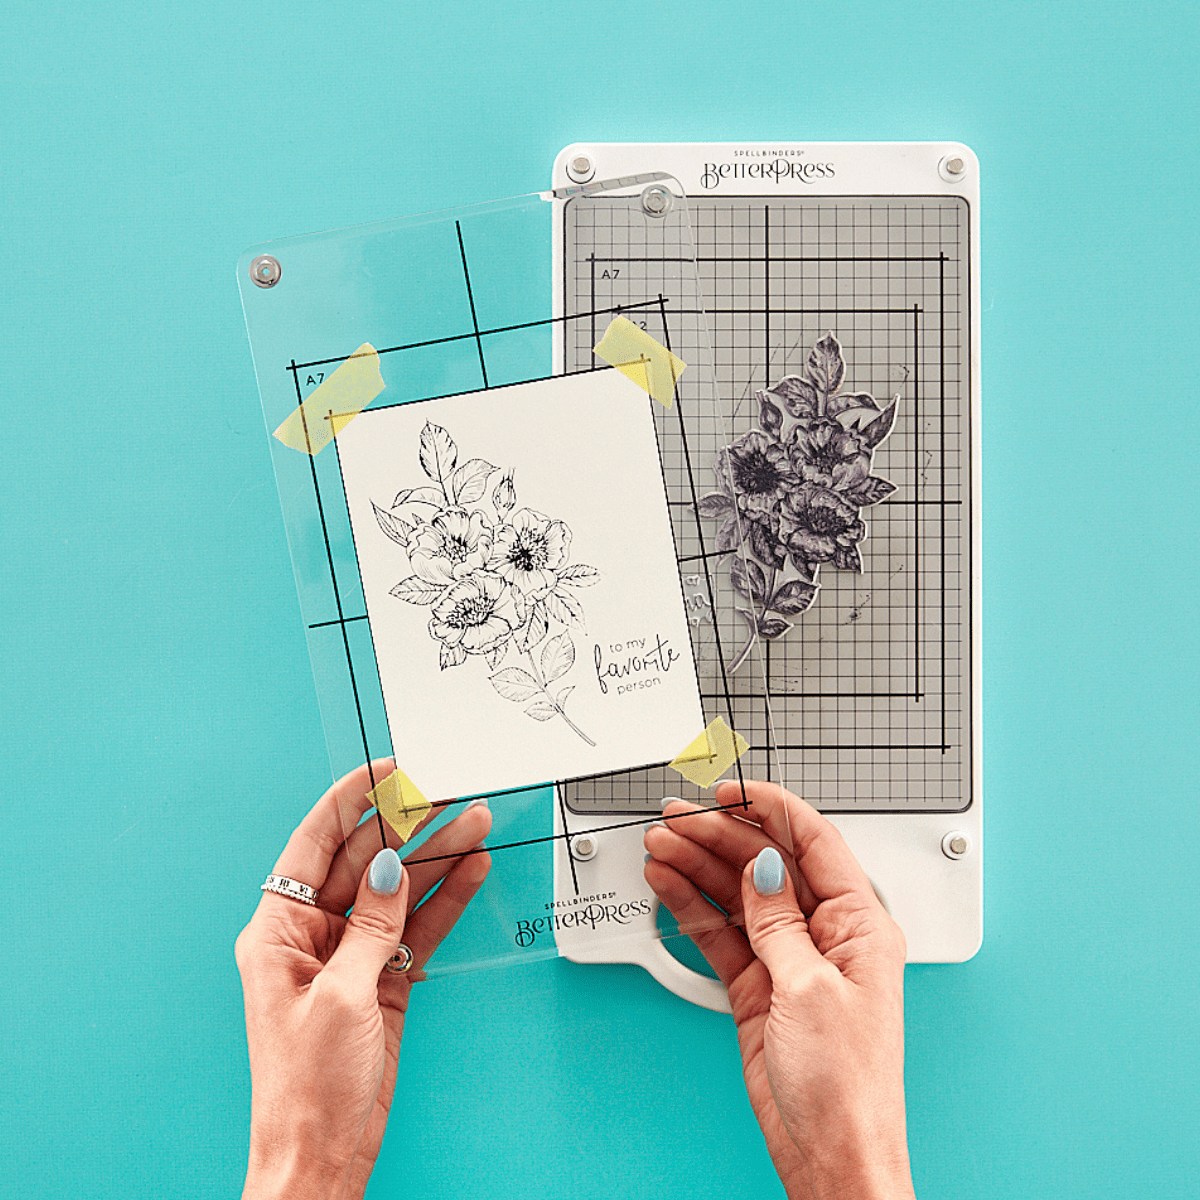
Using the BetterPress Machine
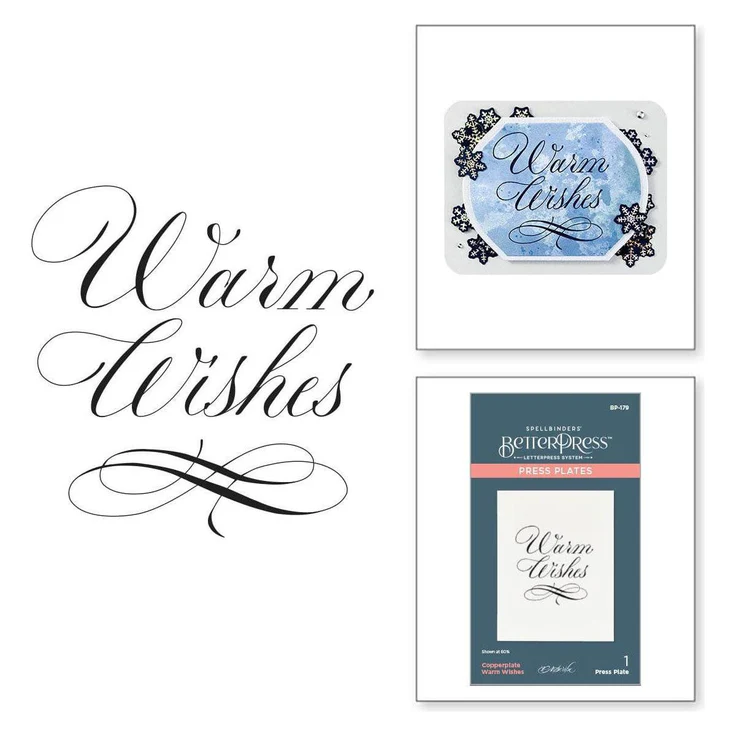
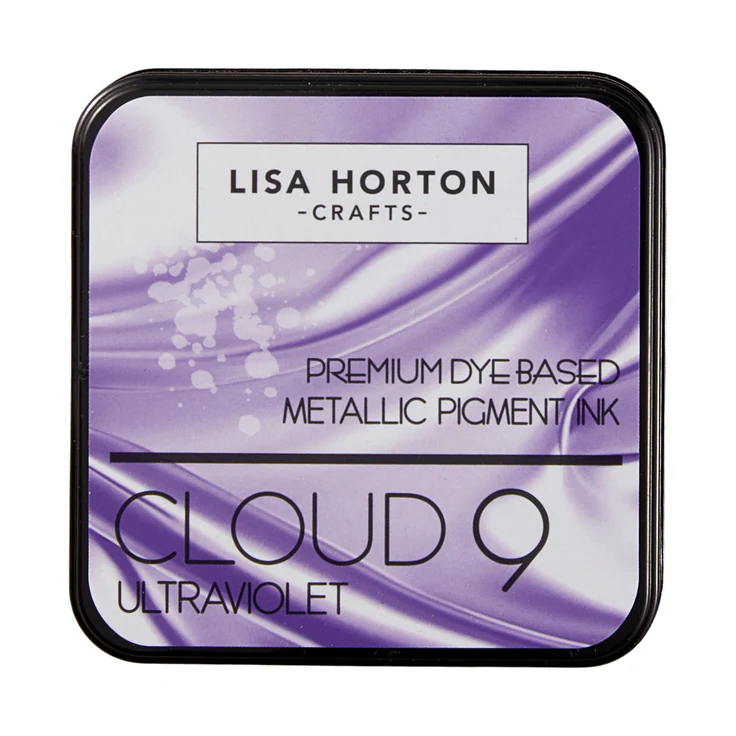
For the sentiment, I used the Spellbinders Copperplate Warm Wishes Press Plate with Lisa Horton Crafts Ultraviolet Metallic ink. I demonstrated a couple of my favorite BetterPress hacks in the video.
I added the embossed panel to the card base using my tape runner from Scrapbook Adhesives. I also used my tape runner to attach the sentiment panel to the vellum mat. Using Simon Says Stamp Big Momma Foam tape on the back of the vellum piece, I added the panel to the left side of the card front. I love Big Momma Foam Tape as it has such a low loft and just adds a little lift without it being too much.
Finishing up the Card
Once all the card layers were assembled, it was time to add the gorgeous Snowflake Stickers to the card front! I added a large snowflake sticker to the larger die cut snowflake, and two small snowflake stickers to smaller die cut snowflakes, off-setting the sticker and the die cut slightly to get a layered effect. I added the three snowflakes to the front of the card using a drop of the Simon Says Stamp glue.

Hope you enjoyed this card project! Check out my Winter Cards playlist on YouTube for info for more Winter card inspiration and ideas. Also check out my other card project using the Spellbinders Dimensional Snowflake Stickers.
For other card-making ideas, check out my YouTube playlist and card-making blog posts.
Step-by-step video:
Product Information
Here are the products I used in today’s project. Please consider shopping through my affiliate links, as it greatly helps out my channel at no extra cost to you. Thanks so much for supporting me and my channel!
**Use code EGIDESIGNS for 15% off your order at Glassboard Studio**
|