Graduation Card: Guide to Crafting a Cool Pop-Up Card
In this video project, I made an interactive pop-up Graduation card using the Lawn Fawn Pivot Pop-up die set, the Concord and 9th Burst of Cheer Die Set, and the Echo Park Graduation Collection Paper Pack. All products used are listed below.

Measurements
A2 Top-Folding Card Base: 4 1/4 x 5 1/2" when folded
11 x 4 1/4", Scored at 5 1/2"
Card Front Cut-apart: 3 x 4"
Card Front Glitter Mat: 3 1/4 x 4 1/4"
Inside Decorative Panels (2): 4 x 5 1/4"
Inside White Panel: 3 3/4 x 3 1/4"


Pop-up Card Instructions
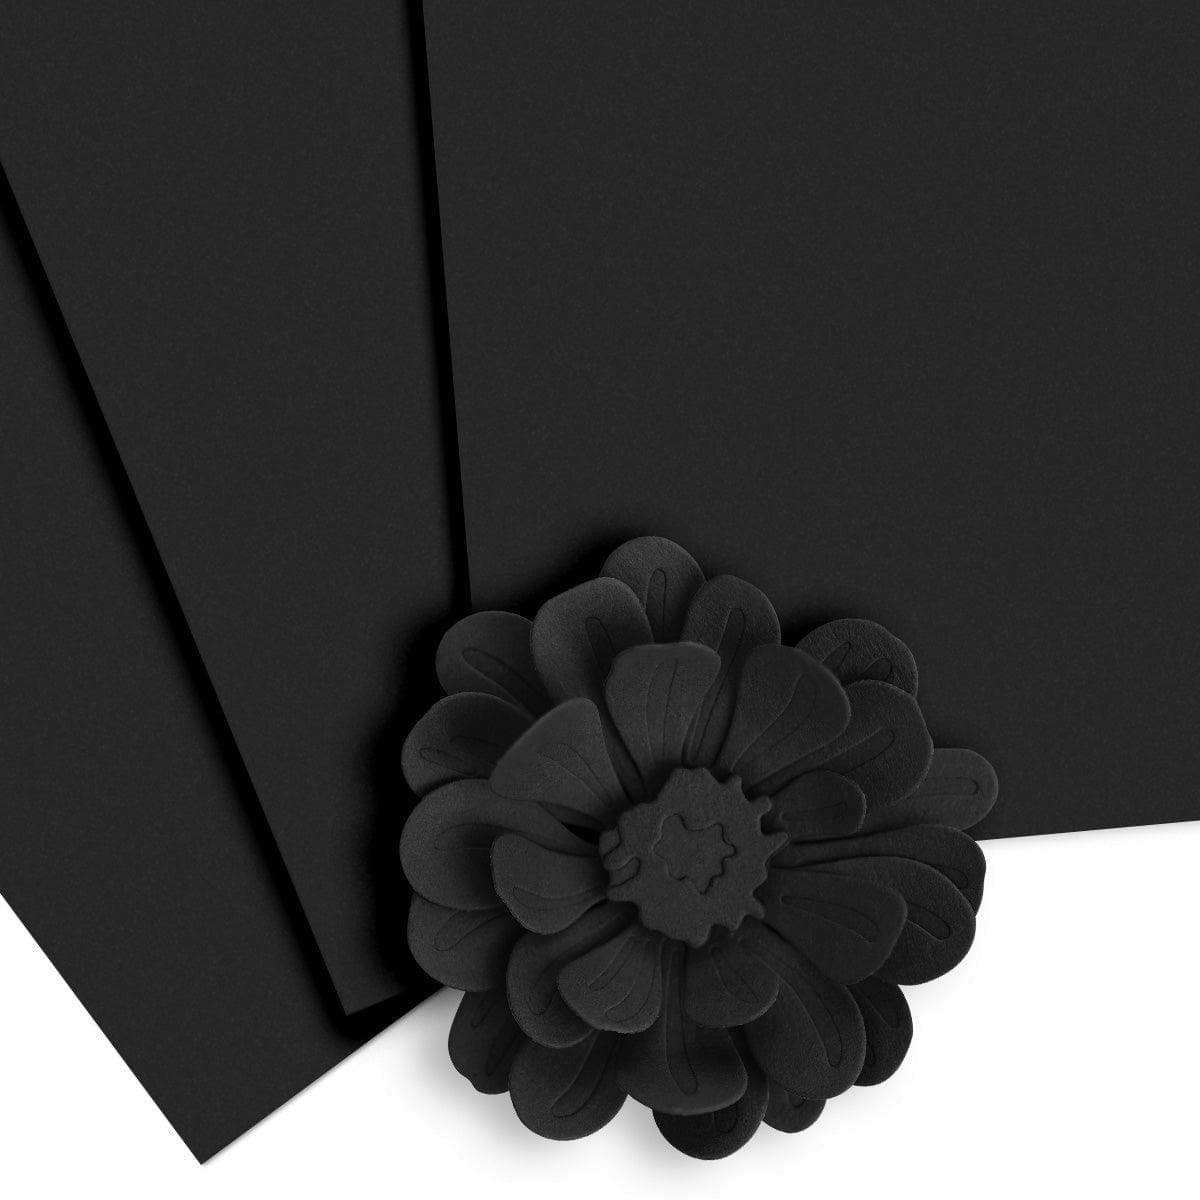
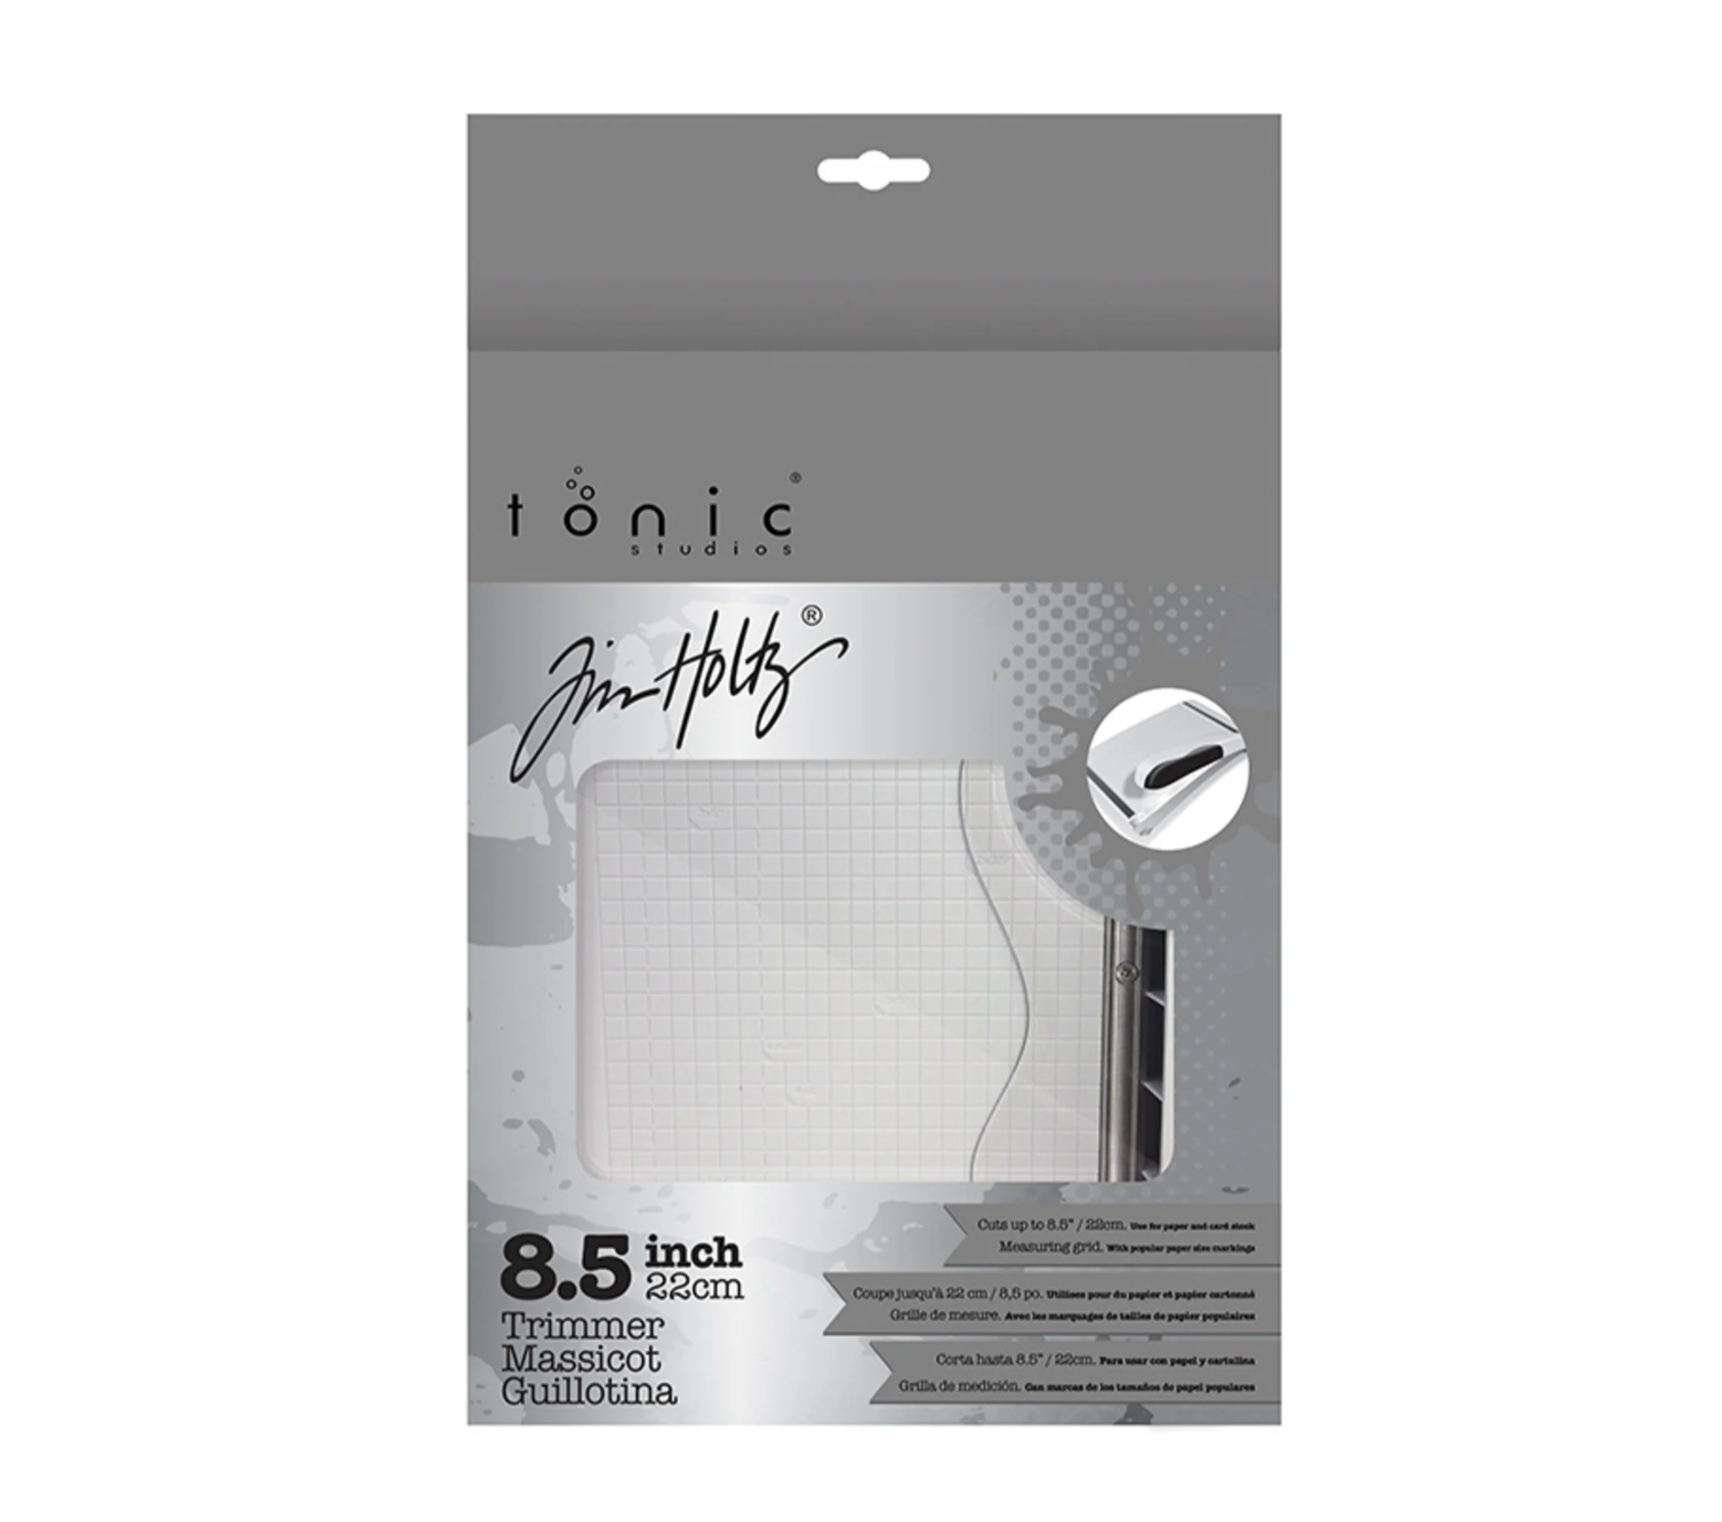
For this card, I cut a top-folding A2 Card Base, and pieces from the Lawn Fawn Pivot Pop-up Die set, out of Altenew Jet Black cardstock. You will need one “boomerang” shape, and two “file folder” shapes to create the pop-up feature. I also cut out two panels of patterned paper from the Echo Park Graduation Collection Paper Pack measuring 4 x 5 1/4″, and one of the 3 x 4″ cut-aparts from the paper pack. To mat the cut-apart piece, I cut a panel measuring 3 1/4 x 4 1/4″ out of Tonic Studios Welsh Gold Glitter paper.
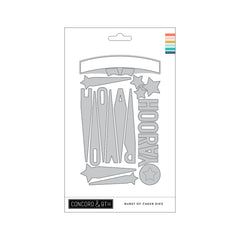
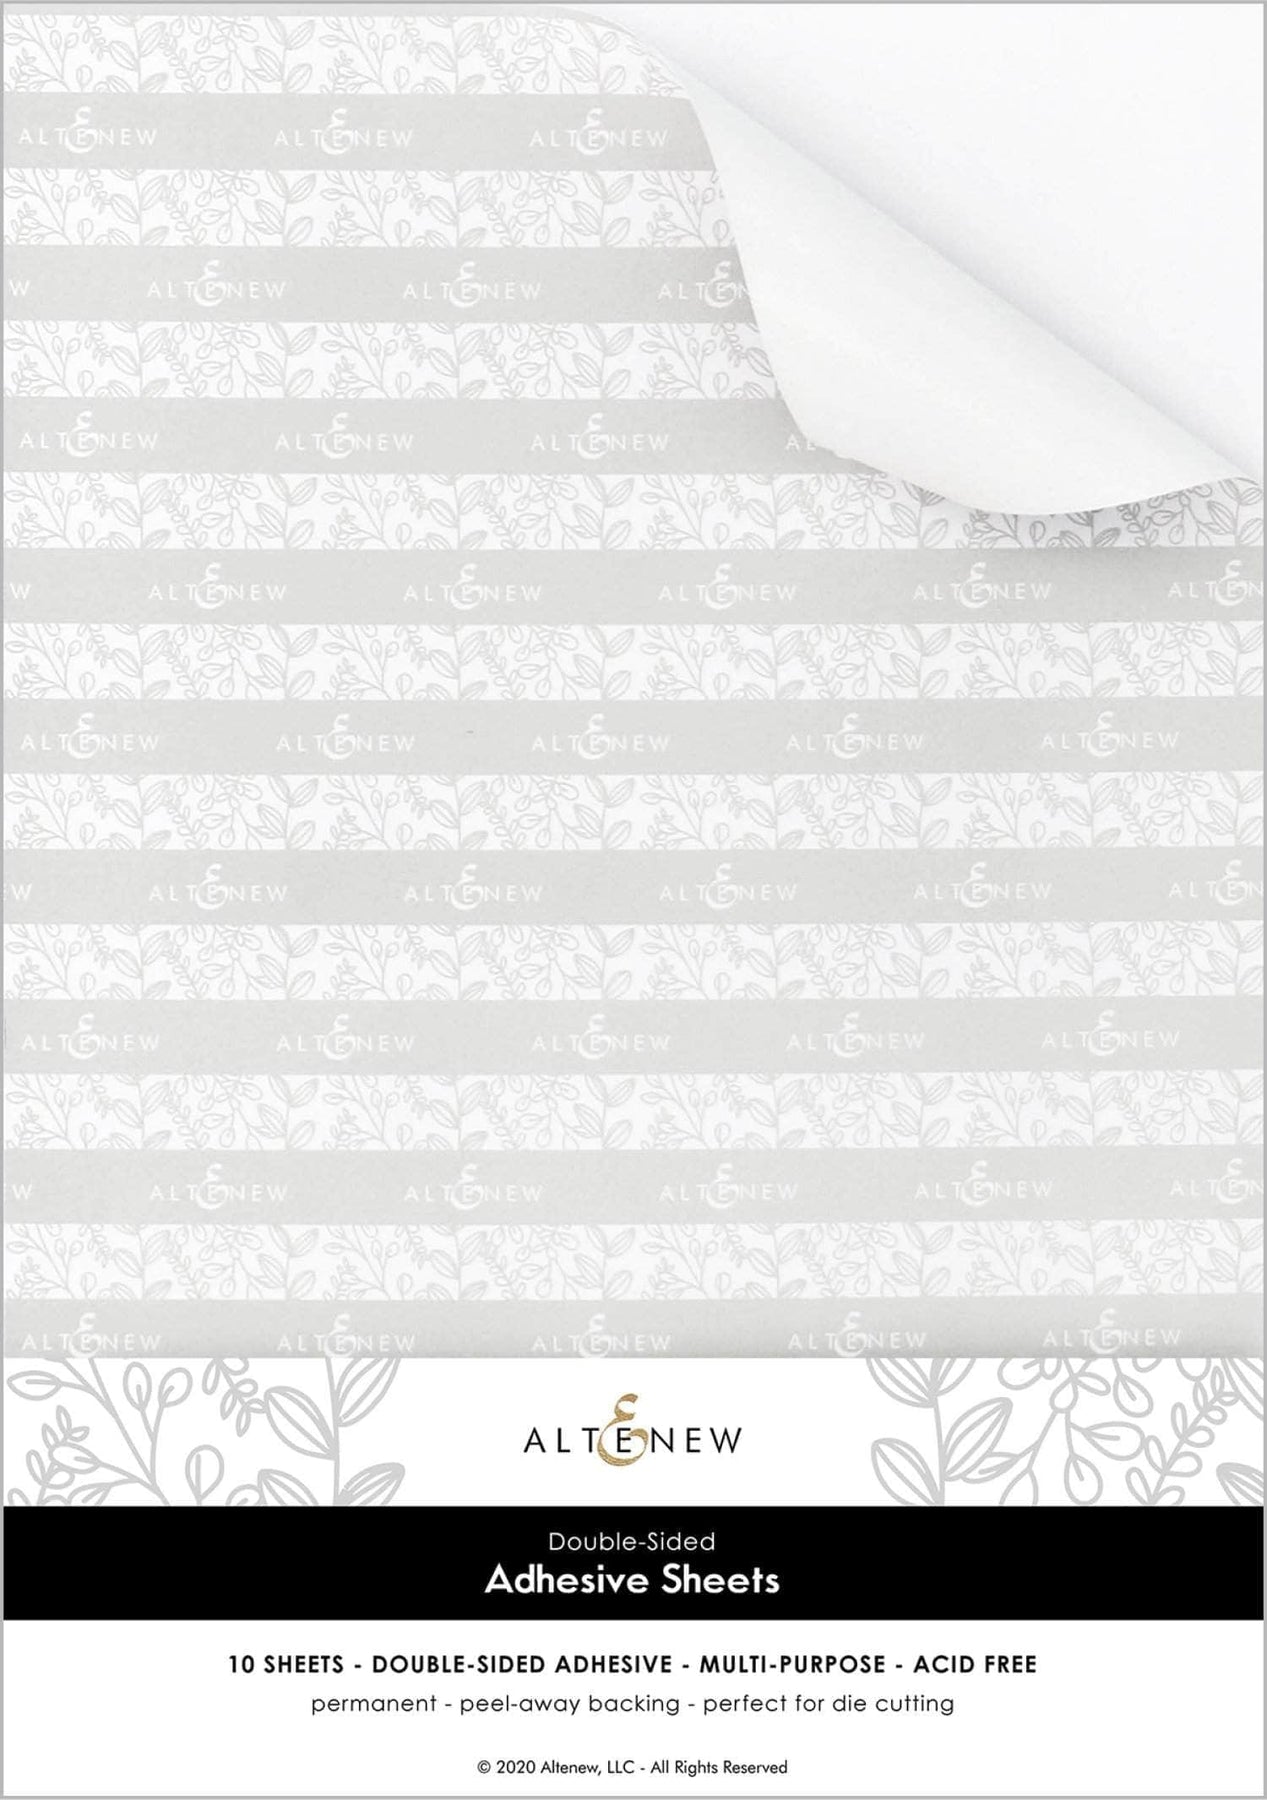
Next, I cut out the ‘Hooray’ sentiment from the Concord and 9th Burst of Cheer Die Set with the Welsh Gold Glitter paper, using my Mini Empress die cut machine. I also cut out stars from the same set in the Welsh Gold, and also the Tonic Studios Honey Gold Satin cardstock. Before die cutting, I used Altenew double-sided adhesive sheets on the back of the papers to turn them into stickers (and avoid getting liquid adhesive on the satin cardstock when applying the stars later).
I added the cut-apart piece and the glitter mat to the front of the card with my Scrapbook Adhesives Tape Runner, then added the inside panels to the top and the bottom of the card. I then began to construct the pop-up mechanism, and added it to the inside of the card. Before adding the pop-up panels to the mechanism, I added the ‘Hooray’ and star stickers to the panels. After that was complete, I added the panels to the inside of the card. Check out the video for a guide on creating the pop-up mechanism. Once the mechanism is complete, it’s important to open and close the card many times to help it fold and move smoothly.
Finishing up the card
I cut a piece of Accent Opaque white cardstock to 3 3/4 x 3 1/4″ and added it to the inside of the card for a place to write a message. I then added additional stars on the panel to finish up this card. Such a fun interactive card for Graduation!

Hope you enjoyed this card project! Check out my Graduation Playlist on YouTube or my other Graduation Blog Posts for more ideas. I have tutorials for a postage Graduation card project, as well as a Graduation pop-up card.
Step-by-step video:
Product Information
Here are the products I used in today’s project. Please consider shopping through my affiliate links, as it greatly helps out my channel at no extra cost to you. Thanks so much for supporting me and my channel!
**Use code EGIDESIGNS for 15% off your order at Glassboard Studio**
|


2 Comments