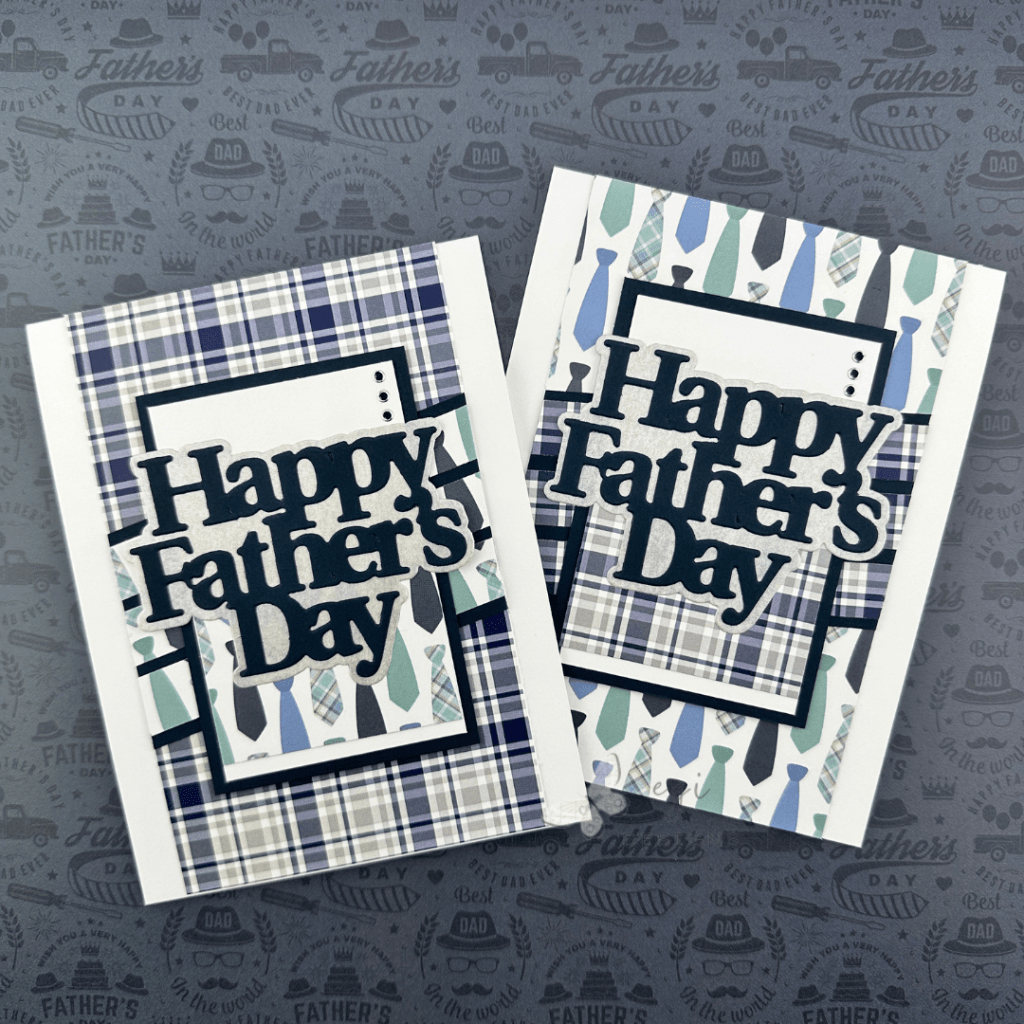
Quick and Easy Father’s Day Cards using a Card Sketch
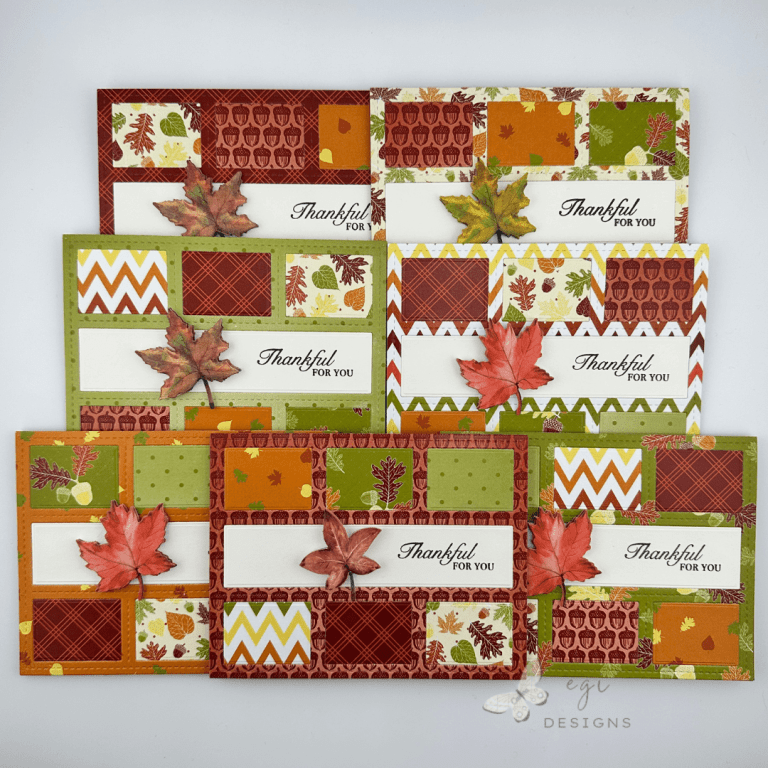
In this card project, I made eight Father’s Day Cards using the May 2025 Sheetload of Cards sketch by Call Me Crafty Al, with the Scrapbook Customs Dad Scrapbook Paper Pack. All products used in making this project are listed below.
Measurements
A2 Top-folding Card Base: 4 1/4 x 5 1/2" when folded
11 x 4 1/4", Scored at 5 1/2"
Inside card panel: 3 3/4 x 5"
Inside decorative Strip: 1/2 x 5 3/8"
**See the Call Me Crafty Al Sheetload of Cards May 2025 Card Sketch video for additional measurements**
Card Instructions
To make the cards, I used the Call Me Crafty Al’s Sheetload of Cards Sketch for May 2025. Her video is linked in the box above, and it is where you can download the printable card sketch. This card sketch makes eight cards if you follow the directions exactly. There are also instructions on how to make one card if desired.
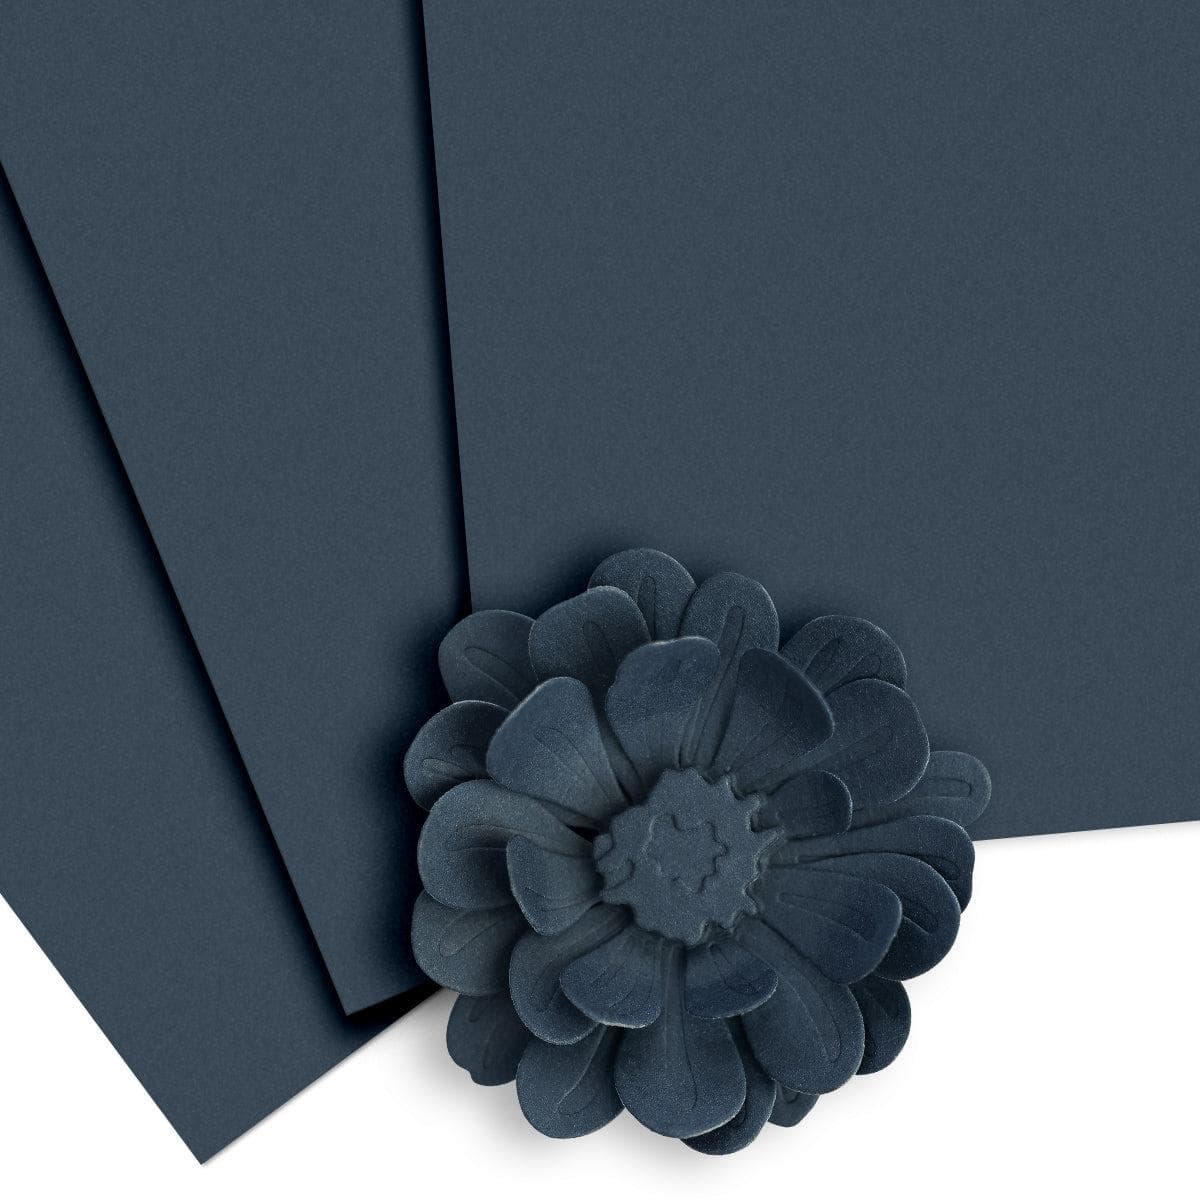
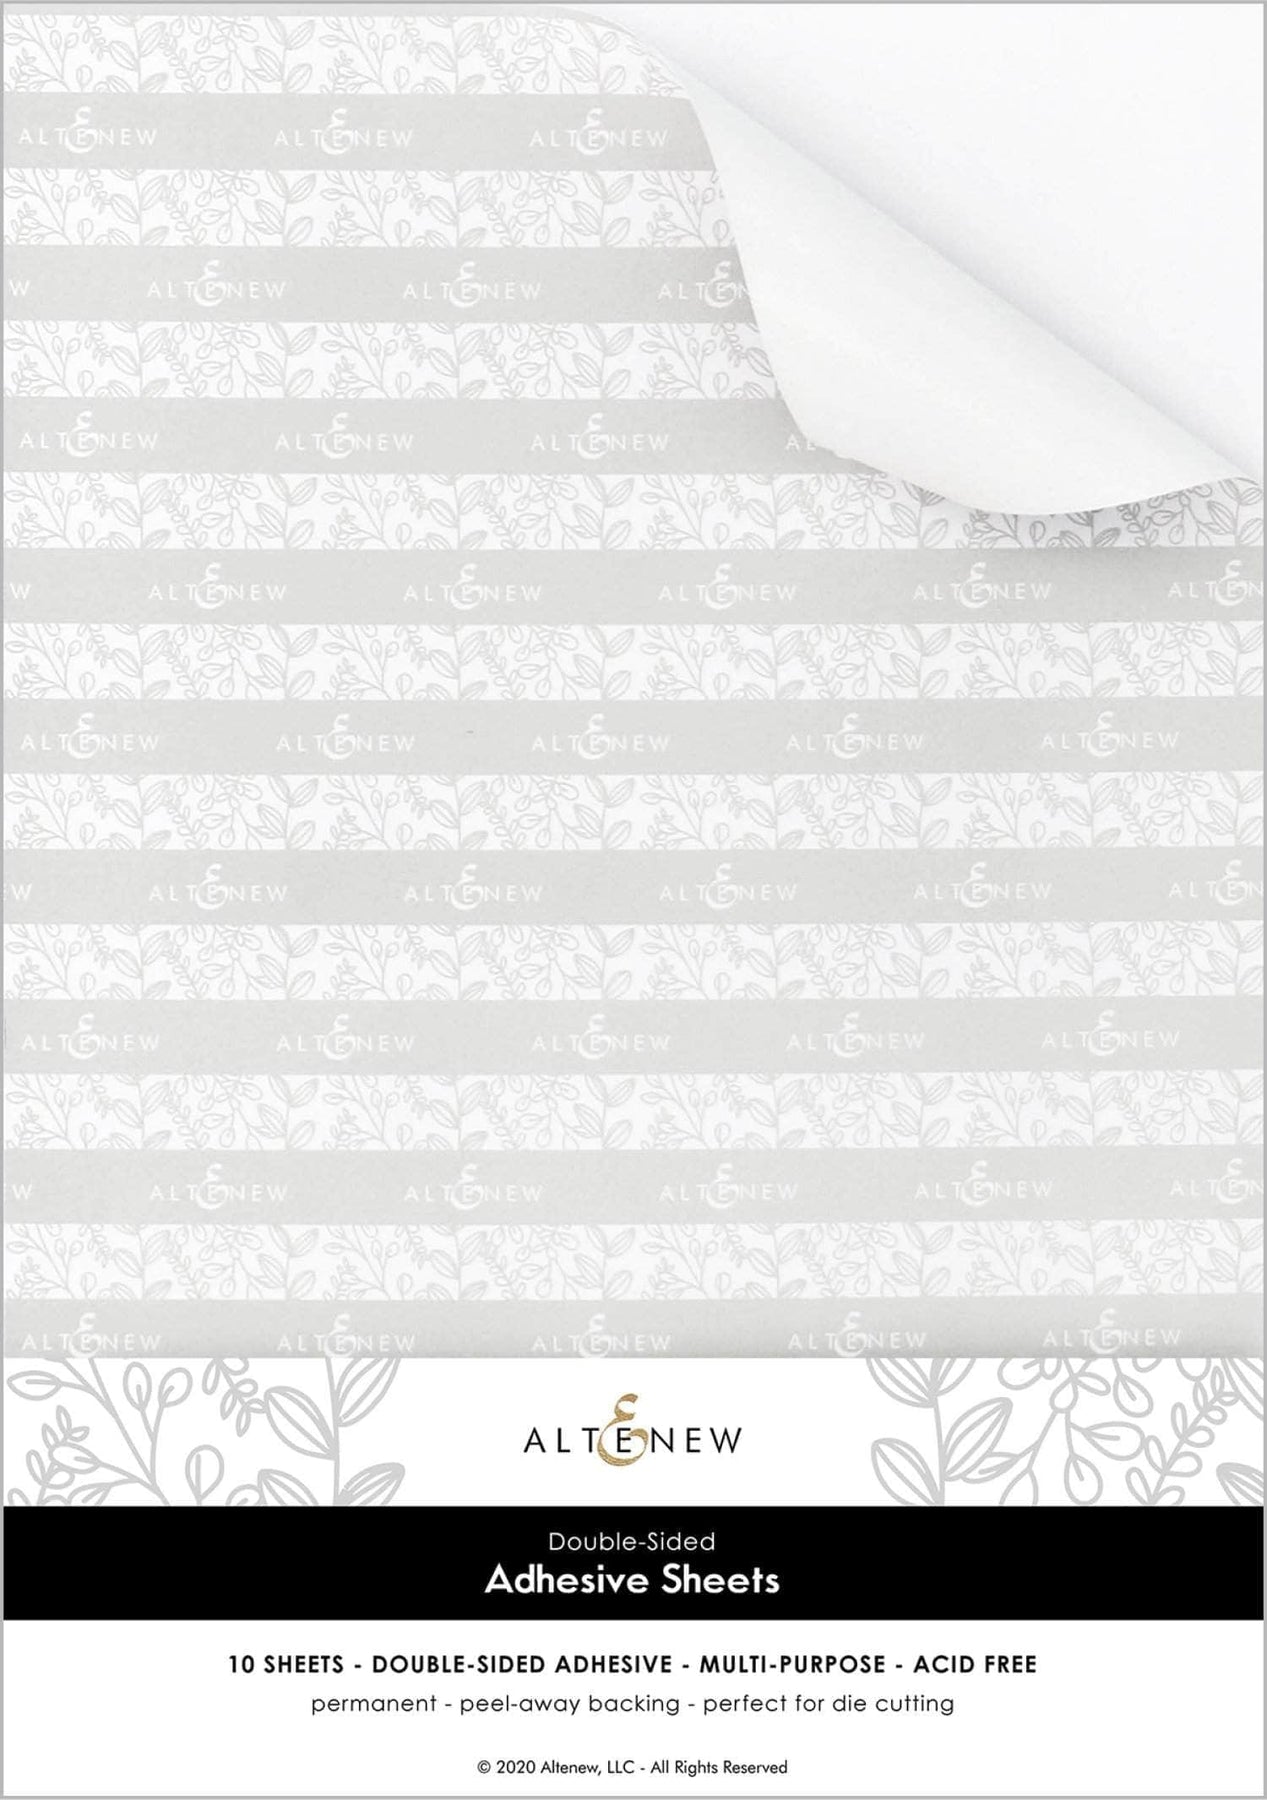
I picked out two sheets from the Scrapbook Customs Dad Scrapbook Paper Pack, cut them according to the card sketch instructions, and then assembled the pieces. For the focal image, I cut out the Waffle Flower Father’s Day Word Die with matching cardstock to the card base, which is Altenew Dark Night cardstock. I used Simon Says Stamp Silver Vellum for the shadow layer. Prior to die cutting, I used Altenew Double-sided Adhesive Sheets on the back of the Dark Night paper, which made it a lot easier to attach it to the shadow layer of vellum.


I used my Scor-Buddy scoreboard to help me line up the three strips on the cardstock mat, and also the main panel on the card front. For the smaller panel, I used Simon Says Stamp Big Momma Foam Tape on the bottom and top so it could go over the diagonal piece and remain flat with no dips.
Inside of Card
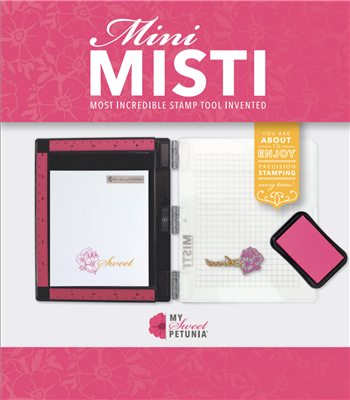
For the inside of the cards, I cut card panels out of Accent Opaque white cardstock. I stamped a sentiment from the Julie Hickey Sentiment Medley A6 Stamp Set on the card panels, using Altenew Dark Night Dye Ink to match the card front, and my mini Misti to do repeat stamping easily. I cut strips from the patterned paper and adhered them to the left edges to add some interest before adhering the inside card panels on top of that.

Finishing up the card project
I added the Happy Father’s Day die cut to the front of the card, putting glue behind the letters on the back of the vellum. I then added three of the smallest-sized circles from the Paper Wishes Black Jewel Dazzles sticker sheet to finish the card off.


Hope you enjoyed this card project! Check out my Father’s Day blog posts and YouTube playlist. I also used a Sheetload of Cards sketch for my 2024 Father’s Day cards.
Step-by-step video:
Product Information
Here are the products I used in today’s project. Please consider shopping through my affiliate links, as it greatly helps out my channel at no extra cost to you. Thanks so much for supporting me and my channel!
**Use code EGIDESIGNS for 15% off your order at Glassboard Studio**
|


Additional products used:
- Scrapbook Customs Dad Scrapbook Paper Pack
- Waffle Flower Father’s Day Word Die
- Julie Hickey Sentiment Medley A6 Stamp Set


One Comment